How to complete the game (overcoming the obstacles) and how to survive forever (with estimates of loot respawn times), with focus on resources and some crafting.
Will not contain Lore spoilers, but some necessary obstacle spoilers.
1. Starting loot
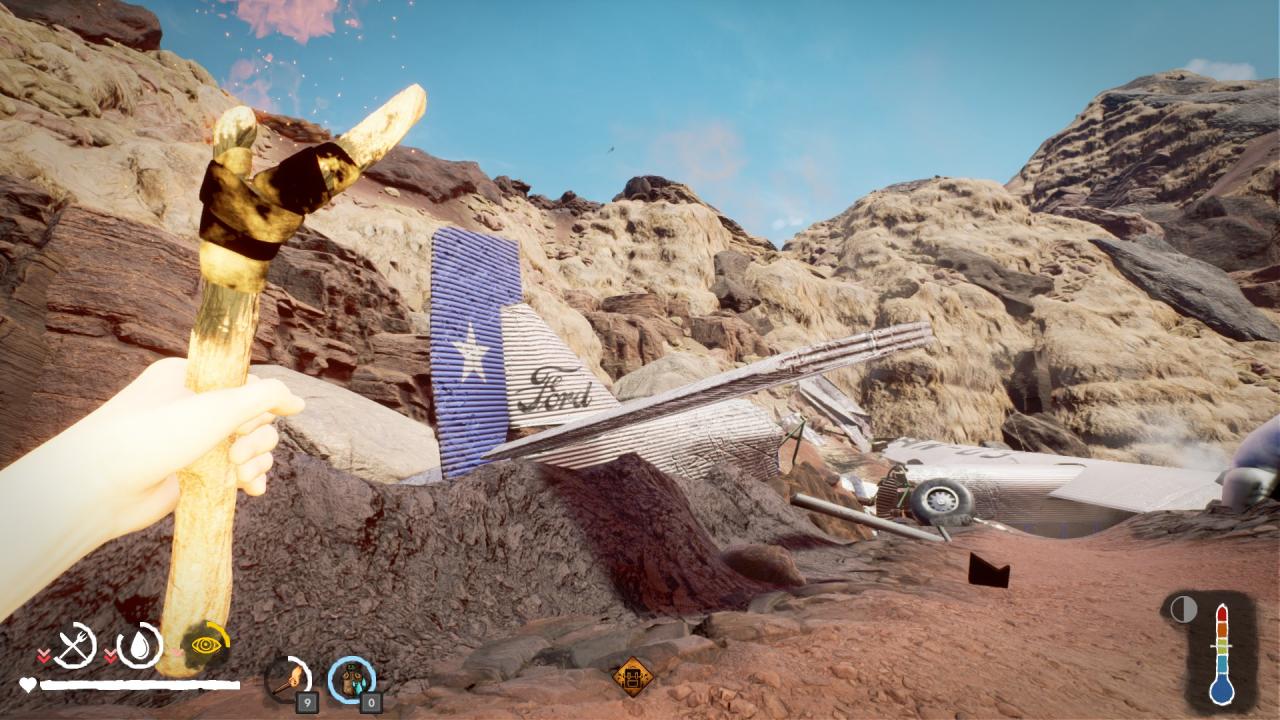 At the plane crash, loot everything quickly. Take All until you are >50kg encumbered, go to a shade, apply Clay, and shed common items such as Plant Fiber, Rock, and Bone and move on. See Unimportant Loot.
Don’t miss the free Tools, like the Pickaxe! See Important Loot.
Tip: Setting the Hold option to Tap instead will help you loot quicker.
2. Important Loot
 These are the things you should have in your Inventory or in nearby storage for day to day survival, not important loot to progress the story (see Obstacles for this).
If you can, always pick up Found Tools as they will save Energy – as well as the need for crafting ingredients and a Crafting Bench to craft them. Heavy as they are, they’re worth it. Except the Shovel.
If you’re encumbered, you can leave them in an already looted container in a Functional Refuge (a base where you have a repaired Station – Bed, Campfire, Crafting Bench).
You can use them before storing them. Tools do not stack, so each tool will take a slot.
The Axe is important because it can take a while to get one, and it’s the only tool with which to get Unrefined Wood from Furniture.
The Pickaxe is the only way to remove blocking Boulders.
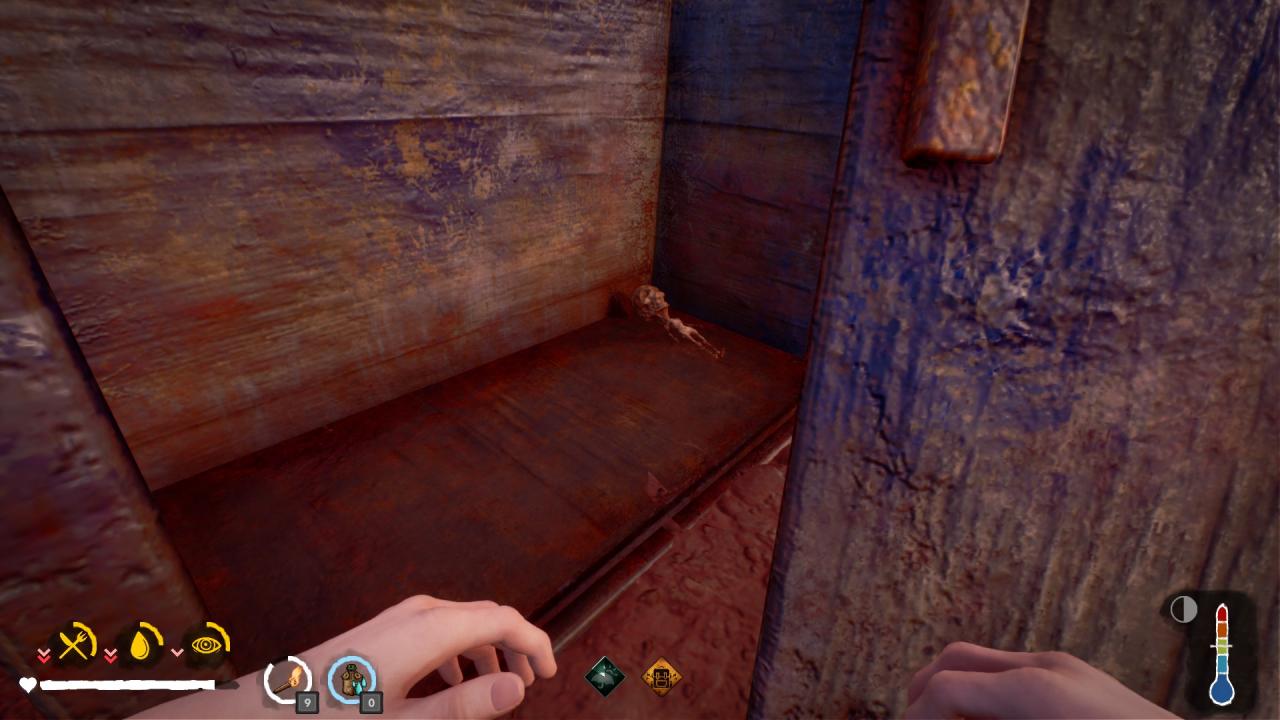
The Stone Knife is extremely important, because without it, you can’t harvest crafting ingredients from trapped Viscachas. Always have an extra spare Stone Knife or two in your Inventory! (Crafted from Plant Fiber and Rocks at a repaired Crafting Bench.)
Crafting the lowest tier tools starting out will automatically shed low-tier ingredients from your inventory. If you can’t craft a certain tool, check what you need to craft an Improved or higher version. It’s a good idea to have 2-4 Bone in your Inventory, in case the Refuge with the Crafting Bench doesn’t have a Mummy near it.
Near the endgame, you will need to cook an Uncooked Mortar on a Campfire, as it’s the only way to progress, but until then it’s not vital.
Clay is extremely important! It will prevent Sunburn, for which you have only a few seconds to apply Aloe Cream as treatment before dying. Be aware that crafting Aloe Cream consumes twice the Clay, so carry ~5 Clay at all times, but only 1 Aloe Cream for an emergency. Mild Sunburn is OK. Apply Clay in the shade, wait 5 seconds, and this is enough to move on.
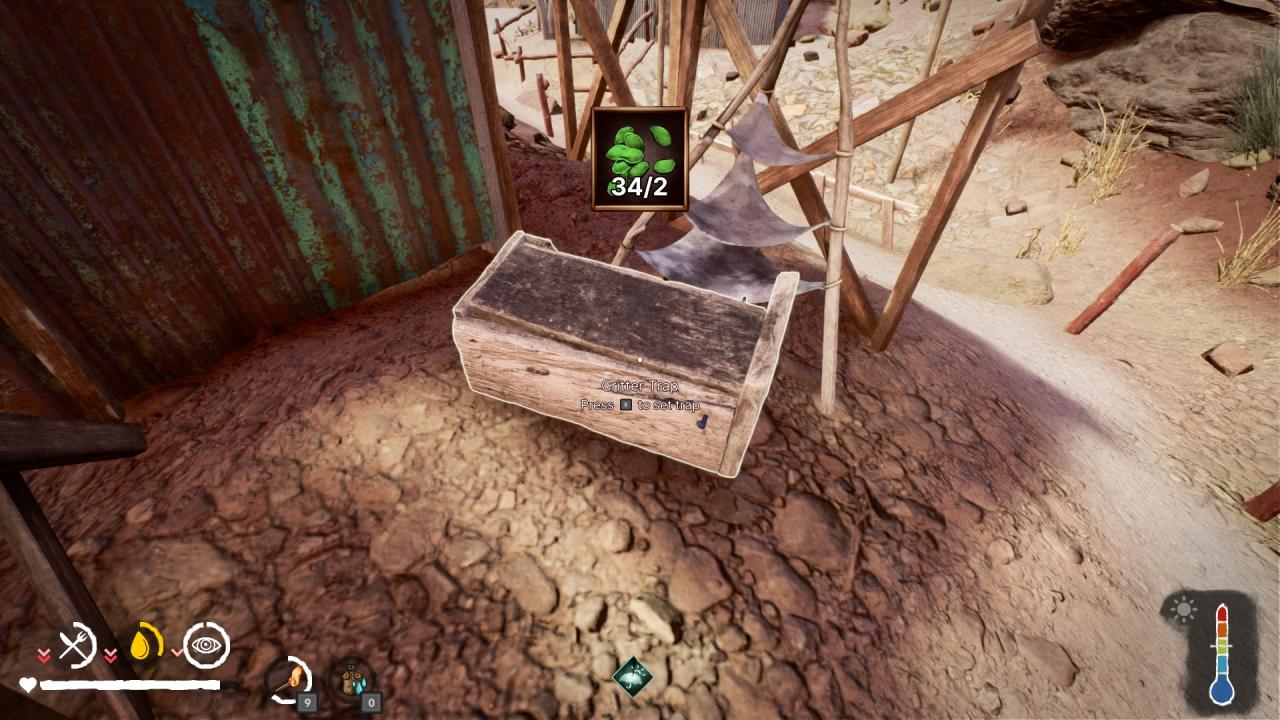
Seeds is a low-chance resource from picking up Plant Fiber. To get enough, you may have to pick up all the Plant Fiber you see, then shed all but one stack. This is the single bottleneck in the game – if you run out of Seeds, you’ll be unable to trap animals and starvation will prevent you from sleeping without dying. Never run out of Seeds! Keep 20 on you or in a Container near a Trap.
Bandages are crafted from (plant fiber) Cloth and (cactus fruit) Alcohol. If you are losing health from starvation or dehydration, you can “eat bandages” instead. Keep 3-4 on hand.
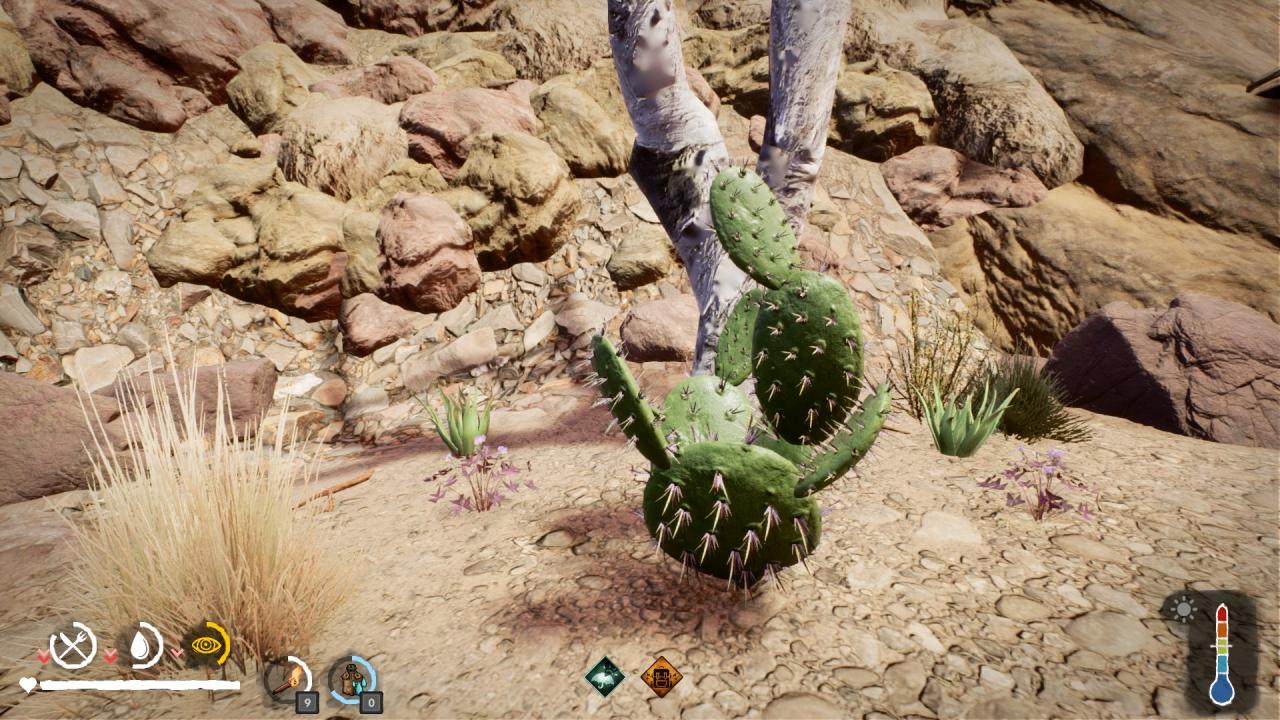
Cactus Fruit gives food and water, and you can loot 30 to let you travel far without stopping.
Sticks are hard to find at the start and required for a few important recipes, and to repair Campfires. So don’t pass over sticks and always have 8 on hand. If you have an Axe, you can craft sticks from Planks.
Oil is found in great amounts, so you can keep 10-20 Oil on you at all times to remove the need to carry fuel to cook food. Remember to take the Oil out of the Campfire when you’re done!
Planks can be crafted from Unrefined Wood harvested from Furniture with an Axe. But they can also be found or ripped off by hand (at a great Energy expense!) By carrying 4 at all times, you will be able to repair up a Trap and a Crafting Bench, making a Refuge functional to catch and harvest food.
Aloe Juice is a replacement for water, and you don’t need many Aloe Creams even on the hardest difficulty. There is a play in which you craft a Cooked Mortar at the very start and pick up all the Aloe you see to have a constant water supply. You must repair a Crafting Bench to make it each time, but as you can have a separately stored, increasing water supply in your inventory! This can make gameplay more smooth by not having to fuss with Dirty Water and Water Filters.
It’s optional, as you can complete the game just fine without it, and it will add weight to your Inventory (rather than go from place to place and drink what’s there). The choice is up to you.
Aloe Juice is also used to make Herb Poultice, a sort of general bandage that works against sprains, sunburns, and bee stings.
3. Unimportant Loot
 This is the loot that you should shed from your Inventory to manage encumbrance. You can also shed or store excess important loot, see Important Loot for the rough amounts to carry.
Dropped loot stays on the ground for ~1m, then vanishes forever. They turn into separate bags for each drop, and the bags are affected by physics so that if you drop them on a slope they will roll.
- Plant Fiber and Rocks are everywhere, so don’t carry a single one.
- Fuel that isn’t Oil can be burned or dropped.
- Food can be eaten or dropped. Caution: read the description and check the Meters! Don’t eat food that removes Hydration or Energy! Cooked Rat, Cooked Viscacha, and raw Cactus Fruit give hydration and can be kept to eat later.
- You can also drop all flowers, Chucho, Animal Fat if you have Glue, and Saltpeter if you’re not completing the game.
4. Resource respawn times for traveling and staying
 Disclaimer: These are not measured in any Scientific way, and some statements may become inaccurate or false as the developers balance Arid. See Stay or go to not have to rely on balancing.
It is posted in the hope that a rough outline is better than nothing, and gives some help in deciding whether to stay or to travel.
As in all Survival games, whether you can stay or have to go is up to current health and needs, compared to available nearby resources. Some areas don’t have food and water items (see Survival Loot), and if that is the case it’s best to leave before running out of the food and water you have.
I was about to write that it never respawns, because that is mostly true. But I found out by not completing the game and going back to the beginning that, to my surprise, containers were no longer empty! So, 25 days or less.
Whether this respawn is a bug or not, I don’t know. I certainly took all from all containers at the start. Suffice to say that you should not rely on Container loot for survival, as it will be more days than you can survive on from your Inventory, unless you’re super encumbered all the time.
Found in barrels or vases: 3 days on the easiest mode, on the hardest mode, maybe never. I’ve not been able to stay for long enough. There seems to be a bug where if you reload a save, clean water sources are as you found them when coming there… it’s up to you whether you abuse it or not.
12-24h, on all modes. Probably Aloe has the same timer.
As for the rest of the loot, it’s either plentiful, craftable, or not necessary for survival. Or all three. 🙂
5. Navigation
 In Arid, there’s no map or any way to map or mark a location or direction, e.g. dropping an item. You will navigate by sight (and by available footpaths, since you can’t goat up slopes).
In story mode, you are guided by your objective in the top left and a white marker on your screen. If you intend staying in the world to play for survival, you can still use these objective to find loot more easily. At the time of writing, if you have completed the game, in a new run objectives and therefore markers are no longer available.
These mark the locations of a ruin where you can find Stations and loot. If you’re lost and see a blue flag, definitely go there if you haven’t.
There are normal birds, 1 airplane, and then there’s the circling birds. These point out high-grade loot locations that are well worth a visit. Look for these to find important loot.
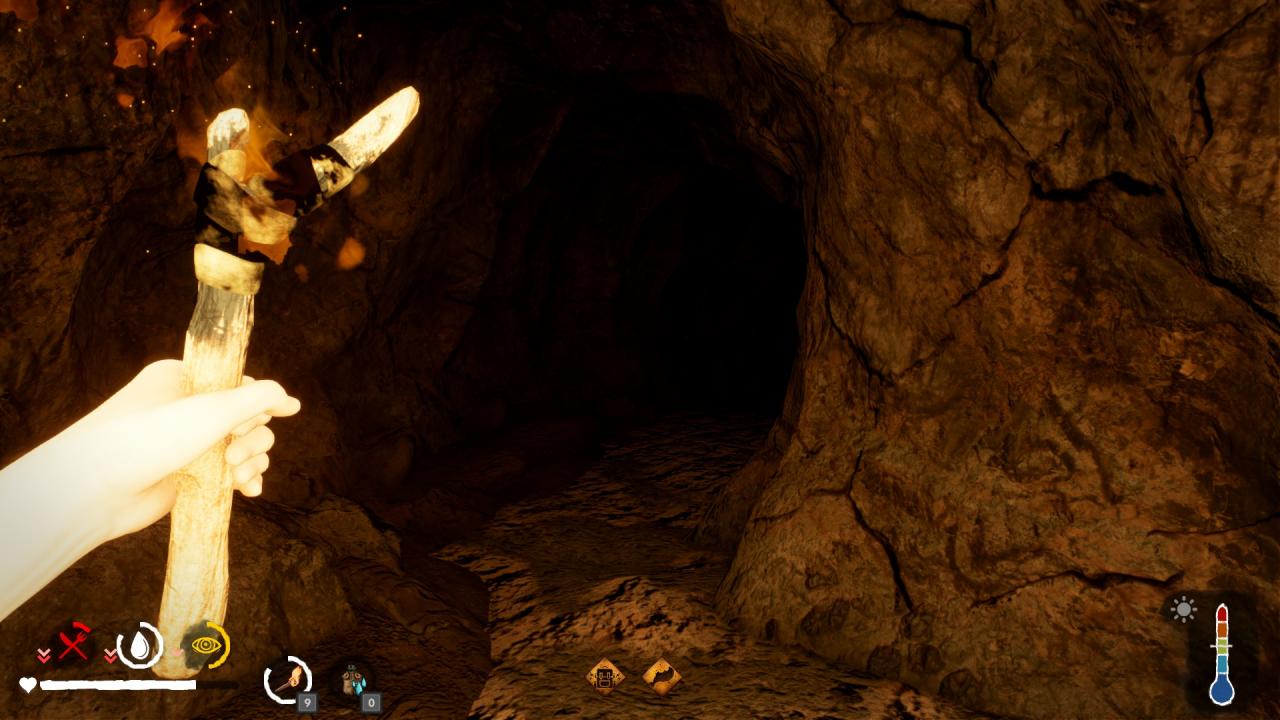
A good rule is to imagine that you put a hand on a wall, and if it’s your left hand, keep this hand on that wall at all times. Even if you get to a dead end or a fork, continue doing so and you are guaranteed 1) to get to an exit and 2) getting to an exit having explored all of the “outline” of the cave.
If there are forks (intersections) in the cave there may be interiors worth exploring.
Rather early on, open desert areas are Forbidden Zones where your health will be drained rapidly until you are dead.
Late game, there is an exception, where you can go out a bit. The difference this time is that you can see Containers and/or ruins. Perhaps the game will follow this pattern and keep truly deadly areas completely barren, so look for the “worth it” factor before exploring.
6. Obstacles and Endgame (spoiler warning)
 This section contains spoilers and so warns the intrepid explorer of obstacles that can cause him to get set back, even be forced to backtrack, if he’s not prepared for them. Backtracking normally hurts a survival run, and so it will help to know of upcoming obstacles.
If you want the intended (and normally better) game experience, don’t partake in these spoilers and let the game challenge you.
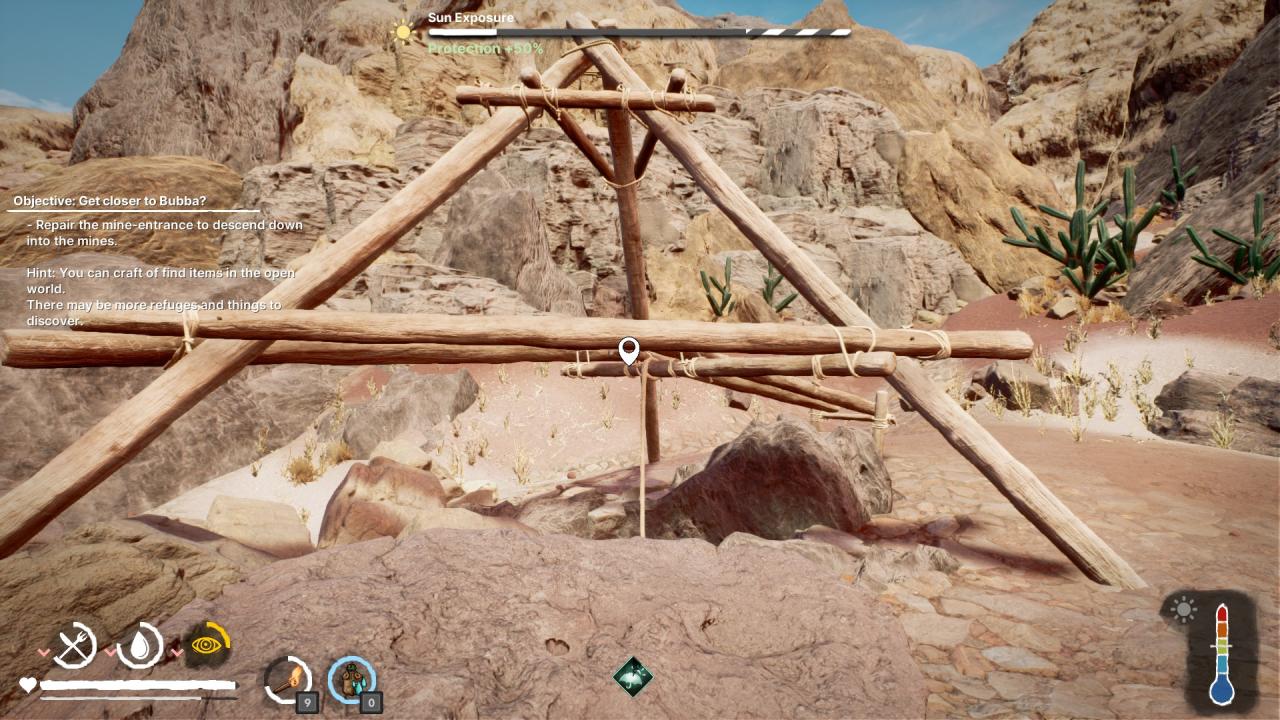
As you come out of the plane crash cave, no sooner than you’ve attached one rope and climbed down it, you’re faced with another descent.
Tiger exclaims that she’d rather “find another way”, but I’ve explored a fair bit and there doesn’t seem to be one.
To repair the rig, you need the items indicated and of these, the Hooks and Bolts are the hardest to come by. To find them all, especially the Hooks, you must explore all the nearby locations marked with blue flags. One Hook is on the other side of a nearby mine around the corner that can be hard to spot.
You must carry a Pickaxe before descending!
The monster is the obstacle. Observe its movement pattern, and when it’s going away, go where it’s not going. The monster seems able to teleport, so you will likely get another encounter just before the Boulder that you must harvest. As long as you’re fairly healthy, you can tank its attacks. Then crouch and get through.
This is two days of Energy and requires at least two Pickaxes. Unless you brought plenty of Coffee, Alcohol, or Honey, this means you have to set up camp in the house just before the canyon. There’s a Water Filter and Dirty Water source nearby, and you have a Trap and a Campfire.
You may have to go back to the Mining Town for more supplies or to find or craft another Pickaxe. The Barn has a corpse with a Pickaxe in its skull.
At night, monsters come out and may block access to the only Campfire. They do not go above ground, so make sure you arrive to the factory well before nightfall each day and if you’ve repaired the stairs, you’re safe to craft and sleep upstairs. You can cook on the Campfire in the daytime. It may be that the monsters disappear in the last half of the night (not verified with certainty).
The other obstacle here is for the story. If you want that, you must craft the Flare Gun. The Flare Gun currently has no other use. For this, you need Sulphur to make Explosive Compound. Look for circling birds (see Navigation) to find it.
Resist logical temptation to go to Bubba’s plane hovering nearby.
Beyond the factory is the ending and a way to come full circle. The waterfall is a source of infinite water, so making a base nearby may be the best location in the game for that reason. You’ve made it! (If you have a Trap, Crafting Bench, and Campfire.)
To get into the cave you must break a Boulder, so you need a Pickaxe with 1 use left.
To return to your plane crash, climb down a rope near the ending location to find a ready-made Strong Rope and Hook that you can attach to another rope stone nearby.
Thanks to Gun Tech for his great guide, all credit to his effort. you can also read the original guide from Steam Community. enjoy the game.
I read that if you go across some line in the mineshaft it will reset the beginning of the game. Maybe that’s why the containers had items again.