This is a Simple, but detailed guide on the Role Library for new players.
Role Library Introduction
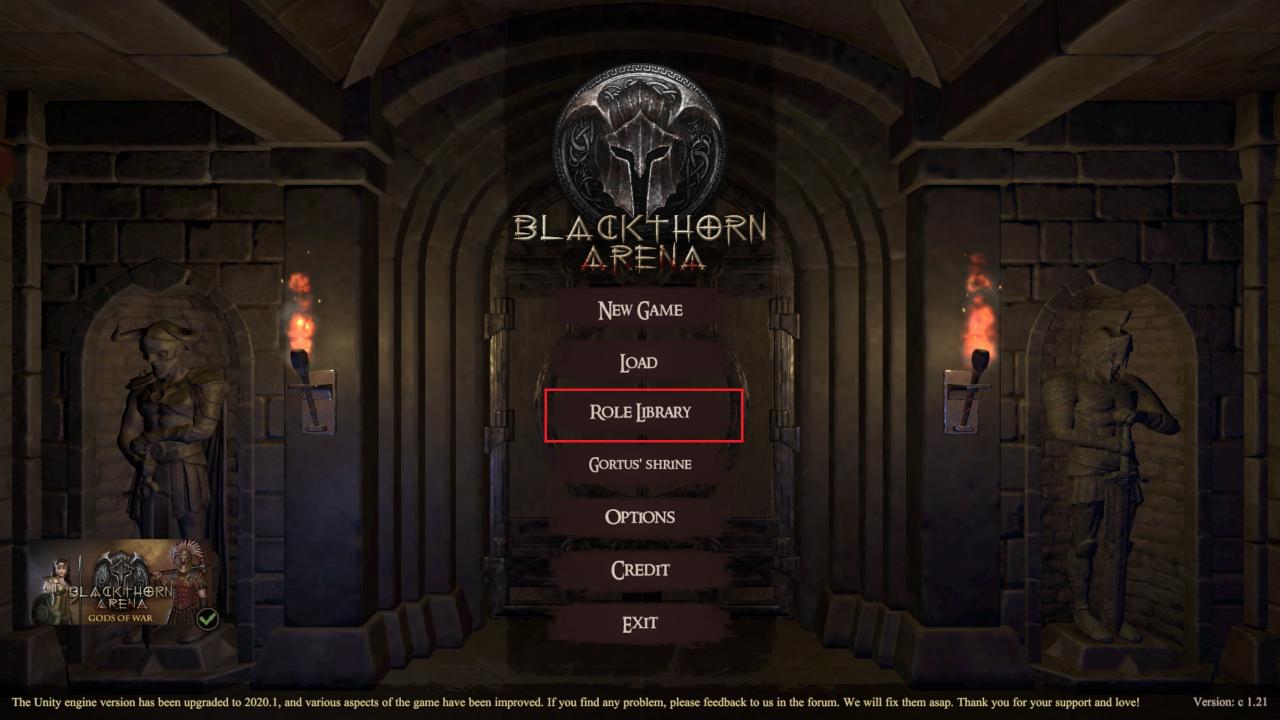
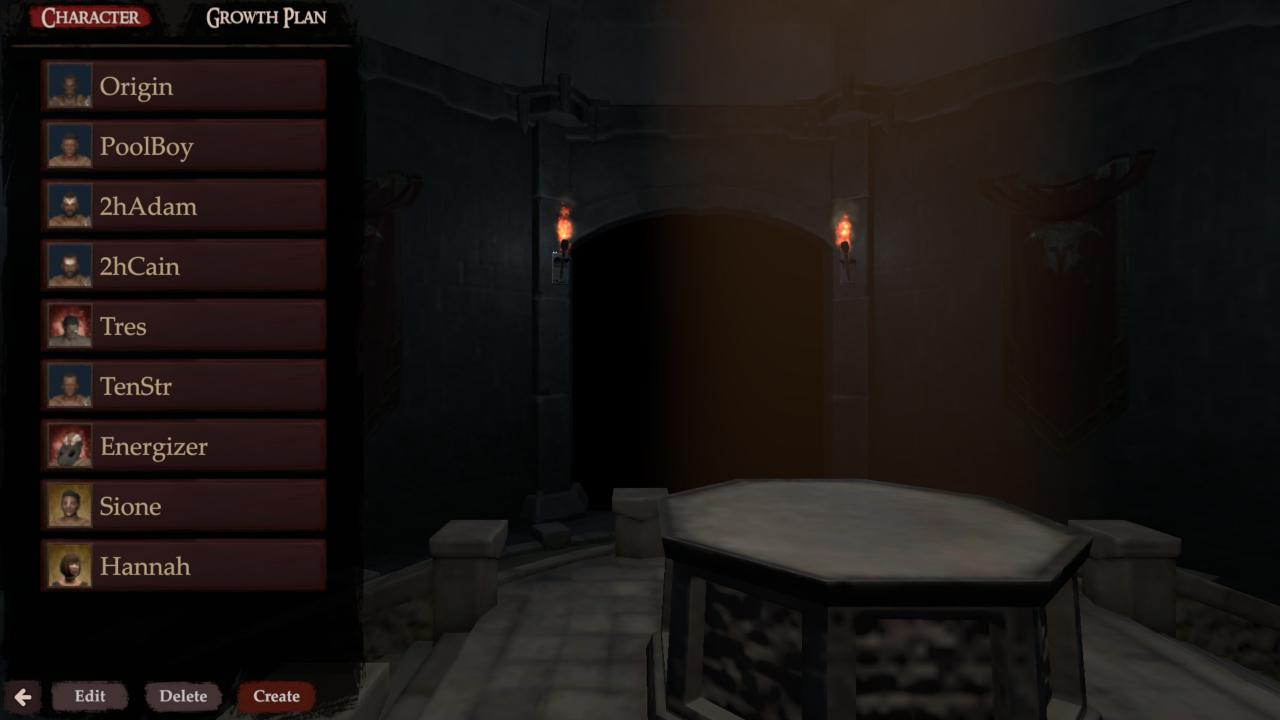
It is a very useful function in creating starting slaves/gladiators that serve as the back bone of your team. Here you can create, and alter slaves/gladiators to meet your own desired look, starting classes, and stats. Also within the Role Library you can create Growth Plans which can be applied to slaves/gladiators, and will apply Attribute points and Skill Points according to your designation within the Growth Plan. That will be explained in greater detail further into the guide. Below is what you should see when you click the Role Library button in the main menu. When you click it the first time, or haven’t yet created a slave, then it will be empty unlike the picture.
Creating your first Slave/Gladiator
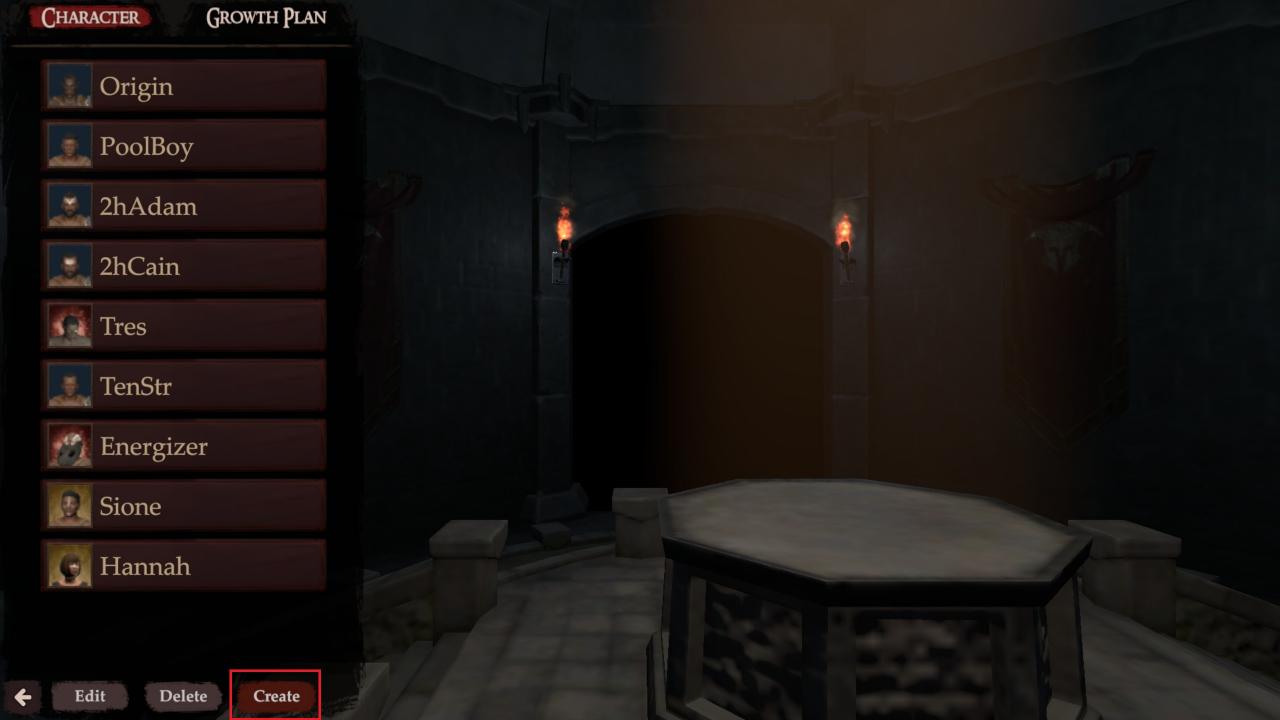
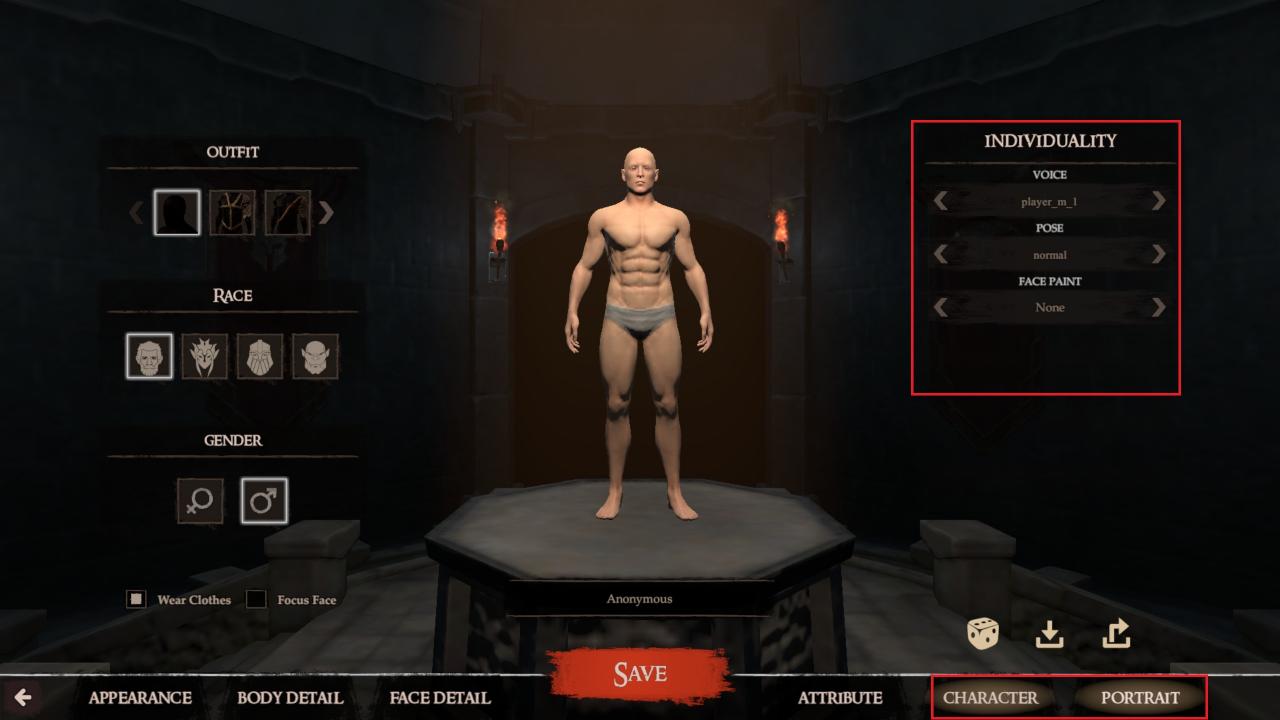
When you click on the create button the game should take you to the beginning of the creation process, which is shown in the picture below.
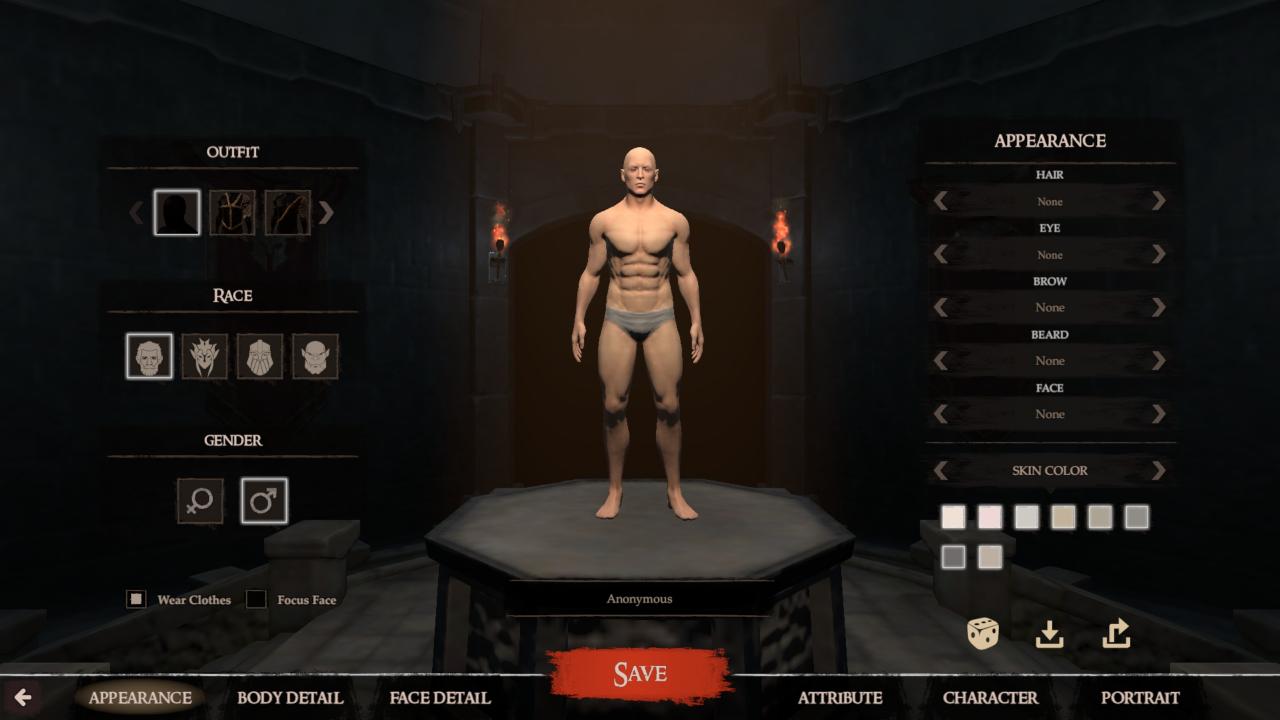
Here you will take notice of a few important things such as Outfit, Race, Gender, and Appearance. We will first start with the Outfit section of the above picture. Here you will be able to see your slave/gladiator in a few different outfits. Putting on a certain outfit does not apply that class of armor on your slave when you start the game. The game will randomly choose what armor you get depending on difficulty and settings you make.
Next is Race. Race is the first important decision you make in regard to your slave’s/gladiator’s build because each Race has its own starting Trait that affects gameplay. I won’t go into detail about how each trait can affect your build because there are guides dedicated to that specific thing, instead I’ll just give a rundown on what each trait does for each race. Listing first the race name, then the trait they have, and ending with the description of the trait, or what it does.
1) Humans – Trait: Quick Learner – Description: Gain 1 extra skill point every 5 levels
2) Bruteman – Trait: Unchained Beast – Description: Melee Damage increased by 20% while health is under 30% of its total value
3) Elf – Trait: Lithe – Description: Movement Speed increased by 15%
4) Dwarf – Trait: Son of Stone – Description: Health Restoration increased by 1 when health under 30%. Reduce all load bearing penalty by 25%.
After choosing your race we can now move on to the next two aspects of the above picture, Gender, and Appearance. Here you will be able to change the gender of your slave/gladiator, and their appearance. The appearance section allows for choice of hair, eye, brow, beard, face, skin color, and if you cycle through the options where the skin color is, done so by pressing the arrows next to skin color you will also get the options to change hair color, eye color, and paint color. The paint color is for face paint available deeper into the character creation.
After you are finished with the initial creation of your character you may notice that there is an option for Body Details, as shown by the picture below. These are body sliders. The body sliders allow for different body proportions and allow you to create even more unique slaves/gladiators. The Face Detail section has sliders as well, but specifically for facial attributes. Such as ears size, mouth size, and so on.
When finished with detailing and creating the look of your slave/gladiator we can move on to the combat attributes you want to prioritize for your slaves/gladiators. We can begin that by clicking on the Attribute button to the right of the big red save button. The picture bellow will box it, along with the attribute section itself.
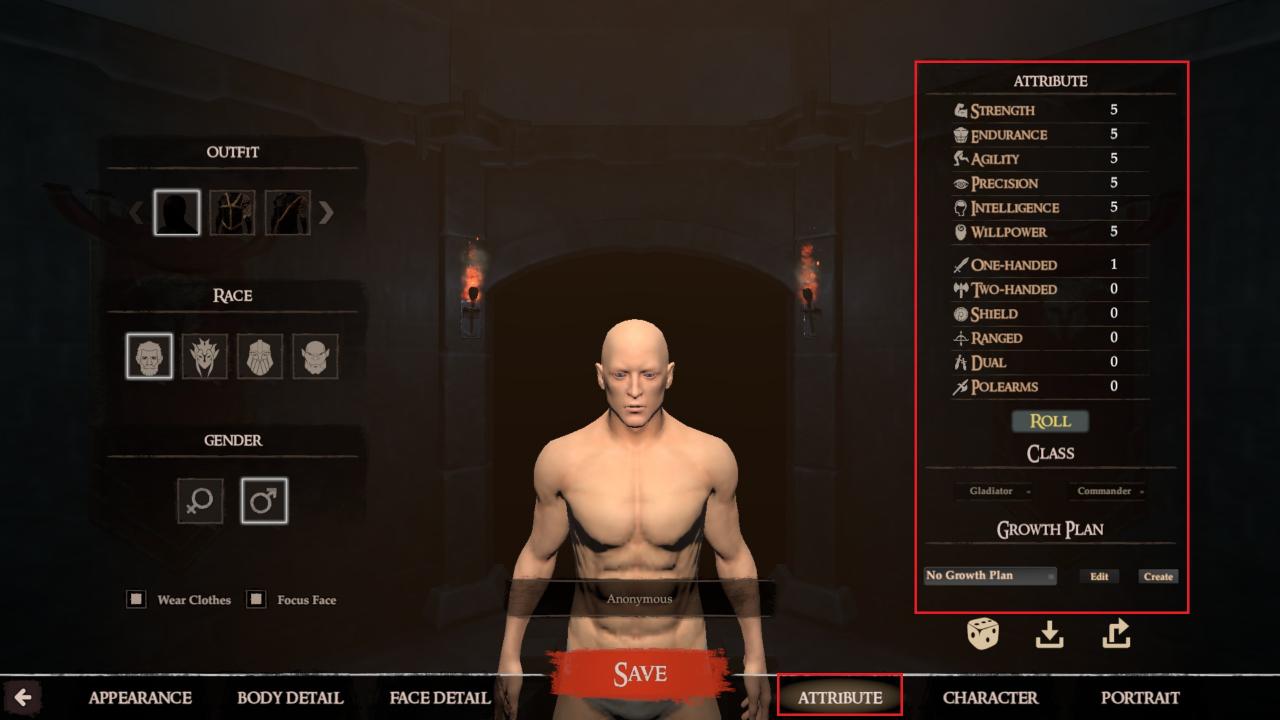
Here we will be able to adjust our slaves/gladiators combat focus. If you mouse over the attributes a little description box will appear that will tell you what each attribute does. Use that to begin to visualize what you want your slaves/gladiators to be good at. After you’ve figured what you want to do with each gladiator use the Roll button to randomize the attributes until they fall close to what you want. In Blackthorn Arena you can’t place attribute points where you want like a regular Rpg, but instead as mentioned above you Roll for the stats you want, and keep Rolling until you get it, or something close.
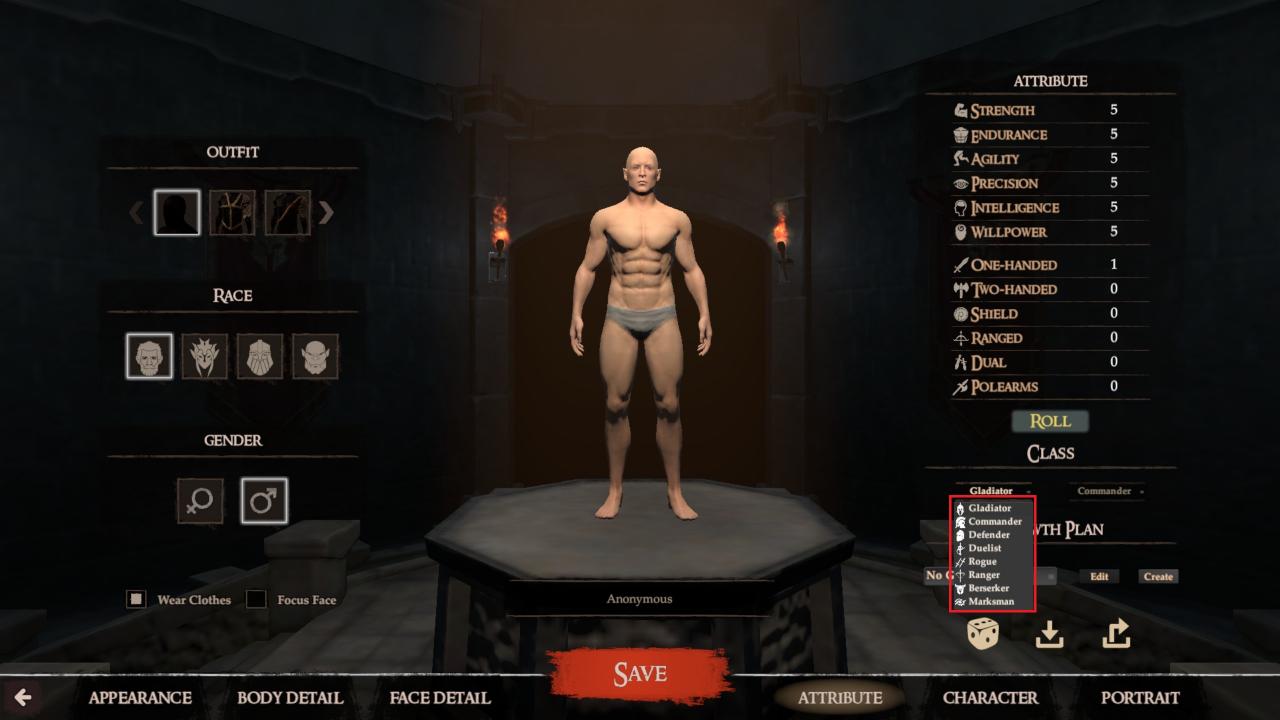
Another important decision to be made about your slaves/gladiators in this Attribute section is the Classes you want them to have. Each slave/gladiator in the game is entitled to 2 begging classes. These Classes are Gladiator, Commander, Marksman, Ranger, Duelist, Rouge, Defender, and Berserker. The selection is also shown in the below picture. What you choose is up to you and the build you are working with.
Right beneath the Class section of the Attributes section is Growth plan. In this section you will be able to apply growth plans that you have made. Further details about Growth Plans will be in the Growth Plan section of the Guide.
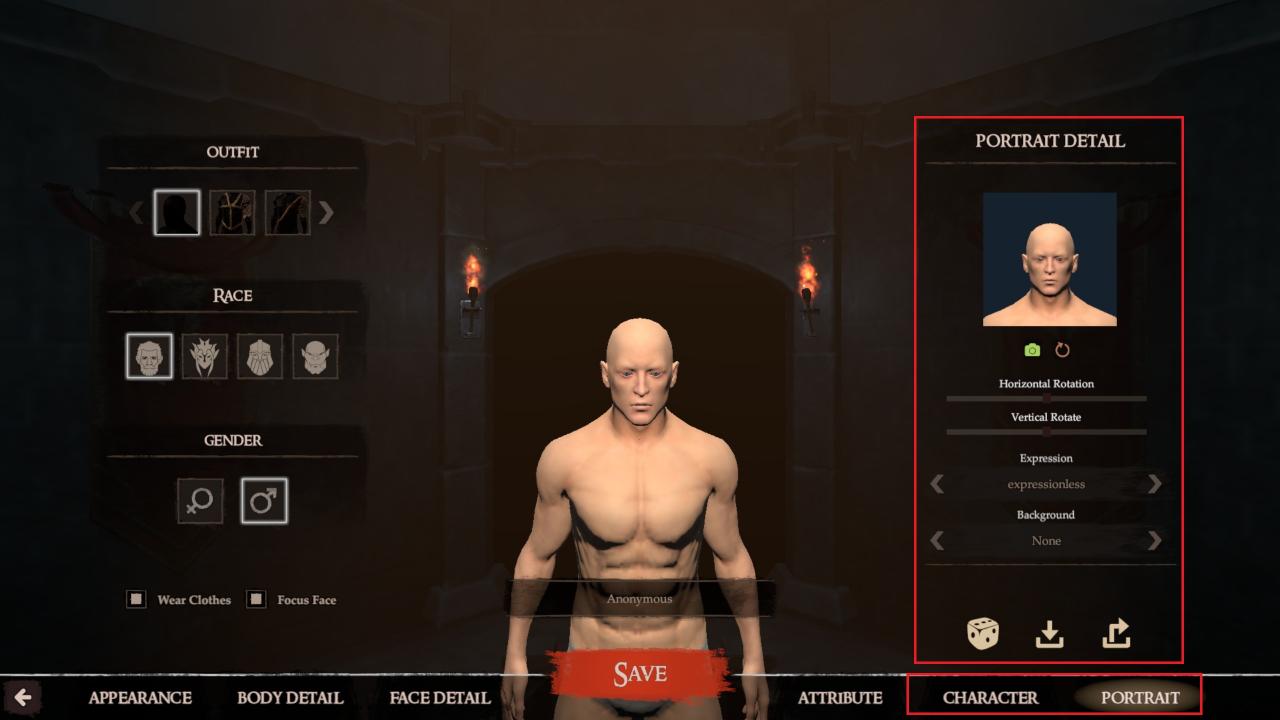
The Last two section of the character creation is Character, which includes customization for voice pose and face paint, and Portrait, which includes customization for the portrait you see in game for your slave/gladiator. Both are represented visually below.
That concludes each of the aspects of the character creation portion of the Role Library. If you have more questions on the subject you can leave a comment and I will do my best to answer. Don’t be shy to ask a dumb question, I wrote this guide because the Role Library kinda stumped me when I first started playing the game, and I have no idea why. I would use the random npc’s that they gave me in the beginning of the game and kept restarting until I got the right ones. I finally went back and just figured it out so I get not understanding something that seems simple. I hope this guide helped with any question in regards to Character Creation within the Role Library.
Growth Plan Basics
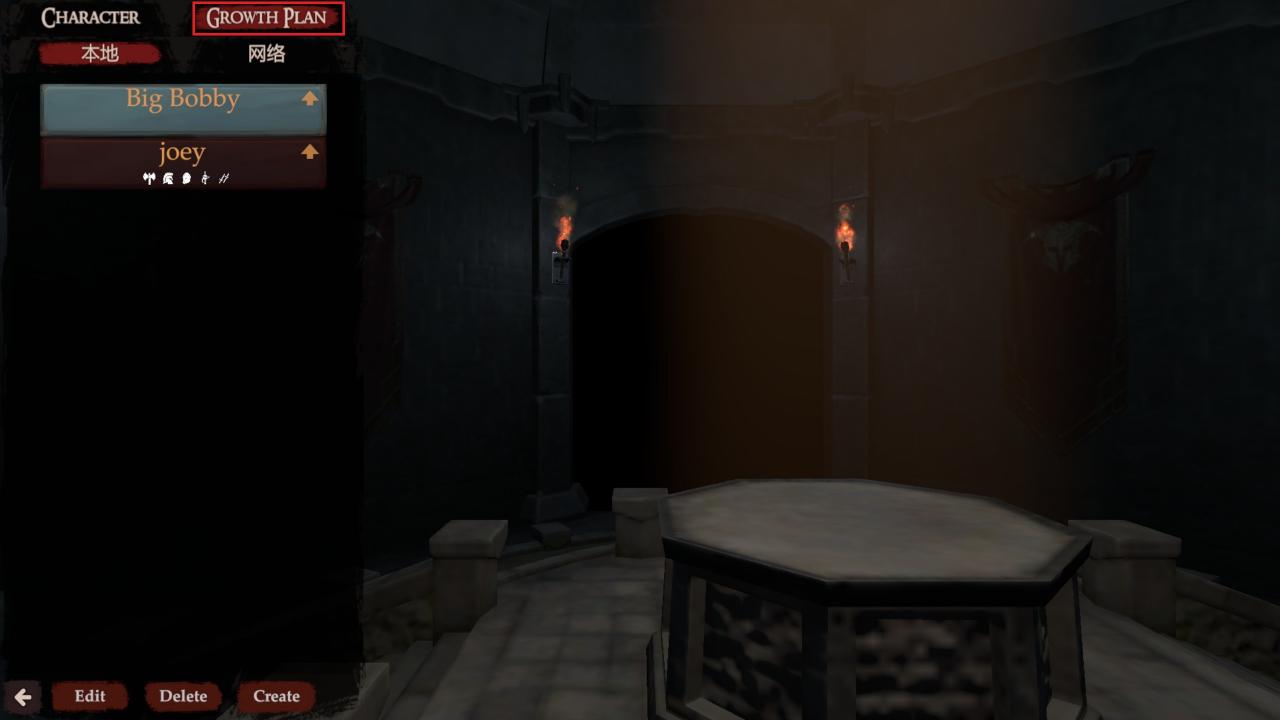
Growth Plans are a system given to the player that allows us to apply automatic progression to slaves/gladiators which frees us from allocating skill points and attribute points ourselves. Simply it is a plan we create that puts attribute points and skill points where we want them to go automatically according to what we put in the plan. We start this process off by clicking the Growth Plan button in the top left within the Role Library. As shown in the picture below.
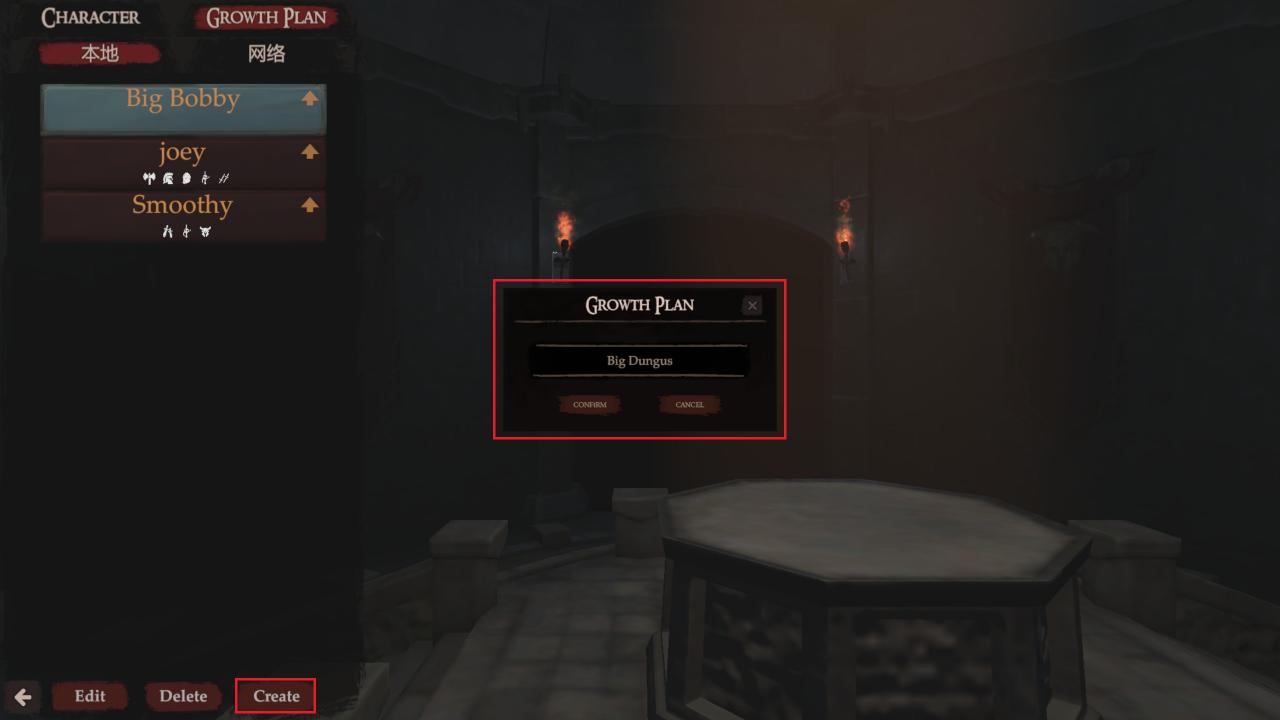
After we have entered the growth plan section of the role library we click the create button to start the creation of your new growth plan. When doing so a prompt will pop up which will give you a spot to name your new growth plan. You can name this whatever you want, it doesn’t have an affect on the growth plan.
After you confirm the name the Growth Plan window will appear looking like the bellow picture.
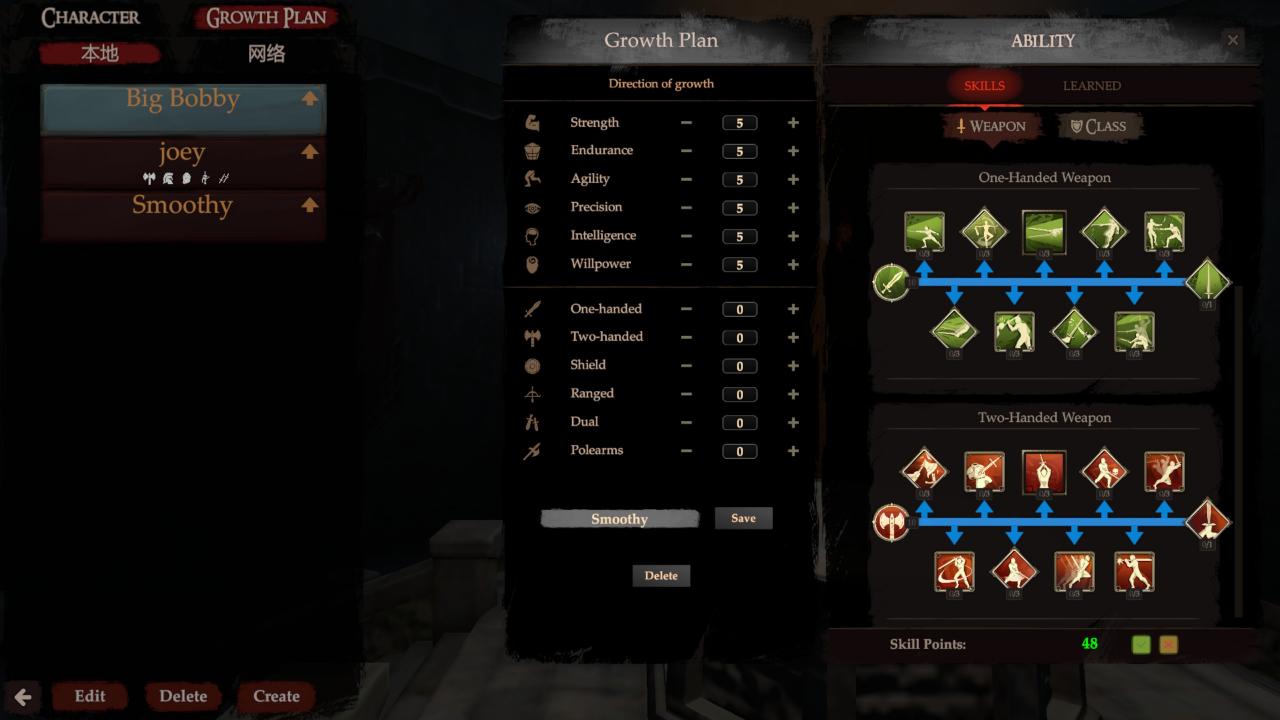
When you get to this point some general important things to note are the skill points in the bottom right, the classes that you can put those points into, and the attributes on the left of the classes. The skill points on the bottom right indicate the amount you can spend on the skills you want the Growth Plan to cover, whether weapon skills, or class skills. The attribute tree on the left of the class/weapon skills lets you set the level you want a specific attribute to eventually reach. Thats pretty much it for the introduction to the growth plan. I might improve upon this section later, but for now it’ll do for the purpose of introduction. Hope it helps!!