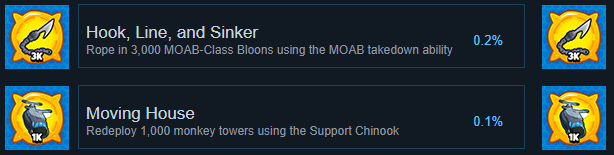
At the moment that I got both of these, the completion rate for these achievements was incredibly low, and for Moving House it was actually at the bottom of the list. Here I’m sharing the strat I used to get it with relative ease, it only takes time to execute and nothing more
Introduction
I’ve made a YouTube video detailing pretty much what I’ll write here, if you want you can also watch it, or read the detailed guide. The video will be linked in the section near the end.
 I will explain the steps I took when doing this originally, showcased in Sandbox (technically a custom challenge but you get the drill), you just have to follow the steps to replicate it, you’re free to change some stuff but I’ve laid the bare minimum to make it an easy thing.I suggest you read the guide first and then execute it, just to make sure you understand what you require on certain steps and before specific rounds.
Initial defenses and farming
Start with a Dart Monkey on this corner, he can handle most early rounds, then place Benjamin as soon as you can.

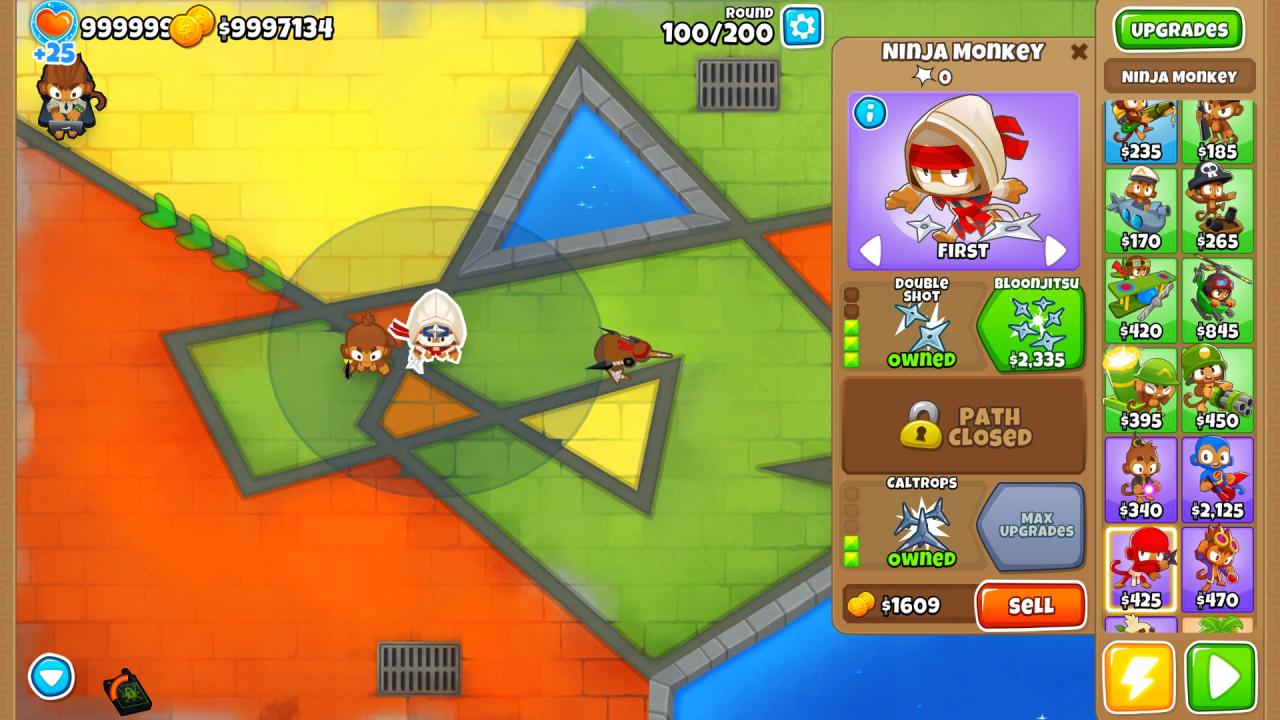
Next, place a Ninja in this corner, I usually upgrade him like this: 000 – 100 – 101 – 201 – 202 – 302.
This will be enough defense for a good while.
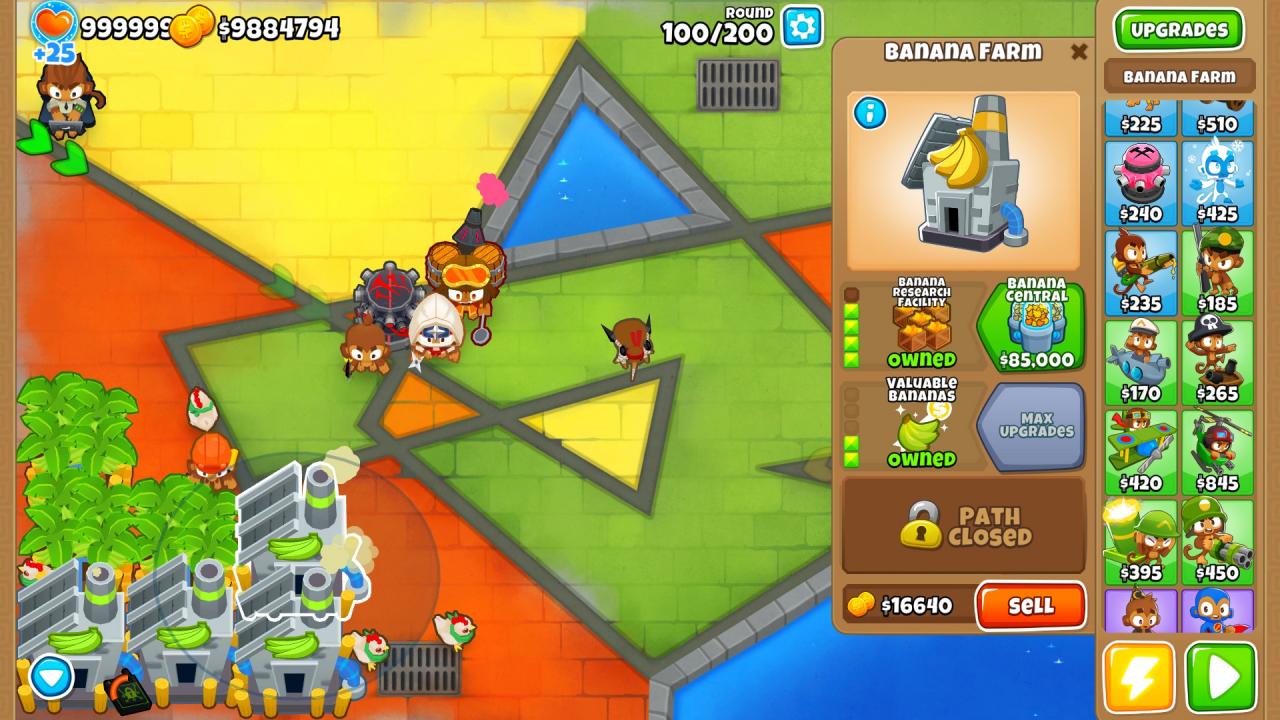
At this point start farming for money, I usually like to place a Banana Farm, get it to 200, then place more farms doing the same.
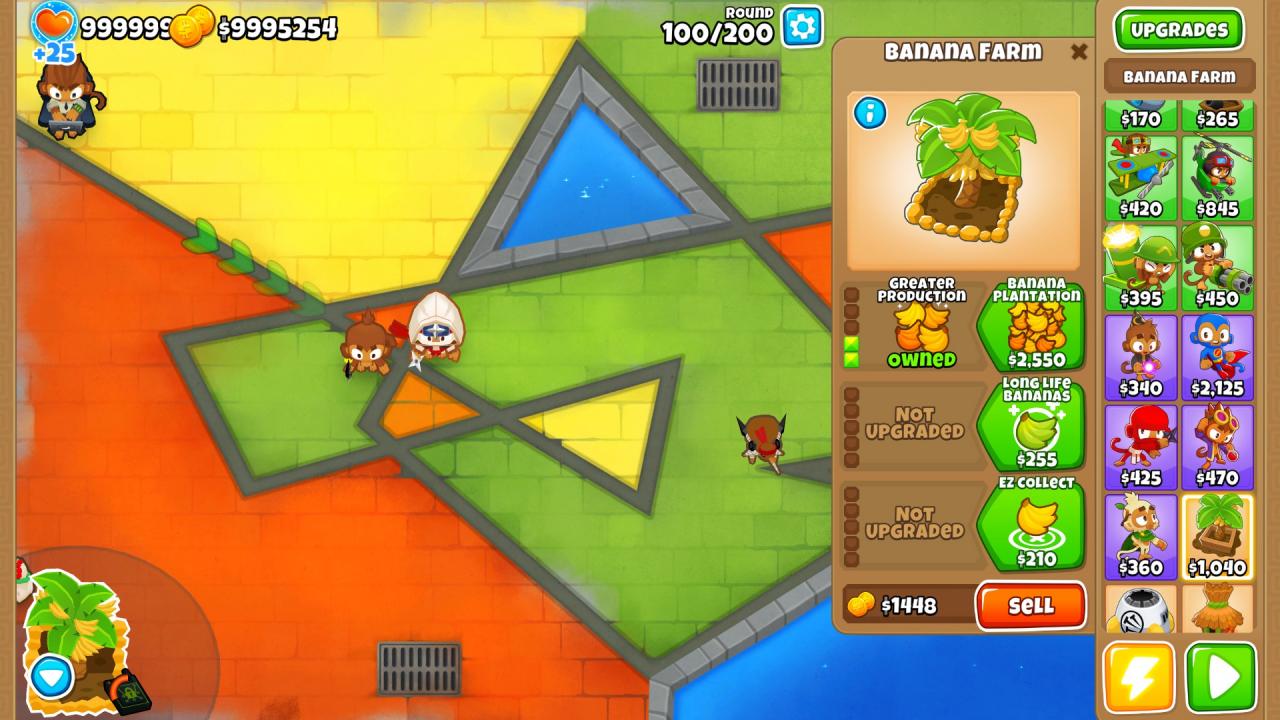 Because i was in a challenge I could not place a farmer, but imagine the engineer is a farmer in the next pic, the spot he is in is very optimal and can cover a lot of ground in this map, I think having around 6-7 farms should do you good for now. Get them all to 200 before placing the next.
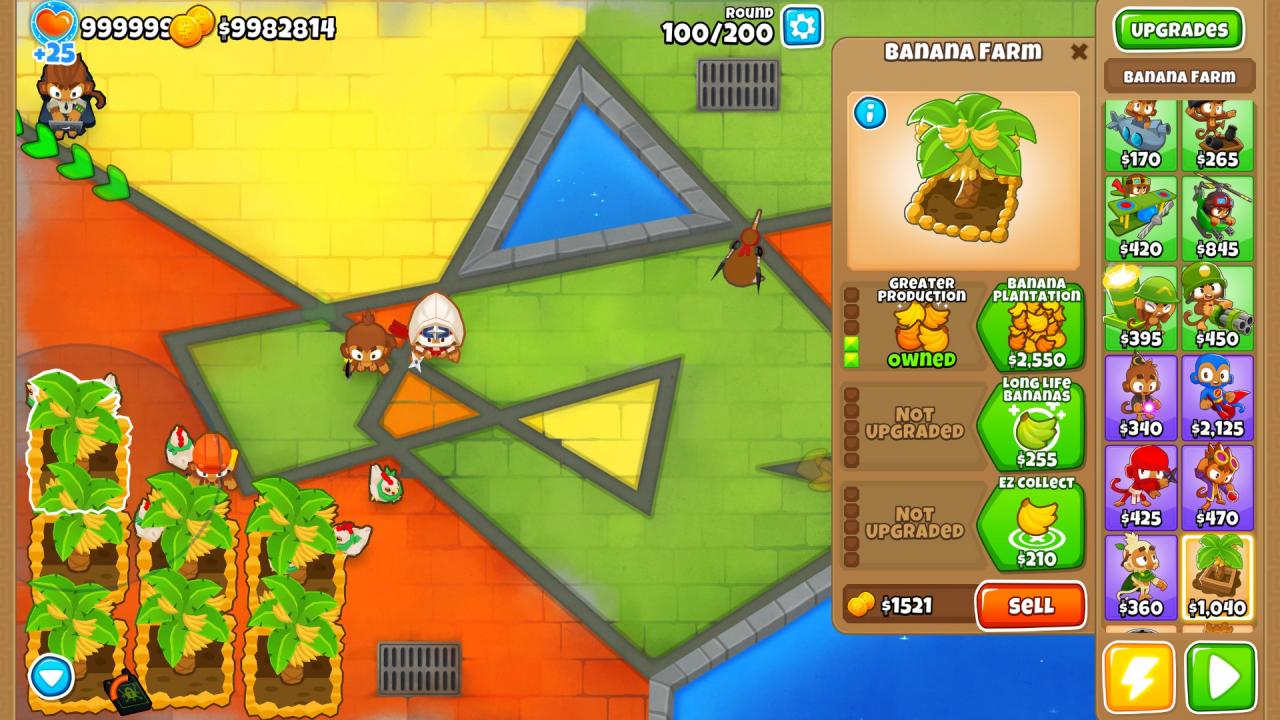 KEEP AN EYE OUT FOR THE ROUND YOU ARE IN, we are farming a bit greedy so make sure you place an Alchemist before round 28, he will take care of the Leads. Get him to 401 for the Ninja buffs. This can do everything up to round 40. If you wish you can also upgrade the Ninja to 402 at this point, just so he has an extra bit of DPS, even though its not needed at this stage.
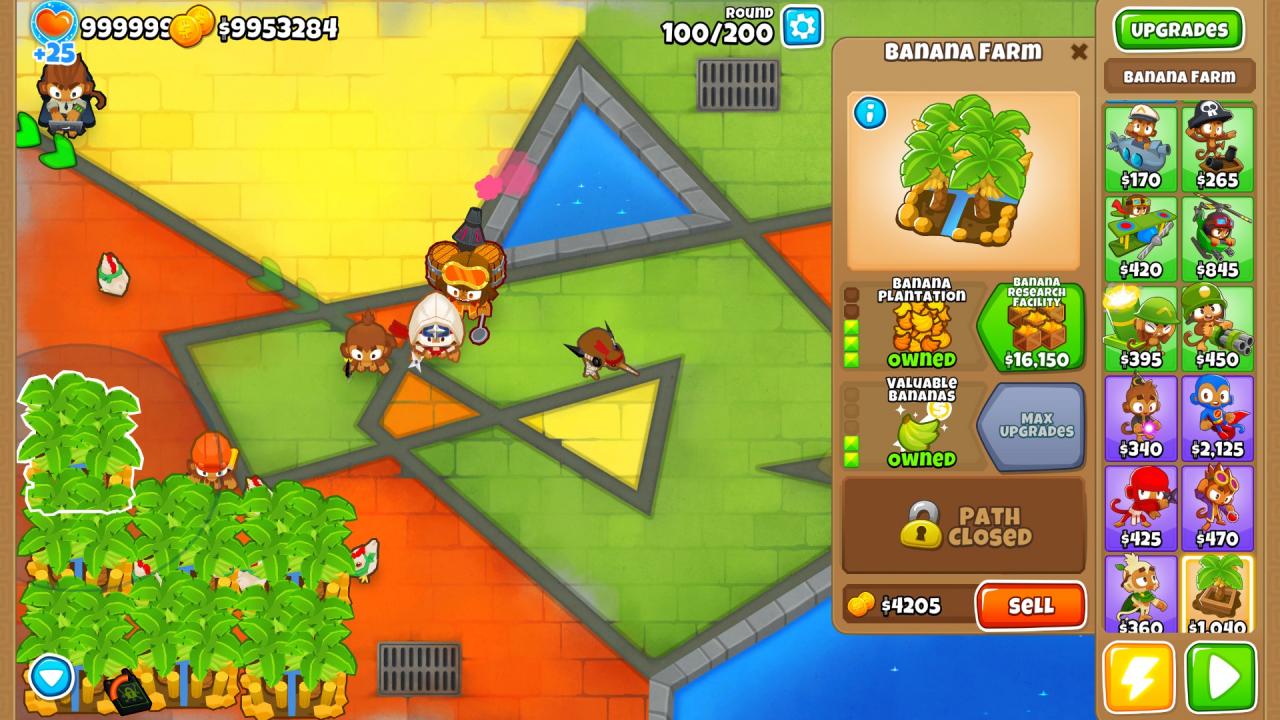
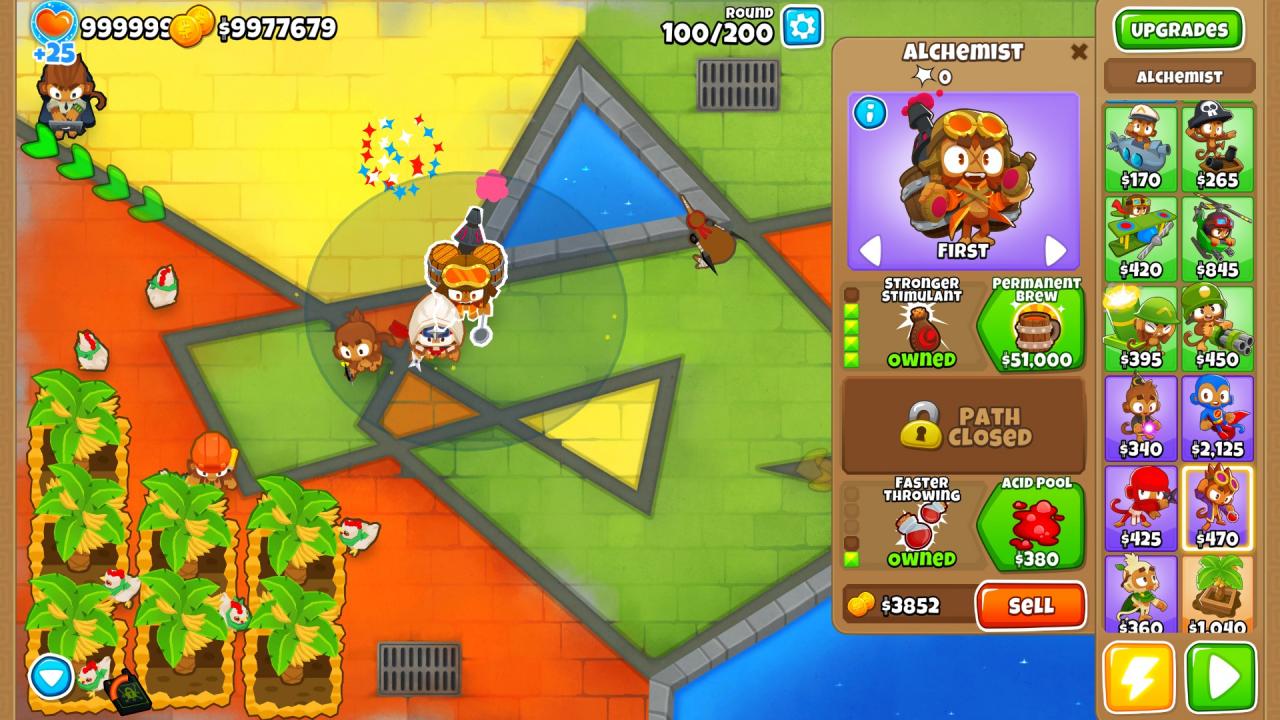 Next work towards upgrading your farms, do each one to 300 and then 320, then move onto the next.
In the middle of this consider to get a 204 tack for now, I got it before round 40 and it will help more with the mid 40s, which some send a big barrage.
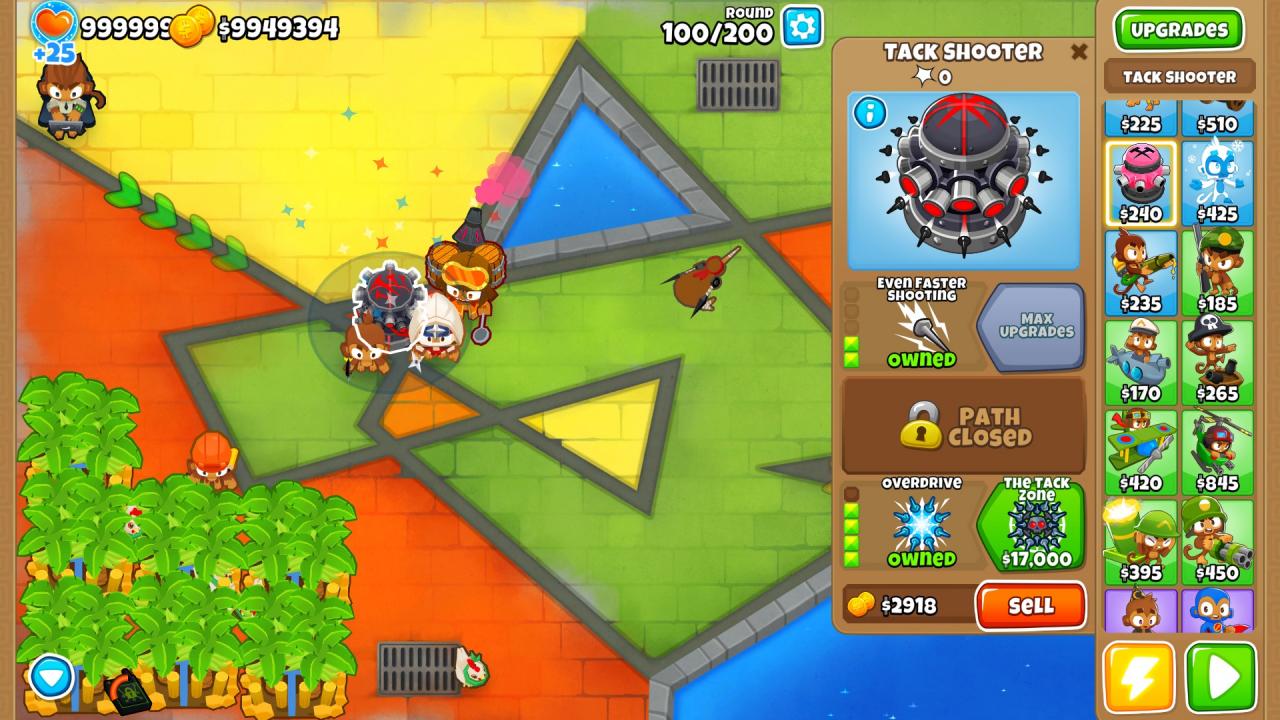
 Before round 59, get an MIB Monkey Village in the spot shown, its better to put it there so it wont interfere with the Sun God range later on. With this MIB your defense will be able to pop anything.
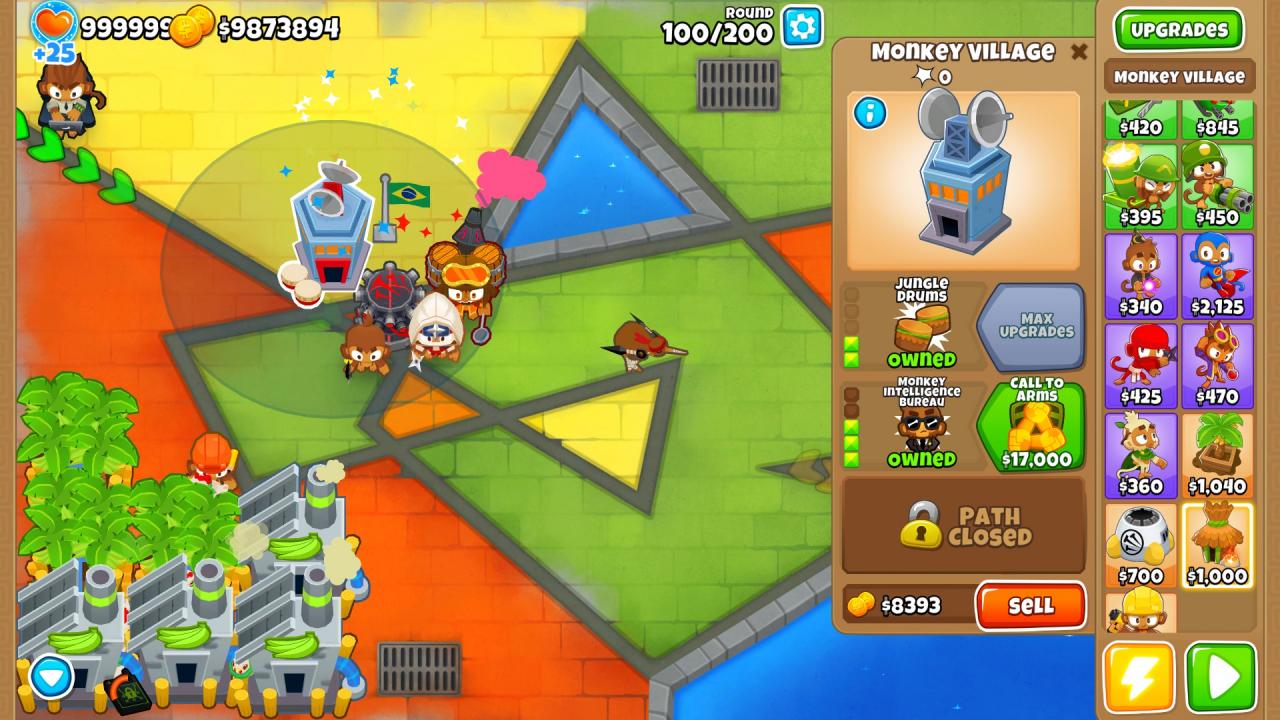 Finish up getting all your farms to 420 and eventually get one of them to 520. You can probably achieve it in the mid 60s.
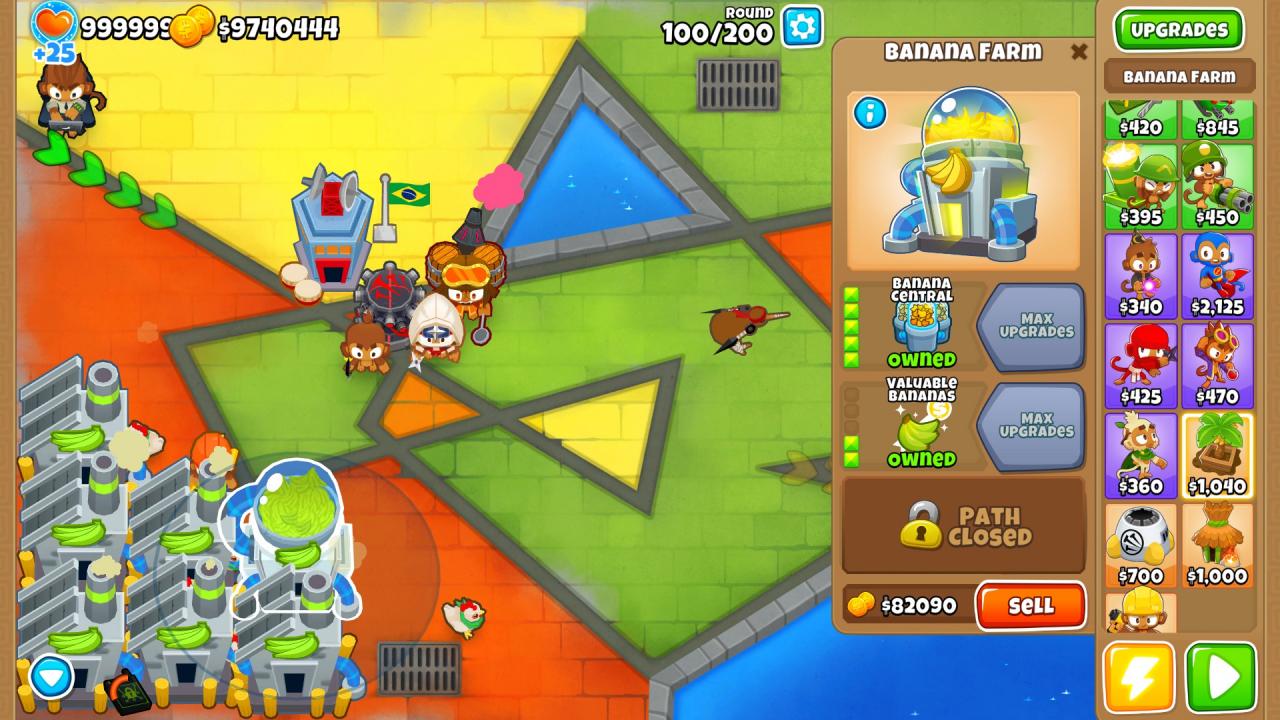 This frontline will still be decent but you’ll need a bigger power for whats to come.
Setting up the Vengeful Sun God
Start by placing a 040 ice monkey near the pool of water at the top.
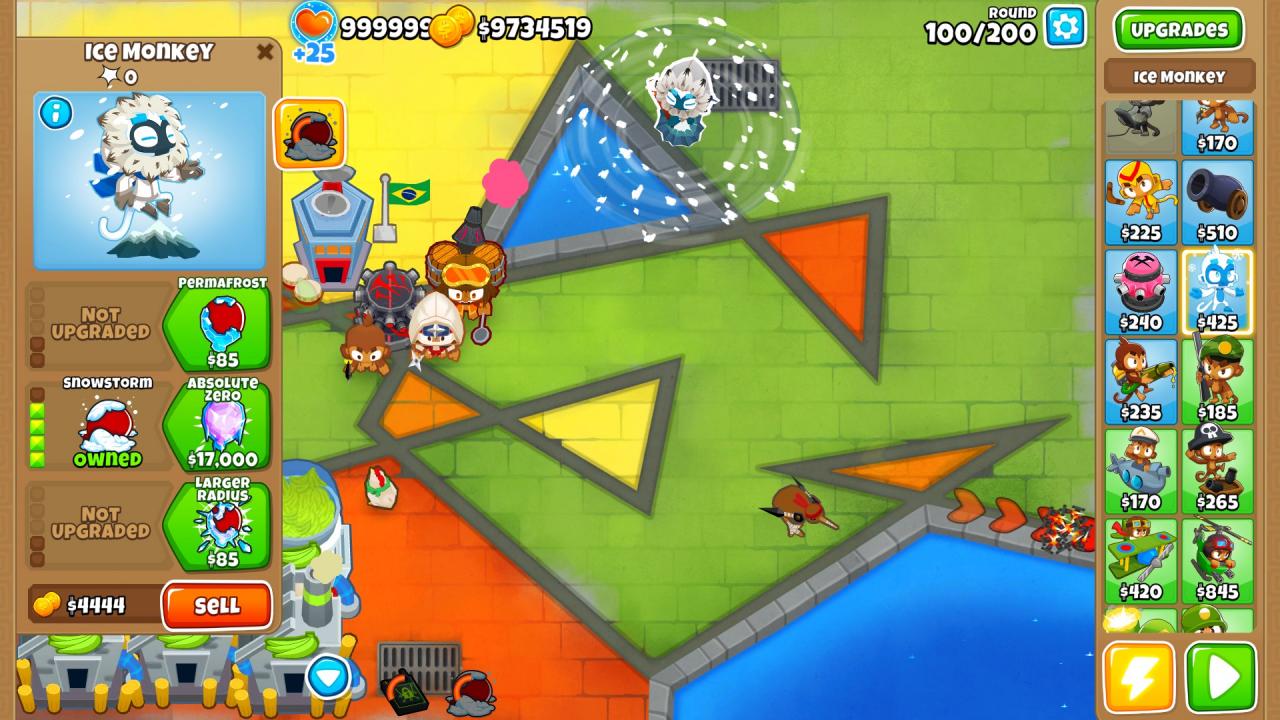 Next, place a Super Monkey on the frozen water, i try to place him at the top most part i can. Upgrade him to 300.
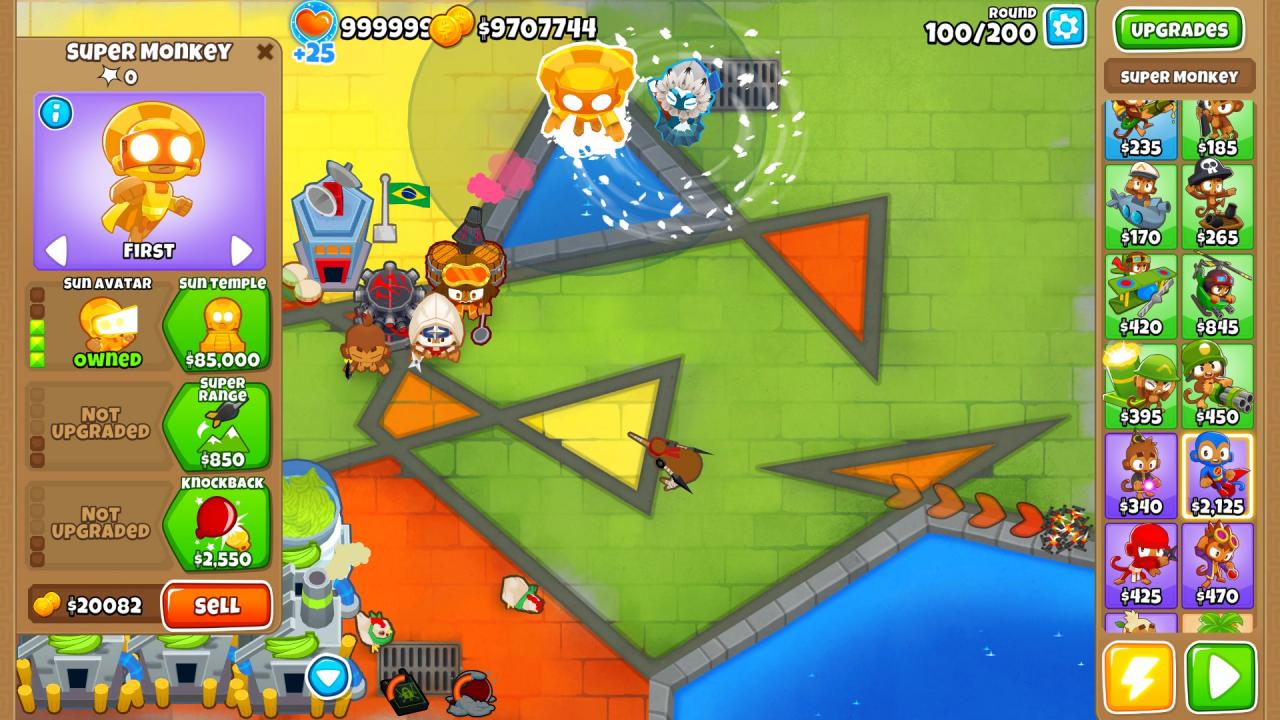 Next set up the sacrifices, I personally like to always go for a Permabrew Alchemist 500, a MAD Dartling 050, and a MOAB Domination Boomerang 005, even though the Ice Monkey is in range, his price is not enough. Here is why i advised to place the village where it was, so that it would not be in his range. Even at this difficulty the prices these towers are enough, just make sure he does not get a Support tower in the sacrifice. When ready, upgrade to a 400 Temple. Make sure to have like 20k spare cash before this.
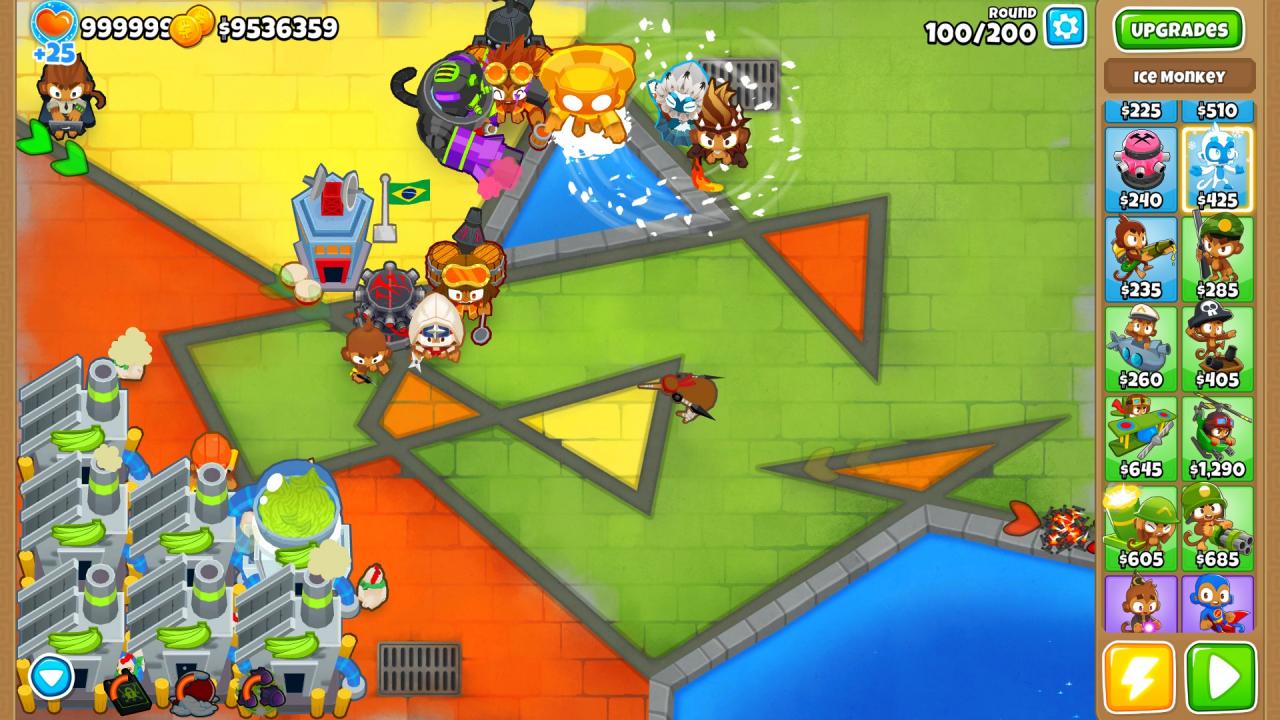 After upgrading the temple immediately give him camo detection with a 230 village. Eventually get it to a 250, as this will be enough for the Support sacrifice.
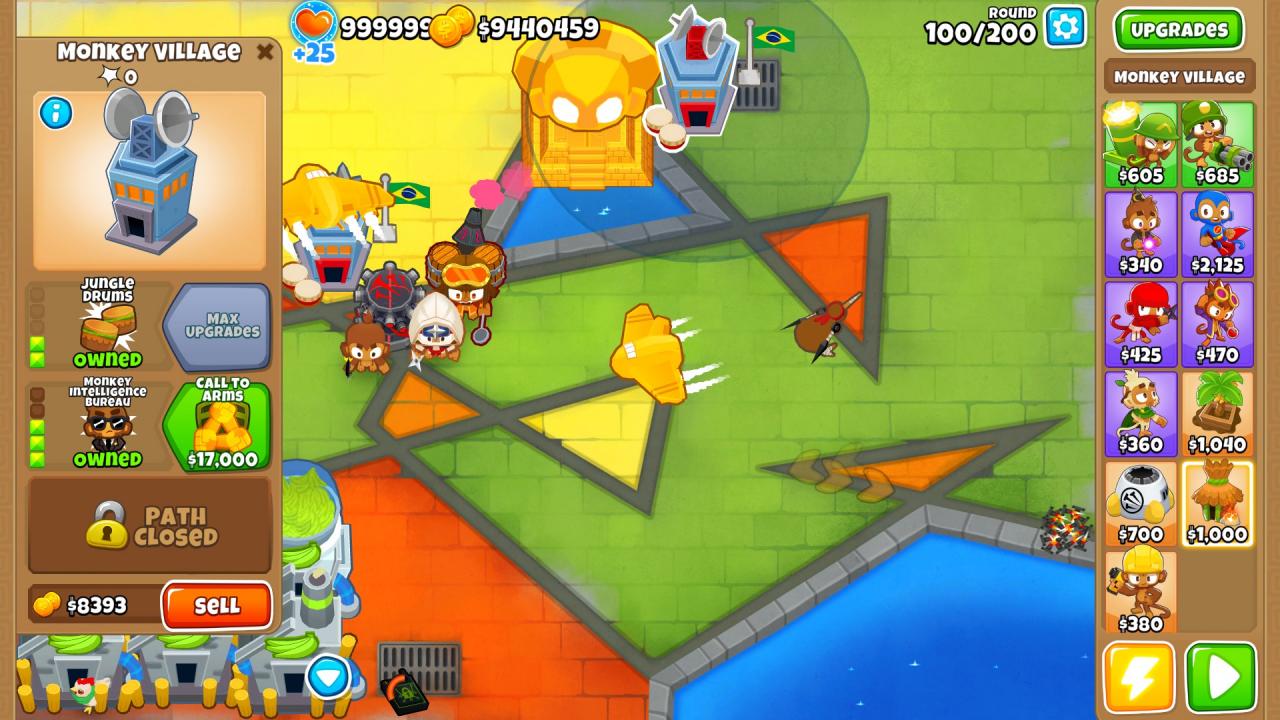 NOT SHOWN IN THE PICTURES BUT AT THIS POINT THE TEMPLE IS STRONG TO DEAL WITH UPCOMING ROUNDS. Because of this, If you want you can make more 420 Farms in the range of your existing farmer, and if you dont want to use more farmers, you can place a xx5 and a couple of xx4 farms, just to help with cash production. I do recommend getting a few more, with just the initial ones it will just take longer to buy what you need. Once again its not shown in the pictures but just get more farms.
You need to set up for the sacrifices again so, having the 250 Village, get again the same towers from before.
 Next get the 050 and 005 Super Monkeys, you can place them near the entrance so they help with the DPS. Just make sure they are outside of the Temple’s range
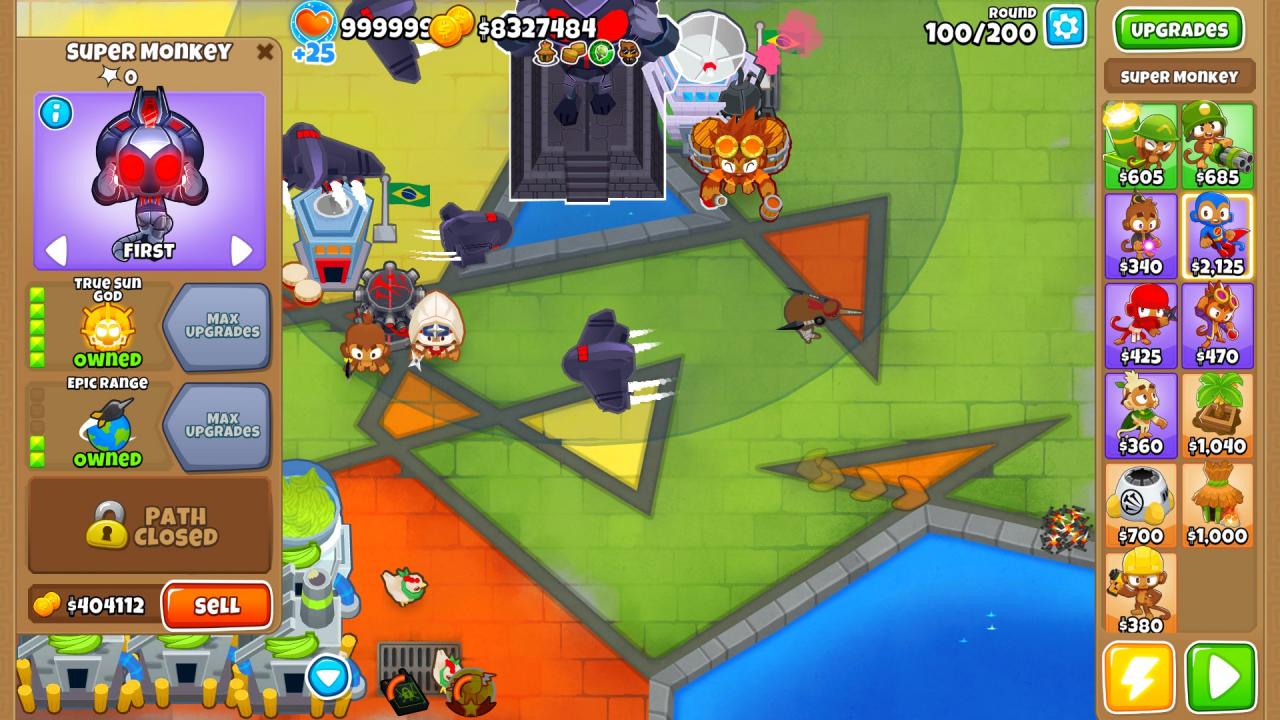
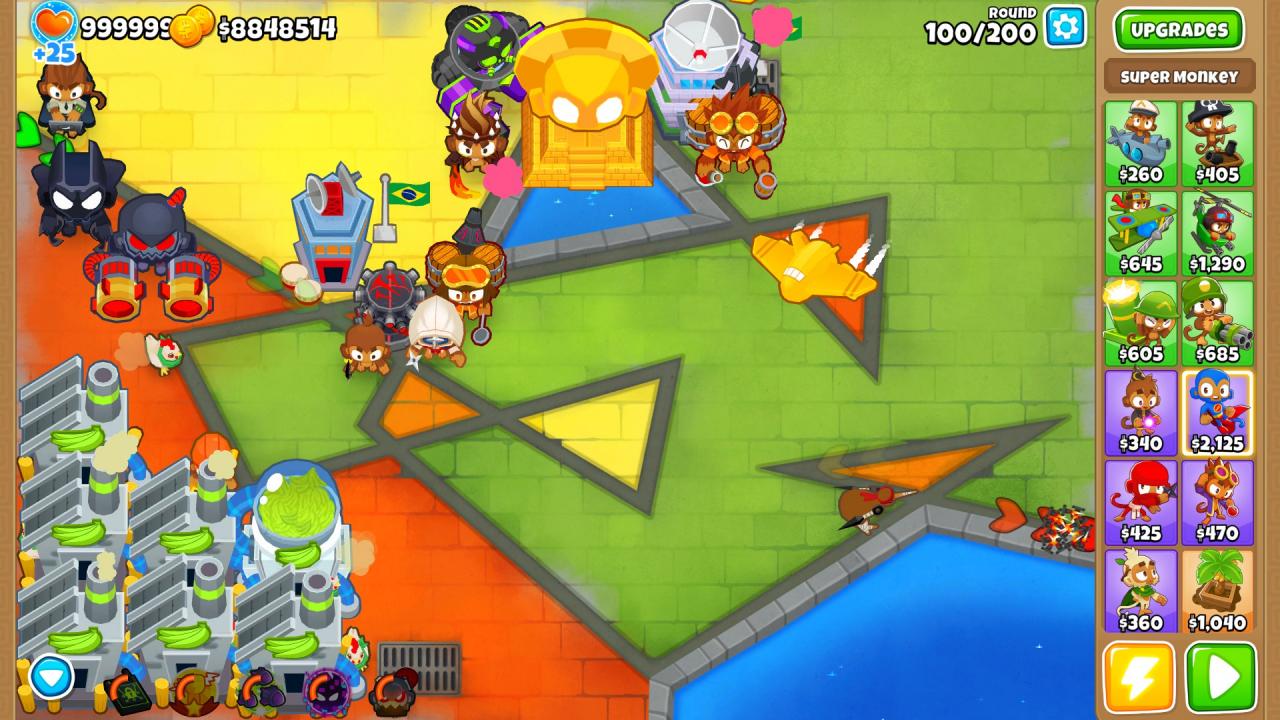 KEEP AN EYE ON THE CURRENT ROUND, you’ll likely spend a good while waiting for the necessary cash for the final upgrade, so rounds will go on. On Easy the upgrade costs 425k, I like to have around 500k before doing it, KEEP IN MIND HE HAS NO CAMO DETECTION SO YOU’LL NEED TO PLACE A VILLAGE ASAP. So just keep in mind the round, you don’t want DTDs to ruin your effort. On my attempt i got the upgrade done at around round 95-96, the DTDs appear on rounds 90, 93, 95 and 99, if you did a good job on the farming you should be able to get the upgrade done around this time, just be wary about the DTDs.
When all is ready and set, upgrade him to 500, give him a village quickly, and then get him his permabrew and range (520)
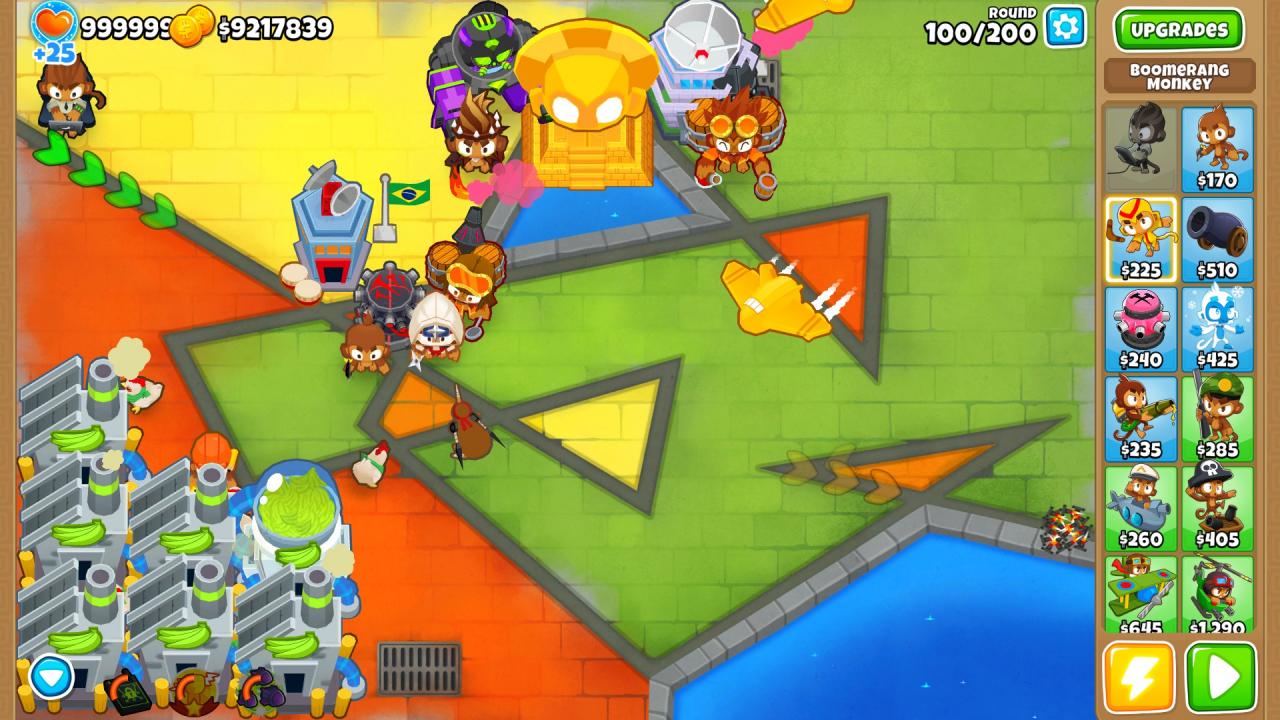
 Finally give him a final buff by getting a 500 Buccaneer Monkey on the bottom pool, because he was placed on water, he will get boosted by the ship.
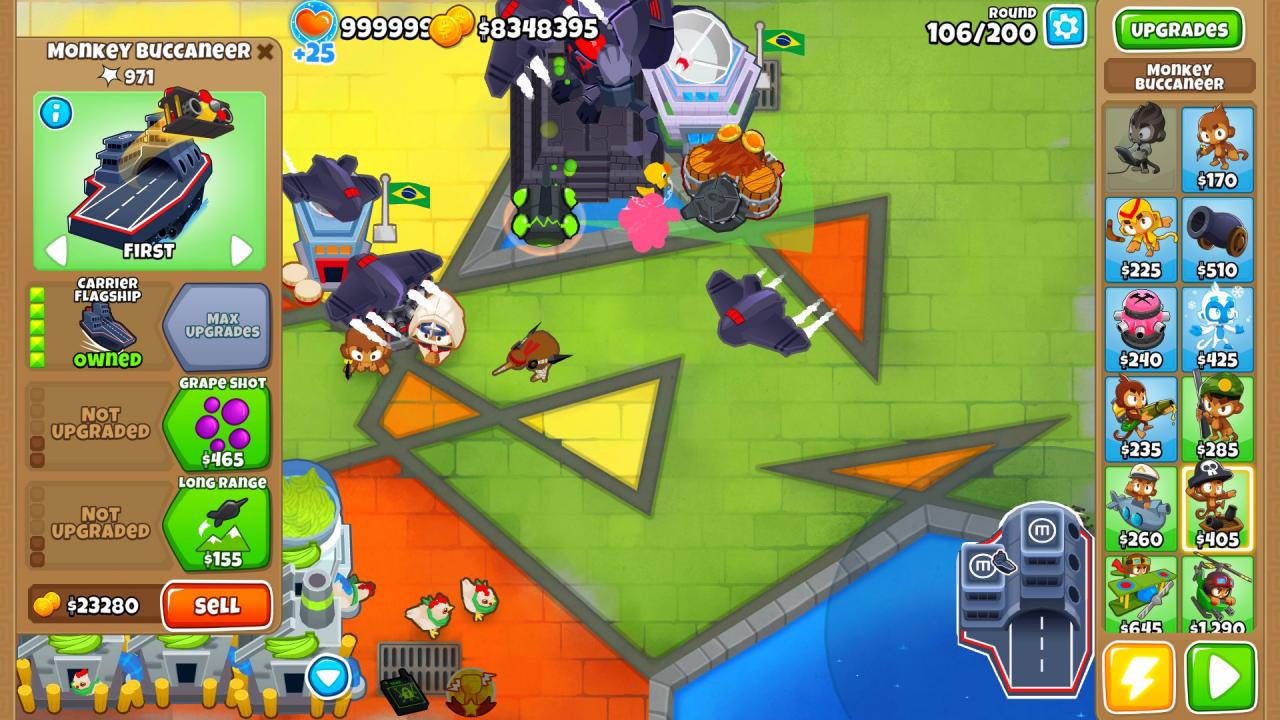
Setting up the Helis
(also ignore the fact that the 500 ship is not there, i just forgot to place it beforehand when making the picture guide, but its better to have the buff early)
Now that dying is not a problem, we can begin setting up and executing the Chinook uses.
We are going to set up at least 10 Heli pilots on the track. We will only care for their ability so i set them to lock onto the corner of the track here, just so there is no screen clutter, and that they can do their moving quickly.
Get your 040 Helis set up, one can de 050 it doesn’t really matter.
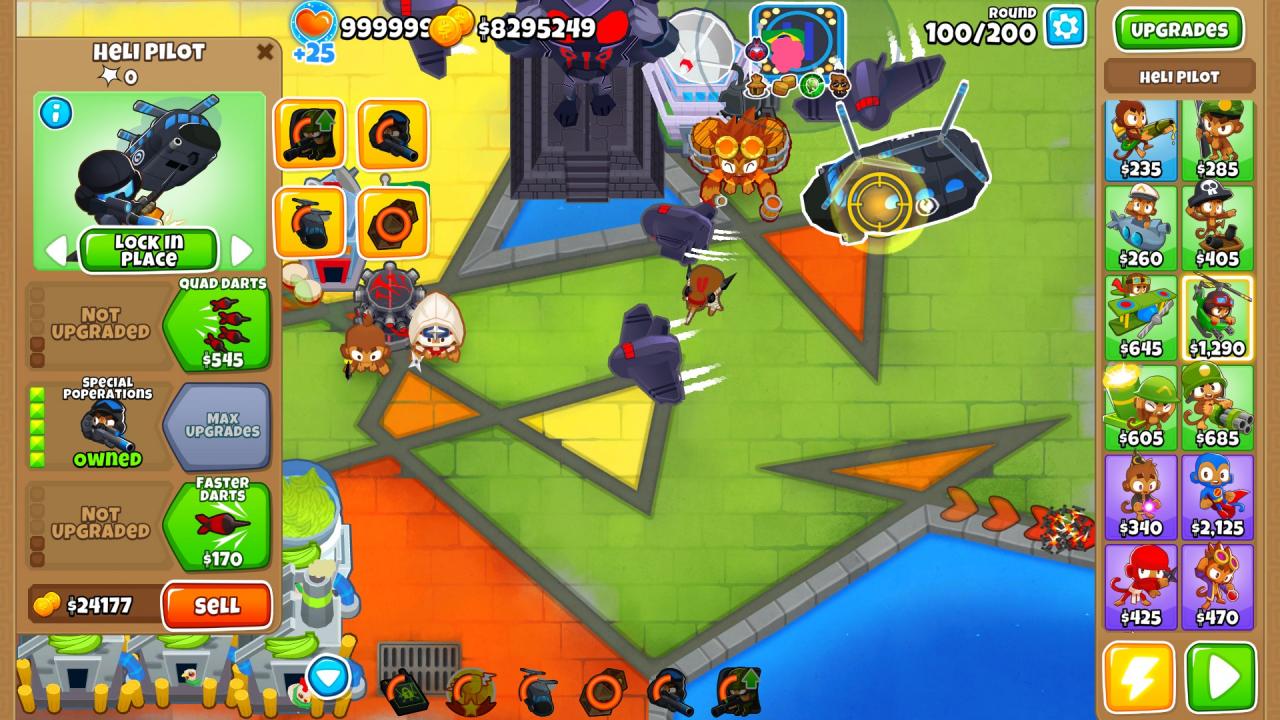 As I said, i found at least 10 to be optimal due to their cooldown being replenished just in time for you to keep using the ability. You can use more if you want, but i really never struggled using 10.
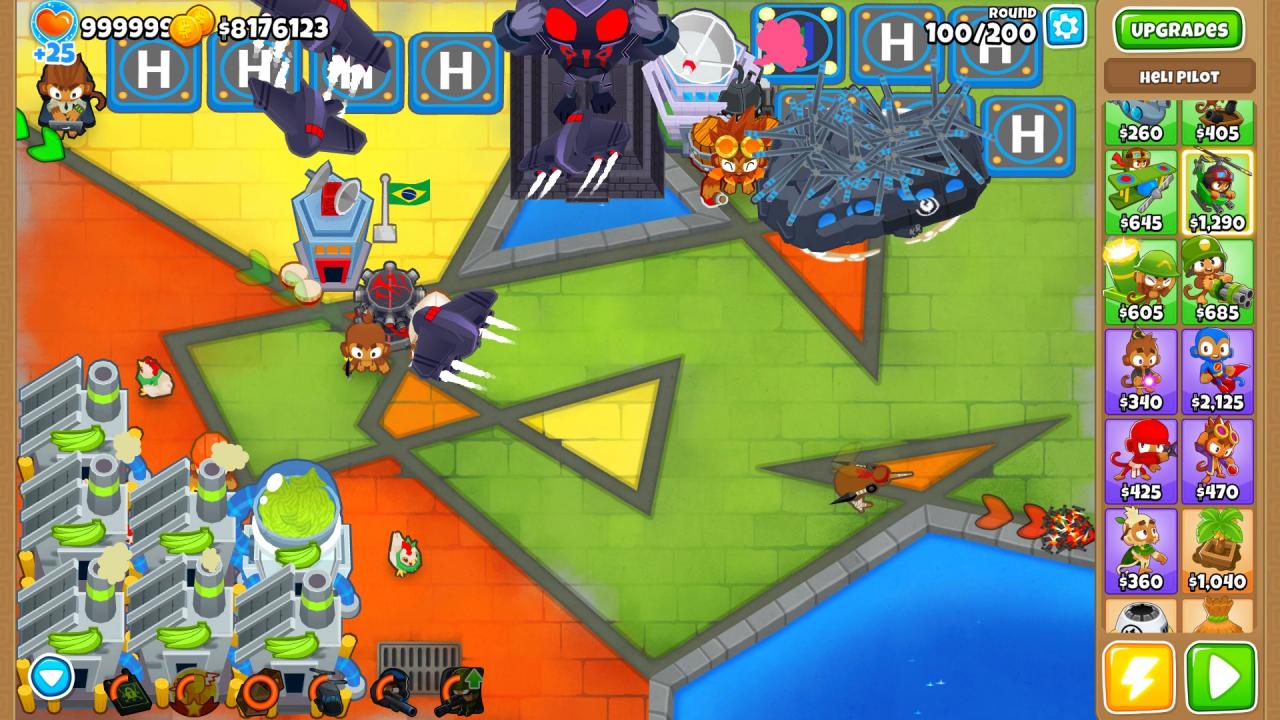 Next, set up 4 or more throwaway towers, darts are the cheapest so just use them. I used 4 myself, it was just enough and there’s a little down time in between each move so I don’t believe more are necessary, but if you wish place more.
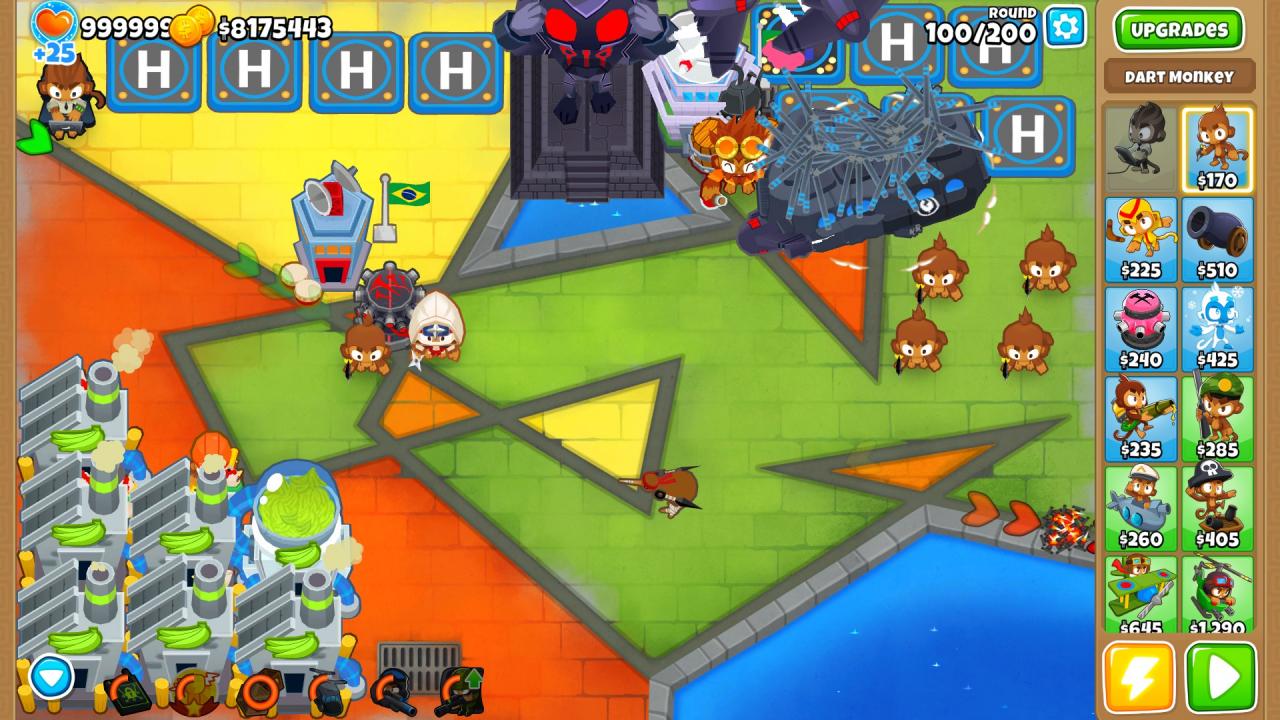 Finally, place a 500 Submarine, you can place him by the pool near the VTSG, we only care for the cooldown reduction they provide.
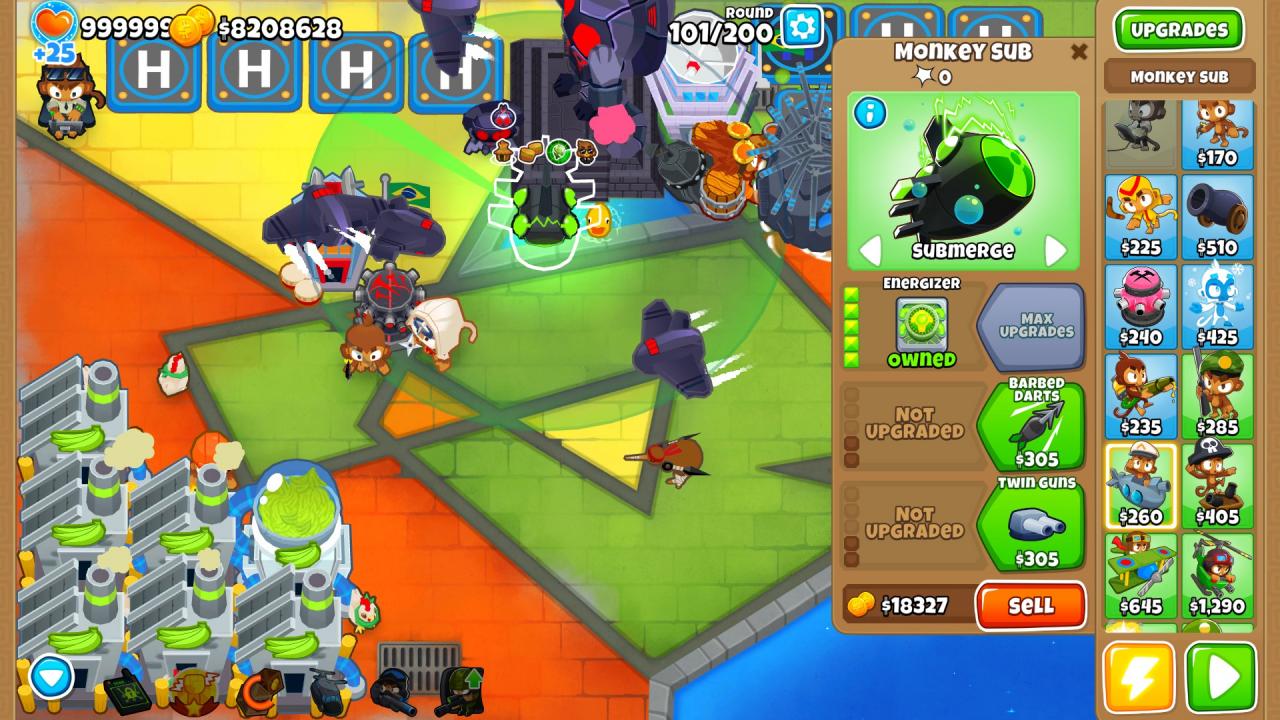 And now… START THE MOVES!, click the ability (or use the hotkey, its easier) and then click on one of your darts to move him elsewhere.
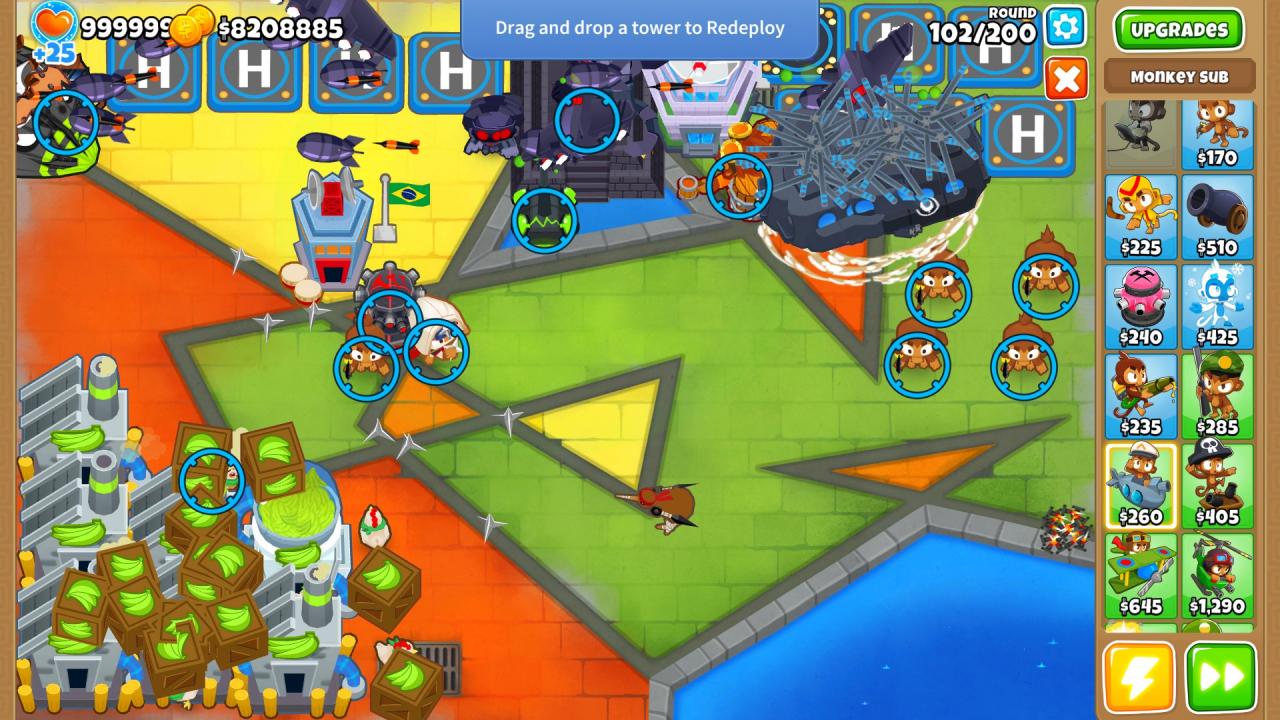 Try to place them relatively close, you can move them to the other end of the orange triangle like i did.
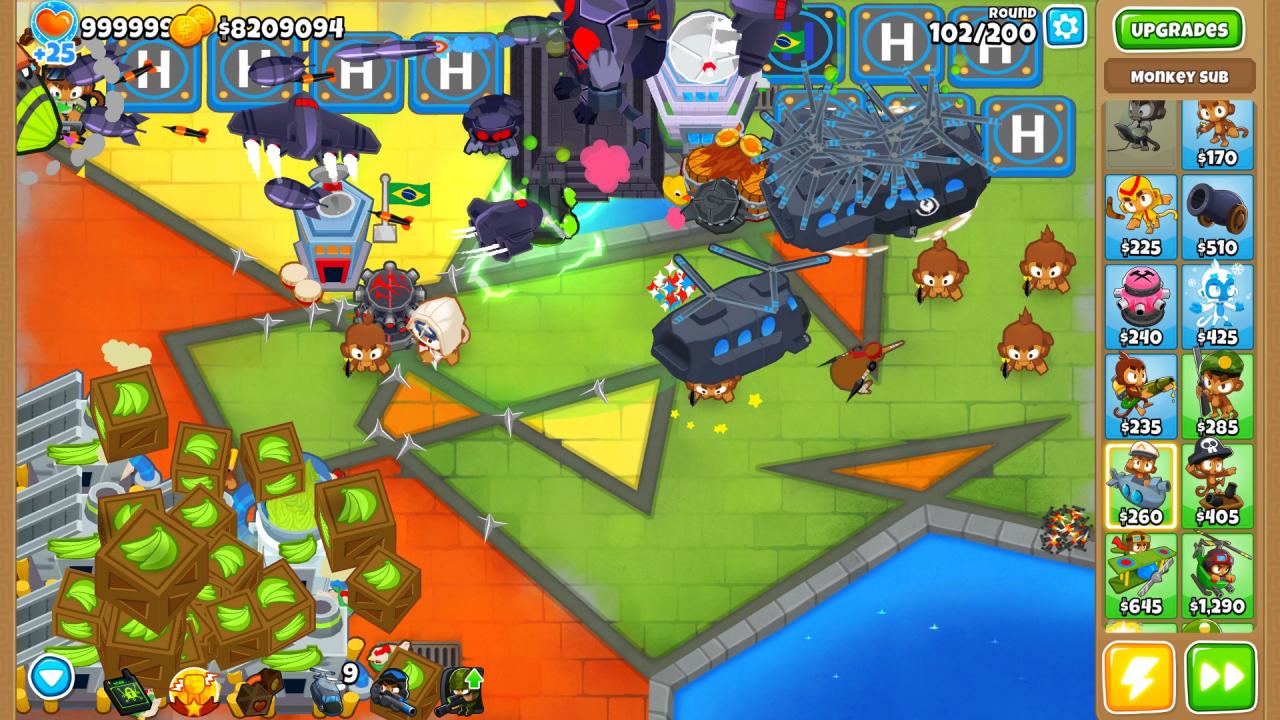 You can click the ability again after confirming the location of your first move, just select another monkey and move all 4 from side to side.
Setting up Buccaneers for the Hook Achievement
While you do all of that, you can grind the ship hook achievement as well, and you will not have to do anything!!! Sort of.
Start by placing like 6-8 Pirate buccaneers (middle path) in the bottom pool.
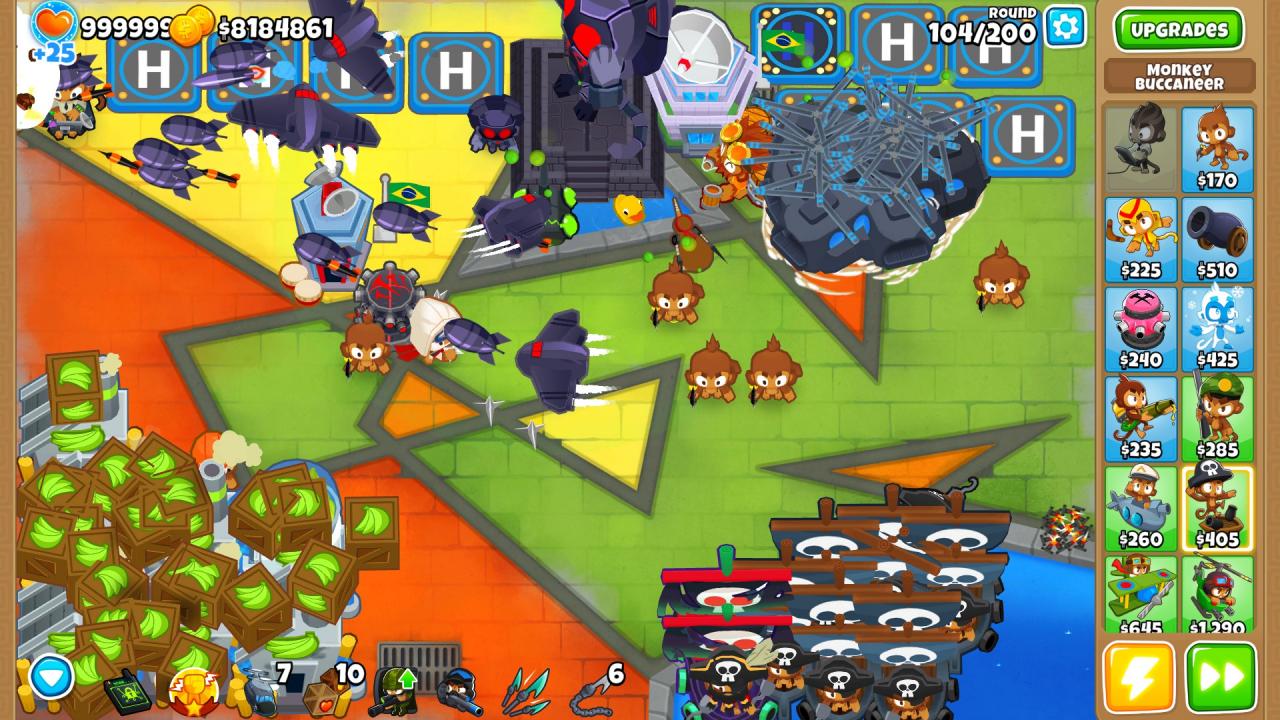 It’s not shown in the pic, but use some TechBots, which are powers that will activate the ability of a tower they get paired with as soon as they can, in this case, they will trigger the hooks every time a blimp can be hooked, and they will do it on their own, thanks to the 500 sub the cooldown is reduced, and since rounds past 100 are almost exclusively MOAB classes, then you’ll see them pulling them almost instantly.
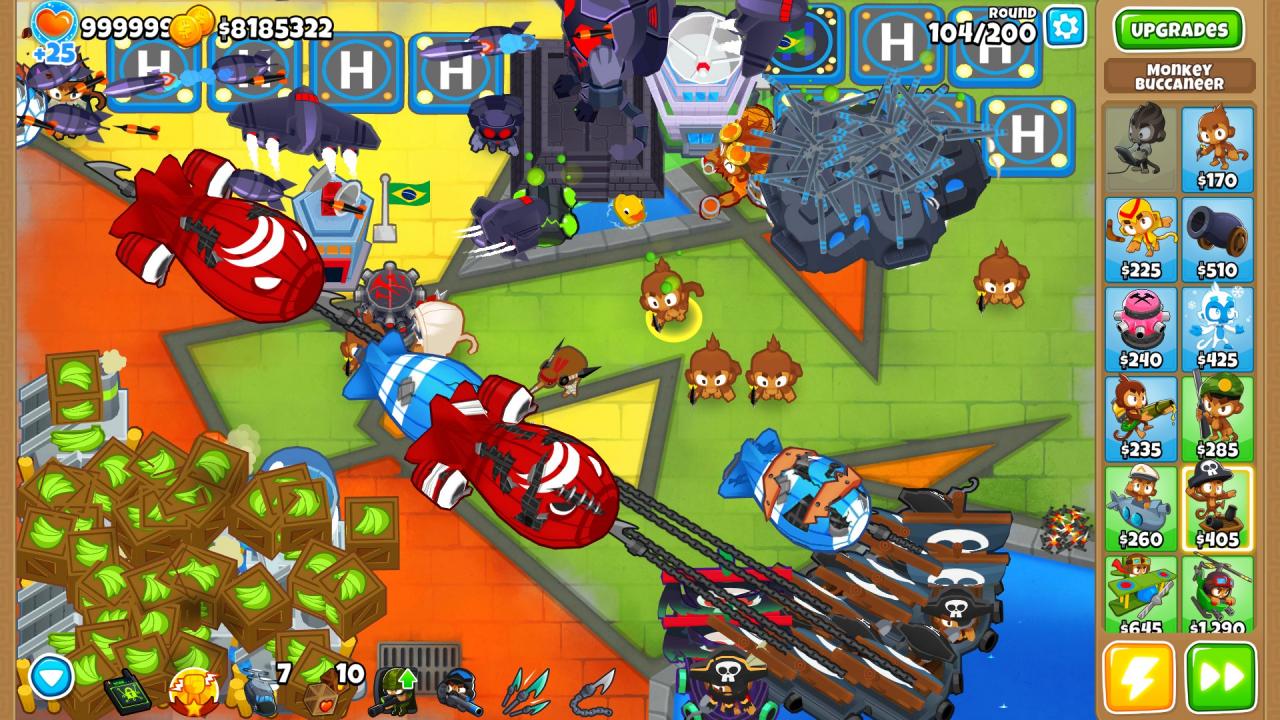 You can not use tech bots and instead trigger the abilities yourself, but if you want to focus in the Helis, its better to just use them.
Video guide
Final comments
By following these steps you can get these achievements, it will PROBABLY take you at least 2 games of doing this to reach 100% on the requirements. You can always wait for a round to end and go to the home menu and check the current progress, then resume the saved game and continue. I would say that the total time it will take to do this would be around 1-1.5 hours.If you fortify good, you can extend how long you stay in the match, as I said the VTSG holds very well by himself until around round 200, but after that, the HP of everything is scaled and he might not be able to hold on. If you want to strengthen your defenses, some good towers to add are:
- Dart or Boomerang Paragons
- Icicle Impale, Ice 025
- Super Glue 025
- Cripple Moab Sniper 502
- Pre-emptive strike Sub 250
- All tier 5 aces
- Ray of Doom and M.A.D. Dartlings 502, 052
- Both the other Alchemists 150, 025
- Master Bomber Ninja 205
- All spike factories lol
- Ultra Charge Engineer 050
These are some of the ones i find the most useful, be advised that going past round 200 needs almost constant use of abilities, you can’t just AFK, usually you’d want to keep Ultra Charging your VTSG, though you can also ultra charge up to 10 the other useful towers, also spam Homeland Defense.
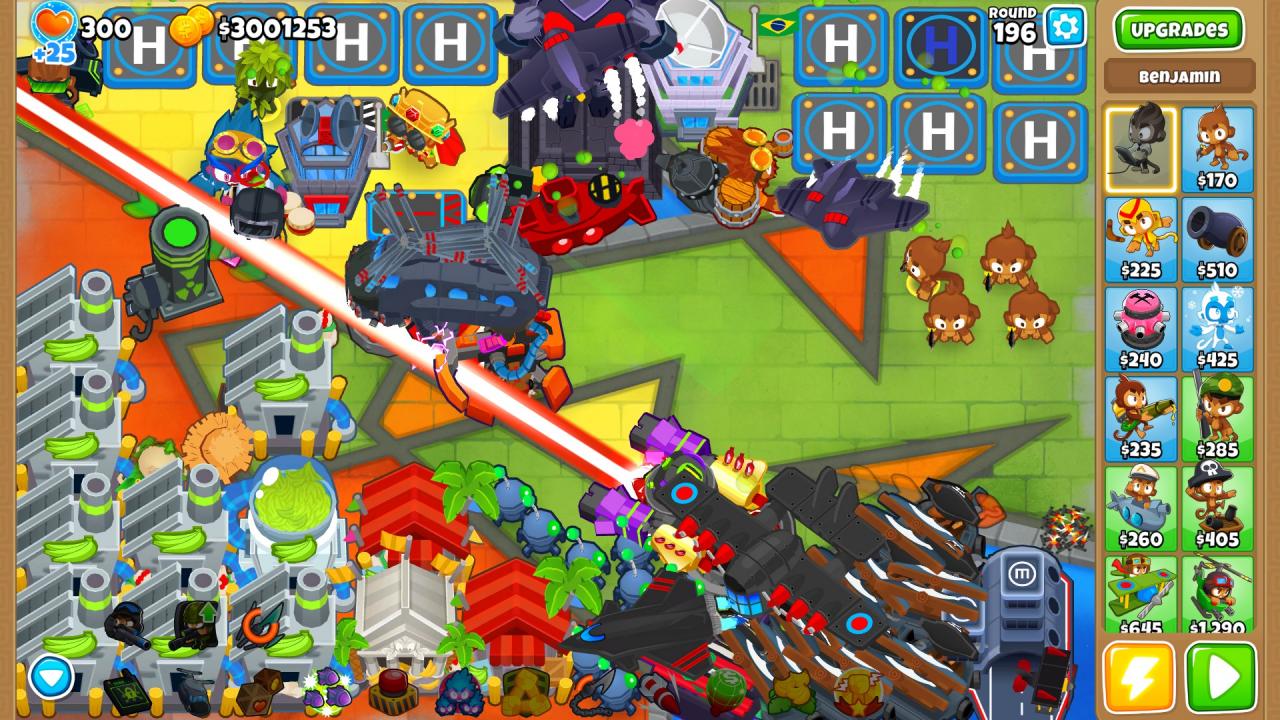
If you’re just gonna do the Chinooks then i would not bother with too much of these, but i would at the very least place the Glue, Sniper, Both Alchs, and a M.AD., also keep in mind you can move your permabrew to boost all of these towers.
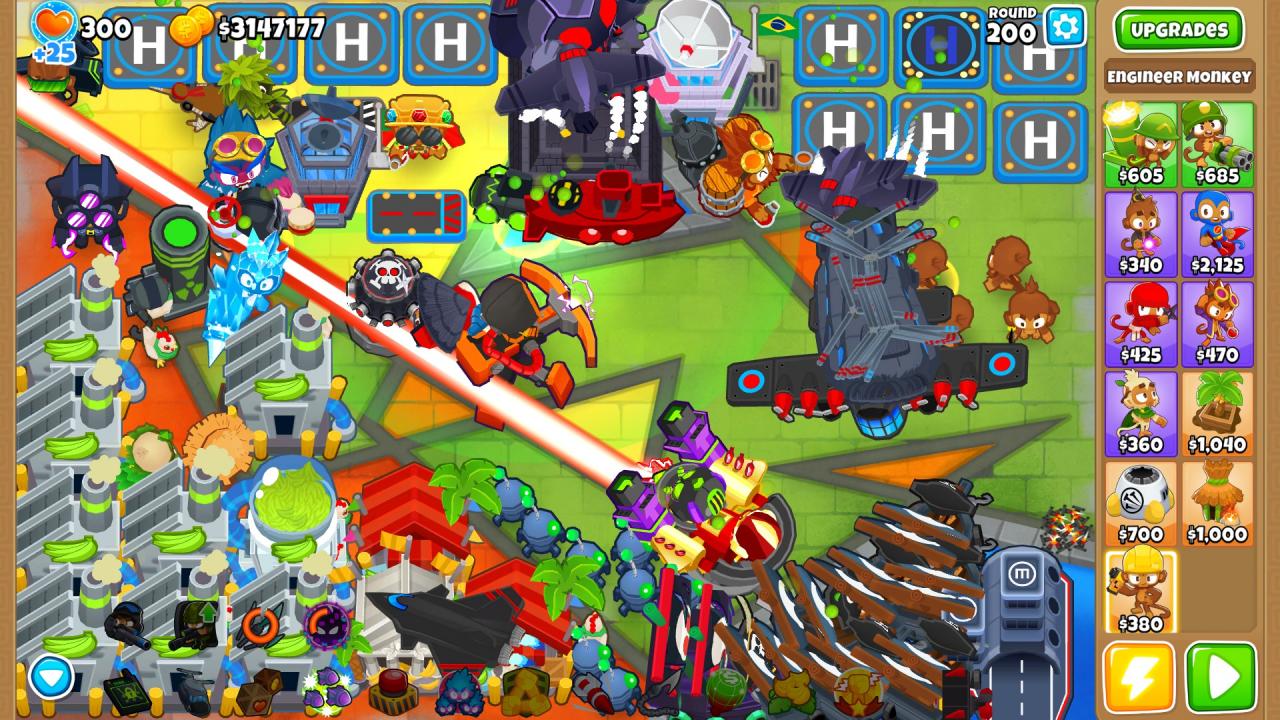
Bellow is an image of what I had for most of the rounds leading up to 200, i just set them while I focused on moving monkeys.
 And now bellow are some minor changes I added after completing 200, leaving that as an AFK got me to round 215, i died there (i was done with the achievement at this point and i only did it to grind total pops/sapper)
Well that is all for me, hopefully this helps people out, considering that both of these have such low completion rates, yet aren’t THAT hard to actually get, and going into high rounds with broken setups is fun in its way.
Thanks to name? vtuber??? for his great guide, all credit to his effort. you can also read the original guide from Steam Community. enjoy the game.
Related Posts:
- Bloons TD 6: Glorious Gold Achievement Guide
- Bloons TD 6: Hook, Line, and Sinker Achievement Guide
- Bloons TD 6: Easy Cubism Chimps Strategy. (No Micro)
- Bloons TD 6: How to Get the Four “Extras” Achievements
- Bloons TD 6 Heroes Tier List 2021 (The Best Heroes Ranked)