The default visuals for the game are alright, but a bit flat and lacking effects like ambient occlusion and proper AA. This guide will walk teach you how to install a reshade profile that will solve these issues at the cost of GPU performance.
Keeping things simple
I added a little bit of Ambient Occlusion to add contrast and show more detail.
A little bit of Global Illumination to add color and make characters pop.
AA to clean up edges
Contrast to add punch.
If your computer is unable to run the game smoothly as it is do not install this profile as it is very heavy. You can optimize the preset by reducing the quality settings for MXAO and GloomAO in the settings, although I don’t know how much of an impact that will make. You can turn on and off any effects you want if you don’t like them or want to see what they do.
Please let me know if you have any issues downloading the file, or getting anything set up.
Installing Reshade
Reshade is quite simple to install and set up.
1) Go to https://reshade.me and download the latest version of the software
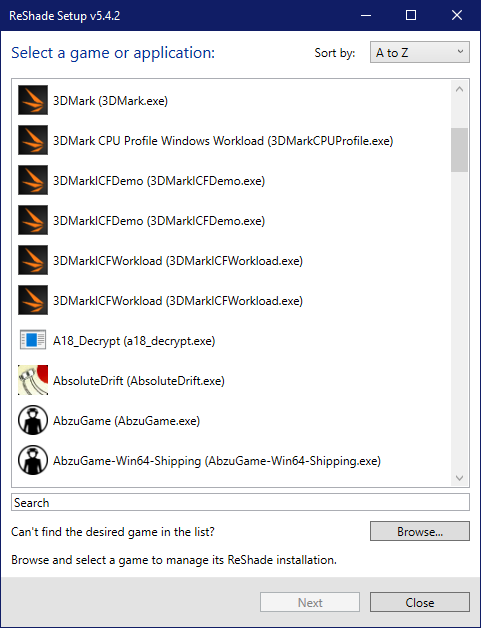
2) Open the file and select Blue Reflection (or any game you want to install reahde to)
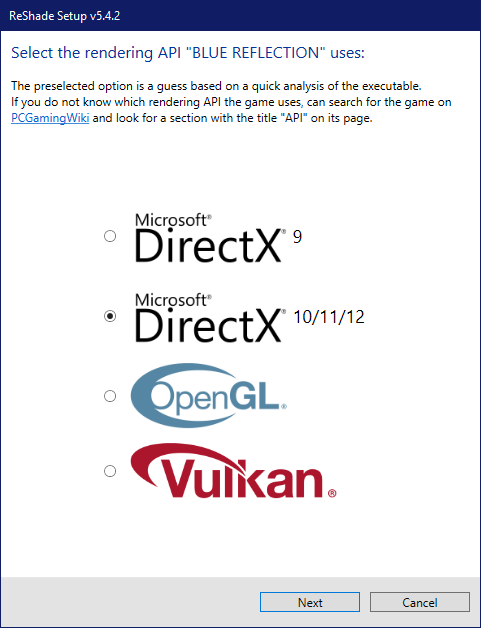
3) Choose the DX 10/11/12. It should be selected by default
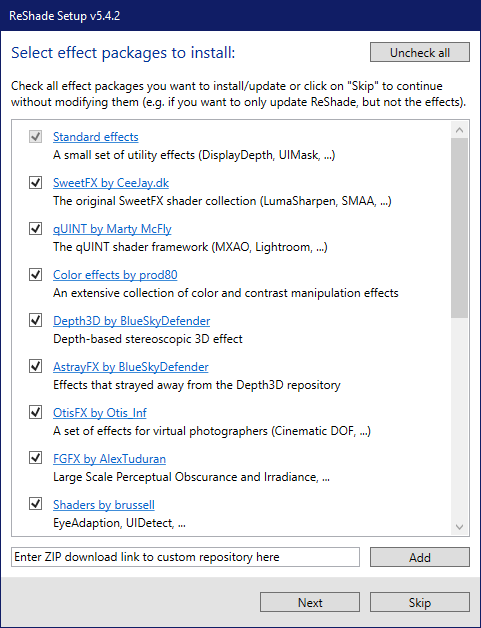
4) Click the Button on the top right to select all effects
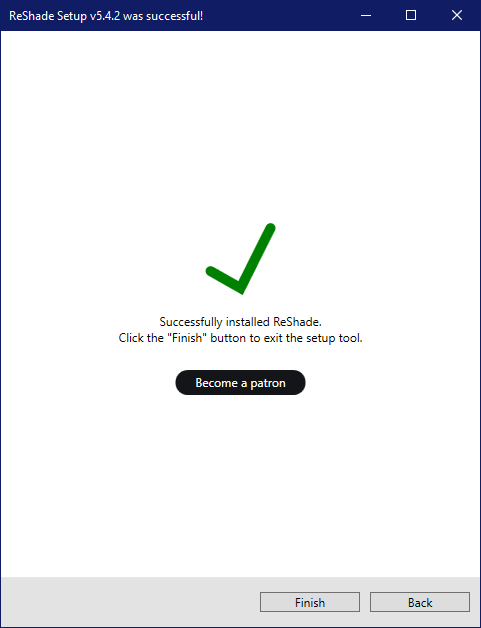
5) download the effects, and if all goes well the install should be a success!
Installing the profile
1) Download the preset. I also placed some SS of the final result in the google drive folder. You want to download the Blue Perfection.ini file. It should be at the bottom of the list. https://drive.google.com/drive/u/0/folders/1m6MeUSlGu2mDcWe4ZYoqQzvpp3UkPDff
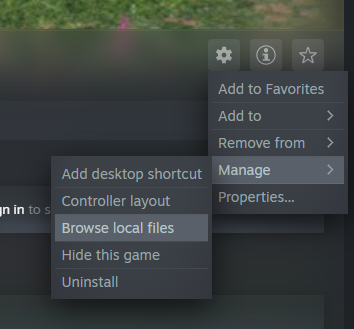
2) Find the install location.On steam this can be done by clicking the gear icon, going to manage, and browse local files.

3)Place the preset in the game folder
4) Open the game. On the top of the screen you should see a light grey overlay. It will take some time for it to compile all the shaders for your hardware. Once that is complete, load your save file and enter the game. By default the key to access reshade settings is the Home Button.
The reshade will probably prompt you to follow the guide for how to use the software, this is recommend as it will teach you how to interact with reshade.
![]()
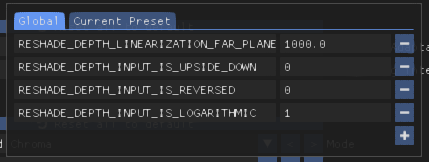
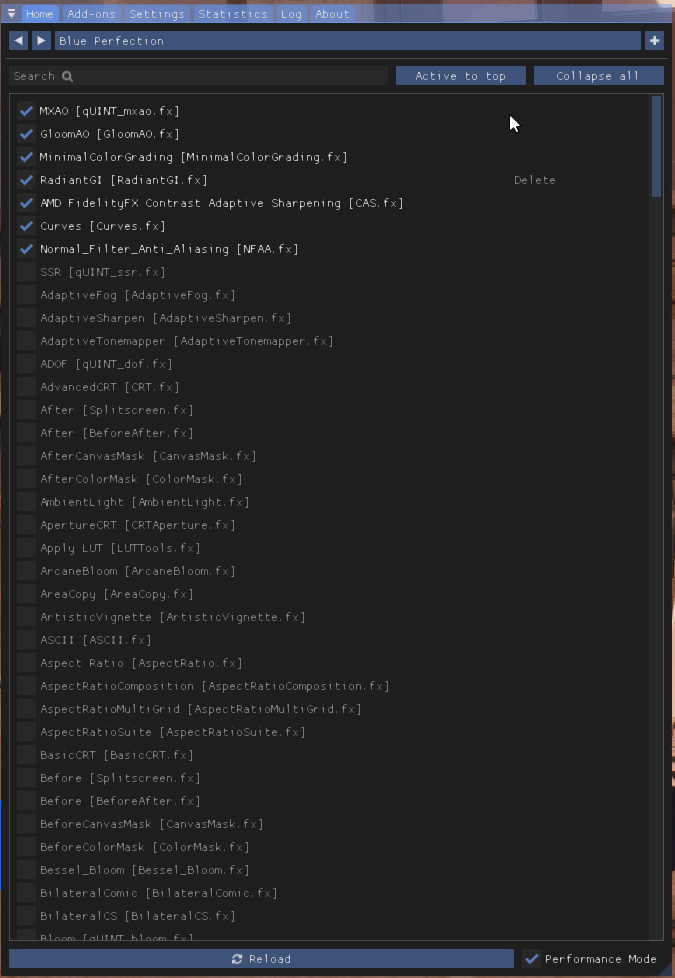
5) It is important to make sure that all the Global Preprocessor Definitions are set correcly for all effects to display correctly. Simply set all values to what is shown in the image above.

6) From here simply click the arrows in the top left hand corner of the window to select the Blue Perfection preset.
7) Yay, you are now done!
Issues

Reshade will draw AO over top of game UI. It is possible to fix this but I think it looks kinda cool.
Screenshots
https://drive.google.com/drive/u/0/folders/1m6MeUSlGu2mDcWe4ZYoqQzvpp3UkPDff
Thanks to тяσg for his excellent guide, all credit to his effort. if this guide helps you, please support and rate it via Steam Community. enjoy the game.