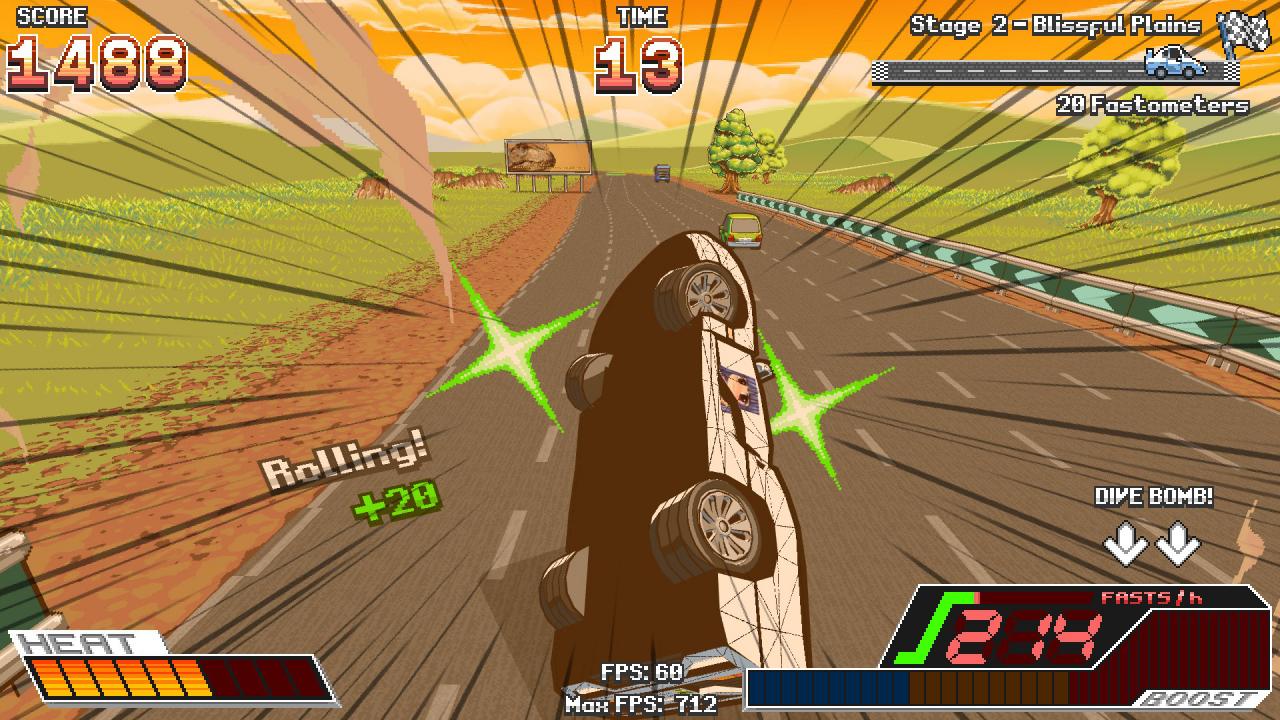
Here is a guide on how to mod in Buck Up And Drive!.
Getting Started
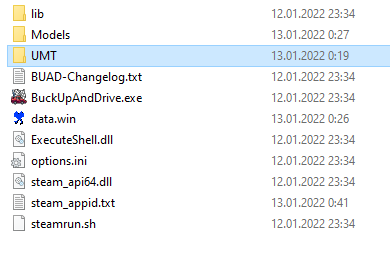
Download the latest version on the Releases page, unpack it and lets move on.
UMT
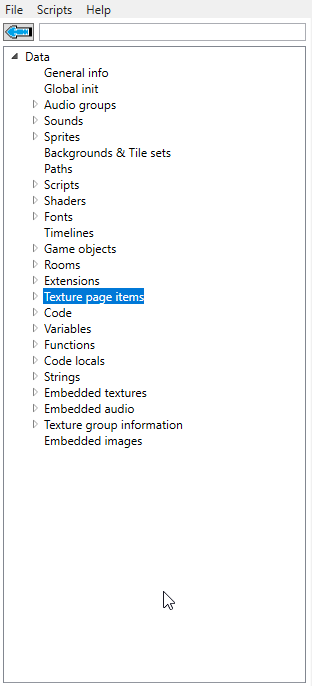
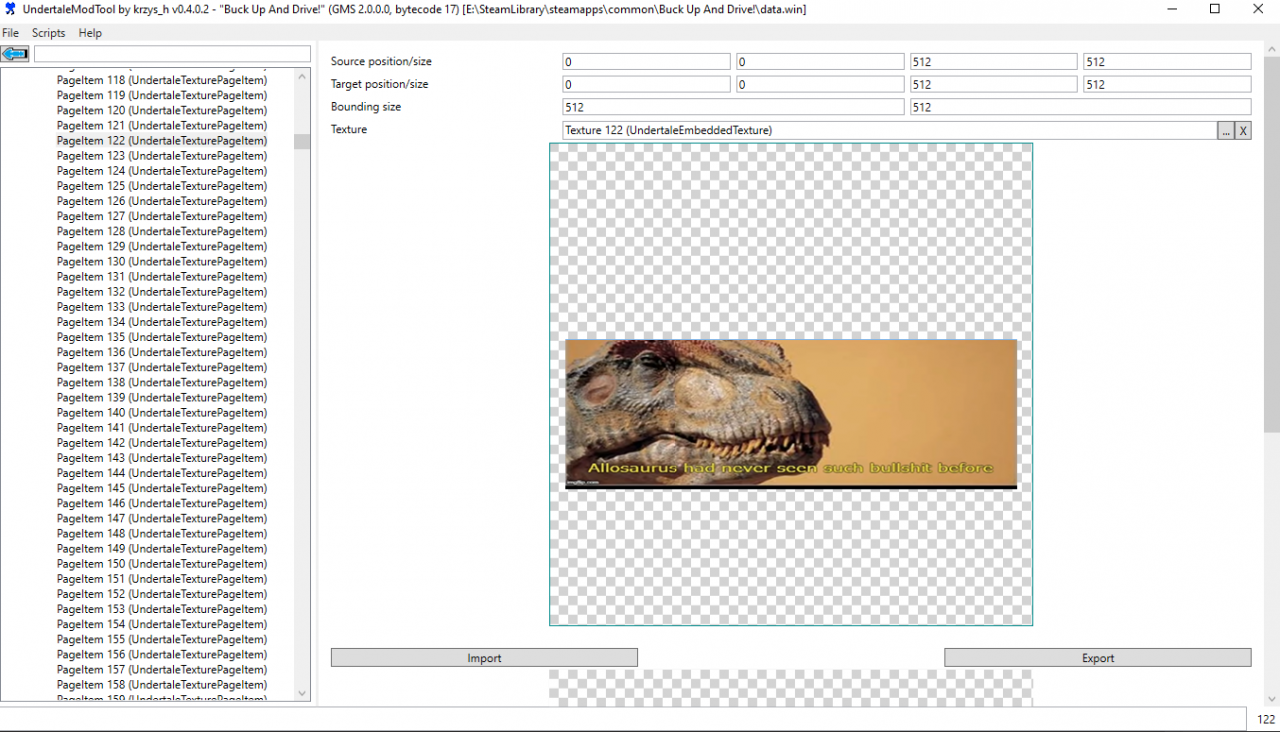
Boot up UndertaleModTool (UMT), press File>Open and select data.win in the game’s root directory (steamapps\common\Buck Up And Drive!)
Don’t panic, UMT will say “this game was built on newer version of GMS and you migh run into issues”, don’t worry about that, we’re gonna just mess around with images. 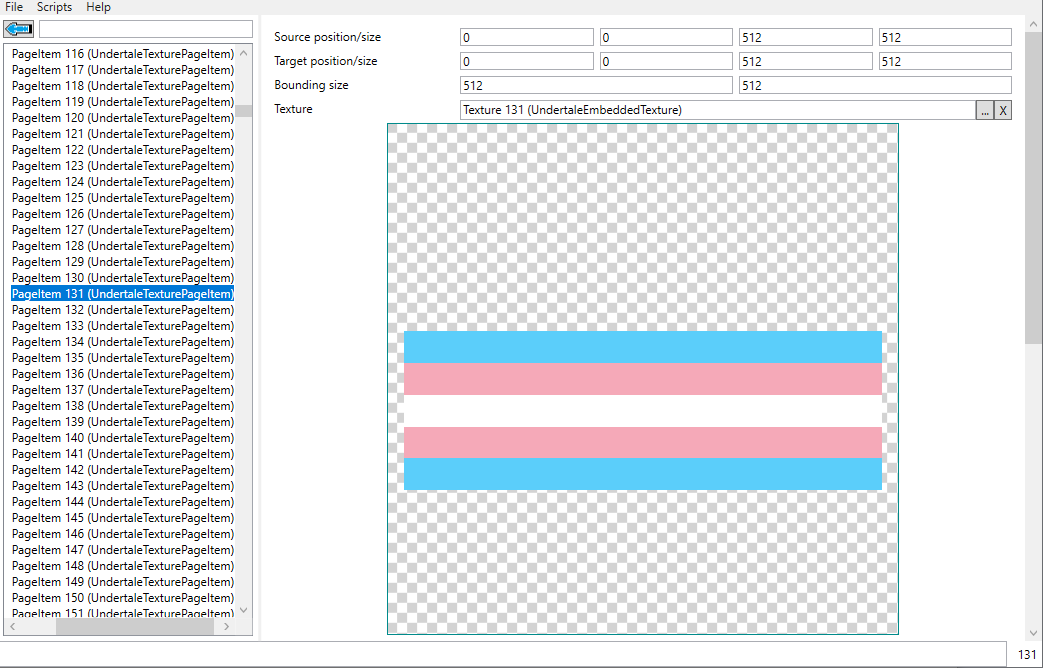
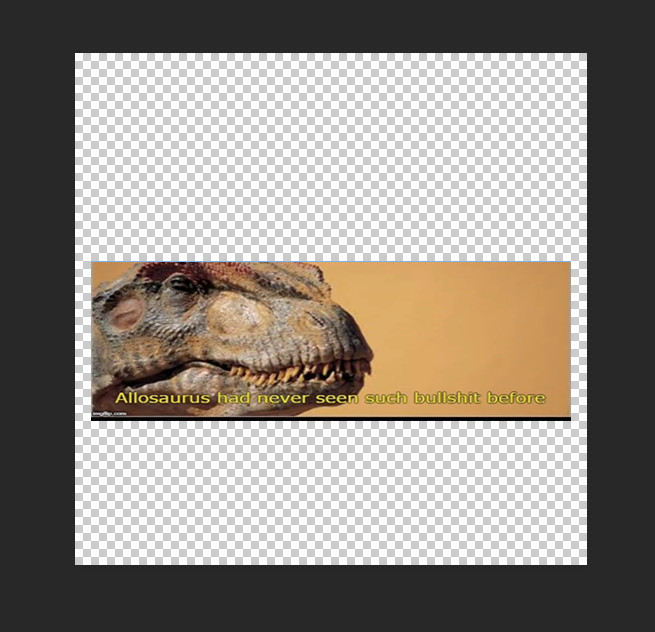
After locating whichever billbaord you want to modify. Export the file anywhere on your pc to edit it in Photoshop or any Image Editor program that keeps transparency when saved as .png, you have to export it only once since all billboard use the same Image Resolution.
Editing
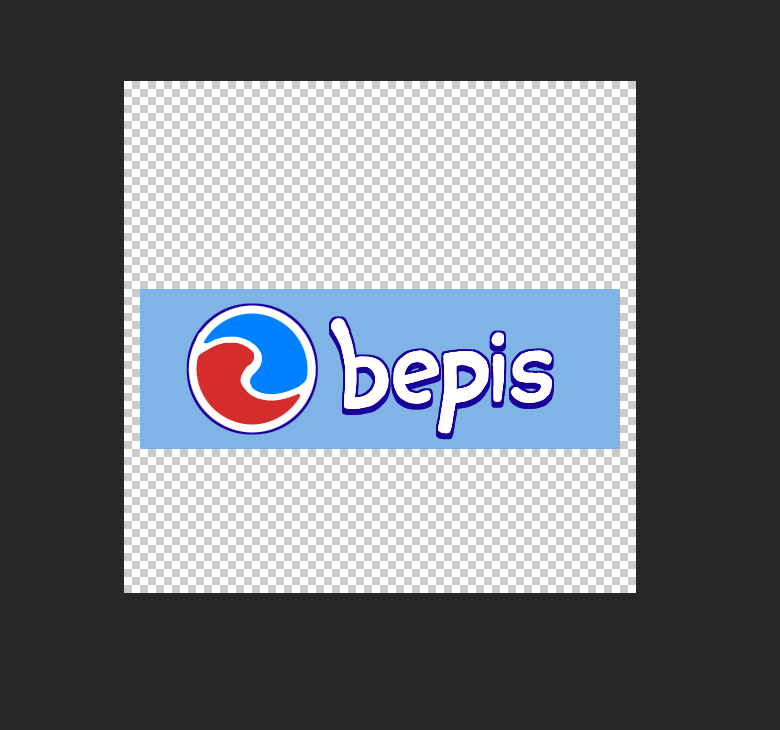
The game only uses the area where the original billboard picture was set.
After you’re done, save your new billboard picture and open UMT, press Import and select your new picture.
Press File>Save and replace data.win in your game directory
Done!
Conclusion
Thanks to ThereIsNoSpoon for his great guide, all credit to his effort. you can also read the original guide from Steam Community. enjoy the game.