Screenshot assisted guide for locating all the secrets. Heavy on images.
The Story / Foreword
Humankind, in the process of evolution, has encountered a mysterious phenomenon – the destruction of the normal flow of time. From the past to the future, time rifts are forming in Earth’s atmosphere. These rifts lead to different periods of history. Through them the most aggressive creatures from the past, present, and the future, have begun to infiltrate our time. These mutants, known as Timestrikers, have begun a complete and systemic eradication of all human life.
You are a specially trained commando who has been volunteered to investigate a recent attack by the Timestrikers. Utilizing an arsenal of devastating weapons and mysterious items from the past and the future, you have been authorized to terminate any mutant creatures that attempt to obstruct your investigation.
Each assignment gets you closer to the heart of your goal. A mission briefing gets you moving in the right direction, but it’s up to you to carry out your orders. Grab your weapon and report to the Commander immediately!
(The text above is copied from the official manual, as it is not supplied with the installation.)
Chasm: The Rift features a total of 20 secrets across its five episodes. Finding all of them grants the player ‘Every Nook and Cranny’ achievement. In its current form this guide lists a total of 27 secrets or ‘points of interest’ that may be considered so.
I had already found 90% them by the time the developers implemented the overall tracker for the secrets with Patch #1, thus I am no longer able to verify which of what I list are required for the achievement (the on-screen messages for finding them are one-off) and which of them can be dubbed as extra. Still, I would like to refine the guide to its best form so any help from the first-time players in this regard would be much appreciated (i.e. commenting on which of them do not trigger the relevant on-screen message).
Note that 8 of the maps (out of the 19, including the expansion pack) do not feature any discernible secrets thus they are not mentioned in the guide proper.
E1: The Condemnation
M01: THE POWER STATION
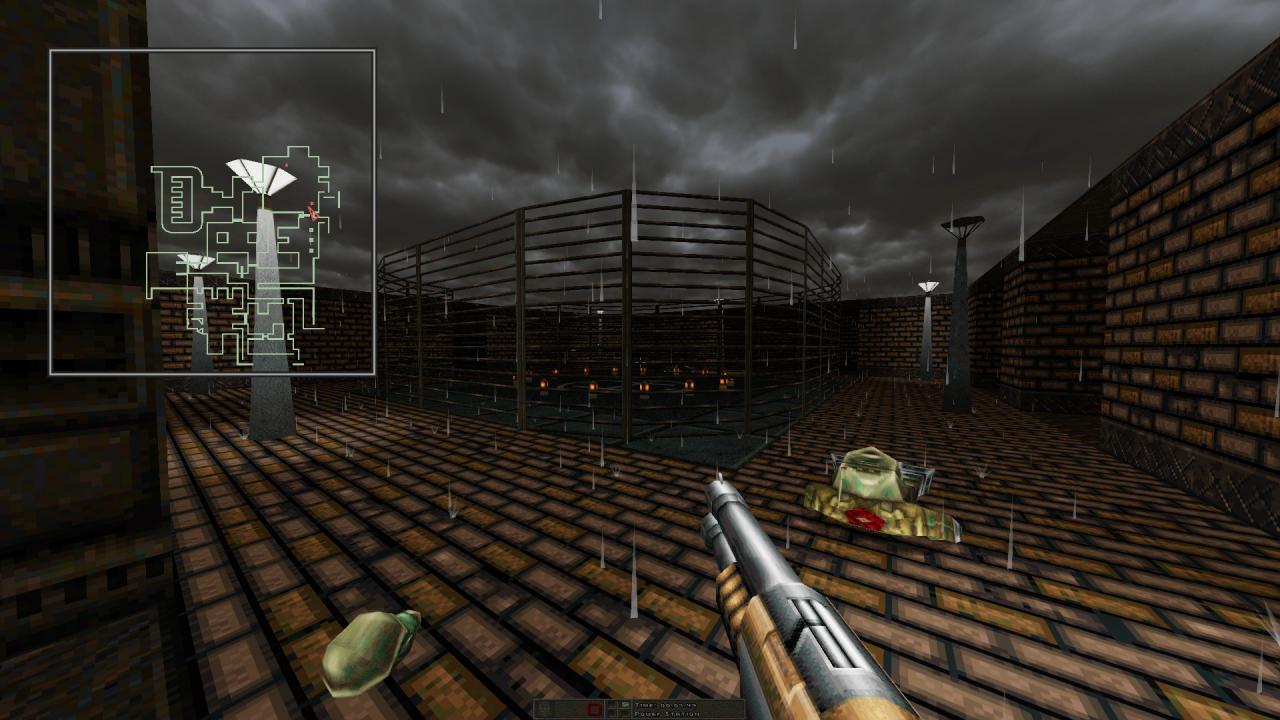
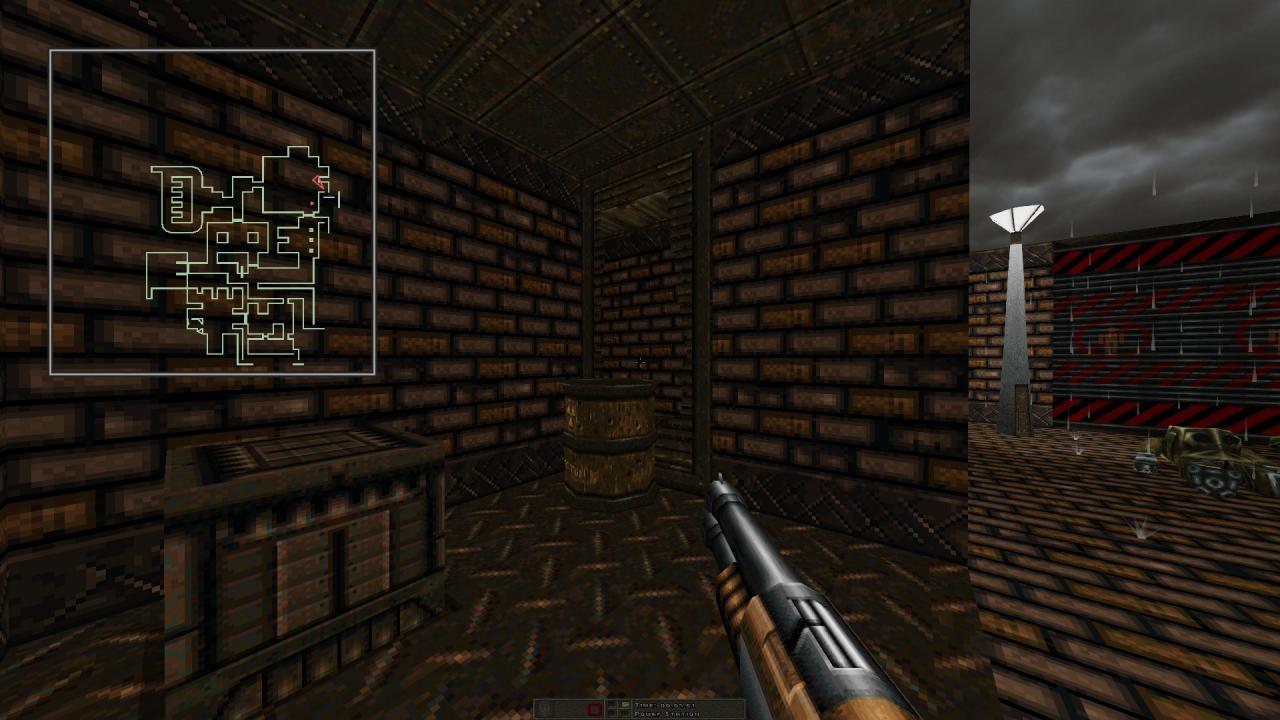
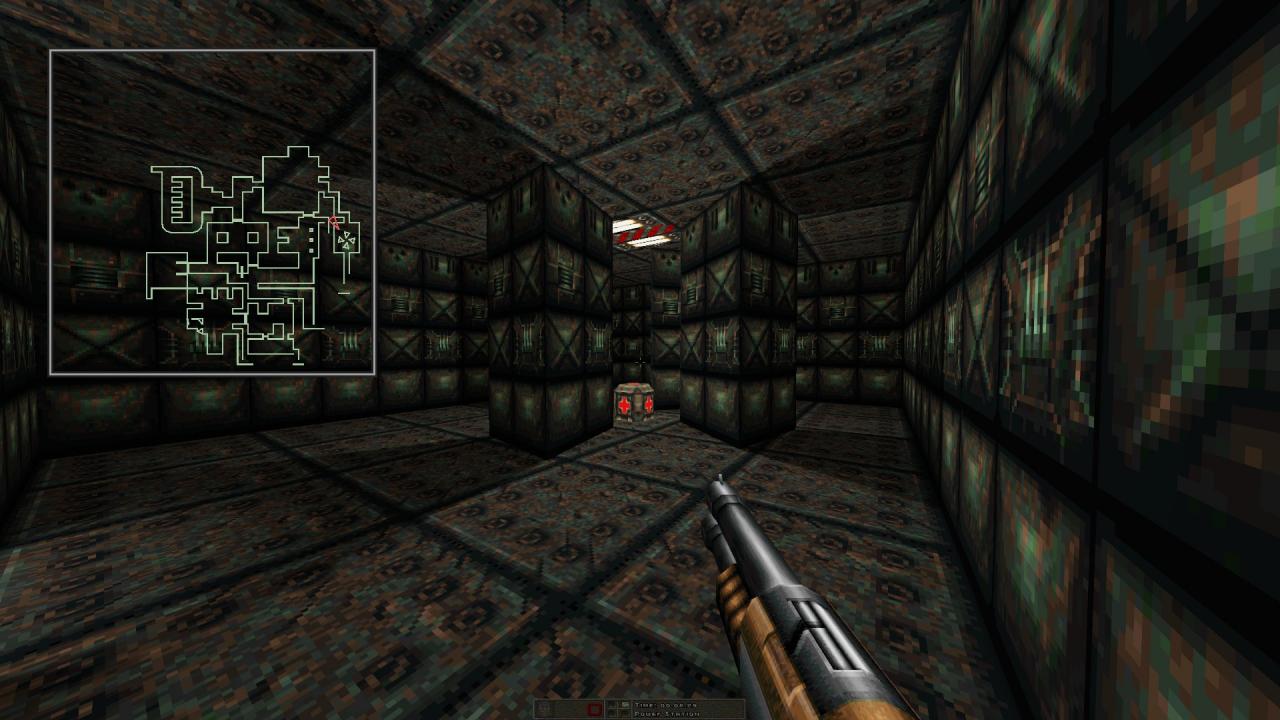
01 – Look for a barrel and an opening behind it near the helipad. Shoot the barrel or simply jump over it to reach the room with a double health. Explore the tunnels further to find an armor suit.
—
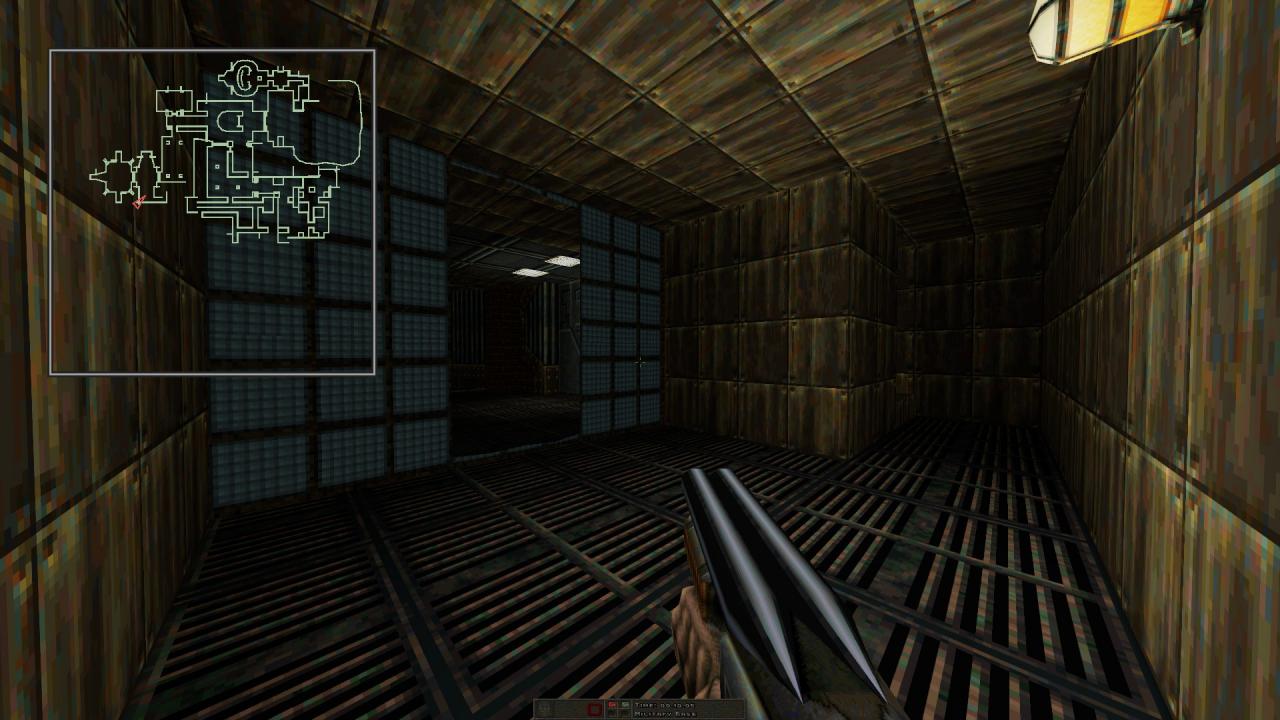
M02: THE MILITARY BASE

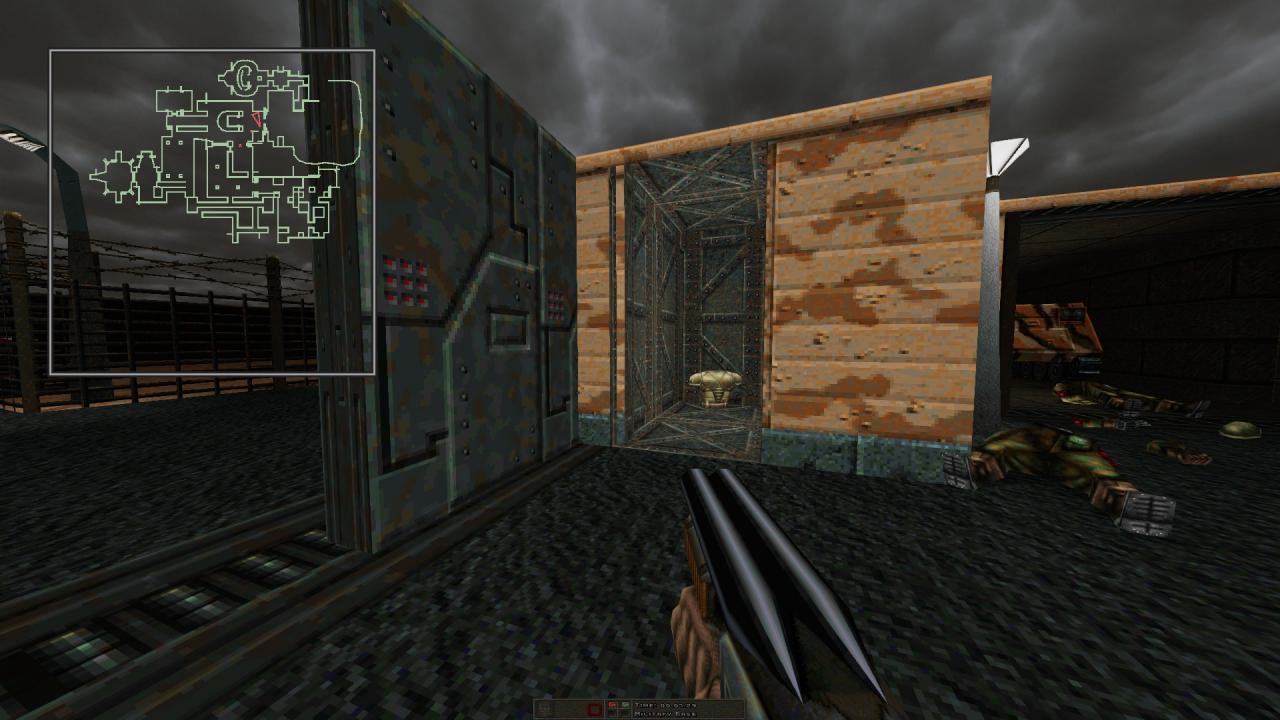
02 – Right after going through the gates, shoot the panel to the left to reveal an armor suit.
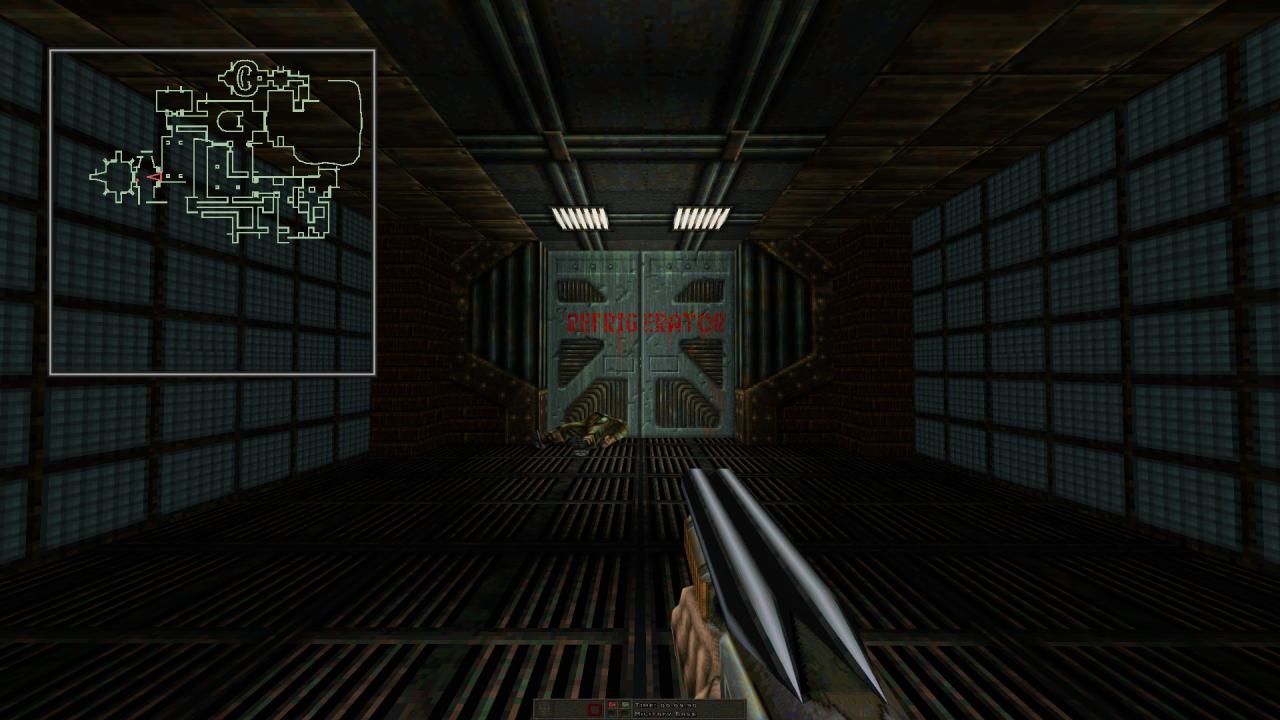

03 – In the room adjacent to the refrigerator, shoot the panels to the right to find a double health.
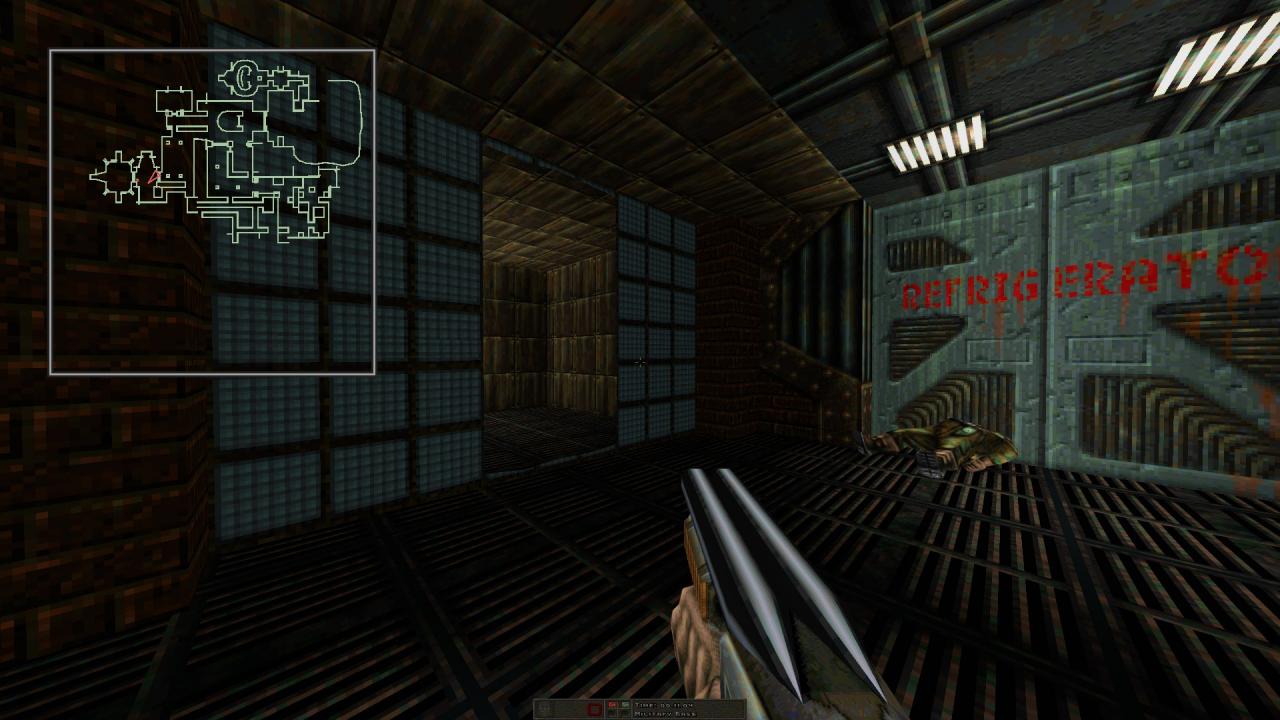
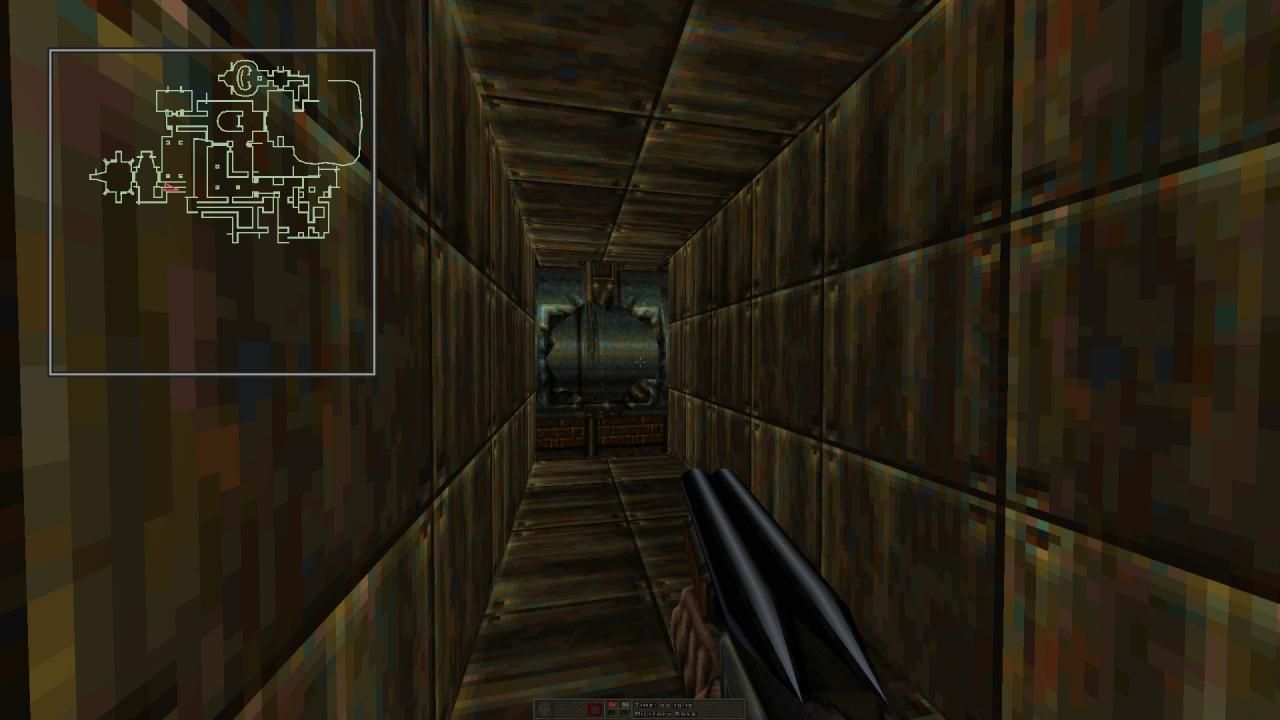
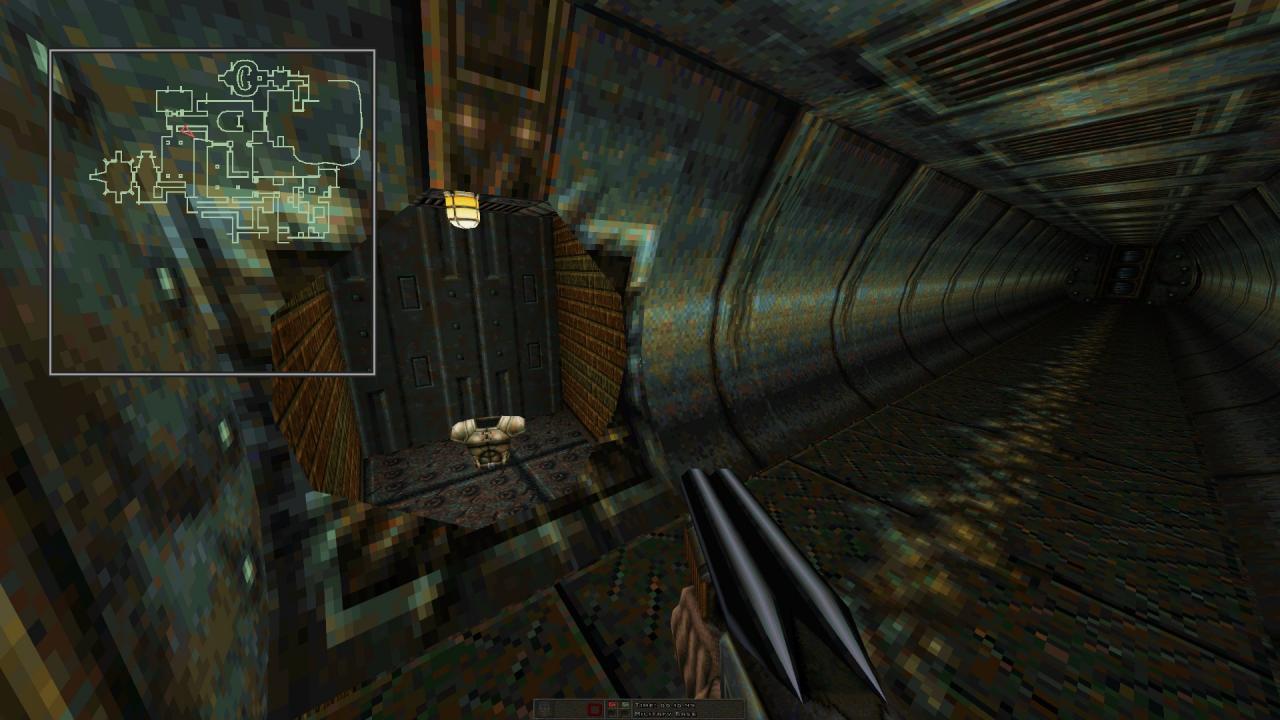
04 – Still in the same room, shoot the panels on the opposite side and continue to the area beyond. Shoot the two grates you come across as you follow the path to find an armor suit.
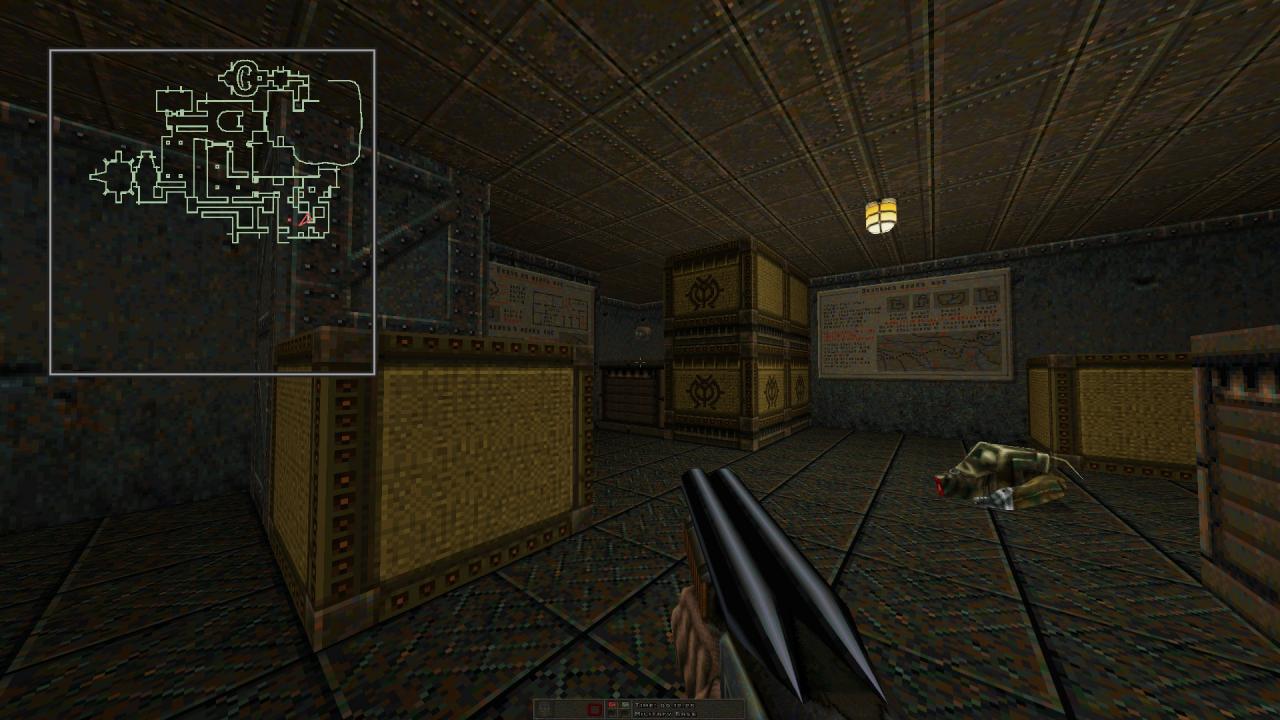
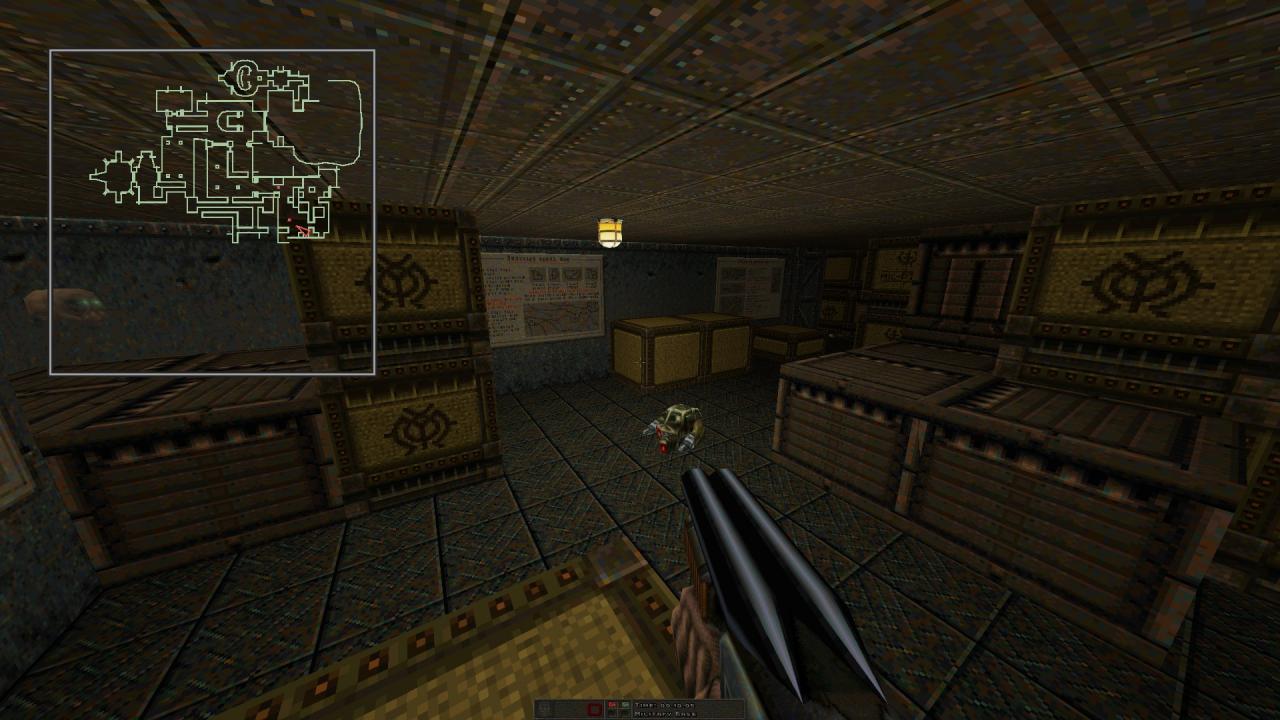
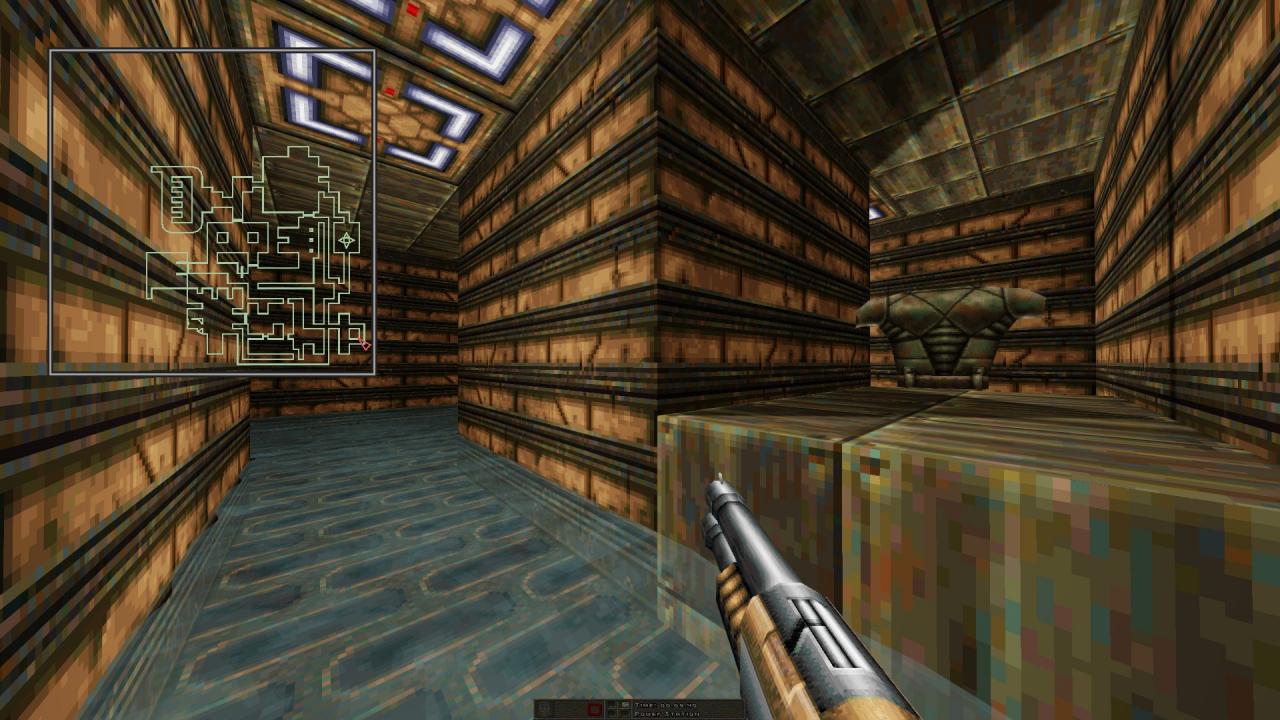
05 – In the warehouse, make your way to the invisibility power-up tucked away on the corner by utilizing the nearby crates.
E2: In Search of Inception
M07: THE TOMB OF DEATH

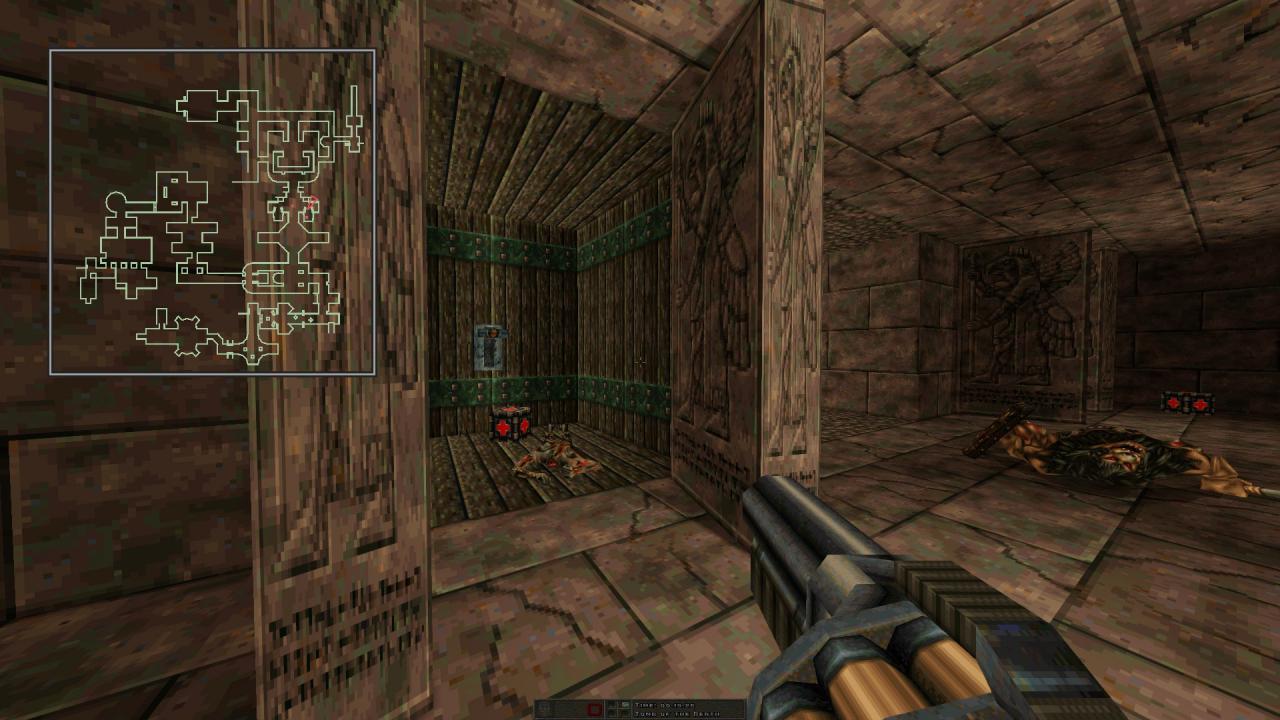
06 – Pass the lava pit, turn around and pull the switches found in the compartments on both sides. Return to the pit and collect the double health and the volcano ammo from the left alcove.

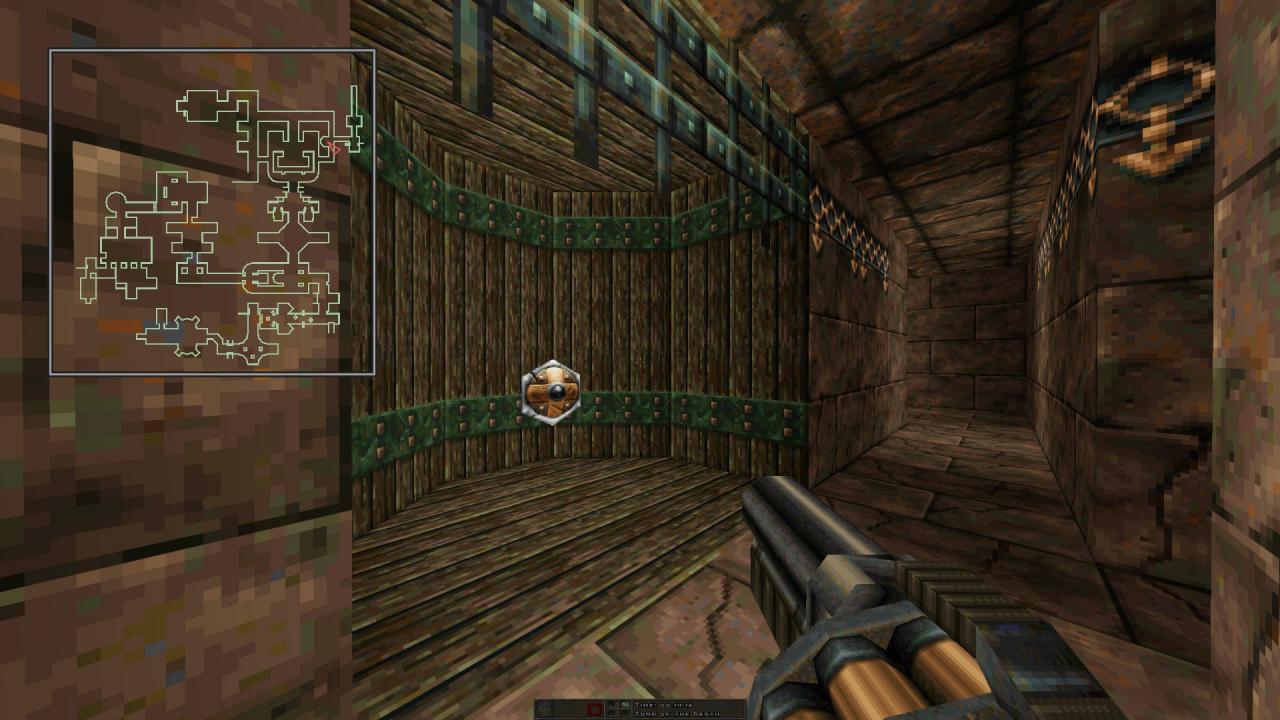
07 – Still in the pit, collect the grenader and the ammo found in the other alcove and pull down the lever within. Doing so lets you collect the otherwise unreachable reflector power-up that can be seen in another alcove in the following area.
E3: The Shadow Zone
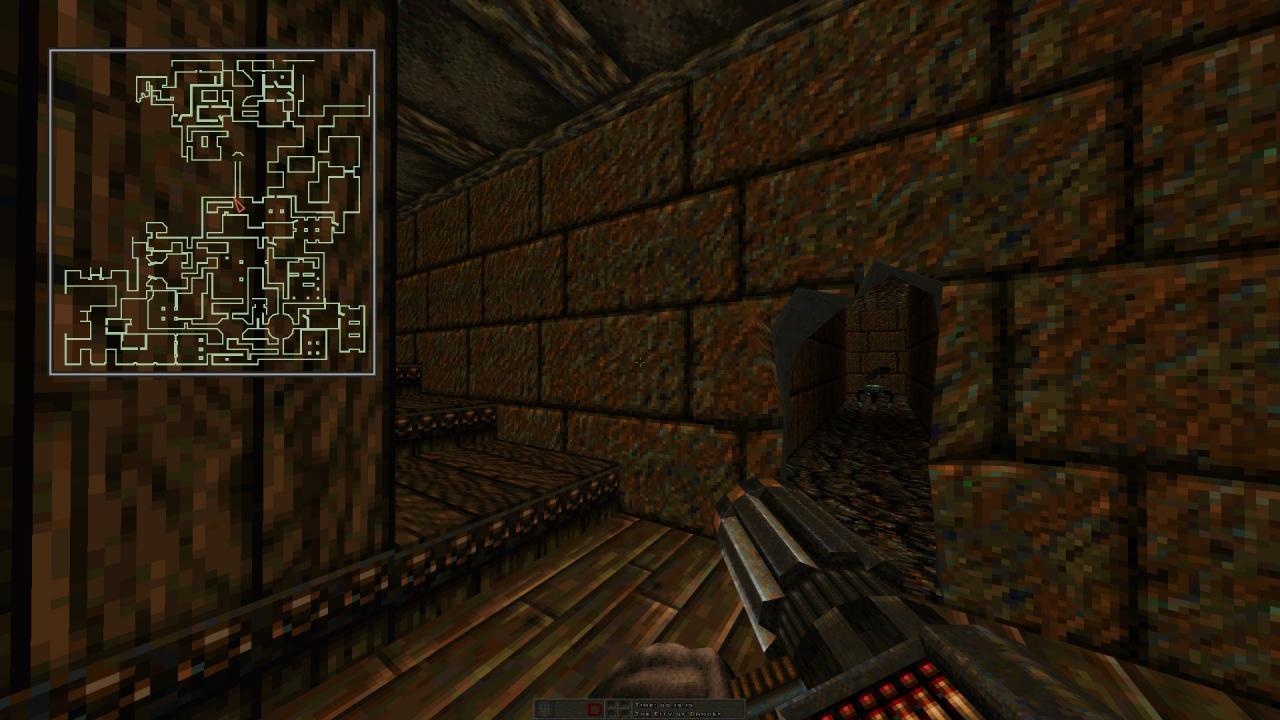
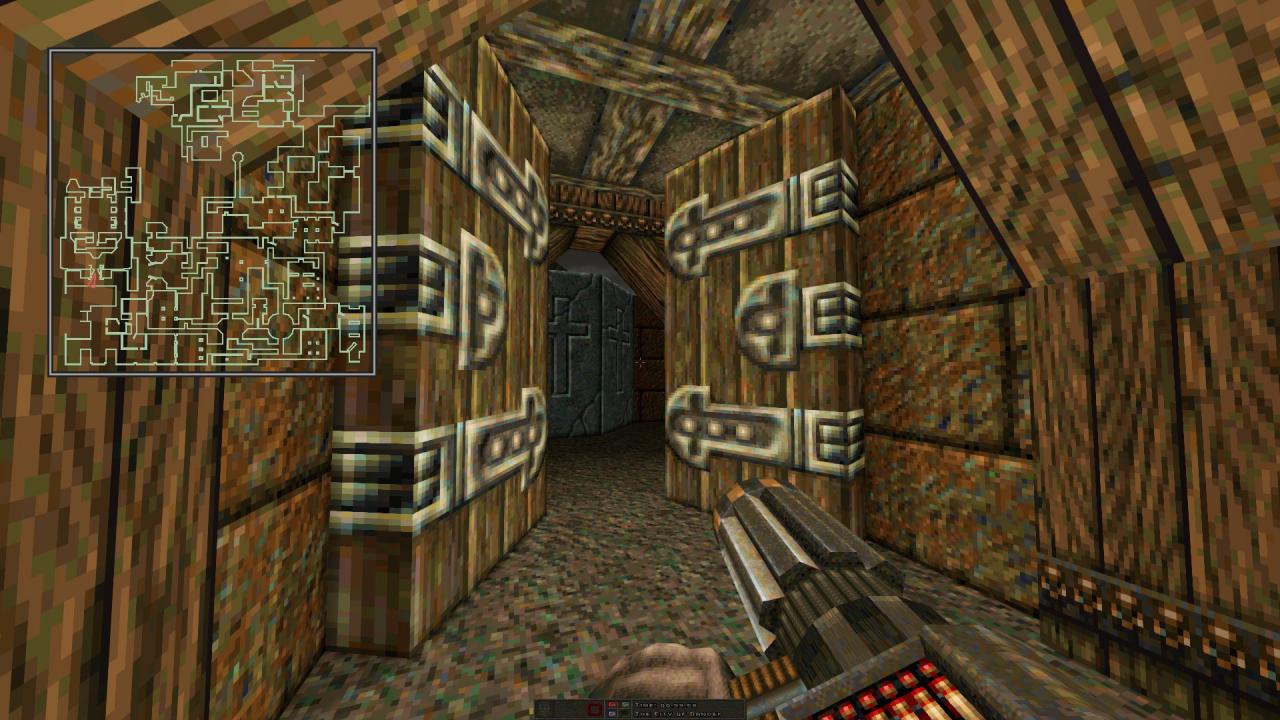
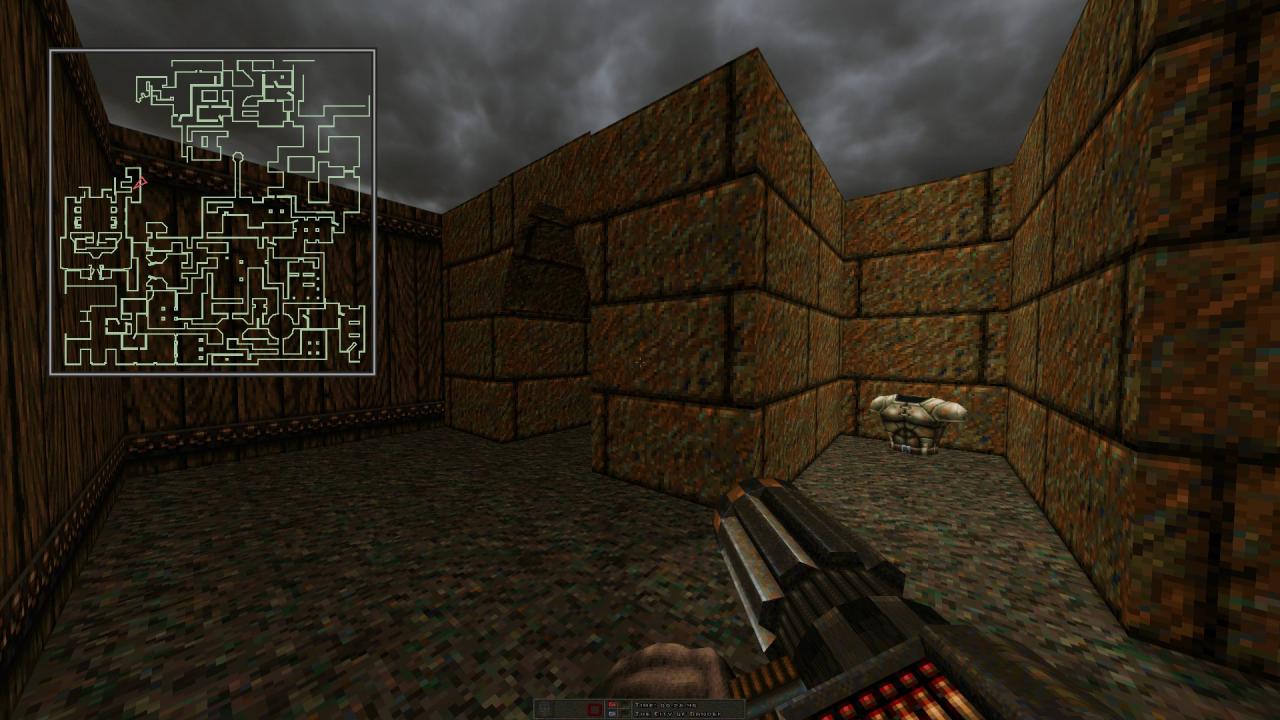
M09: THE CITY OF DANDER
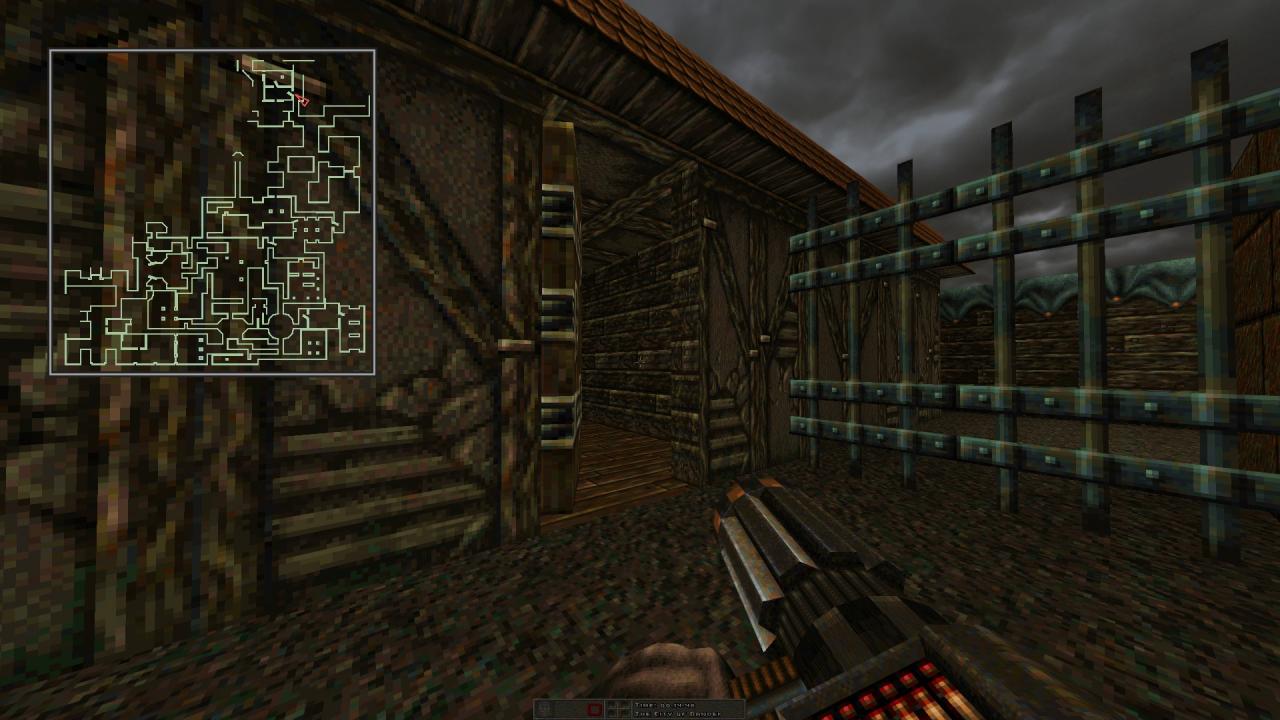
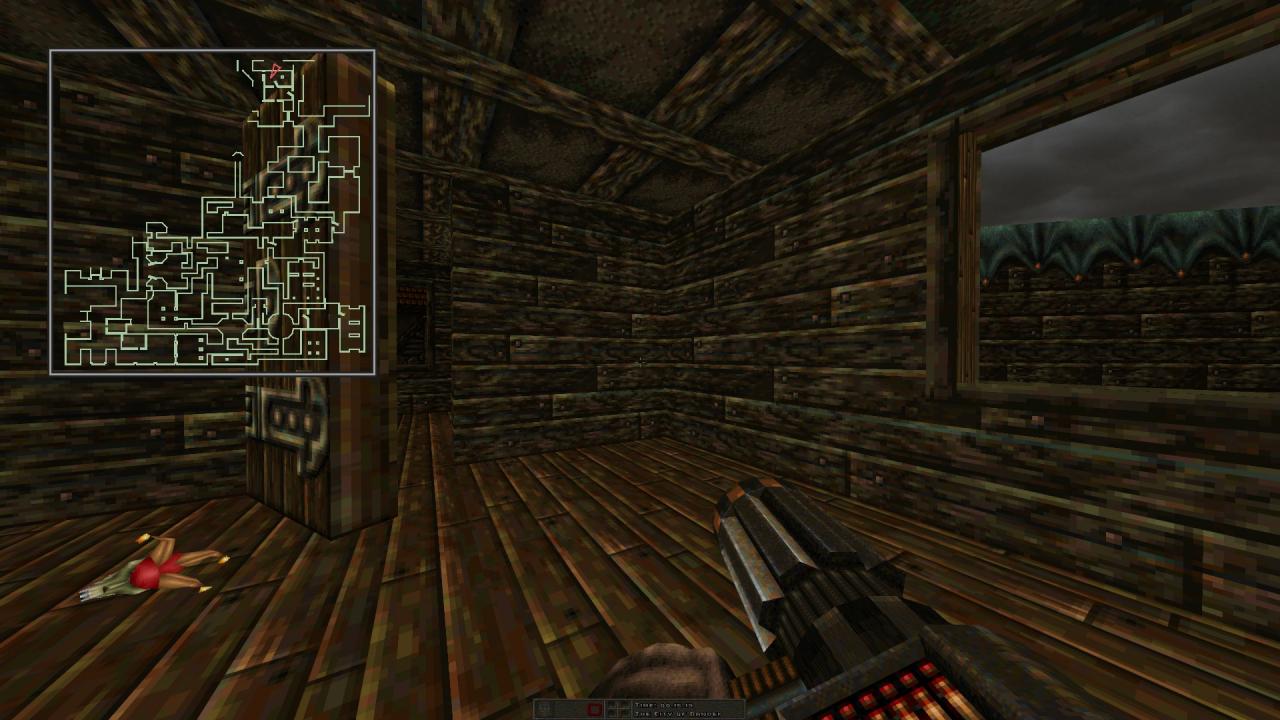
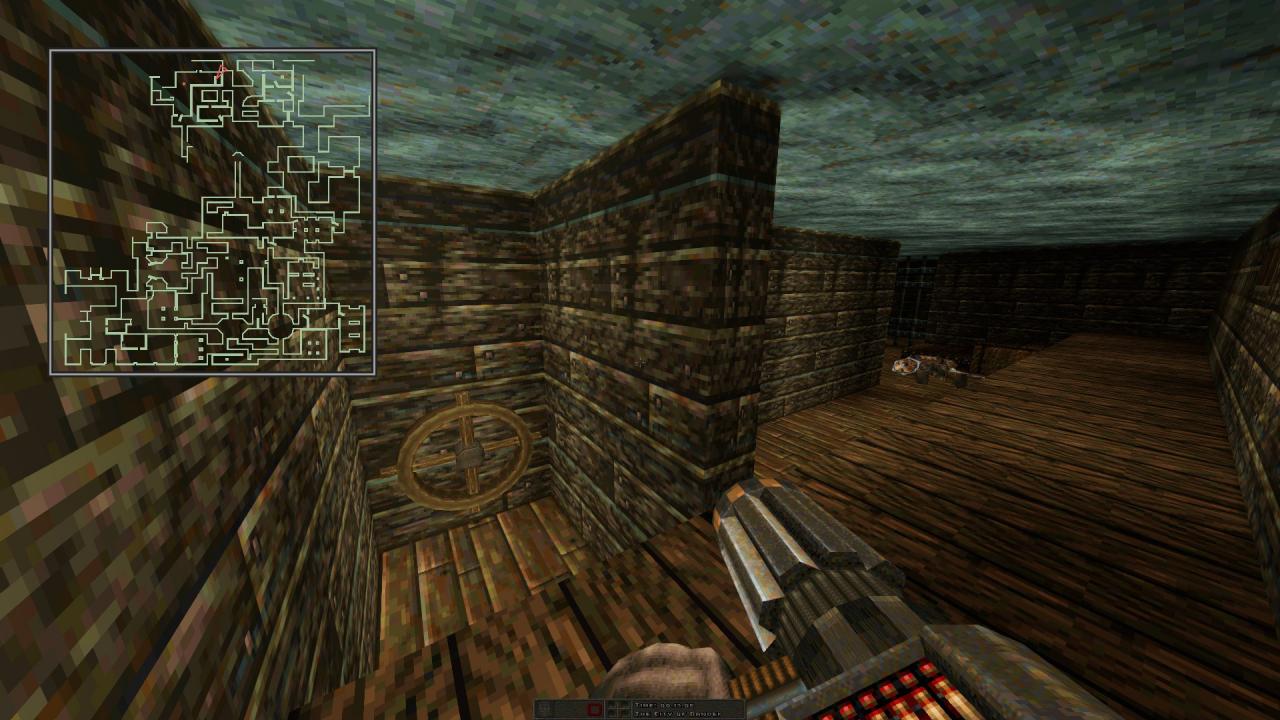
08 – Jump through one of the two windows found in the abode near the starting point to reach a rather expansive side area. Battle it out to the building at the very end housing two wheels to turn. Shoot the wall to the back of the final room to reveal a hidden compartment with an armor suit, a blade gun and lots of ammo inside.
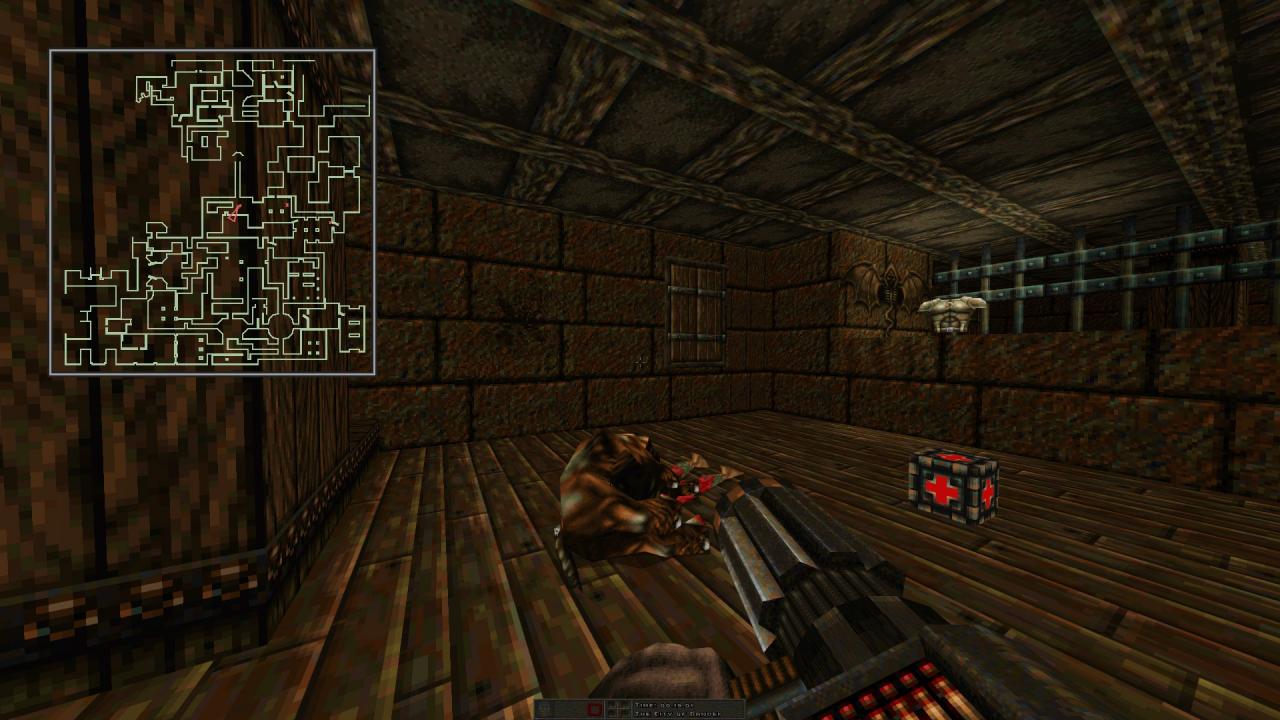
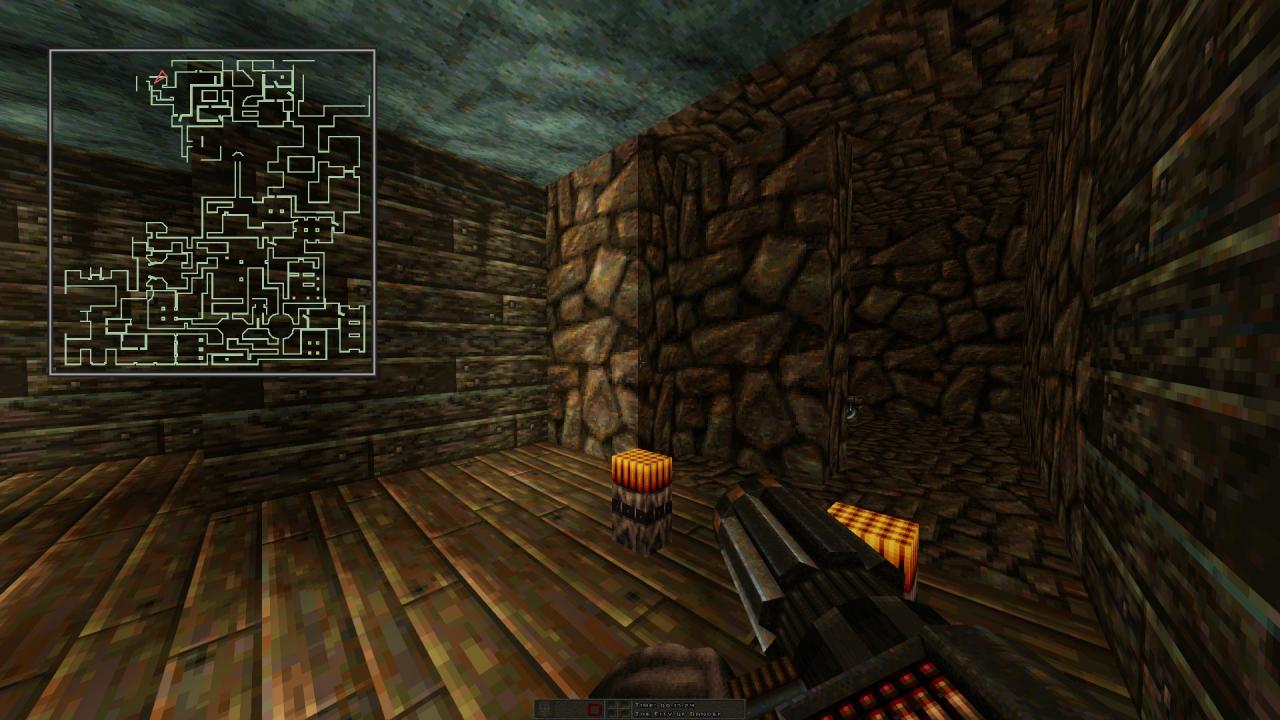
09 – Once you are in the inn, look for an armor suit on the lower floor. Destroy the damaged wall next to the stairs in the same room to find a mega destroyer and some ammo.
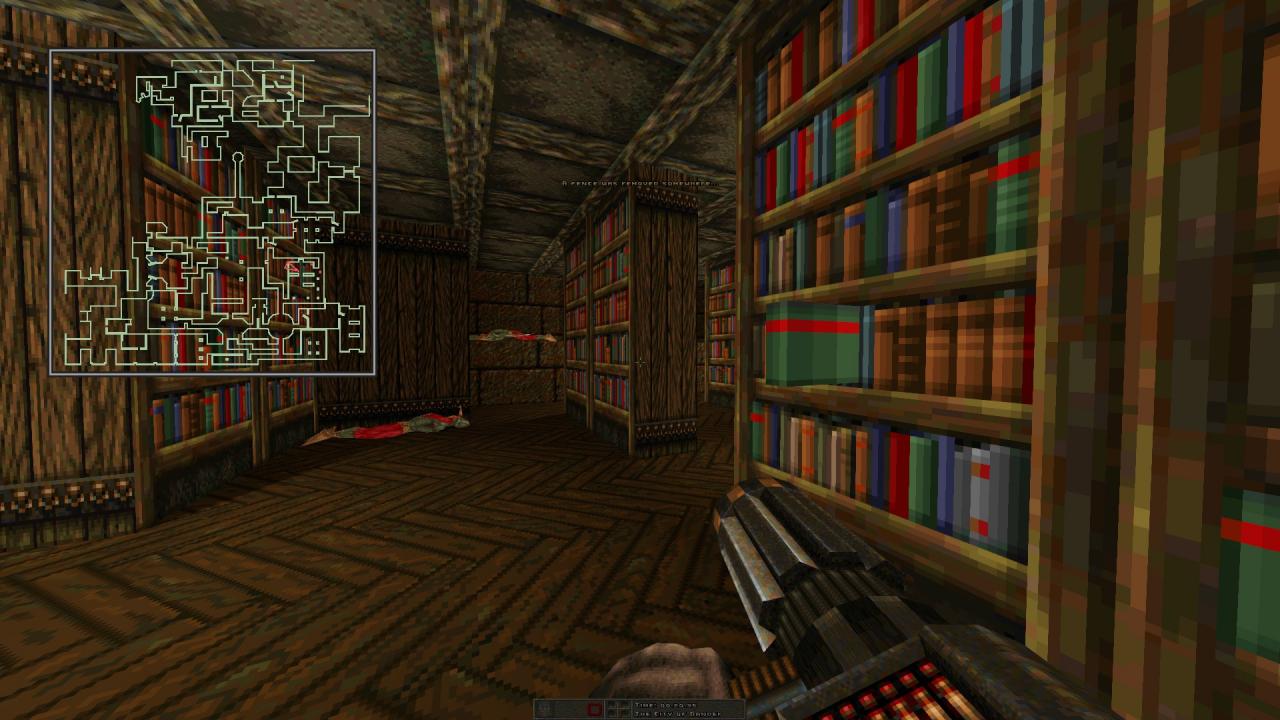

10 – Look for a book to pull in the library to open up the stash found in the nearby tunnels.
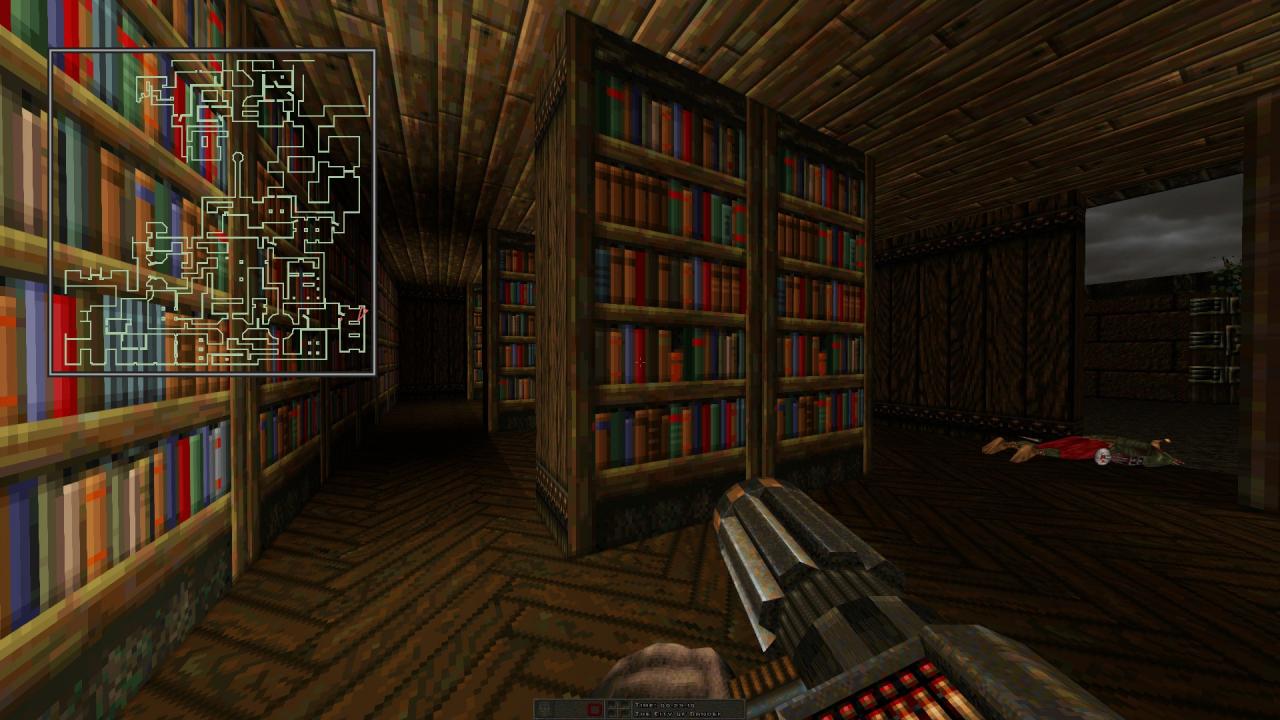
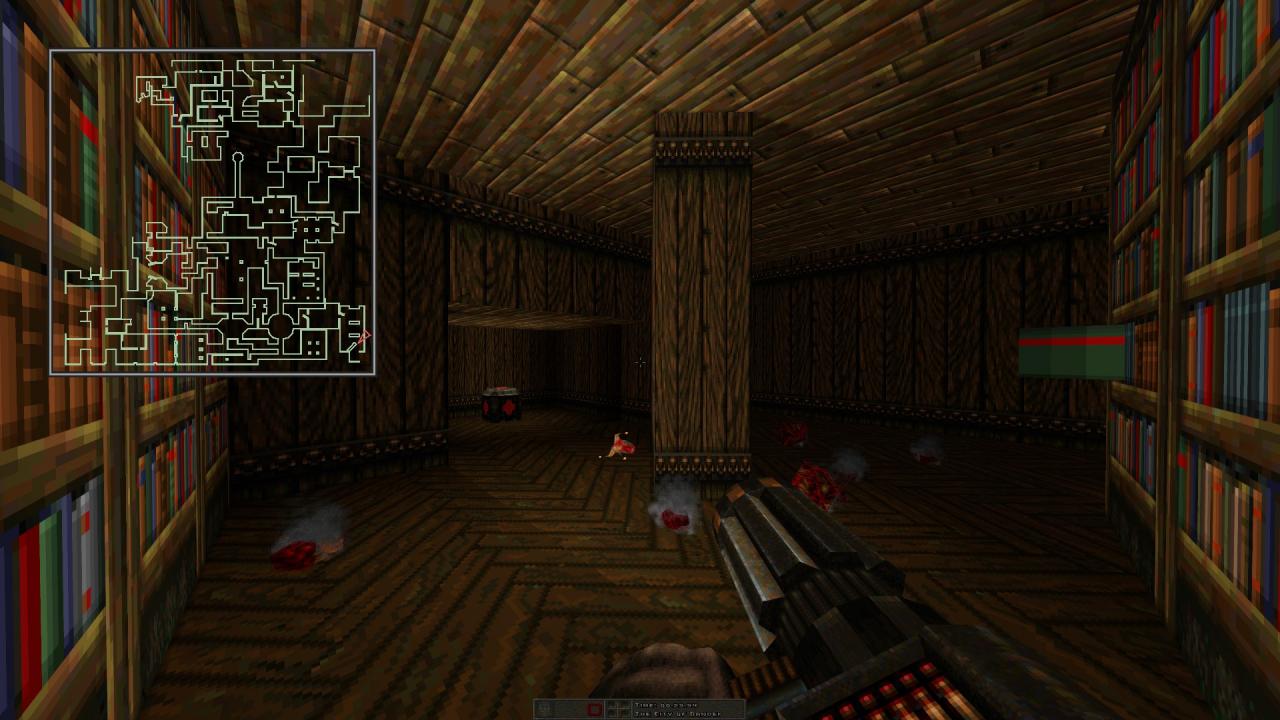
11 – Just as above, look for another book to pull in the second library you come across to reveal a hidden compartment with a double health inside.
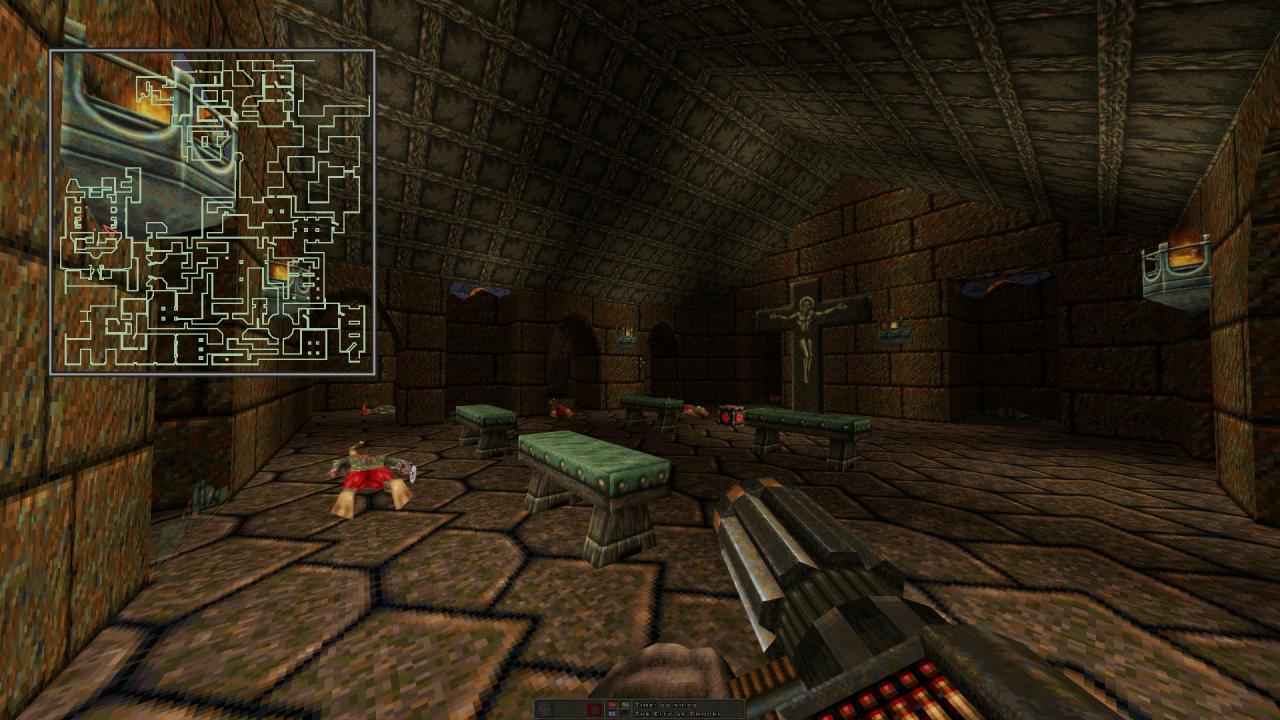

12 – Once in the temple, look for a crucifix in the same room with the key to the city gates. Press it allow access to the nearby armor suit.
—
M10: THE FORTRESS OF DESOLATION
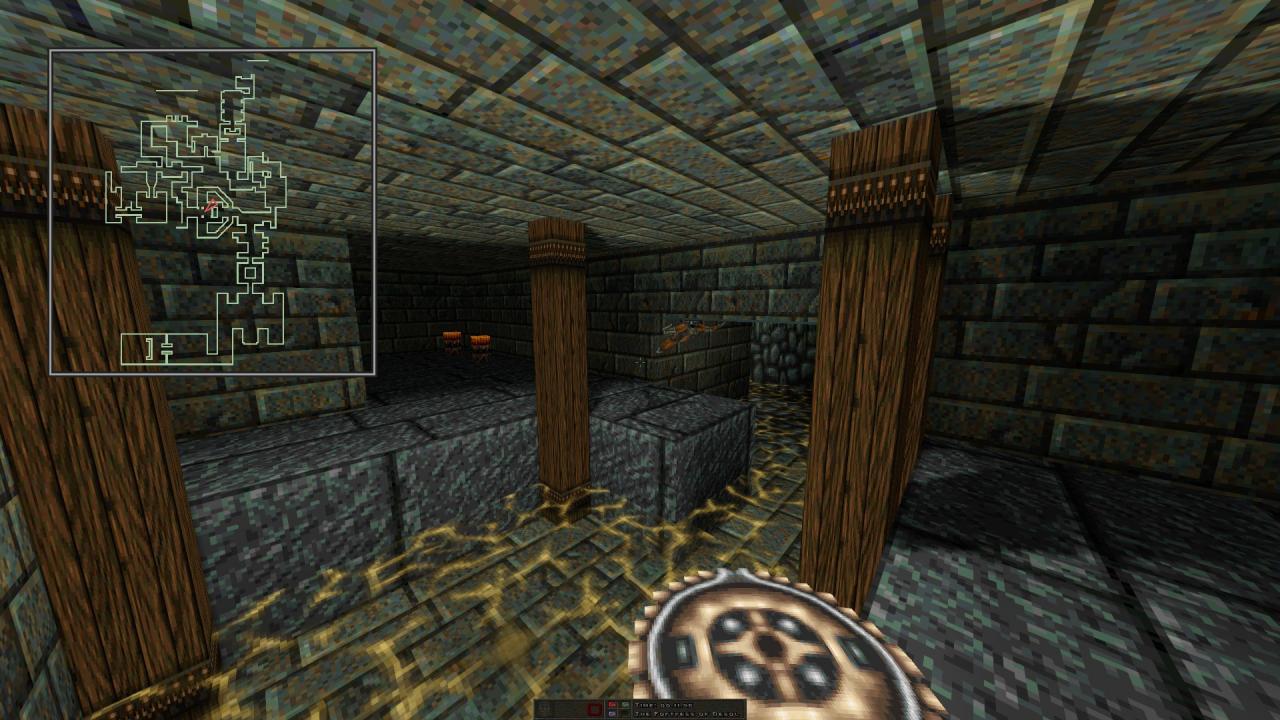
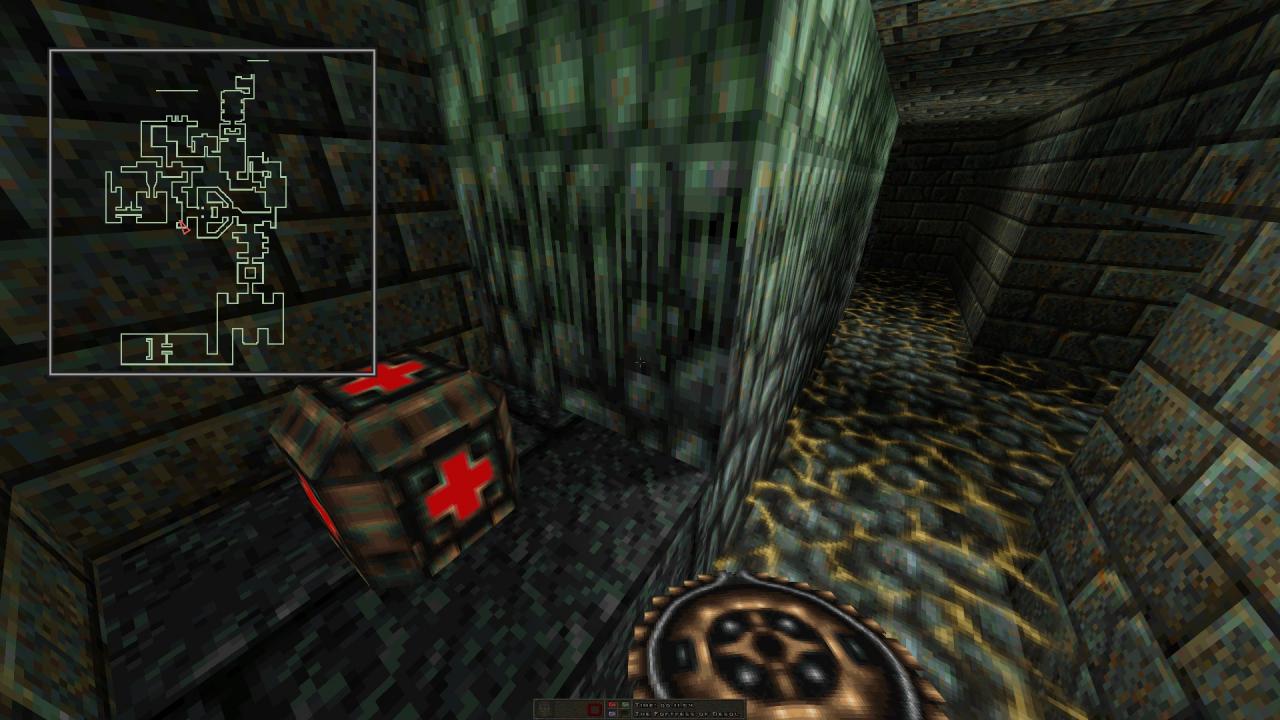
13 – As soon as you drop down to the waste tunnels, turn left and grab the double health.
—
M11: SUBTERRANEAN HORROR

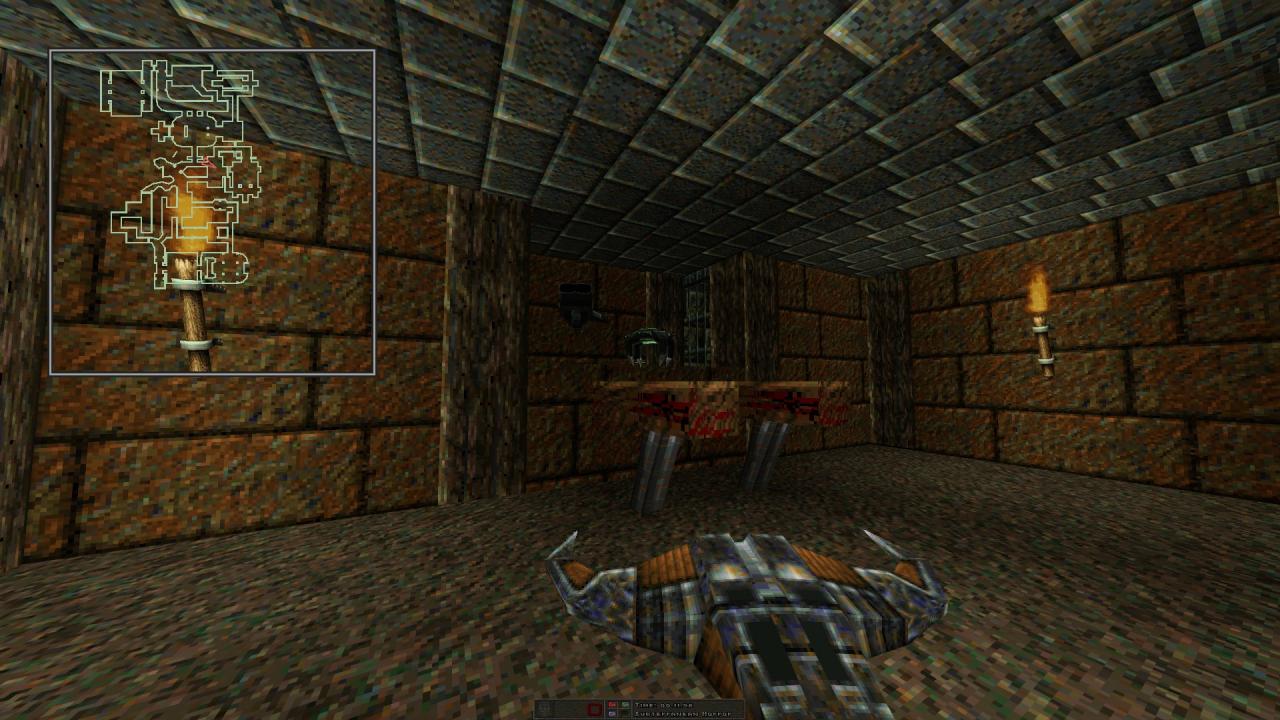
14 – Pull the lever found before the silver key door and return to the adjacent room to pick up the now accessible mega destroyer and some ammo.
—
M12: PHANTOM’S KEEP

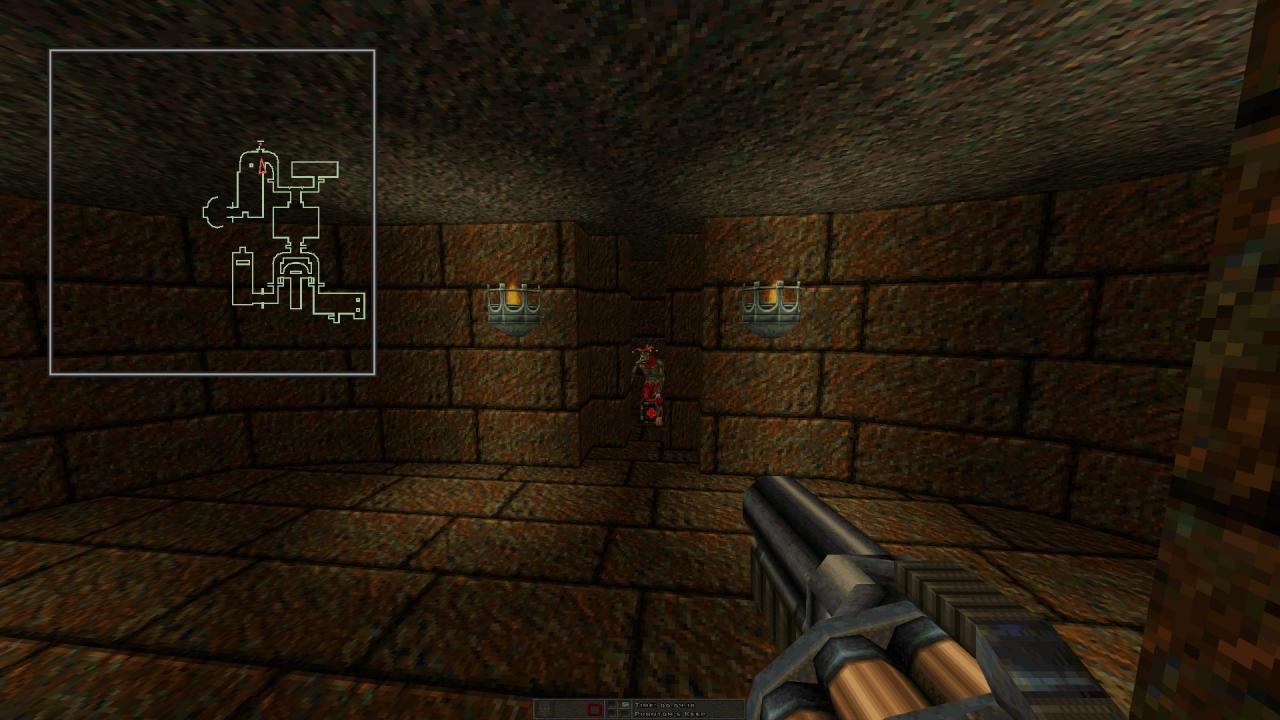
15 – Just before passing the bridge that leads to the boss, turn around and shoot the part of the wall between the two torches to reveal a hidden alcove.
E4: The Stronghold of Evil
M13: THE WEIRD DIMENSION
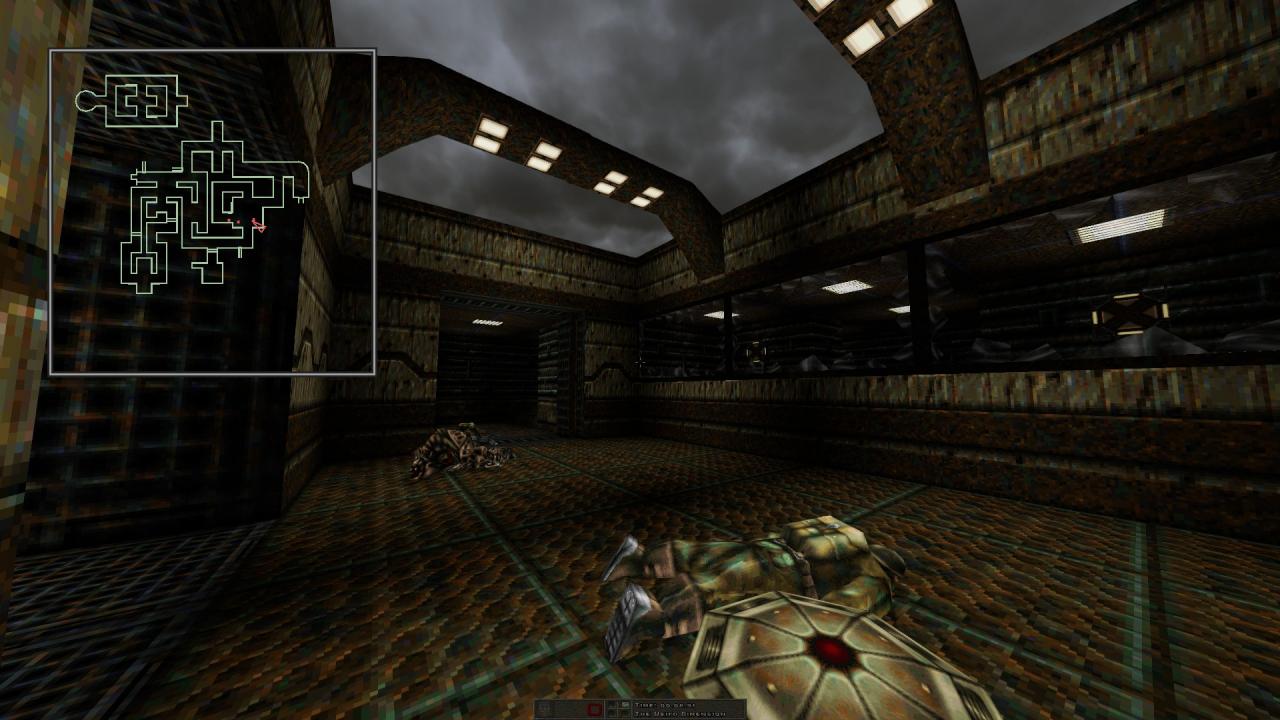
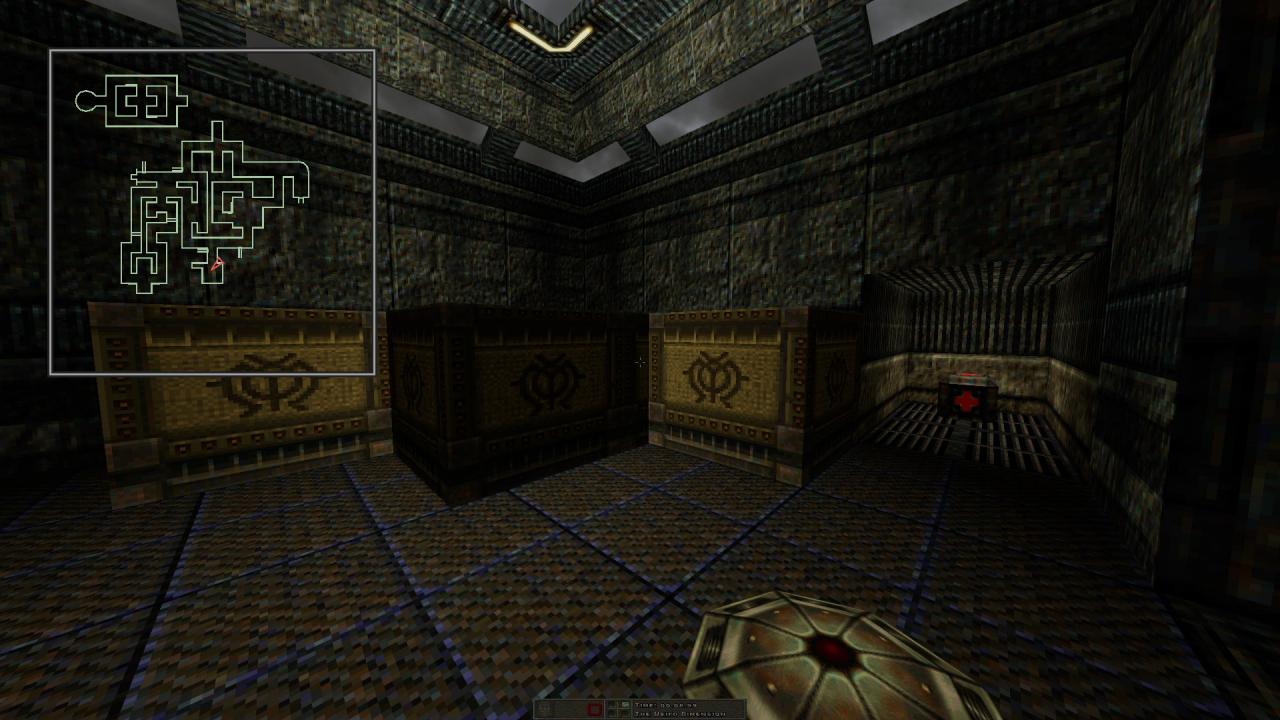
16 – Right after shooting the two switches required for progression, return to the starting room and pick up the newly revealed double health.


17 – As soon as you are outside, turn right and shoot the panel at the end of the hall to reveal a reflector power-up.
—
M14: FORSAKEN IN TIME

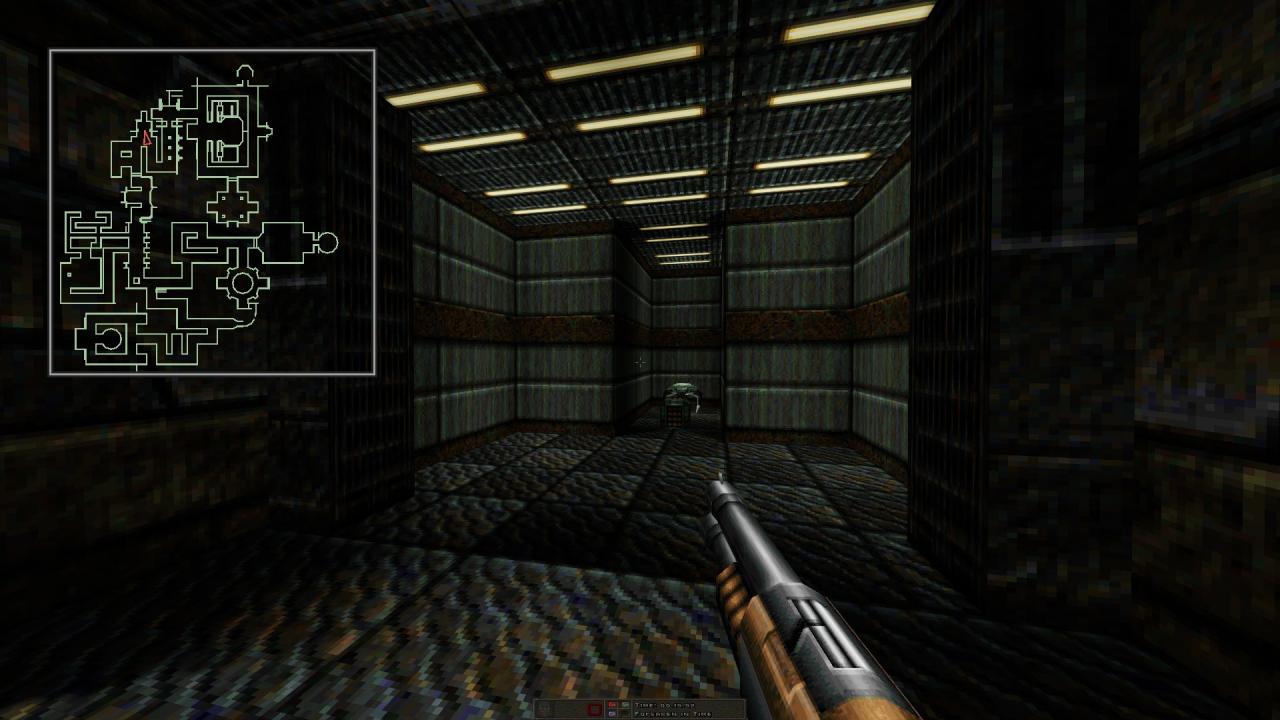
18 – Two scorpions come out of the closet behind it as you pick up the super shotgun near the starting area. Kill them and shoot the panel in the middle to reveal a stash of ammo.
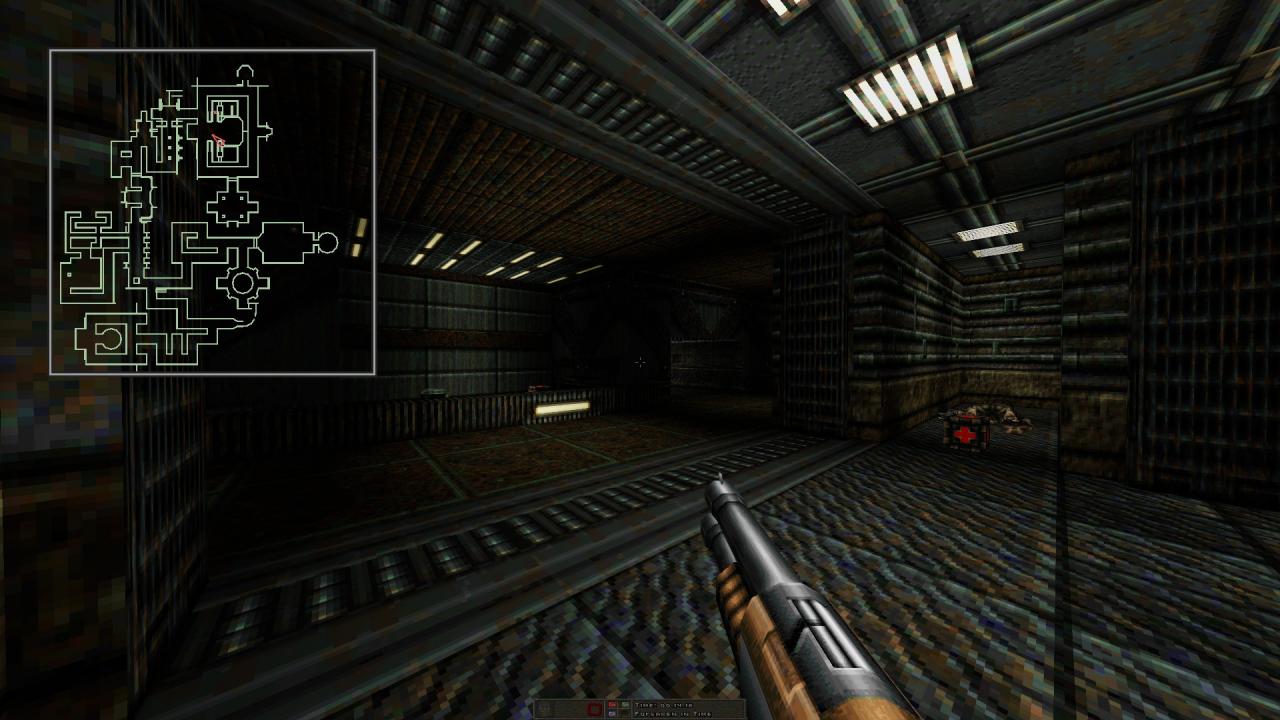
19 – After making your way out of the red keycard maze, a nearby compartment with a double health inside becomes accessible.
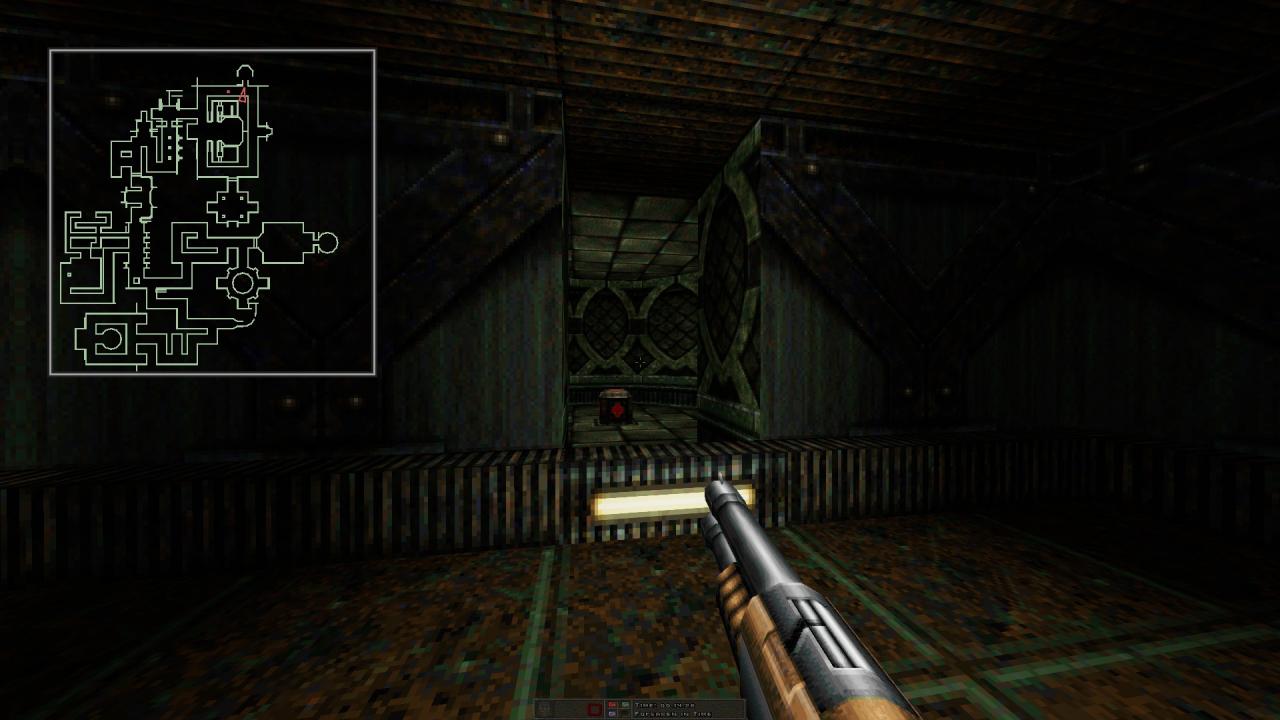
20 – In the room with the circular pillar, shoot the panel next to the switch to reach the armor suit residing behind the fan.
—
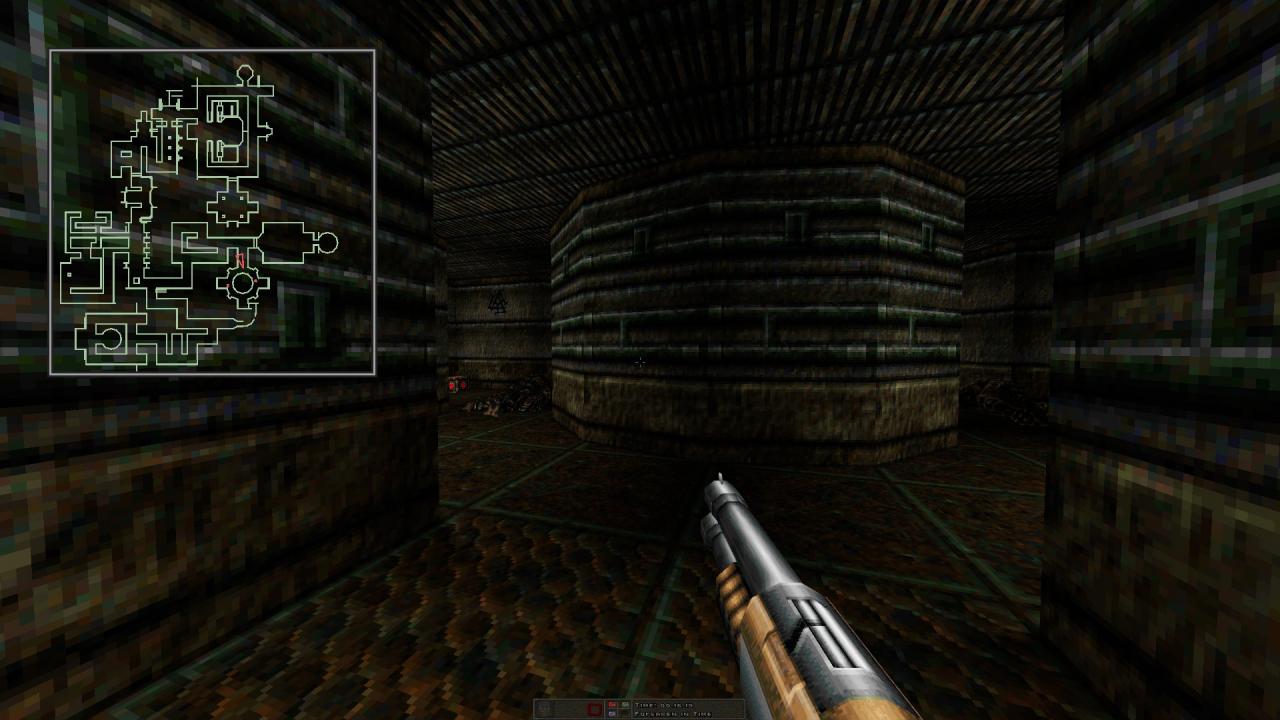
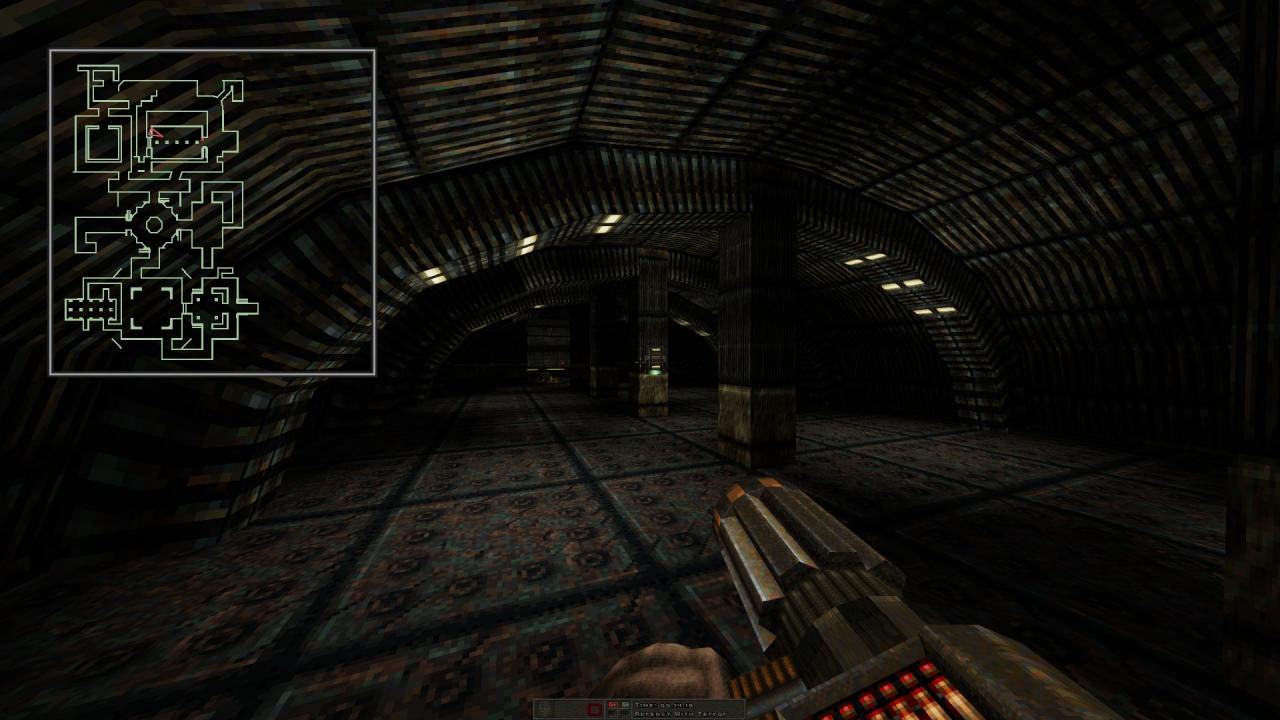
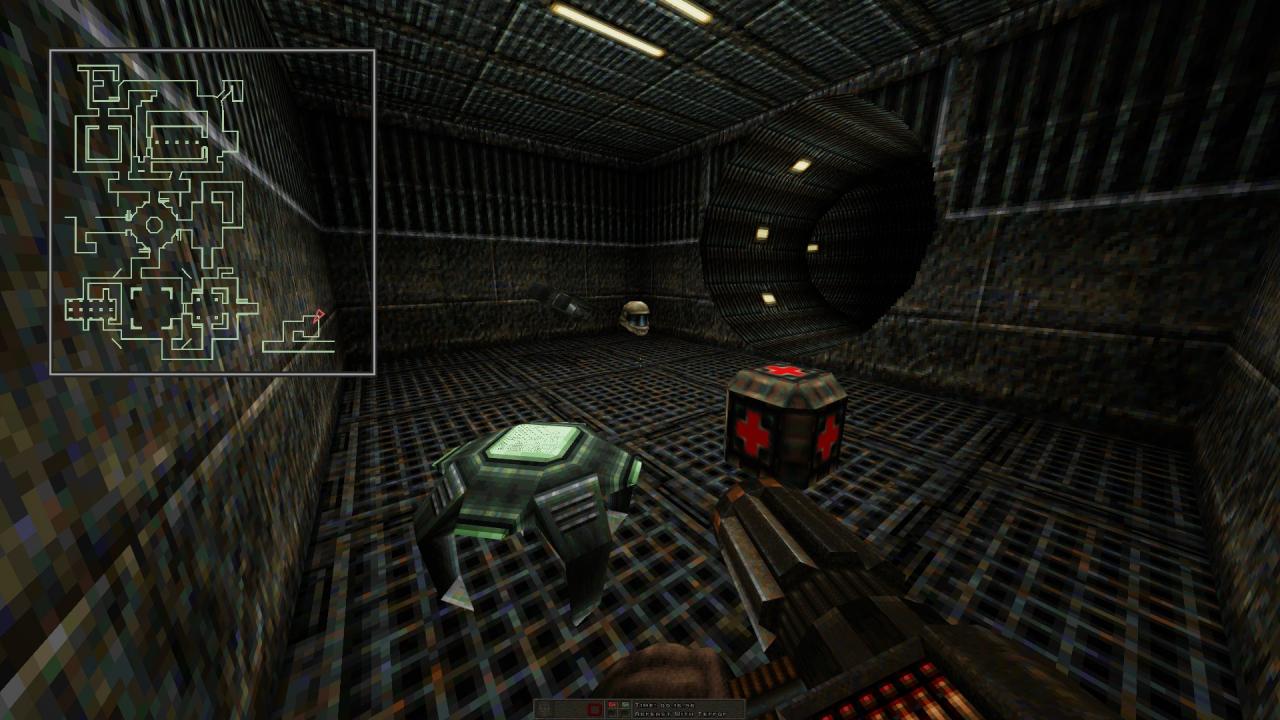
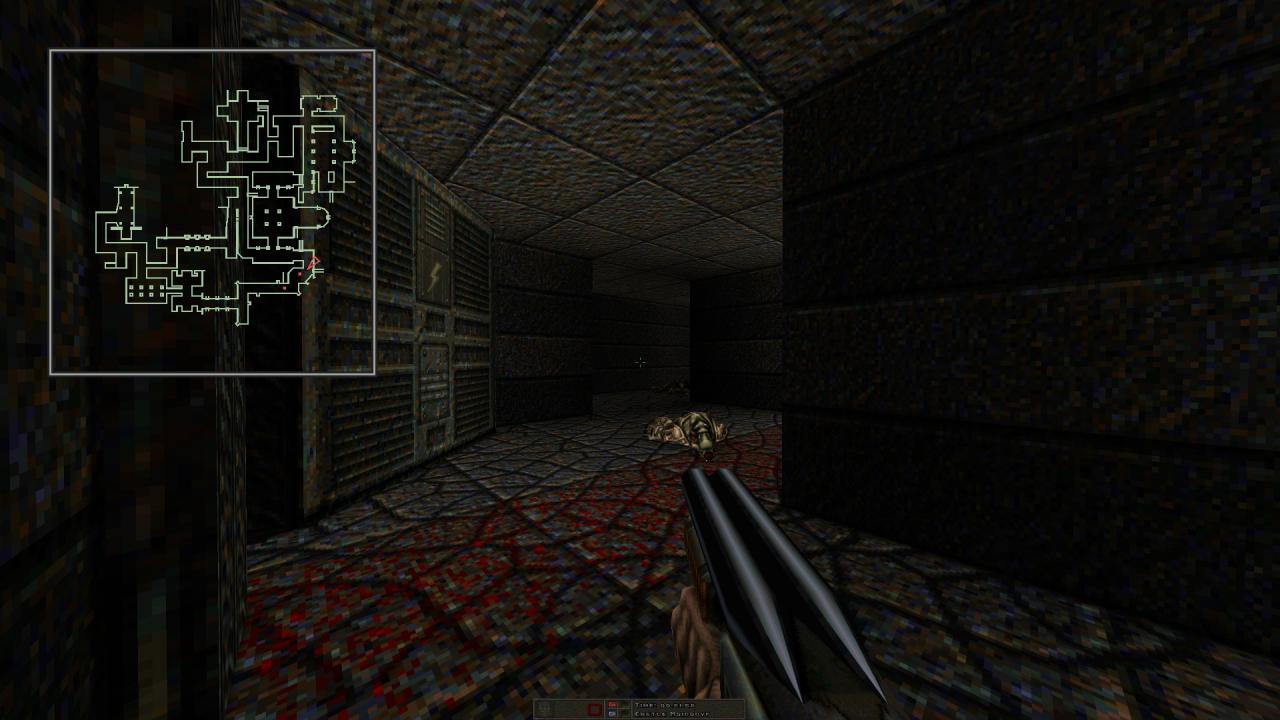
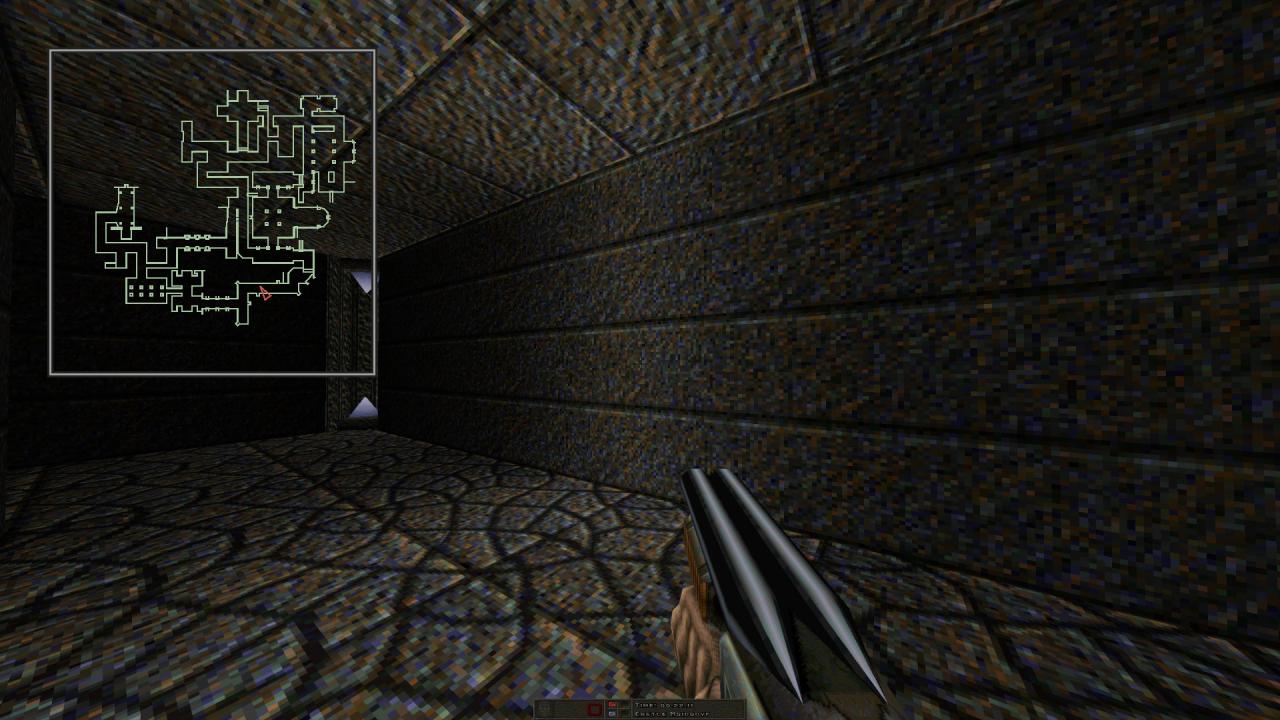
M15: ABREAST WITH TERROR
21 – In the hall with crates, jump over the barrels stashed in the corner to find a hidden chojin mask power-up and a box of shells.
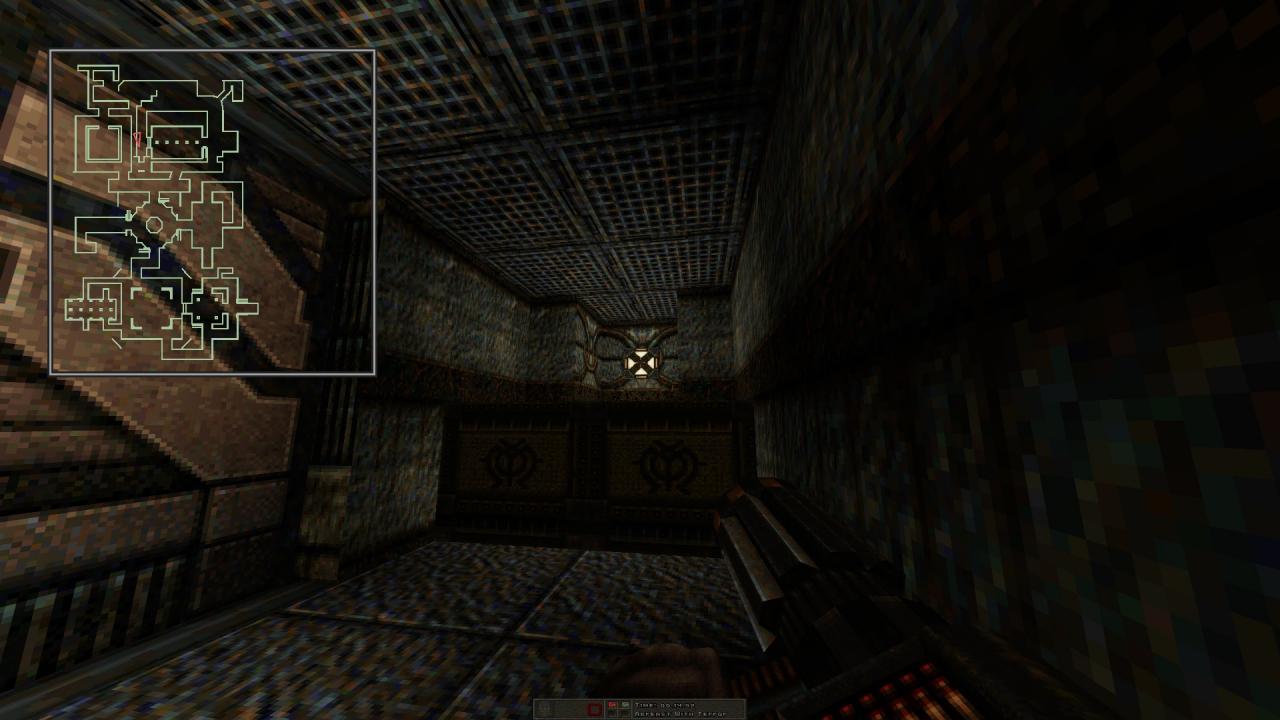
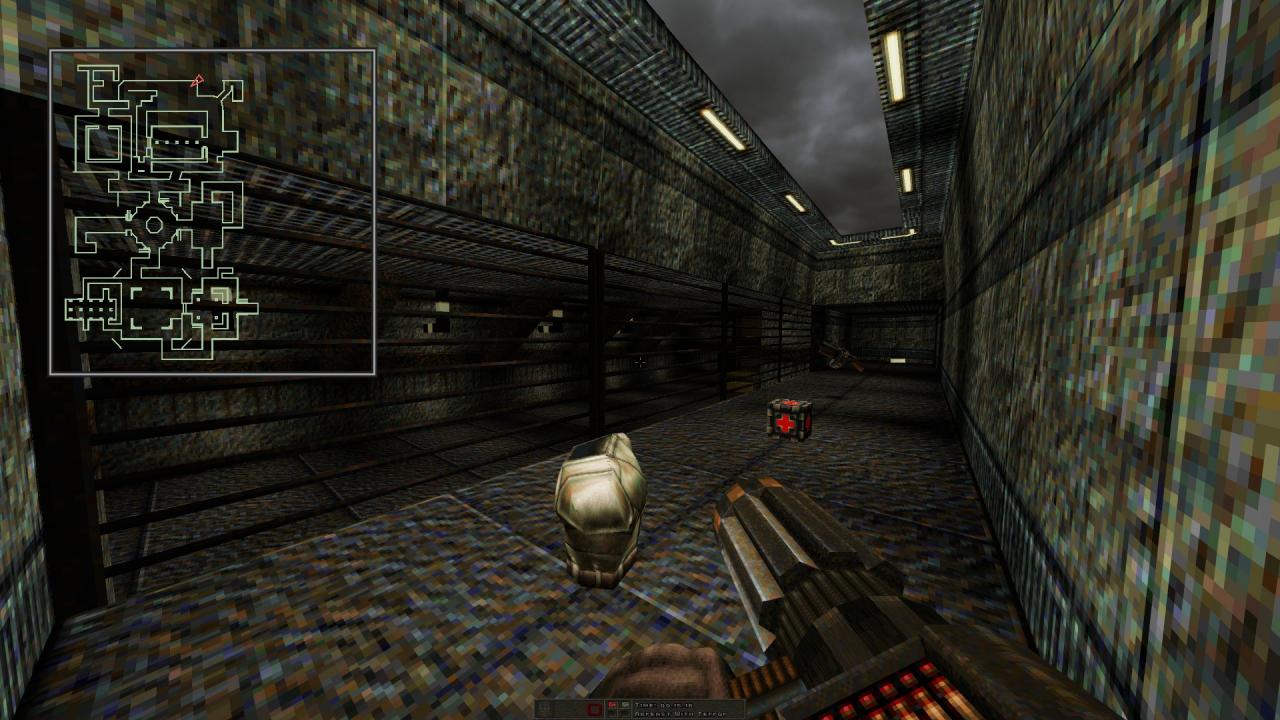
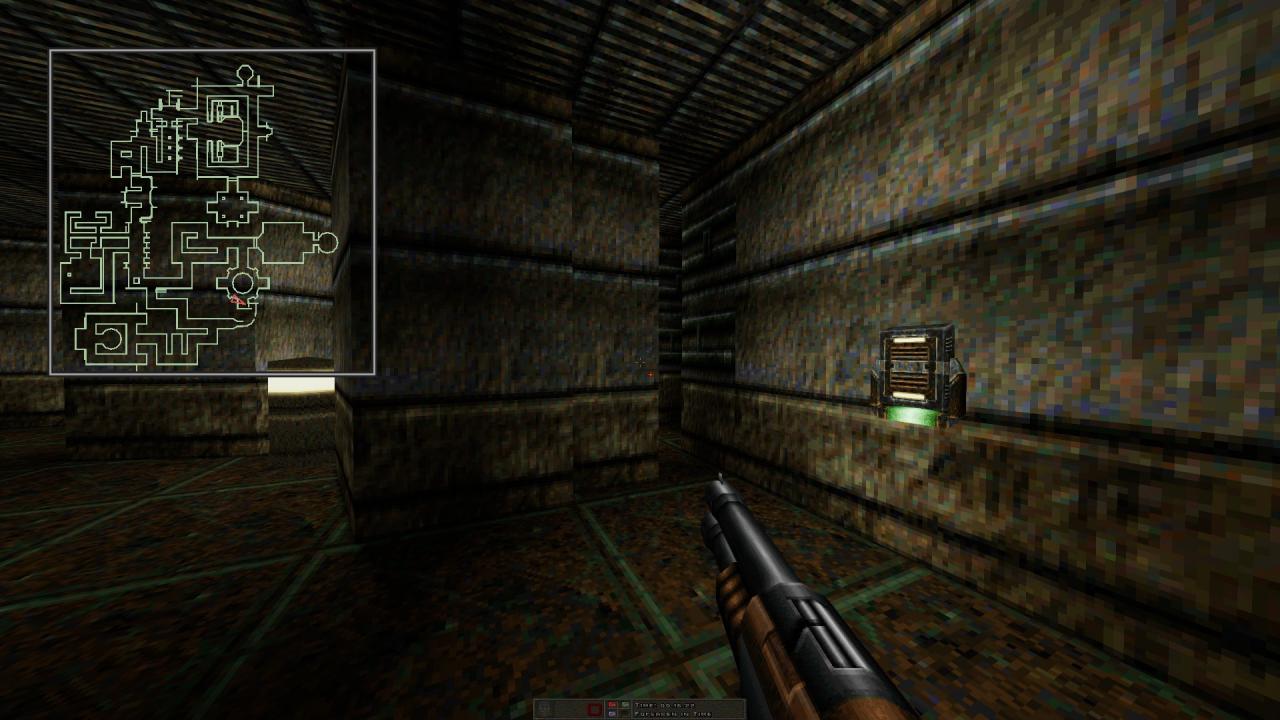
22 – Still in the same area, go through the crate filled hall once more after pulling the switch found in the central room. Shoot the newly revealed switch above the two crates at the very end. Return to the teleporter hub and step into the northeast one to reach a side area with an armor suit, a grenader and a health pack.
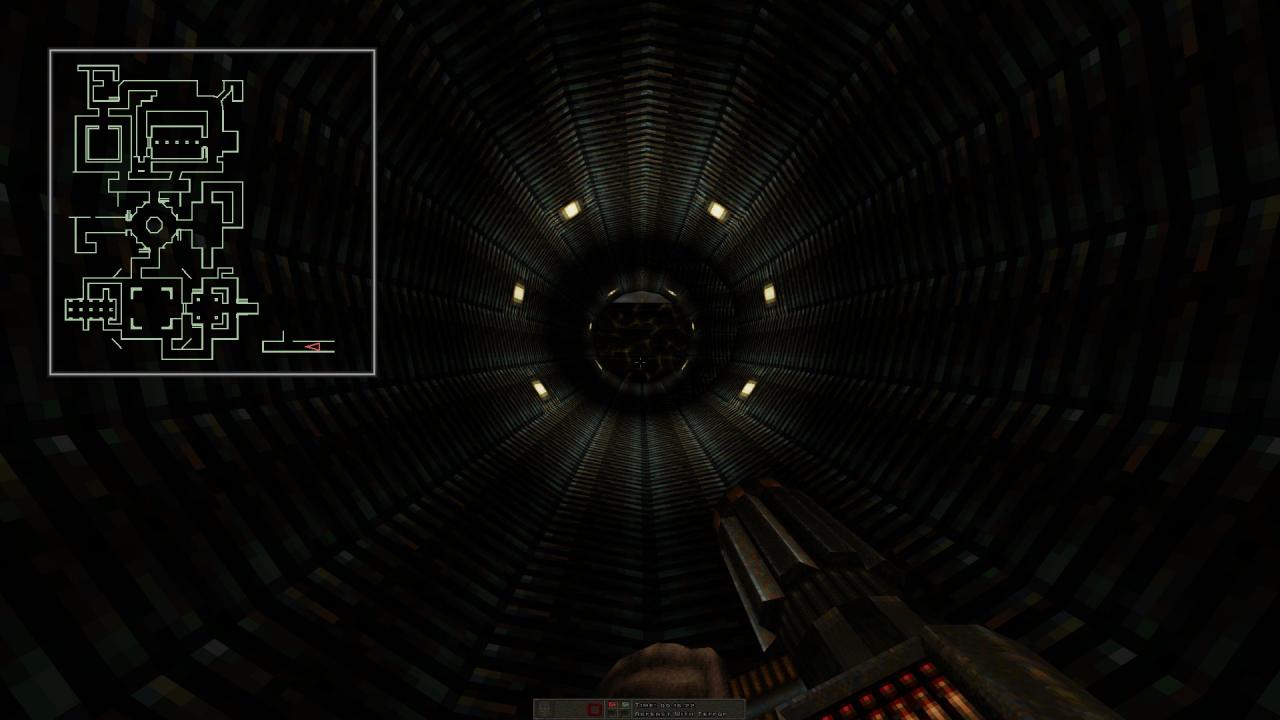
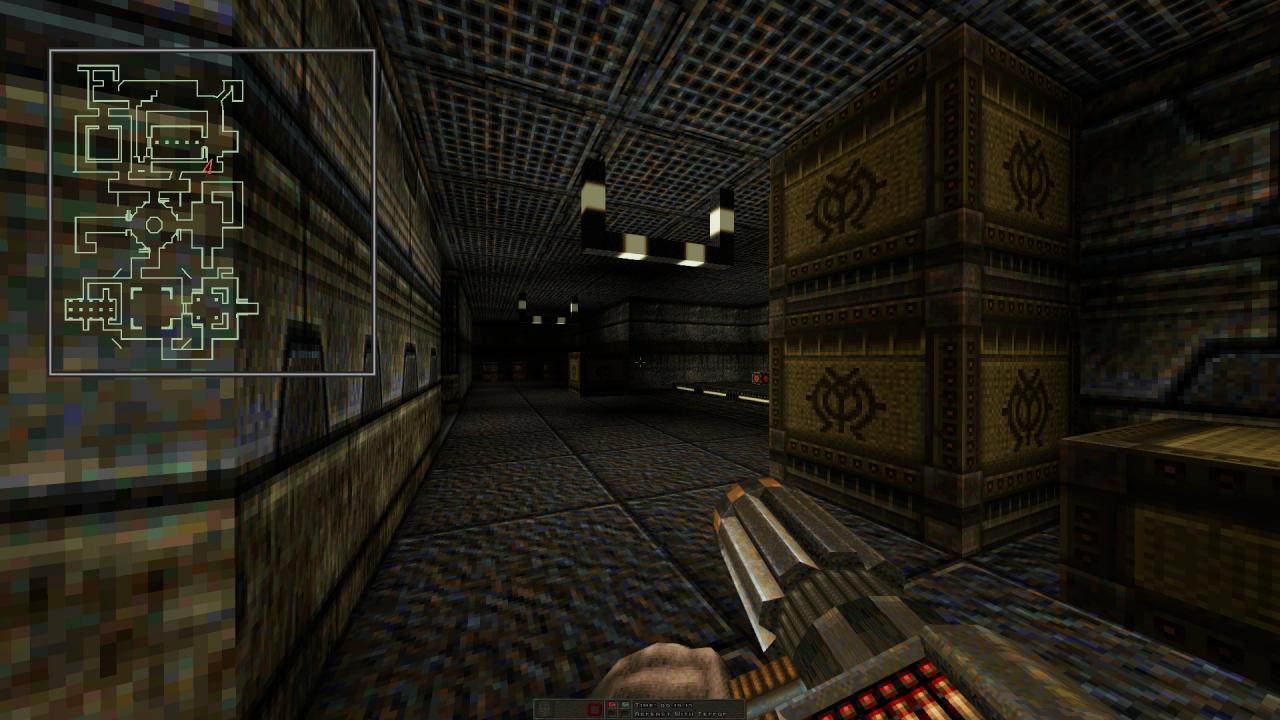
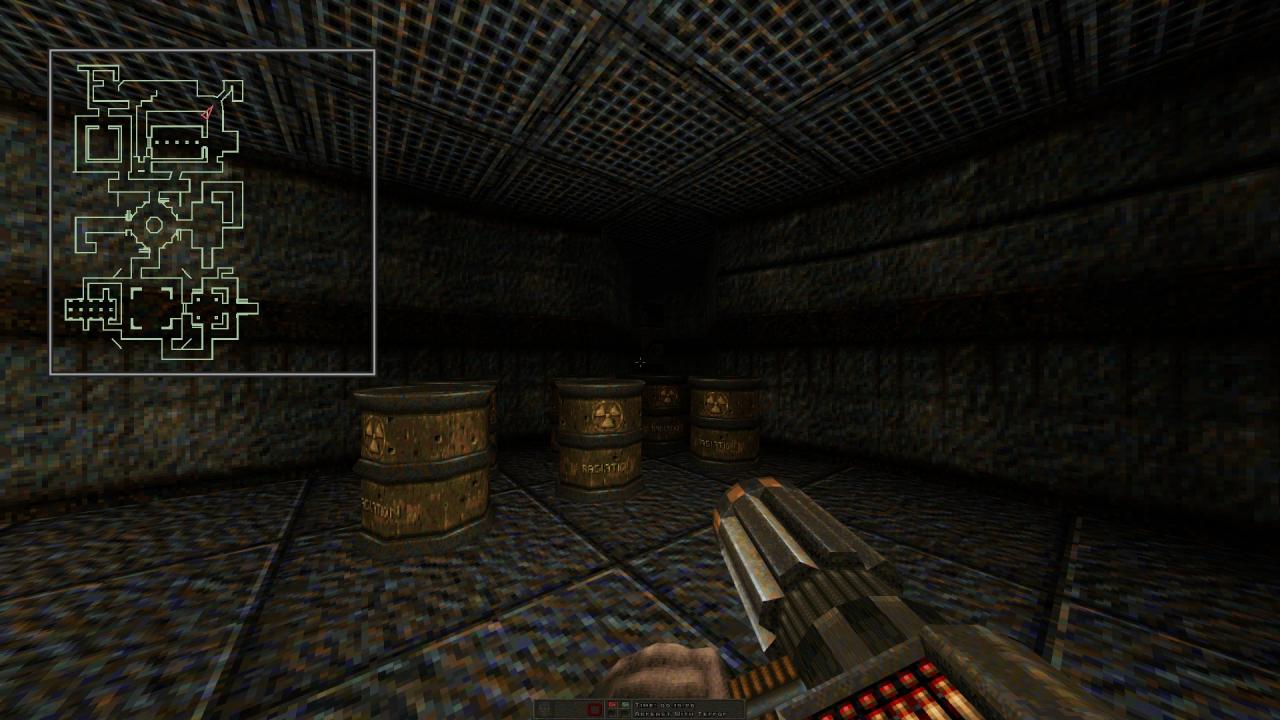
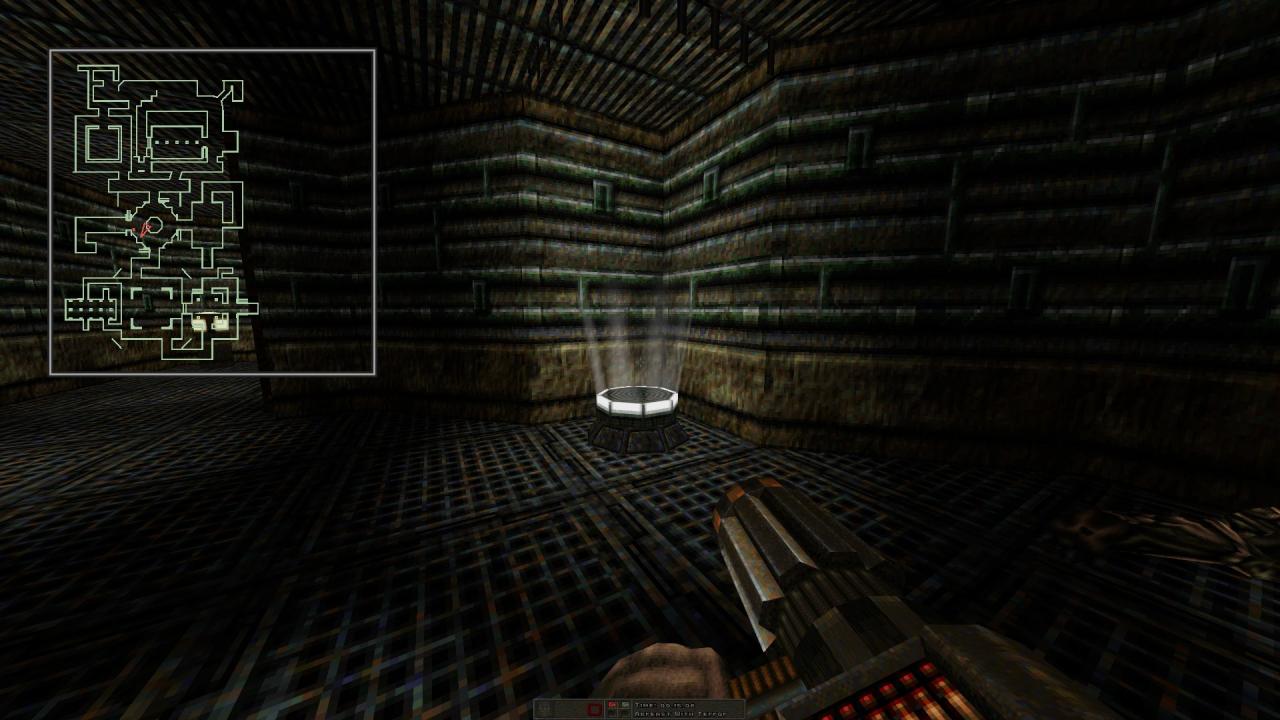
23 – Once more in the teleporter hub, this time go through the southeastern portal and stick to the right wall as you are sucked through the vacuum to reach a hidden stash.
E5: Expansion Pack
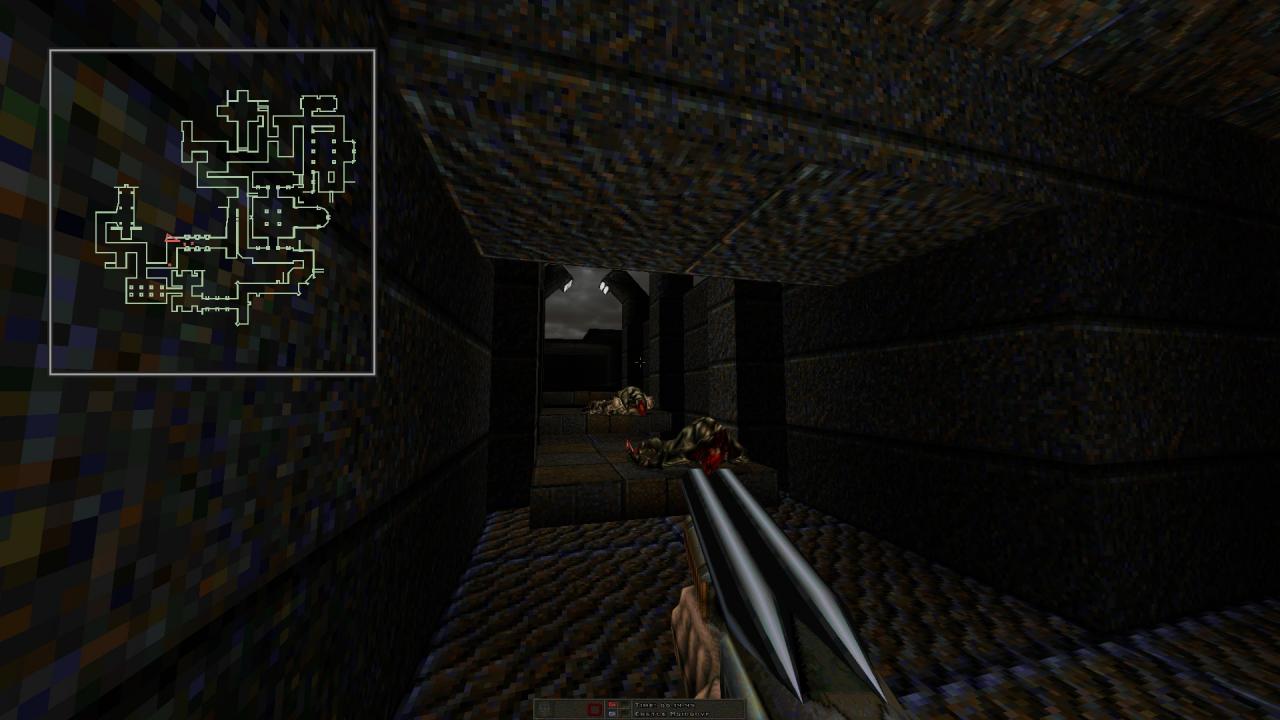
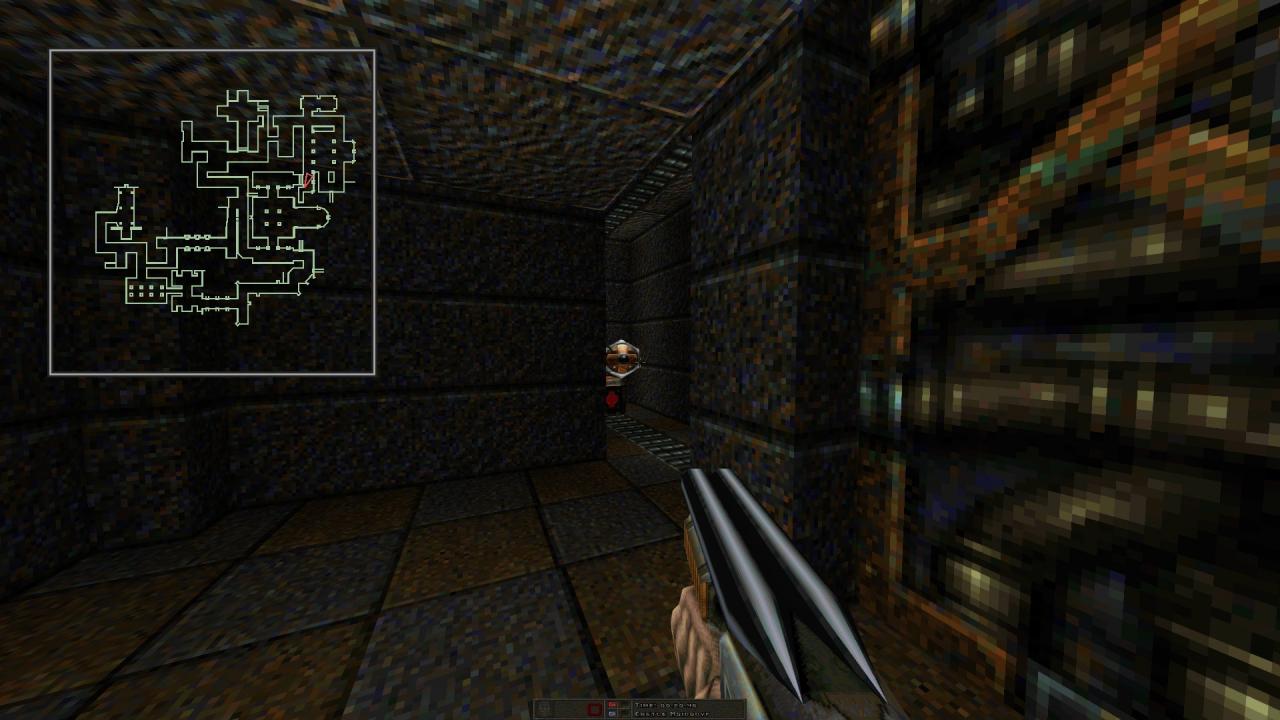
M18: CASTLE MOIDODYR
24 – As you traverse southeastern corridor, shoot the lit part of the wall to your right to reveal a hidden room with a chojin mask power-up and some ammo.
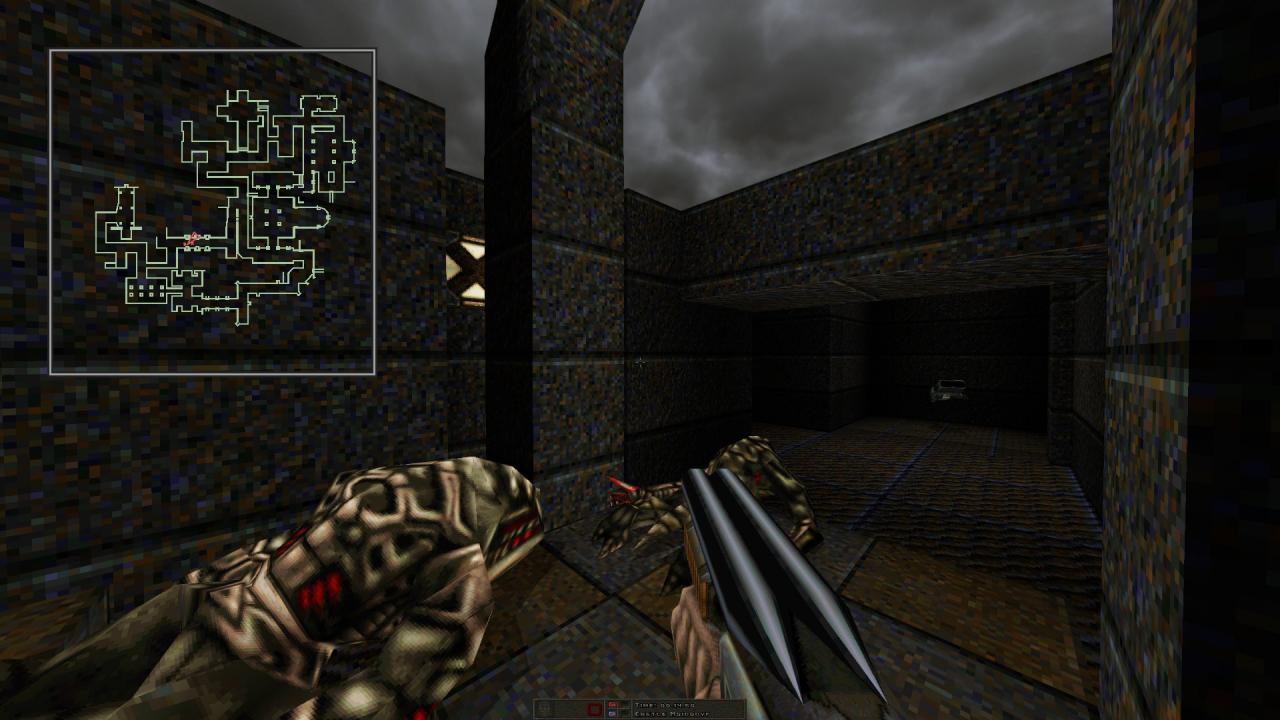
25 – As you ascend the stairs that lead to the red keycard, look for a switch to your right and shoot it to reveal a hidden compartment in which a mega destroyer resides.
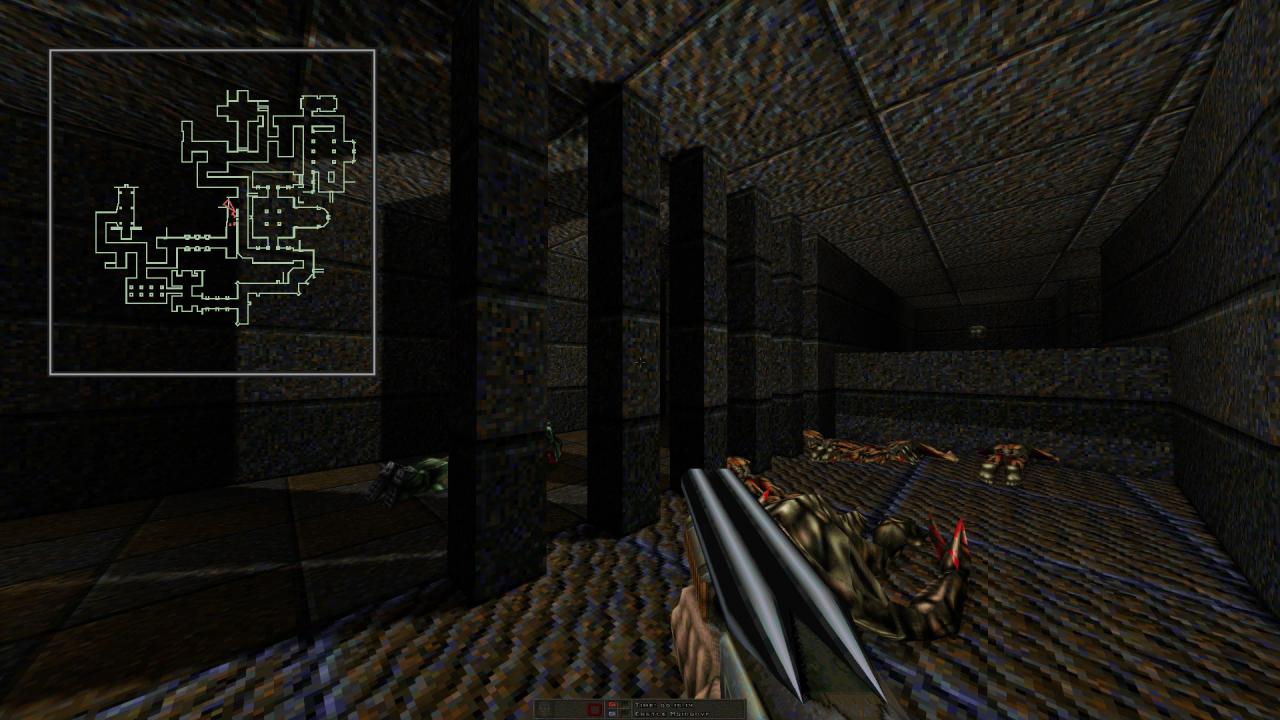

26 – Picking up the red keycard triggers an ambush from behind. The closet in question also has an invisibility power-up within. Make your way back to the floor above and grab it.
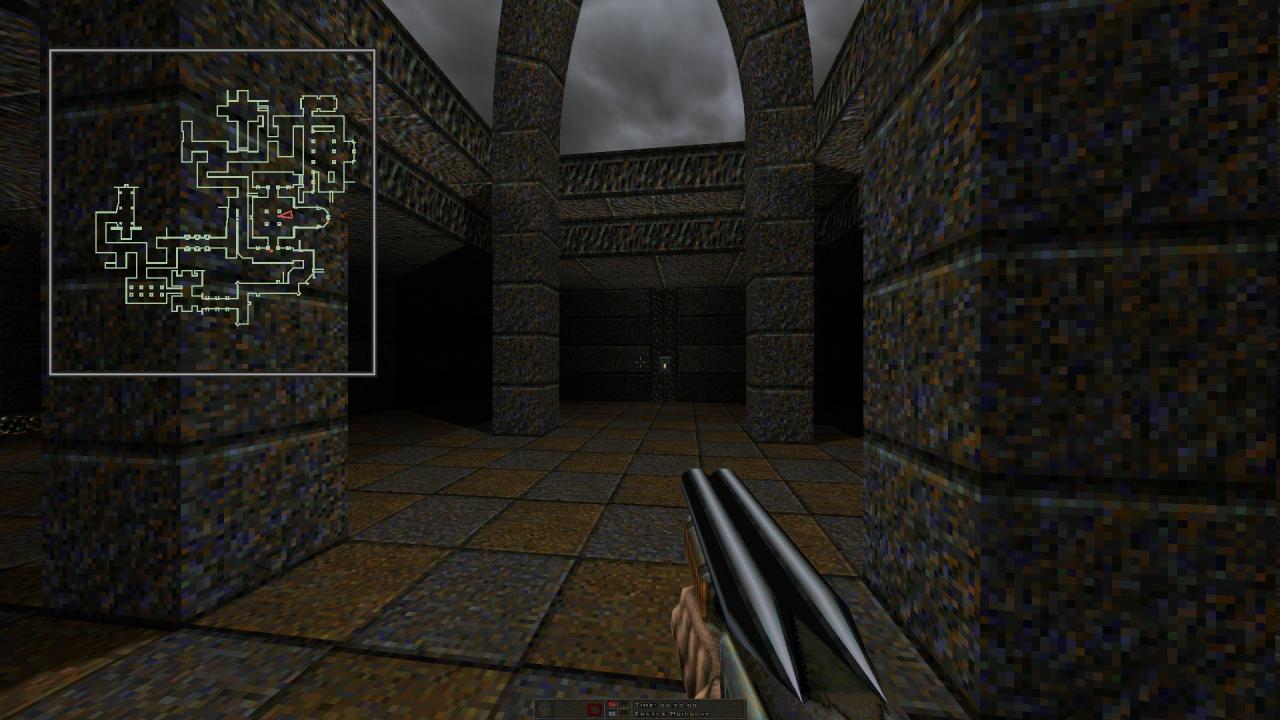
27 – Before exiting the level, pull the lever in the same room once more and make your way back to the starting area through the northern halls. The stash that is otherwise barred by the door should now be accessible.
—
‘Neither the hordes of terrible creatures that surrounded the High Priest Bonifaciy nor his deadly magic powers have saved him from his destiny…’
Thanks to erc for his great guide, all credit to his effort. you can also read the original guide from Steam Community. enjoy the game.
Related Posts:
- Chasm The Rift: All Weapon and Enemy Stats
- Chasm The Rift: All Cheat Codes
- Chasm The Rift: How to Dismember Enemies Consistently