This guide will show you how to host your bot on heroku easily.
Exporting your bot to Node.js
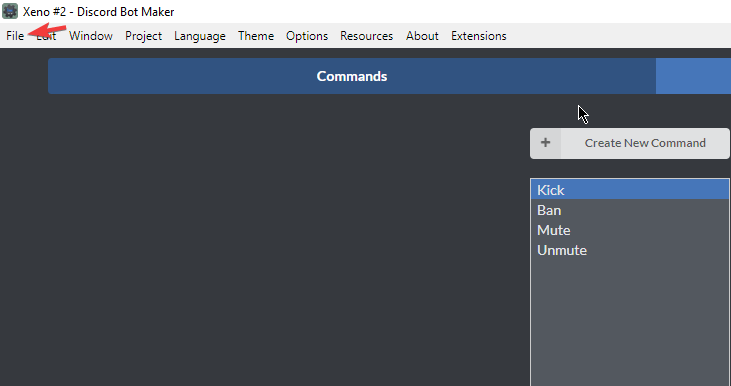
Firstly, you want to locate the file button
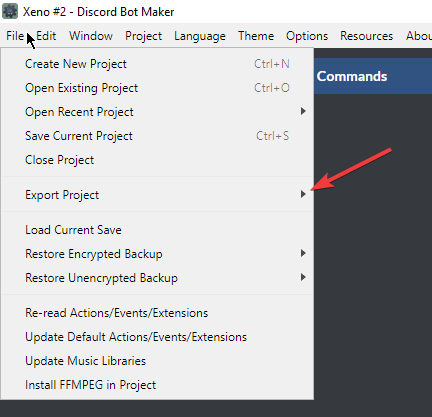
Next, you want to find “Export Project”
Then press export to Node.js
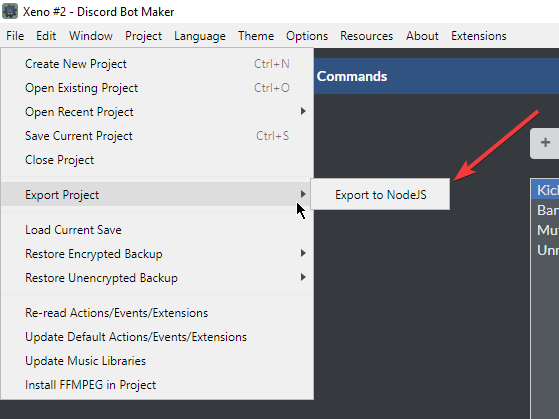
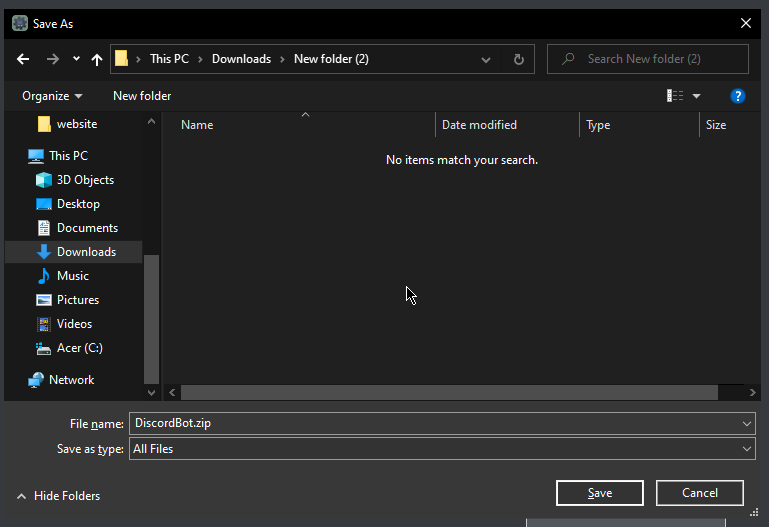
Save the file to anywhere you would like. Make sure to leave it open as we will come back to it later.
Next, you want to find “Export Project”
Then press export to Node.js
Save the file to anywhere you would like. Make sure to leave it open as we will come back to it later.
Setting up Github.
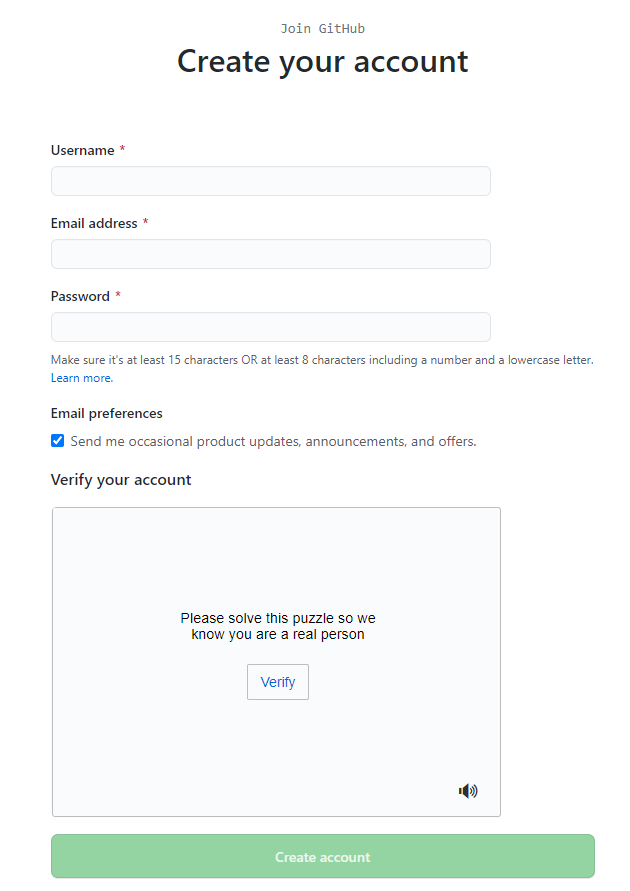
After you have saved your Discord bot as a .zip file, head to https://github.com/login and create a new account.
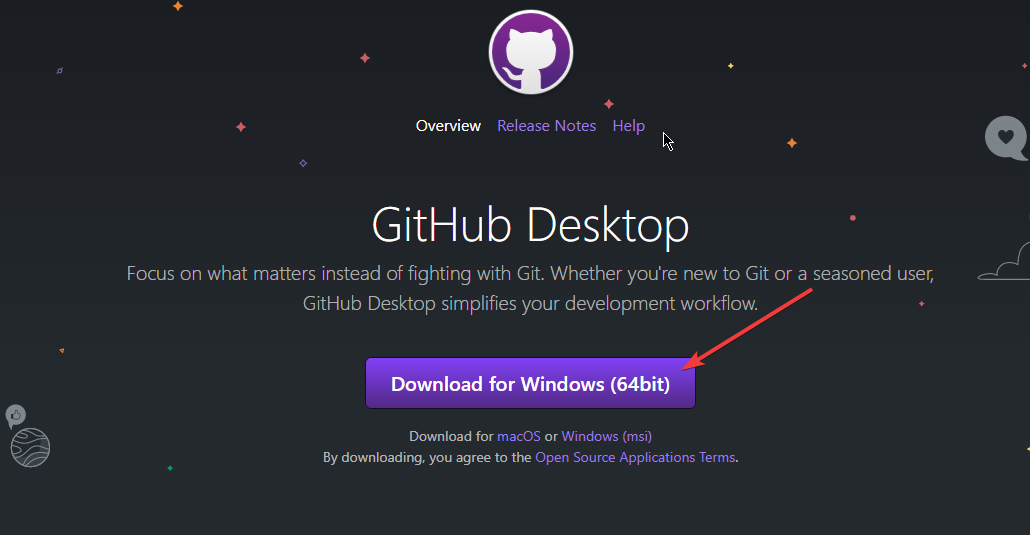
Before making a repository you will need to download Github desktop from https://desktop.github.com/
After installing Github desktop, simply run the file and it will download Github desktop automatically!
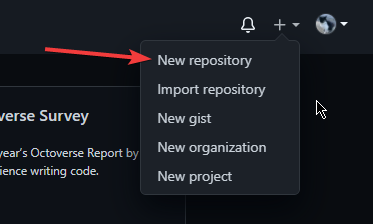
After you have downloaded Github desktop, go back to https://github.com/, click the plus on the top right of your screen.

Then click “New repository”
Name your project whatever you’d like. Setting your repository to private is extremely important!
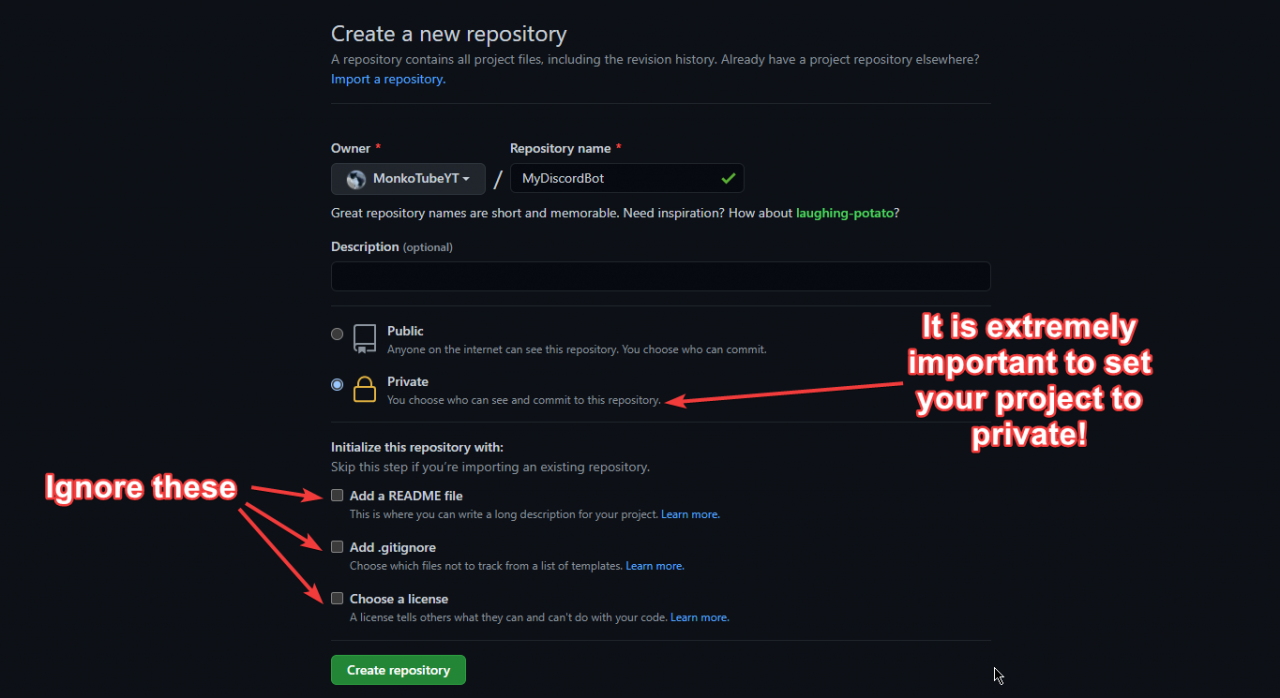
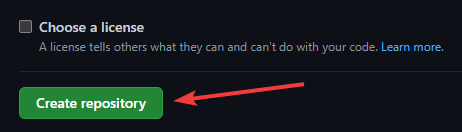
Then click “Create repository”
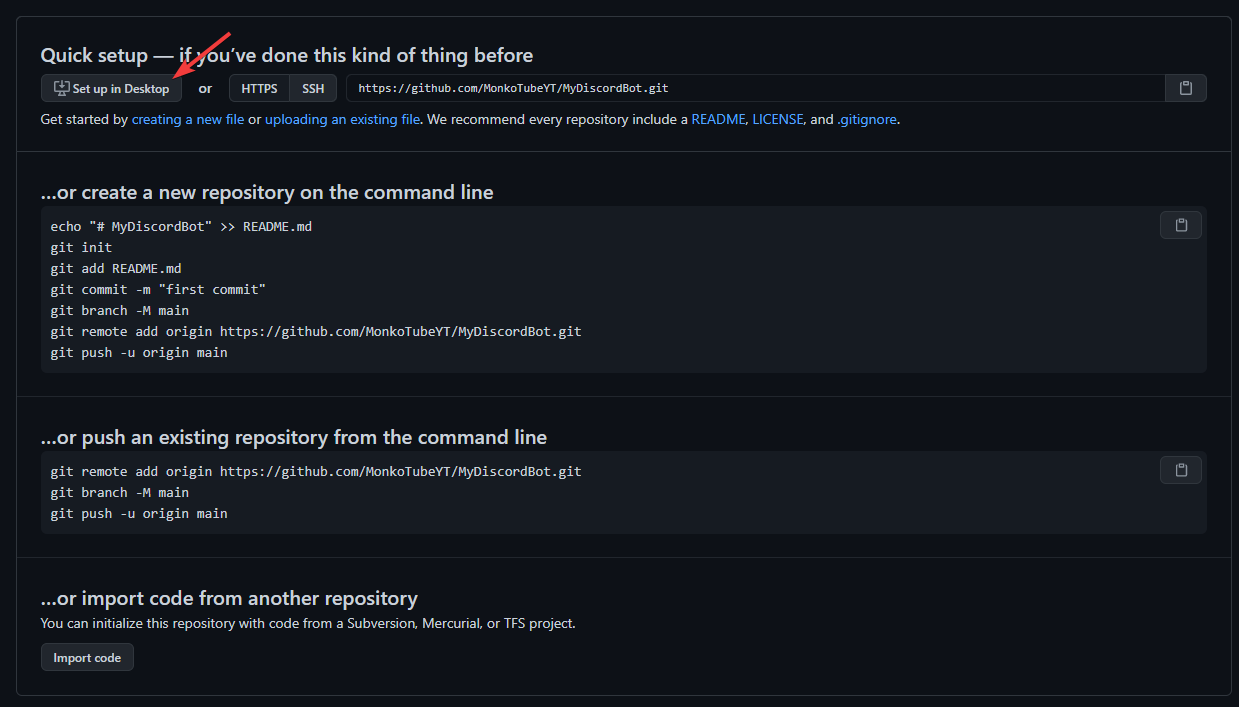
Once you are on this screen click set up in desktop.
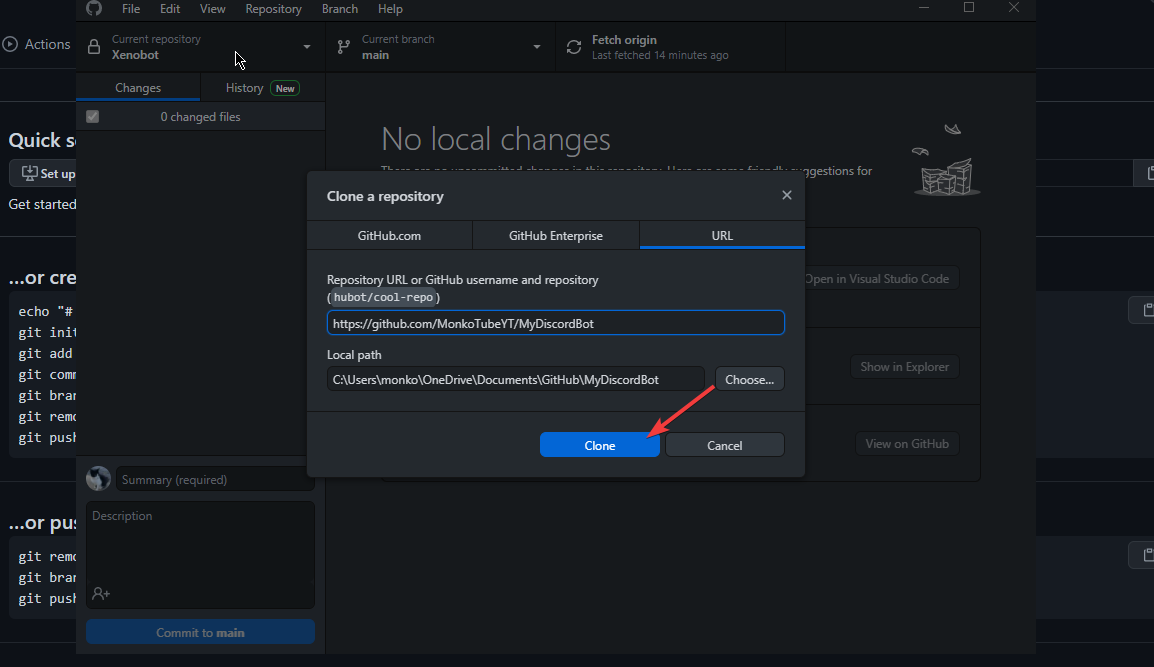
After setup in desktop is clicked you will be prompted to clone your repository to your computer. Simply click clone.
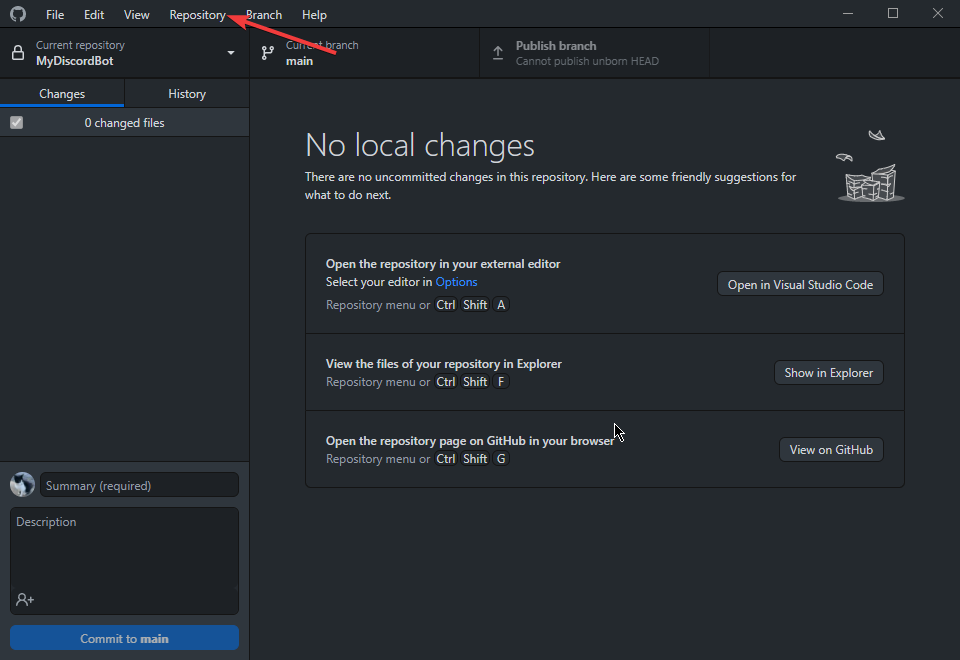
Once your repository has finished cloning click “Repository” at the top.
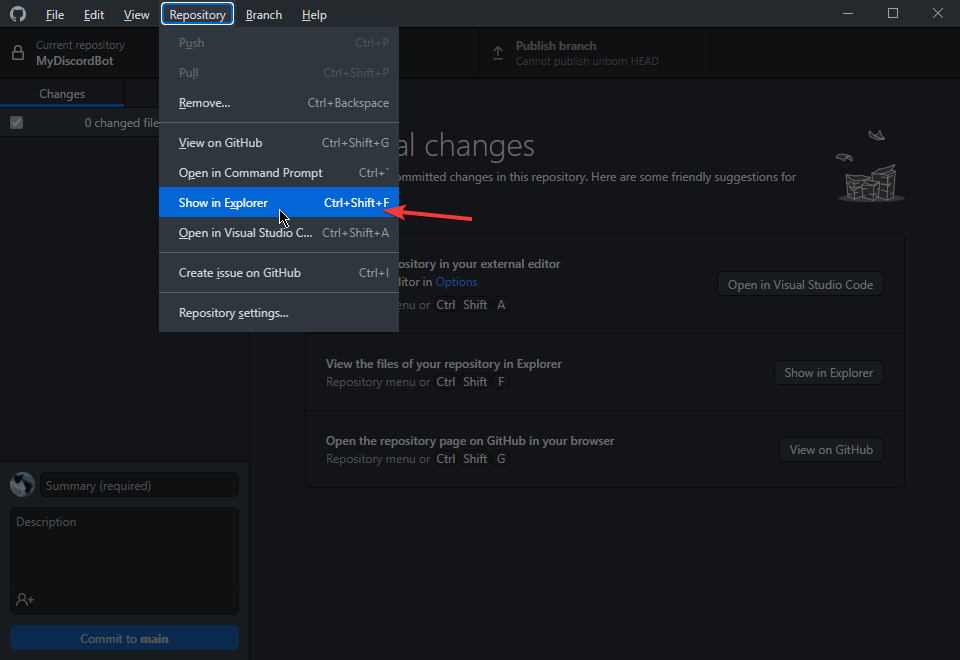
Then click “Show in Explorer”
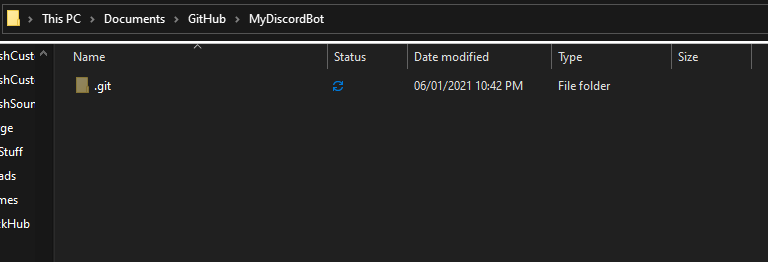
The folder will open and it should look like this
Now, open the File Explorer window where your “DiscordBot.zip” is and open it and select all the contents and drag it into the Github repository folder.
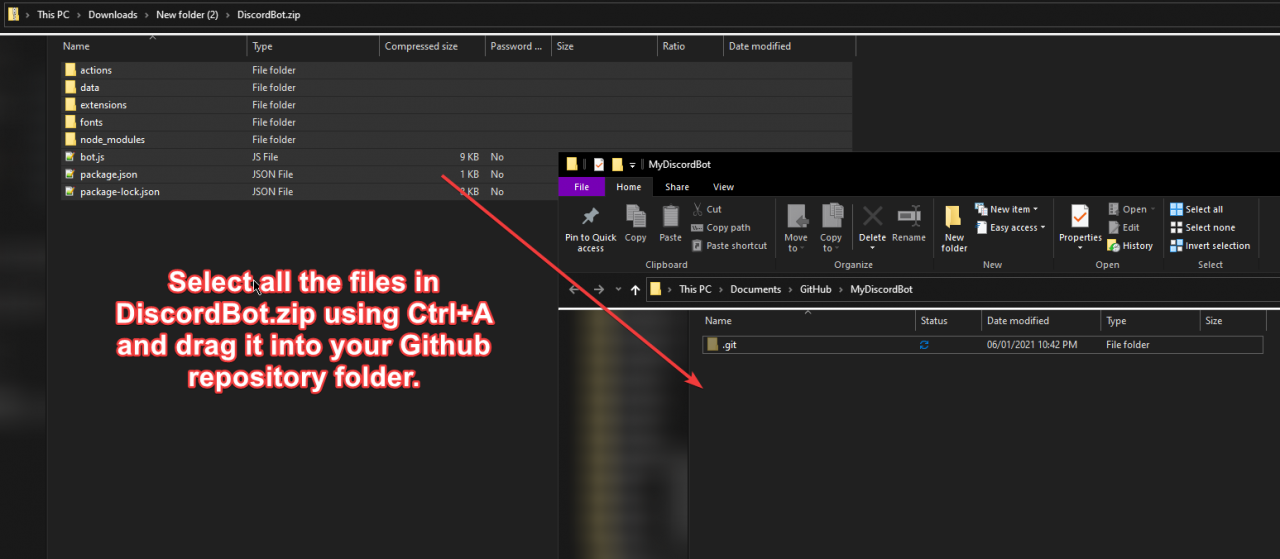
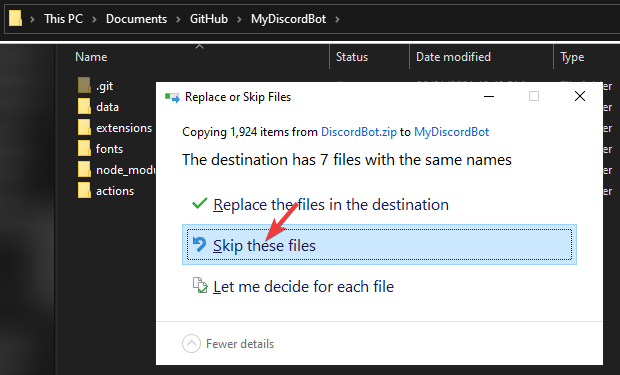
After all the files have been copied to your Github repository folder it will ask if you want to replace duplicate files, simply press skip as these files are not important.
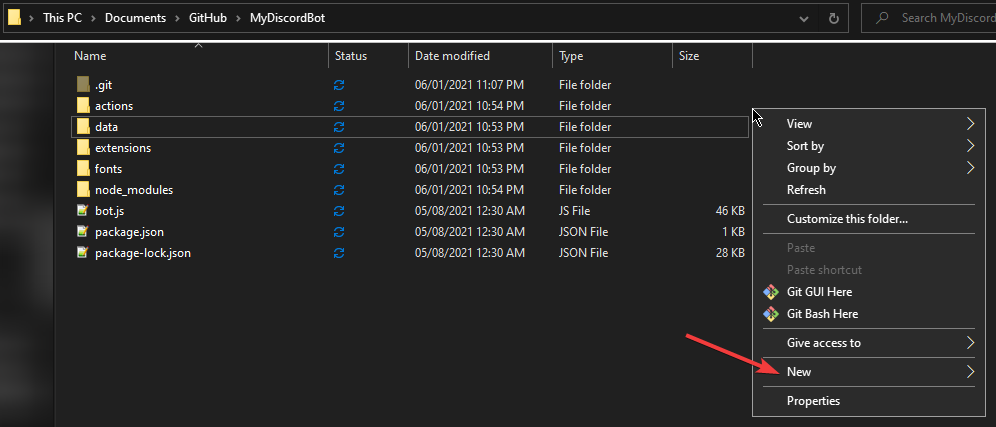
Next, right click inside of the folder and go to “New”
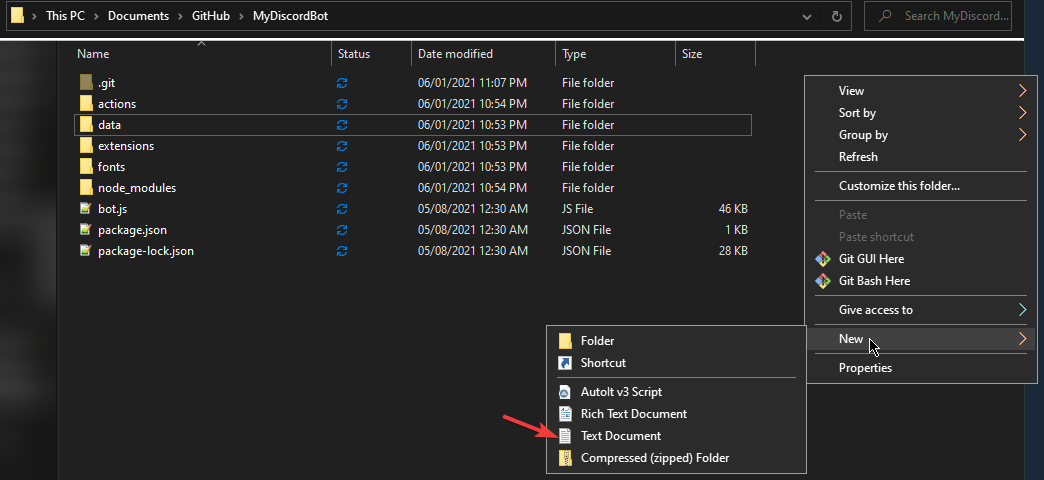
Then click “Text Document”
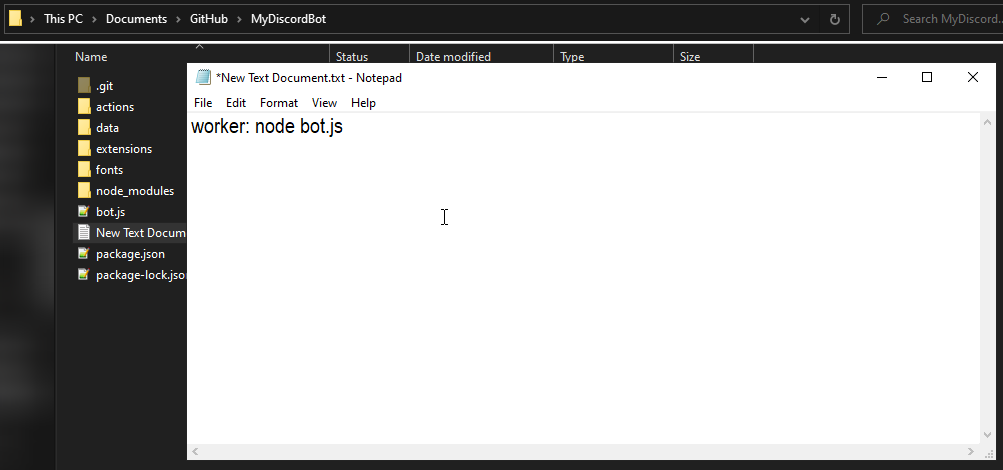
After you have made a txt file, open it and write worker: node bot.js
Then click “File”
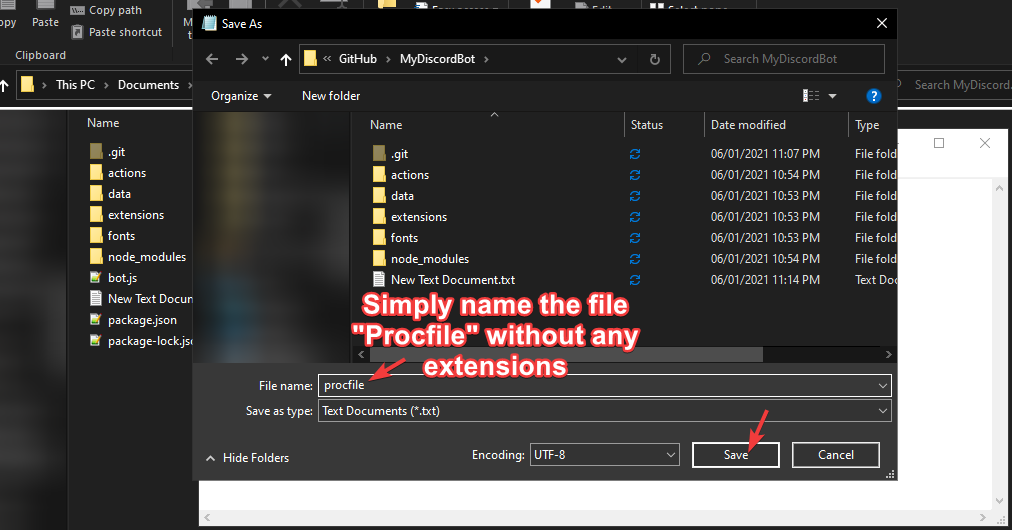
Click “Save As”

Name the file simply “Procfile” without any extensions at the end and then click save.
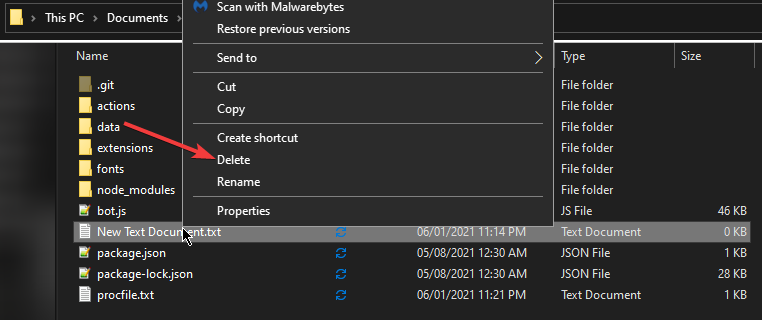
After saving, delete the old text file you made by right clicking and then pressing delete.
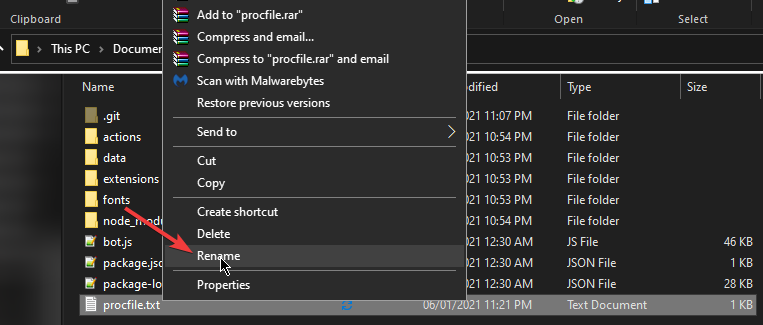
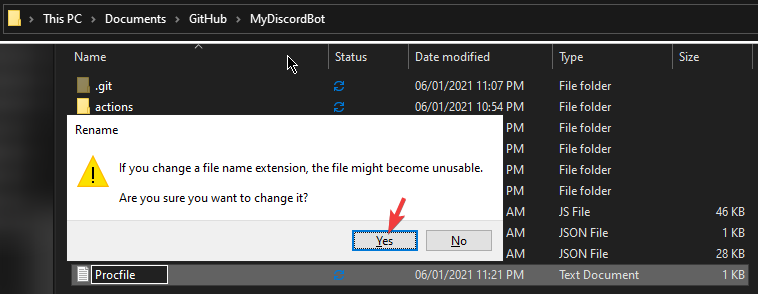
Go to “Procfile.txt” and rename it by right clicking and clicking “Rename”
Remove “.txt” from the file name and then click enter.
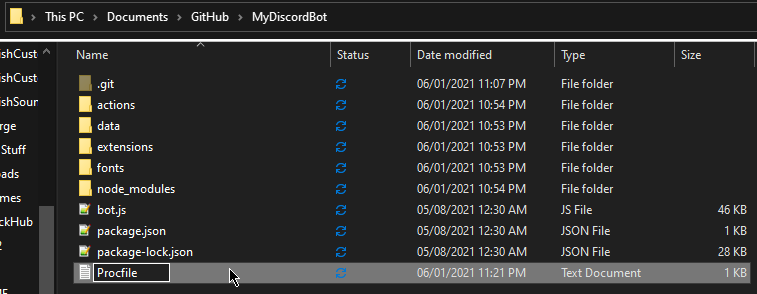
Then click “Yes”
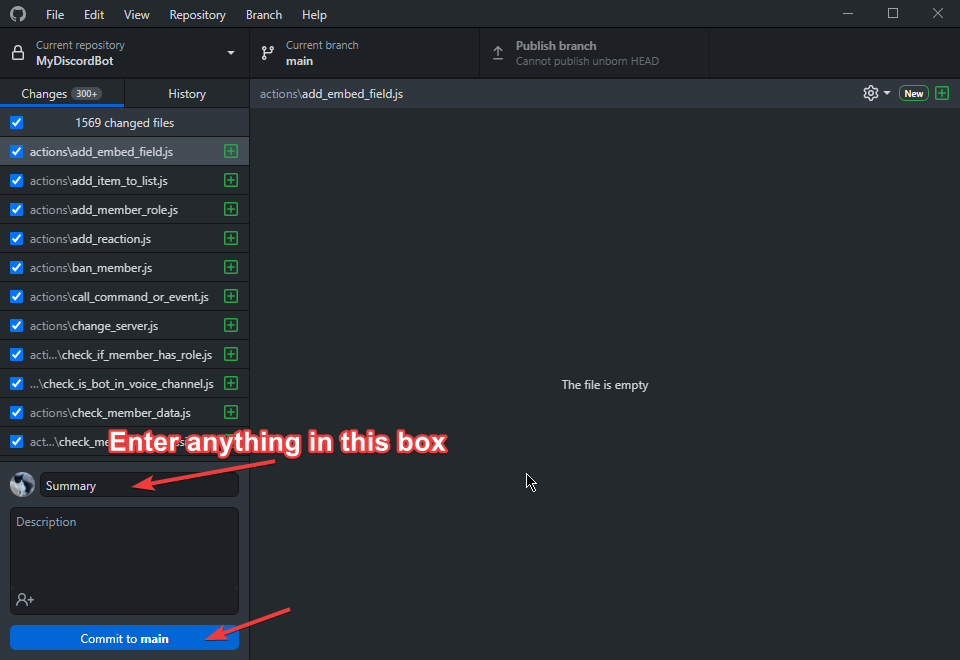
After, go back to Github desktop. Enter anything in the summary and then press “Commit to Main”
Once it has finished commiting to main, press “Publish Branch”
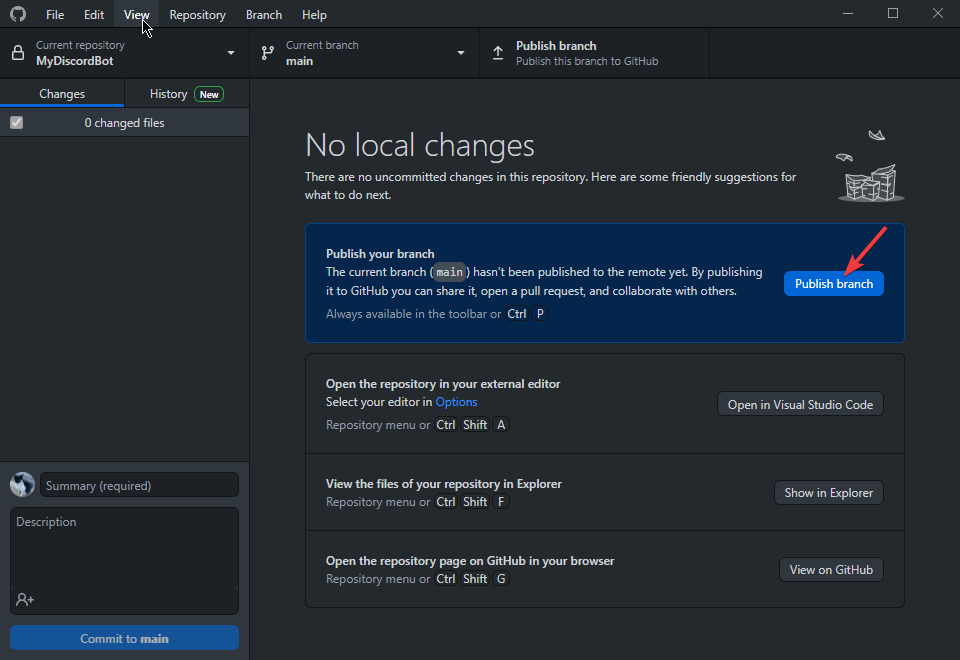
Congratulations! You have successfully set up your Github repository. Now we can start hosting on Heroku.
Before making a repository you will need to download Github desktop from https://desktop.github.com/
After installing Github desktop, simply run the file and it will download Github desktop automatically!
After you have downloaded Github desktop, go back to https://github.com/, click the plus on the top right of your screen.
Then click “New repository”
Name your project whatever you’d like. Setting your repository to private is extremely important!
Then click “Create repository”
Once you are on this screen click set up in desktop.
After setup in desktop is clicked you will be prompted to clone your repository to your computer. Simply click clone.
Once your repository has finished cloning click “Repository” at the top.
Then click “Show in Explorer”
The folder will open and it should look like this
Now, open the File Explorer window where your “DiscordBot.zip” is and open it and select all the contents and drag it into the Github repository folder.
After all the files have been copied to your Github repository folder it will ask if you want to replace duplicate files, simply press skip as these files are not important.
Next, right click inside of the folder and go to “New”
Then click “Text Document”
After you have made a txt file, open it and write worker: node bot.js
Then click “File”
Click “Save As”
Name the file simply “Procfile” without any extensions at the end and then click save.
After saving, delete the old text file you made by right clicking and then pressing delete.
Go to “Procfile.txt” and rename it by right clicking and clicking “Rename”
Remove “.txt” from the file name and then click enter.
Then click “Yes”
After, go back to Github desktop. Enter anything in the summary and then press “Commit to Main”
Once it has finished commiting to main, press “Publish Branch”
Congratulations! You have successfully set up your Github repository. Now we can start hosting on Heroku.
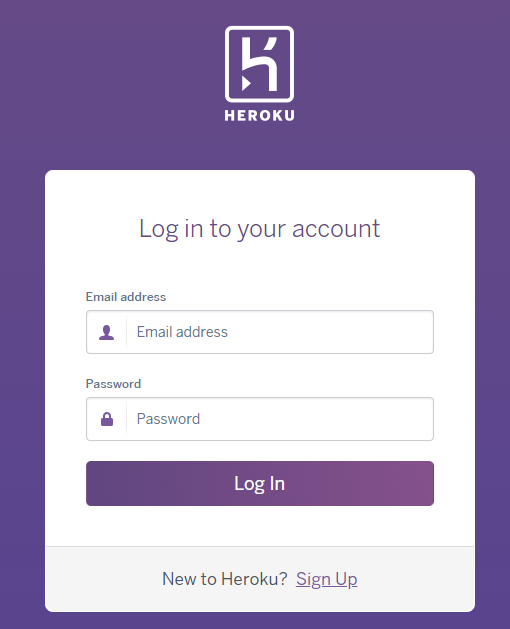
Hosting on Heroku
After you have published your bot to Github, head to https://id.heroku.com/login and create a new account.
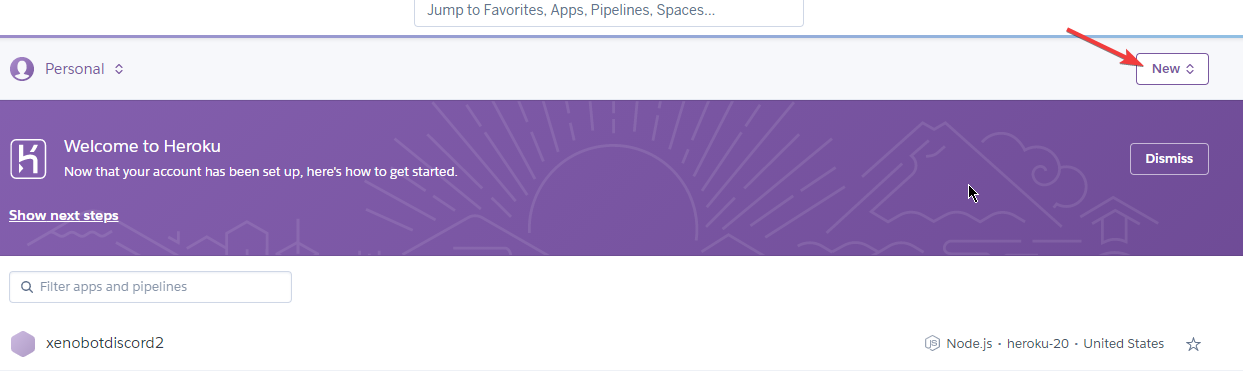
After you have signed up, click new on the top right.
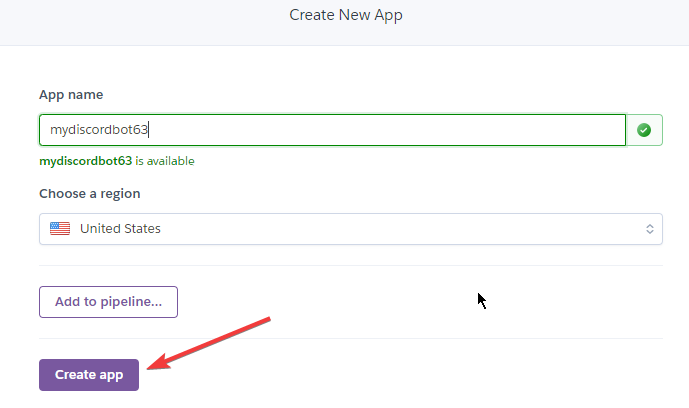
Then click “Create new app”

Set the app name to something unique, most names are already taken.

Then click “Create App”
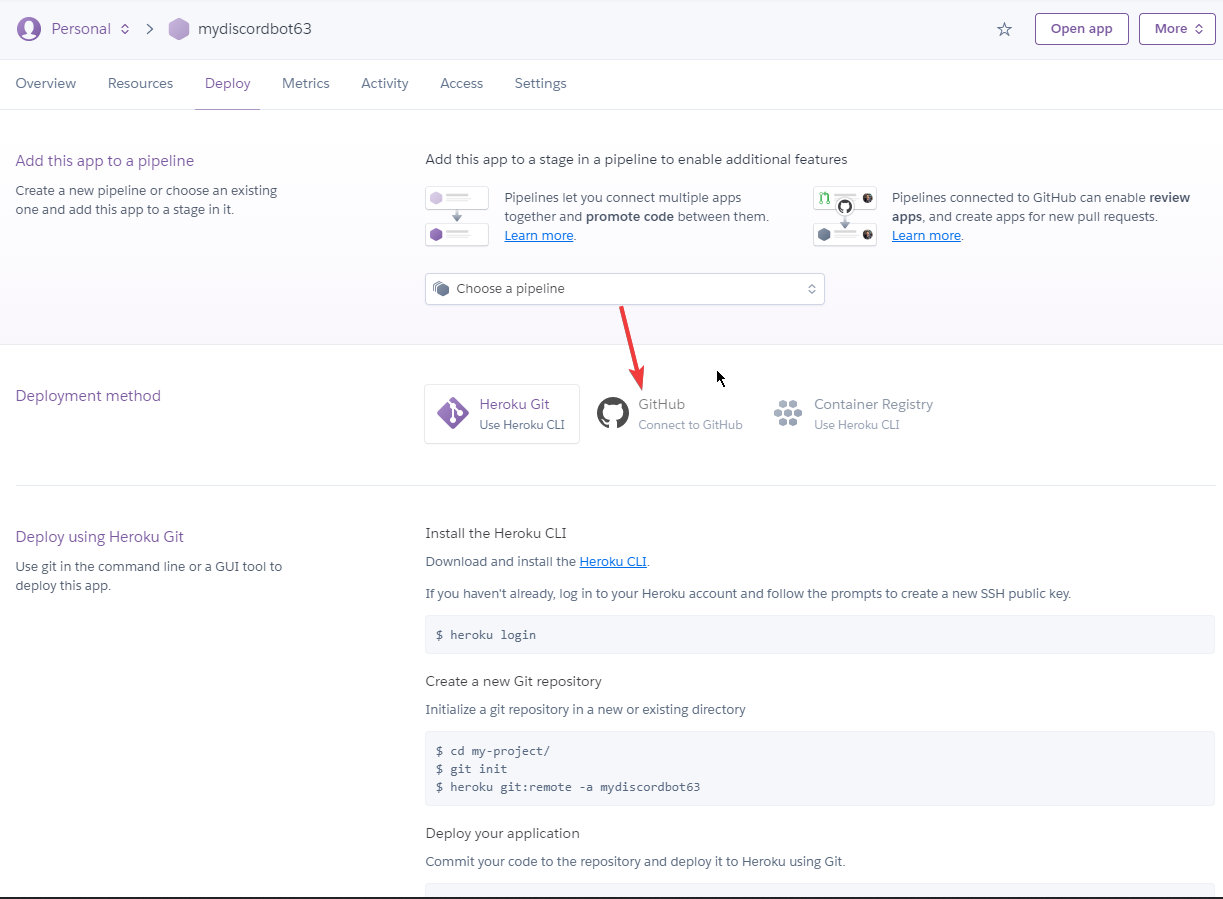
After you have created your app, this page will appear. Click Github.
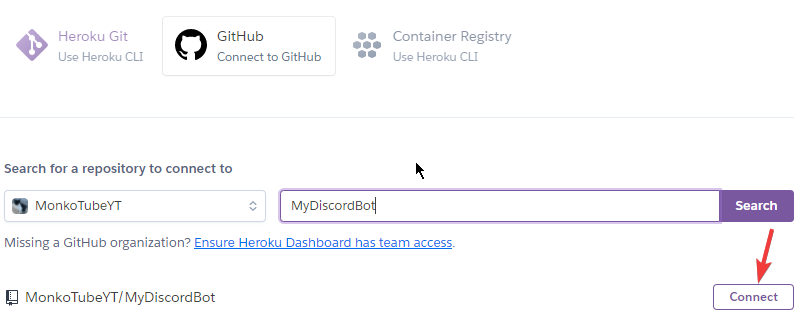
Connect your Github account and then search for your bot repositories name.
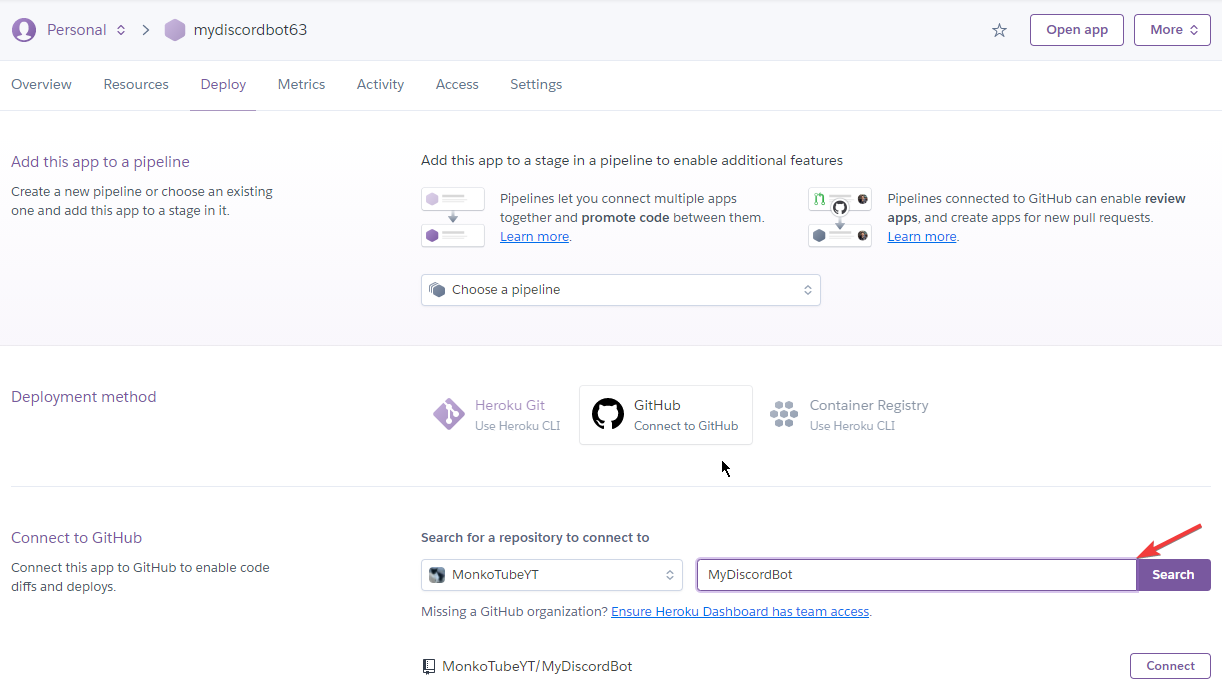
When your repository appears click “Connect”
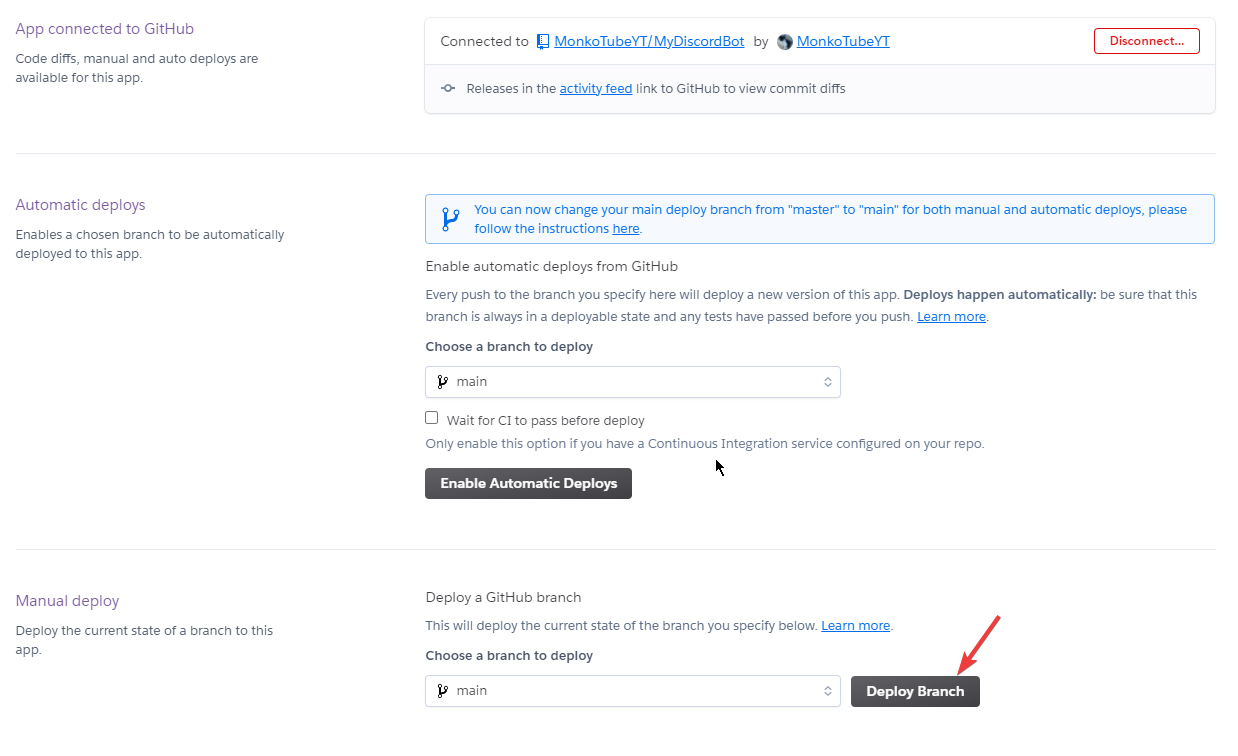
Once your repository has connected click “Deploy Branch”
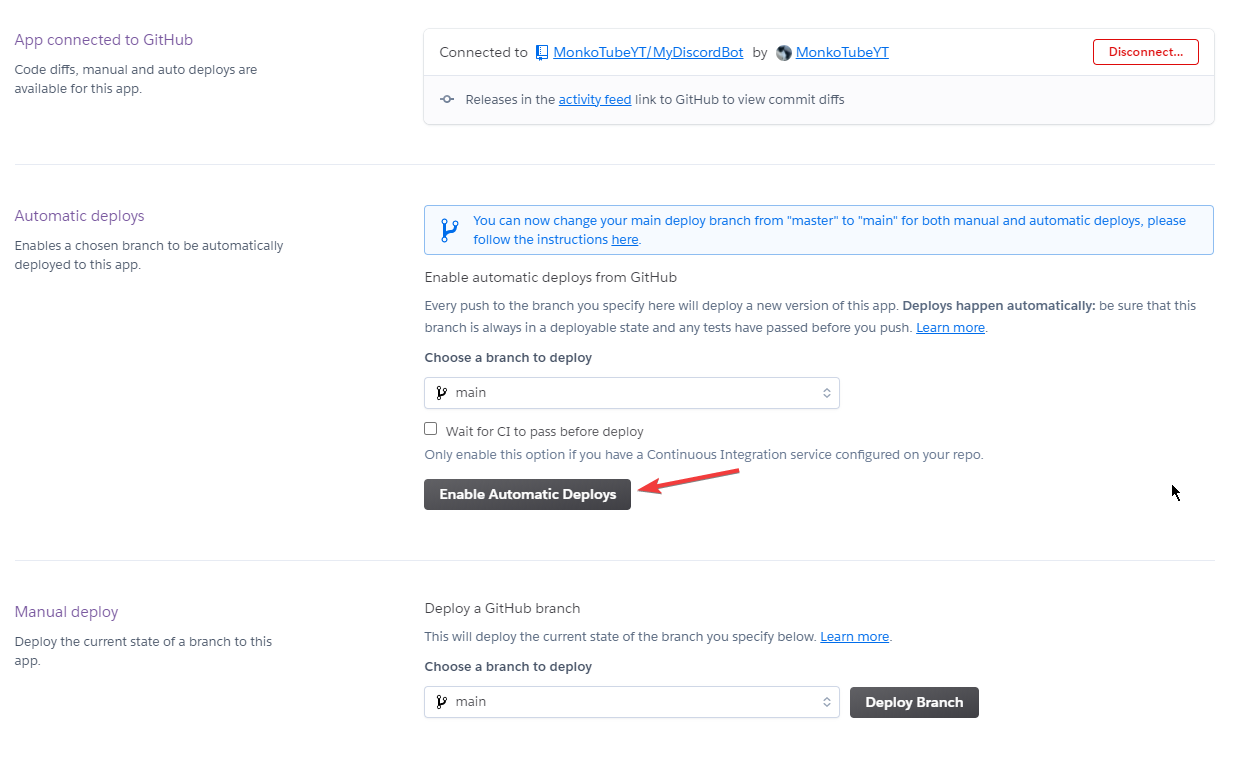
Click “Enable Automatic Deploys” as well.
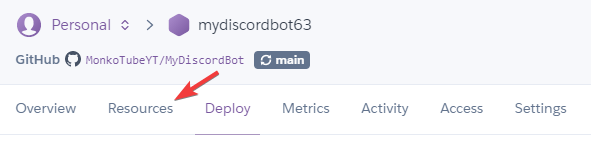
Wait for the build to complete, if it has succeeded and deployed then scroll back up to the top and click “Resources”
Click the edit buttons and disable npm start and enable worker as so, then click confirm. (If they are not appearing refresh the page)
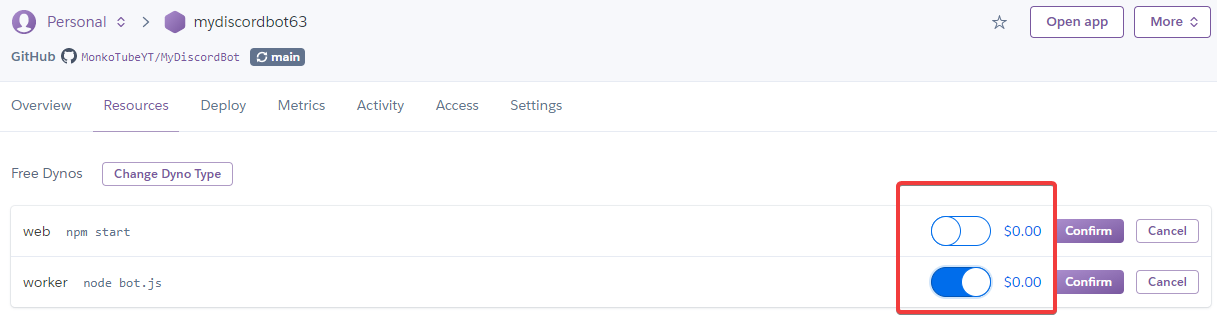
Your bot should now be running! Congratulations, you hosted your first Discord bot. I hope you found this thread useful 🙂
After you have signed up, click new on the top right.
Then click “Create new app”
Set the app name to something unique, most names are already taken.
Then click “Create App”
After you have created your app, this page will appear. Click Github.
Connect your Github account and then search for your bot repositories name.
When your repository appears click “Connect”
Once your repository has connected click “Deploy Branch”
Click “Enable Automatic Deploys” as well.
Wait for the build to complete, if it has succeeded and deployed then scroll back up to the top and click “Resources”
Click the edit buttons and disable npm start and enable worker as so, then click confirm. (If they are not appearing refresh the page)
Your bot should now be running! Congratulations, you hosted your first Discord bot. I hope you found this thread useful 🙂
By Lozarth