
A simple guide to get Somber +9/+10 on a weapon from the beginning for people looking to have more than one character without going NG+.
Note: This does not break any quests.
Explanation and reasoning.
Upon starting another character, a lot of people aren’t going to want to go through the whole game again- No shame in it, nor is there any harm in it either. If you want a different build for PvP Invasions or have a weapon you wanted to use but your build didn’t facilitate it on a previous playthrough, a good way to get a chance to use that is dropping it to a friend to drop to your new character. The issue is however you can only pick up weapons with the same max level as your current one, meaning you cannot drop yourself a +25 or a +10 without having upgraded a weapon to that level.
”Why is the order not 1-10 chronologically?”
Simply put, there is only ONE spawn for a +7 spawn on the map and to get to it, unfortunately you’ll have to run through a quick quest and spend 1000 runes.
+10 is also only achievable towards the end of Varre’s questline, meaning you will need to rush through his quest to get it- thankfully, this is one of the easiest quests in the game to power through.
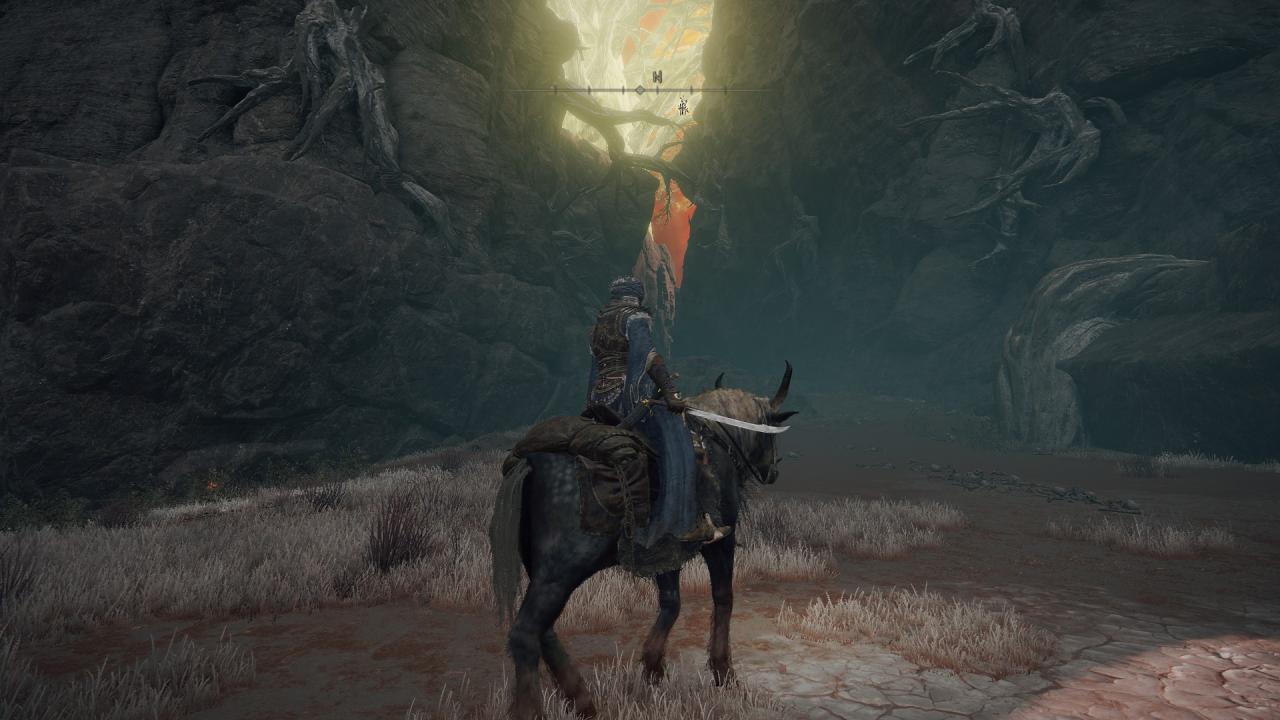
First Location (Somber +1)
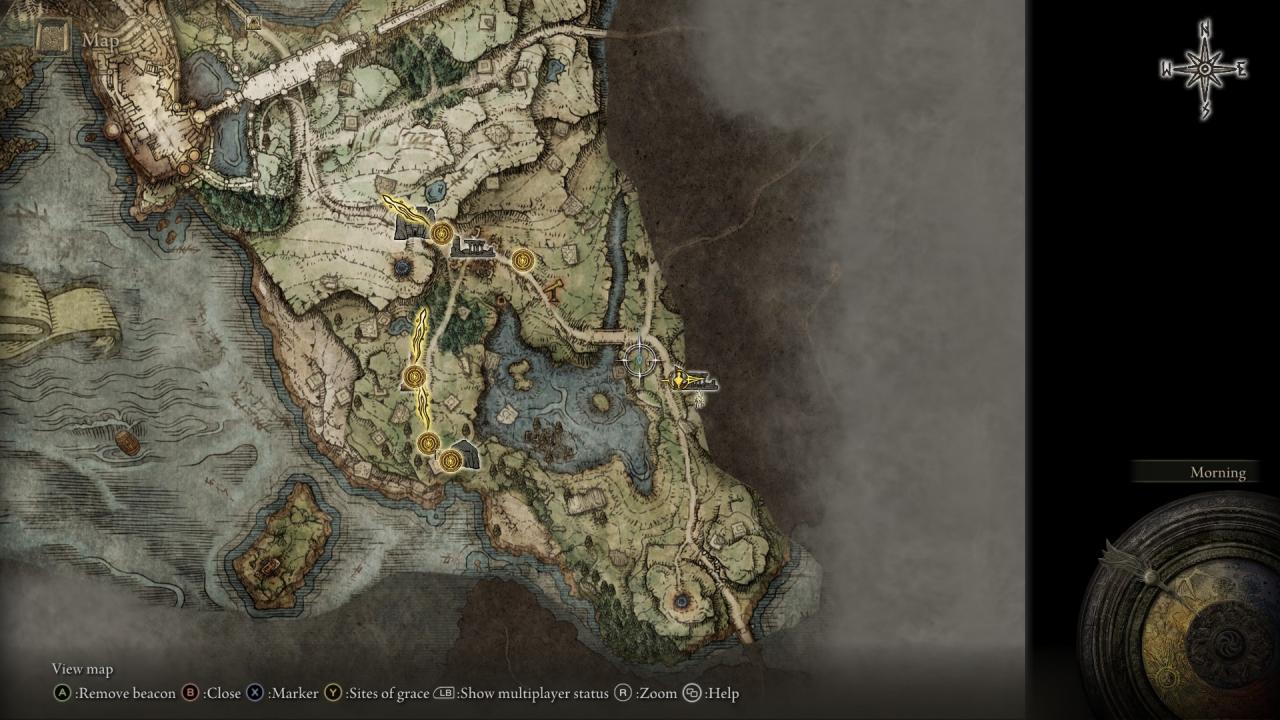
Second Location (Somber +2)
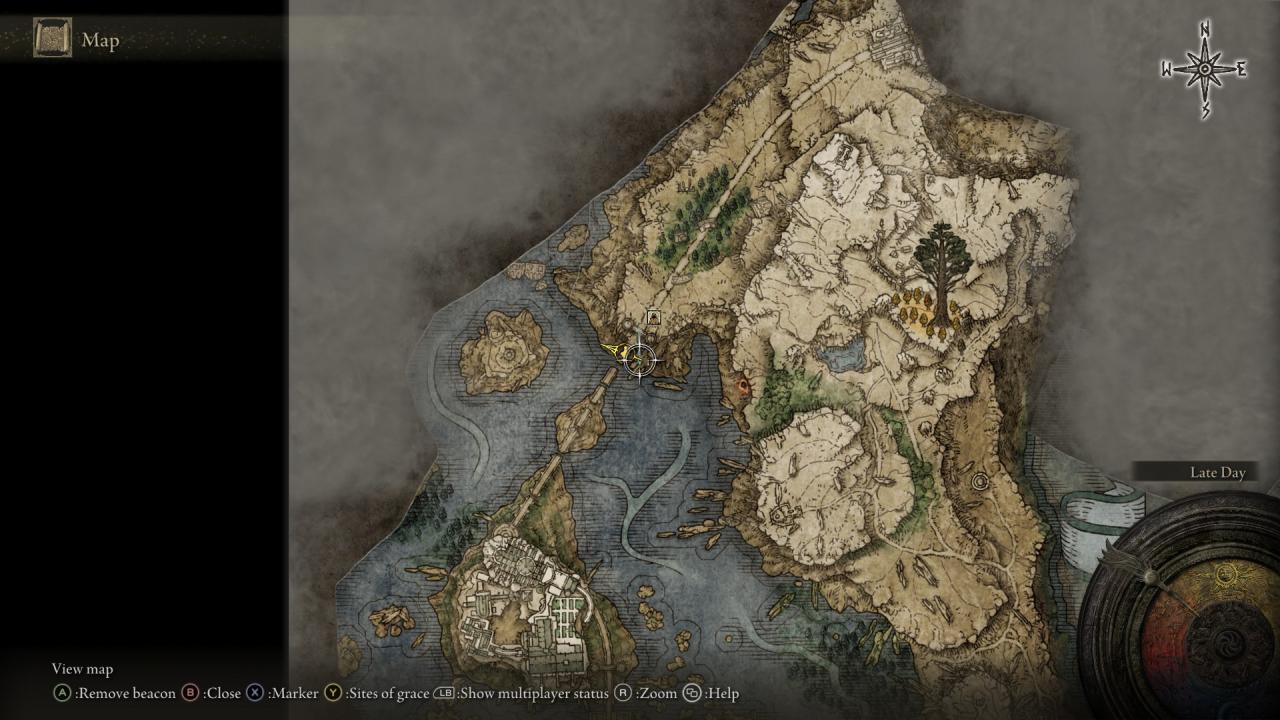
Second Somber can be found by killing a Scarab located below the cliffs, west of the ‘Folly on the Lake’ site of grace.

Third Location (Somber +3)
Fourth Location (Somber +4)
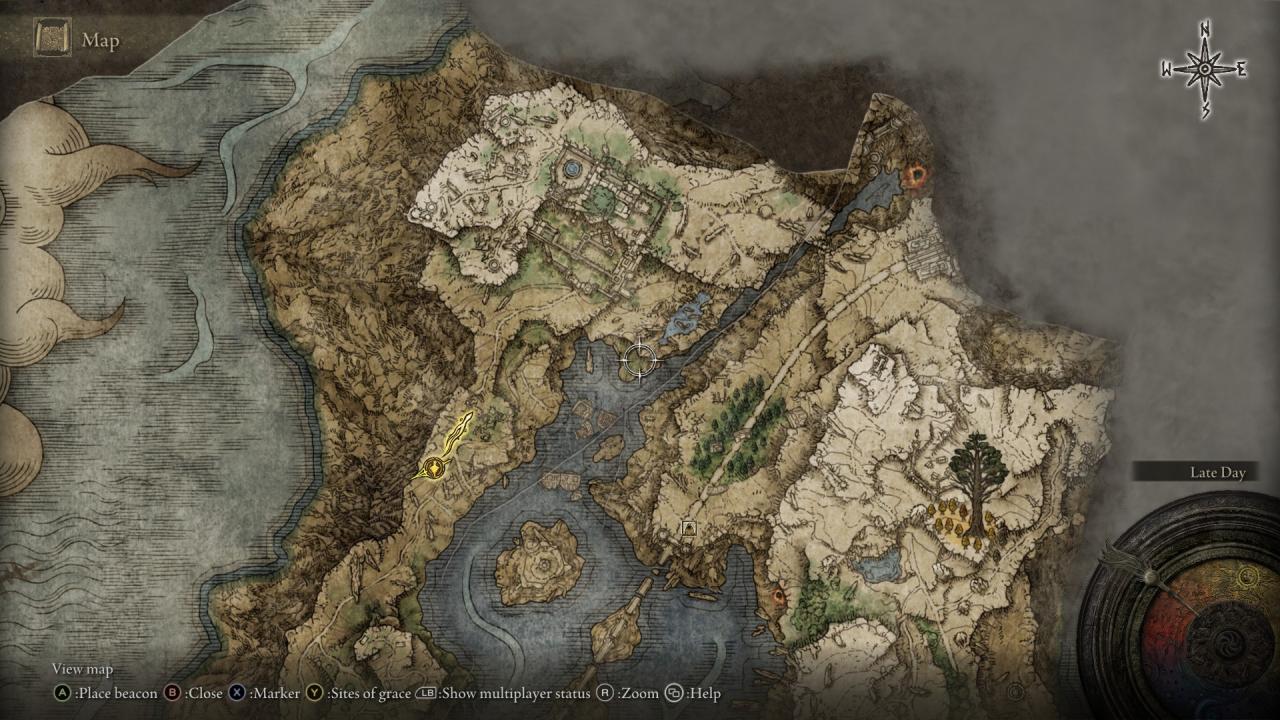
Following the coast west bound and around from the third location, you’ll find the fourth Somber on another seated corpse towards a cliff on the left-hand side of the lake.
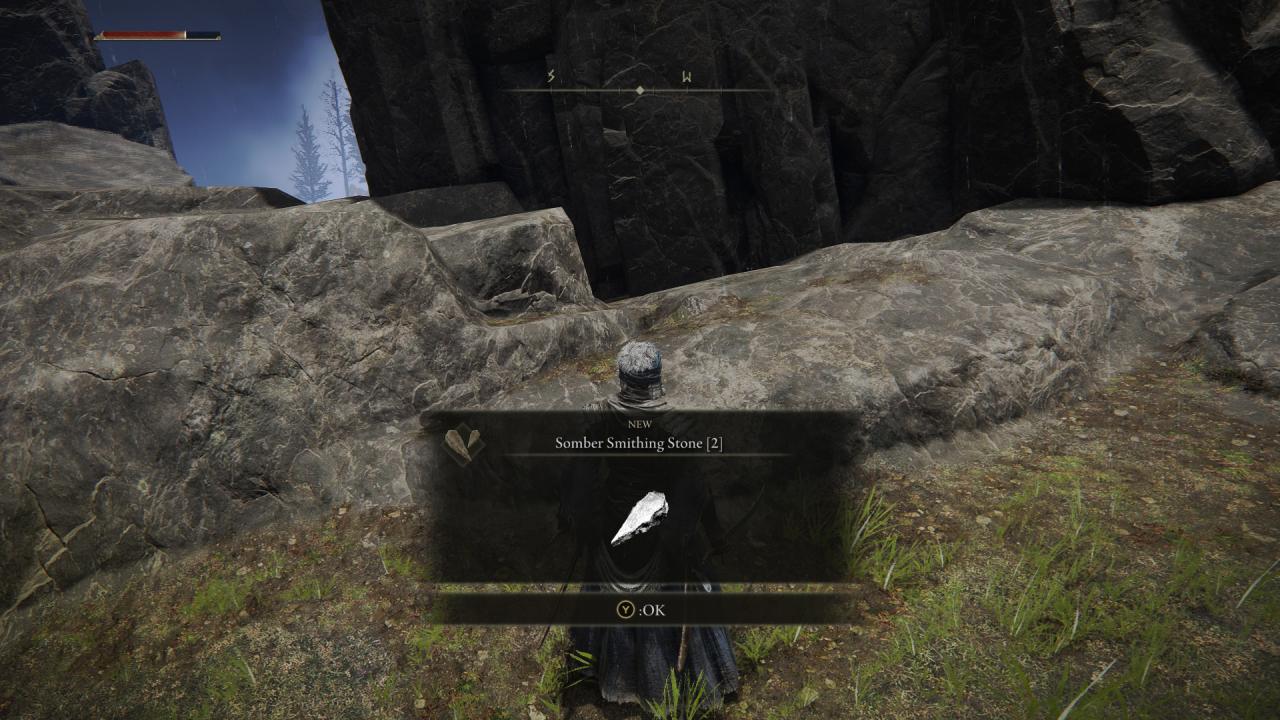
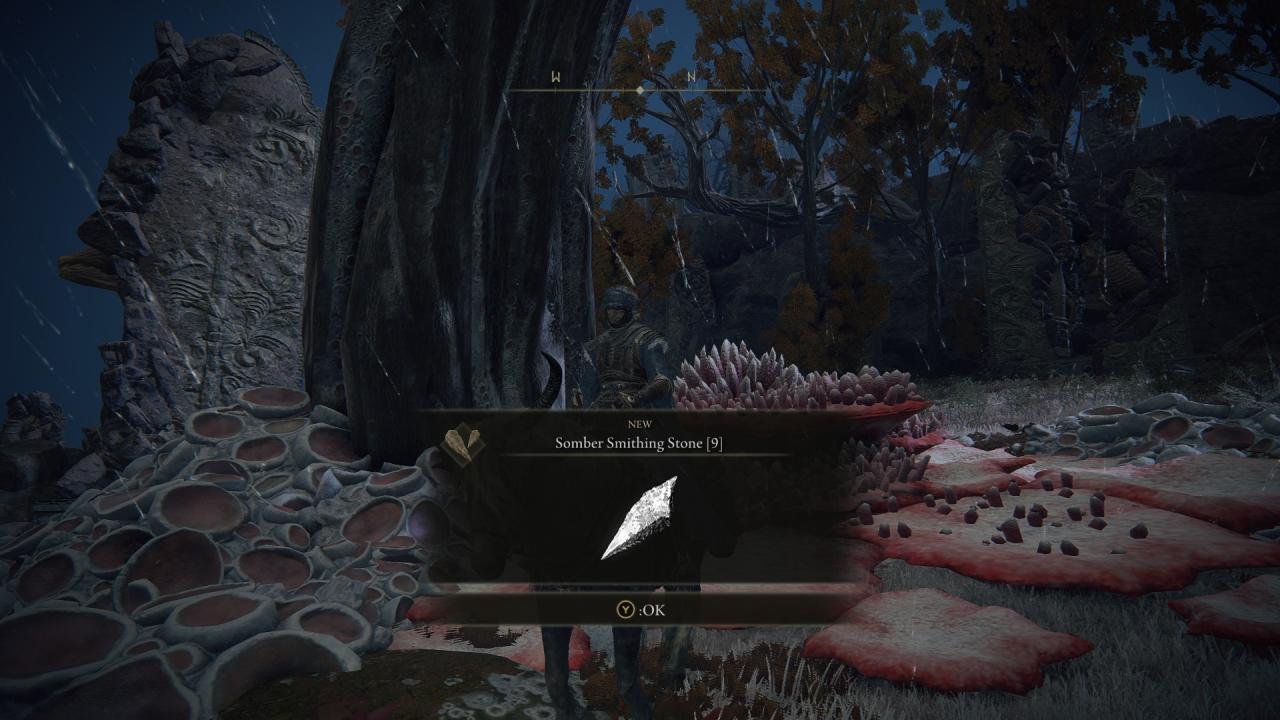
Fifth Location (Somber +9)
 From the Beastial Sanctum stairs, turn right and head towards the cliff until you find a Scarab. Killing it will reward you with the +9 Somber Smithing Stone
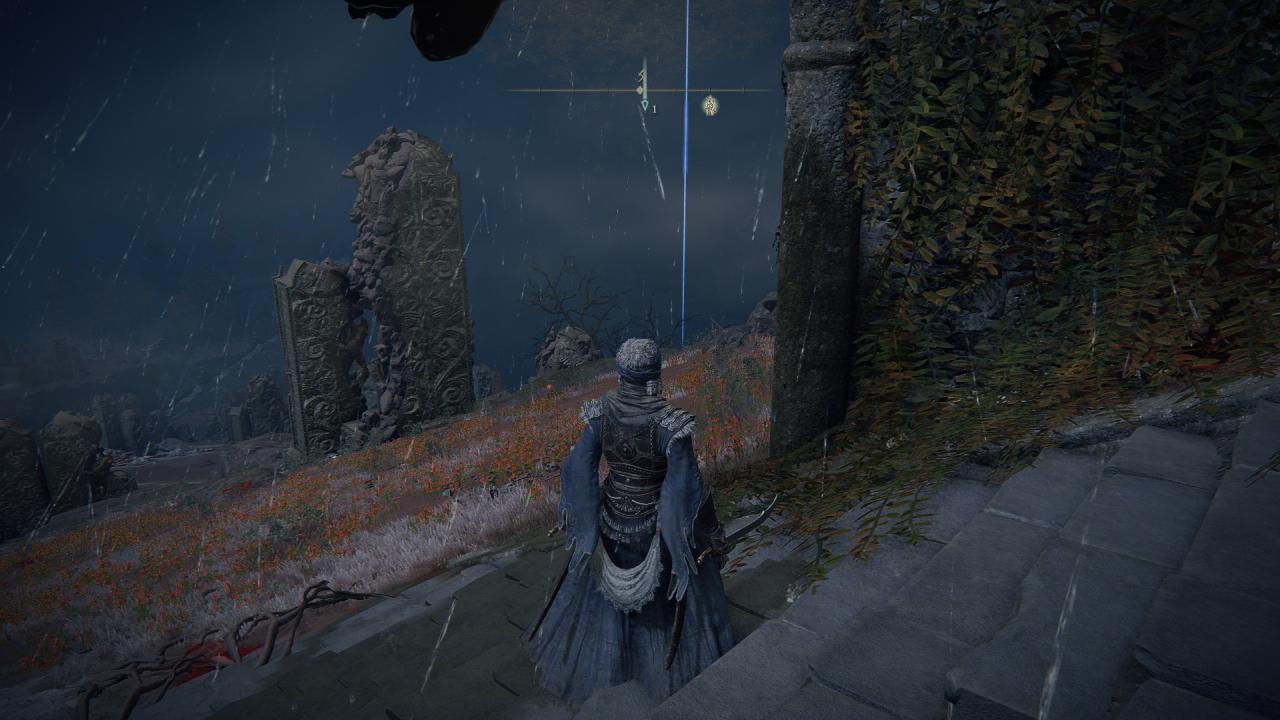
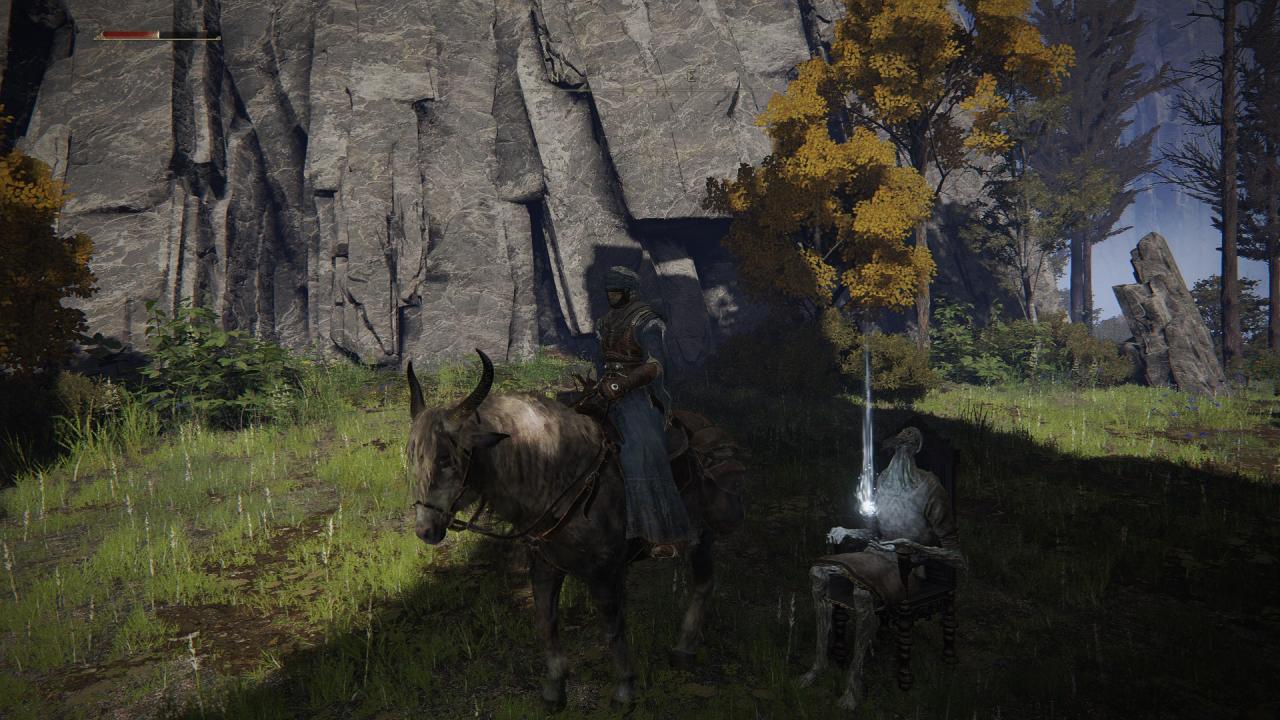
Sixth Location (Somber +8)
Continuing from the Beastial Sanctum, go directly south across the bridge and follow the path around south-west past the Tree Avatar, from that point- continue towards the dragons around the pond until you reach a split in the road where the dragons should(?) be.
From there, continue left towards the Divine Tower until you hear/see a scarab, killing it will award you with the +8 Somber Smithing stone
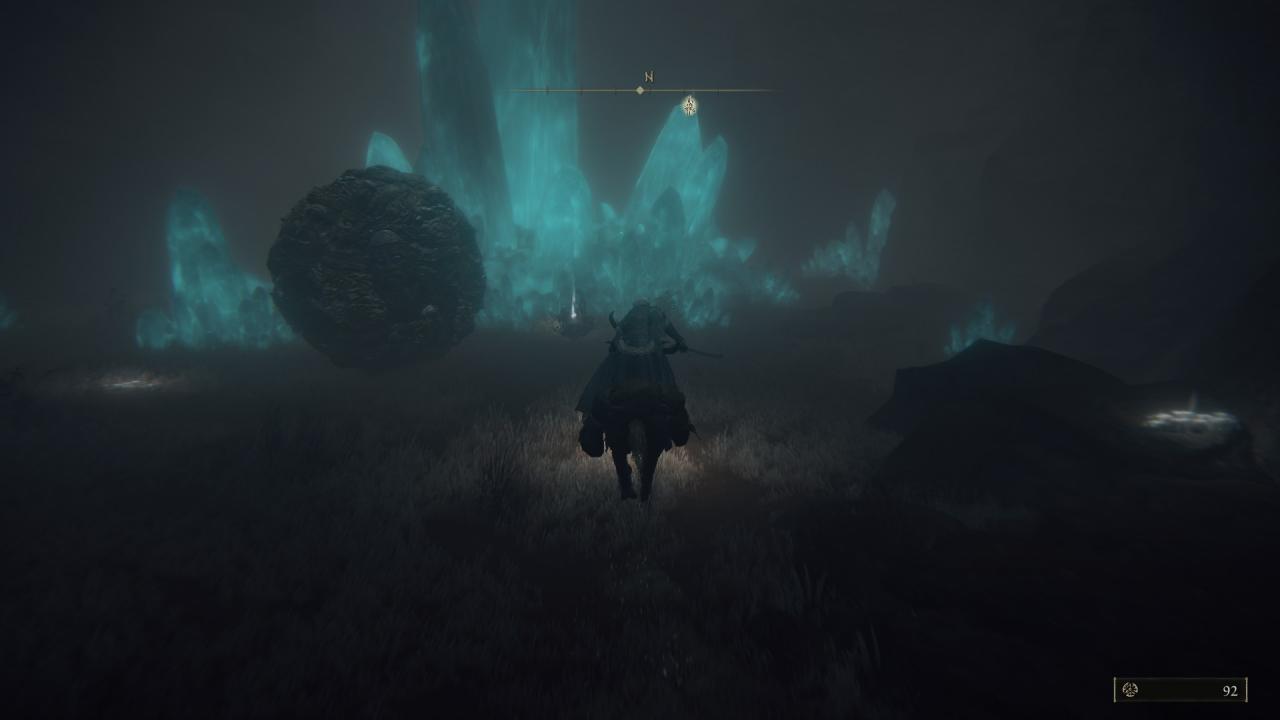
Seventh Location (Somber +5)
Continue South and ride across until finding a large canyon
Venture down it, until finding a corpse against a bunch of crystals. The 5th Somber stone will be there
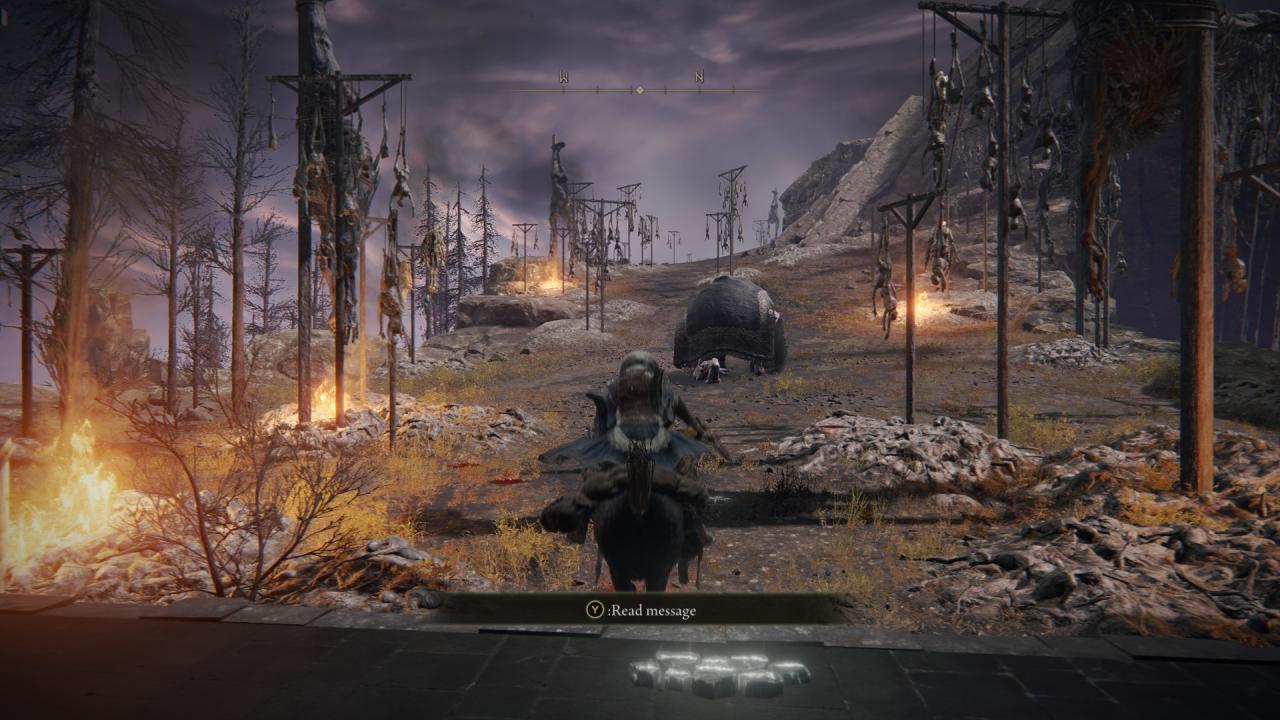
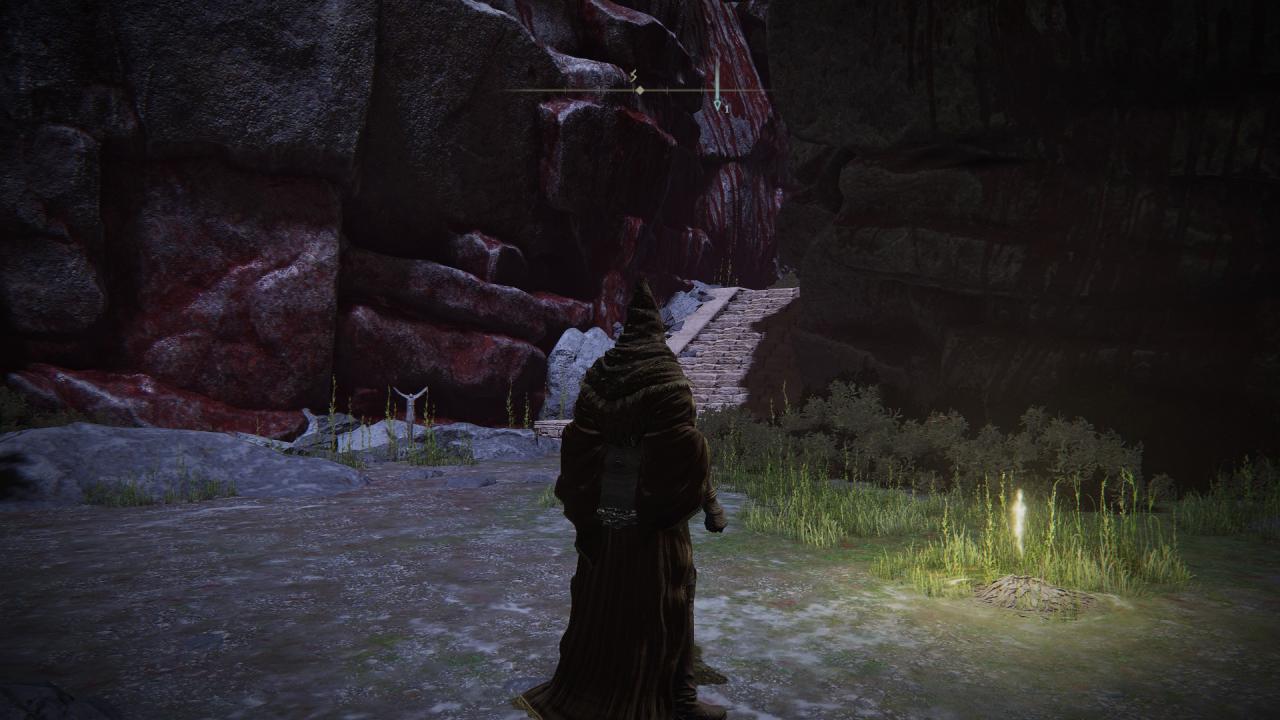
Eight Location (And the tricky part of Somber +7)
You may need a summon for this, unless you take your weapon to Hewg and upgrade it to +5
- Talk to Rya in Liurnia of the Lakes, agree to get her necklace back.
- Head to Blackguard Boggart, purchase the necklace and then return to Rya to turn it in to receive the Volcano Manor invitation
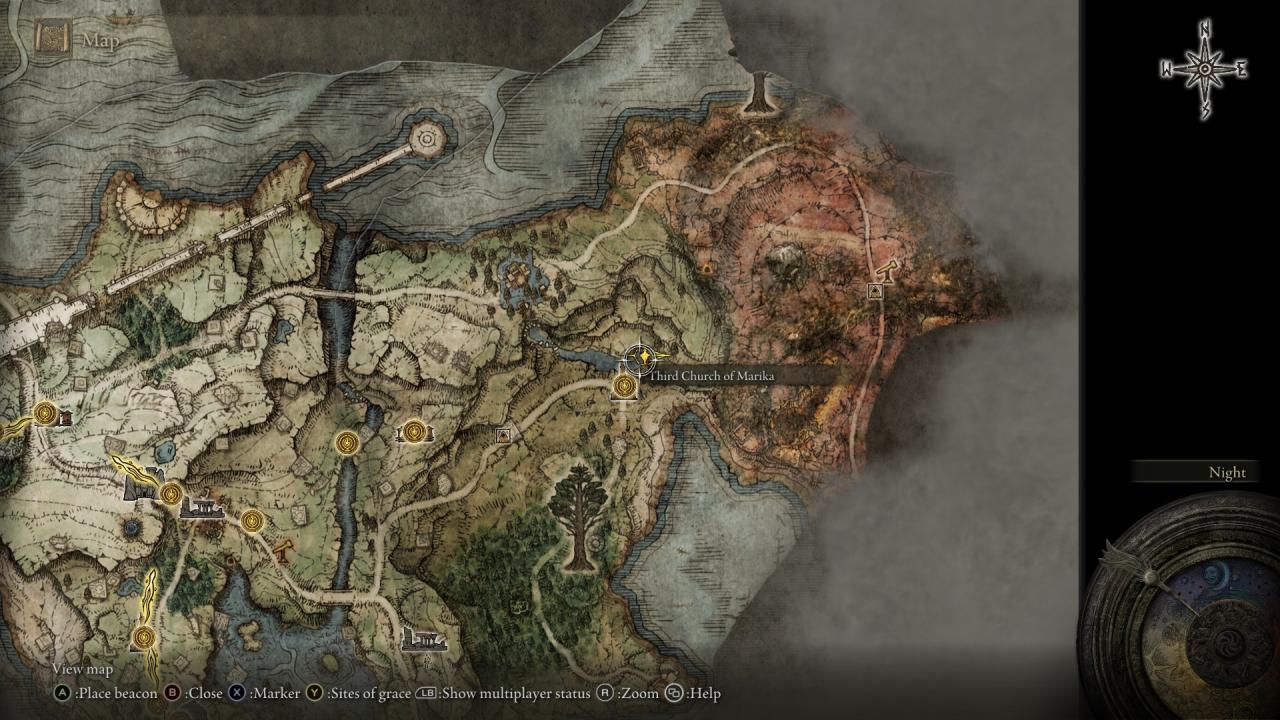
- After receiving her letter, head to the location where you received the Somber Stone +4 and continue down the canyon until reaching the Ravine Veiled Village site of grace
- Head up the ladders, and proceed to run through the entirety of the area, heading up the first elevator after avoiding all enemies and running through as quickly as you possibly can. Eventually you will reach an elevator behind two Harpies, you’ll then reach the next site of grace ‘Ruin Strewn Precipice Overlook’.
- Either Summon, or beast your way through the Magma Wyrm bossfight.
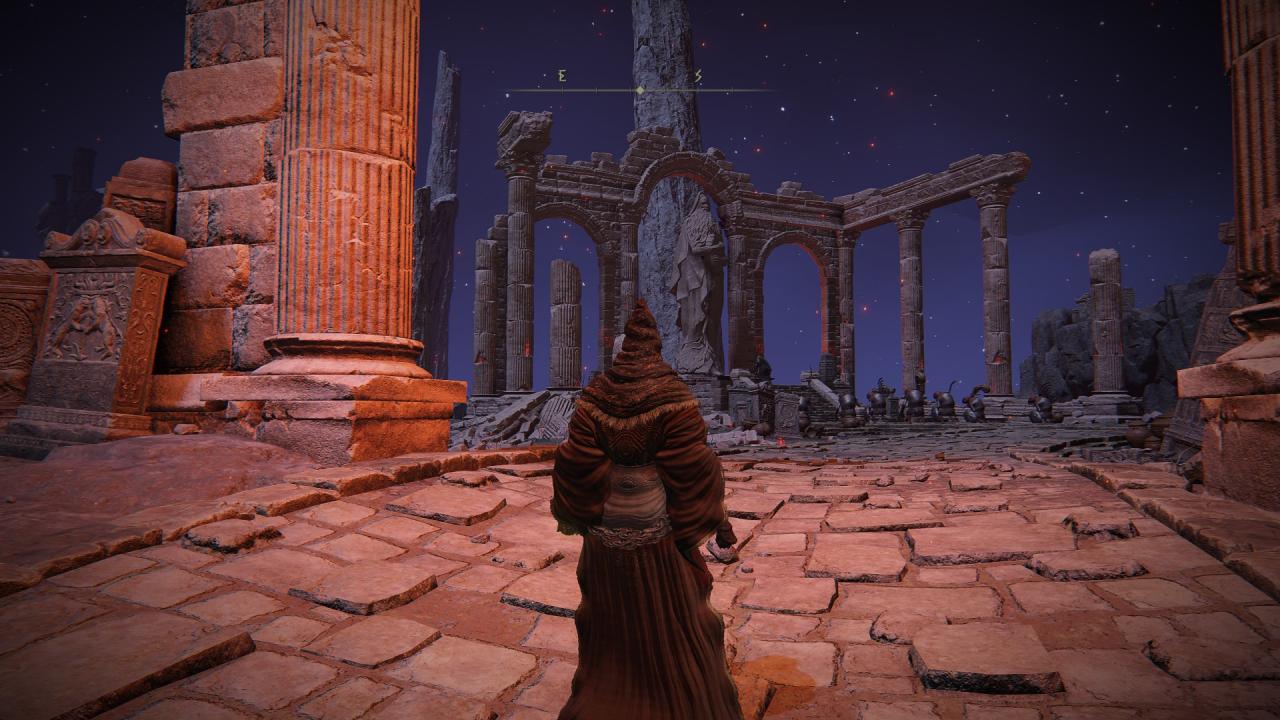
- After finishing the fight, head up the elevator and ride through the graveyard, past the Electric Dragon, through the wide canyon until you find a set of ruins on your left with a site of Grace called ‘Erdtree Gazing Hill’.
- Locate Rya towards the East of the ruins, exhaust her dialogue and let her take you to Volcano Manor
- From Volcano Manor, talk to Tanith, rush her dialogue until you get the key. Open the first door on the right where you will find a corpse with an item, hit the illusory wall behind them and proceed to run through the backrooms until you find a set of stairs, heading down it you’ll see a Bloodhound Knight, sneak past until reaching the ‘Prison Town Church’ site of grace.
- Upon resting, take a right, head through the town towards the bridge, run past the Iron Virgins, Snakes and Rabid Dogs until you come across a tower with a Stonesword Fog Wall, take a left, head across the bridge until you find a Snake guarding a door
- Run right of the Snake, head up the Ladder onto the roof of the church, head towards the south part of the roof, look down and drop onto the platform.
- Avoid all enemies as you run through until you reach a balcony on the east-side of the complex, drop down into the lava and ruined buildings below until finding a grey platform defended by a single snake.
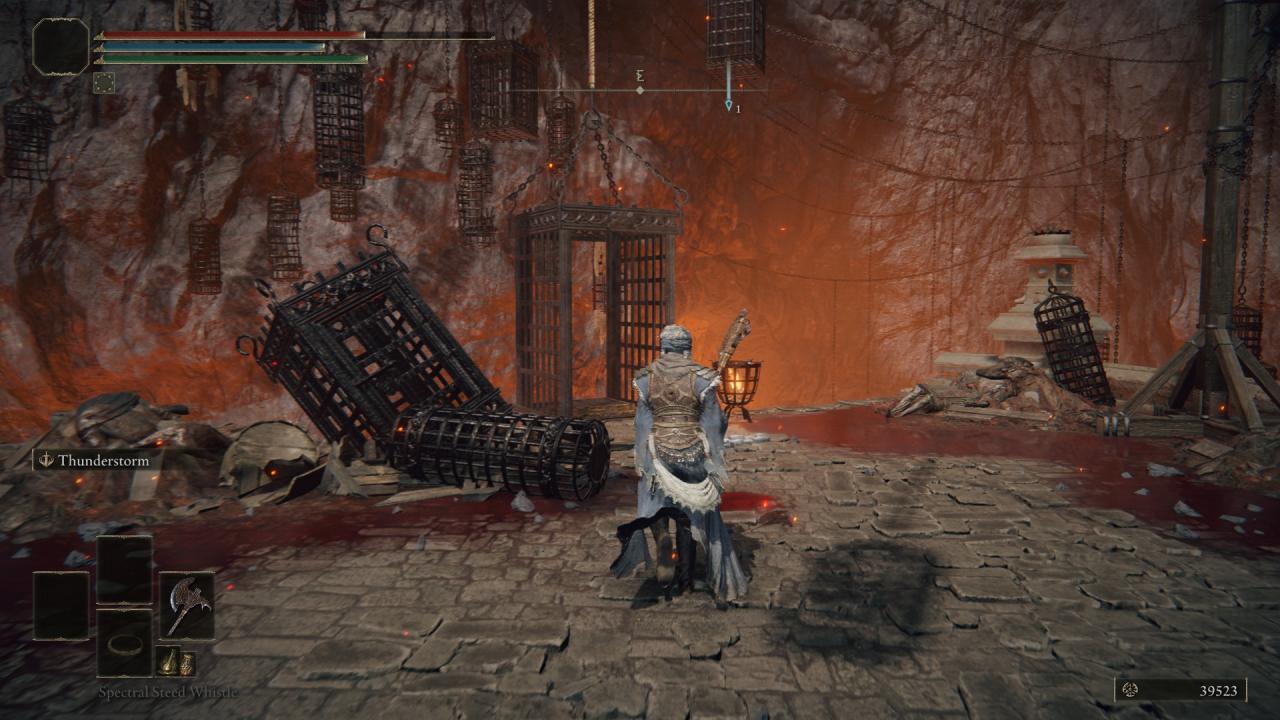
- Take the elevator as seen in the picture, and carry on up until a Blackflame Knight blocks your path, run right past him and activate the lever on the bridge- This will make any mistakes made in this area easier and is not necessary but still incredibly useful
- On the opposite side of the Elevator will be a bossfight with the Godskin Noble, you will likely want to summon for this as he’s one of the more annoying minibosses to appear in the game
- After dispatching Godskin, head up the elevator to the right of the grace and head out of the first door that you see
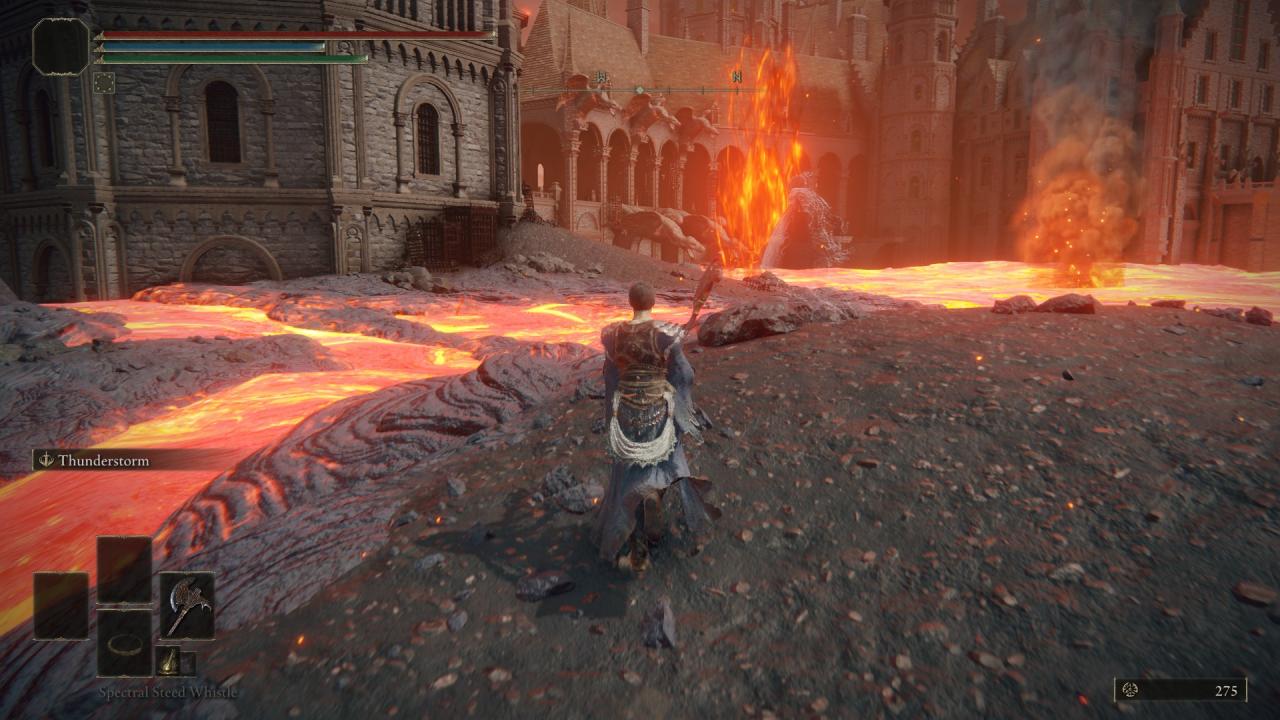
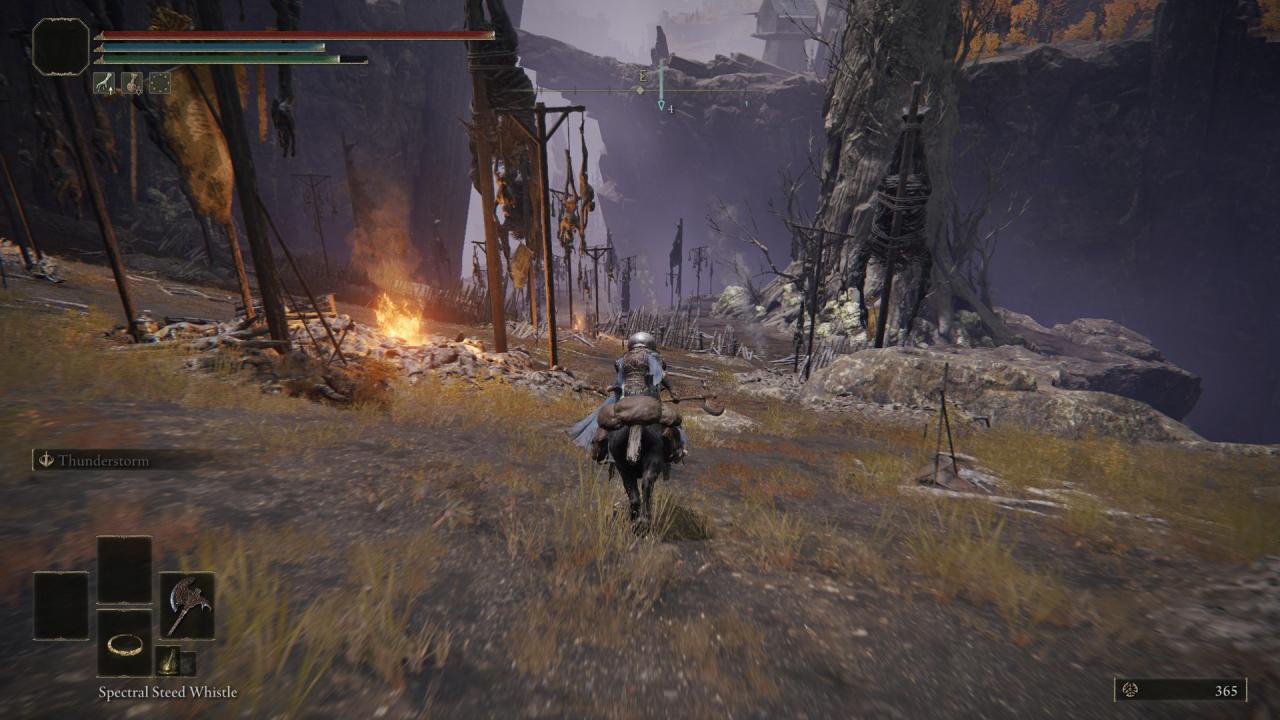
- Take a left, jump down to the volcano pits below, and follow the North East path upwards, dropping down to the lower platform after the three magma slugs on the bridge, then head north until you reach a plateau
 Run towards the leftmost building
 Avoid the Iron Virgin, jump through the window and immediately take a right and open the door. Run through the door, avoiding all enemies as you go directly down the path past the two snakes, go through the door at the end of said path until you reach the room
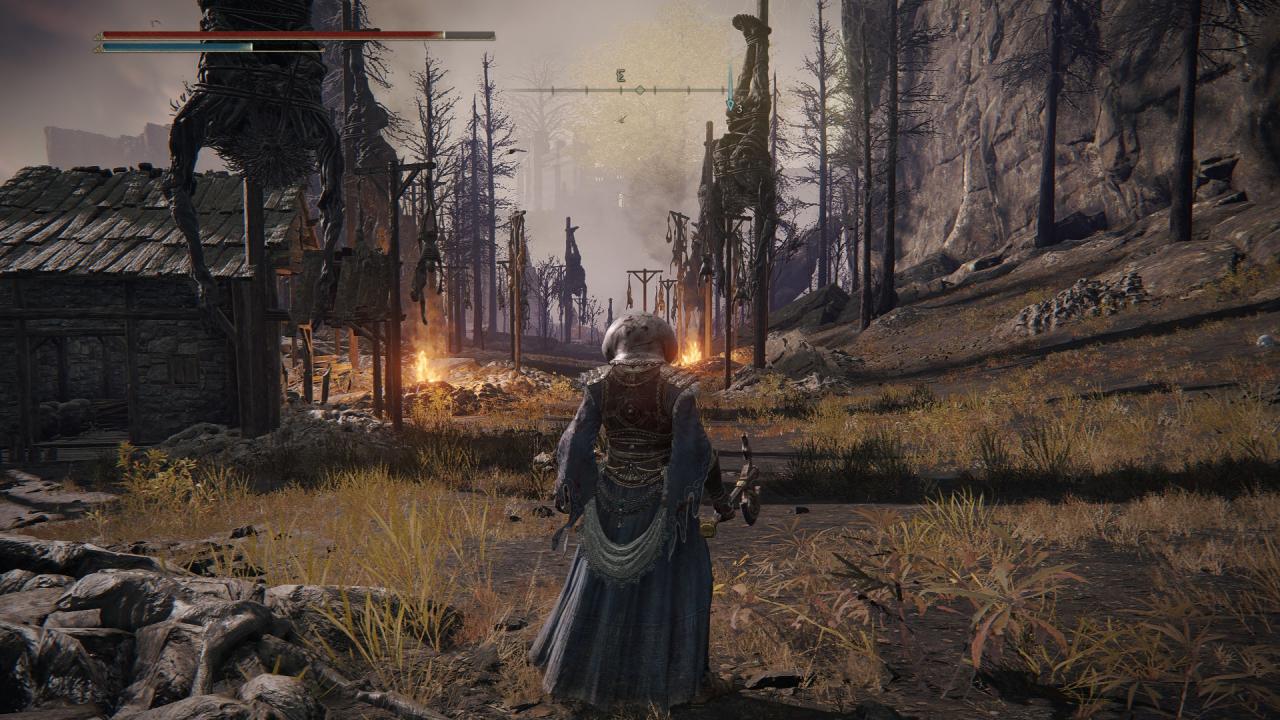
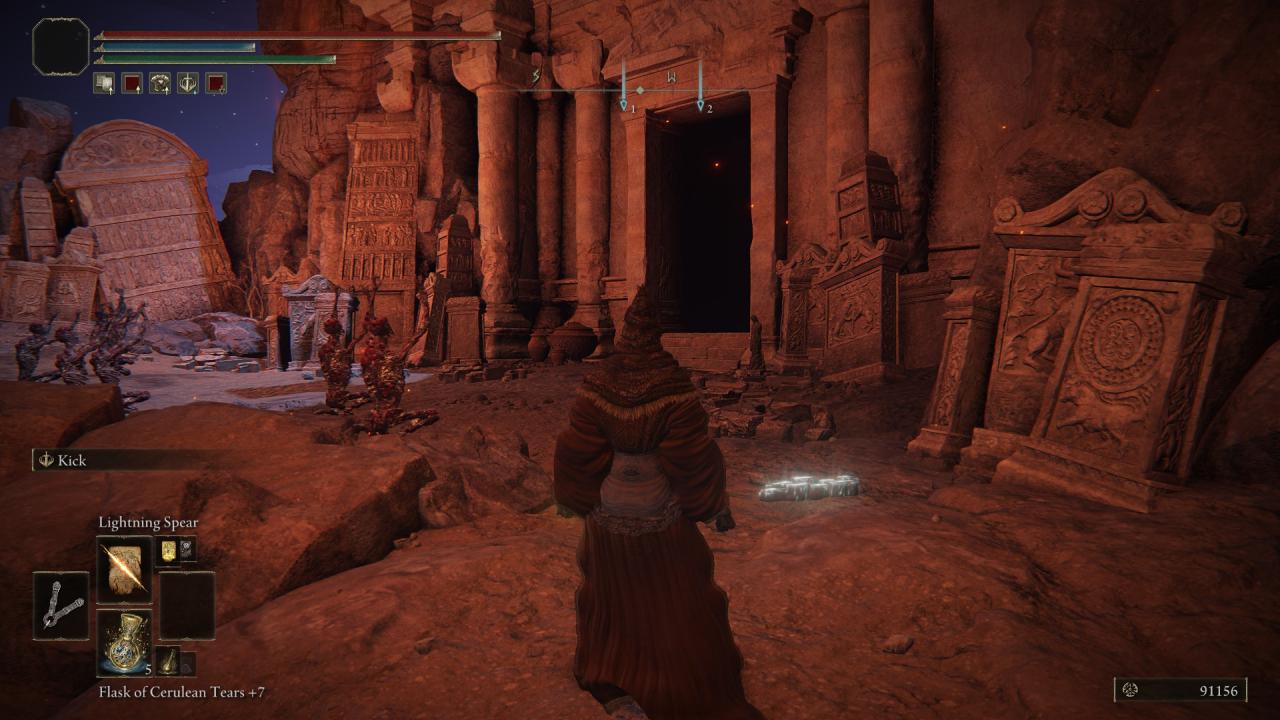
 Head through the door illuminated by two torches until you reach the room full of Snakes and human enemies, swing a hard left and head up both flights of stairs until you reach a door protected by a fog gate (Not pictured, I had already opened it before dying at the next stage).
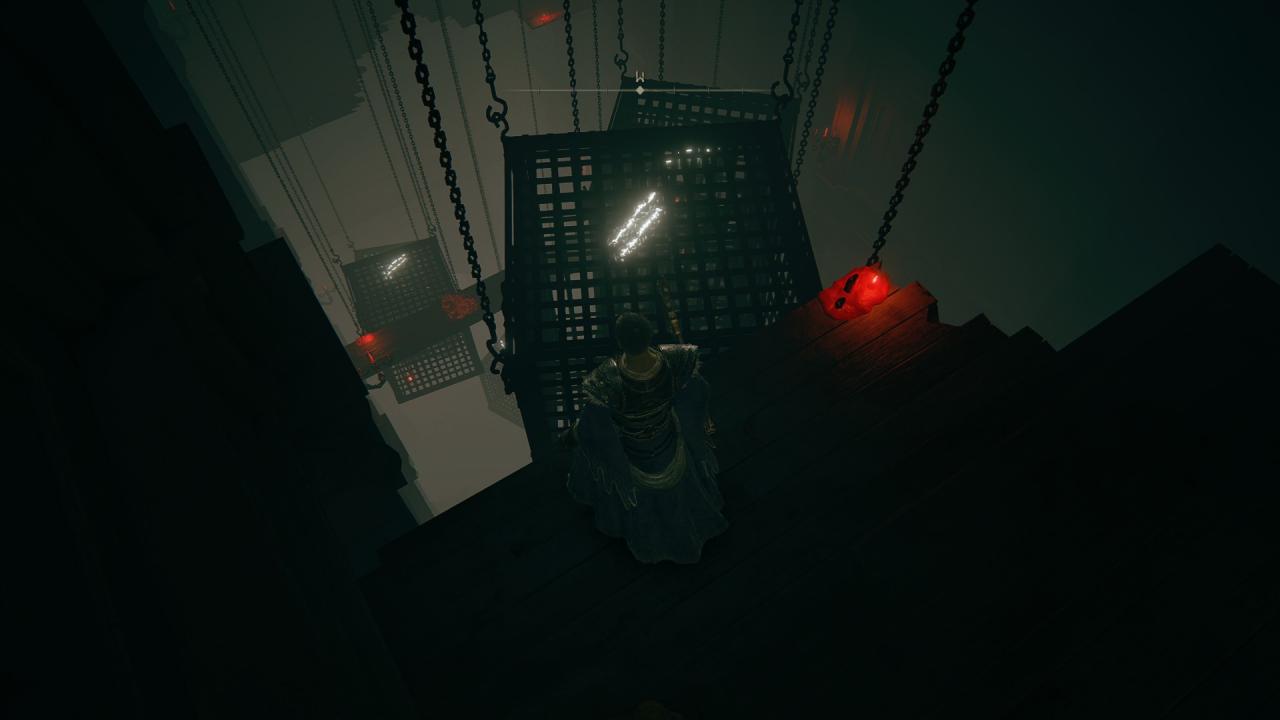
 Heading through the door, from here, the real difficulty begins. As you try to fight the camera and platforming, head down jumping on top of the cages.
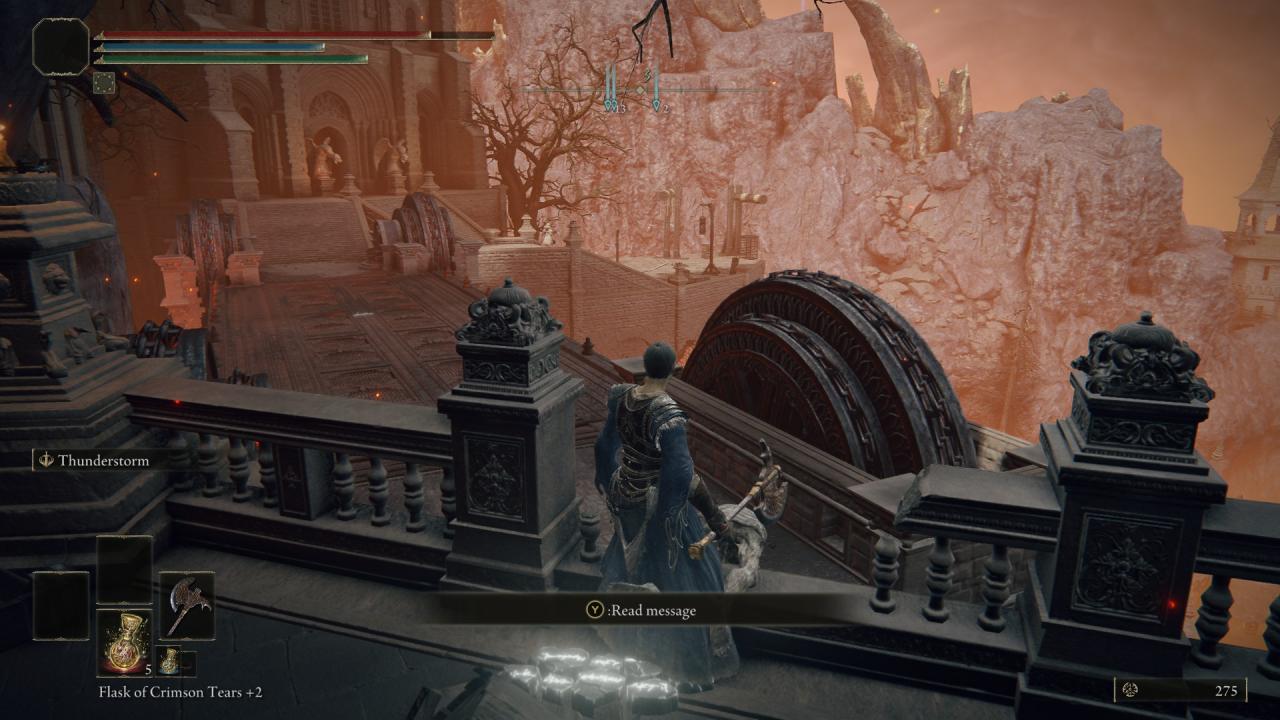
 When you reach the bottom, immediately run West past all of the mobs, roll when needed until you reach a corpse chained to a chair, pick up the Seedbed Curse and then swing a direct left and run through the door until you reach an outside area, behind an Iron Virgin you will see a corpse with an item on it where I am standing in the picture, that will be the ever illusive Somber +7 needed.
Ninth Location (Somber +6)
Ride down past the rotting tree that spawns an Ulcerated Tree Spirit, jump down the broken bridge at the bottom of the hill until you reach a shack.
You will be invaded here unless you hug the cliff on the right. Continue along the cliff until reaching a ladder near two Iron Virgins
Climb up the ladder, and immediately look towards your left. You will see a bunch of graves and at the top of the hill, a wolf sitting next to a chair
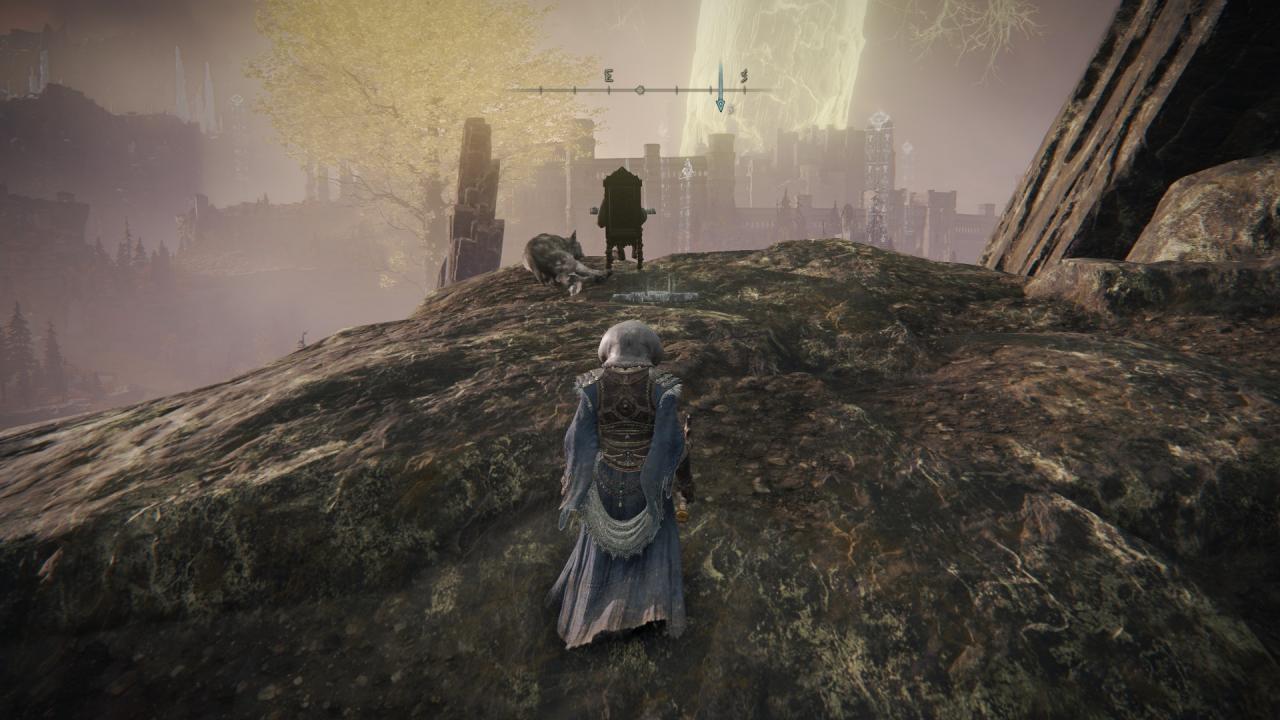 From here, you’ll find the location of the 6th Somber Stone needed.
Final Location (+10 Somber)
Unfortunately, much like +7; +10 is a very endgame item and as such is tied to a quest. Thankfully, the +10 you’re aiming for here is achievable early on by following Varre’s questline.
- Make sure you have exhausted all of his dialogue at the First Step where you begin the game.
- Upgrade your weapon to +9 with all of the items you have now, then- rush through Stormveil killing Godrick and Margit. Make sure to talk to Rogier on your way through the castle as it is only a slight detour.
- Upon killing both of them, return to Liurnia and head towards the Rose Church, exhaust his dialogue until he rewards you with the Festering Bloody Finger. Head to the nearest site of Grace or alternatively, the First Step and invade 3 players, if you don’t want to play cat and mouse, jump to your death to end these invasions early.
- He will then ask you to receive the blood of a maiden, if you do not wish to mess with any of your later quests, head to the Four Belfries and grab the Imbued Stonesword Key from the very top, then heading to the teleporter that takes you to the ‘Chapel of Anticipation’.
- Kill the Grafted Scion, and head to the room you began the game in to use the dead maidens blood
- Return to Varre and receive his Pureblood Medal, activate it from your inventory after exhausting his dialogue.
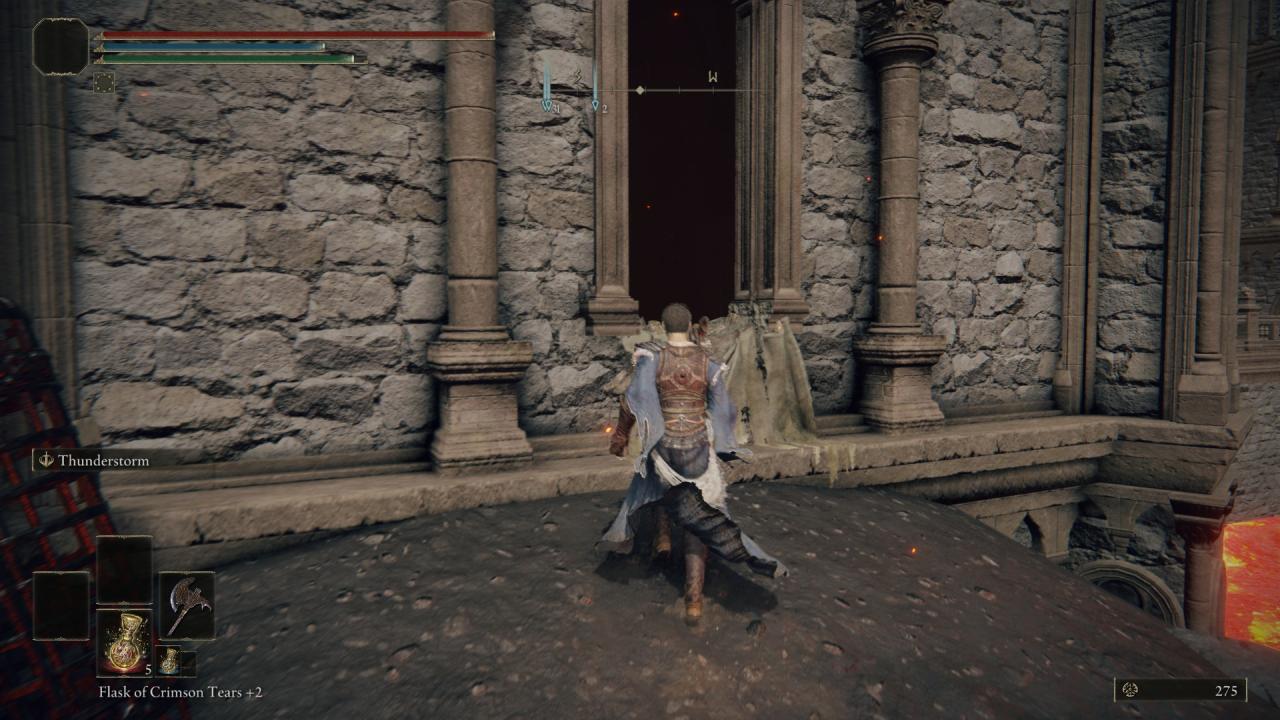
 Head up the stairs, continue along the linear path until reaching the dark chapel/church/altar.
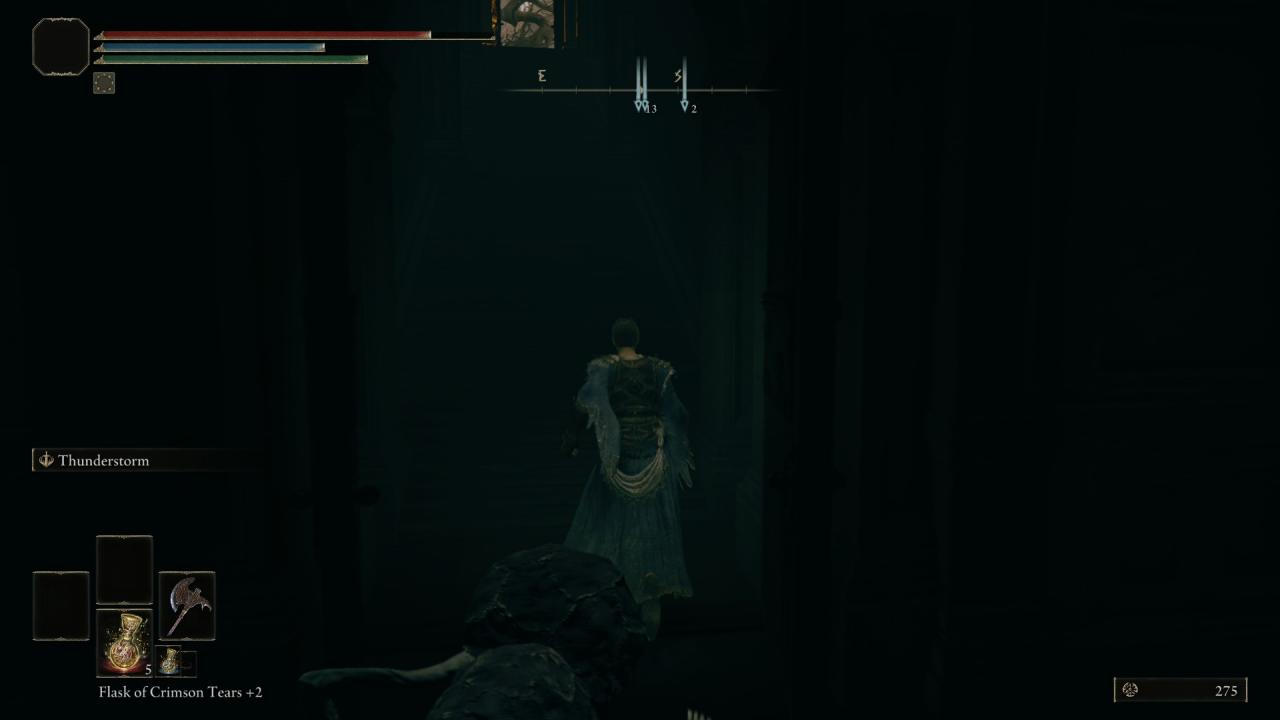
 Proceed through it, dodging all enemies until you reach the exit and the site of grace therein
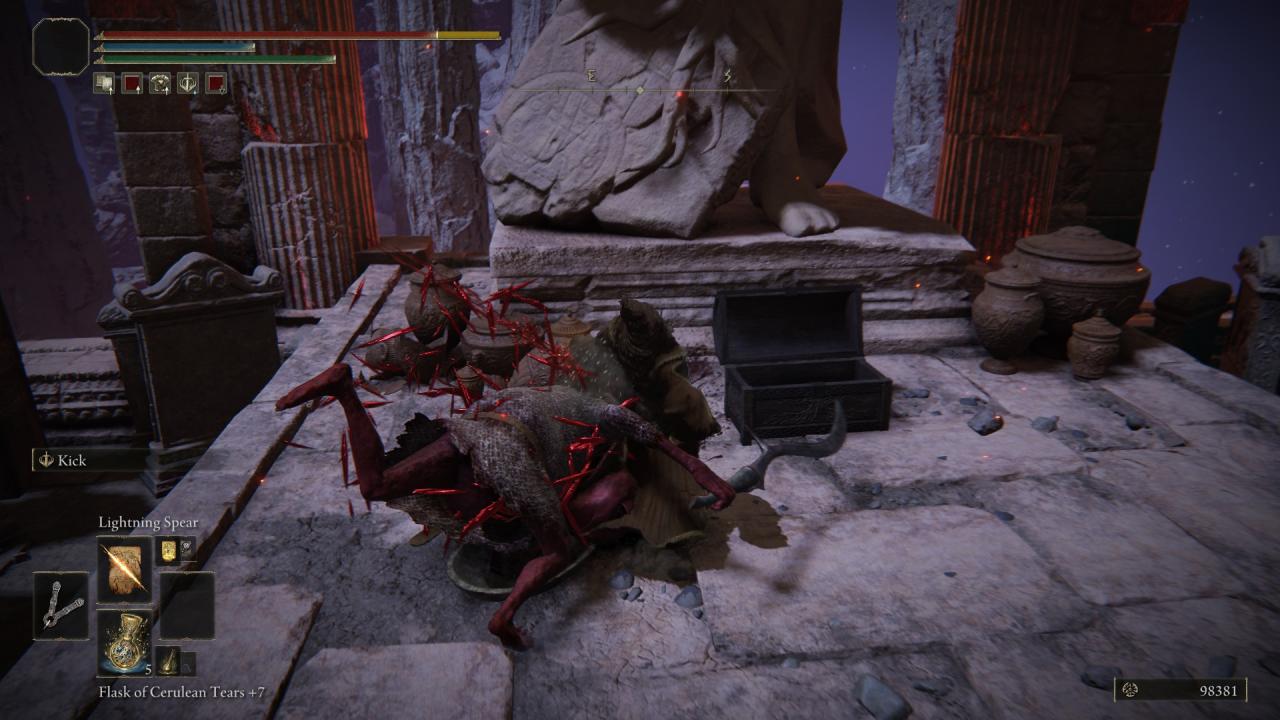
 After resting at the site of grace, head up the stairs until you see a large statue being worshipped by Albinaurics, run past all of them to the base of the statue and open the chest
 And just like that, you’ll have achieved +10.
Final Note

This is the final playtime, not including the final +10, but also including the time it took to write this guide, wait for summons and dying to fall damage.
The level was boosted by saving up all of the runes from my main to use on my second character. This was done AFTER getting the final Ancient Stone so that I could upgrade and PvP with friends.
I have no doubts this can be trimmed down to 3 hours with better map knowledge.
Hope this was helpful.
Thanks to infamous .308 tiger muderer for his great guide, all credit to his effort. you can also read the original guide from Steam Community. enjoy the game.
Related Posts:
- ELDEN RING: Caster Guide (How to Get the Best Spells & Staff Early Game)
- ELDEN RING: Greatsword Location (How to Find)
- ELDEN RING: How to See Nepheli Loux Naked
- ELDEN RING: Beginner’s Guide (Gameplay, Class, Keepsakes and FAQ)
- ELDEN RING: Lichdragon Fortissax Guide for Melee