This guide seeks to teach new players how to create a cheap defensive perimeter which won’t stop working during power failures as fast as possible, and how to expand from those humble beginnings to a more permanent defensive perimeter.
Introduction
Recently, I wondered whether there was a good guide on the topic. I did some searching, and discovered that most guides cater to people who seek information on defenses for surviving the late game. This convinced me that a guide aimed at the early game was necessary.
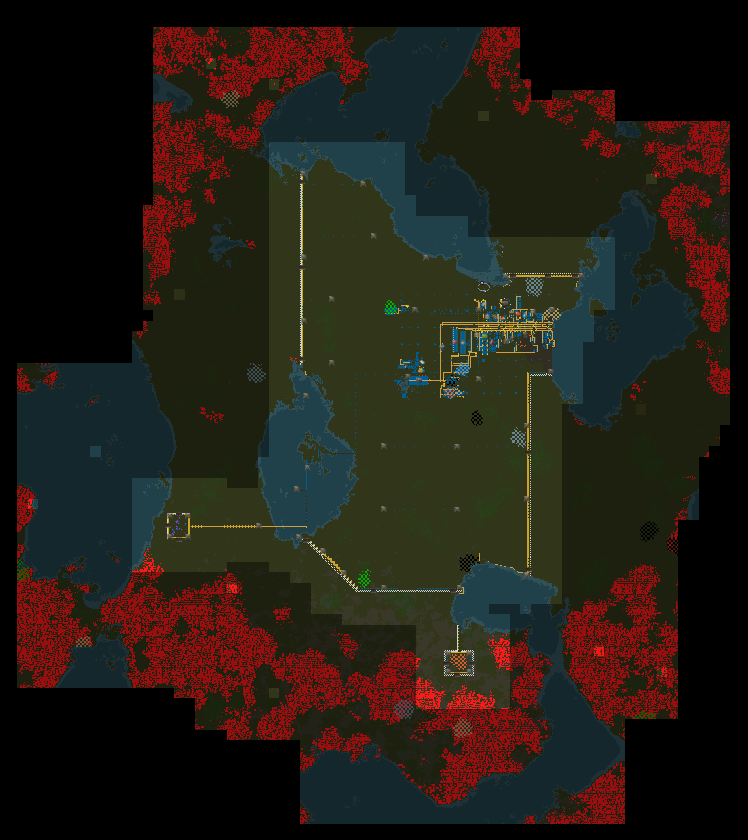
In this guide I will attempt to go through the various stages of perimeter fortification in the early/mid game. The first question, then, is why perimeter fortification is necessary. I will let this picture speak for itself.

Material Usage
– Medium Electric Pole
– Transport Belts
– Underground Belts
– Splitters
– Burner Inserters
– Gun Turrets
– Radars
– Walls
– Gates
– Coal
– Firearm Magazines, Piercing Rounds Magazines or Uranium Rounds Magazine
The minimum components required are these:
– Coal
– Firearm Magazines
– Transport Belts
– Underground Belts
– Splitters
– Burner Inserters
– Gun Turrets
Generally, you will already have belts of coal available by the time defense becomes a necessity. Everything else can be relatively easily manufactured by Assembling machines. You should always endeavour to have automated production of all parts, regardless of how many parts you are presently including.
Creating a Feed Belt

The output of this ammunition factory is then merged onto a single belt by means of a T-section, forcing it to occupy only one side of a belt. The other side of the belt is for coal.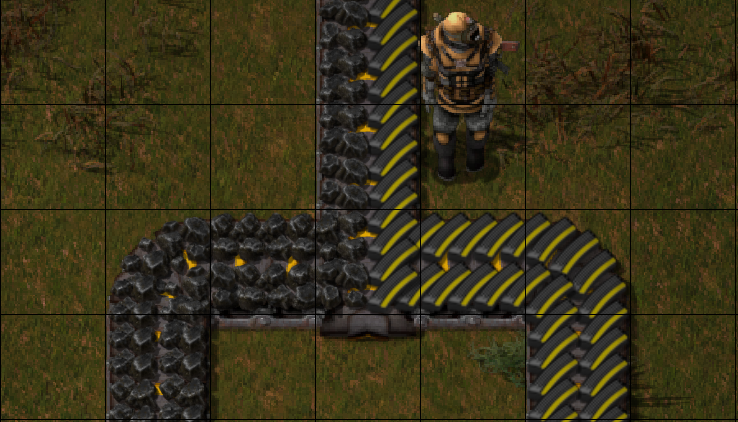
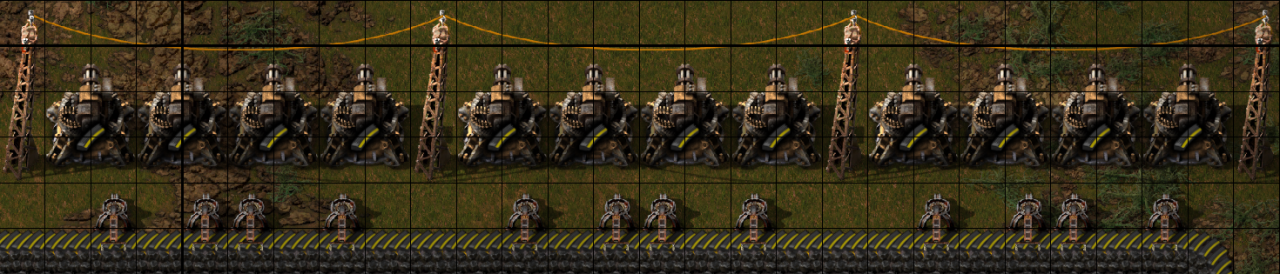
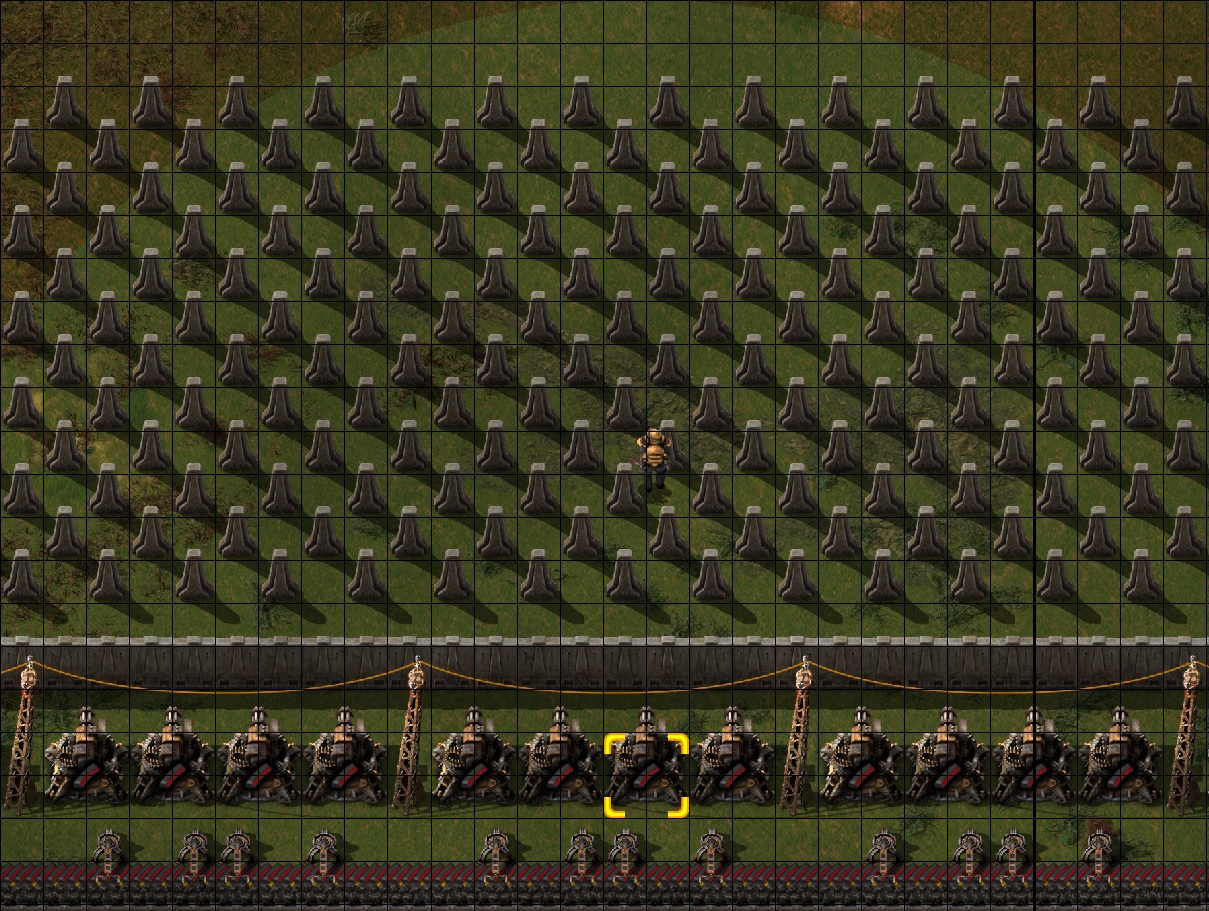
Your Initial Perimeter

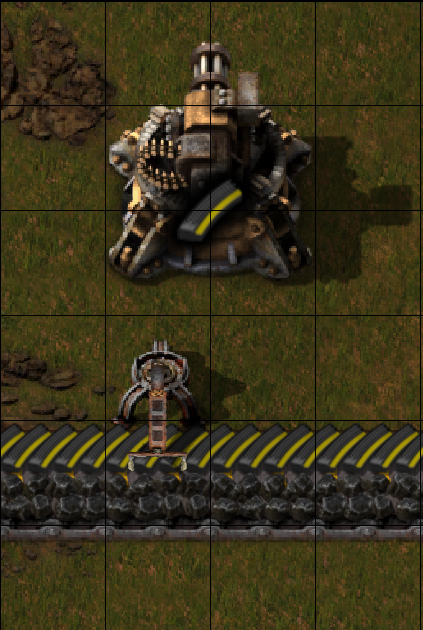
The Gun Turrets receive ammo from the Feed Belt by means of a Burner Inserter positioned between the Feed Belt and the Gun Turrets. Why a Burner Inserter? If your base has a power outage, all entities that require electricity to operate will cease to function. In this event, normal inserters would no longer be able to move ammo from the Feed Belt to the Gun Turrets. The Burner Inserter, however, is powered by the coal on the feed belt next to the ammo it gives to the Gun Turrets. This means that a Gun Turret + Burner Inserter combo will never cease to operate as long as there is ammo and a combustible solid on the Feed Belt.
It should also be noted that you can reduce the risk of base-wide power failures by using Burner Inserters to shuffle coal into your boilers instead of electric inserters. Both the Burner Inserter and the Boiler run on combustibles, so it’s a match made in heaven that will ensure continued operation as long as coal comes in. Ideally you’d want one belt line of coal with 20 boilers on each side for a total of 40, each powering 2 steam engines for a total of 80. Each group of 20 boilers is powered by 1 pump. This should be able to keep your base going until you get nuclear power.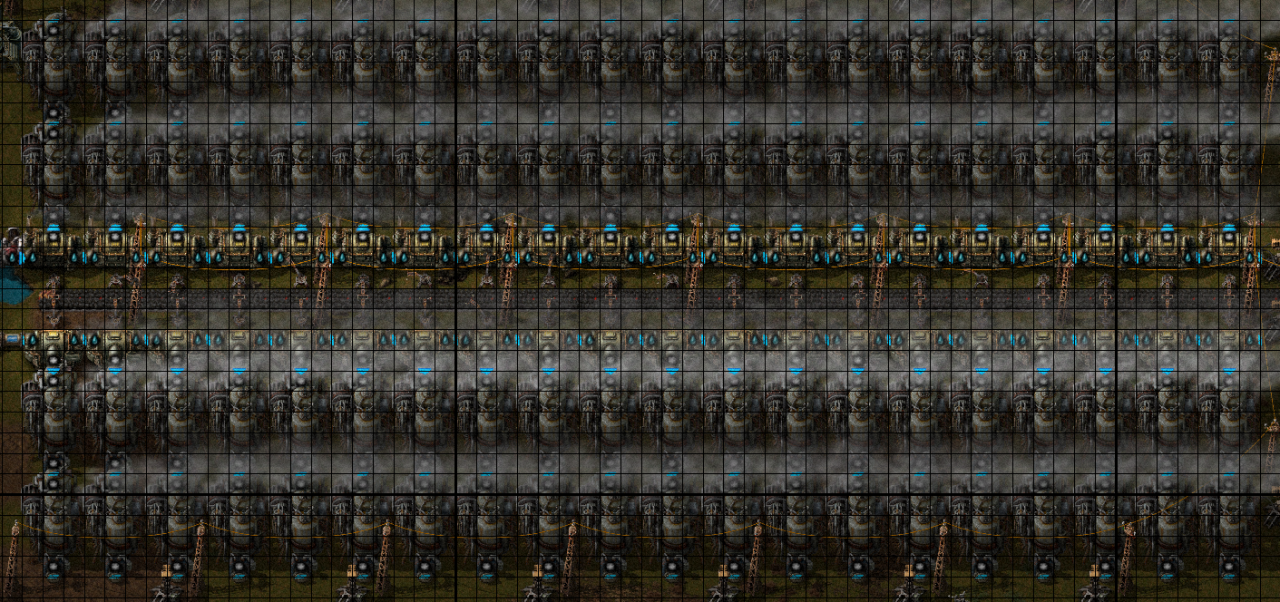
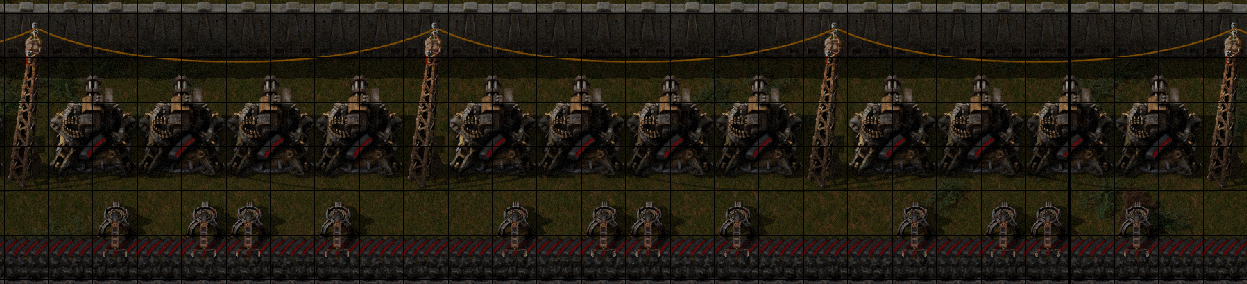
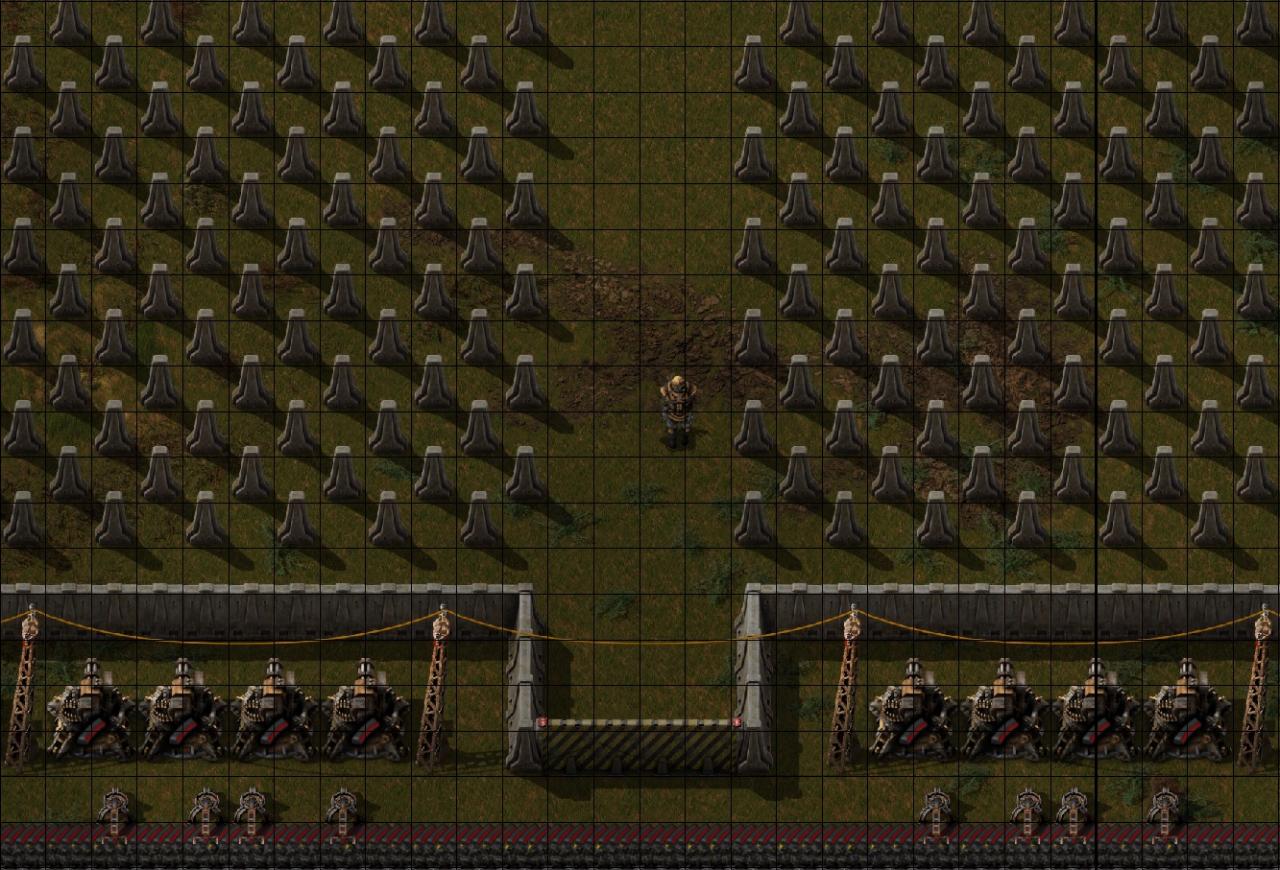
Replacing Initial Perimeter
Once you have a literal wall of guns around your base, you want to commit to adding a wall. It is extremely important to keep one empty space between your wall and your turrets, because more advanced melee bugs have melee attacks that can hit structures behind the walls. You should also be mindful to change the type of ammo that gets fed onto the belt once it becomes economically feasible.
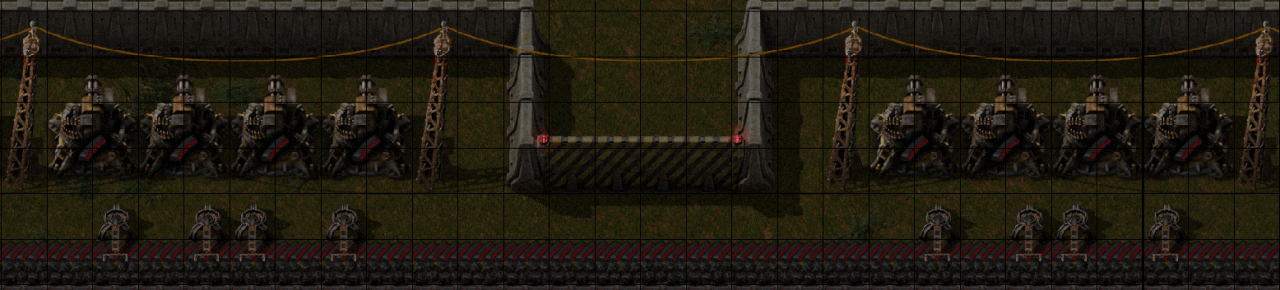
Walls need gates big enough to let a tank pass through without it breaking stuff. To achieve this, simply pick a turret section and remove the burner inserters, then the turrets, and create a gate that slopes back to the same tile axis as the Medium Electric Poles. Make sure that a gate always has at least one battery on its flanks. The combined firepower of two batteries should be enough to keep enemies away from the gate.
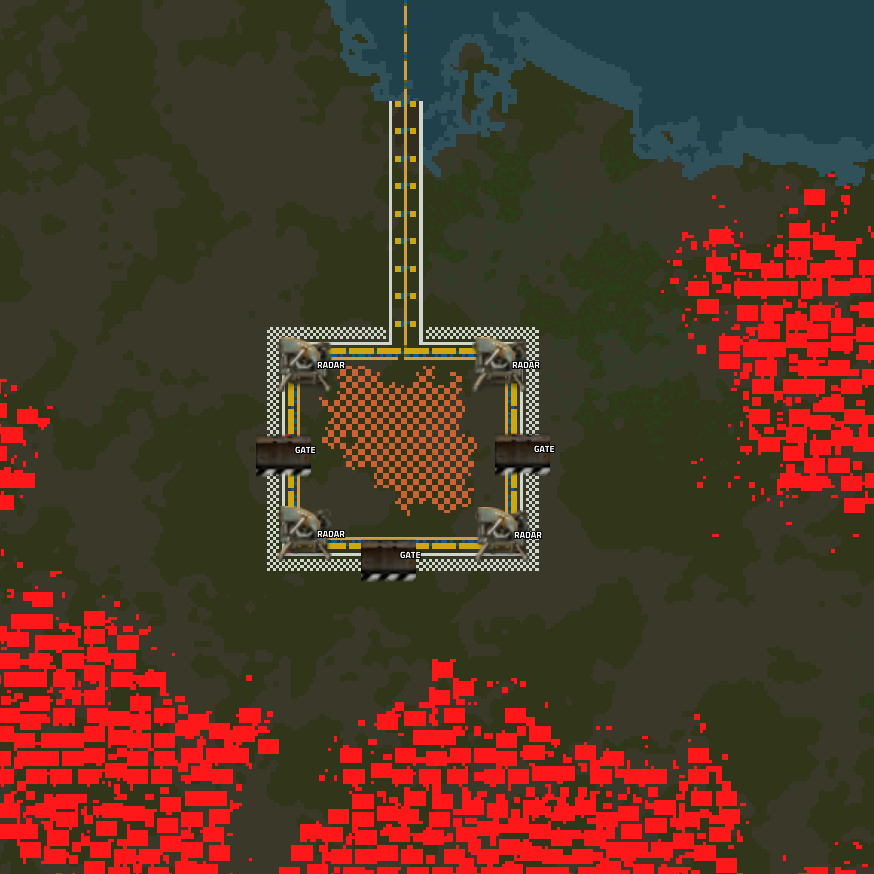
Personal Roboport is Love, Personal Roboport is Life.
Making drones construct presaved blueprints drastically reduces the amount of time it takes to create a Maximum Concentration Perimeter. It is therefore recommended that you attempt to hold out with a Minimum Dispersion Perimeter until you obtain these magical point and click powers. Because a blueprint is all about placing objects down in complex patterns, it enables things that other players often ignore, such as Tank Traps. You might ask “What use are tank traps against an army of bugs?” That’s a good question. The answer is that as you kill enemies, their entire species will evolve in order to be more efficient at killing you. These larger biomorphs deal more damage, have more armour, have more health and move faster. The same tier of enemy that has an attack range so wide that it necessitated a space between your turrets and your walls, is also too fat to move through a single space, because he is a big chonky boi. Tank traps, therefore, allow smaller bugs to run straight at your turrets, allowing them to gun them down. Meanwhile, the bio titans will be stuck trying to get through the tank traps and will then be focused down by multiple turrets whilst doing so, as all of the smaller bugs that were supposed to draw fire for it are already dead. The minimum tank trap should be 4×4, but you can endeavour to make it as thick as your turret line’s firing range. The maximum recommended is 12×12.
Just remember to leave a path through the tank traps whenever you construct a gate, or it will trap your tank.
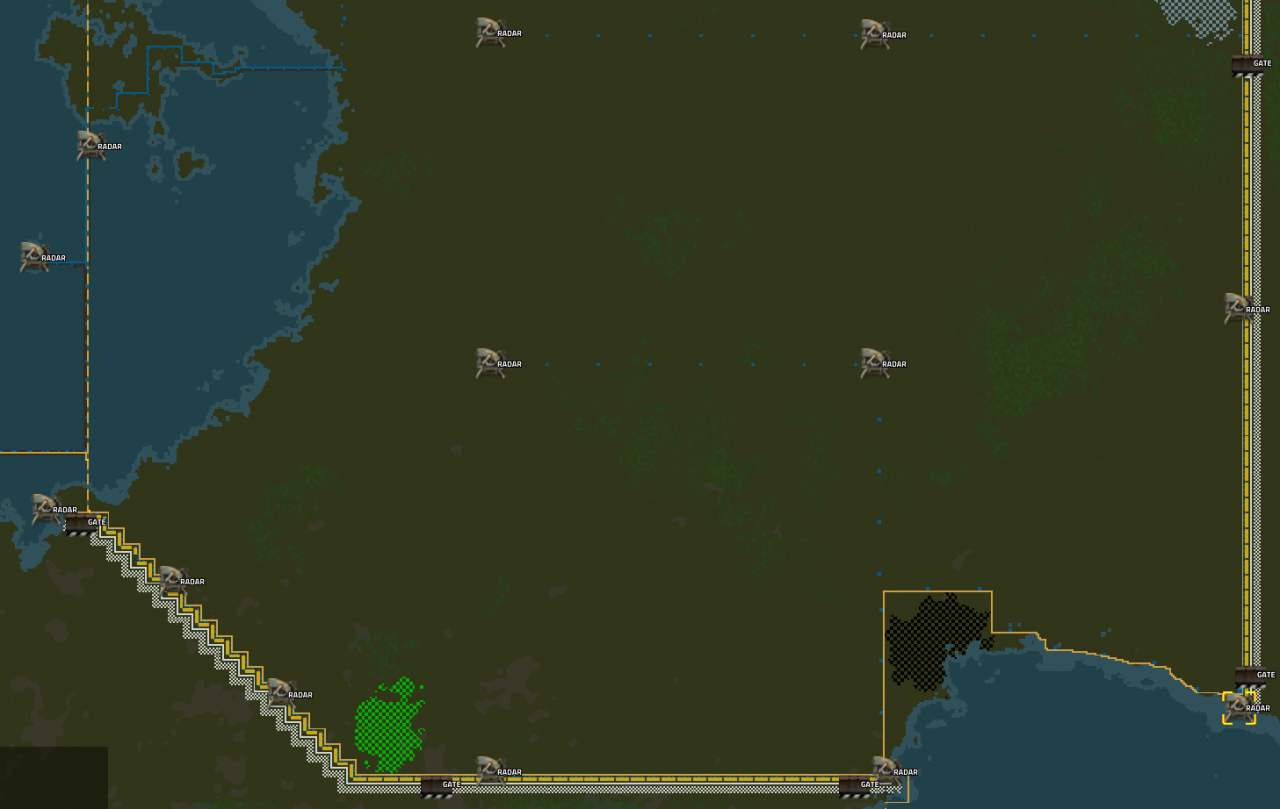
Now that you are able to use the Personal Roboporter, you will also be able to efficiently use defenses in an offensive manner, by using a trench to approach a resource site and then creating a base around it.
Closing Remarks
Artillery is a very efficient tool for keeping the enemy from doing to your base what you did with offensive trenching towards resources. If the enemy bases get too close, they will start shooting your perimeter with Spitter Worms that outrange most defenses available to the player. Artillery guns only target enemy structures, and oneshot any enemy structure they hit. This in combination with their range should create a comfortably wide no man’s land around your bases.
Once you’ve got all of this pat-down, there’s nothing that prevents you from adding laser turrets and flamethrower turrets to your defensive line, but between artillery and fully upgraded gun turrets with uranium ammunition, there really shouldn’t be any problems.
Happy camping!