
This is a guide for people who want to ensure their Blue Mage has all possible spells collected at their earliest points, in the order they can be retrieved.
Introduction
Blue Mage spells are learned by an enemy using these abilities on a Blue Mage in your party or someone with the “learn” ability. The spell must specifically target and land on the party member successfully or you will not learn it. This can be tricky depending on the enemy and the spell.
For example, Level 5 Death can only be learned when your level is a multiple of 5, such as level 5, 10, 15, 20, etc. and since players often have their entire party at the same level, this spell will typically kill the entire party. I have included some notes on how to work around this.
There are also abilities that the enemy won’t use on its own or won’t target your party even when they do use it. For these abilities you need a Beastmaster with their second ability called “!control”. This allows you to control the enemy and force them to use the ability on your Blue Mage. Some of these enemies are encountered before you get the Beastmaster class, so you’ll need to come back immediately after getting it (I have left notes letting you know when this is the case).
Blue Mage spells (in order of their earliest appearance)
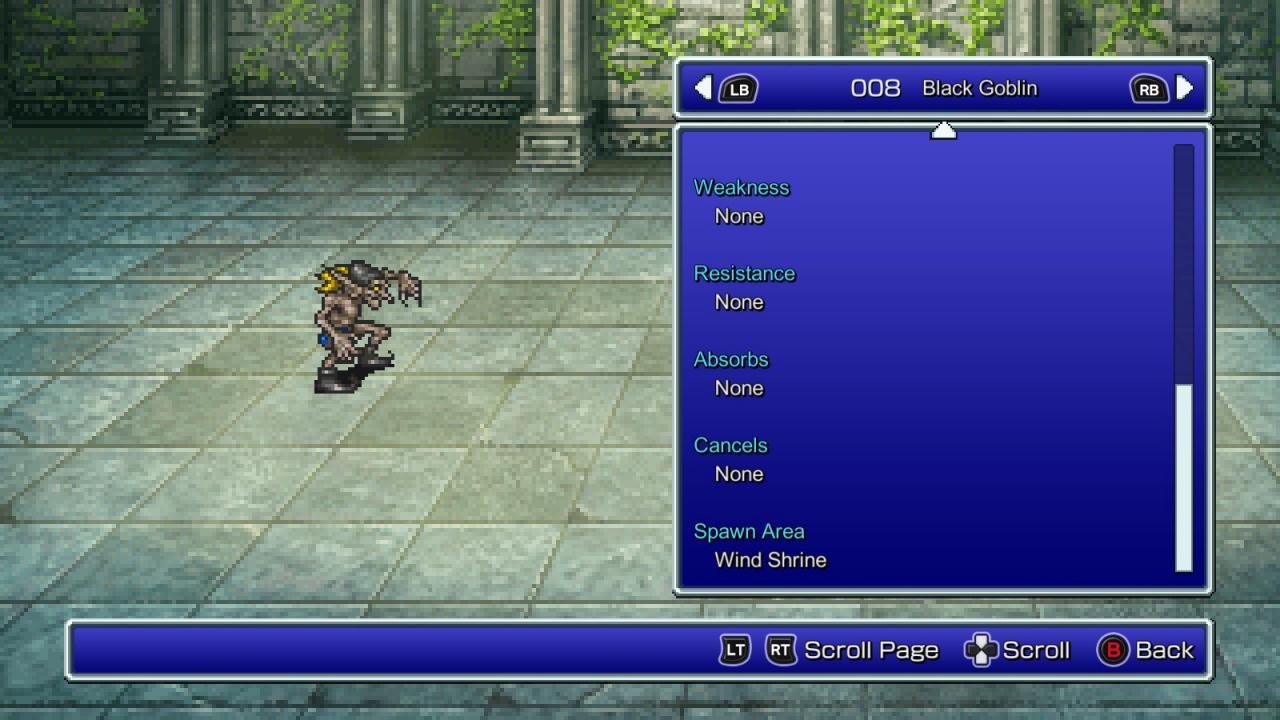
Enemy: Black Goblin
Location: Wind Shrine
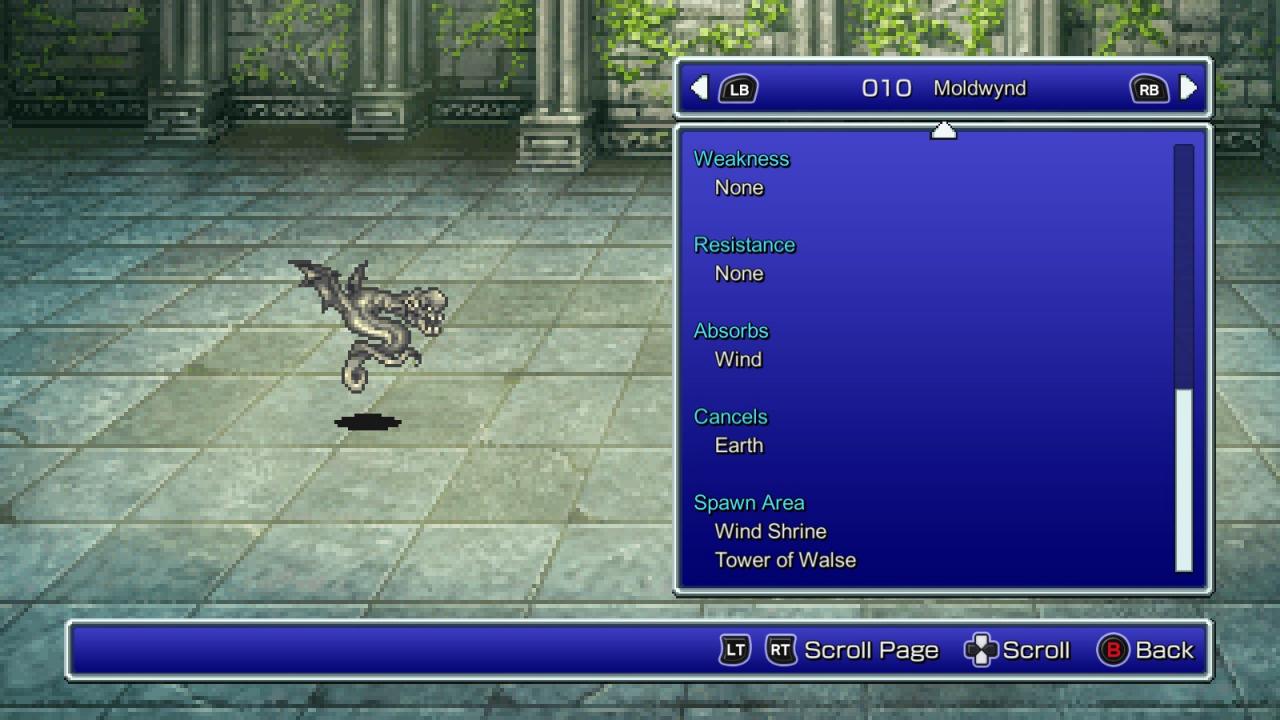
Enemy: Moldwynd
Location: Wind Shrine
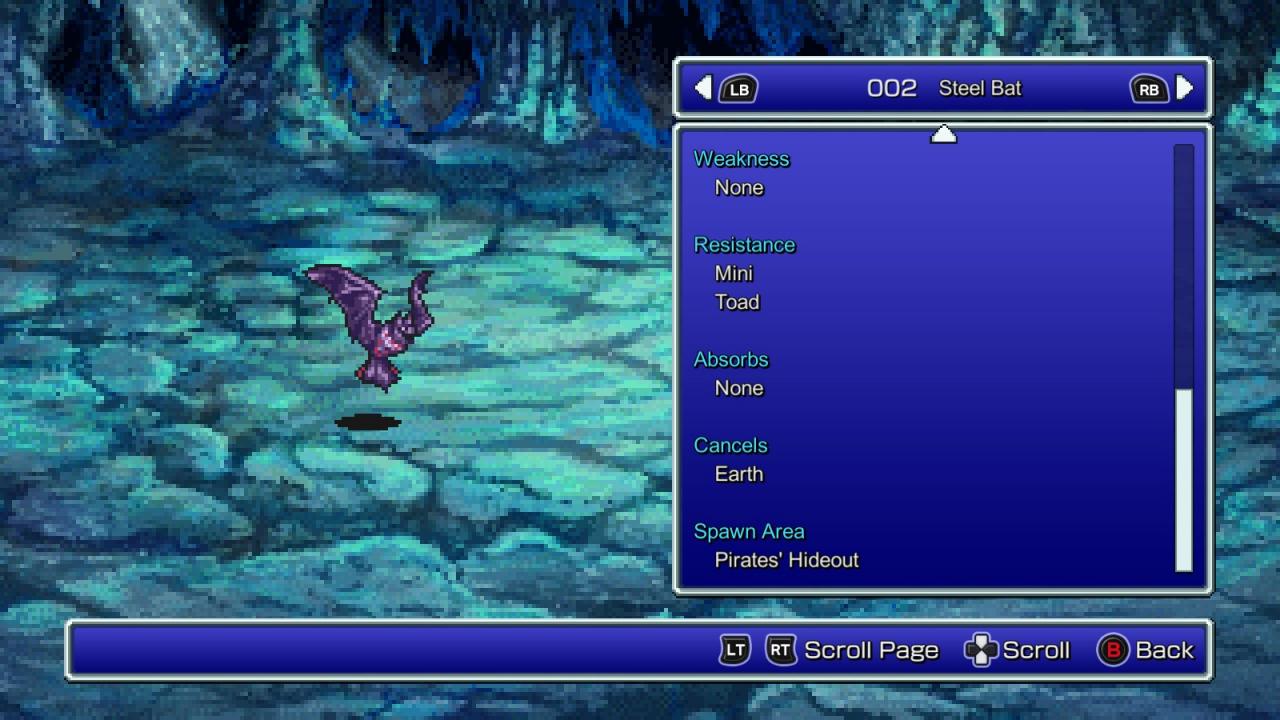
Enemy: Steel Bat
Location: Pirates Hideout
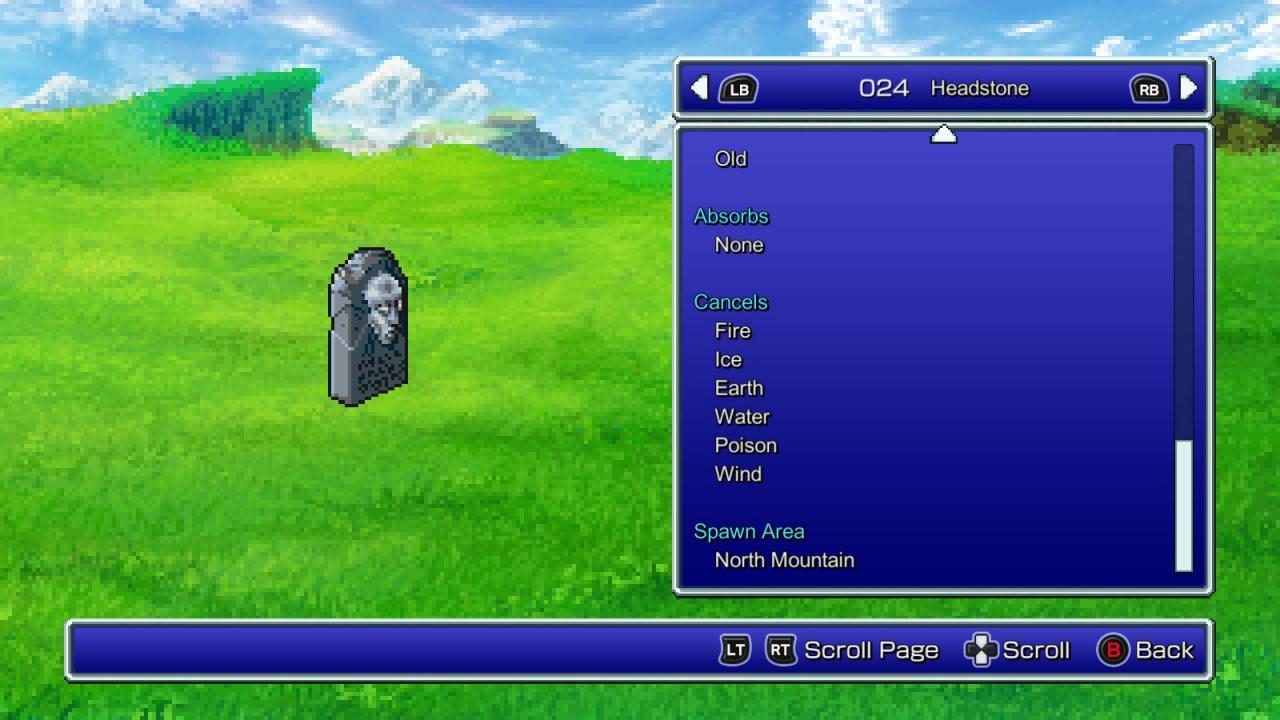
Enemy: Headstone
Location: North Mountain
NOTE: You must use an ether on the enemy for them to have enough mana to cast it.
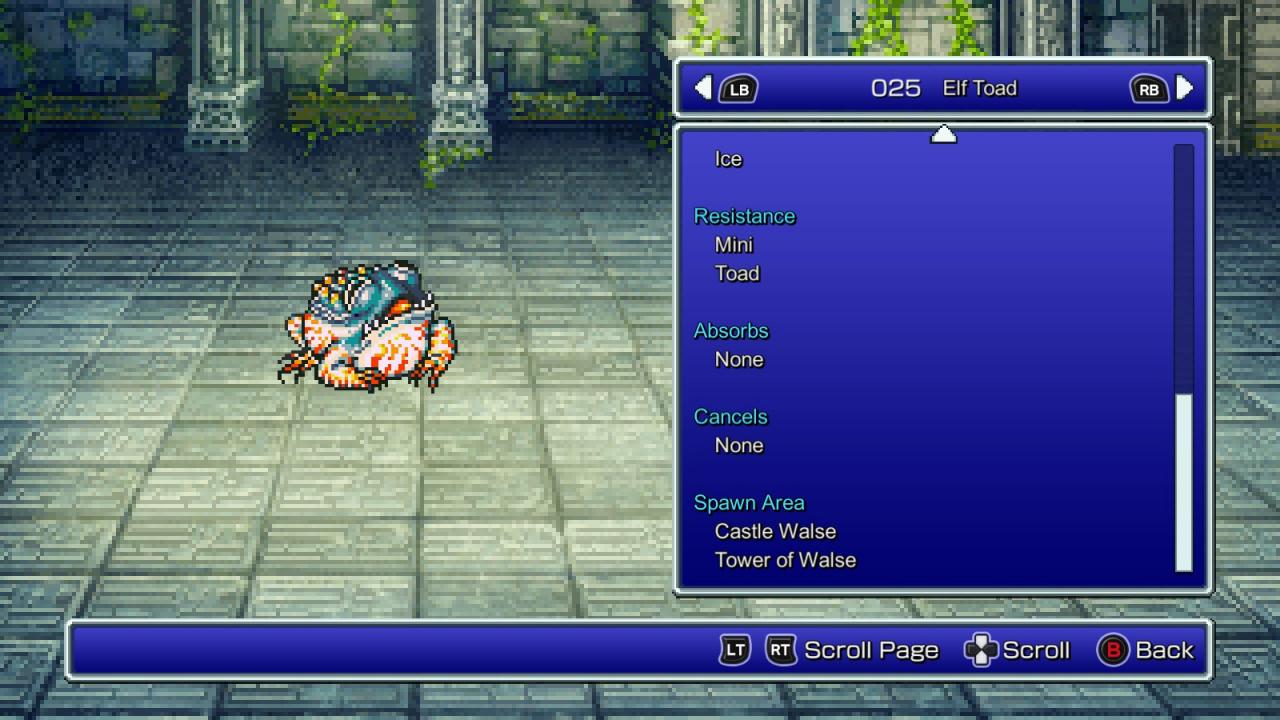
Enemy: Elf Toad
Location: Walse Tower
NOTE: Monster will only cast this when they are the only enemy remaining.
Enemy: Jackanapes
Location: Walse Tower
NOTE: Pretty unrealistic to get the ability this early since enemy is tuned 20+ levels higher than this area of the game. See below for the next best option just a little further in the game.
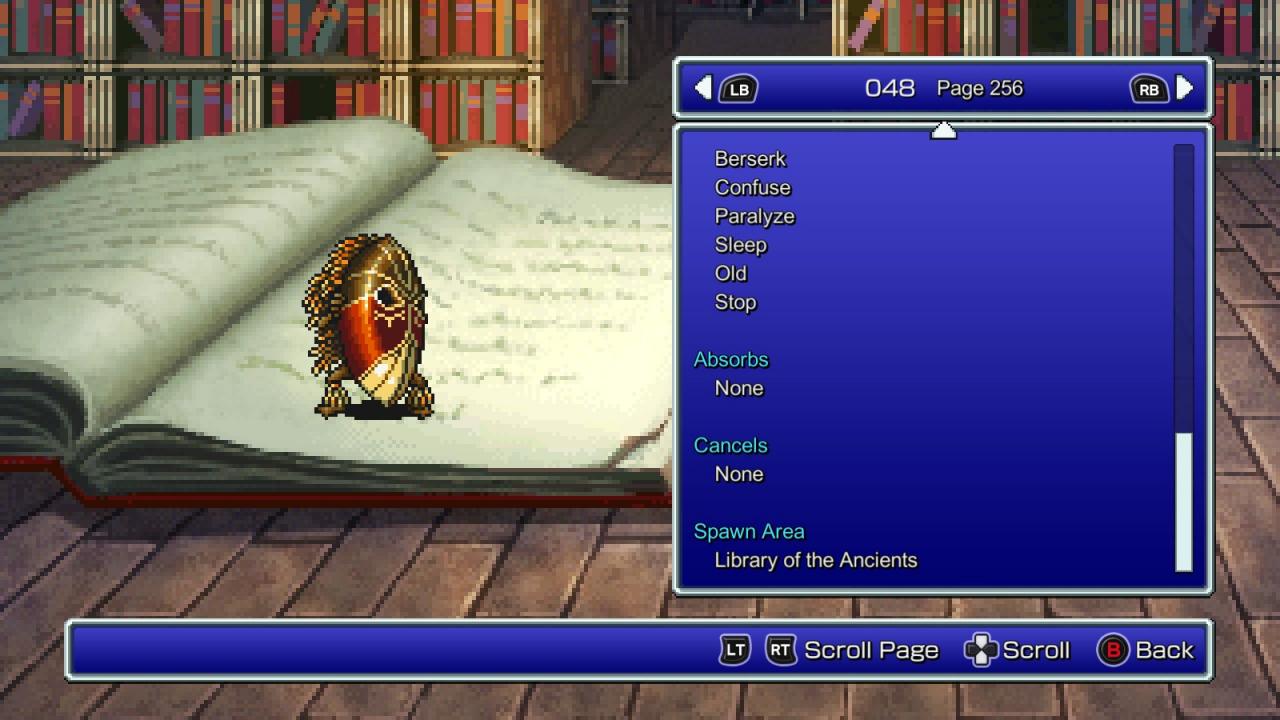
Alternative enemy: Page 256
Alternative location: Ancient Library
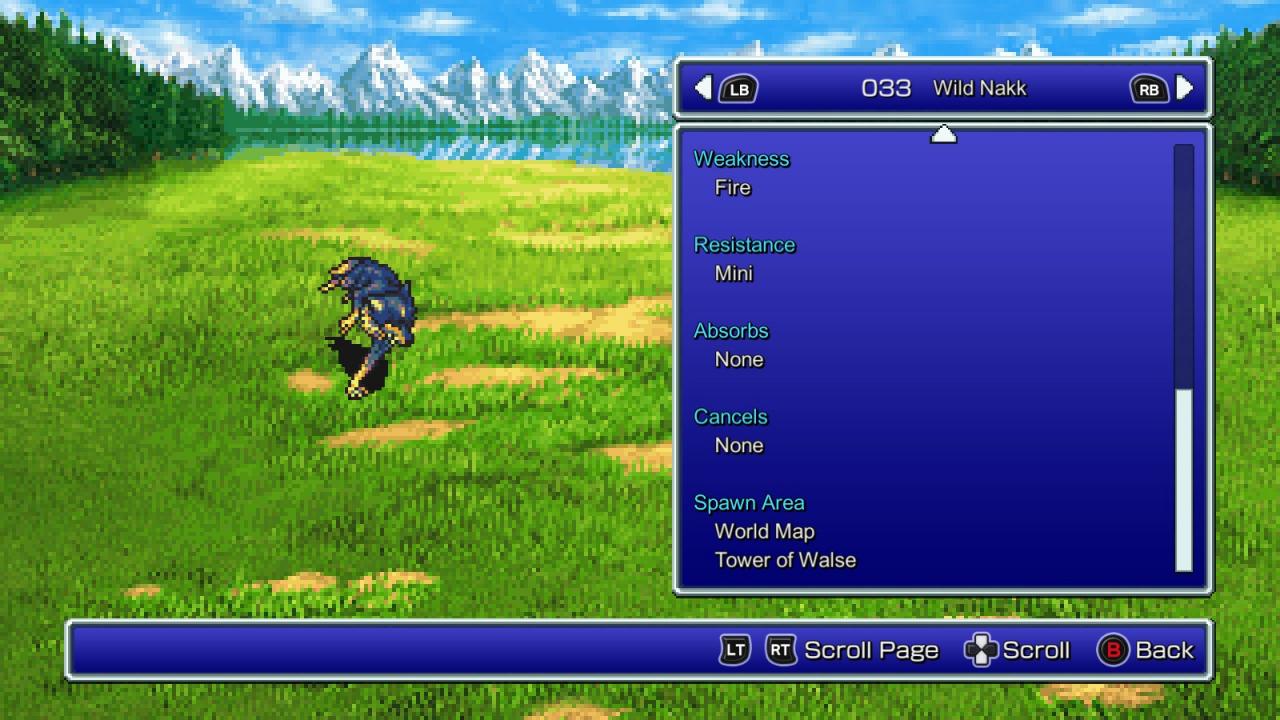
Enemy: Wild Nakk
Location: Forest areas next to Karnak Castle on the overworld map
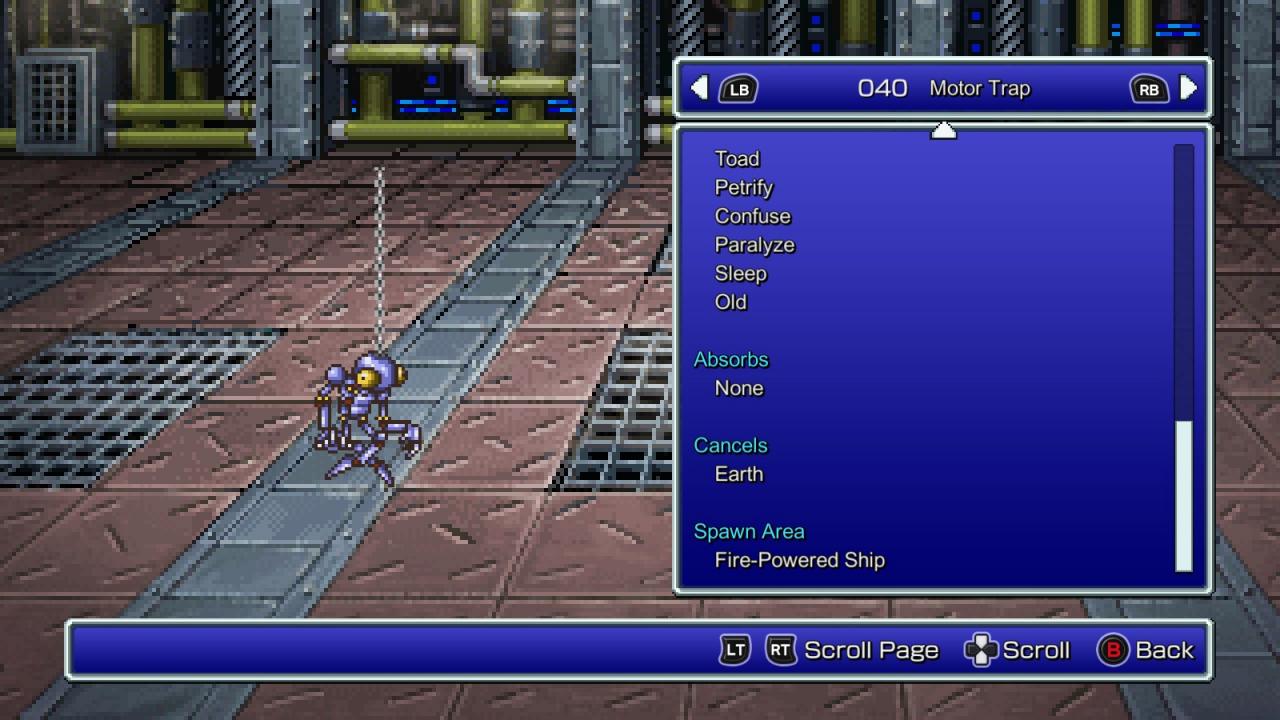
Enemy: Motor Trap
Location: Fire-Powered Ship
NOTE: Hit the enemy with a thunder spell or ability to trigger self-destruct immediately.
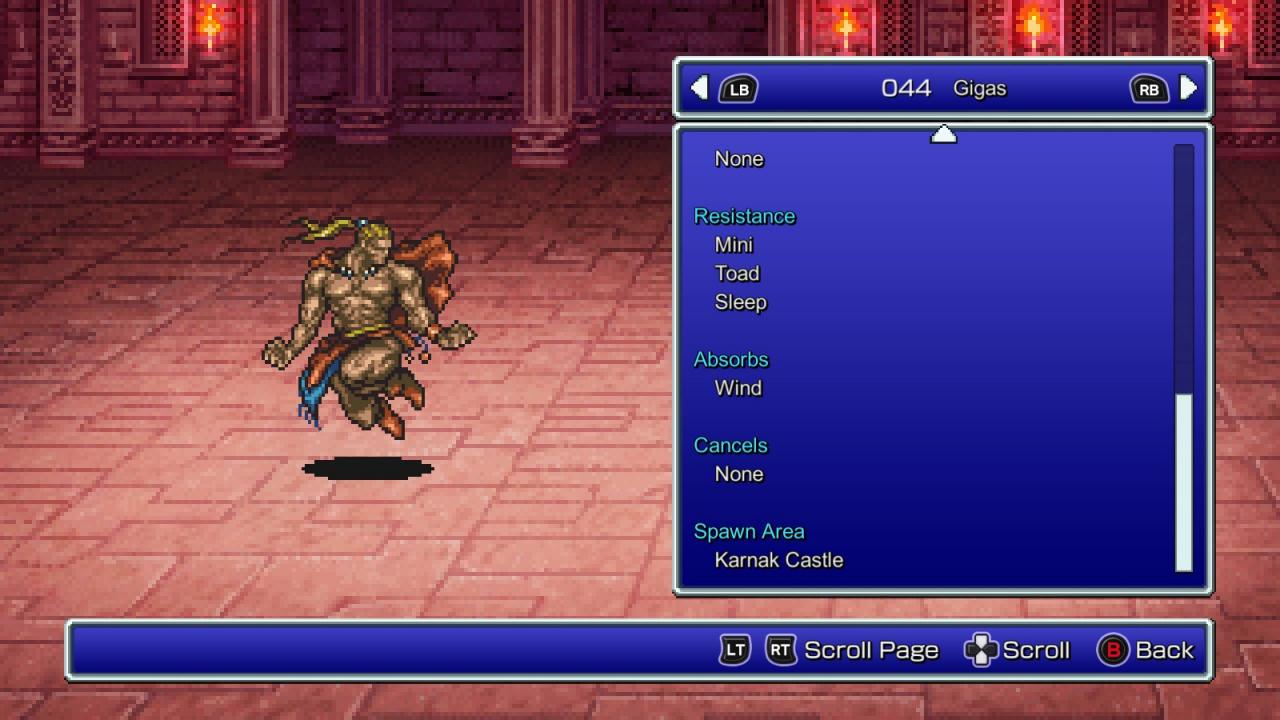
Enemy: Gigas
Location: Karnak Castle
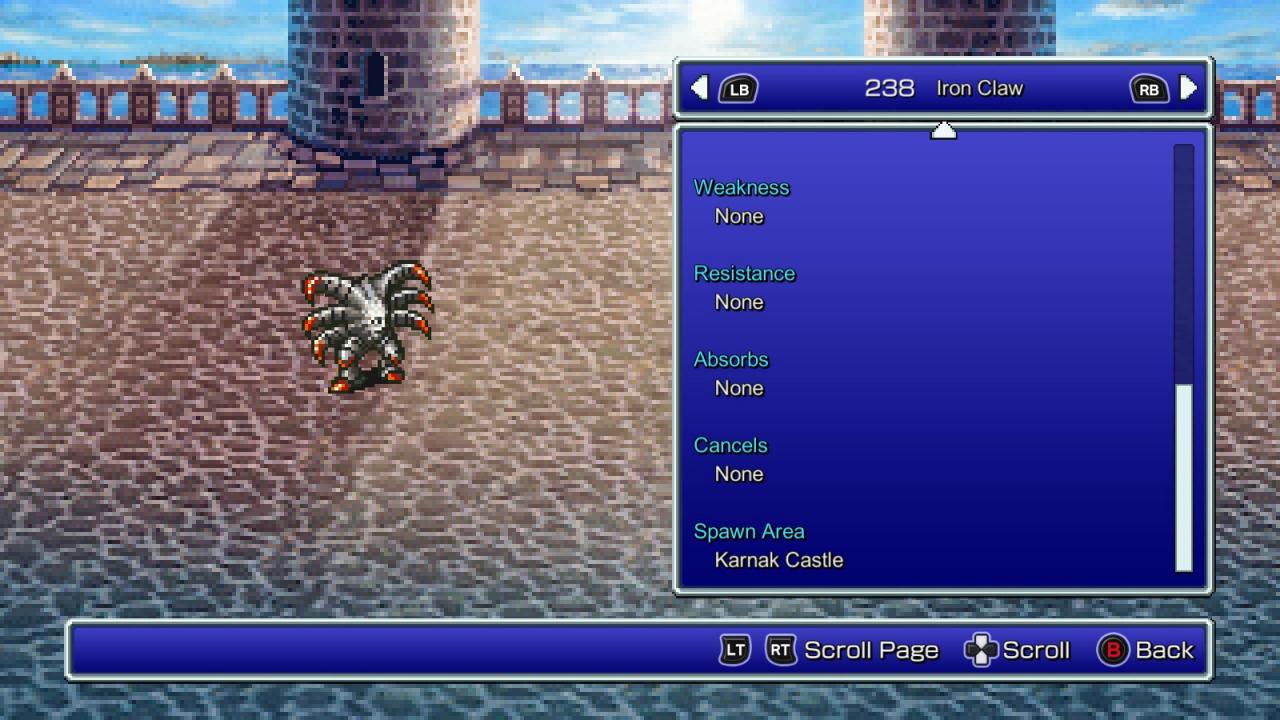
Enemy: Iron Claw (boss)
Location: Karnak Castle
NOTE: Quick save just before leaving the castle. You’ll need many attempts to successfully learn the ability and flee the castle in time.
Enemy: Dhorme Chimera
Location: Desert area north of the Library of the Ancients
Enemy: Mythril Dragon
Location: Library of the Ancients
NOTE: You will need to skip this initially and come back with a Beastmaster to force the ability using !control.
Enemy: Motor Trap
Location: Fire-Powered Ship
NOTE: You will need to skip this initially and come back with a Beastmaster to force the ability using !control. Be sure to get this BEFORE boarding the ship again with Cid and Mid.
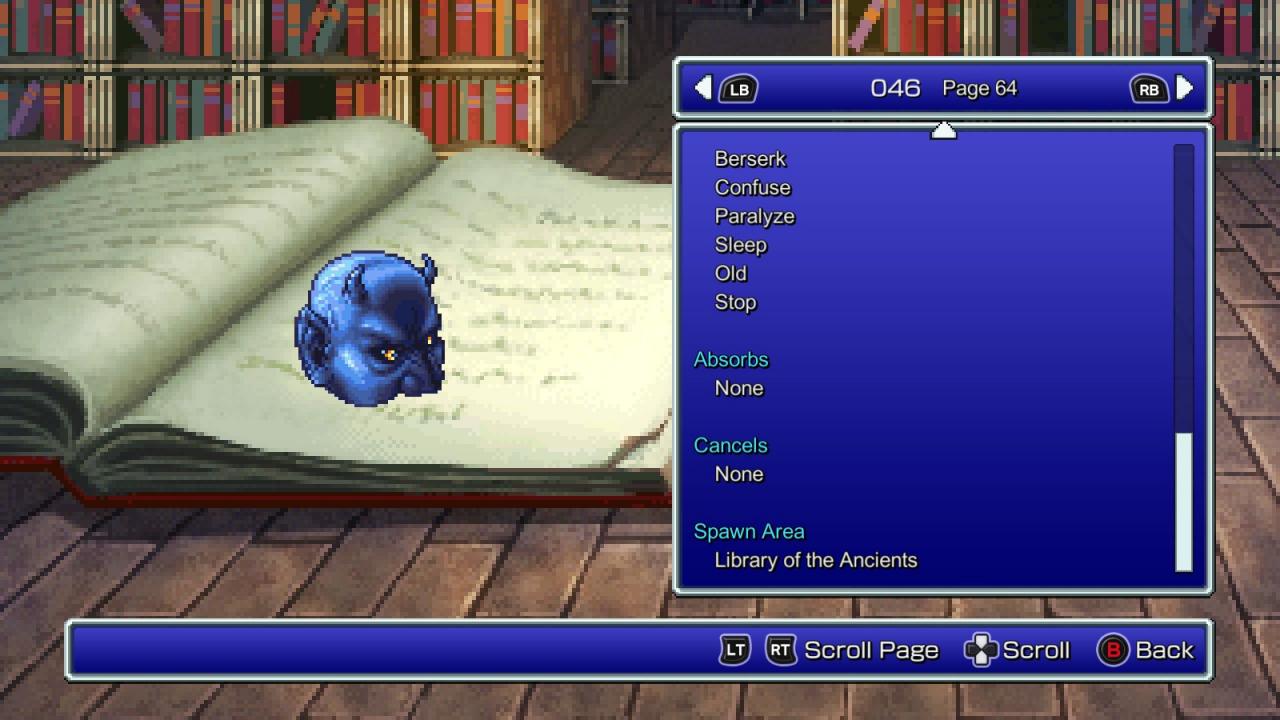
Enemy: Page 64
Location: Library of the Ancients
NOTE: Can only be learned by a character who is a multiple of level 5 getting killed by it. Would recommend coming back with Dark Spark (see further below) to adjust your level in combat, as often times your whole party has the same level and can be instantly wiped.
Enemy: Page 256
Location: Library of the Ancients
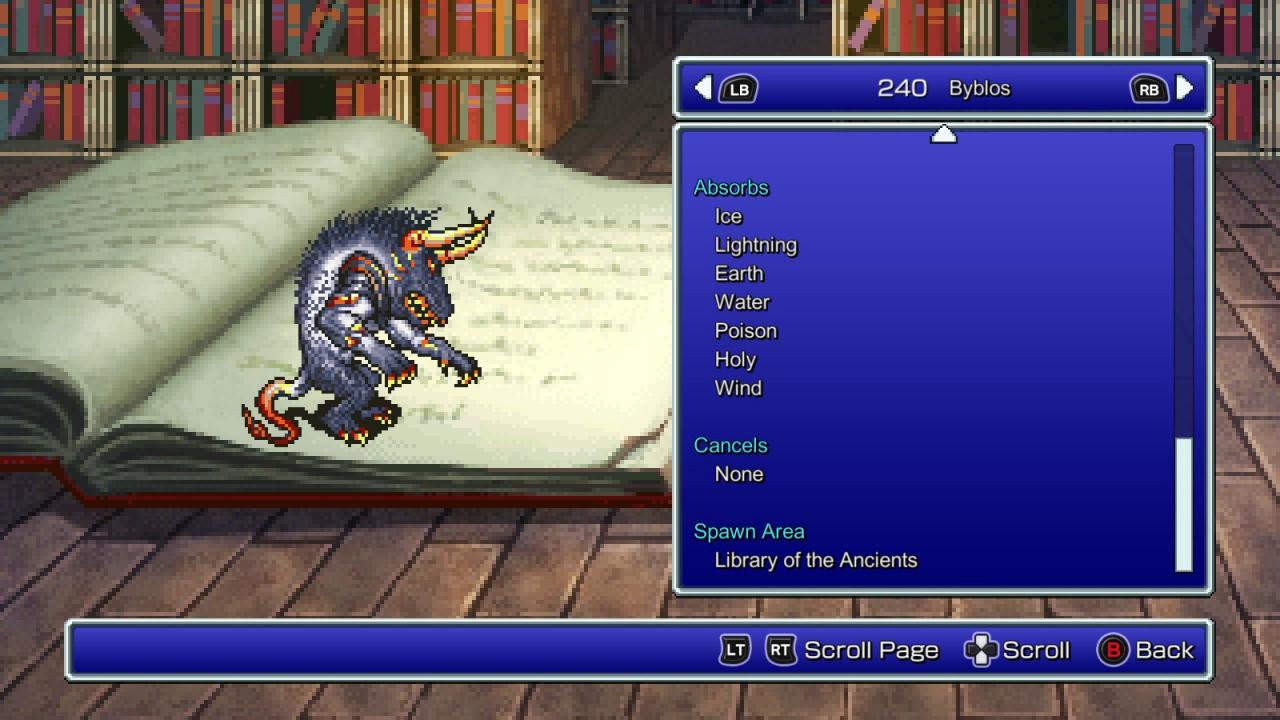
Enemy: Byblos (boss)
Location: Library of the Ancients
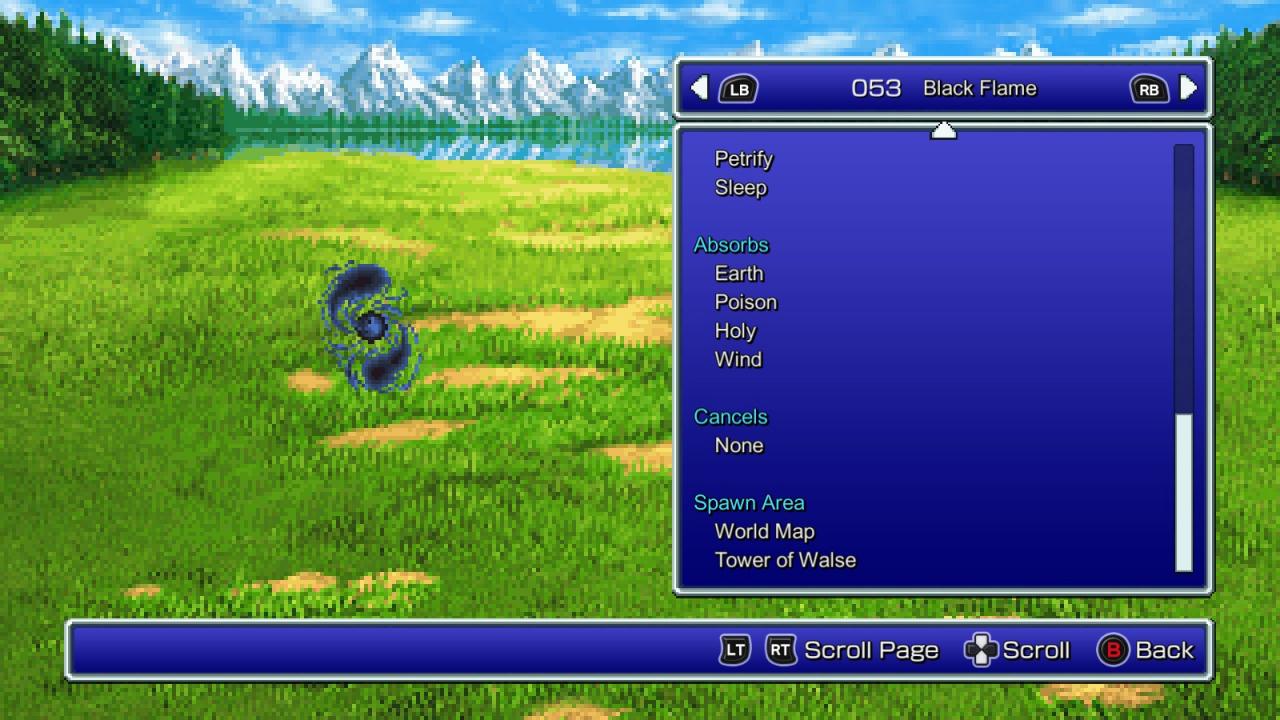
Enemy: Black Flame
Location: Forest area on the first island south-west of Crescent Island.
Enemy: Prototype
Location: The second island south-west of Crescent Island (next to the one with Black Flames).
Enemy: Enchanted Fan
Location: Ronka Ruins
NOTE: Requires Beastmaster to force the ability using !control.
Enemy: Lamia
Location: Ronka Ruins
NOTE: Requires Beastmaster to force the ability using !control.
Enemy: Ghidra
Location: Ronka Ruins
NOTE: Can only be learned by a character who is a multiple of level 4.
Enemy: The Traveler
Location: Barrier Tower
Enemy: Red Dragon (treasure chest monster)
Location: Barrier Tower
NOTE: Can only be learned by a character who is a multiple of level 3.
Enemy: Level Tricker
Location: Barrier Tower
NOTE: Can only be learned by a character who is a multiple of level 2.
Enemy: Metamorph
Location: Ghido’s Cave
NOTE: Casts this while in the form of an Enchanted Flan.
Enemy: Mini Magician
Location: Great Forest of Moore
Enemy: Jackanapes
Location: Walse Tower
NOTE: Pretty unrealistic to get the ability this early since enemy is tuned 20+ levels higher than this area of the game. See below for the next best option just a little further in the game.
Alternative enemy: ExDeath (boss)
Alternative location: Exdeath’s Castle
NOTE: Will only cast this while health is above 50%.
Enemy: Parthenope
Location: Phoenix Tower
Enemy: Stingray
Location: Ocean area north of the sunken Walse Tower
NOTE: Requires Beastmaster to force the ability using !control.
Enemy: Wendigo
Location: Island Shrine
Thanks to Ash for his great guide, all credit to his effort. you can also read the original guide from Steam Community. enjoy the game.