Want to turn a light on and off with the same button? Fold wings back and forth? Submerge and Surface?
This guide shows the way I know to make a toggle/switch that lets you change from one state to another at the press of a single button.
Disclaimer
This is one way I know of creating a toggle/switch using ACBs. If there are alternative and/or easier ways, I haven’t been able to find them, so if you know of other/easier ways, please leave a comment.
Flowchart
I will use the example of turning a light on and off (setting intensity to 30% and 0% respectively).
The actual toggle itself will need at least 9 ACBs. These won’t do anything on their own, but we will get to that.
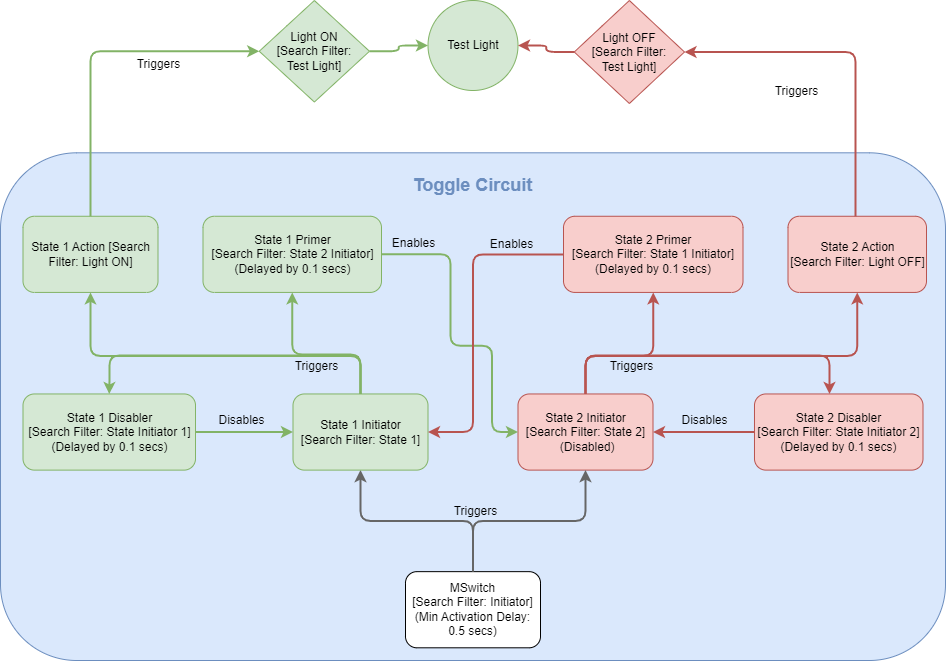
Here’s a flowchart to hopefully aid in explaining how this work.
MSwitch
MSwitch (Master Switch) is the first ACB. Triggering it is essentially the flicking of the light switch.
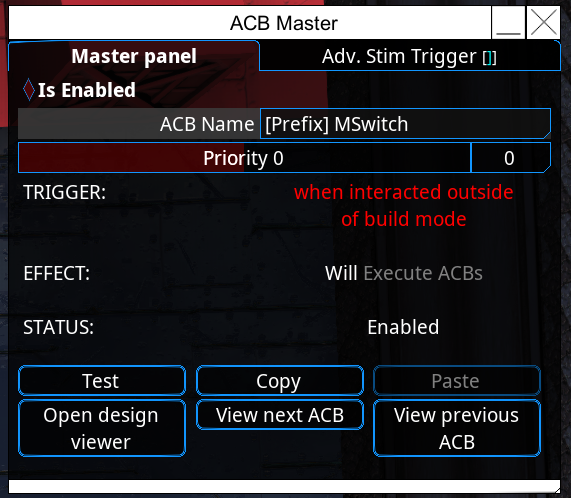 Replace the Prefix with something relating to the function this Toggle will affect. In our case “Light MSwitch” will work. If we then use an ACB Controller we can create a button and set its Search Filter to “Light MSwitch”.
Set to Interaction unless you want it to trigger through other events. Setting it to Interaction is in my experience a good way to ensure it does not trigger unless it gets executed.
Set this to 0.5 to prevent repeated activation (you might get away with setting it as low as 0.2, but I stick with 0.5).

Note that all of the other ACBs going forward will have their Condition set to Interaction, so their section will only include the Condition if there is something unique to be set there.
- Target ACBs

- Set the Action to Execute and put “Initiator” into the Search Filter.

Affect Range depends on how far away you place the other ACBs. If you place them closer, you can reduce the Affect Range. This will prevent other nearby Toggle/Switch Circuits from being triggered by this one.
State 1 & 2 (Initiators)
The next two ACBs will be beginnings of the two separate chains of ACBs that will make this toggle work. They are nearly identical in setup.
Let’s start with the Master window this time.
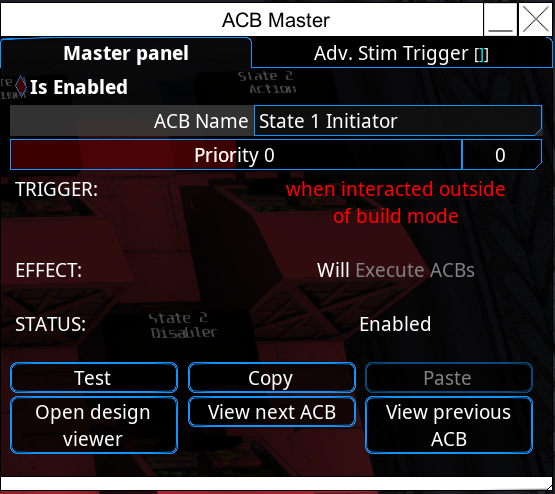 Name one of the two “State 1 Initiator” and the other “State 2 Initiator”. The “Initiator” is the important part here, as the MSwitch is set up to search for that word.
Disable one of these two ACBs.
This is vital, as the way the Toggle works is by alternating which of these two ACBs is enabled.
- Set Target: ACBs
- Set Action: Execute
- Search Pattern:
- “State 1” for State 1 Initiator
- “State 2” for State 2 Initiator

State 1 & 2 Action
These two ACBs are the ones you will configure to trigger each of the two states you’re trying to toggle/switch between. So one of these will trigger the light to turn on, the other will turn it off.
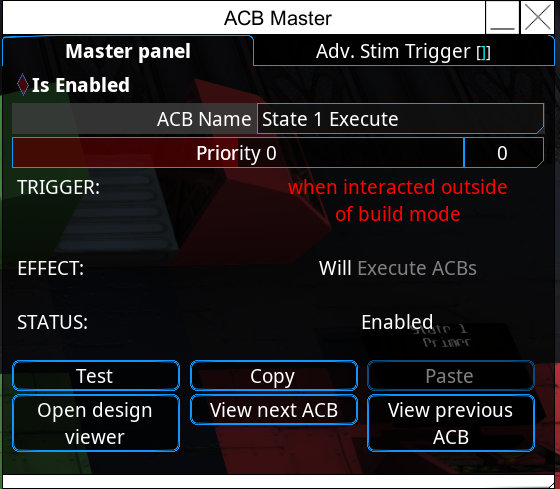
Same as before, the names are identical except for the numbers. Ensure those are set correctly.
Several Options:
- Set Target to ACBs. Set Search Pattern to an ACB you want to trigger. (In our example, the ACB is named “Light On” and will turn the light on when triggered by this “State 1 Action” ACB.) The advantage of this method is that this single ACB can trigger groups of others as long as they are named in such a way that the search filter can affect them.

- Or you can directly set this ACB to do the action you want it to (such as turning the light on.)
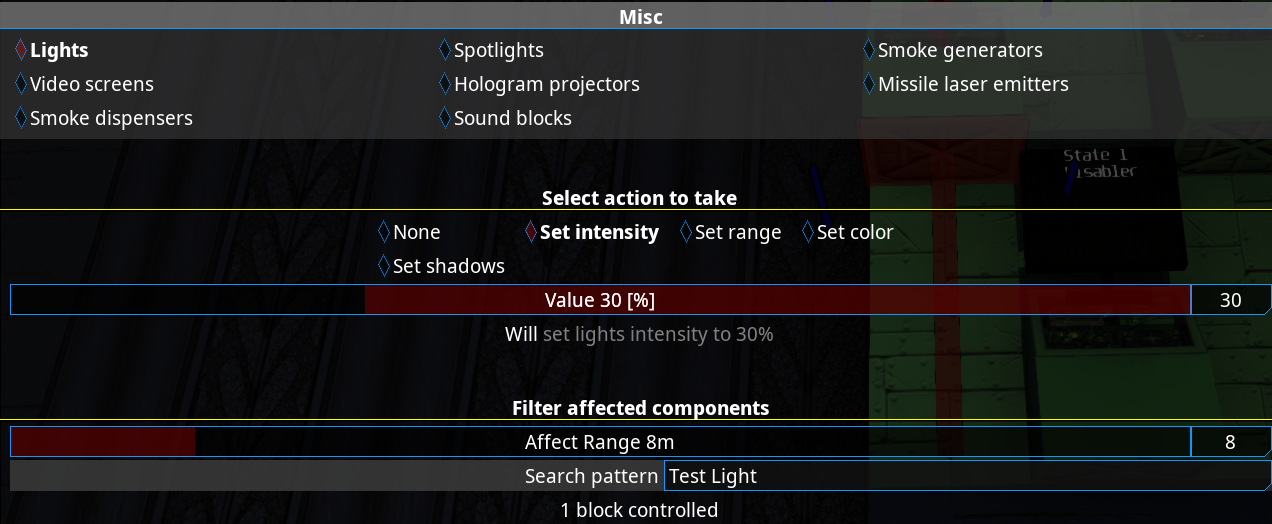
Most importantly – Whatever State 1 Action triggers needs to be different from State 2 Action. For example, State 1 Action will turn the light ON, while State 2 Action will turn the light OFF.
State 1 & 2 Disabler
These next two ACBs will disable their respective State Initiators after a short delay.
You know the drill, change the number for State 2.
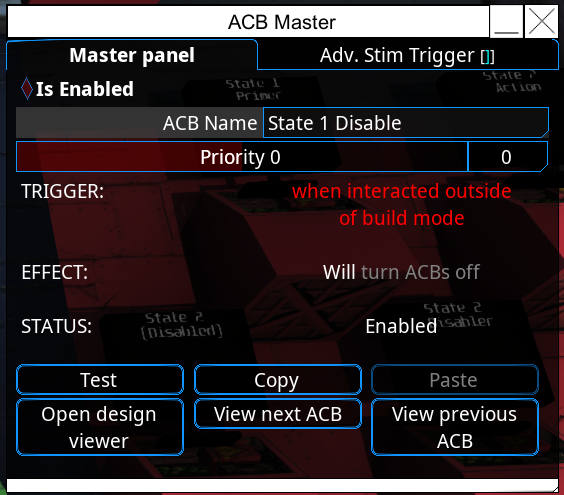
Effect Delay: Set this to 0.1s

- Target: ACBs
- Action: Disable
- Search Filter: State 1 Initiator (or State 2 respectively)

State 1 Primer
This one is triggered as part of State 1. It will enable the State 2 Initiator.
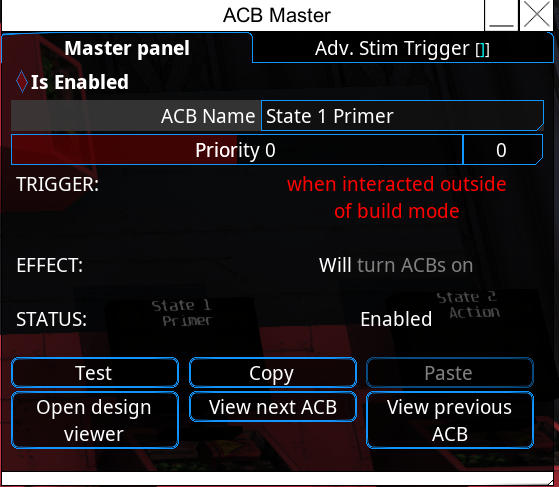
Effect Delay: Set this to 0.1s

- Target: ACBs
- Action: Enable
- Search Filter: State 2 Initiator
State 2 Primer
This one is triggered as part of State 2. It will enable the State 1 Initiator.
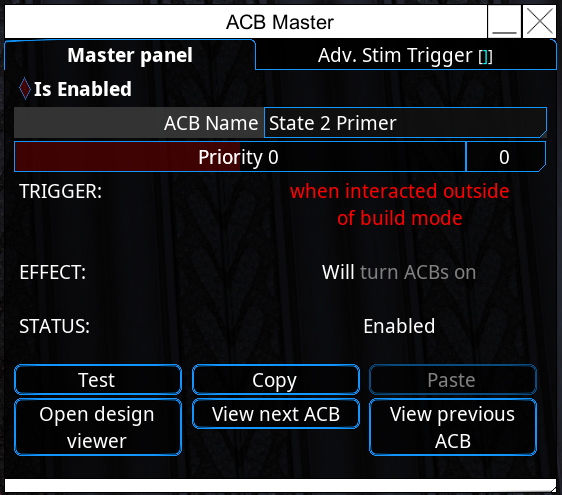
Effect Delay: Set this to 0.1s

- Target: ACBs
- Action: Enable
- Search Filter: State 1 Initiator
My Prefab
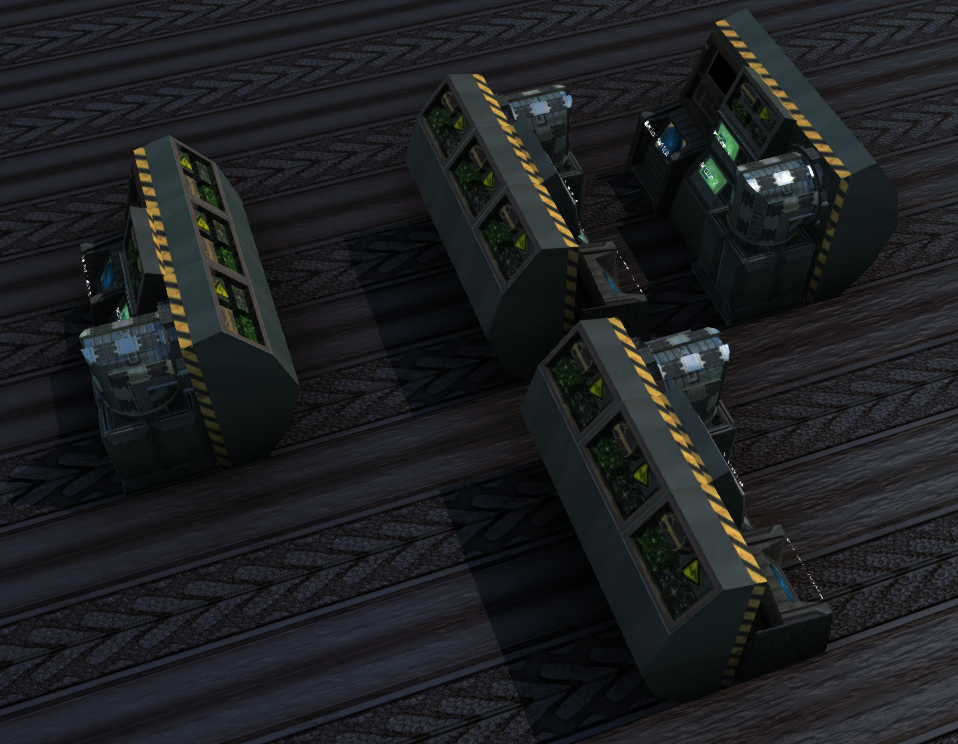
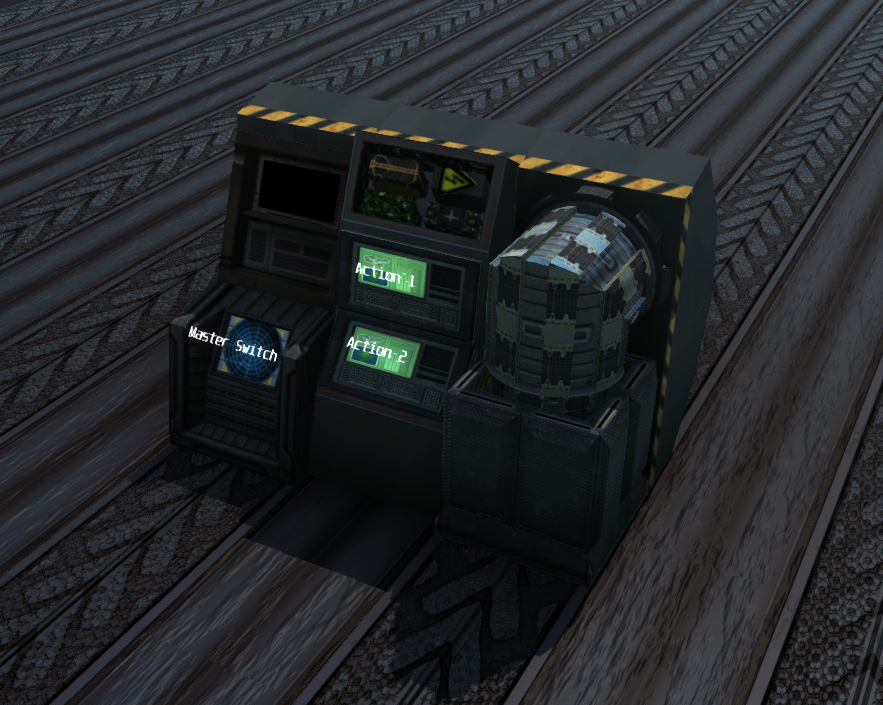 Note that I used Mimics and Decorations to make the thing look a little neater.As for using multiple Toggles, they can be placed close to each other, but for my particular Prefab Toggles need to be spaced with 1-2 blocks between them as shown below.
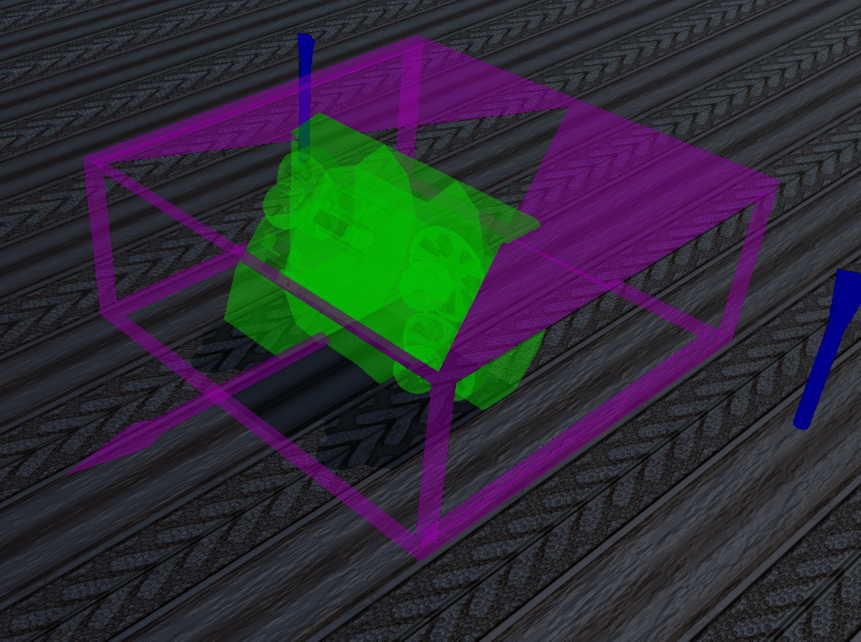
The footprint for my Prefab includes these boundaries. The empty spaces can overlap, but need to be clear of block from other Toggles.
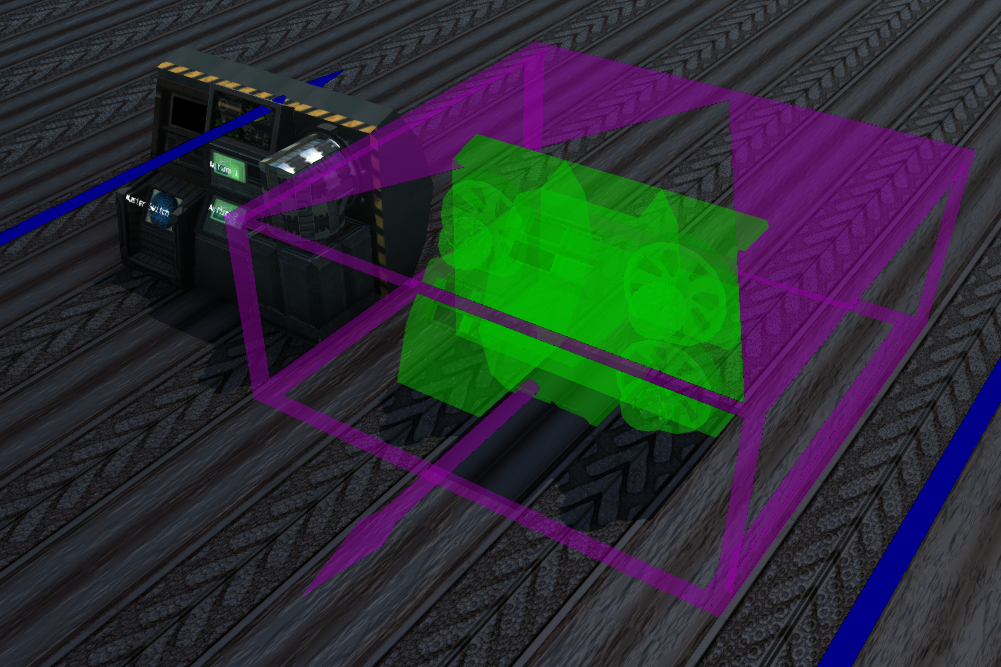
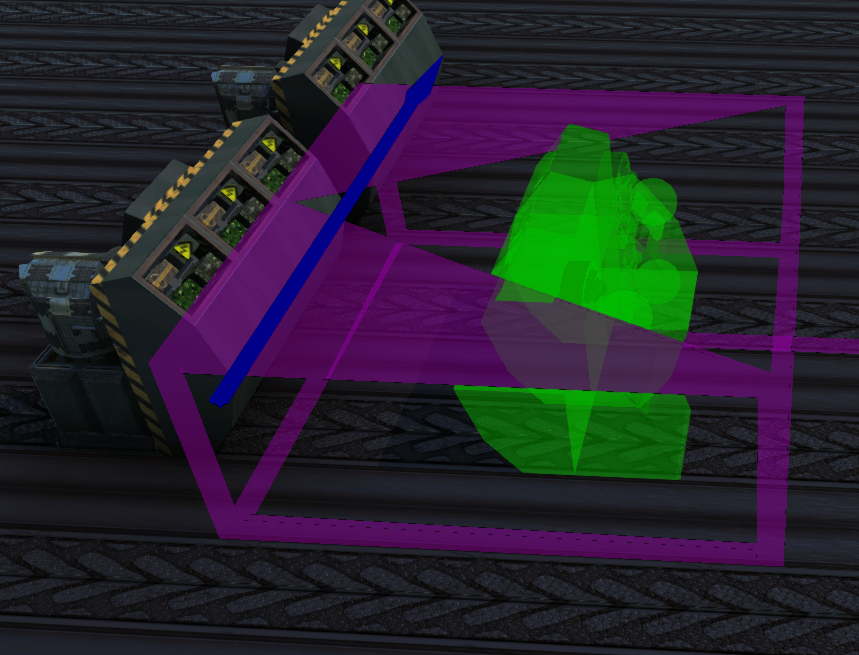
As far as I’m aware, it’s not possible to share Prefabs directly, but I have uploaded my Prefab as a Vehicle to the Workshop. You can spawn it in and create your own Prefab from it.
Thanks to Lurakin for his excellent guide, all credits belong to his effort. if this guide helps you, please support and rate it via Steam Community. enjoy the game.

