During this guide I will explain to you how to start a new colony in Going Medieval. Where to find food and how to cook it, where to build a place to sleep, get more villagers, heal their wounds and how to arm and armor them to defend against the first bandit raids. I will also talk about the need for early research at a research table, ways of preventing decomposition of food and other items and how to design and build your first buildings and tools(worktables) like homes, warehouses and defensive structures.
Note: Thanks to Peter for his great guide. all credit to his hard work.
Video version if you would rather watch the gameplay:
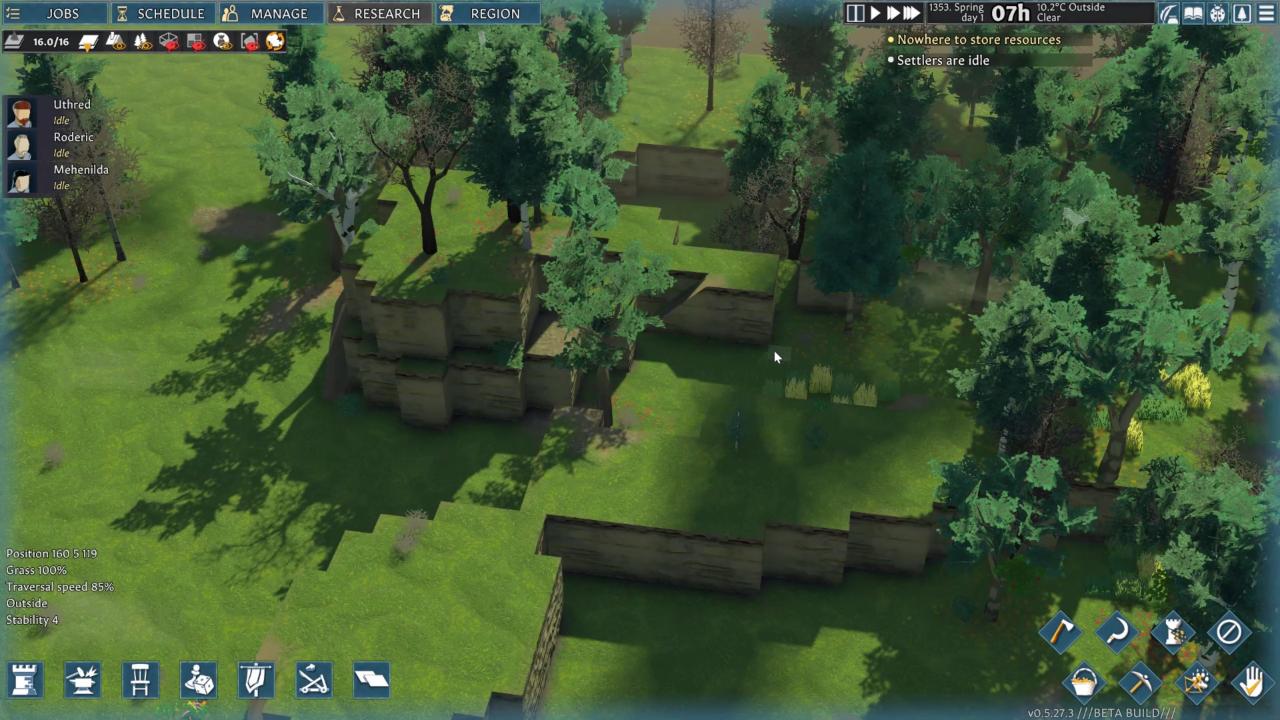
We could have started at the colony’s setup screen to really max and min our villagers but I will leave that for a special guide, so let’s dive into Spring day 1 on our new map.
Spring time start
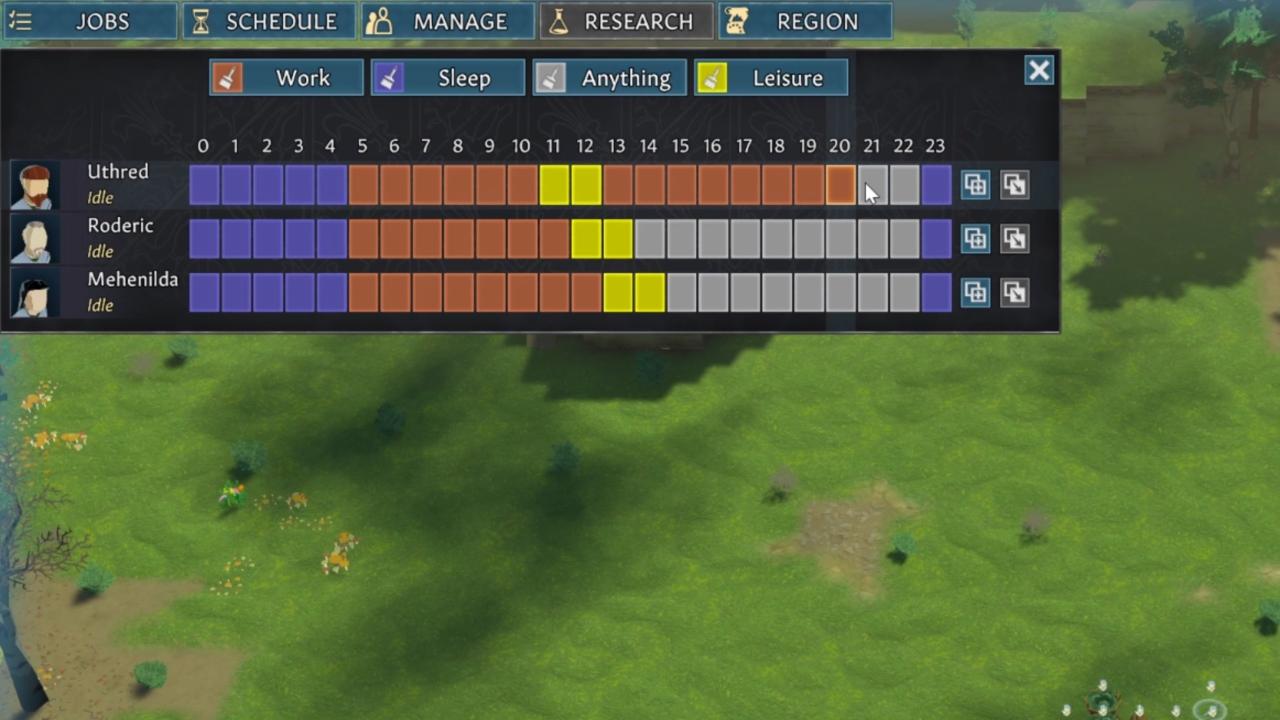
Once you locate such a place that is where you need to construct a basic structure with a few walls and a roof. But there are a few things you need to set up before you get to resource collection and building. First, the daily schedule of your villagers needs some fine tuning.
They do have to sleep so set about 5 to 8 hours of each day for that activity. Tools for managing the schedule are located up on the top left. The rest of the time needs to be spent on work with about 1-3 hours of leisure activities. These are fun and prayer. Each of those requires special items that you have to construct, but more on that later in this guide.
Next you need to specialize your villagers according to their skills. Two things are important here. How high is the villager’s individual skill level at the start of the game and how fast can he learn that skill, which is represented by the stars next to the skill’s name. Some jobs require no skill, while one skill can be responsible for multiple jobs. So read the job descriptions carefully and thoroughly.
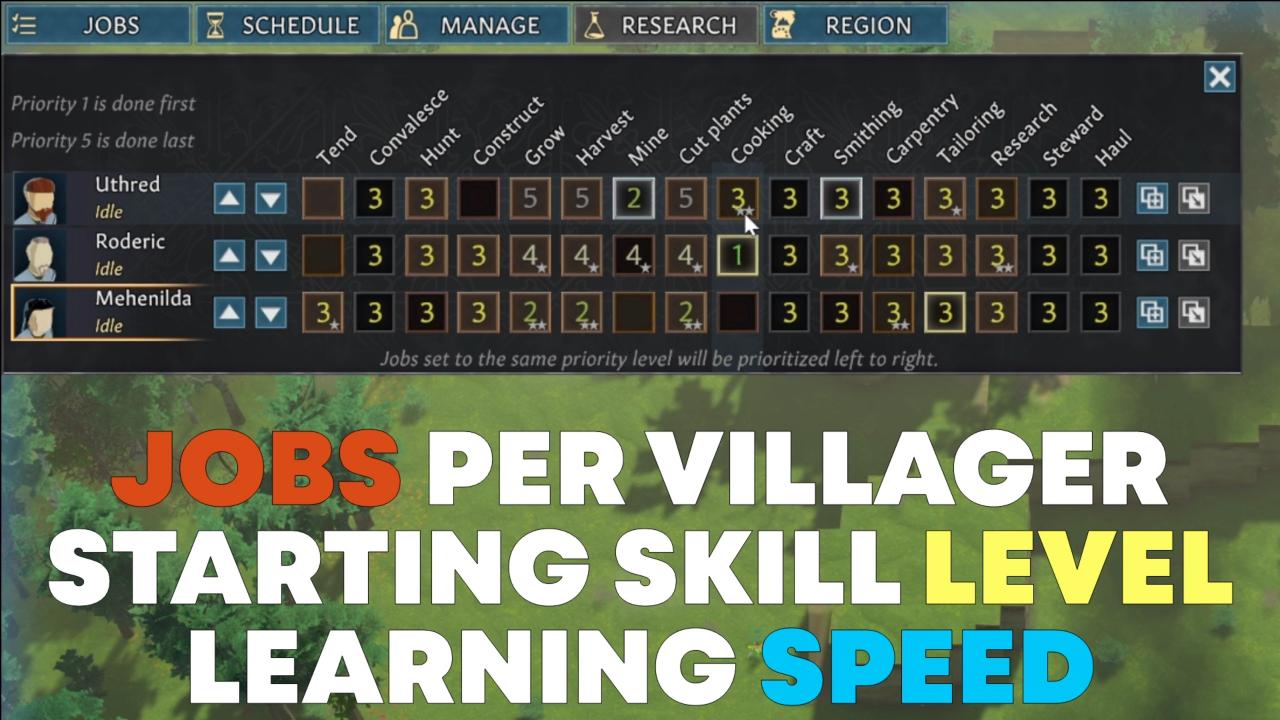
You want to strike a balance between three things. How many jobs each villager will prioritize, how high is their starting skill, and how fast can he learn these skills. The ideal situation would be that each villager has a high skill level on a few skills AND double stars on those skills. But that is not gonna happen, and honestly where is the fun in that.
So what you need to do is divide the jobs between the three starting villagers so that each one does the job he is already good at and especially if he can learn the corresponding skill faster.
Some jobs are more important at the start of the game, like construction, harvesting and research. While others like wound treatment or smithing will be useful later on. So focus on botany skills for harvesting, construction for building and intelligence for research.
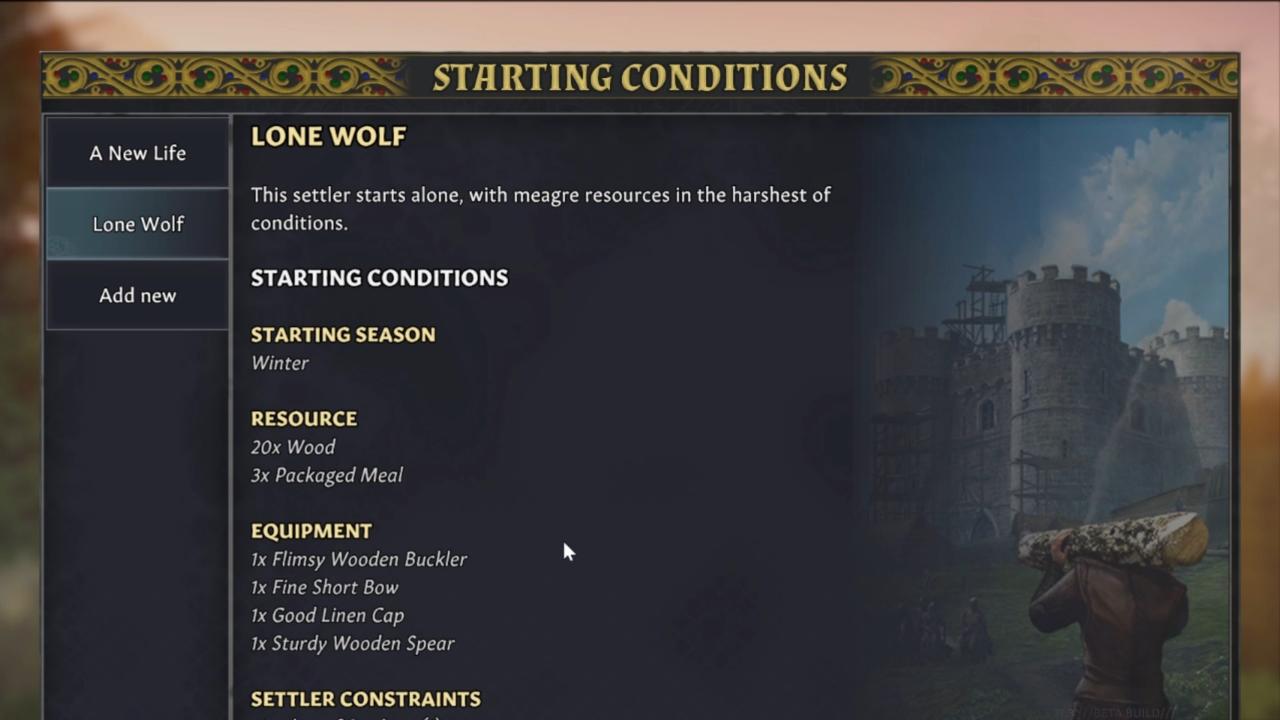
If you choose the lone wolf start, that is a whole other can of worms which I will cover in a separate guide.
All right, with the villagers setup you need to take care of your starting items. Because right now they are exposed to the elements, laying on the ground and have already started to rot. Decomposition is a very important game mechanic in this game. It depends on three things: Weather, temperature and ground type. Naturally raw food rots the fastest, followed by cooked meals, herbal remedies and different gear.
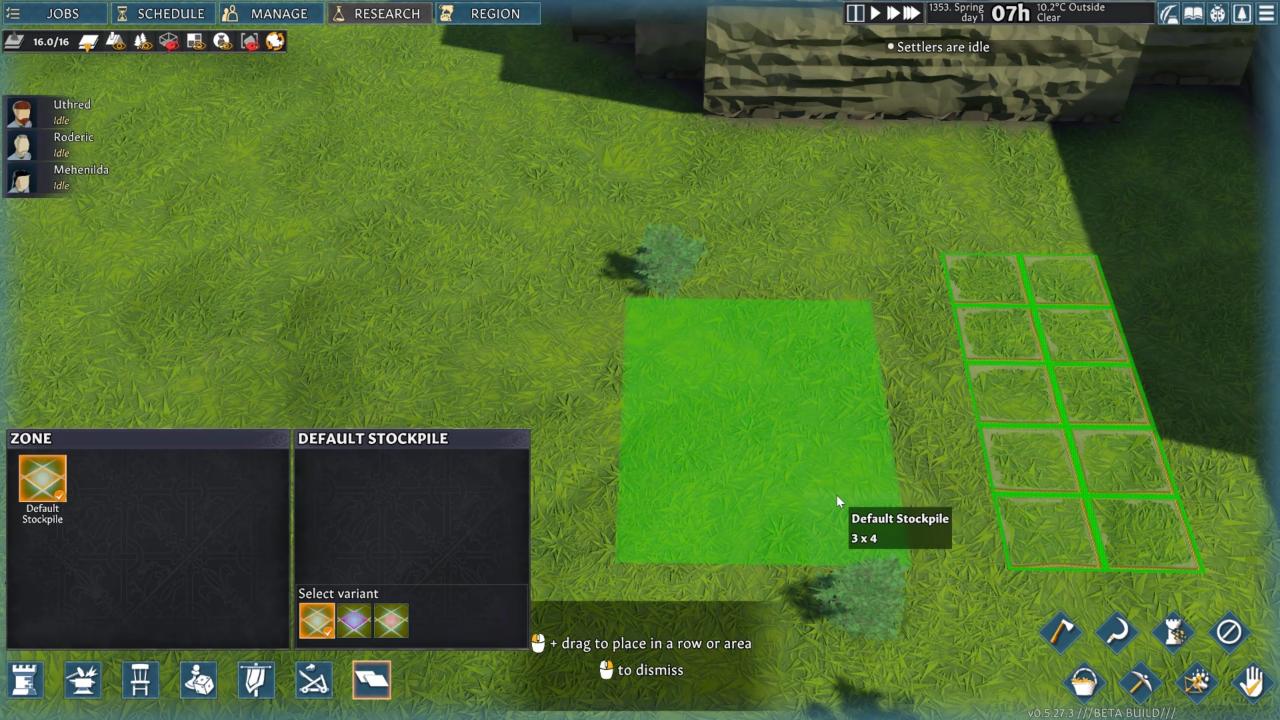
To move everything to another location you have to place new stockpiles. There are three pre-made kinds, but you can customize them yourself. Default, warfare and dumping. At the dumping one waste like ash will be… well dumped, alongside dead bodies.
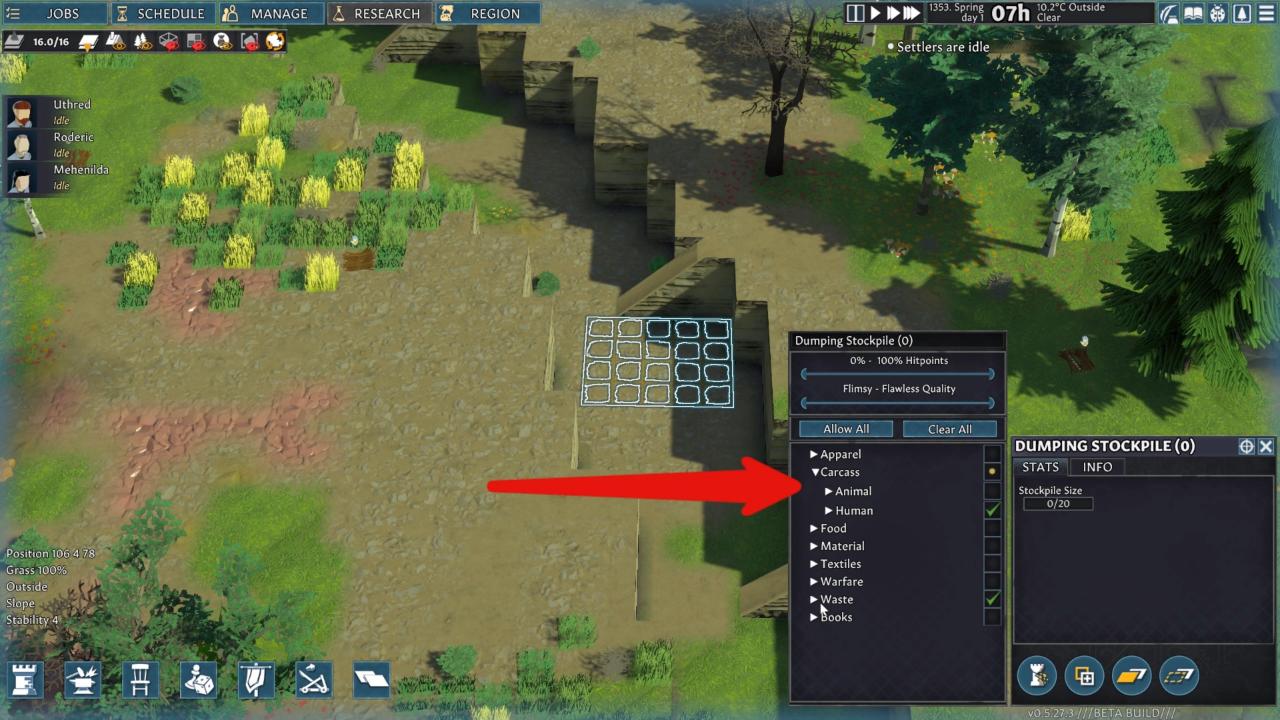
There are graves in the game, but I will get to that. Just make sure to remove animal bodies from the options, as you will want those close to your base once you hunt them down so you can prepare food from them. At the warfare one your villagers will stockpile weapons and armor. The default one allows everything, so you need to customize it. Obviously no dead bodies or waste.
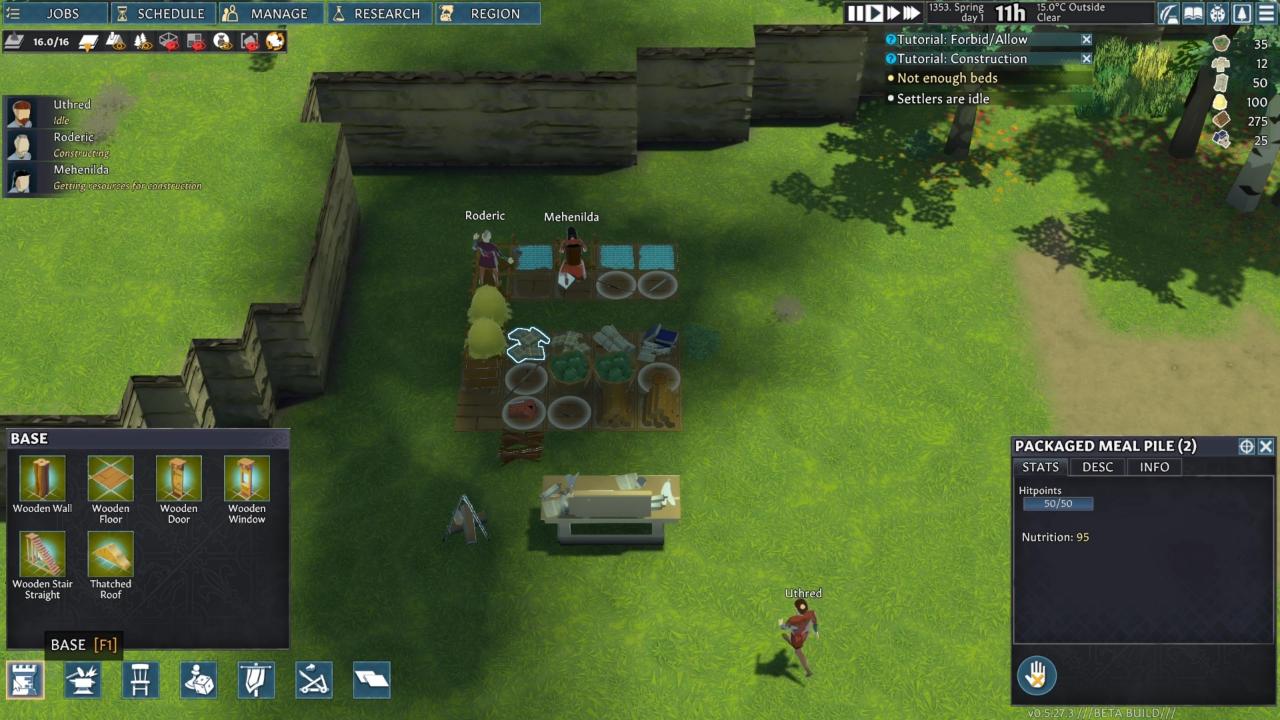
Last thing to do is remove the don’t touch this sign from all the starting items by using this allow tool from the bottom part of the UI. Default key is period. As you finally let the time run the villagers will, because you have not given them any other jobs, haul items off the ground and onto the designated stockpiles.
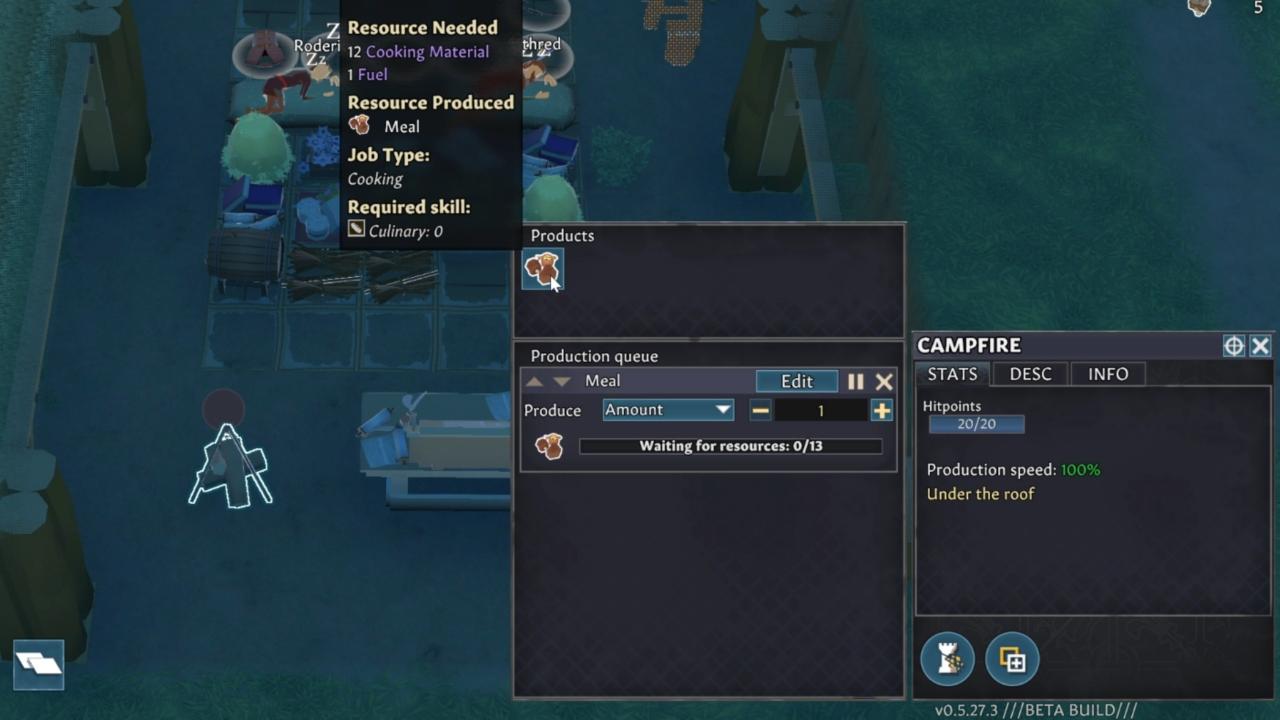
Because in Going Medieval you have to research all additional items and tech, I advise adding a basic research table immediately and next to your stockpiles. Same thing with the campfire which is for meal preparation. To prevent item decay, add a wooden floor underneath all of them. You will see the decomposition text disappear from item description as soon as the floor is constructed.
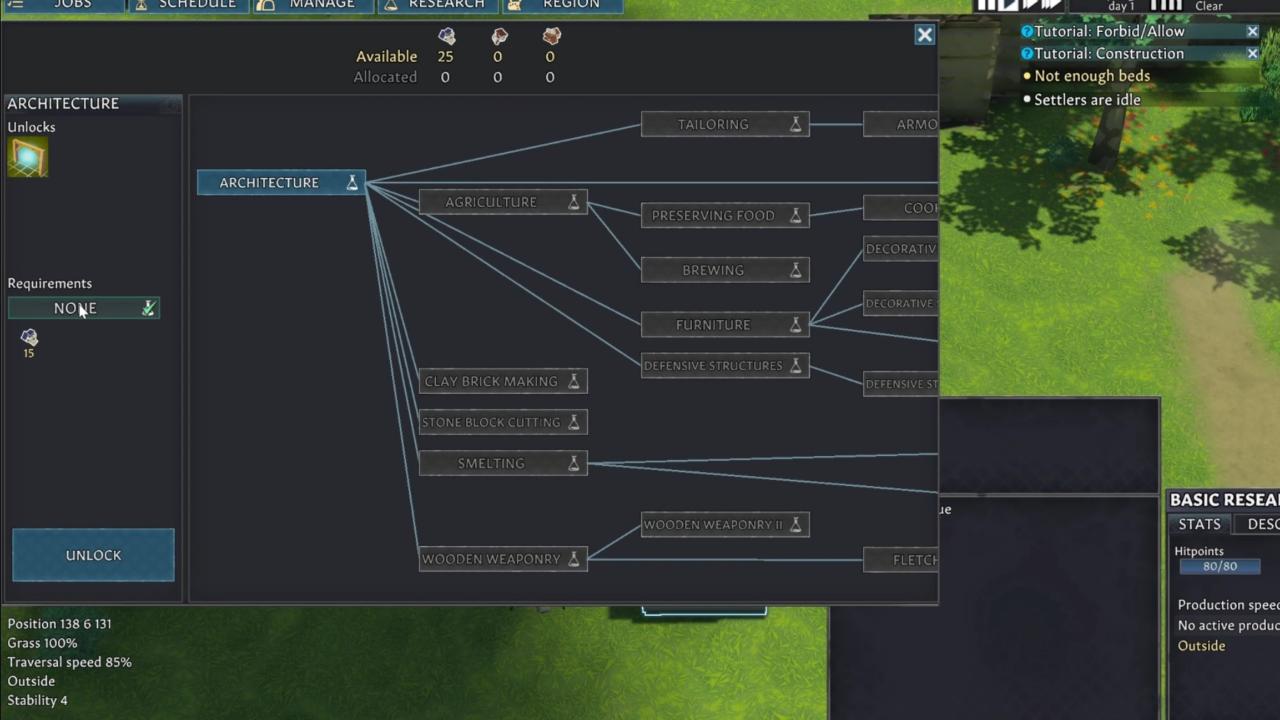
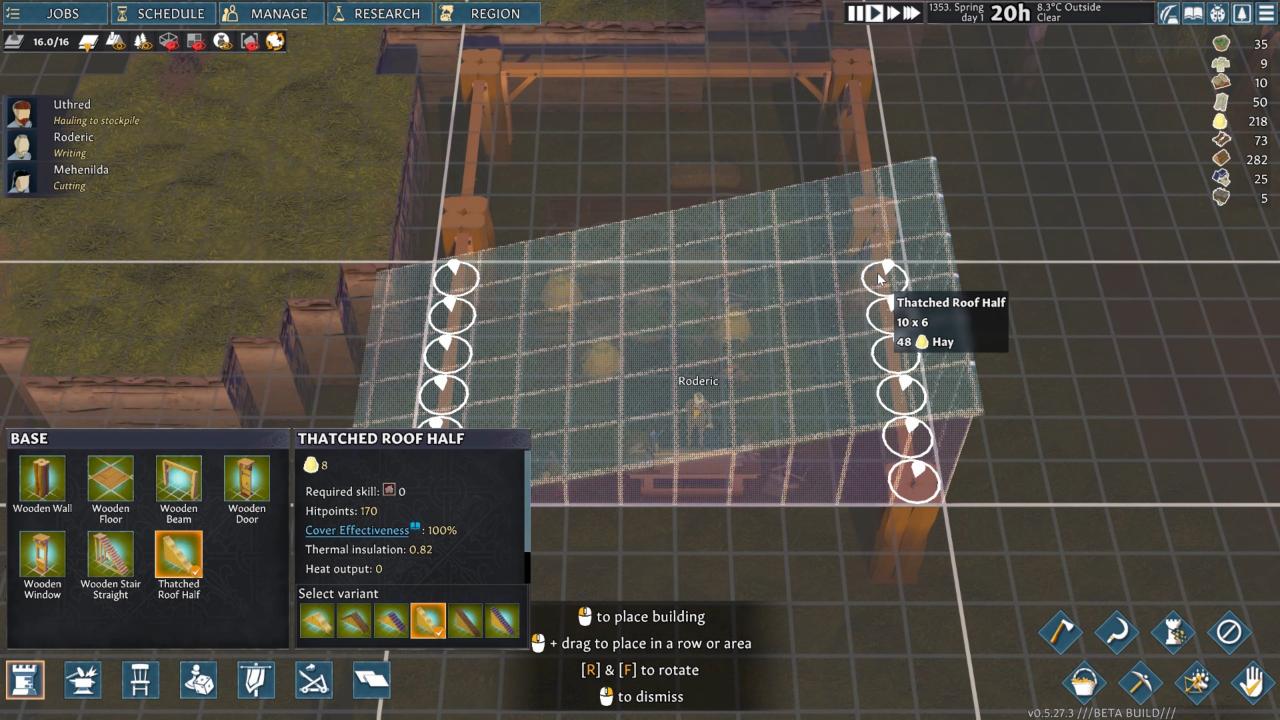
But to protect your supplies from the weather, you need a roof over them. And to construct one as efficiently as possible, use your starting chronicles and unlock architecture in the research menu. The research table also needs that roof for it to have maximum production efficiency.
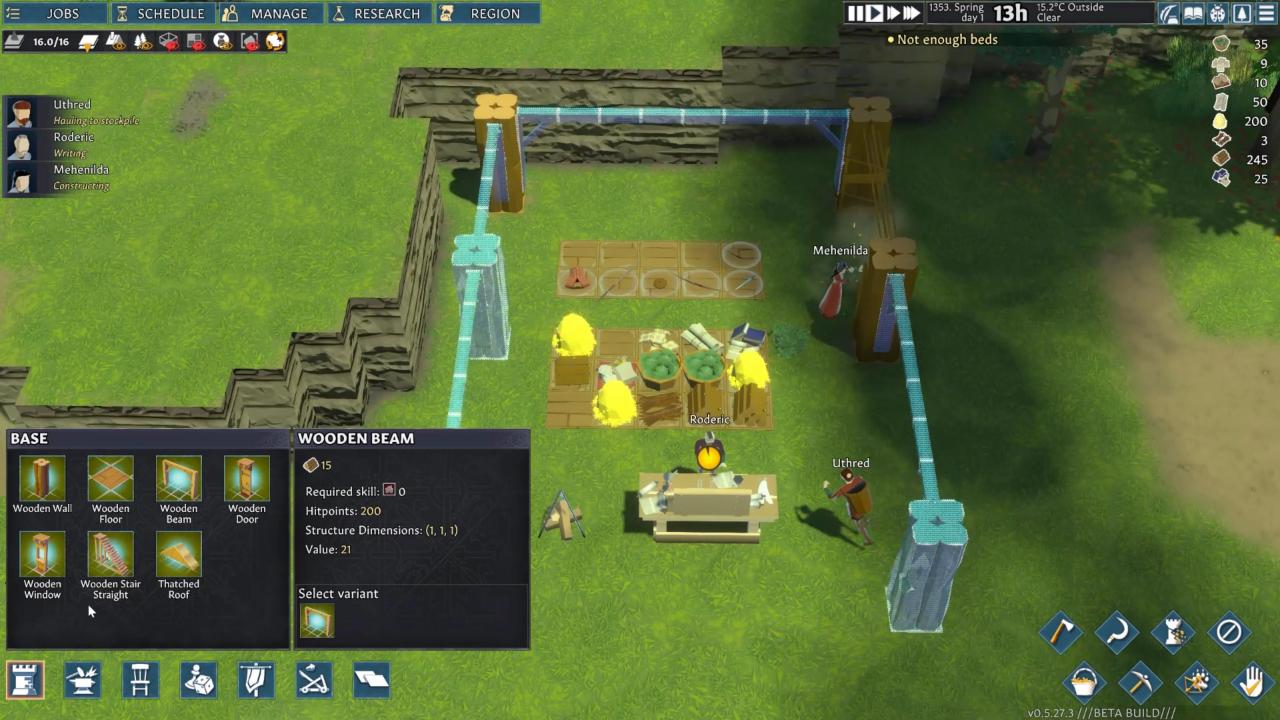
Before we can even place a roof over these stockpiles and the research table we need to add some wooden walls and wooden beams between them. These have a maximum length, so just add more walls until you can span beams between them.
These beams will save you A LOT of wood and time when building rooms and supports for roofs as you can span a roof between two beams just like you can across walls.
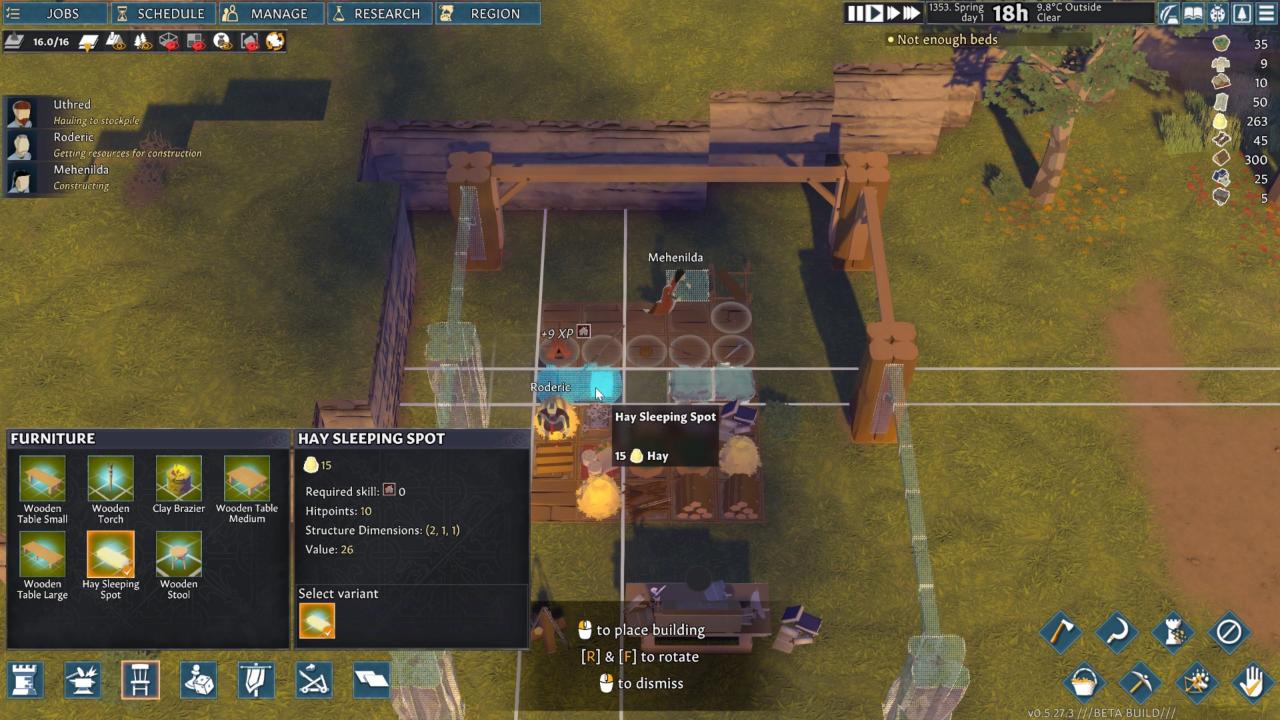
Next item on your build list must be beds. For them you need more floor space, as even a hay bed should not be on the muddy ground.
To collect more wood, use the chop job, default key H on the nearby dead trees. They hold less wood than mature trees but mature trees allow for new growth. And you don’t want to strip your forests until you can plant your own. Tall grass can be harvested for more hay necessary in the construction of the roof and beds.
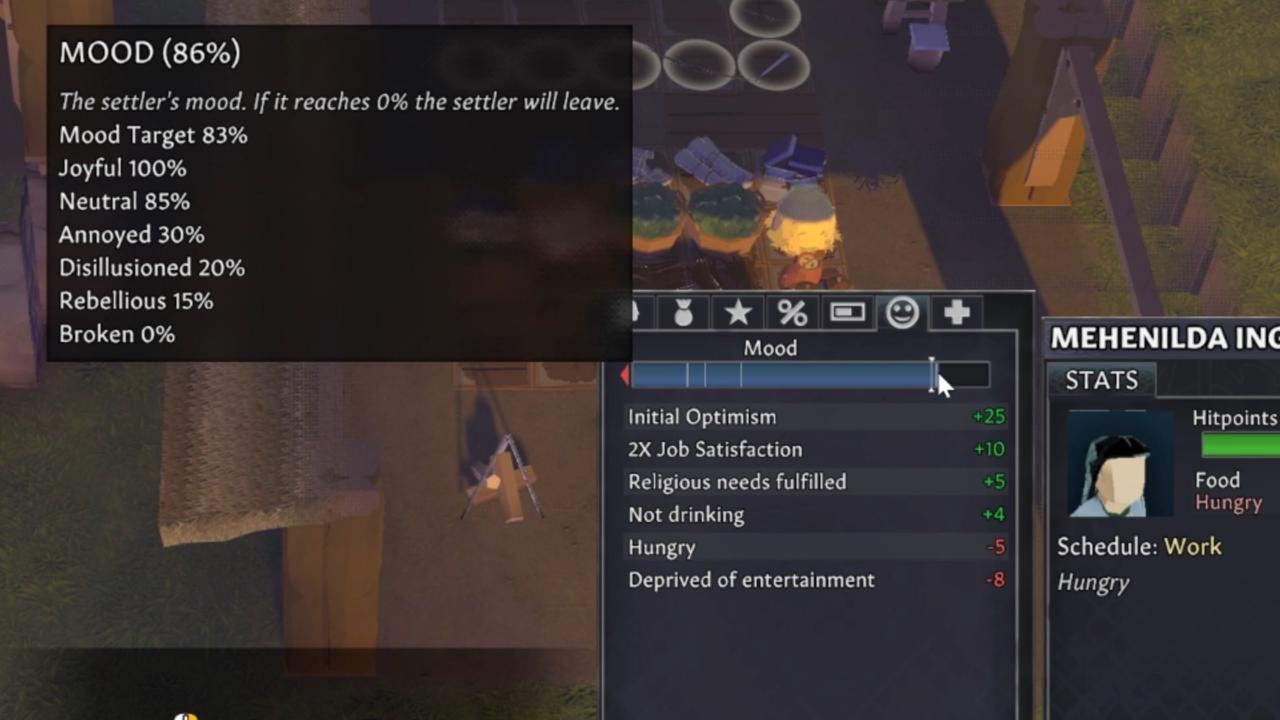
To speed up the construction of all of this you can fiddle with the villagers’ jobs and prioritize construction. Now add hay beds as you don’t want them to spend their first night sleeping on the ground. This gives negative modifiers and reduces your settlers overall mood. This whole mechanic has many positive and negative modifiers, most of which are easy to correct and are self-explanatory. More on that later.
Building & furniture
As night falls you should be almost done. You can reduce the layers you can see on the screen by using this UI option or the X key, and Z key to increase these layers. The better option is using the C key to hide just roofs and see inside buildings.
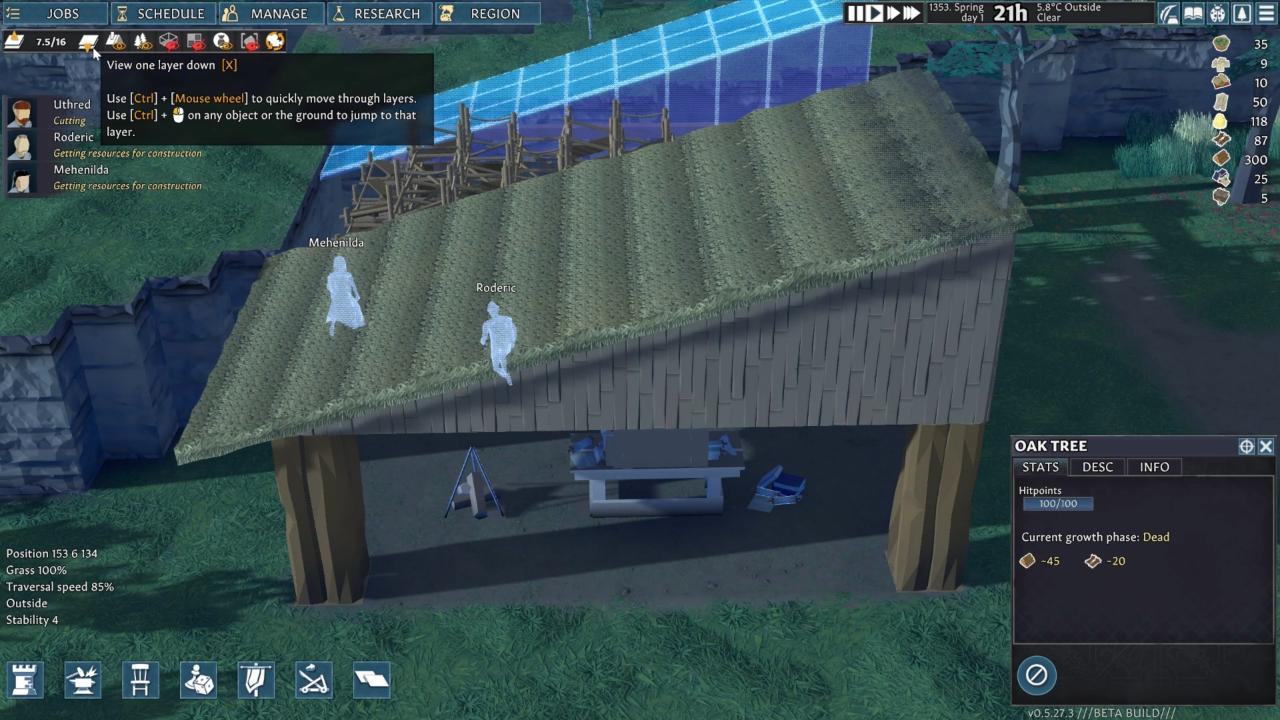
When you now click on the basic research table you will find that it has a 100% production efficiency due to being “Under a roof”. Your supplies are now also protected from rain, and your villagers won’t get soaked while asleep.
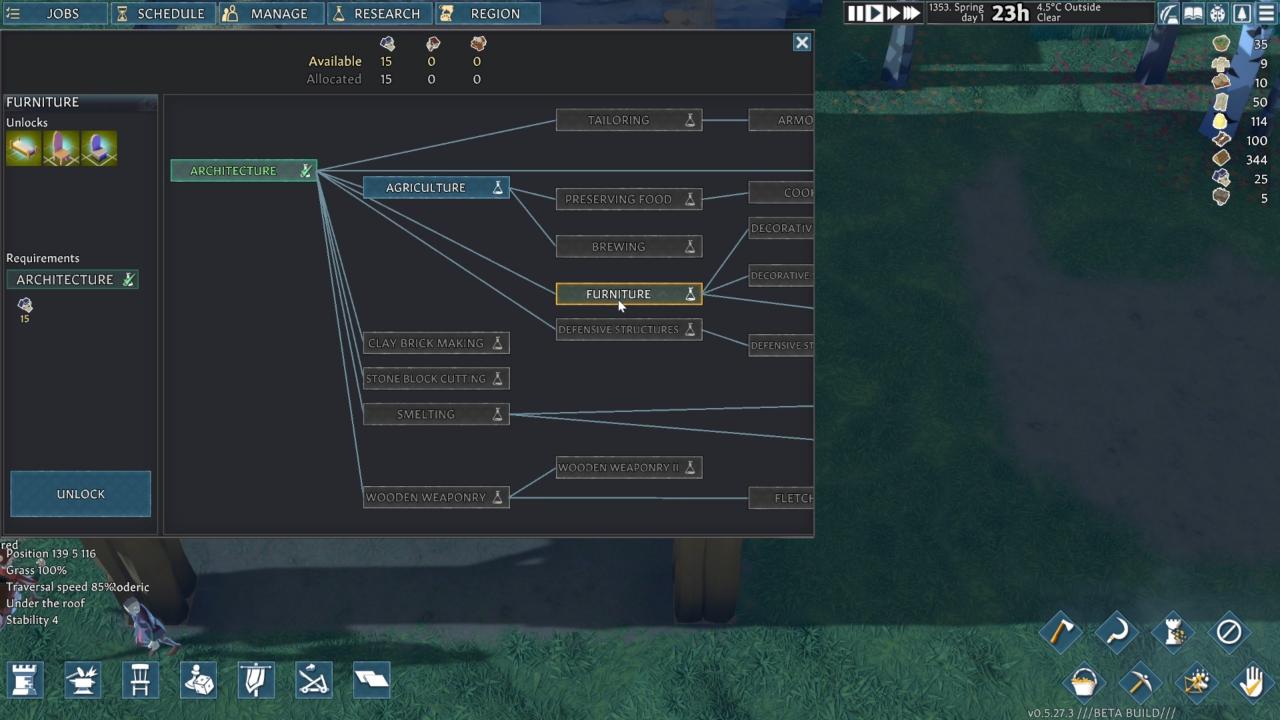
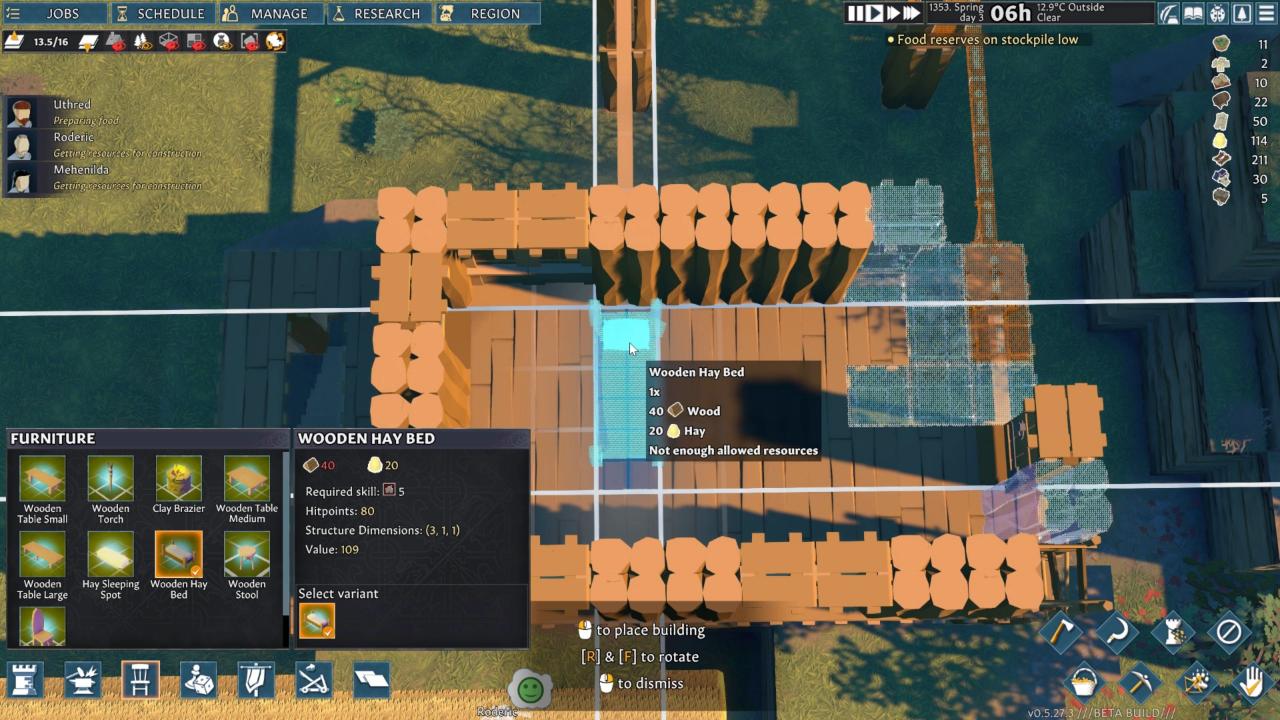
You can choose to spend the next 15 chronicles on agriculture or furniture. I am going to advise the more radical choice. Furniture. This is because it unlocks the wooden hay bed which gives better mood modifiers to your villagers and they also like to eat while sitting down and at a table. You can find food and wood all over the map and don’t really need to go into agriculture on day 2.
Waking up on their second day villagers will have received some negative modifiers. They slept outside, because while under a roof, they didn’t sleep in a room surrounded by walls. They also slept on just a pile of hay essentially. And on top of that they have breakfast standing up.
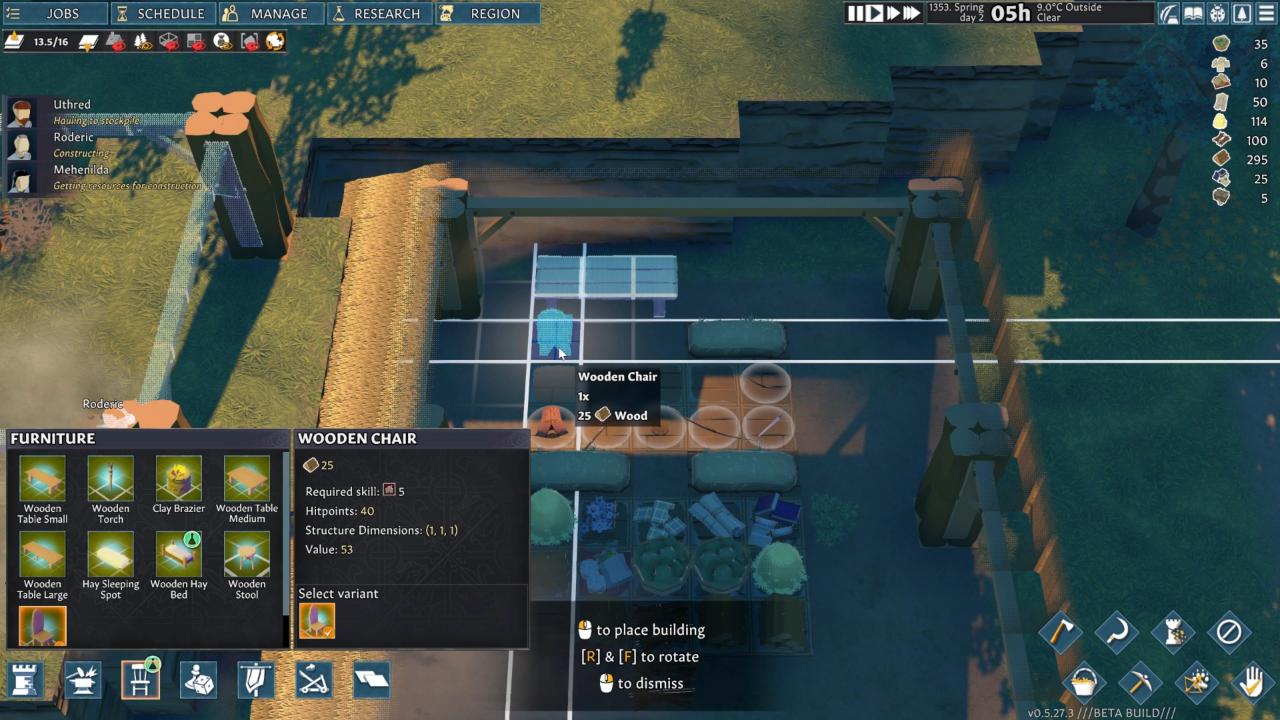
This is fixed by adding a wooden table and a few chairs. After the next meal, mood will improve. To remove those other negative modifiers a new room is needed. Preferably somewhere high up, with a single point of entry and in preparation to defend against bandits.
Adding a stockpile for wood and hay next to your newest construction project is always a good idea, as it saves time spent hauling construction materials.
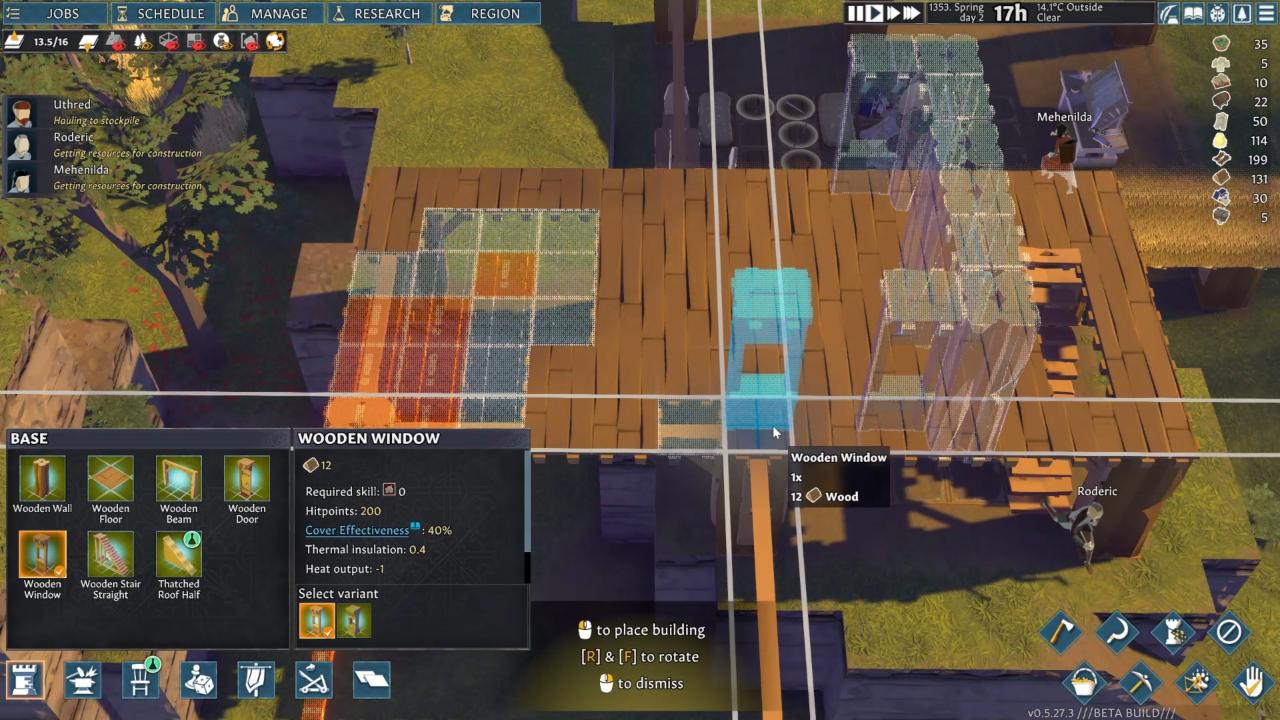
Once your second floor is built you can start adding doors, windows and walls of your future bedrooms.
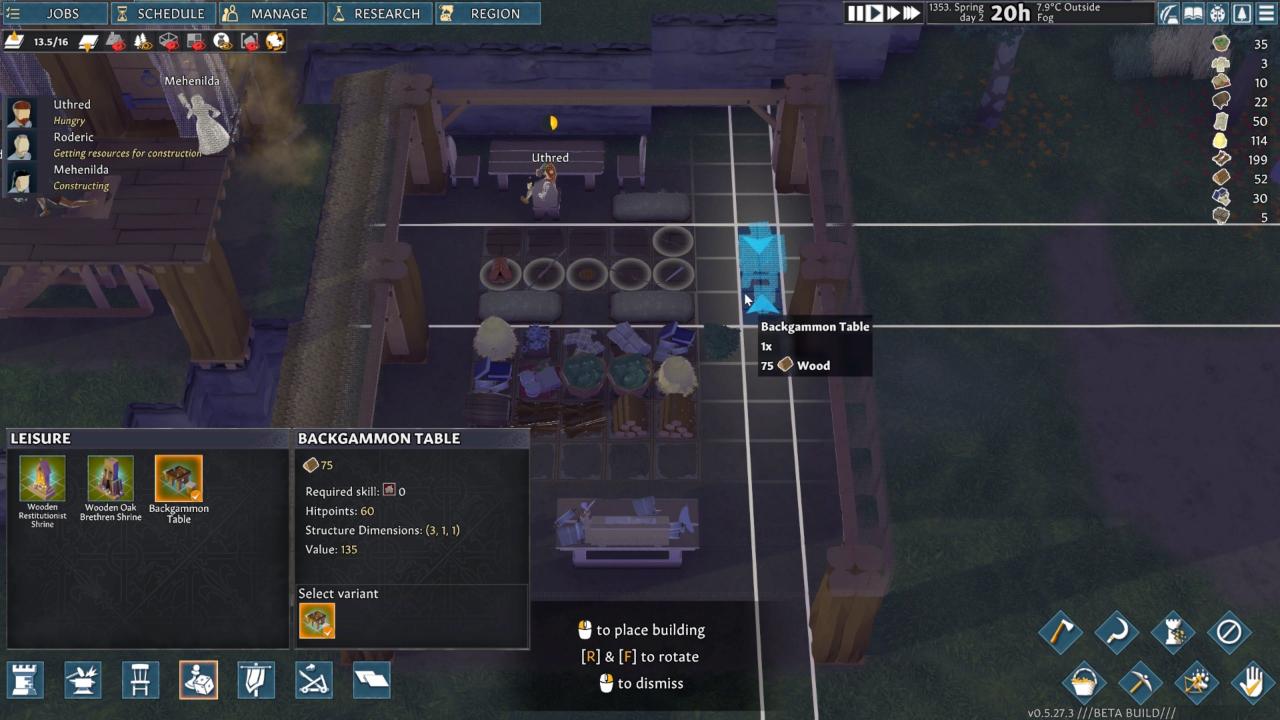
Another set of negative modifiers we need to turn into positive ones are entertainment and religious activity. The former can be solved by adding a Backgammon table while the later requires constructing shrines to the two different religions.
Villagers’ Food, Moods & Wounds
To improve the living and sleeping accommodation of your villagers it’s time to place those new beds we researched earlier. The room might not be finished, but you can already plan out the inside layout. Three beds for three villagers. If low on wood, keep ordering up more dead trees to be cut down. You should deconstruct your old hay beds to make sure villagers no longer sleep in those.
You will see that the villagers are using their leisure time to entertain themselves and this will give them new positive mood modifiers. Do remember you had to set up leisure actives in their schedule for them to use the game table or to pray. The happier they become the more productive they will be.
After sleeping in a nice bed you will get another positive modifier. Just make sure to finish the room so they don’t get slept outside negative one.
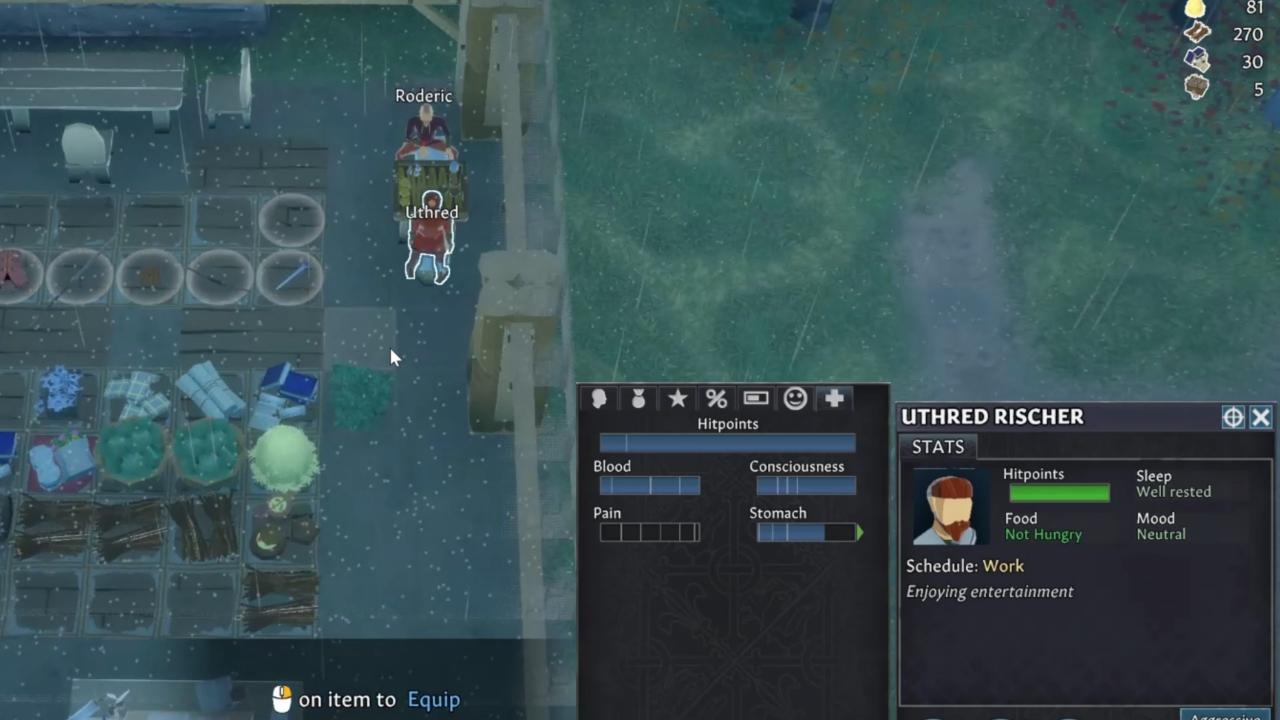
And the result of so much papering is getting your villagers into their joyful mood. This is represented by their name turning green and a green smiley emoticon showing up besides their portrait.
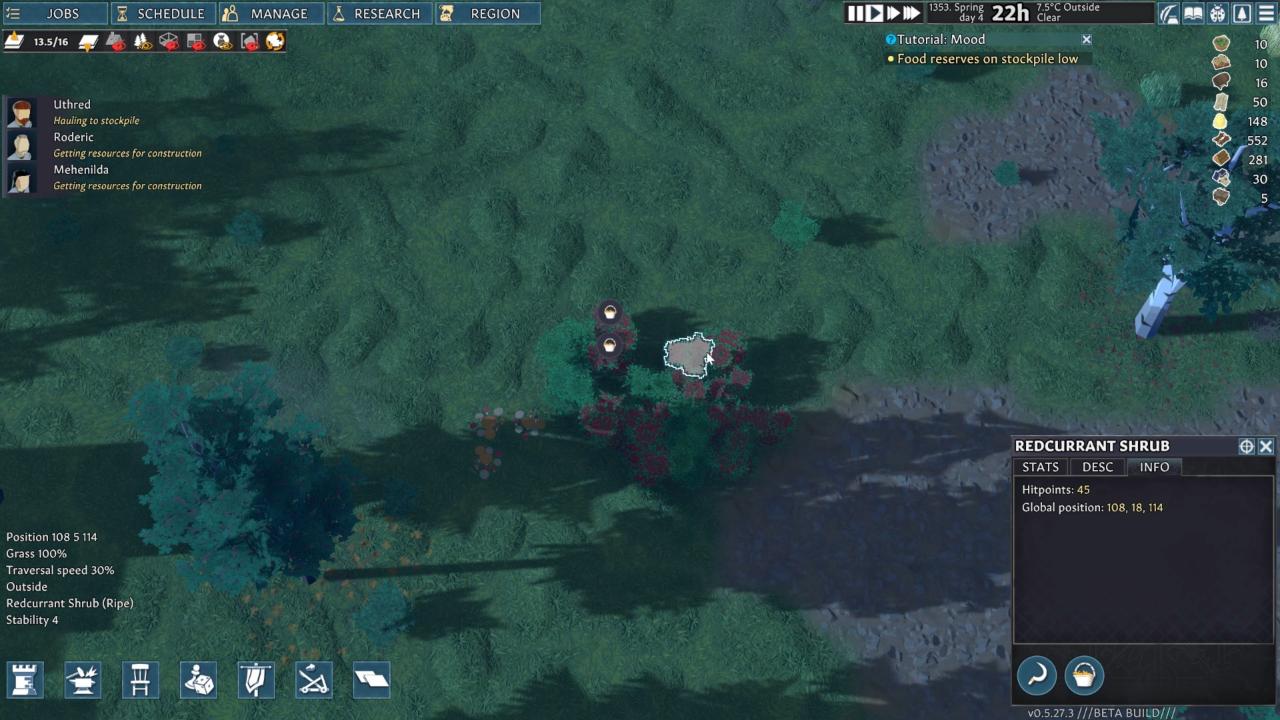
Once you spend all the cabbage from the stockpiles you need to find alternative sources of raw food for cooking. These can be redcurrant shrubs or mushrooms. Take care to harvest them when they are ripe and mature. You villagers will bring them to the stockpiles from where they will be cooked into new meals. You can use the B key for harvesting.
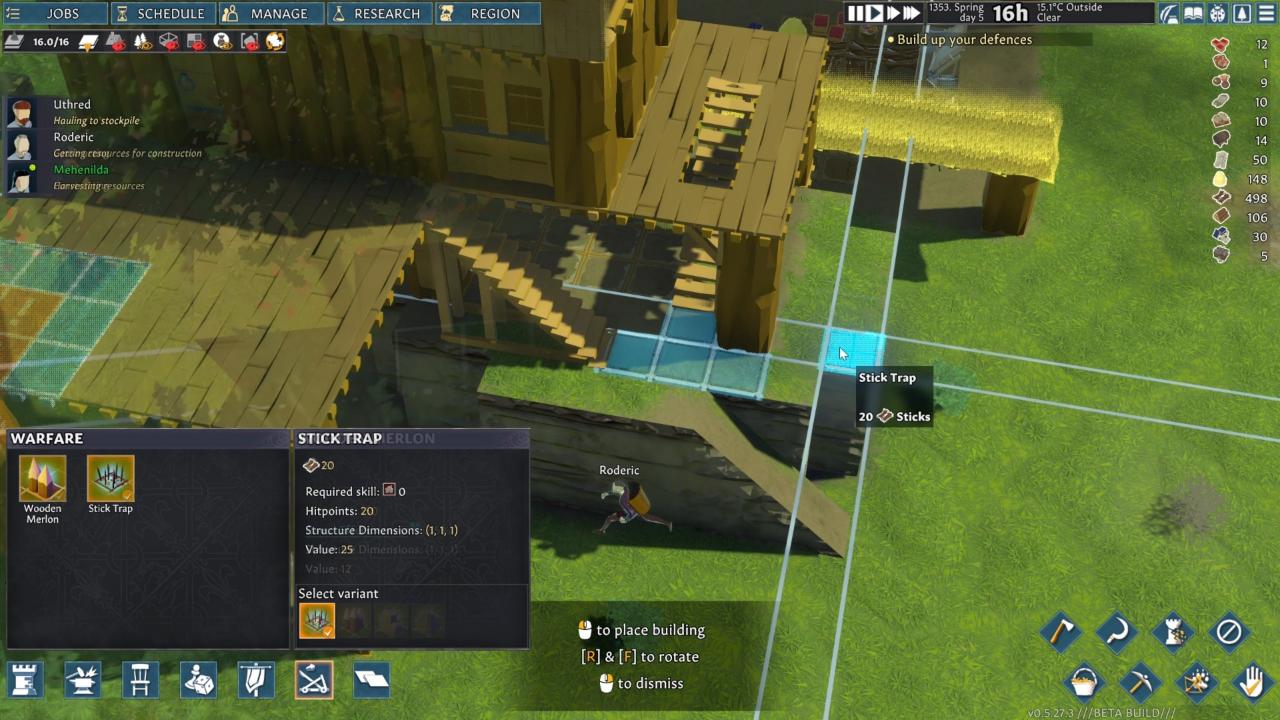
Soon you will have your first taste of battle so you need to prepare. Stick traps are good for slowing down bandits and for greatest effect should be placed at strategic choke points through which enemies must pass. You can use the wooden merlon to block off other access points to your main home.
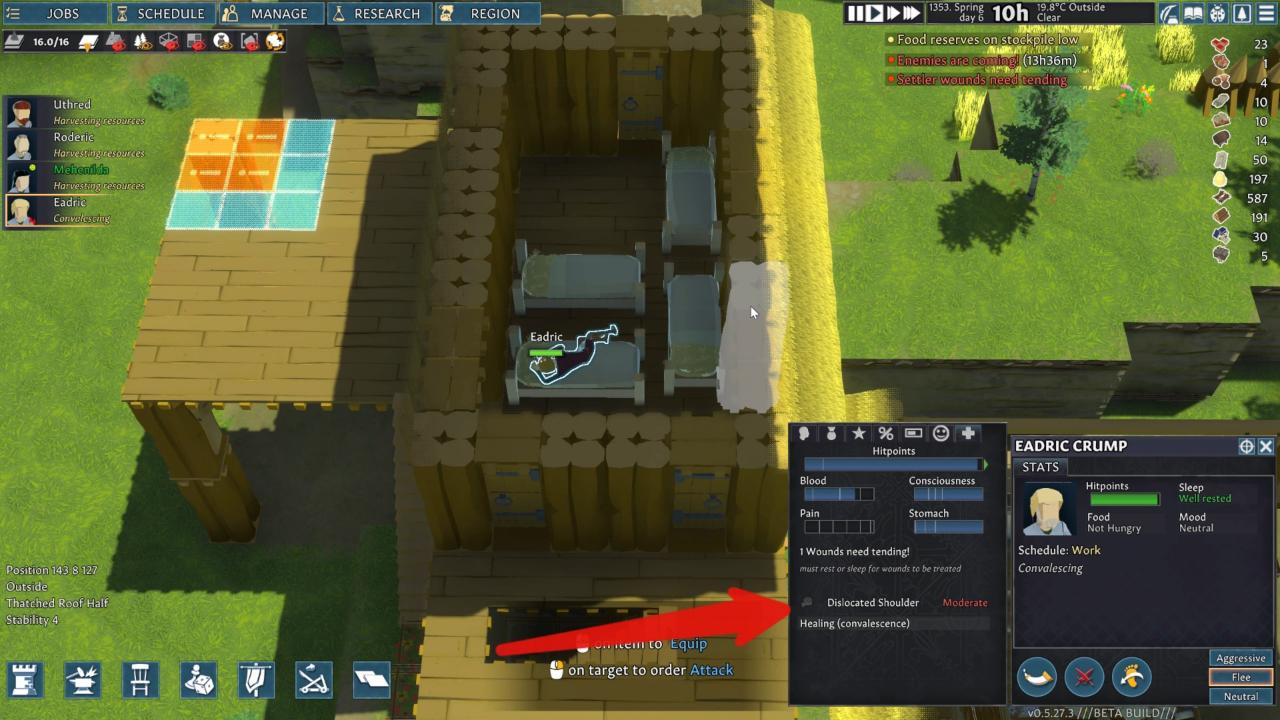
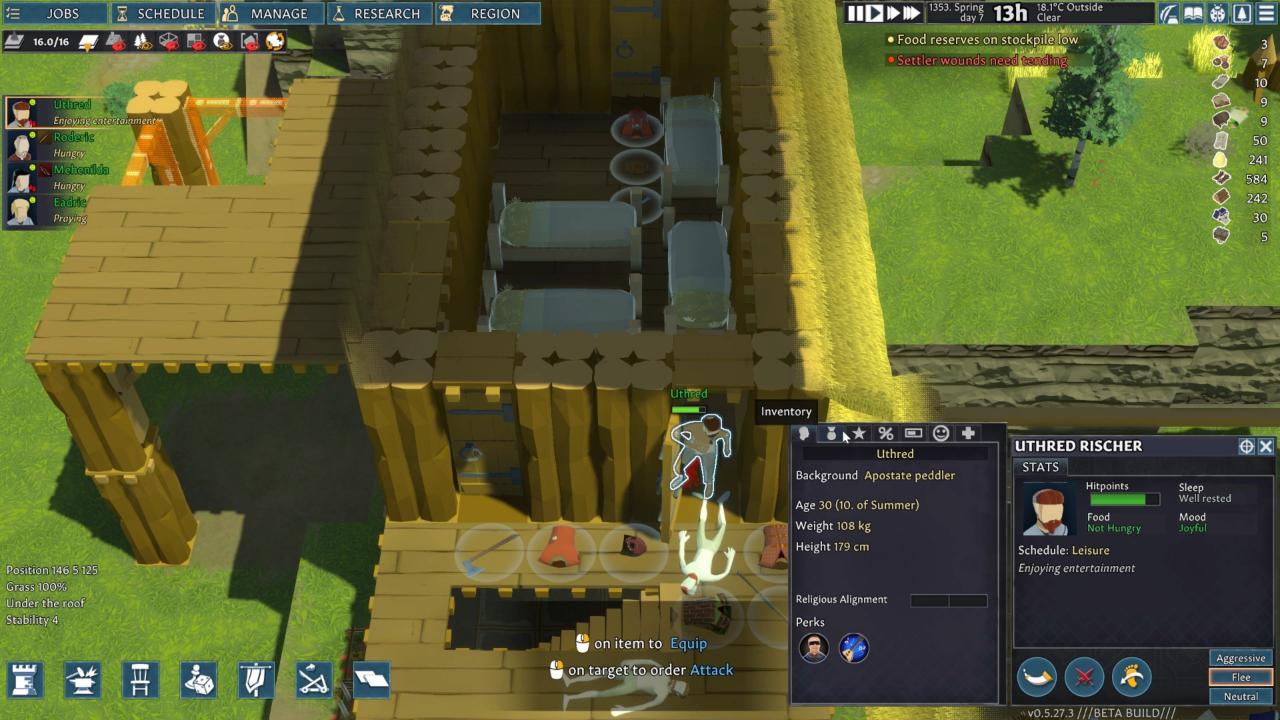
The first game prompt will explain to you the situation and the tools tips will tell you the consequences of your actions. Accepting a new settler is an invitation for a raid on your village. Use the time before the raid to prepare your defenses and heal up your new villager’s wounds, indicated by red blood drops on his portrait.
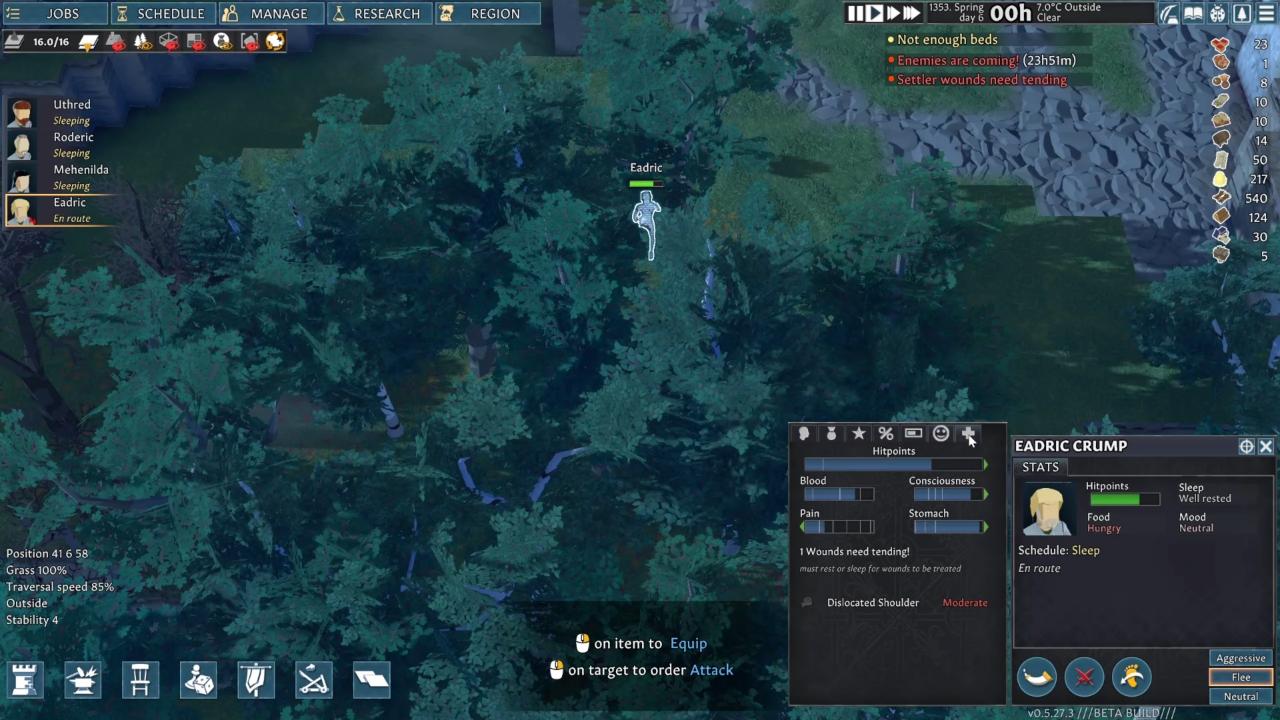
This is done by setting his schedule so that he is asleep when others are awake, allowing them to administer a healing item, once you prioritize their tend job.
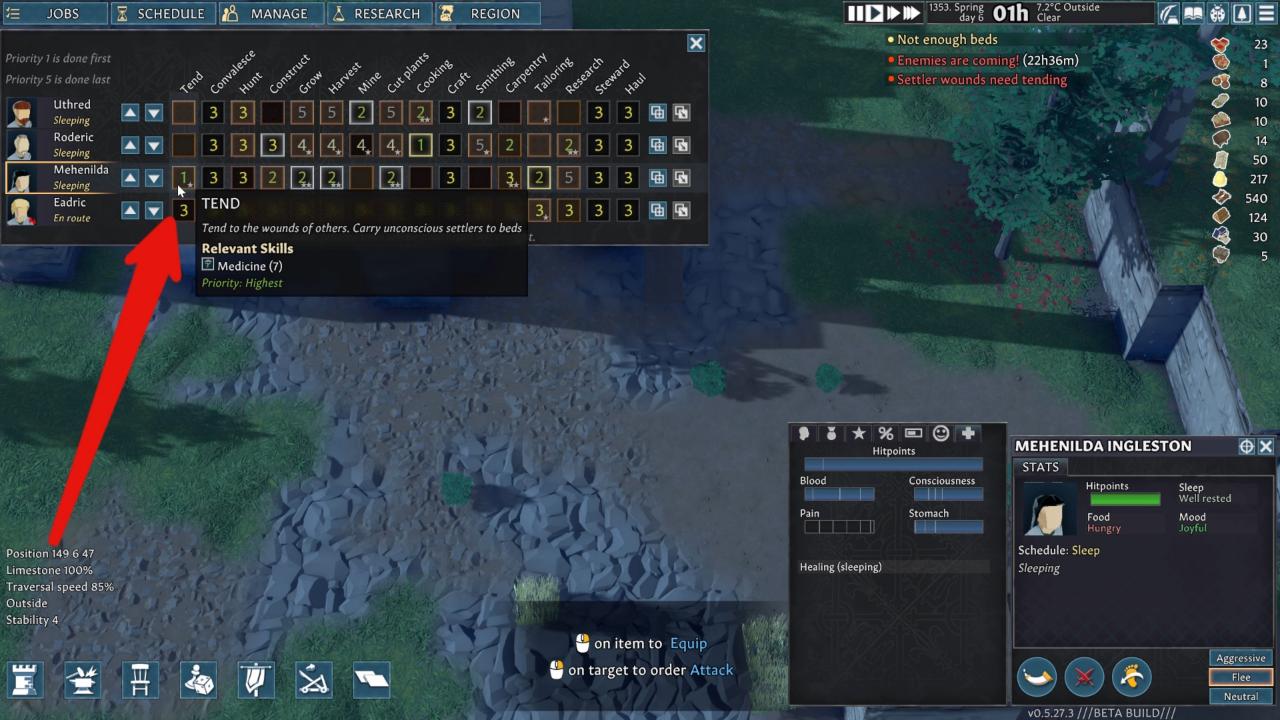
If the new villager falls asleep outside of a bed your villagers will carry him to a bed. Once one of them uses a healing item on him his wound is treated and he starts to heal up while convalescing in a bed as long as necessary.
Fighting Bandits
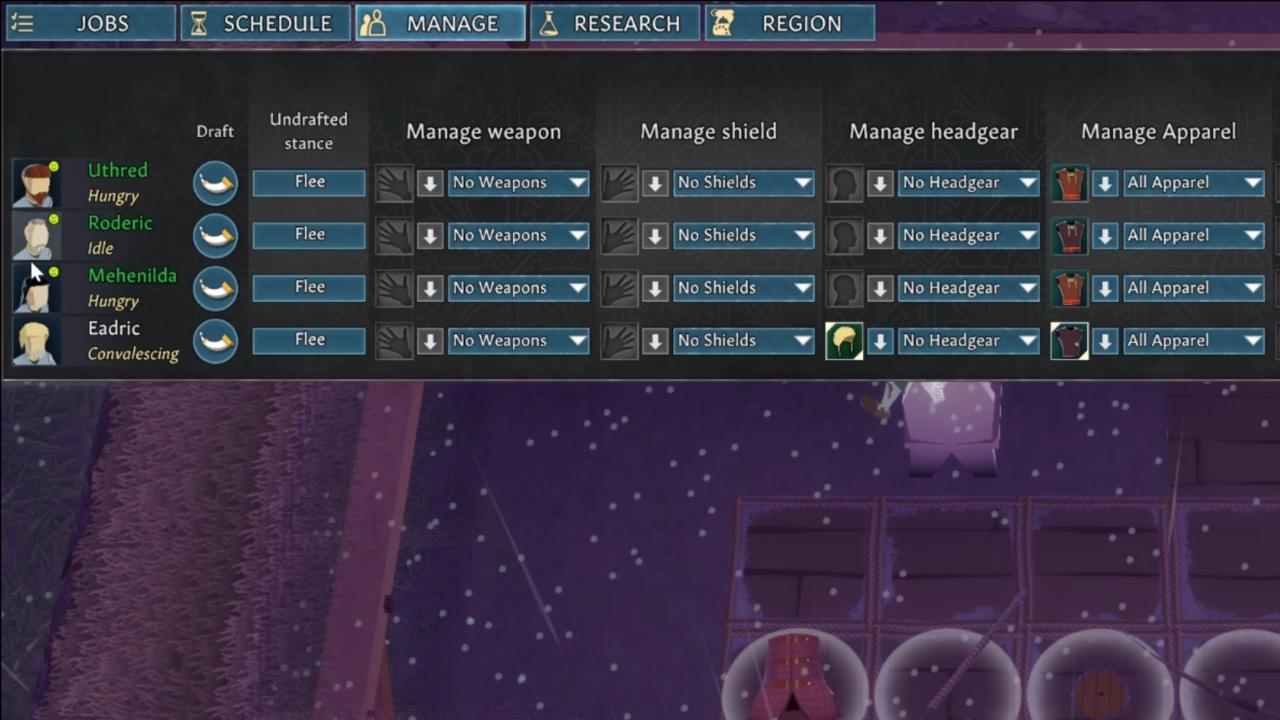
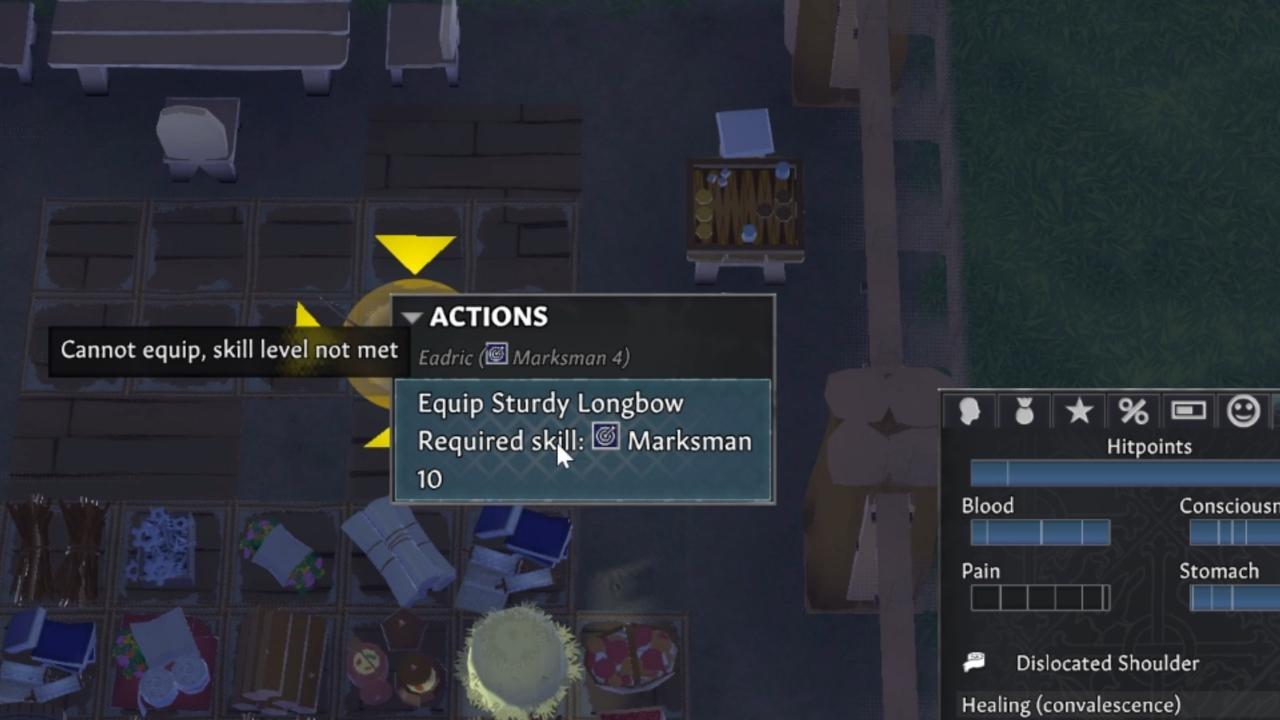
Set villagers with high melee skills or learning capacity for that skill to use swords or spears while setting up the villagers with high marksman skills with a ranged weapon. Some have minimal requirements, like the longbow which requires level 10 marksmanship.
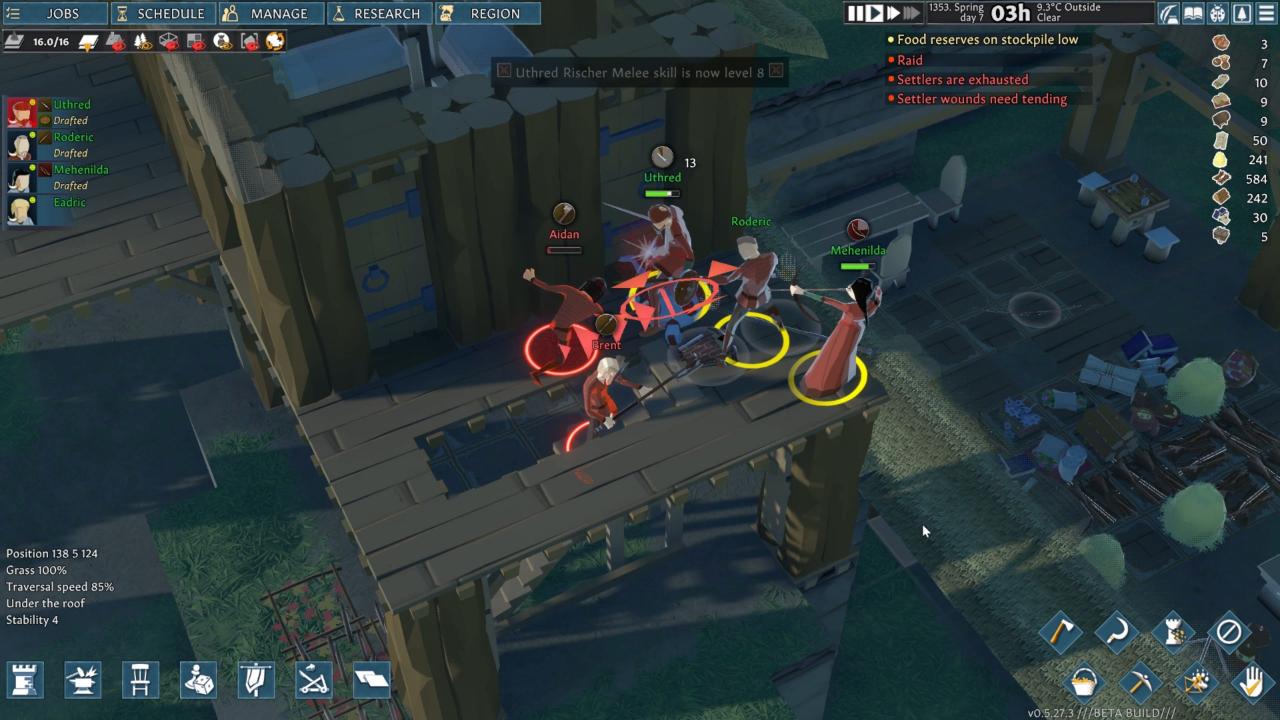
When the raid is imminent, use the draft option to send your armed and armored villagers to the highest choke point you’ve created to wait for the enemies to come at them.
Give villagers with bows a good line of sight and array the melee ones to be able to gang up on the bandit raiders. If you planned out your defense well enough you should have all your villagers survive this first raid, minus a few injuries or wounds.
Make sure to move the dead and rotting bodies to your waste stockpile because they give negative mood modifiers to your villagers. You can also dig up graves and be done with them for good. Pick the best weapons and armor for your fighters and stockpile the rest for deconstruction or future new villagers.
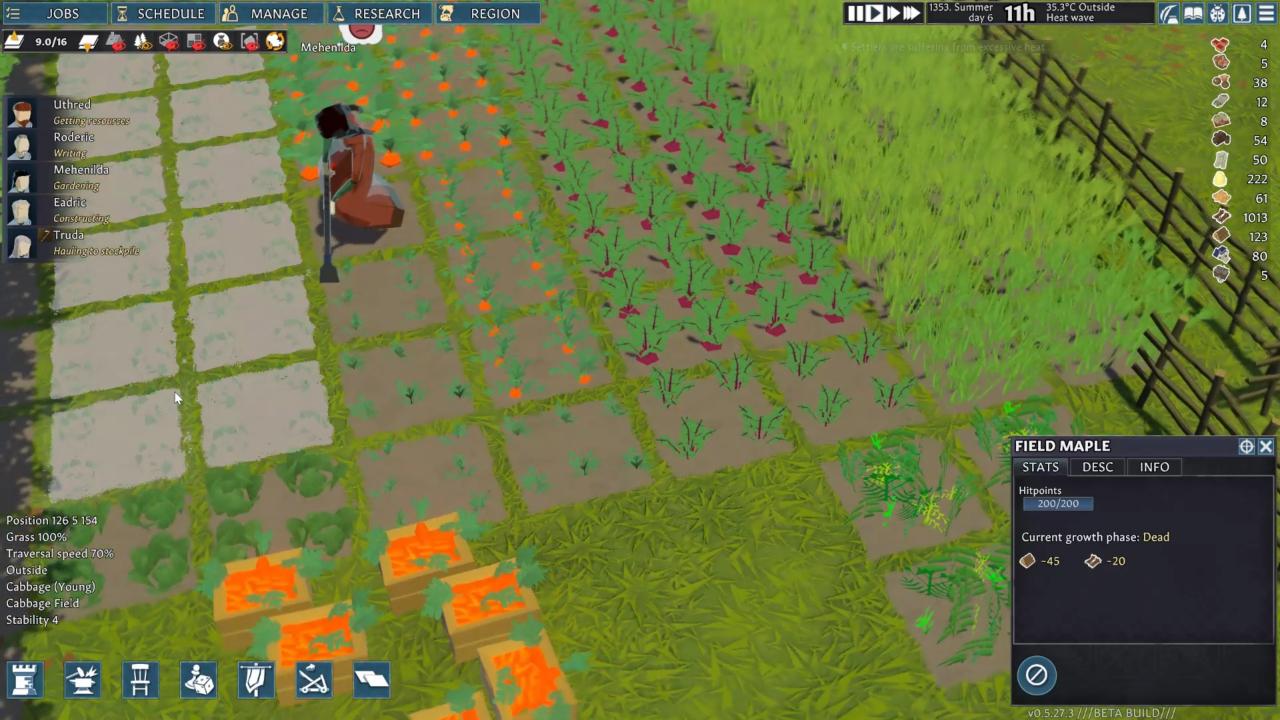
From here on you need to prepare fields in the summer for food to grow, make new winter clothing, dig a basement for food to keep fresh in the summer heat waves and many more other things which I will cover in the next guide for Going medieval.
Related Posts:
- Going Medieval: How to Survive Lone Wolf on Hard Difficulty
- Going Medieval: The Fundamental to Cold Room Temperature
- Is Going Medieval Multiplayer? (FAQ from Devs)
- Going Medieval: How To Build A Mountain Base Using Cave Ins
- Going Medieval: How to Set up a Proper Disassembly Line