This guide details all you need to know in order to beat the game on hard difficulty with the Slaveholder, in version 0.8.0.2, while taking the hardest possible veteran / champion route every time. The first section is for a quick reference, which also serves as a tl;dr section. The second section is dedicated to a more detailed reasoning about the choices concerning the slaveholder build.
Quick Reference
 Suggested monsters (morale damage): Gargoyle, Ghost, Ice Skeleton, Orc, Skeleton Dog, Skeleton Magus.
Suggested artefacts: Demonic Pendant, Chalice of Youth, Enchanted Gogs, Magic Purse, Totem of Strength, Troll Beer.
Suggested traps: Bone Catapult, Lure. If Lure not available: Rallying Horn / Pile of Bones.
Promotion: Father of the Damned.
Build Guide and Strategy
Here I will describe how to employ a morale damage strategy in order to beat the game with the slaveholder on hard difficulty. Morale damage is highly effective throughout the game, the monsters and their upgrades are cheap and you get a pretty good start towards this strategy. In addition you can still get relatively good mileage out of bleed effects due to your master facetanking some heroes.
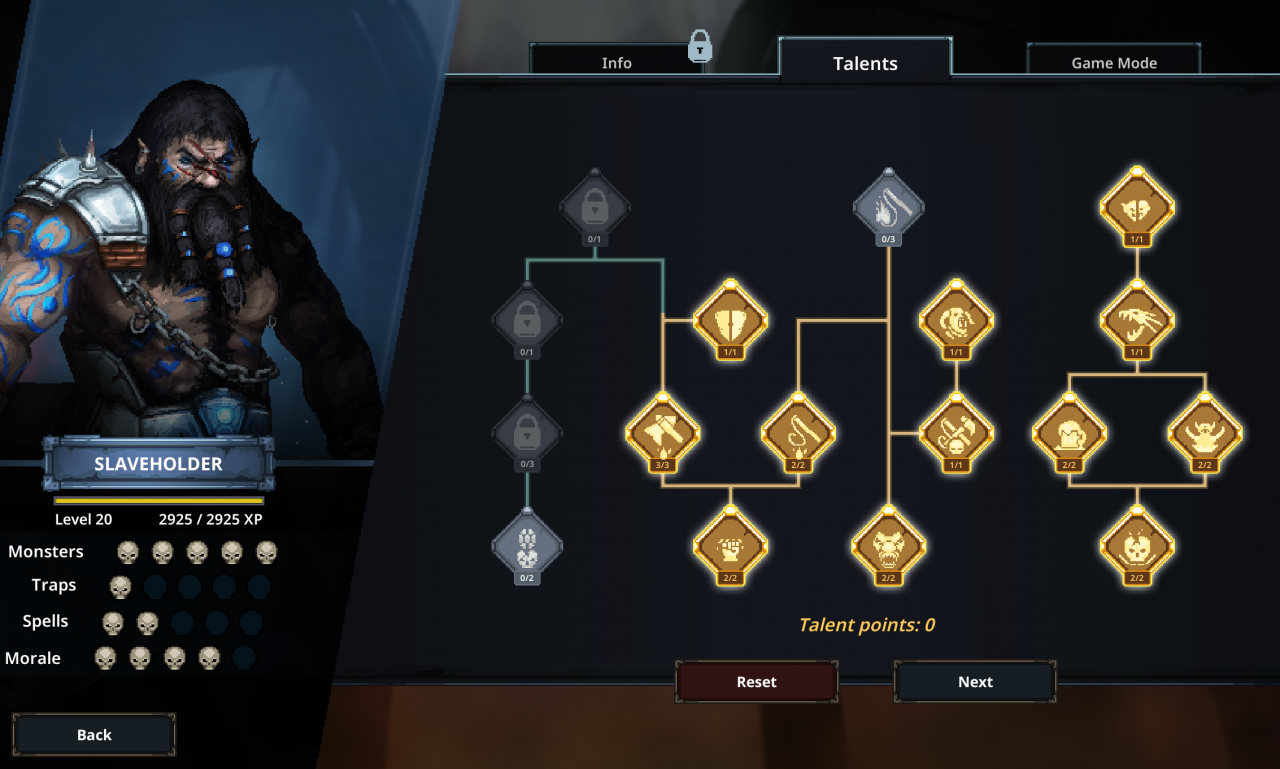
I would suggest maxing out the right side of the tree for additional flexibility in regards to a backup build. The main build is focused on morale damage, but if that doesn’t come together, it’s great to have a vampire for the bleed build. Vampire also helps in situations where you want to apply bleed for facetanking the heroes with your master. Skeleton Dog for one point is a bargain and the nodes below these are awesome, especially the reduced training cost. The morale section of the talent tree is mandatory. Getting extra stacks of demoralizing and terrify are essential. After that we have some leeway in what to pick, but I would recommend going for extra resistances on the master and whip damage.
A great trick to use is not setting up any monsters (or only setting up the second room) to conserve monster motivation. You can easily beat the first three waves with your master alone, plus the traps. This means you can skip on upgrading minions for the first 15 weeks or so, and upgrade traps instead.
After the initial waves you should consistently rotate the second room with high quality minions, keeping the first room on standby in case the heroes have a shield or shuffle effects. You can also use random trash minions to proc hero skills. Quite often you want to use 2 monsters to proc the mage shuffle skills. Goblins are nice for trying to make the acolyte type monster use their debuff removal. Note that the mage always shuffles the monster away from the position they were in, which means that you have a 50% chance (instead of 33%) of getting the desired configuration if you place monsters into their worst positions.
Heroes: when it comes to heroes, always pick the hardest possible option. This has increased rewards and I generally found the champion level easier than some veterans. Still you ought to be prepared for nasty champions (notably the necromancer) that require 2 strong rooms to be set up. Most of the time you’ll prepare 1 trash room and 1 strong room., unless there’s champions or scary heroes / combinations.
Scary heroes and combinations: tier 2 & 3 nomad, tier 2 & 3 single target assassins, 5% morale regen ability. If these are included it is probably safer to prepare two strong rooms.
Best / always pick: Business Trip, Collectors, Siege, Plunder
When required: Alchemist, Engineer, Interview, Trainer
If there’s nothing better: Event
Almost never: Doctor, Merchant, Workout
Never: Black Market, Course, Sanctuary, Seminar, Therapist,
You’ll be spamming events about 75% of the time. Always pick business trip or collectors if possible. Siege is great if you haven’t picked this already during the 8 week period. Otherwise you should pick plunder, which is almost always good.
You need to be able to upgrade at least two traps with the engineer for it to be worth it (about 500 gold) and at least 2-3 monsters with trainer before picking that option (best with 600 or more). You should pick alchemist only when you have about 150 tears or more. Interview is great but you need a pool of at least 40 blood, tears and 500 gold. If you don’t meet any of these requirements you should just pick event.
We don’t really want to pick doctor, merchant or workout, but sometimes there’s simply nothing better to take. This usually happens once or twice, when there are only two options to take and the second one is from the ‘never pick’ category.
We never use black market since a high monster pool is required for the best event types, which are business trip and sometimes plunder. In addition, some events sometimes remove a couple of your monsters for a while, and we need a considerable amount of cannon fodder to use in our dungeon. I never found course to be useful, since you can only choose for one monster whether to upgrade them (and wound them for a while) or not. You have no control over which monster that is and no indication of how much it would cost beforehand, since the upgrade money requirements heavily vary per monster. So much risk is not warranted. Sanctuary and seminar are horrible value for resources. Therapist is too expensive and you need to combine it with another motivation boost to have an actual effect on monster rotation.
PS: keep in mind that the cost of every action is not taking another one! So the therapist might seem like a “free” +1 motivation, but in actuality you are skipping at least an event.
PS2: siege doesn’t allow to leave without renting out anything. Check that you have at least 1-2 free traps available before choosing siege, or you might lose the game.
In addition to the core monsters needed, you should also have a healthy stockpile of trash monsters that you can throw under the bus when required. None of the monsters are useless, as you can use them to proc hero skills. More specific considerations below.
Best: Gargoyle, Ghost, Ice Skeleton, Orc, Skeleton Dog, Skeleton Magus.
Sometimes good: Goblin, Harpy, Jubokko, Skeleton Archer, Vampire
Cannon fodder: everything else.
The best monsters all have in common that they deal efficient morale damage, are cheap to get and cheap to upgrade, and usually fast to act (apart from the Orc). Orc is great because the resistances and hp pool size fit the overall group well, as most of the monsters never want to be in 1st position.
The more monsters in the ‘best’ category you have the more flexible your options become when choosing how to deal with heroes. You can have additional monsters who aren’t resting in the room lineup, which will allow you to choose an optimal monster to the task once you see the heroes. Room teams don’t really matter much, there’s basically no synergy between the monsters themselves – it’s all about the general strategy as a whole. If you want to maximize your effectiveness, you should put demoralizing monsters (such as Ice Skeleton and Skeleton Magus) in the 1st room, as it will make stacking easier. It doesn’t matter much.
It goes without saying that you absolutely must check hero damage type and react accordingly. The difference is often getting another turn on the monster or another two turns for the monster in the middle.
Sample minion configurations (again, just use whatever you have available of the ‘best’ category monsters, these are just samples. Try with 2x of the same monster):
Easy to moderate difficulty heroes, no shuffle or shield: Room 1 – empty (trash monsters on standby), room 2 – Orc, Gargoyle, Skeleton Dog
Moderate difficulty heroes, shuffle effect: Room 1 – Skeleton Archer, empty, Harpy, room 2 – Orc, Gargoyle, Skeleton Dog
Moderate to high difficulty heroes: Room 1 – Jubokko, Skeleton Magus, Ghost, room 2 – Gargoyle, Ice Skeleton, Skeleton Dog
Highest difficulty heroes with scary skills: Room 1 – Ice Skeleton, Skeleton Magus, Ghost, room 2 – Orc, Ghost, Skeleton Magus
Level 4 Lure + Bone Catapult absolutely annihilates the heroes. This is the strongest combination I could find. That sa
Sneak Peek for Enchantress (Quick Reference only)
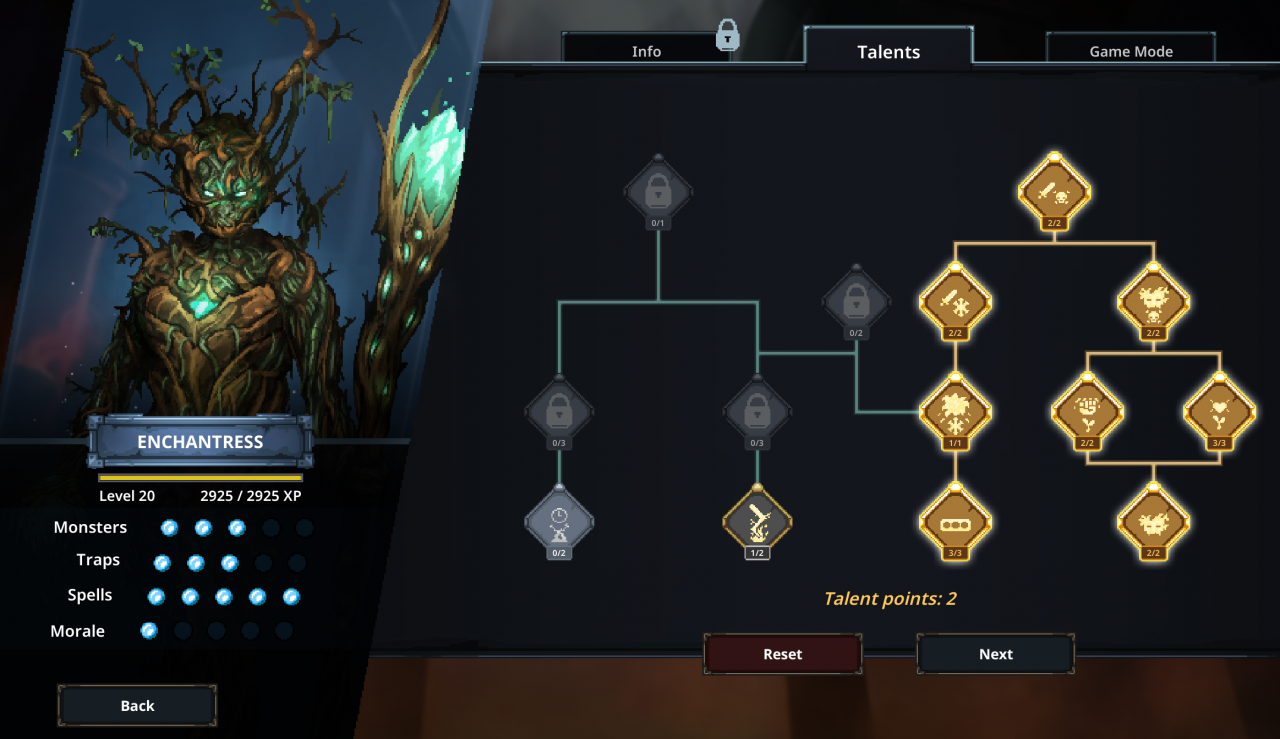
Suggested monsters: Ancestral Elemental, Earth Elemental, Treant (2x from talents), Fire Elemental, Ice Elemental, Ice Skeleton, Skeleton Archer, Yetigo.
Suggested artefacts: Bewitched Glove, Enchanted Gogs, Imbued Catalyst, Magic Purse, Prismatic Stone, Troll Beer.
Suggested traps: Poisonous Cloud, Poisonous Plant.
Promotion: deal nature damage and random debuffs, ice + tiredness, poison / frostbite dot.