
This guide will demonstrate how to use new processors and related items. Please mote this guide is not at all in a complete state.
Introduction
The most basic processor. It can execute programmed instructions.
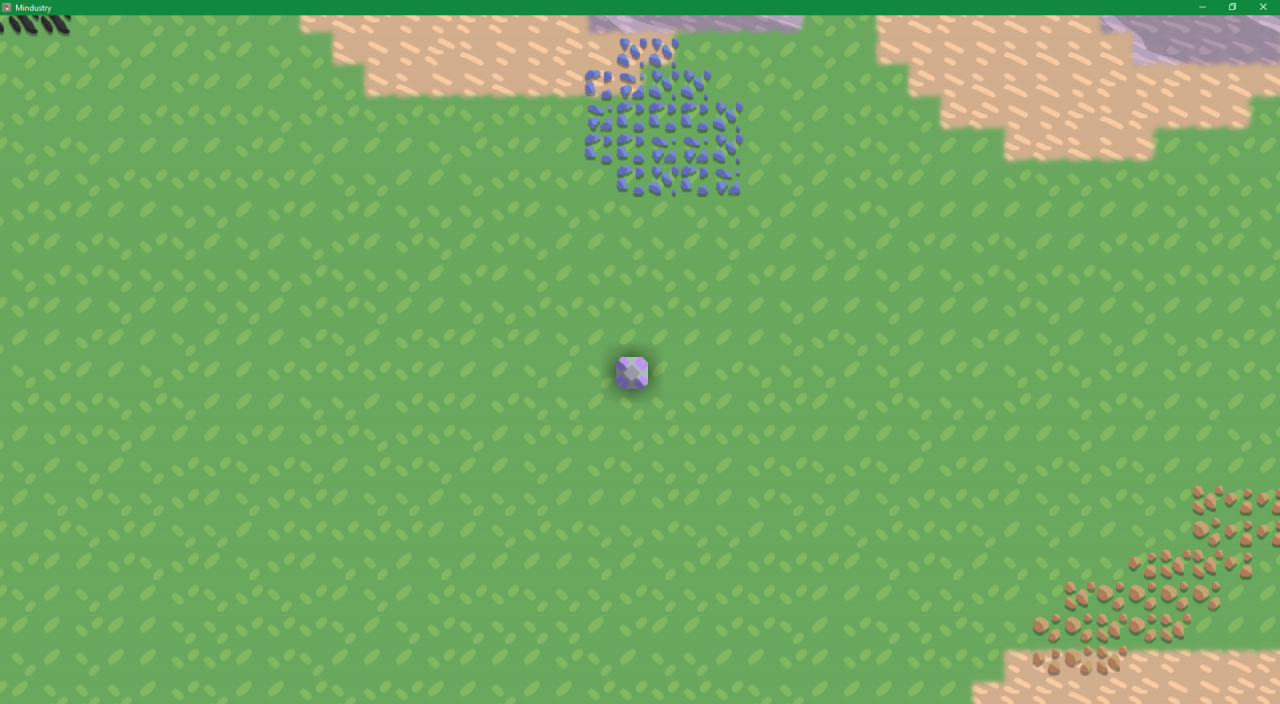 Logic Processor:
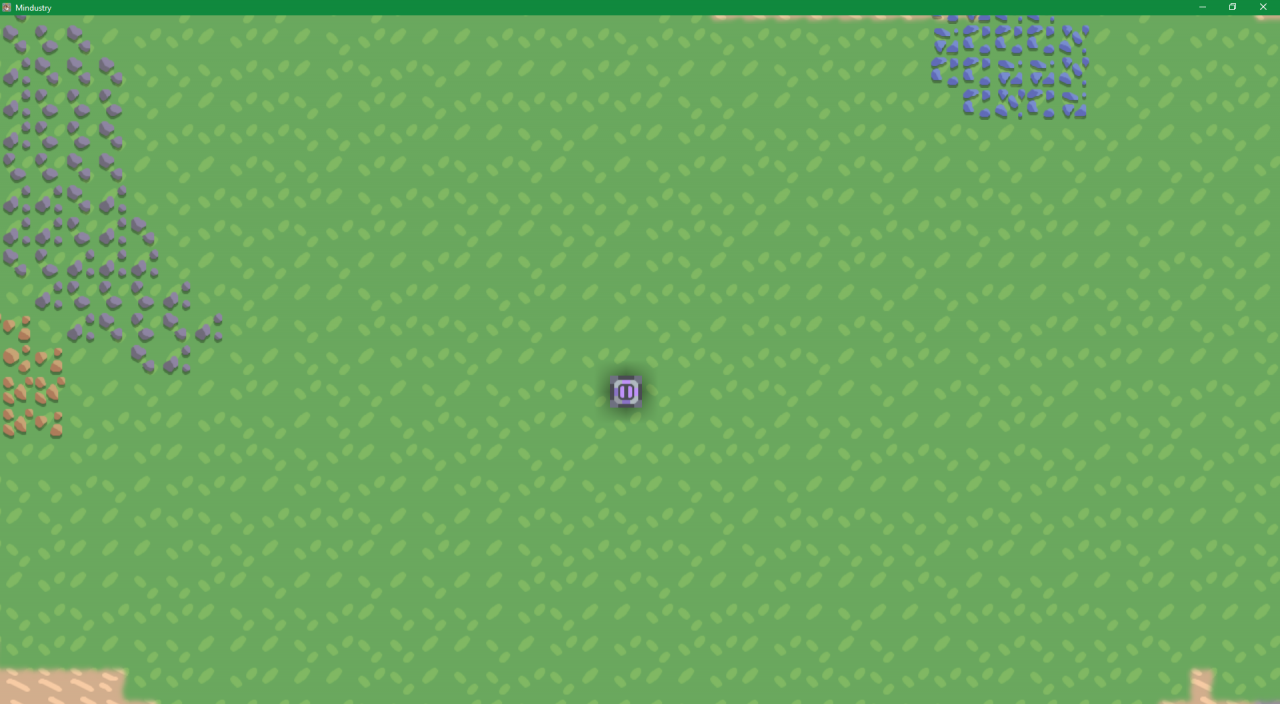
This functions as a better, but larger processor. It has a higher tps and link range.
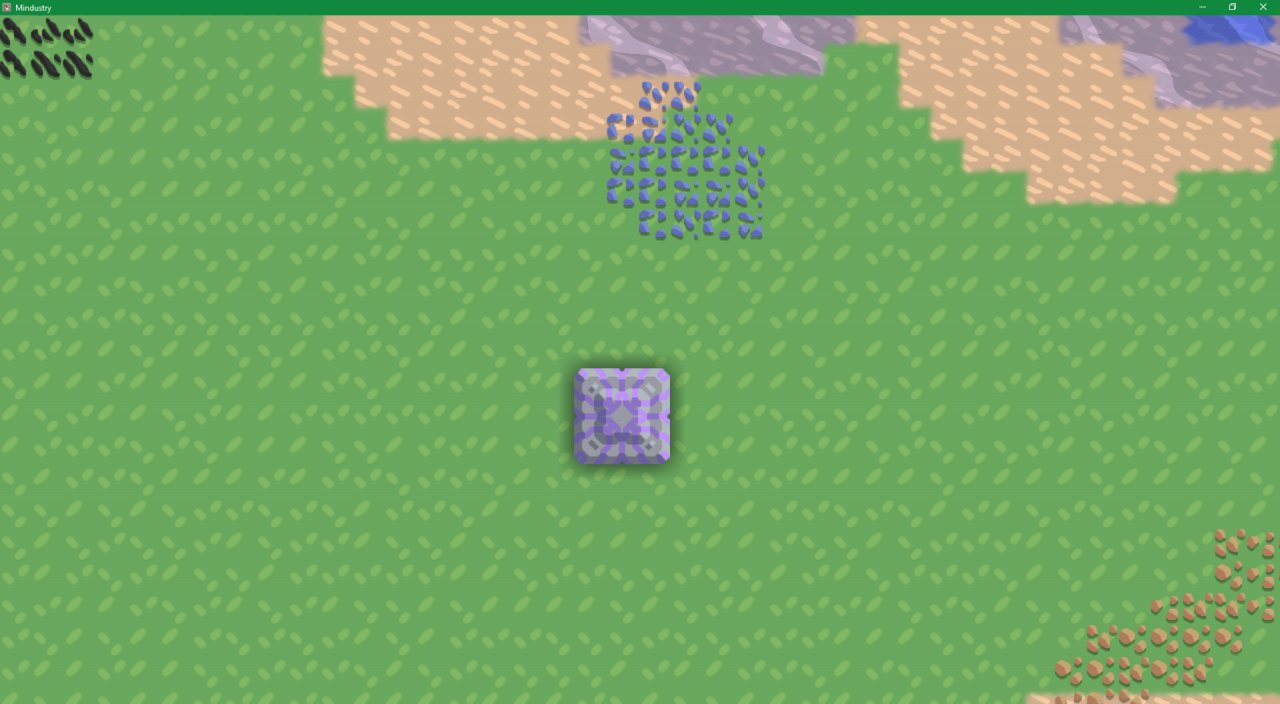
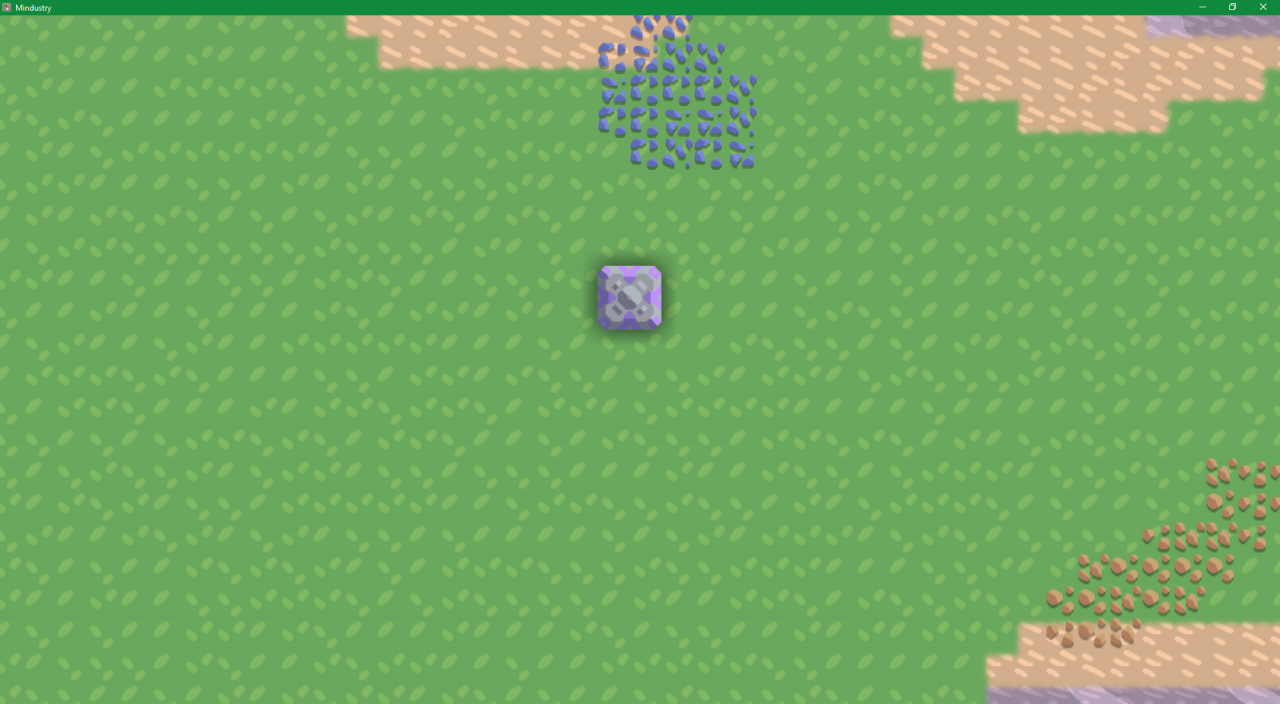 Hyper Processor:
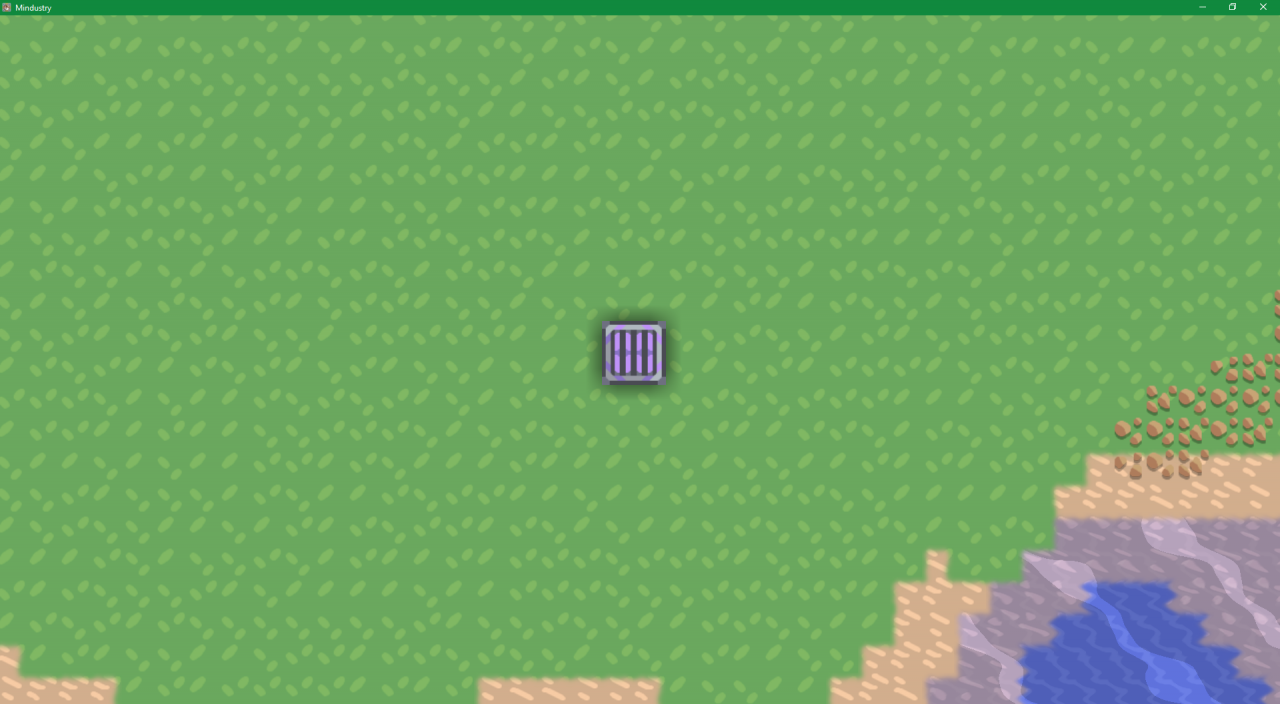
It is is better than 2 the previous processors, but needs cryofluid to run. It is like an overclocked processor in the real world.
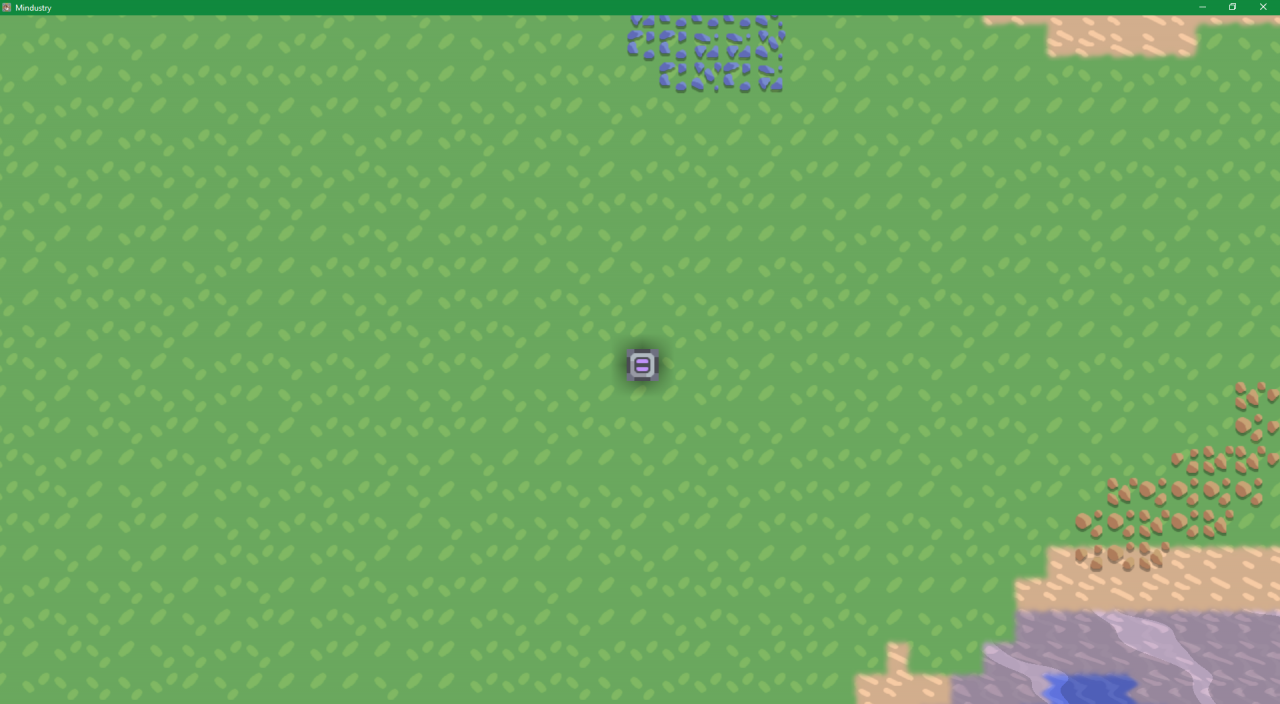
 Message:
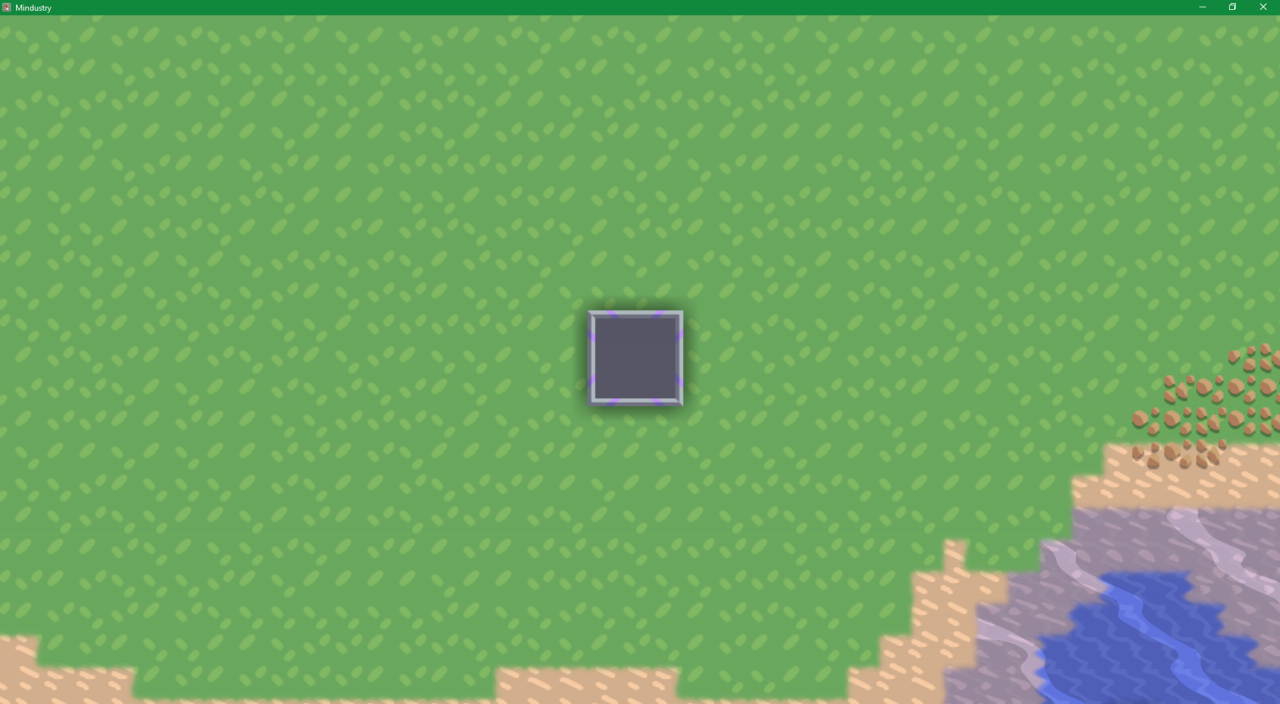
This block already existed in 5.0, but it is now retextured to blend in with the new purple theme.
 Switch: It allows players to interact with the logic system without going into the code to do so.
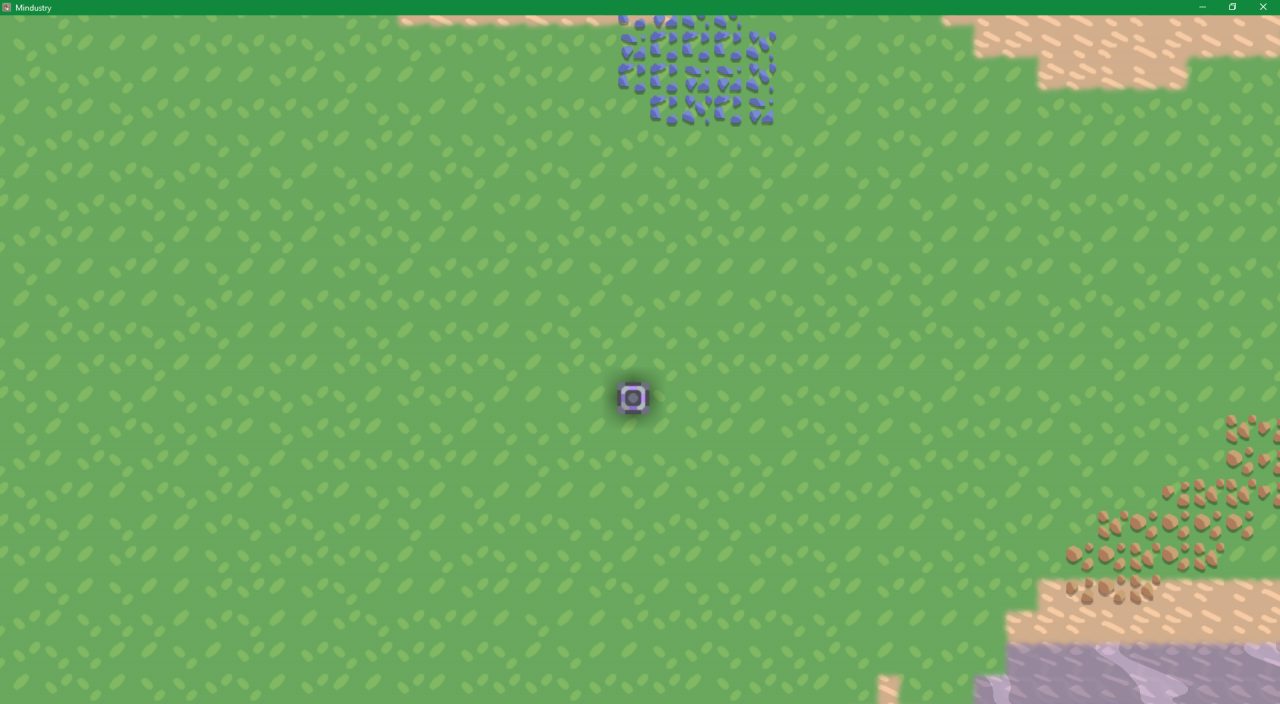 Memory cell:
A block that allows two individual processors to communicate, and for processors to remember data after executing the “End” instruction.
 Data Bank:
A larger memory cell that has 512 memory slots instead of 64.
 Logic Display:
A block that displays graphical data with a size of 80×80 pixels.
A larger version of the logic display that features a 179×179 pixel display.
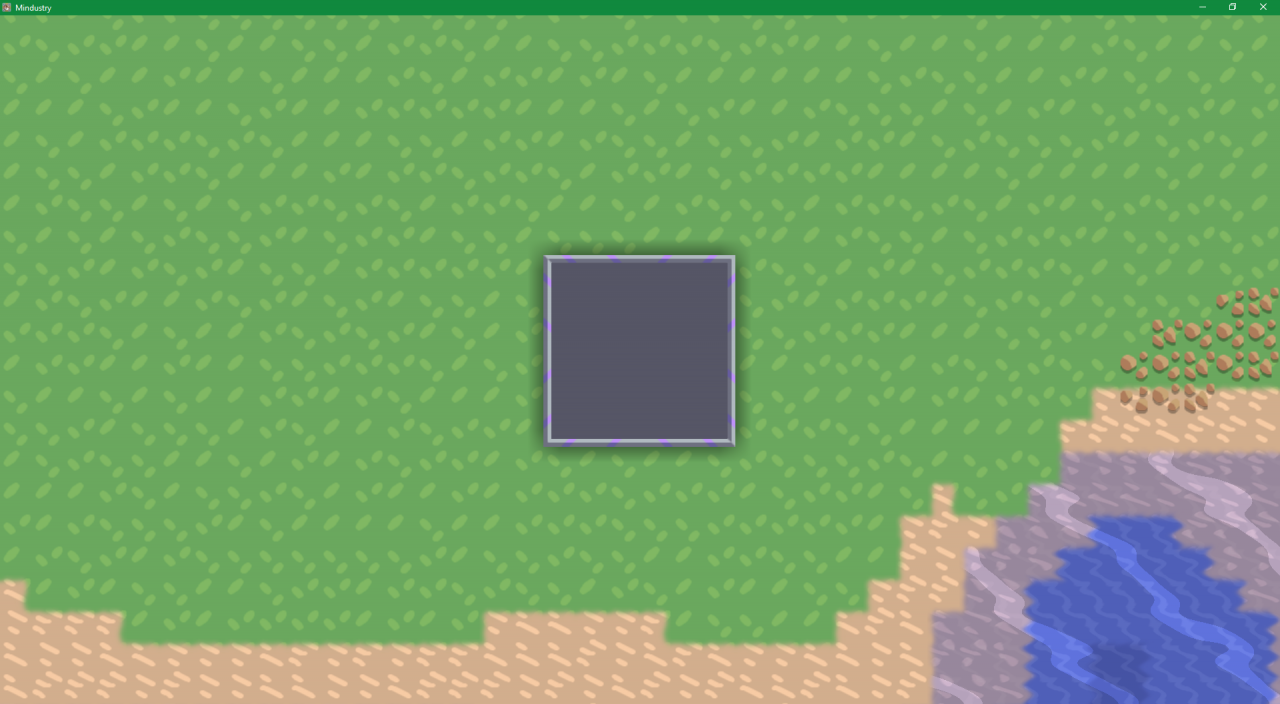
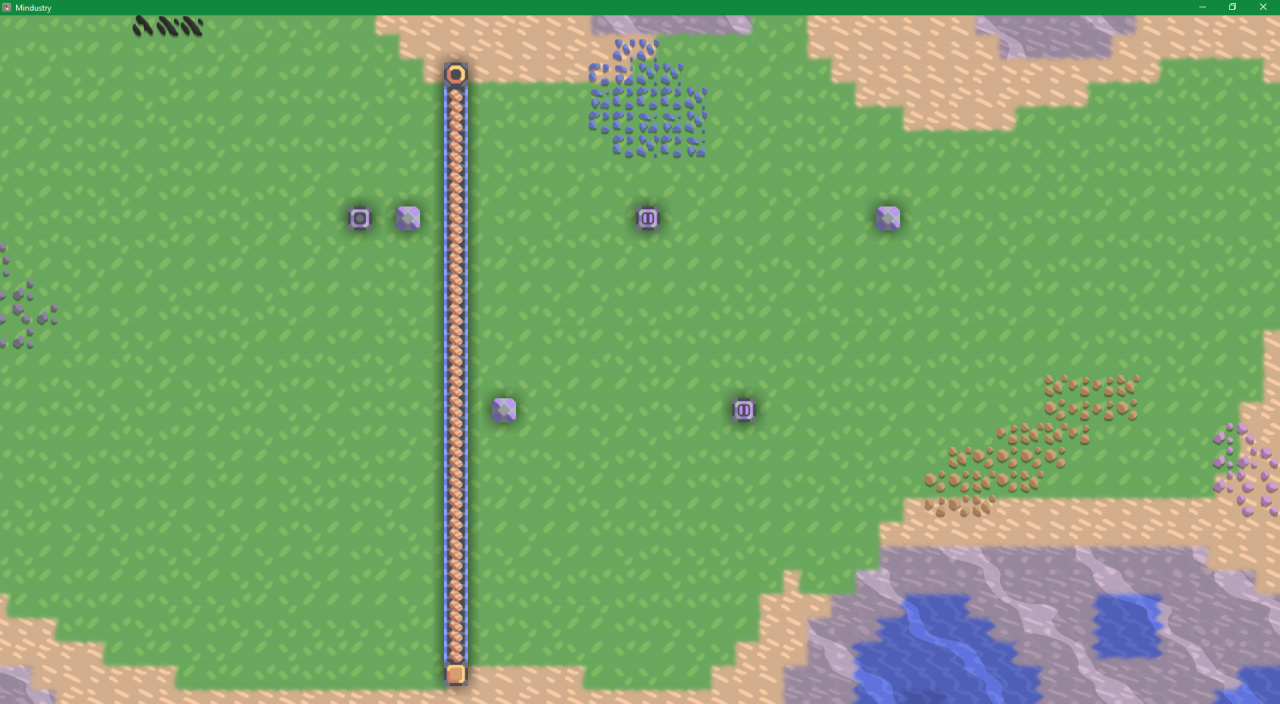
The first step is to link blocks. Set up a conveyor belt, a processor, and a switch. Click on the processor.
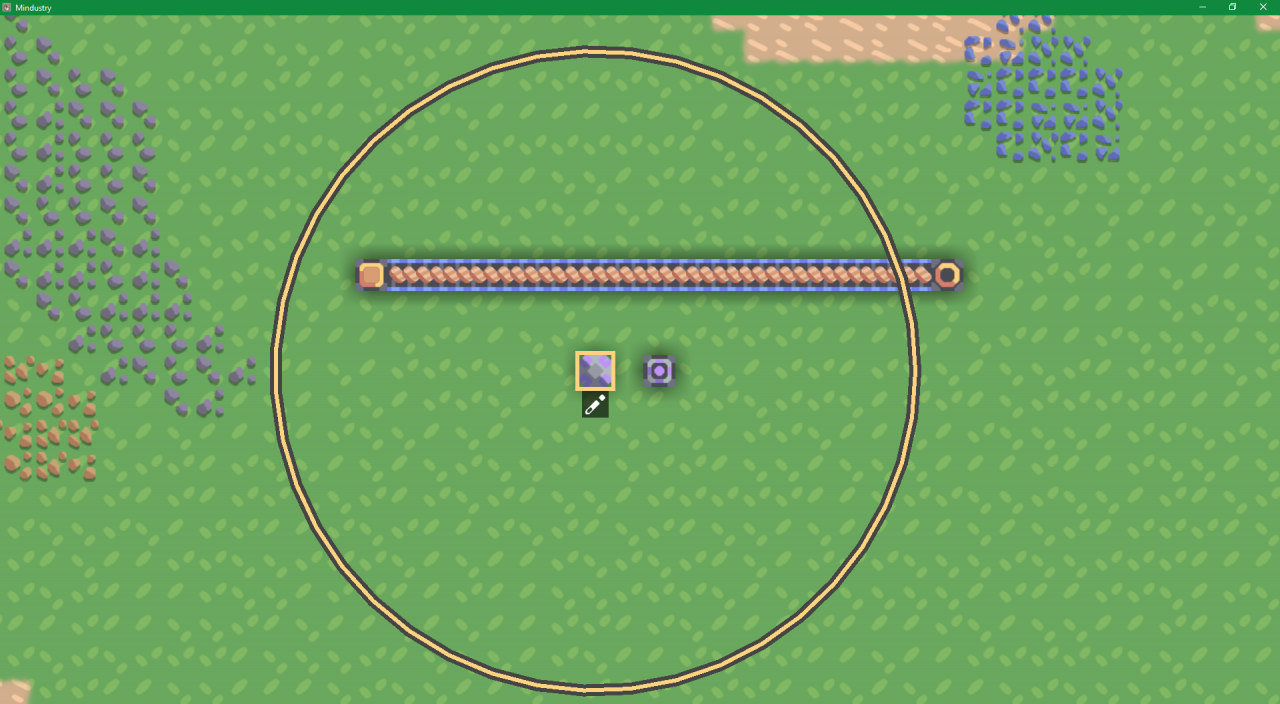 No click on the belt and switch. It should look something like this.
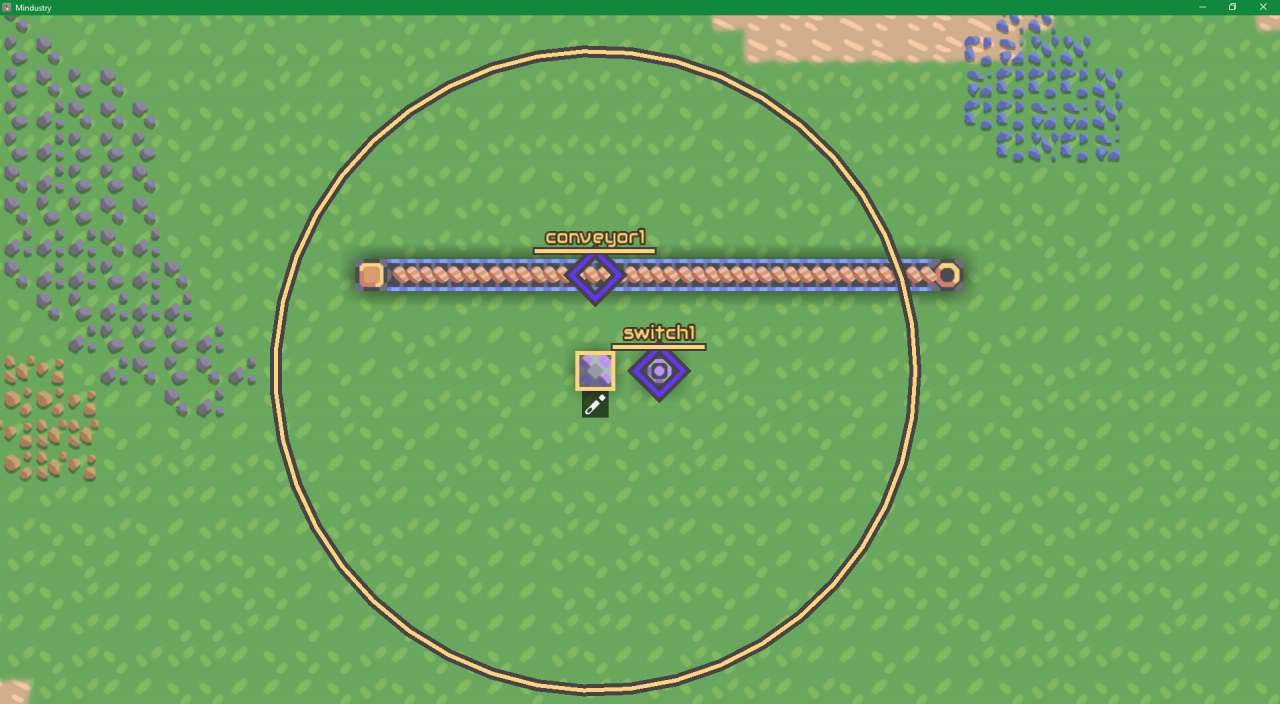 Now click on the pencil icon below the processor. The interface will look like this.
 Now press “Add” Click on “Sensor” The gui will now look like this.
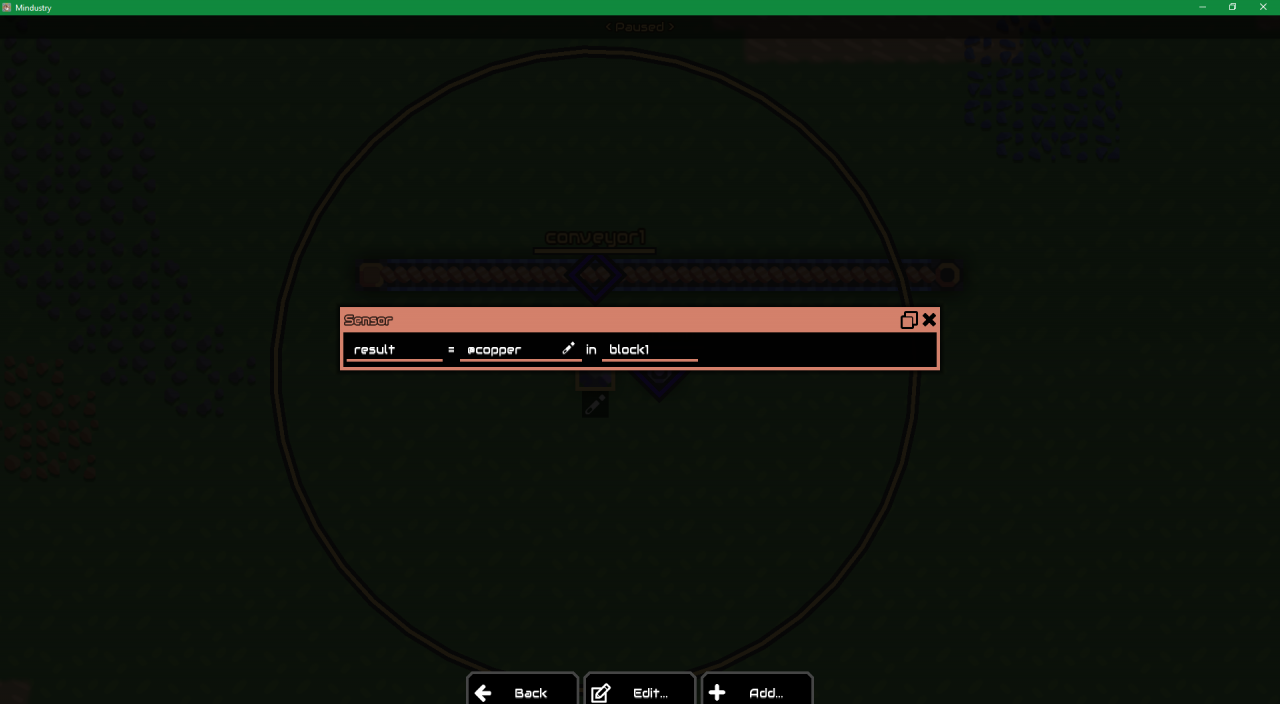 This may look like a ton of mumbo jumbo, but this is the key to logic. If we deconstruct this command, the first part is the variable assigned. The game defaults to assigning it to “result” A best practice is to name a variable after its function. Like for this situation, you could use a word such as “active”, but result will do for now. To properly read this block, click on the pencil next to “@copper” click on the tech tree icon. You will find it not to be a tech tree, but some properties like health, or power capacity.
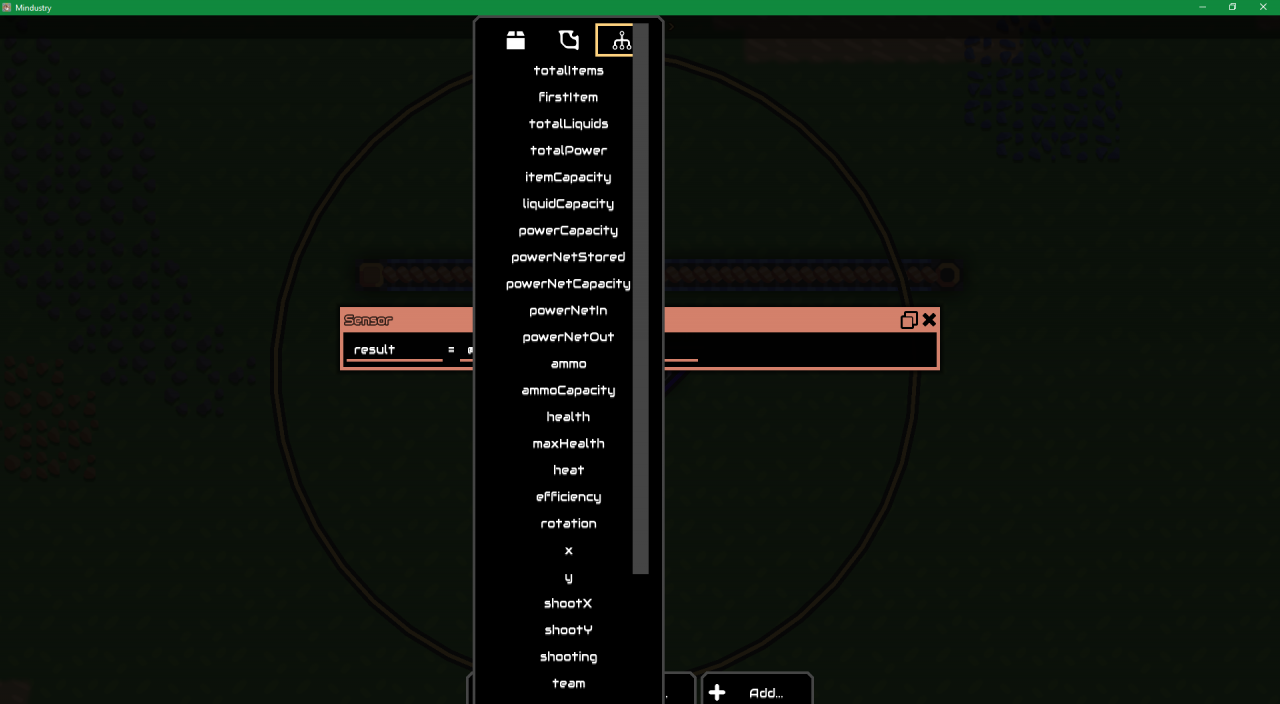 Scroll down to the bottom to find enabled. Click on it. Now rename the 3rd and final field marked “in”. Type in “switch1” Now add a control command. Use the same procedure as adding the the sensor. Fill in the blanks so the command reads “set enabled of conveyor1 to result” You should see this.
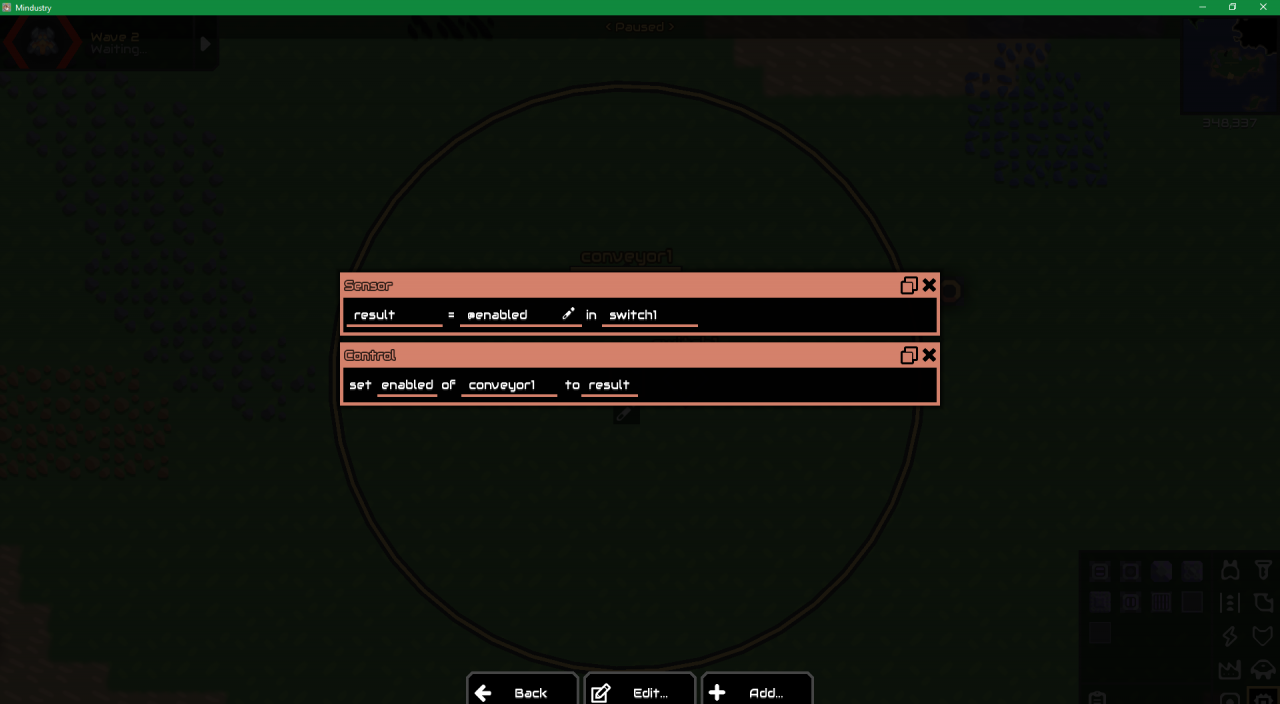 Feel free to play around with this as much as you want
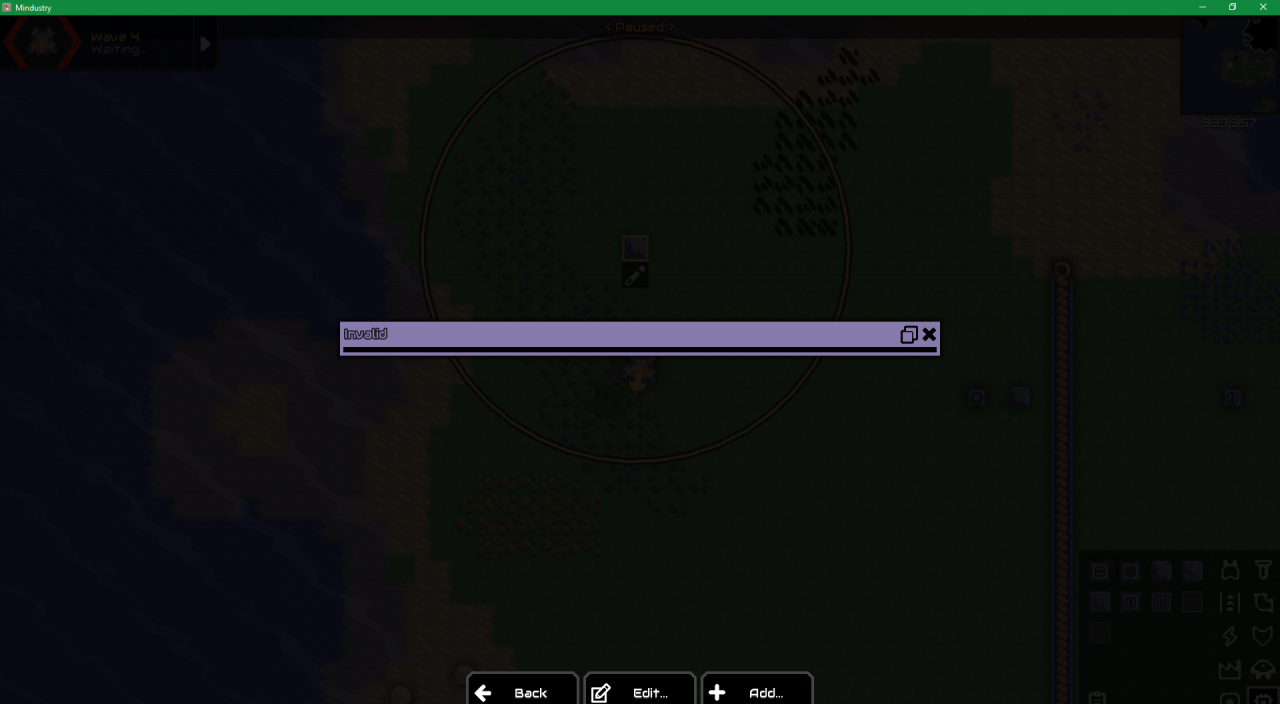 And if you copy and paste this into text, its says noop.
Code for first processor:
sensor result switch1 @enabled
write result cell1 0
Code for intermediate processors:
read result cell1 0
write result cell2 0
Code for final processor:
read result cell1 0
control enabled conveyor1 result 0 0 0
Data is stored as a value in locations 0-63 in a cell, and 0-511 in data banks. Data will be overwritten when write is used, and stored as a variable in the processor when read is used.
These cells can also store data between execution of the “End” instruction. For example, we could count how many times switch is activated. But you might want to count how many times how many times it is reset. I know it sounds pointless, but it is only a proof of concept.