There are totally seven bosses (secret bosses) in Praey for the Gods game. here is a text guide for you to beat all the bosses in the game. if you have any problems. please let me know.
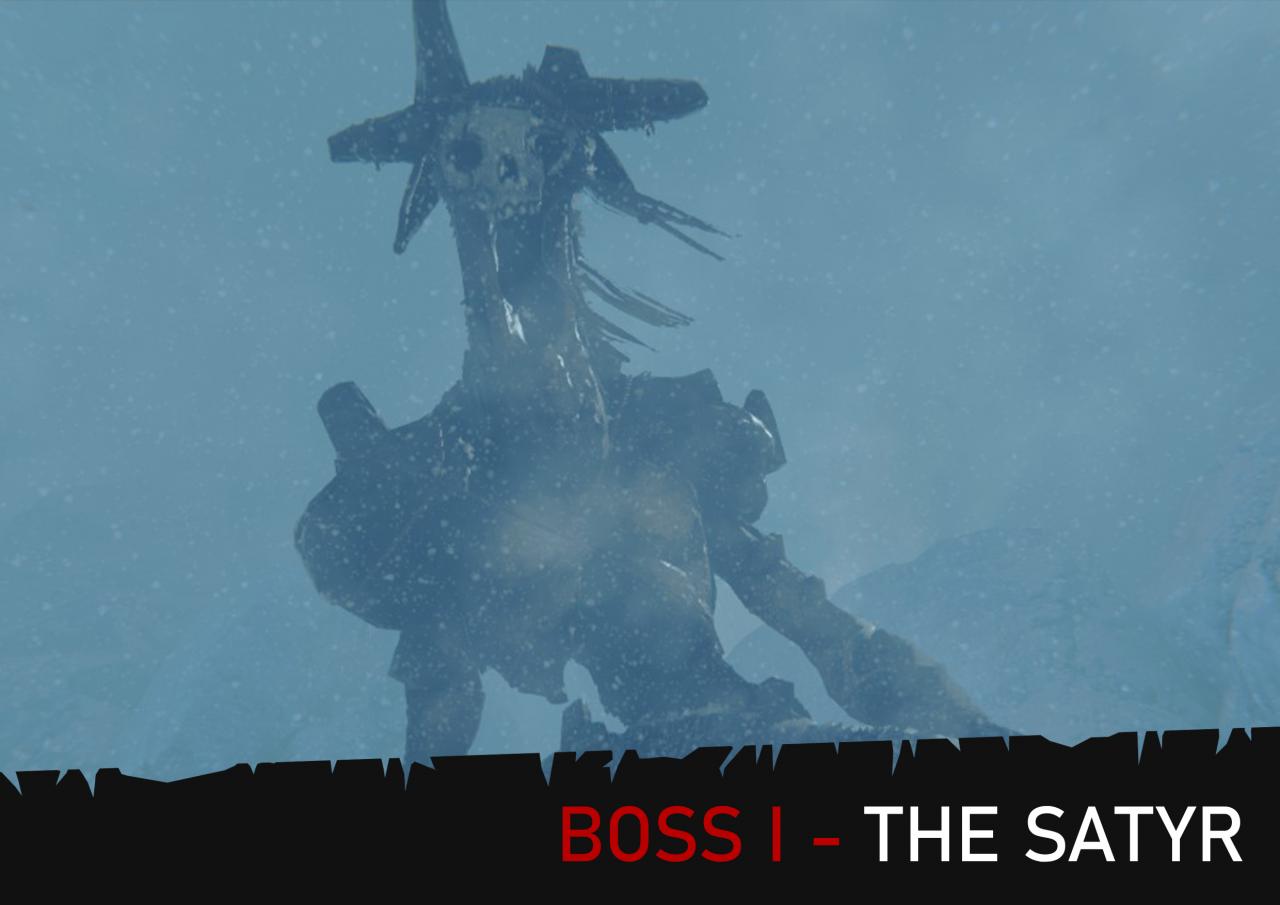
Boss I – The Satyr
 SIGILS: Head, Shoulder (Right), Back
GRAPPLE POINTS: Waist
ITEMS REQUIRED: None
Once you’ve interacted with the sigil, a cutscene will play as the mound of earth and rock reveals itself to be the first boss of the game, which I’ve nicknamed “The First”. When the cutscene finishes, you will be on the ground in front of it. There are multiple ways to get onto this boss, but first its reccommended you run around and explore the arena briefly before you fight it. There are two braziers on the ground that each have a piece of Cooked Meat skewered on spikes just next to them, its worth collecting these as they can refill your hunger and health meters later on, there are also two berry bushes that you can gather Berries from. Always keep your eye on the boss however, as it can use a Frost Breath ranged attack which will rapidly deplete your warmth meter.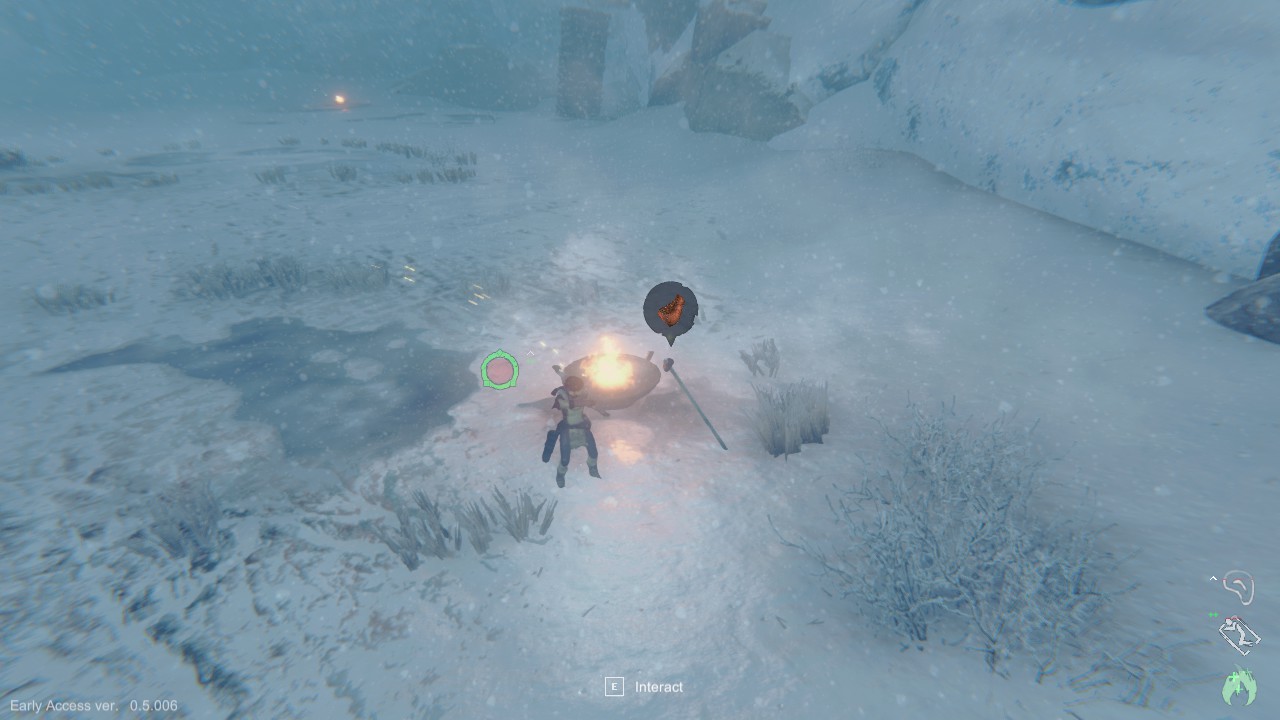
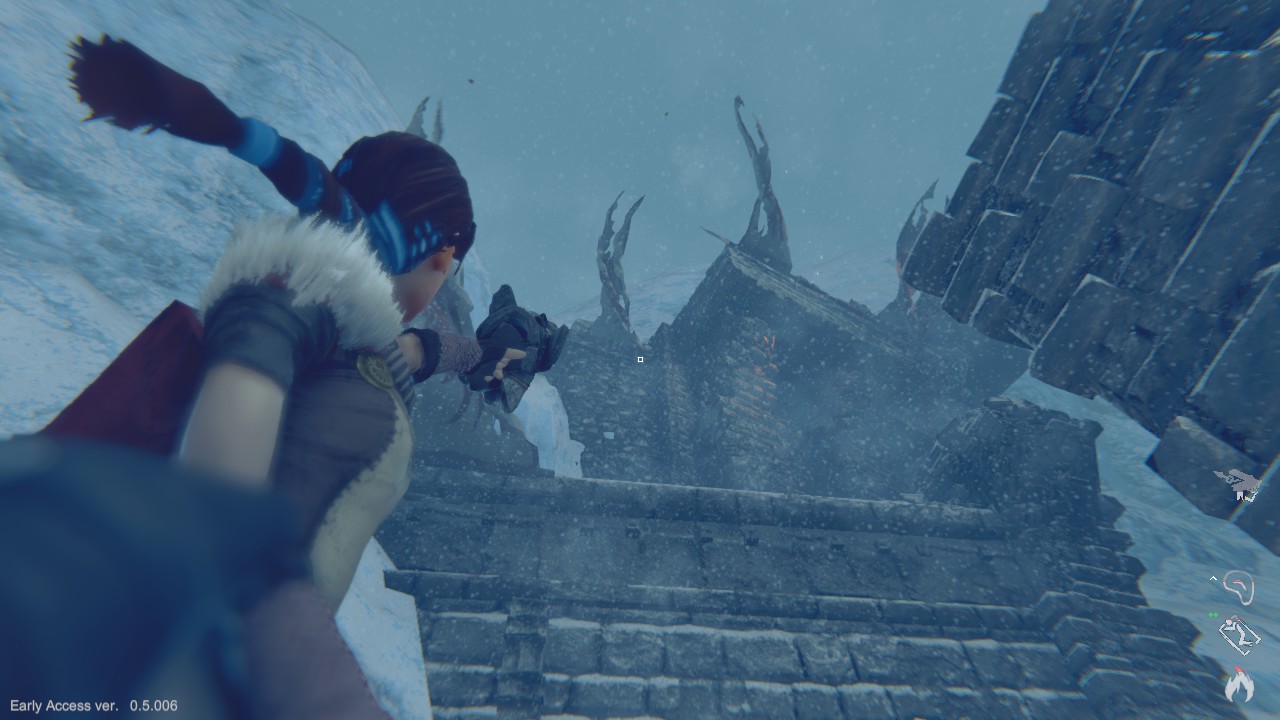 You can climb onto the boss itself by grabbing onto the fur on its legs and climbing up to its waist, where there is a small area that you can stand in to regain your stamina, and also allows you to continue climbing up its back. Alternatively, you can run around behind the boss to find a grapple point on its waist, which you can use to skip the leg climb altogether. The best way to get up there however, is to find the partially-collapsed stone structures on the right side of the arena. You can climb up there or use a Grappling Hook to reach the top, where a sigil can be found and interacted with. Using this sigil causes the boss to be stunned for a generous amount of time, falling down and lowering its head below where you will be standing. As it does this, you can drop down onto its head and attack the sigil found there. You only need to do this twice, as this is the same sigil that you used to awaken the creature. If you drop down as soon as you can, you’ll be able to attack twice here and move onto the boss’ shoulders before it can retaliate.
 The boss only has two other sigils, one on its right shoulder and one on its back. Both will need to be attacked three times before the boss will fall. The boss will start to shake in an attempt to throw you off after you have attacked one of its sigils, tap the [RMB] rapidly as it does this to avoid losing as much stamina as possible. Once it stops, attack a sigil as soon as you can, as it will only barely give you enough time to do so before trying to shake you off again. The sigil on its shoulder is on a fairly flat area, so you can press [F] to stop climbing and stand there to regain your stamina if it is running low, which you should try to do before attempting to attack the sigil on its back (if you came from its head and are moving down), as there is no such place to rest there. Alternatively, if you have climbed up from the ground, then try and regain your stamina on the flat of its shoulders before attack the sigil there to ensure you won’t get thrown off as the boss shakes.
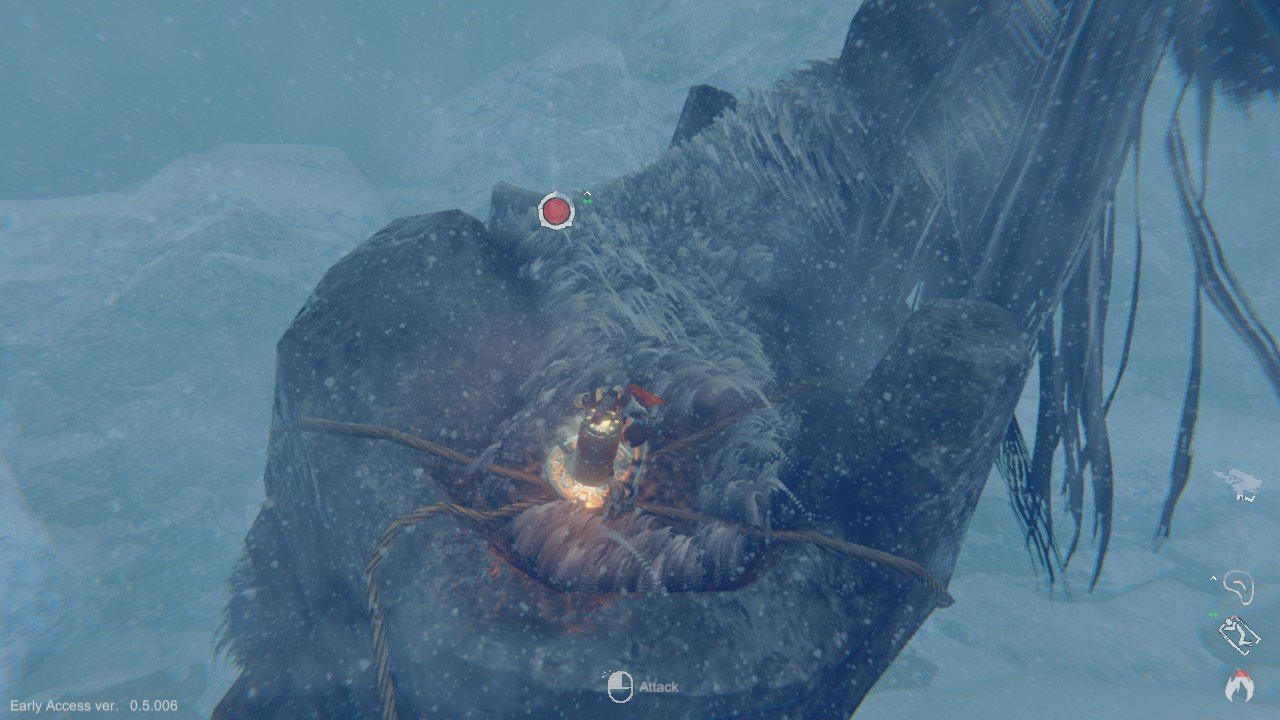
 Once you have attacked all three of the boss’ sigils three times each, the boss will fall and a cutscene will play, during which you will be taken to “The Temple”.
Boss II – The Devourer
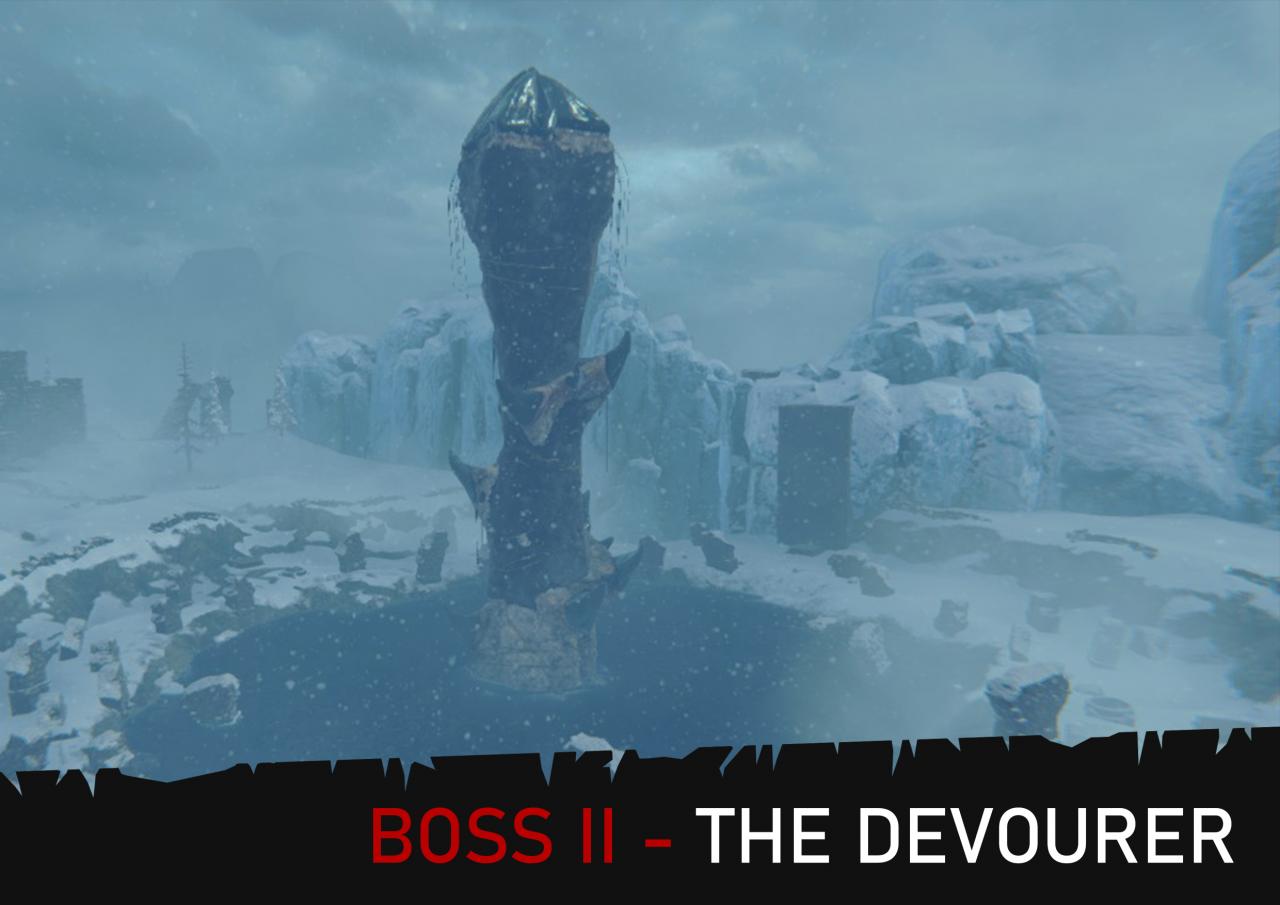 SIGILS: All located around the middle of the Tower’s visible body
GRAPPLE POINTS: Several around the middle of its body, can be used to reduce climbing time from the various points of the Tower’s body that are safe to stand on when it is immobile.
ITEMS REQUIRED: None
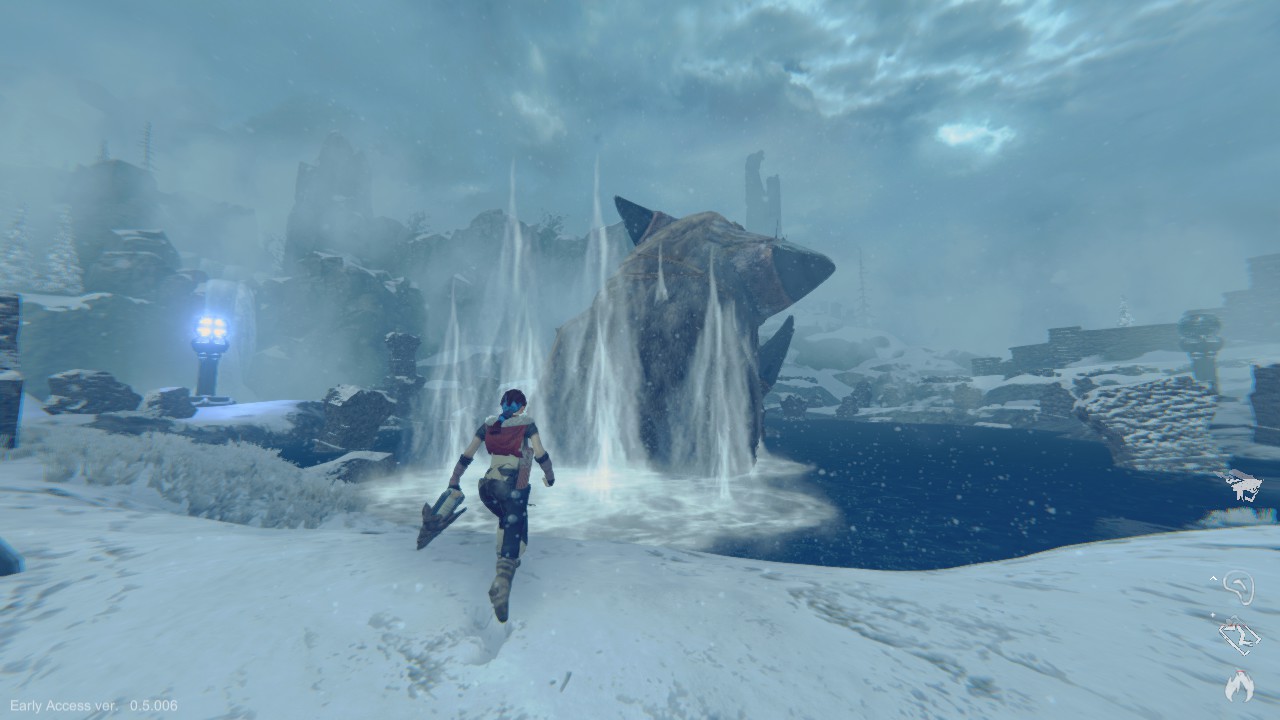
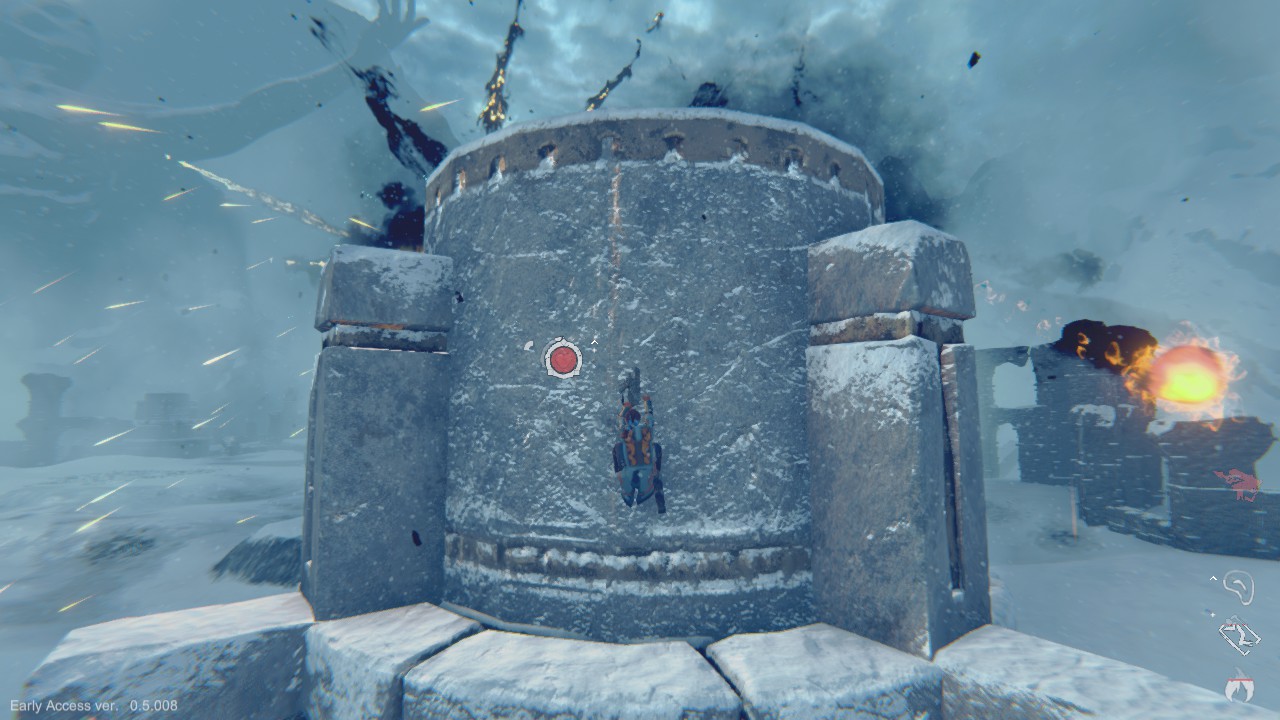
Once you enter its arena, “The Tower” will dramatically surface from the lake, be ready to run as soon as control is given back to you, as whilst it is immobile, it will frequently fire off energy blasts at you. These blasts are highly damaging and move very quickly, but dont track once they have been fired, so you should be able to avoid them if sprinting/dodging directly away once it is fired. You can see when you are being targeted when the light shining from the Tower’s mouth is shining on you.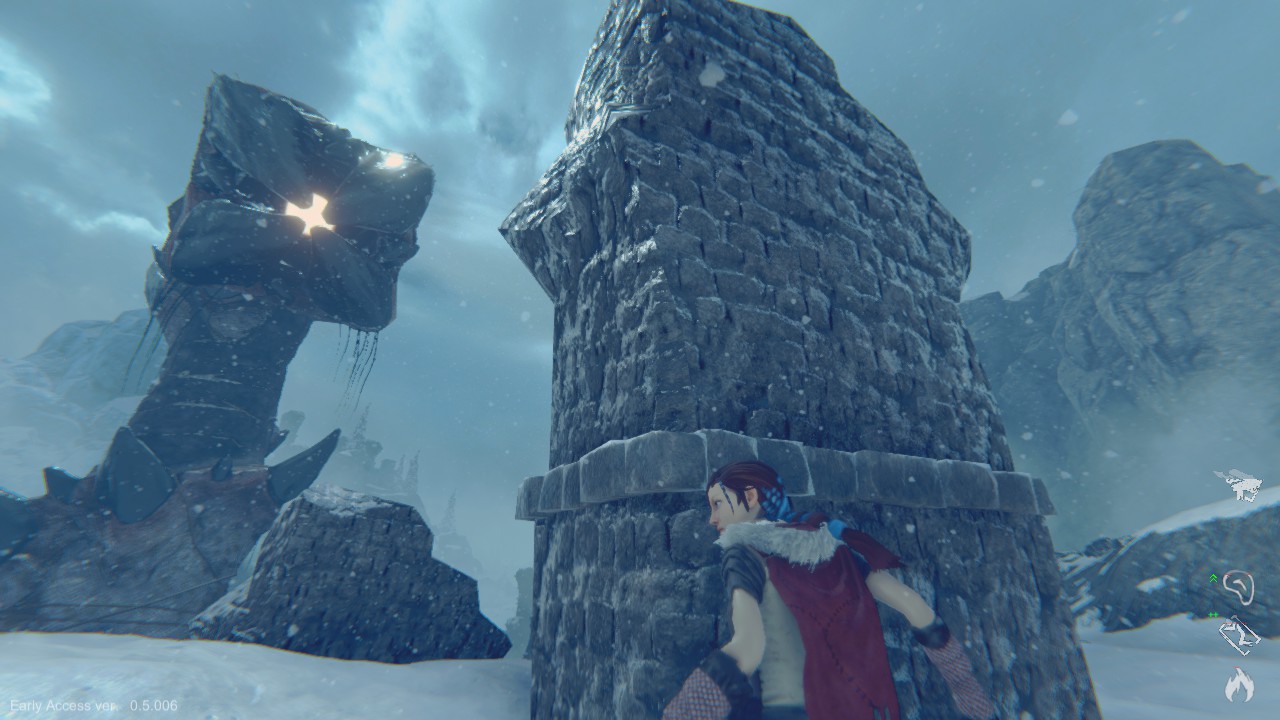
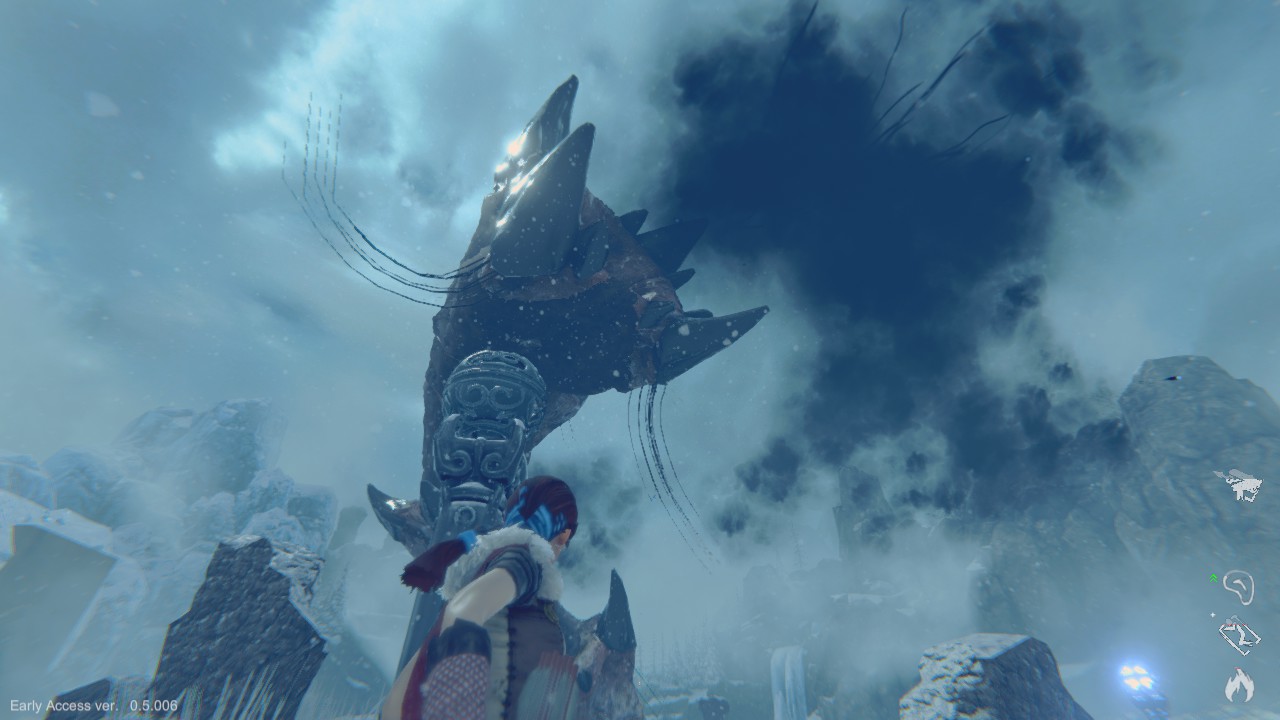 Sometimes the Tower will also spin its head around in a circle, spewing out a putrid-looking black fog, which also spawns many small blue orbs that travel towards your position. They will damage you on contact, so try to keep away from them. There is only really one way to get up onto the Tower and defeat it. You have to run around the circular arena and step on three pressure plates to raise several orbs from the ground. Keep still on the pressure plate and the Tower will fire at you, directly hitting and lighting up the orb that you just raised. Do this for all three orbs around the arena, and you will be able to activate the large pressure plate at the back of the arena, with will briefly stun the Tower, causing it to fall down with its mouth in the water.
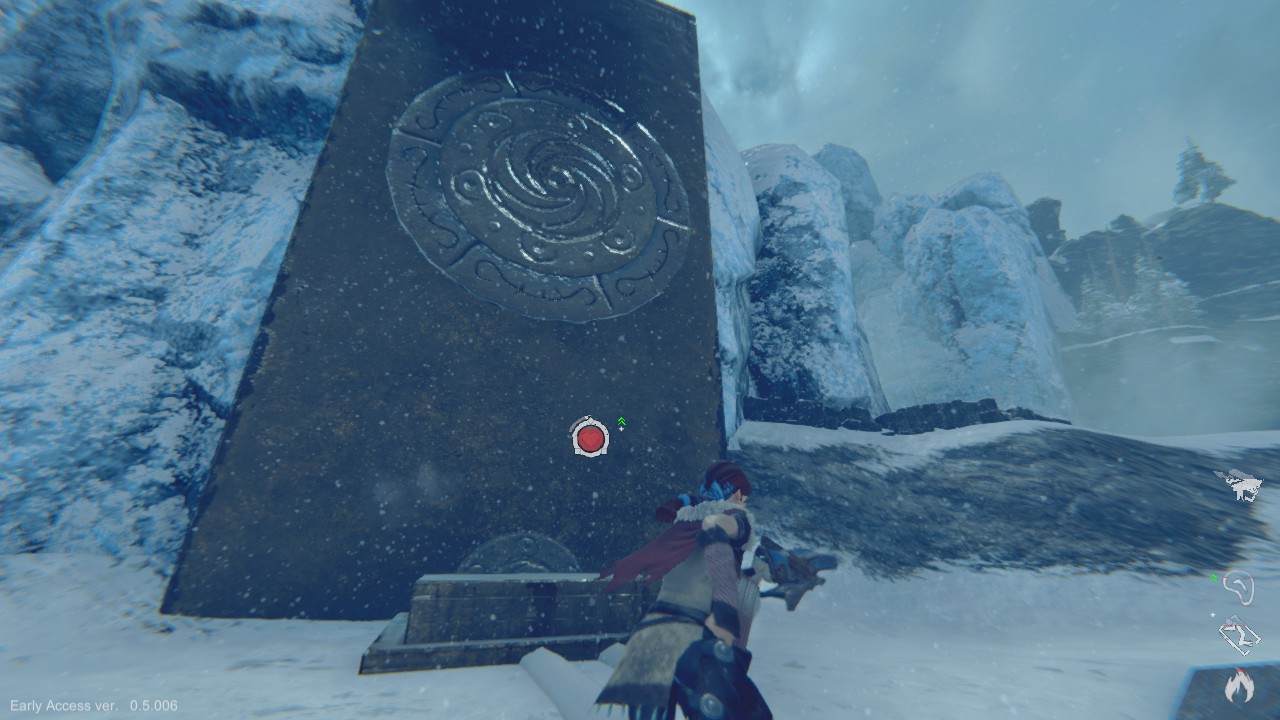
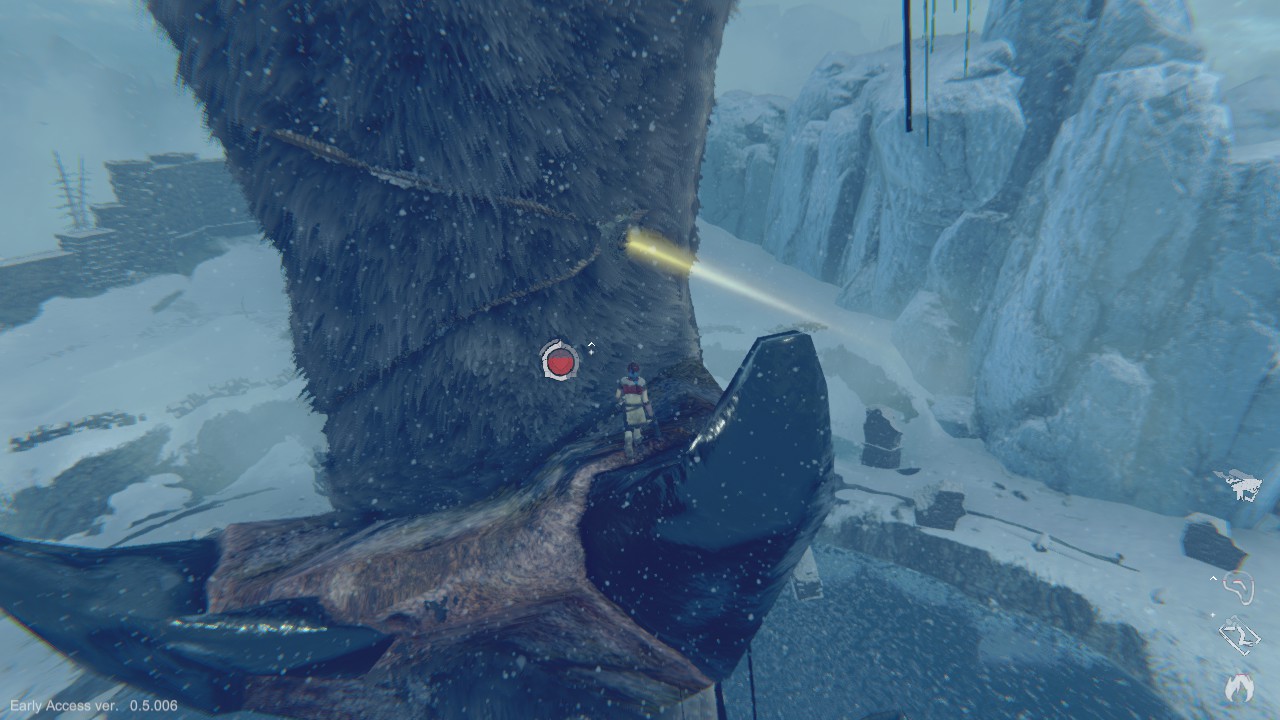
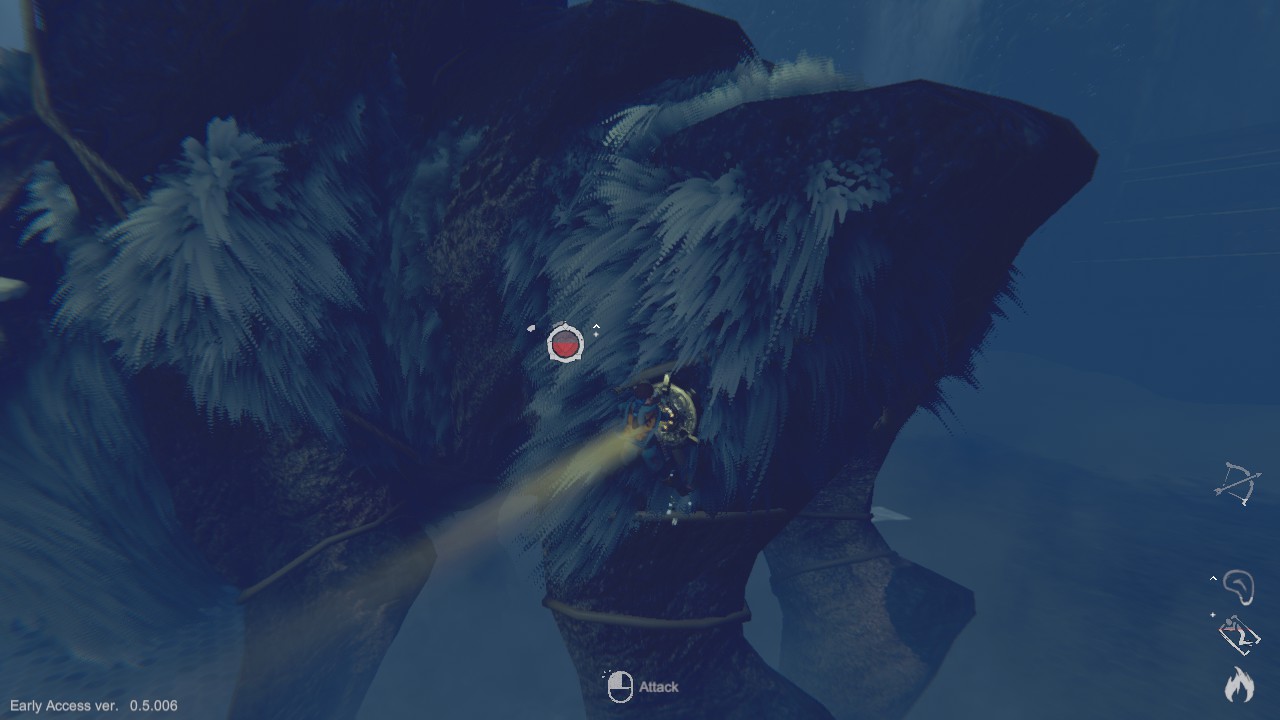
 Use your Sail Cloth to try and glide over as much of the freezing cold water as you can, then swim over to the Tower. You can climb up onto it here, and as you do it will raise back up into the air, allowing you to climb down and reach its three sigils. They are moslty around the middle area of The Tower and are not hard to find, if you have trouble, jump down onto the protruding spike-platforms (which you can stand on, allowing you to restore your stamina), you can usually see the sigils from these platforms. The Tower will shake periodically as you climb it, and will shake every time you attack a sigil. It can still perform its black fog attack whilst you are climbing on it, and the blue orbs will float down towards you and stick to its fur, which can be a hazard whilst climbing. If one is coming towards you, either drop down to a lower platform or leap forwards away from it to avoid taking the damage.
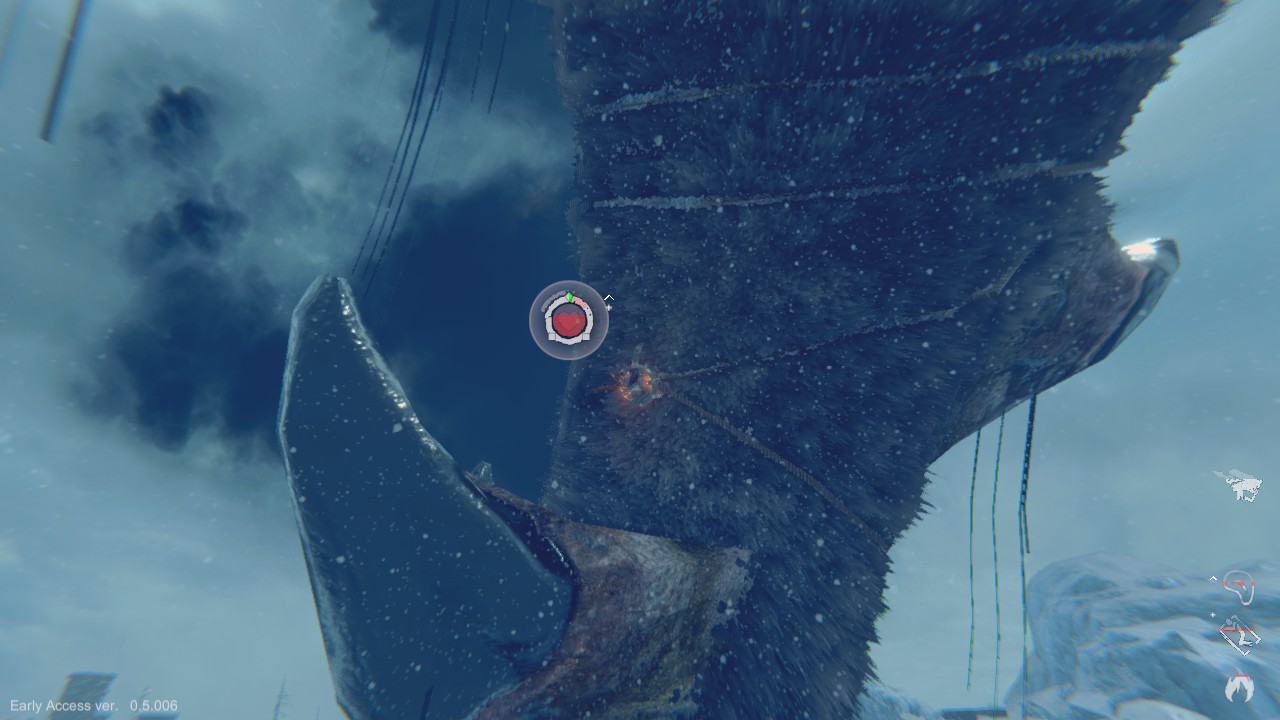
 Once you have attacked all three sigils three times each, the Tower will be defeated and a cutscene will play, after which you will be taken back to the Temple.
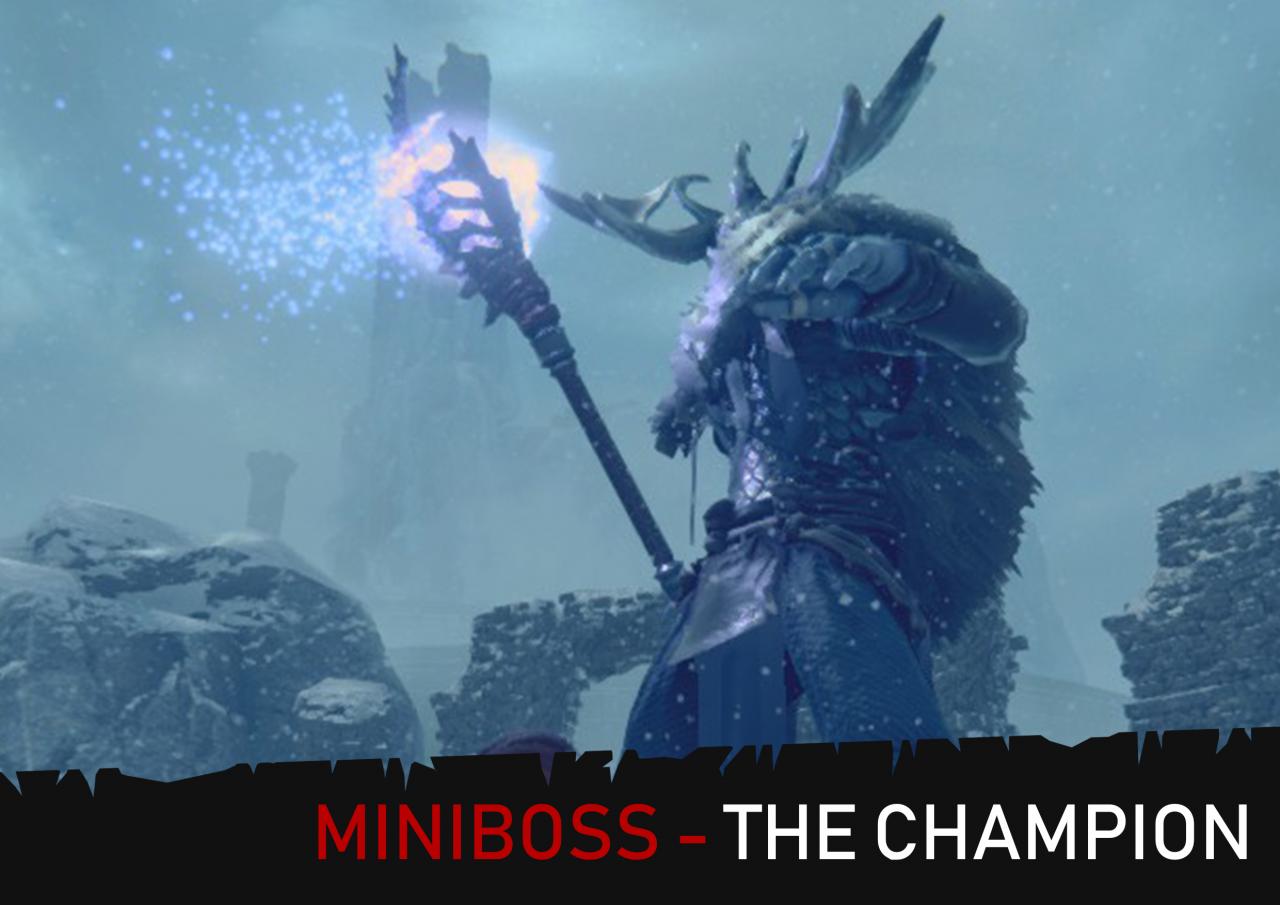
Miniboss – The Champion
 SIGILS: Back
GRAPPLE POINTS: None
ITEMS REQUIRED: None (Grappling Hook or Melee Weapons recommended)
DROPS: Champion’s Sword, Large Health Potion, Bedroll, Small Health Potion, Wooden Arrows, Warmth Potion, Lots of Resources
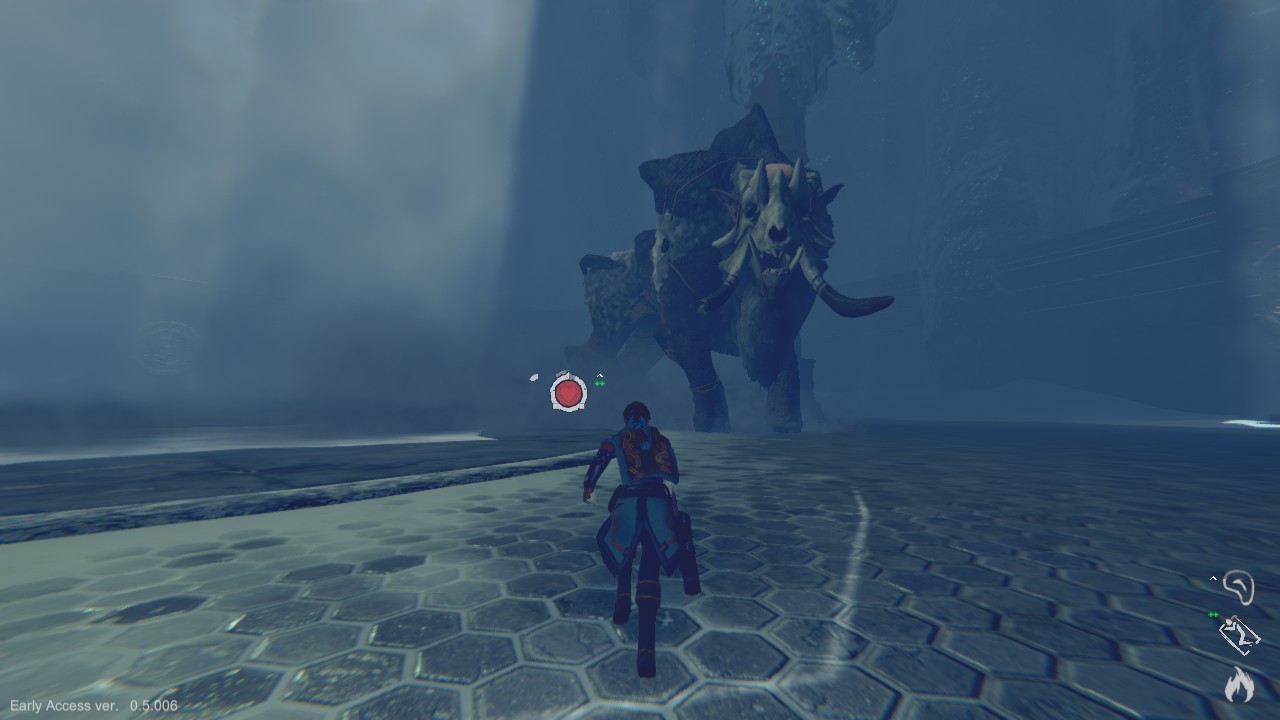
The Champion is a large enemy that can be encountered in the world that serves as a sort of miniboss. They have a single sigil on their back and are much deadlier than normal enemies. They weild a staff-like weapon that can be used to deal heavy strikes up close and fire off magic projectiles from long range. Their close range strikes can be difficult to dodge and deal a huge amount of damage. The best way of doing so is to dodge backwards, dodging past its legs to stop just behind them, or even between its legs, though this is riskier because you can be knocked down briefly by its legs as it steps forward. The Champion can also raise its weapon high above its head, charging up and creating several particle effects, before bringing it down hard to the ground with a large and highly damaging impact, which will leave you close to death even at full health.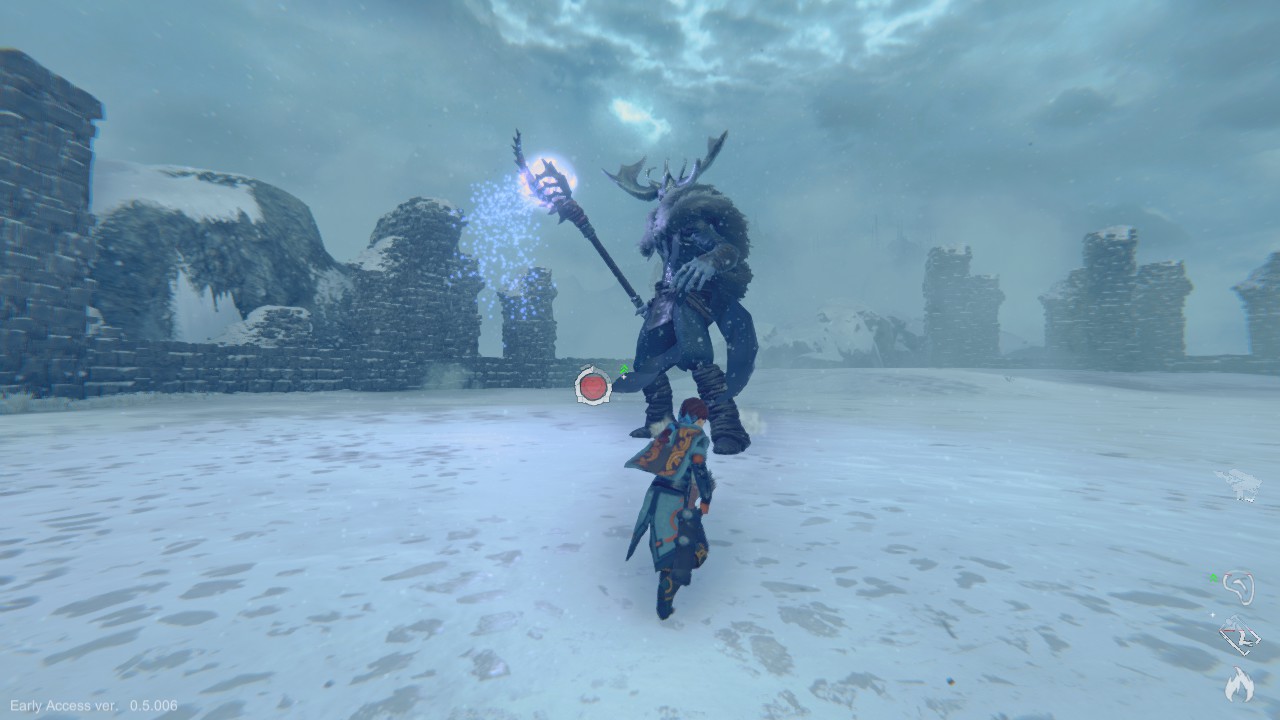
 The Champion has a single sigil on its fur-covered back, and can be very hard to reach. You wont be able to jump up from the ground to grab onto it right away. There are two ways for you to reach this sigil. The first and less resource-heavy, is to to draw it towards the edges of its circular arena, wait for it to raise its weapon to strike, then use your Grappling Hook to grapple up to the top of the stone structures. Climb up as quickly as you can and stand as far away from the edge as you can, because the Champion will fire off two energy blasts in quick succession from its staff, these blasts have a decent area of effect when they impact, so you can be damaged and blasted off the wall from an energy blast. Stand here for a short time, and the Champion will start looking around for you as it loses sight of you.
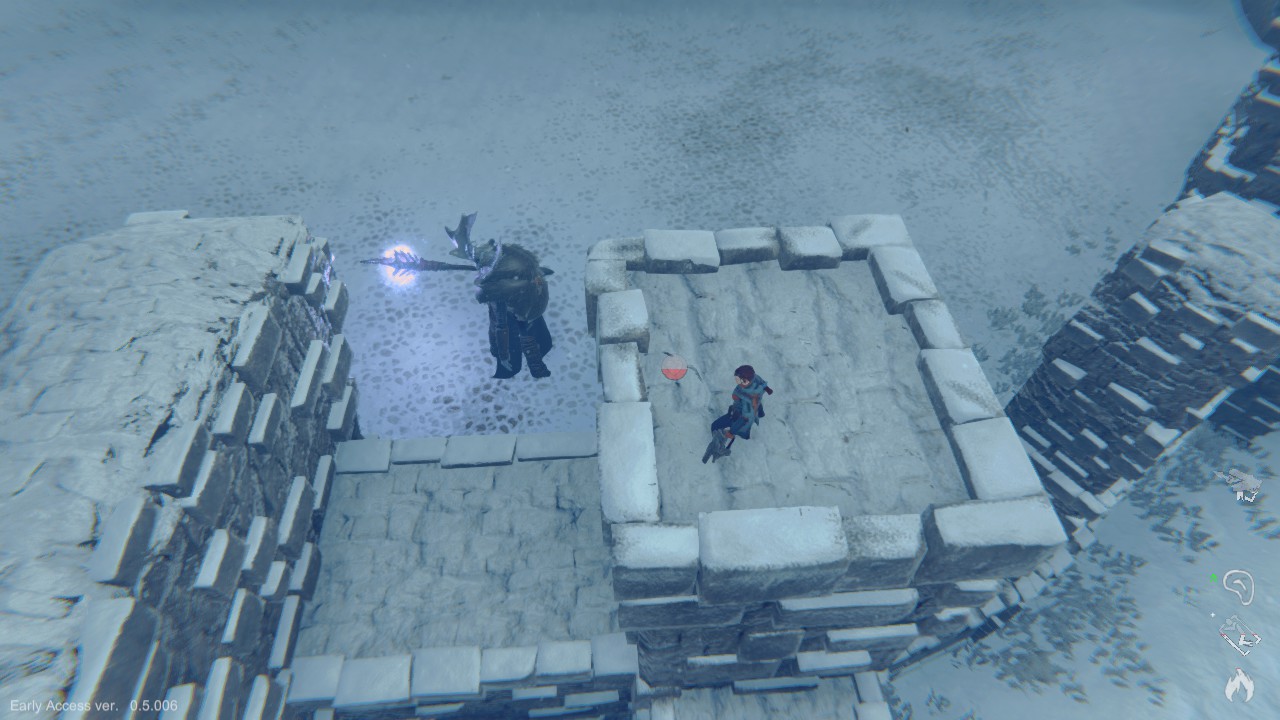
 After it has looked around, it will turn away from the edges of the arena and walk back to his starting position. As soon as it turns, jump off from the stone structures and use the Sail Cloth to glide over and grab onto the back of the Champion. The second, more resource-heavy way to deal with the Champion, is to attack its legs. You can do those with either Arrows or Melee Weapons, but Melee Weapons are more effective. It can take quite a lot of damage to knock down the Champion, but after you beat it down enough, it will fall down to its knees for a brief time, allowing you to jump up onto its back and reach the Sigil. For reference on how much time this takes, it takes about two full-durability Torches to knock it down to its knees, and remember – it takes three attacks on the Sigil to defeat it.
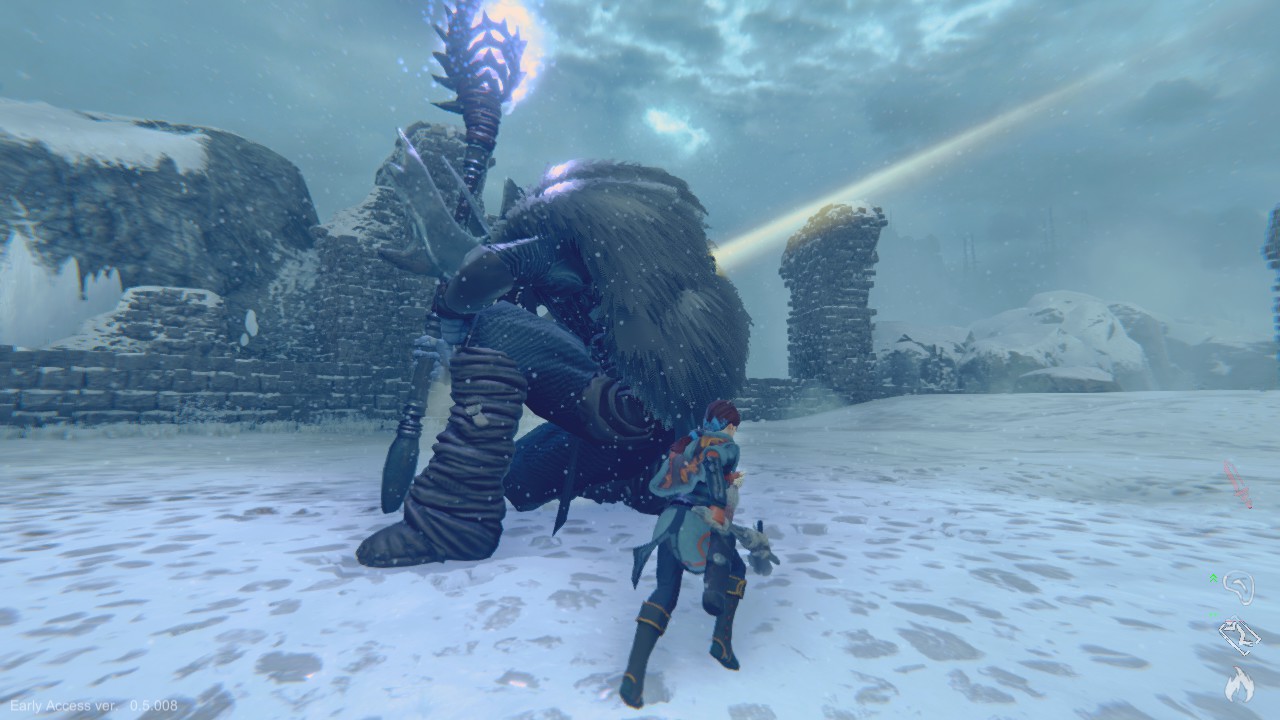
 Once you are climbing on its back, the Champion will try and shake you off very frequently, but will eventually start its charge-up slam attack. As soon as it stops trying to shake you off, quickly attack the Sigil and press [F] to drop off of its back and run directly away from it as fast as you can, so you don’t get caught in the area of effect of the attack. You’ll need to do this three times to bring down the Champion, but will be rewarded with a huge amount of items and resources for doing so.
Boss III – The Boar
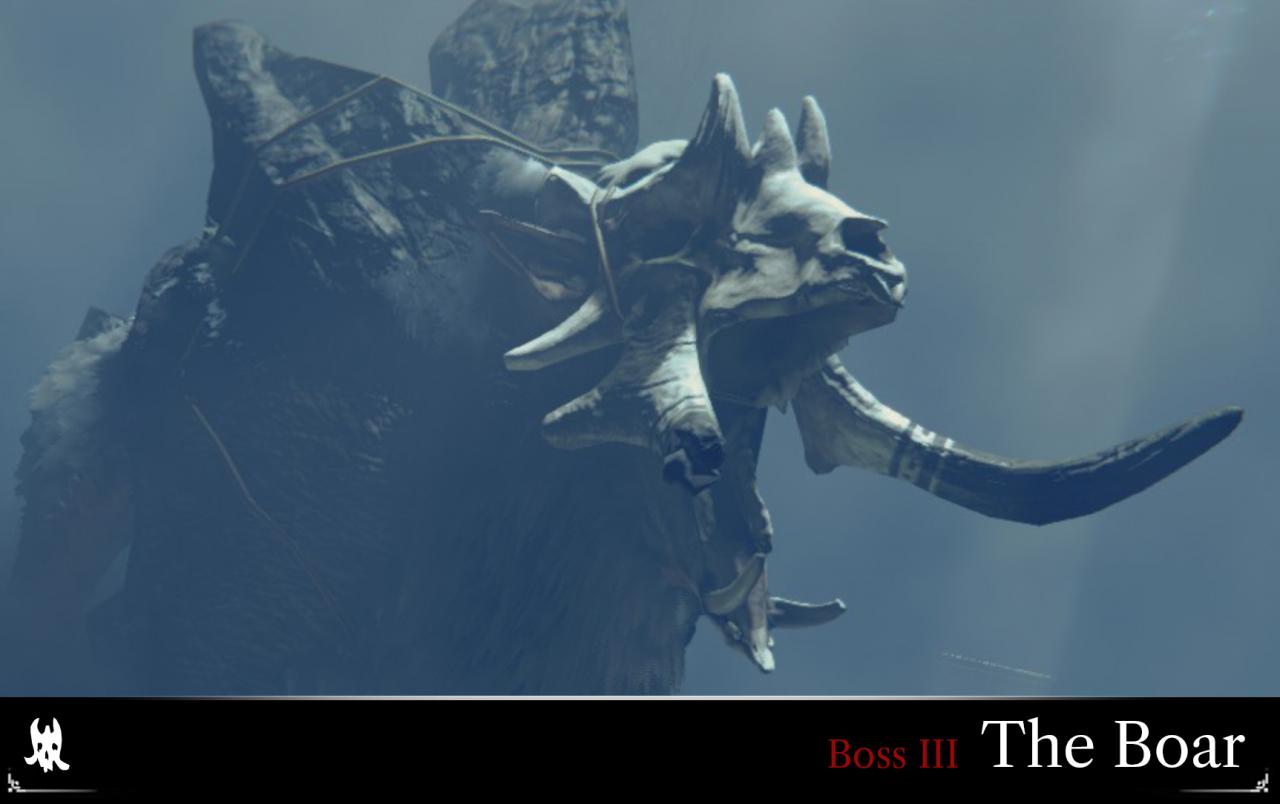
 SIGILS: Chest. Rear Leg (Left), Shoulder (Right), Top of Head
GRAPPLE POINTS: None
ITEMS REQUIRED: None
< Insert fancy graphic here >

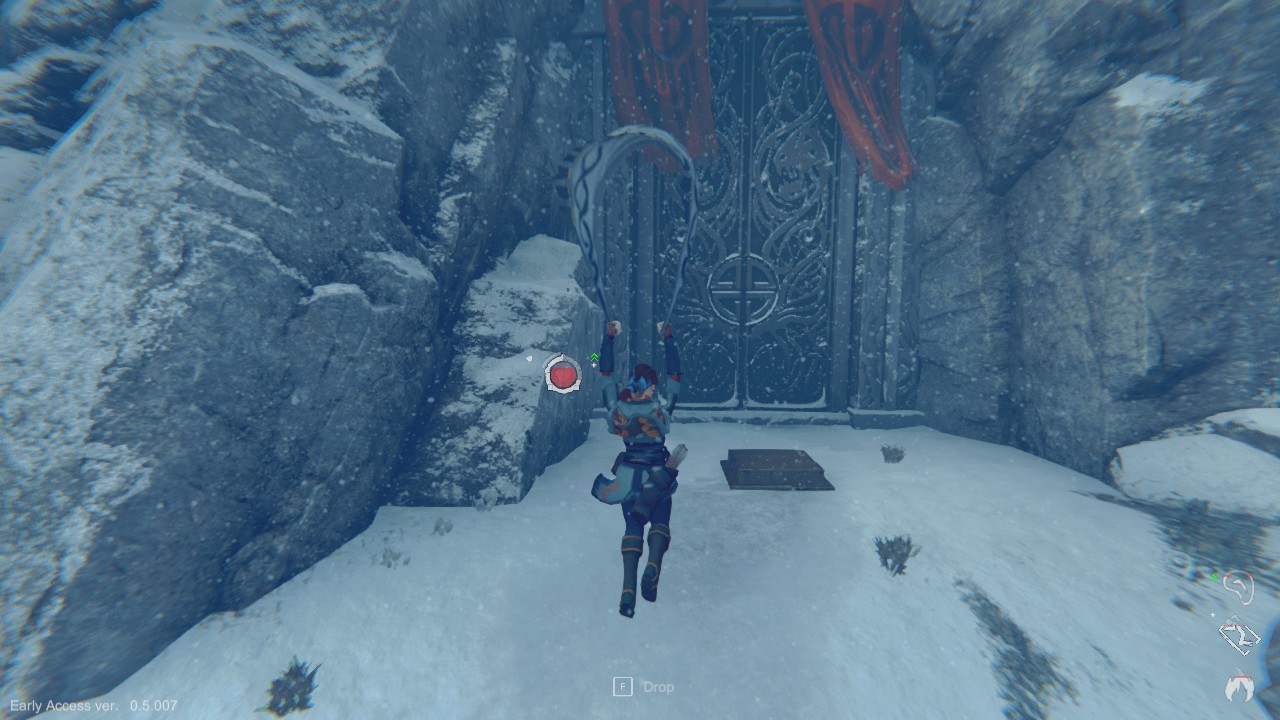
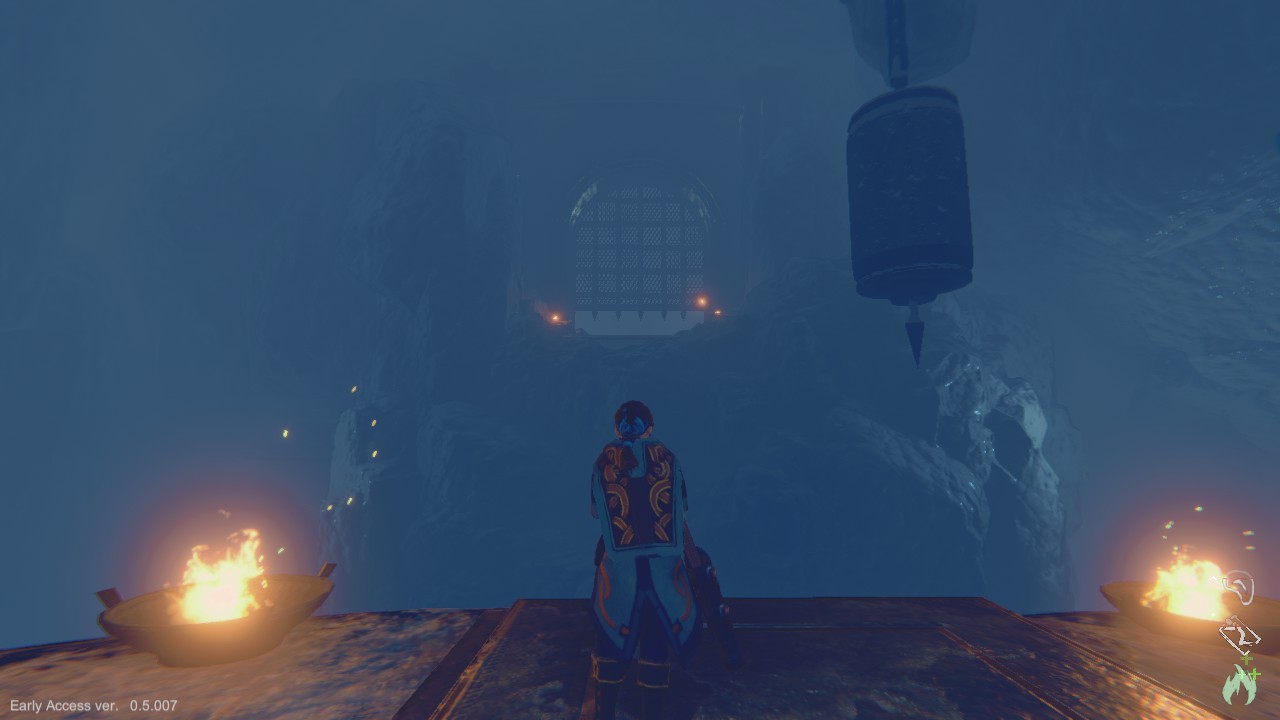
“The Boar” is found deep within a cave that you’ll need to use a Grappling Hook to access. Approach the massive stone door at the entrance and stand on the pressure plate to open it, enter through the opening and continue through into the large and open cave. You’ll reach an area with another pressure plate which activates two counter-weights, which also open the gate on the other side of an abyss. You’ll need to grapple onto the top of one of these counter-weights whilst it is high up and the gate is still open, then use the Sail Cloth to travel under the gate, once you do, a cutscene will play and the boss battle will begin.

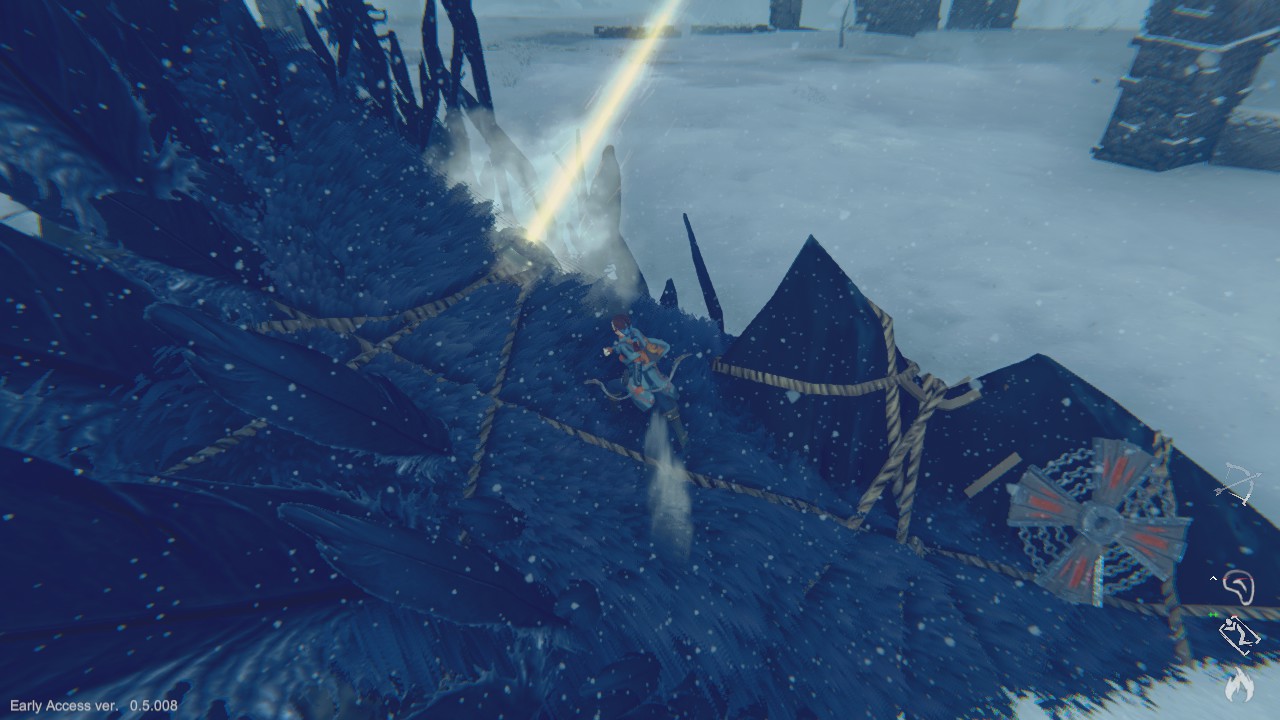
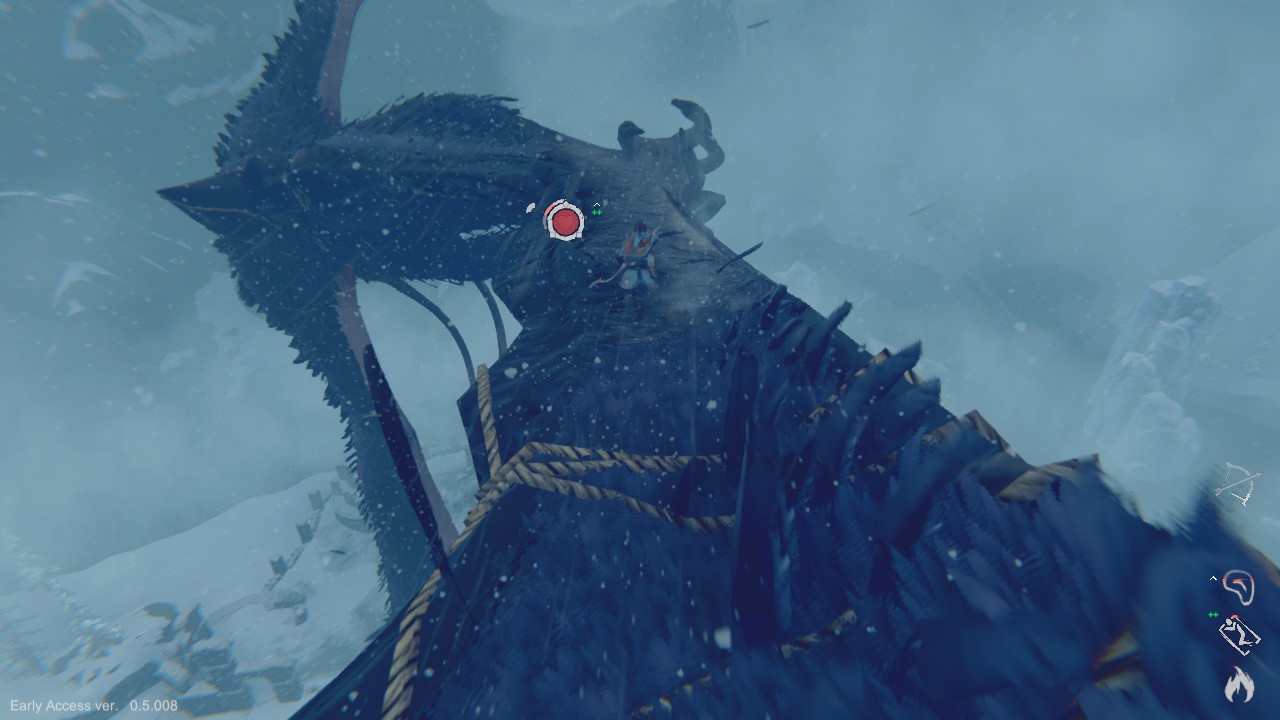
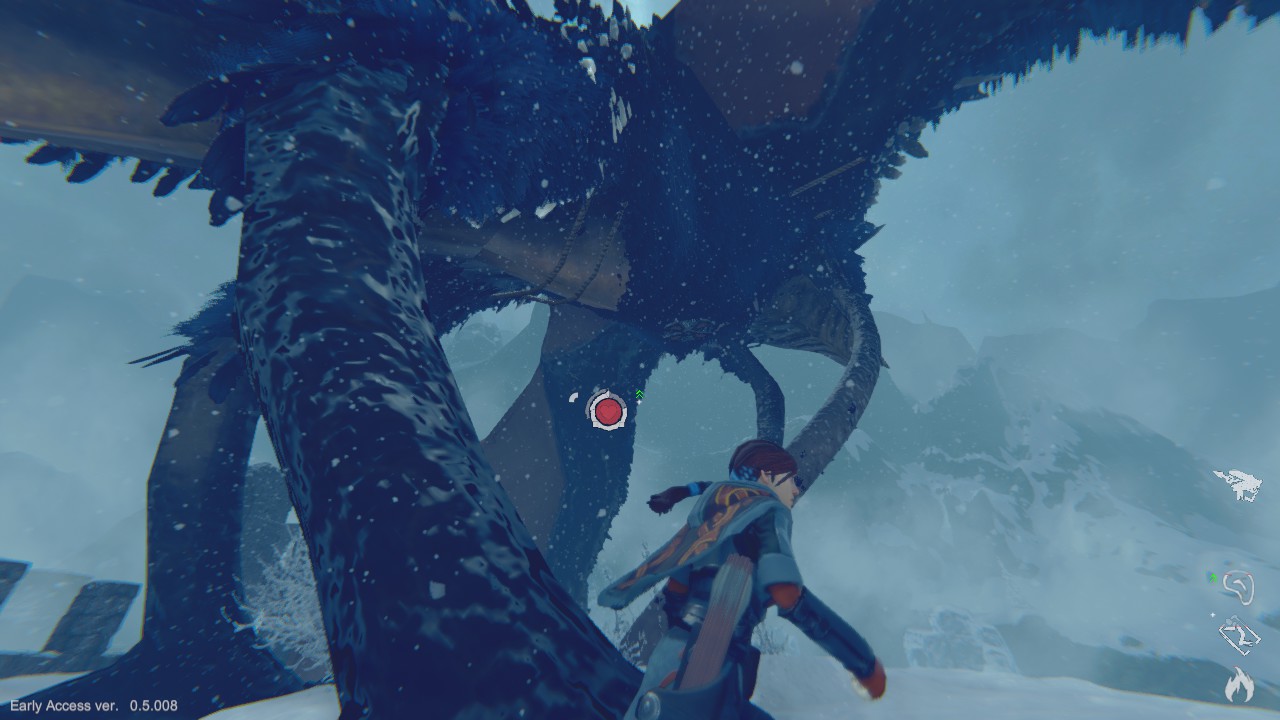
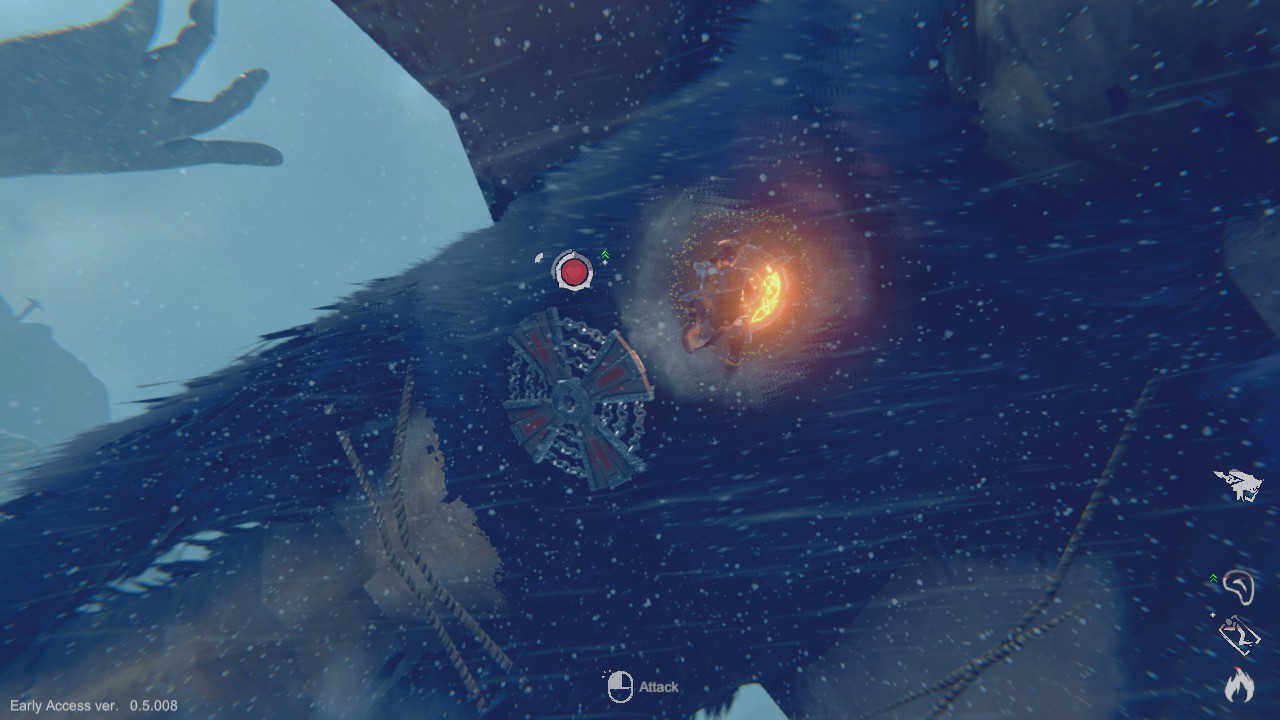
Boss IV – The Dreki
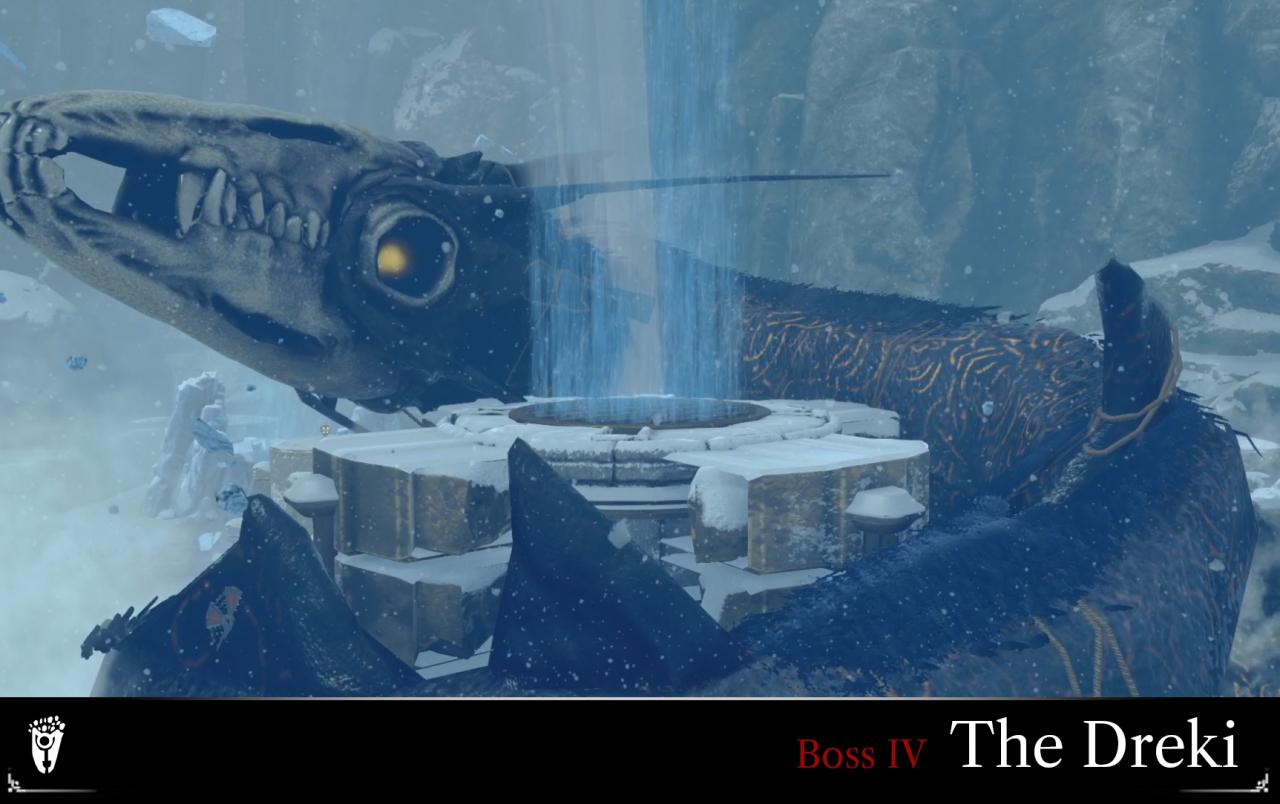 SIGILS: Head, Top of Neck, Tail, Mid-section (hidden underneath chain section)
GRAPPLE POINTS: Multiple, confirmation needed
ITEMS REQUIRED: Grappling Hook, Melee Weapon recommended
< Insert fancy graphic here >
< Insert map here >
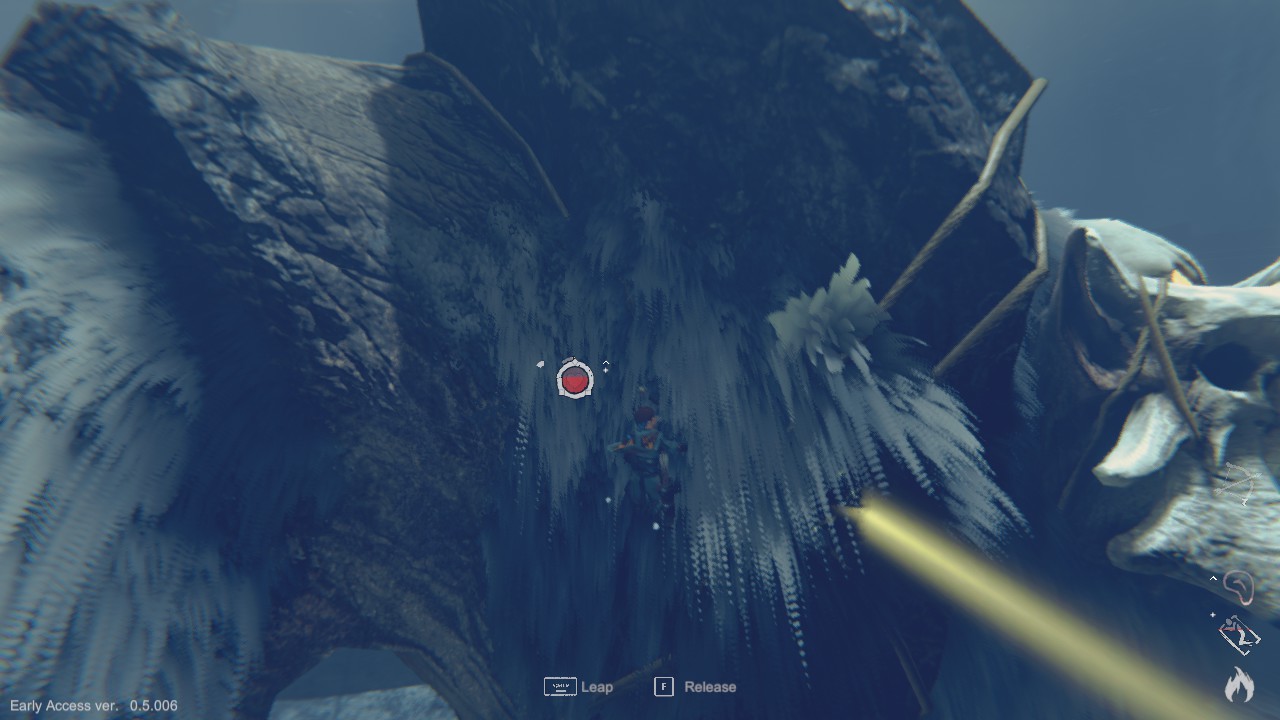
The path to the Dreki’s icy area can be found just east of the Devourer’s lake, through an area with deep snow and heavy vegetation, populated with several Deer. Run through the door-shaped hole in the blue ice and you’ll be able to continue down a short, narrow area that introduces you to the Dreki’s chain-shifting mechanics. Theres no way to get lost here, and the only way to go will lead you straight to the boss area.

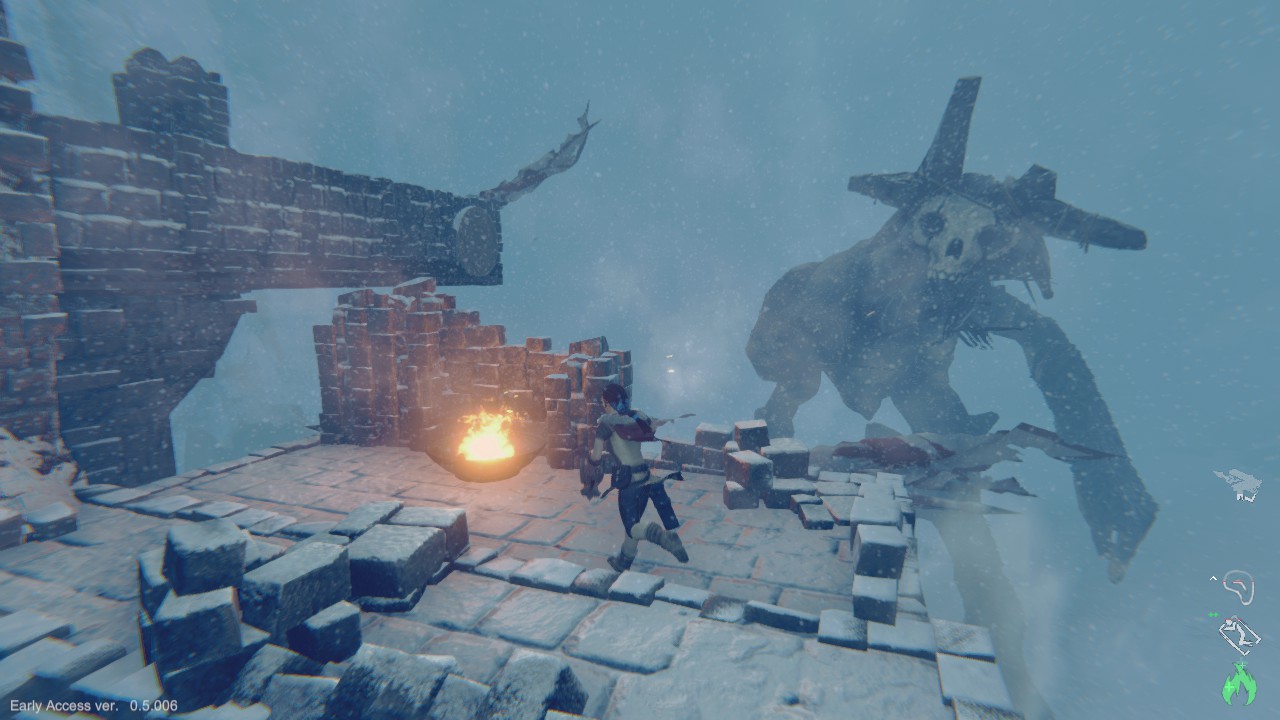
Boss V – Yeti
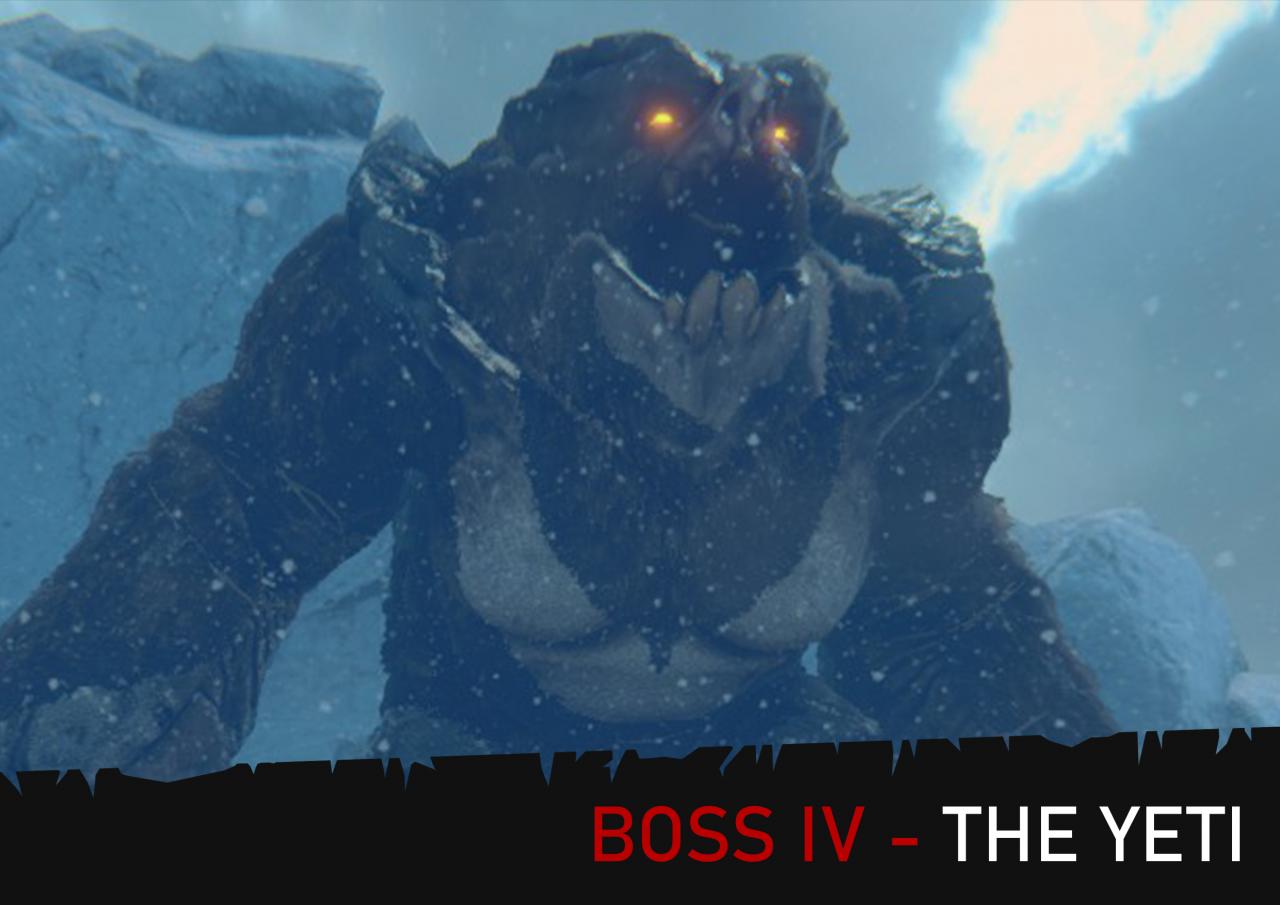 SIGILS: Top of Head, Arm (Left), Arm (Right)
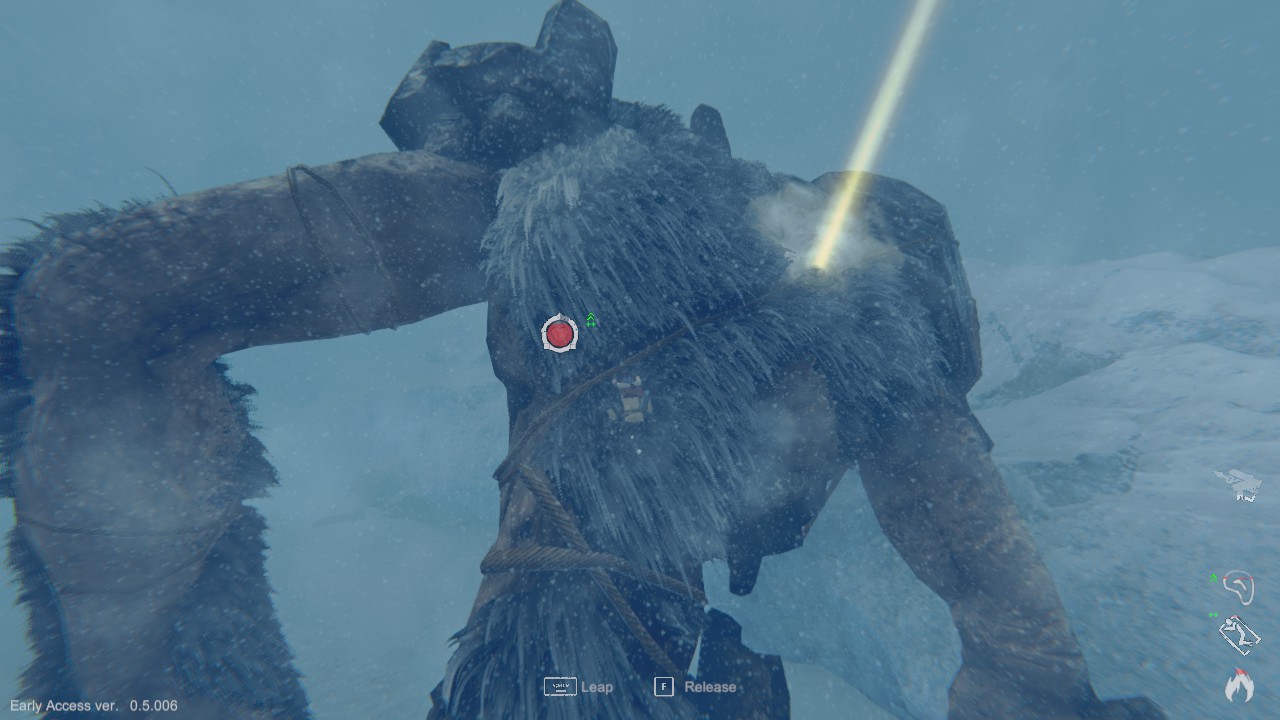
GRAPPLE POINTS: Upper Back (Left)
ITEMS REQUIRED: None – Bow, Wooden Arrows and Grappling Hook highly recommended
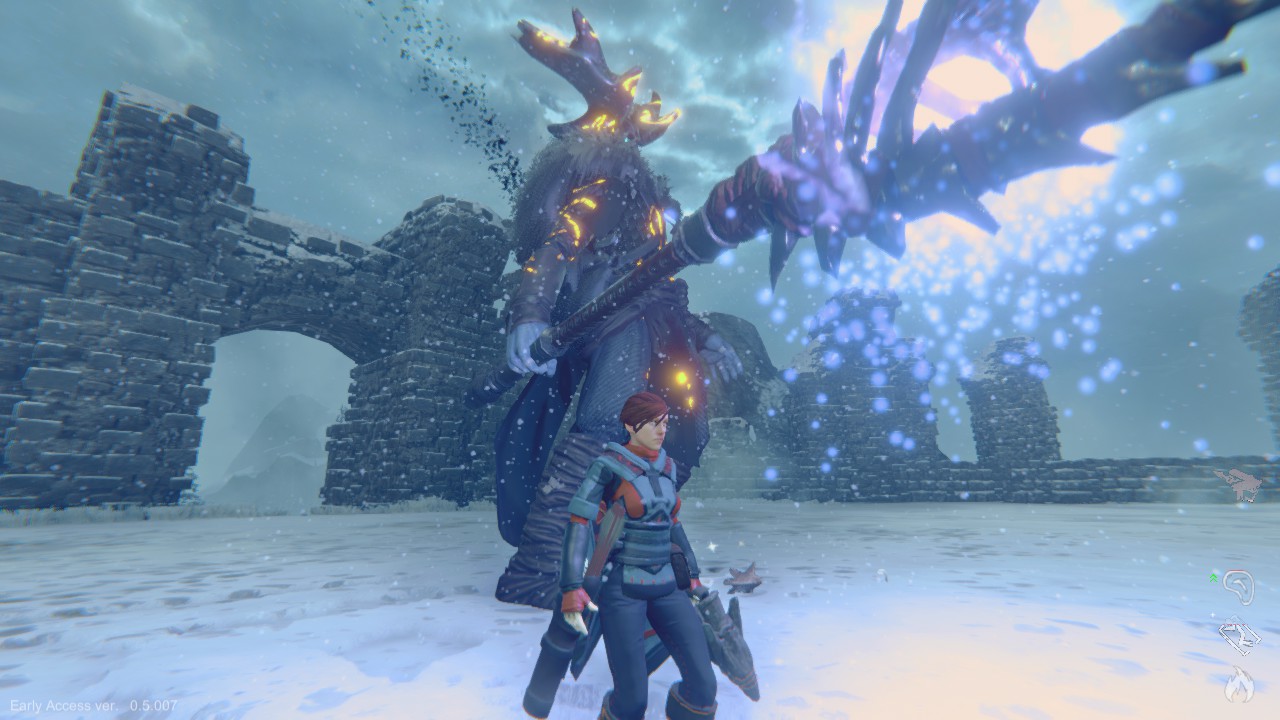
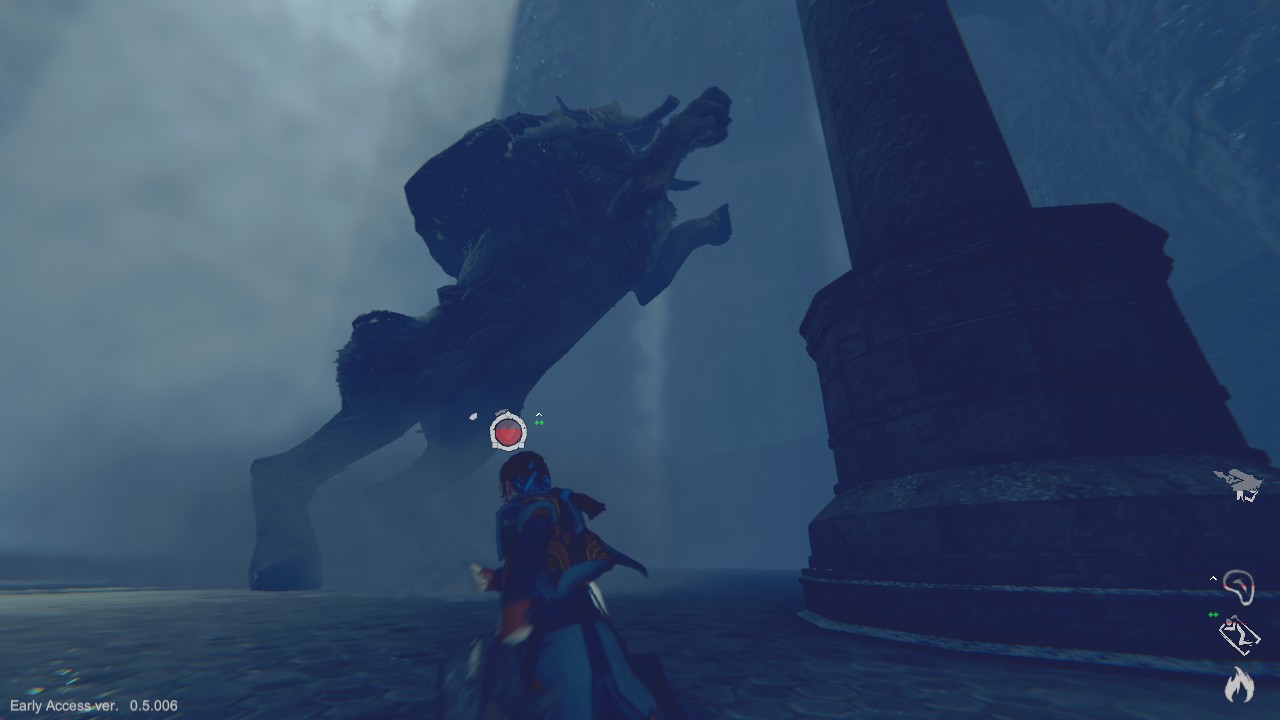
When you approach its arena, the Yeti will crash through the massive stone structure to the left, sending rubble and particle effects flying, and throwing you right into the battle. There are a lot of ways to get onto the Yeti. The most difficult way to do this is to bait out its fist slam attack, in which it will brings its fist down hard onto the ground, creating a highly damaging area-of-effect shockwave. If you position yourself just right to avoid the damage, it is possible to grab onto its arm and climb up it from there, but is extremely difficult to do so as it will only remain close to the ground for about a second, because of how damaging the attack itself is, this isn’t really the best way to go about getting onto the boss. The Yeti also has a Grapple Point on its left shoulder that you can grapple to if you manage to get up on a tall enough stone structure before it is destroyed by the boss.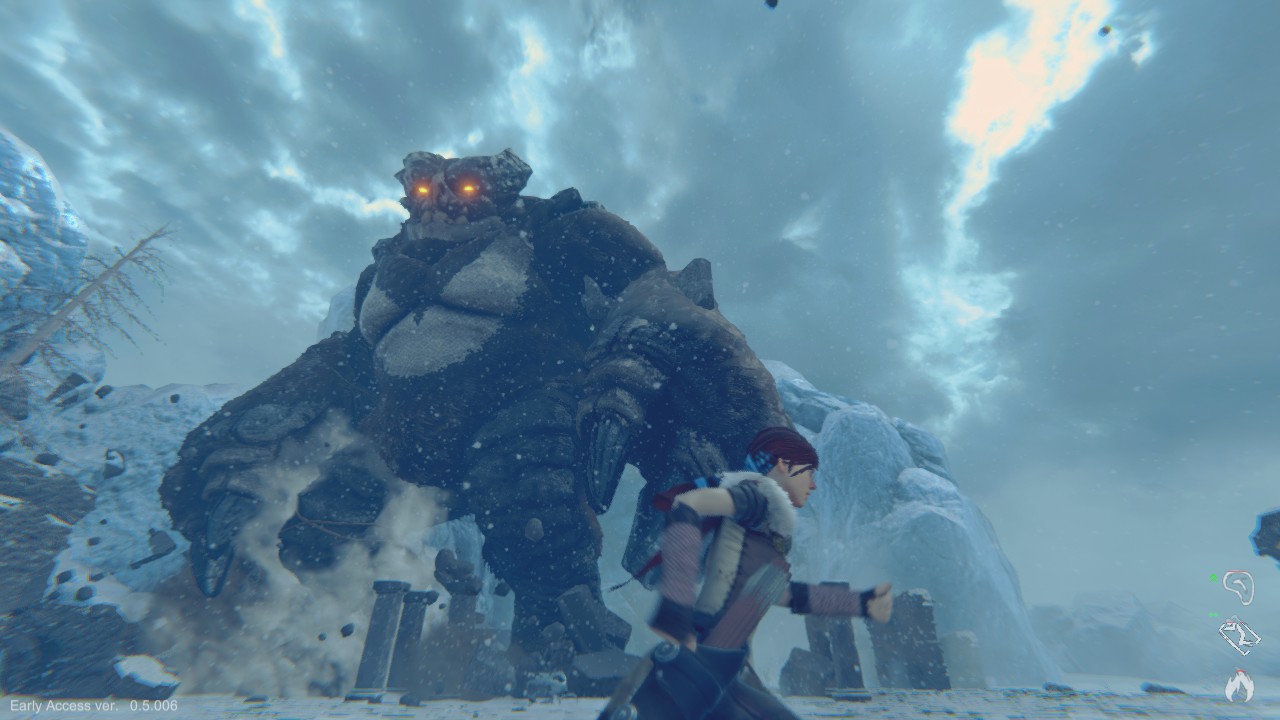
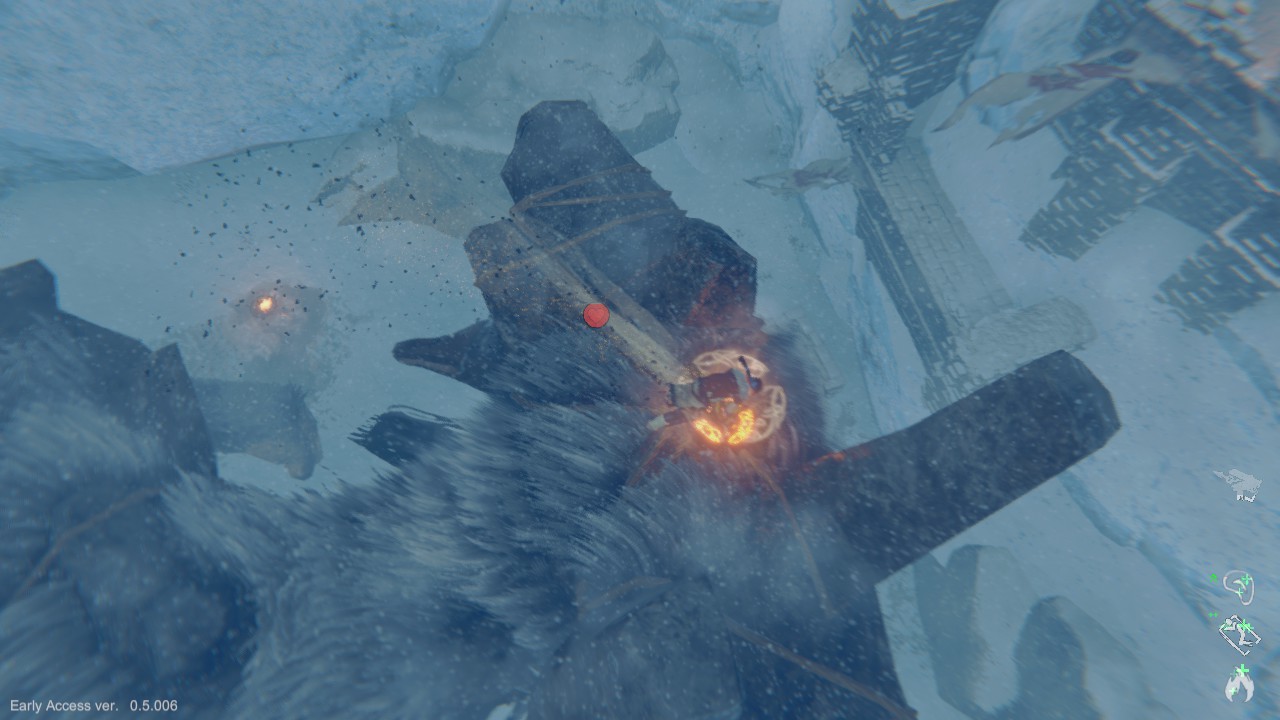
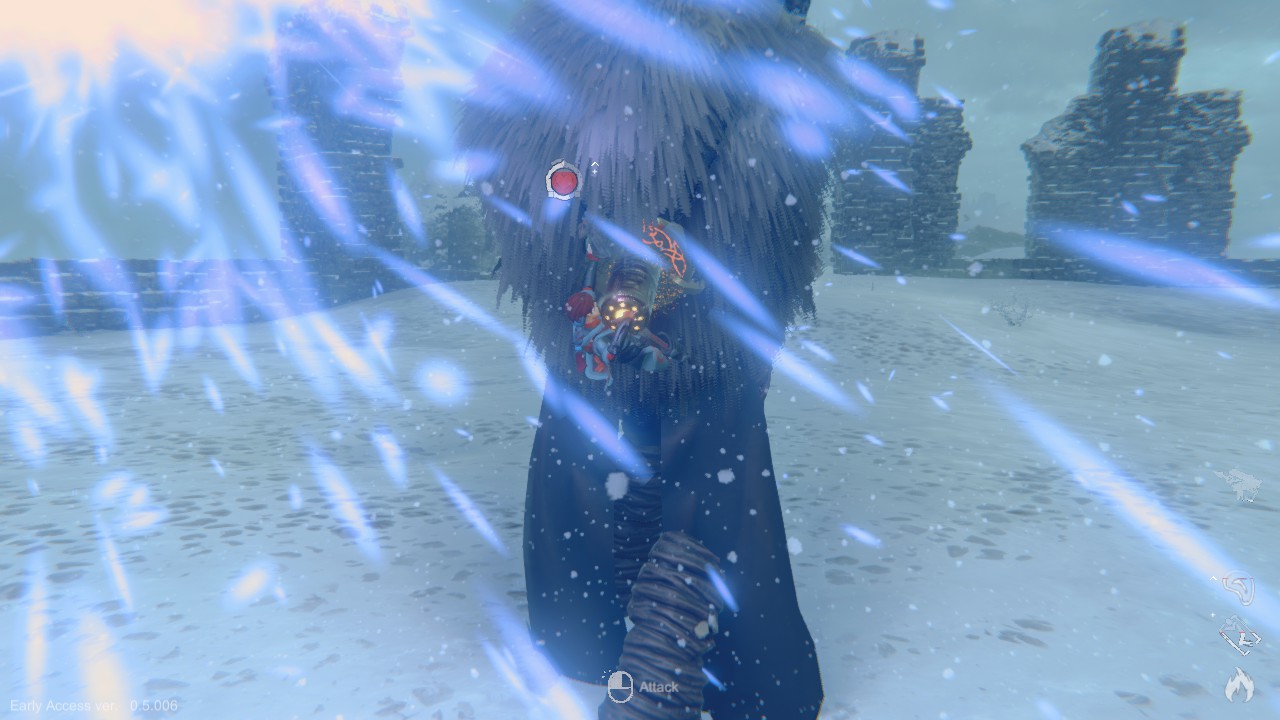
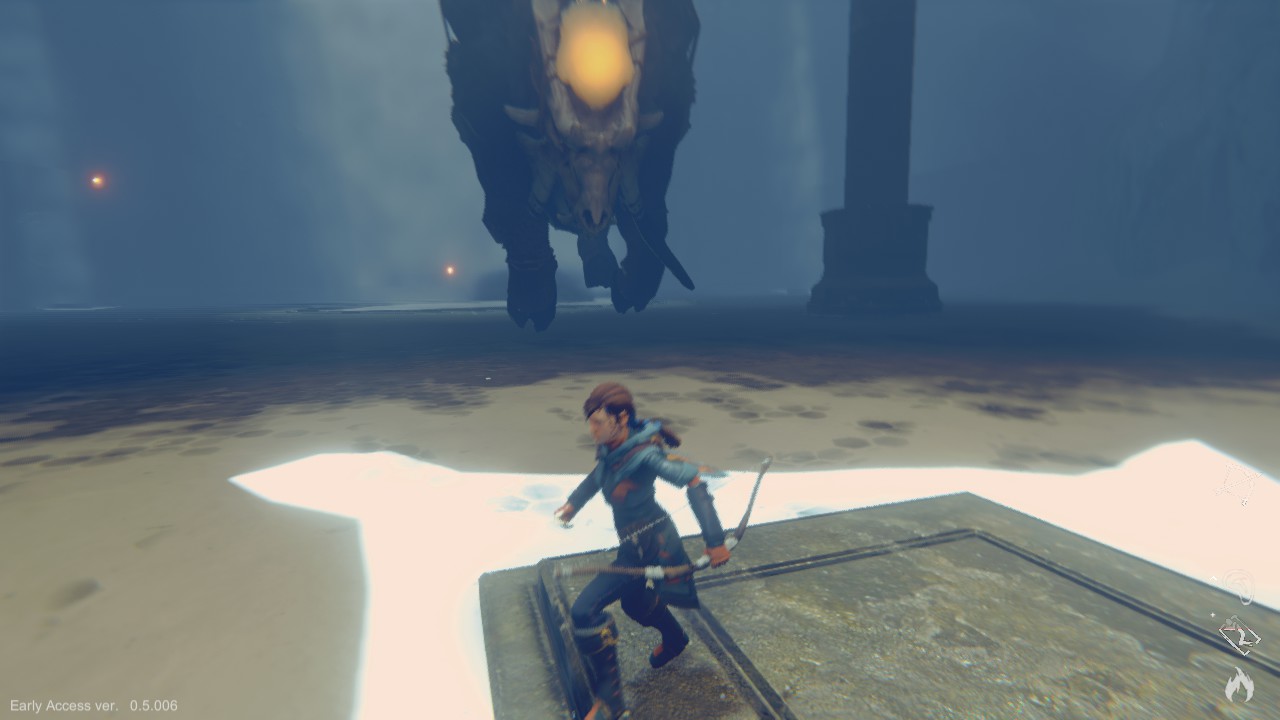
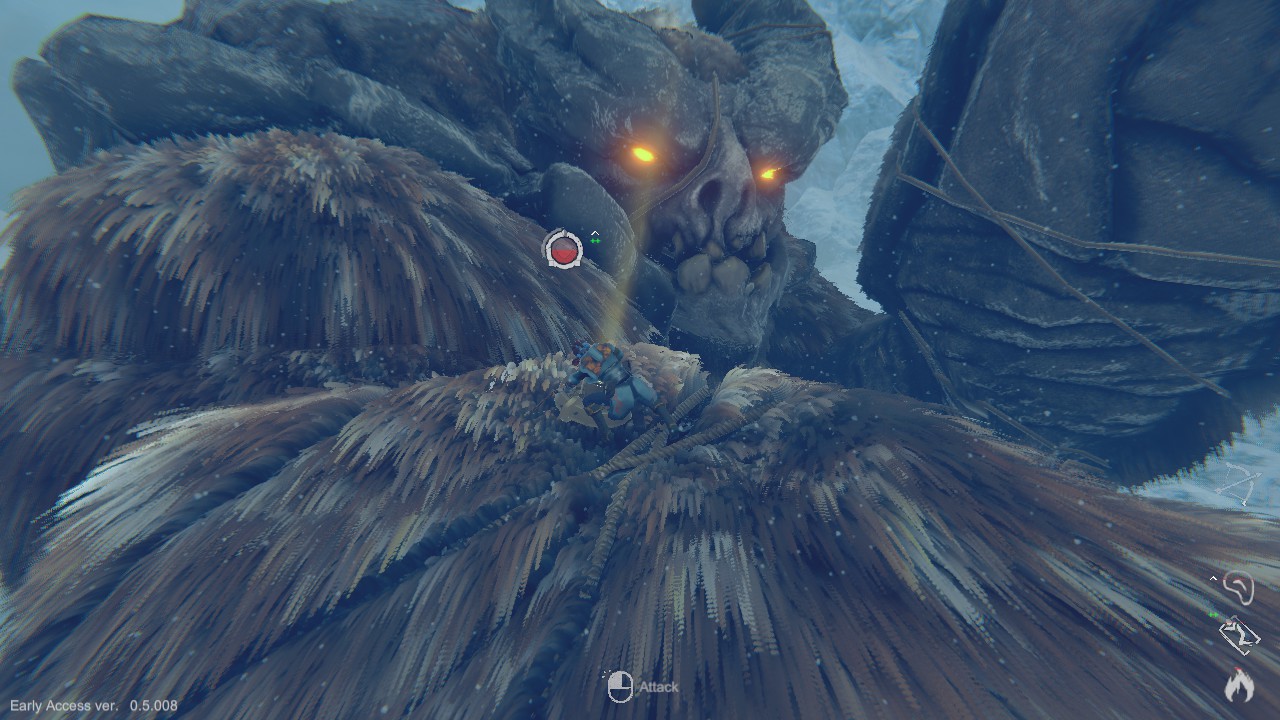
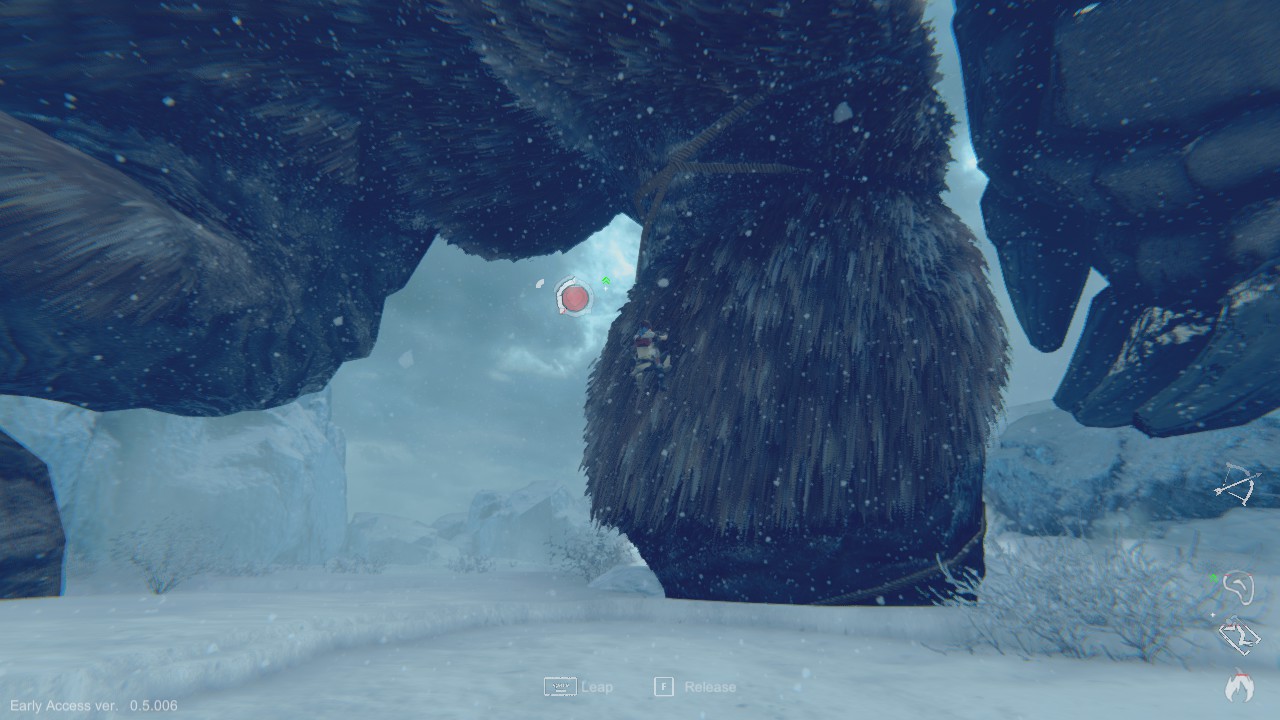 The safest and most reliable way to get onto the boss is to lead it to the deep snow that borders the arena, and bait out its stomp attack. Lead it onto the deep snow and when it is a good way into it, you’ll want to run around its feed to tempt it into performing this attack, be careful though, as the force of its feet impacting the ground as it moves is enough to knock you down or damage you if you are too close. Once the Yeti stomps on the deep snow, its foot will sink down into it for a moment, allowing you to reach the climbable area on the back of its leg. Ensure you have a good amount of stamina, then jump up onto this and climb up towards the base of its back. There is a rocky protrusion there that you can stand on to regain stamina, but you won’t be able to stand there for long, and you probably won’t be able to climb all the way up its back (though it IS certainly possible), as it will reach behind itself and grab you between its fingers. Don’t worry though, as long as you have a Bow and a few arrows – this is exactly what we want to happen. The Yeti will hold you up high above it and open its mouth ready to drop and swallow you whole. You can equip and use your bow from this position, with this you’ll want to aim for either one of its glowing orange eyes and fire an arrow into it, doing so will cause the Yeti to reel in pain for a moment and drop you, landing you onto its back. If you don’t manage to hit it in the eye however, you will be killed instantly as it drops you into its mouth, devoured whole.
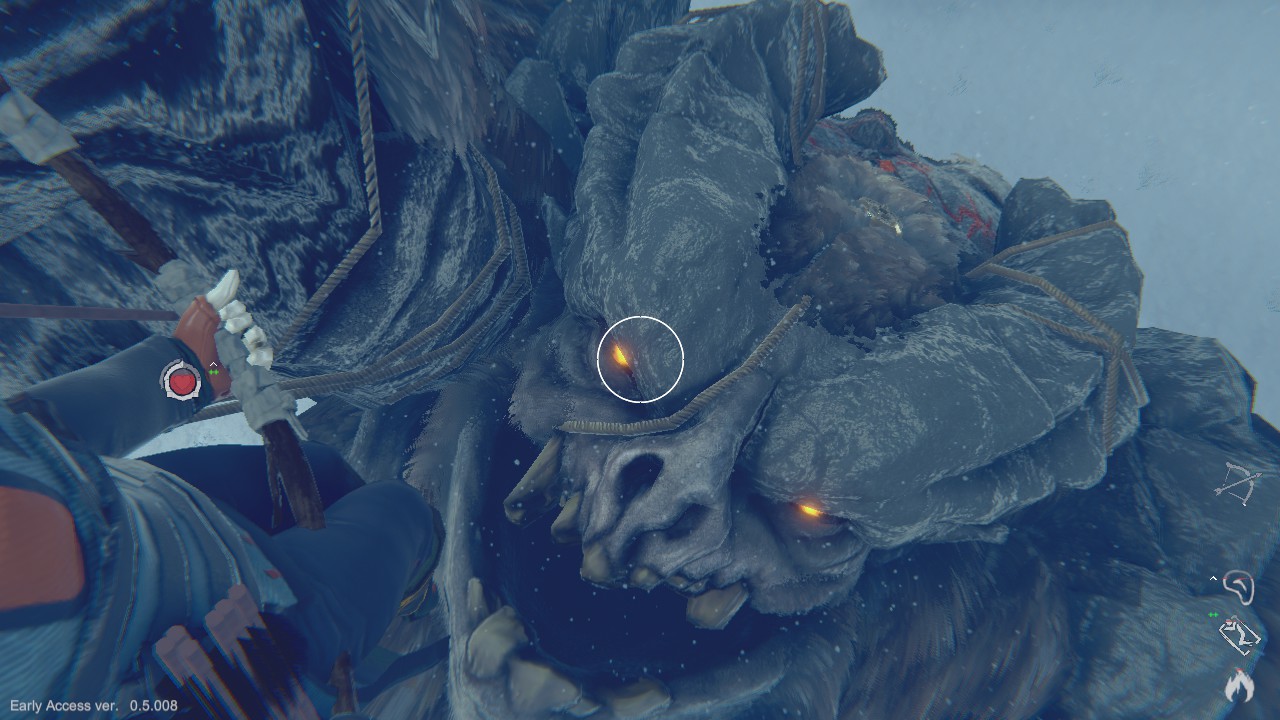
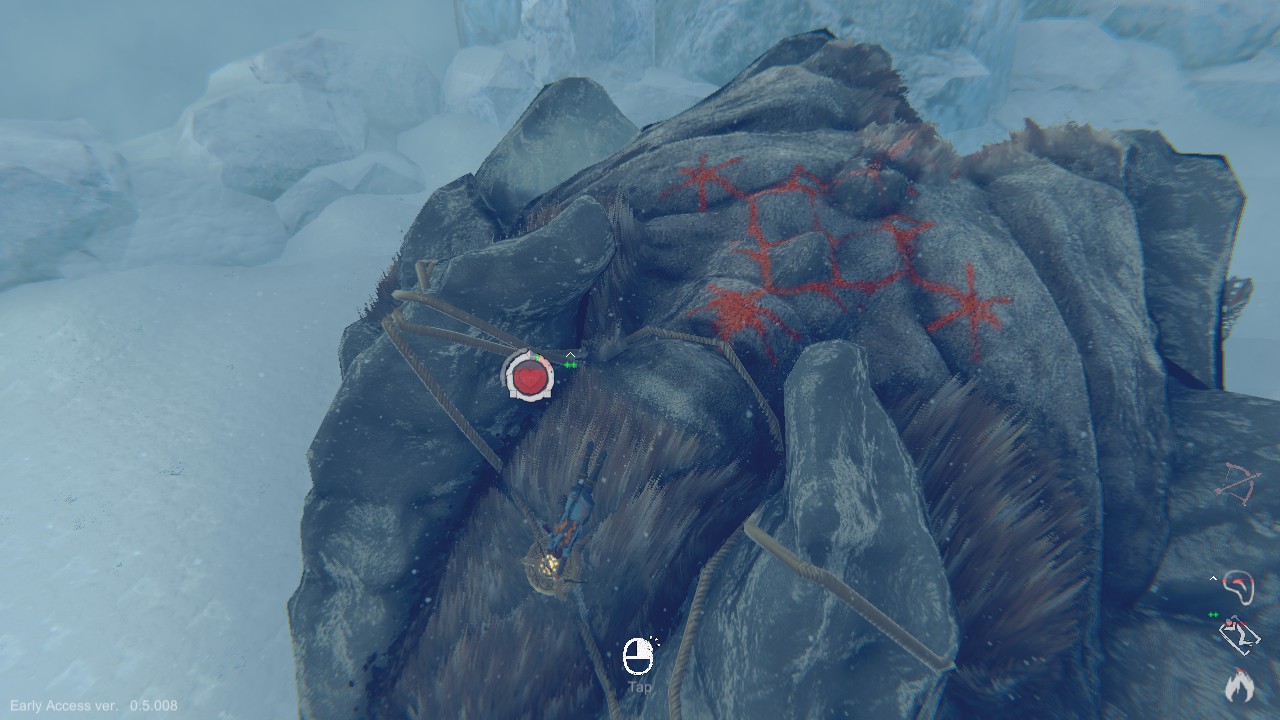 From here, you are in a great position to go and attack the Sigil positioned on the top of the Yeti’s head. This is a fairly simple one to attack, and the Yeti will attempt to shake you off each time you do so. Once you’ve attacked it three times, you can stand on the Yeti’s shoulders to regain your stamina (use the Grapple Point on its left shoulder to get back on should you fall), before moving down to each of its arms, where the final two Sigils are located. Be careful though, because the Yeti has an extremely damaging attack that will kill you outright if you are caught by it when climbing its arms. If you stay on its arm for too long, it will raise its other arm above you before swatting you after a few moments. The only way to avoid this is to get off of the arm and to safety, or to attack the Sigil once, which should only be attempted if you are there just before or as it begins the attack animation – otherwise you will not have enough time to attack the Sigil before you are splatted. If you manage to attack the Sigil, the Yeti will be staggered and try to shake you off, cancelling its attack.
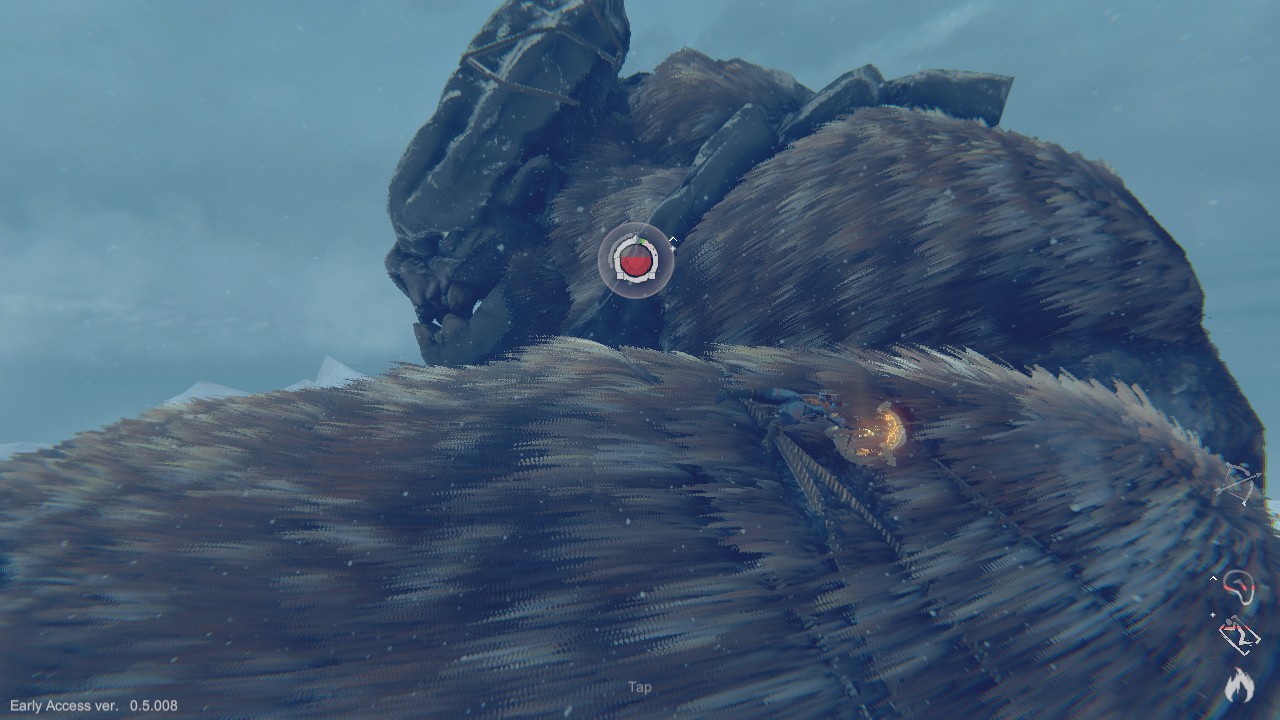
 Once you have attacked the Sigils on both of its arms, you will have defeated the Yeti and a cutscene will play, before you are transported back to the Temple.
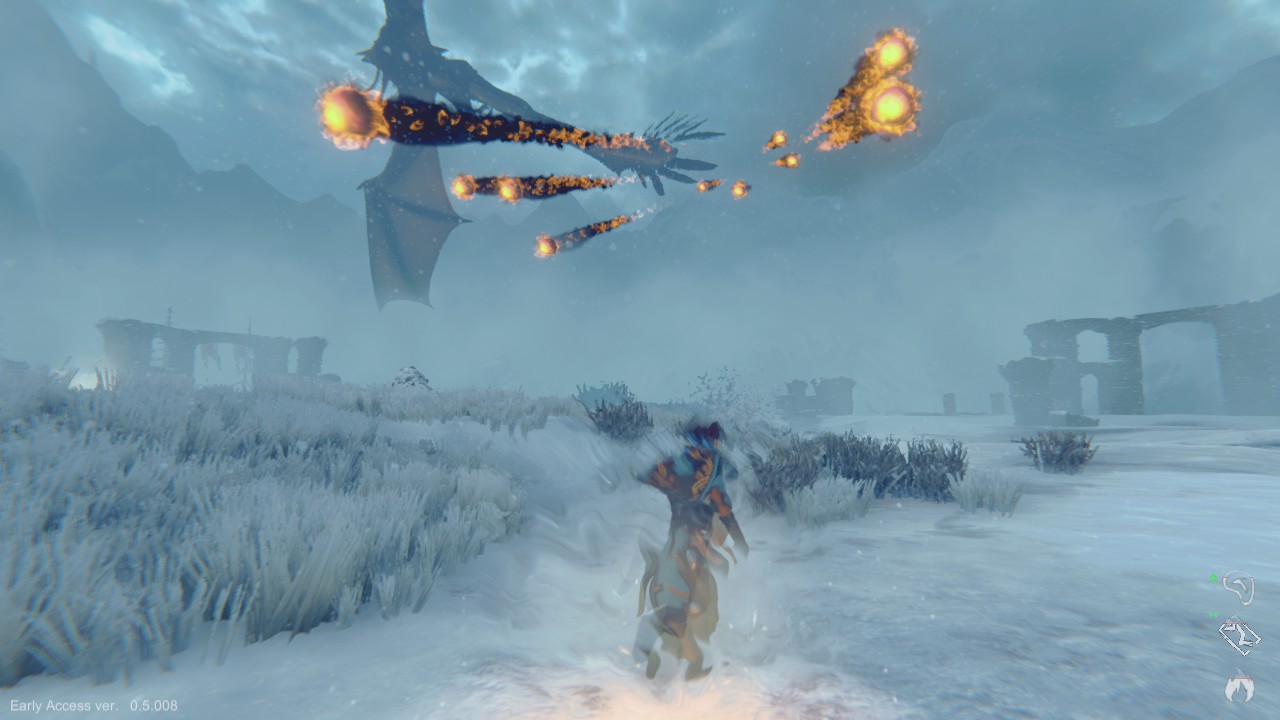
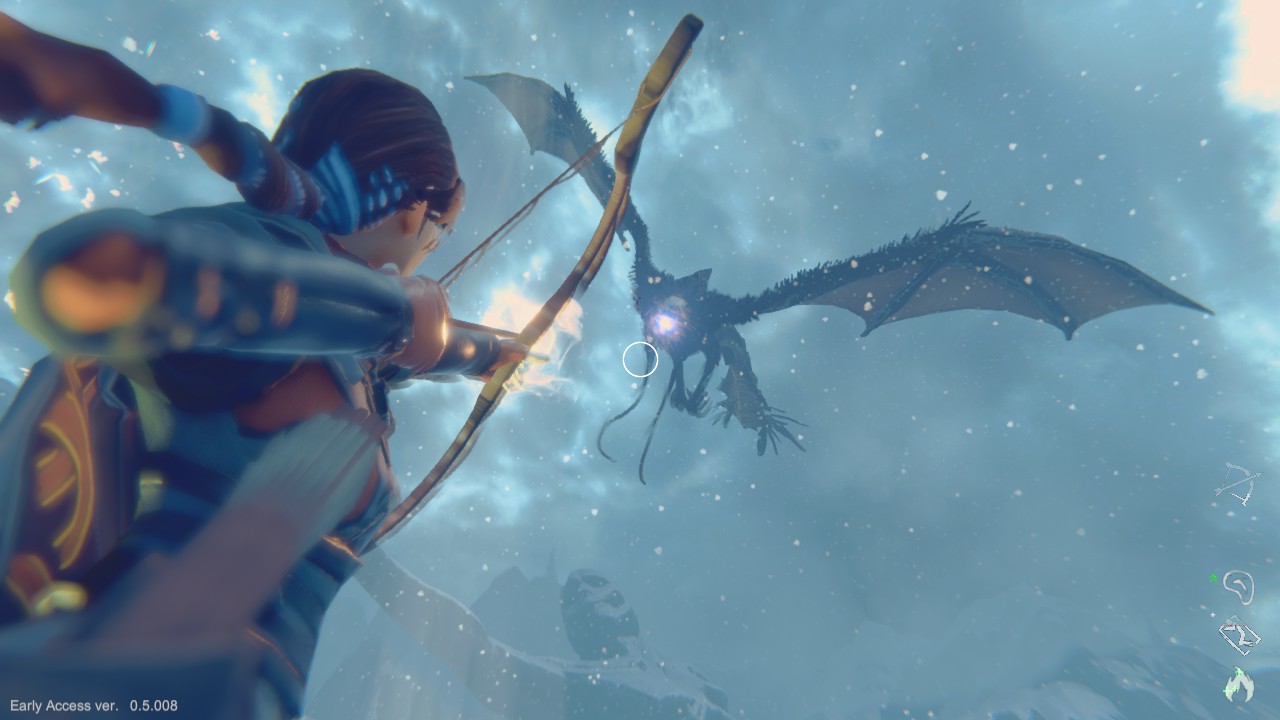
Boss VI – The Crogon
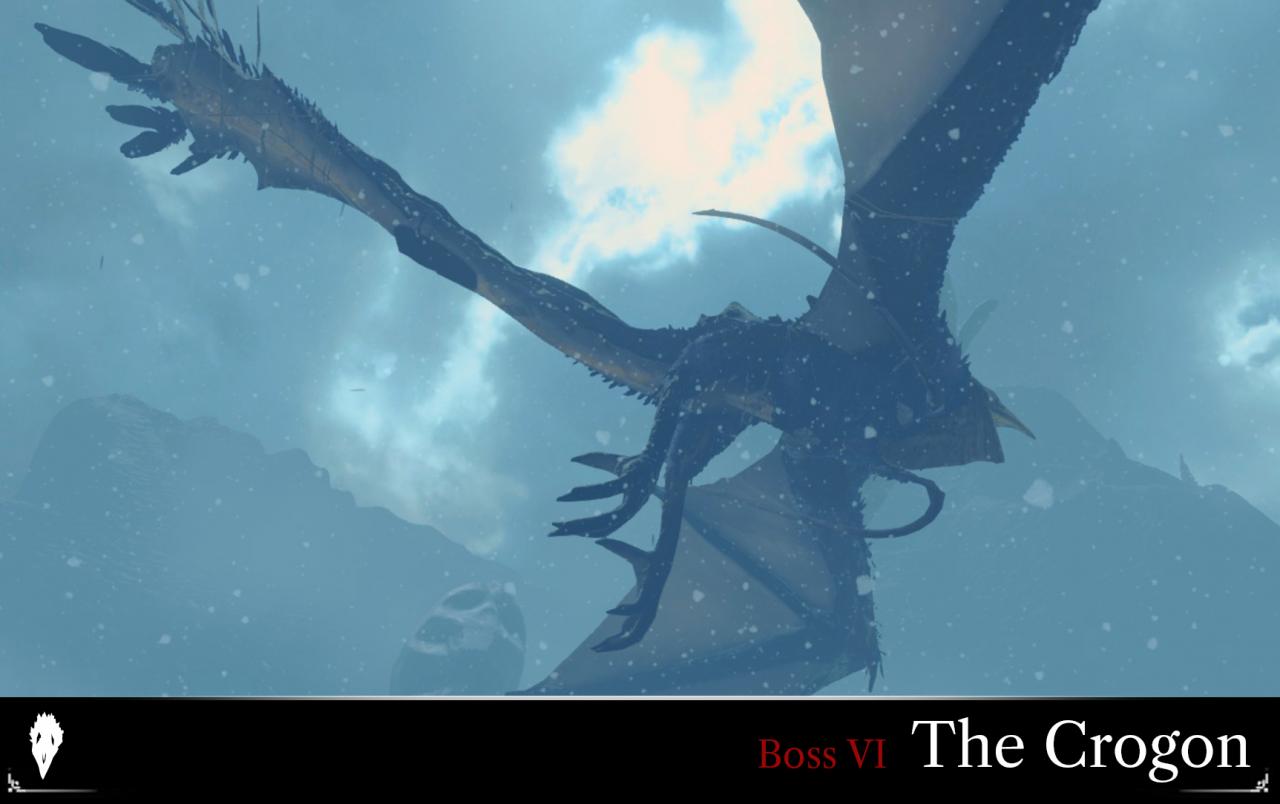 < Insert fancy graphic here >
SIGILS: Tail, Chest, Left Wing, Right Wing
GRAPPLE POINTS: Tail x2, Chest
ITEMS REQUIRED: Bow, Arrows

Related Posts:
- Praey for the Gods: Lore Note Locations Guide
- Praey for the Gods: How to Find 32 Totem Locations
- Praey for the Gods: 10 New Totems Guide V1.0
- Praey for the Gods: All Item Lists