
this is guide on how to change your settings in project playtime sense its bugged and for most people it doesnt work this guide will help and explain how it works later i will maybe make a video but dont bet on it.
Step by step on how to do it
so first step you wanna do is open search and look for run or just simply press window key + R to open it
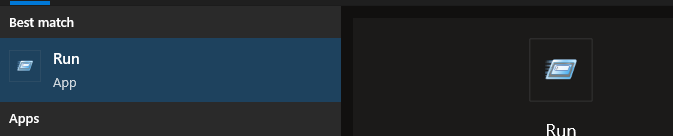
once you find it in the start menu *like on the screenshot the application should look like this*
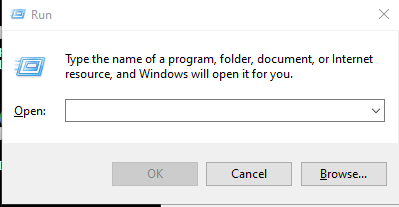
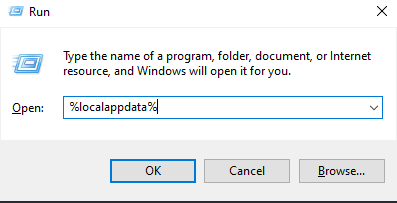
once opened it type %localappdata% or just simply copy it from here
once you open it it should look something like this
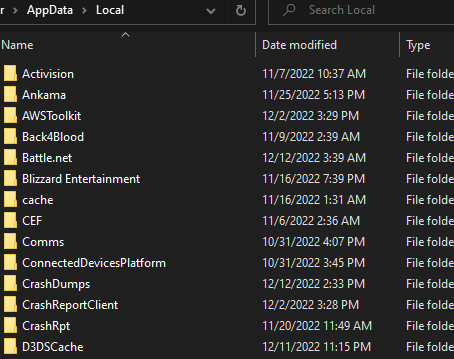
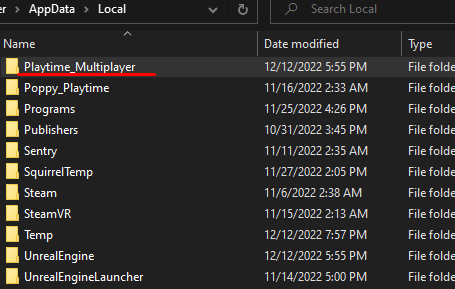
after that look for the folder called playtime_multiplayer or just press p to find it the folder looks like the one on the screenshot you wont miss it.
once you find it open it up and navigate to following folders called saved config windowsnoeditor just like on the screenshot.

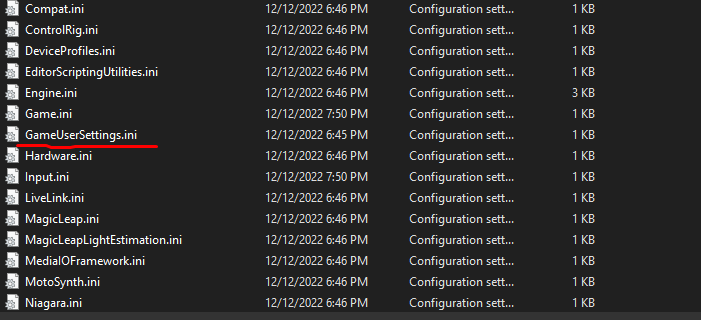
once you are in it open ut the gameusersettings like the way i marked it with the red pen on the screenshot that’s the one you are looking for.
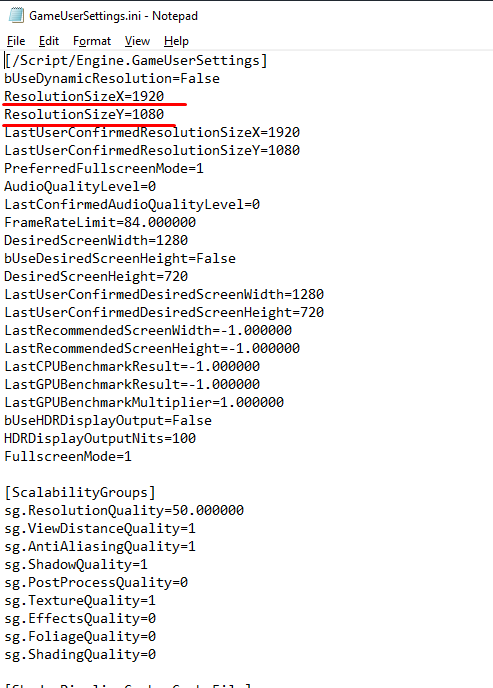
once you open it it should look like this now i want you to focus on the group called [/script/engine.gameusersettings] which is red marked on the screenshot
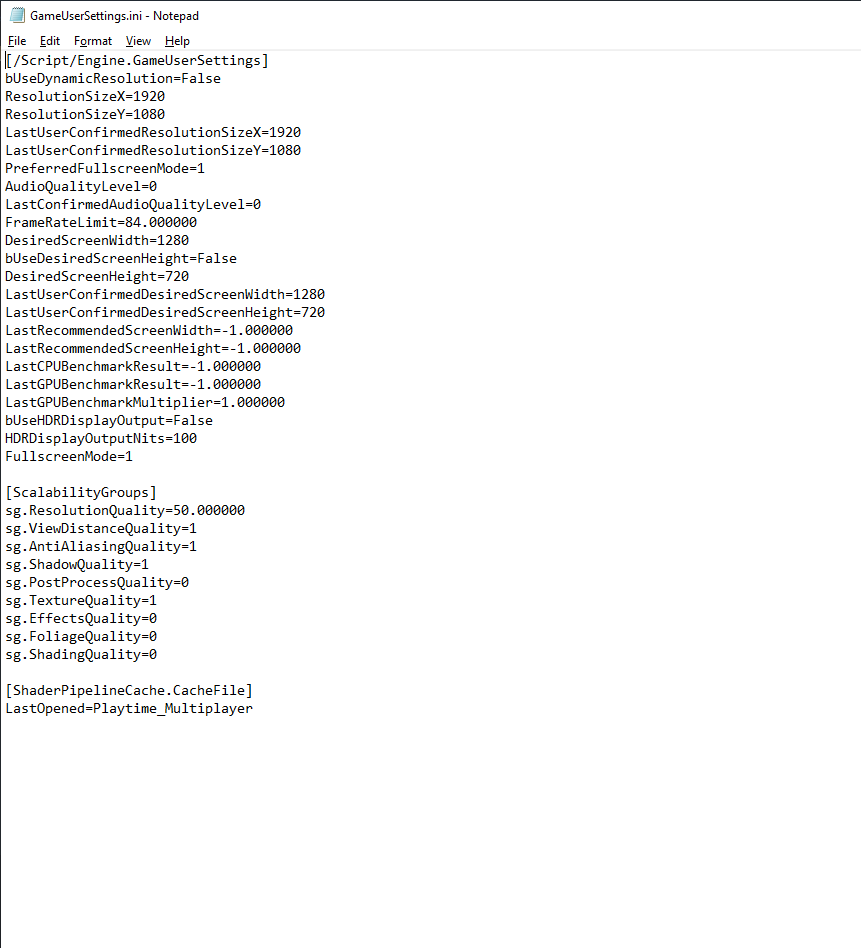
what i want you to pay attention to is to those two red marked ones called ResolutionSizeX and ResolutionSizeY change them with any resolution you like 1280×720 is the one im currently using so the best way to check the resolution you’d like is to go to settings on your pc and display settings and choose any you want or just type on internet the display resolution either lowest or highest 1280×720 is 720p resolution so i will leave few resolutions you can use till 1080p
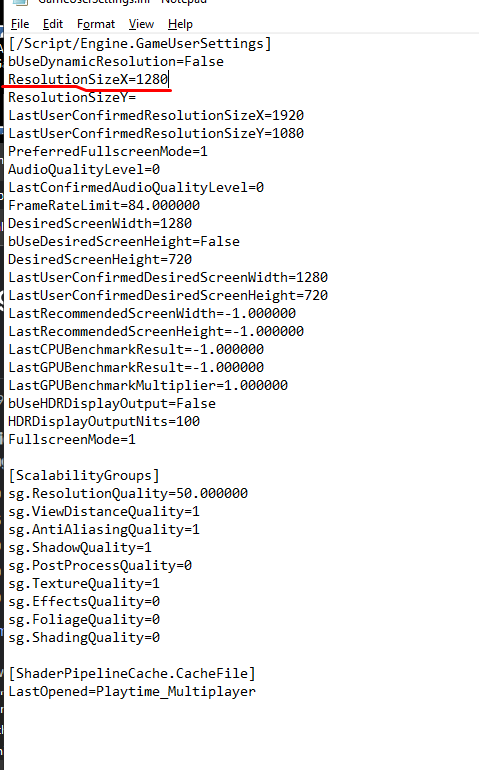
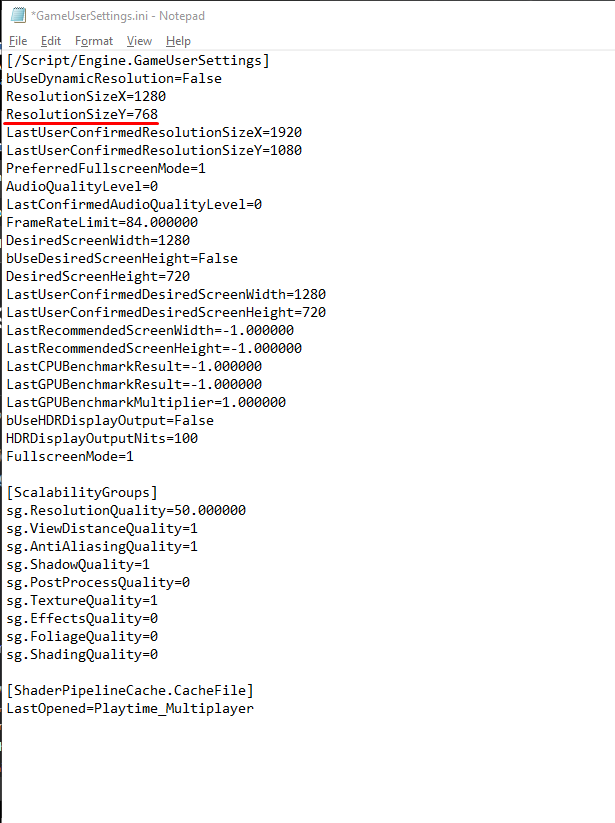
so here are examples of what to do on the screenshots
for example i set ResolutionSizeX=1280 on first screenshot
on the second screenshot i putted the ResolutionSizeY=768
here are the list of resolutions that you can use 800×600
1024×768
1152×864
1280×720
1280×768
1280×800
1280×960
1280×1024
1360×768
1366×768
1440×900
1600×900
1400×1024
1680×1050
1920×1080
Remember that ResolutionSizeX stands for the first numbers for example 1920
and the ResolutionSizeY is the second number right next to the other which is 1080
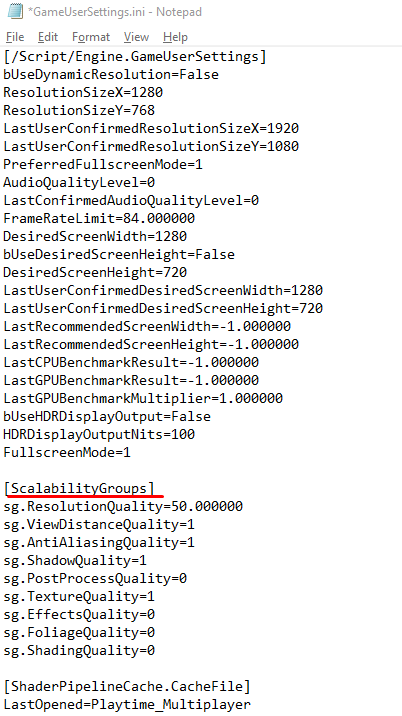
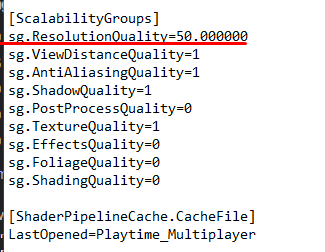
as for the quality you wanna look into [ScalabilityGroups] which is in the same place just underneath the [/script/engine.gameusersettings]
notice how for example on sg.shadowquality is putted 1 and on sg.effectsquality is 0 the lowest number is low quality the higher is higher quality you can possibly put it certain things up to from 0-4 just change the last number on those things how you like and you are good to go.
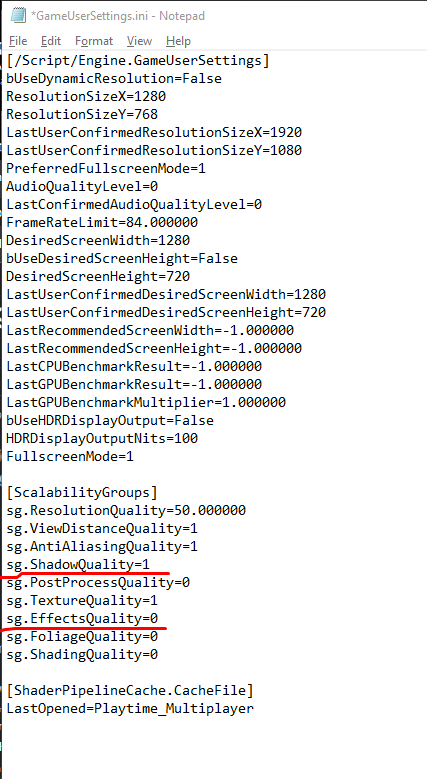
as for sg.ResolutionQuality you can go down from 0 to 100 but i’d advise to keep it minimum 50 because your game would get so blurry you wouldn’t be able to see anything.
so thats pretty much it once you set your settings save it and exit it and start the game it should be the way you setted it up to be i will probably make video later on about this but don’t hold my word on this if you need any help comment down below instead of adding me and i’d try to help the best way i can thanks again for reading and i hope this guide helped you.
Thanks to Bestgamer3 and Shadyy for their excellent guide, all credits belong to his effort. if this guide helps you, please support and rate it via Steam Community. enjoy the game.