In this guide, I will cover what I consider the absolute bare essentials for getting started in Project Zomboid, for any new player to the game.
It is entirely based on the assumption that the game has caught you eye, you’ve just recently downloaded it (or been pestered into getting it by someone who needs friends to join multiplayer), started the game, died terribly, and decided that you want a little more information in order to learn how to survive.
The Bare Essentials
It is entirely based on the assumption that the game has caught you eye, you’ve just recently downloaded it (or been pestered into getting it by someone who needs friends to join multiplayer), started the game, died terribly, and decided that you want a little more information in order to learn how to survive.
For all practical purposes, I’m assuming that you’ve hit “solo”, chosen “Apocalypse” for difficulty, and chosen somewhere to start, with no particular care for occupation or traits, and that all settings and keybindings are at default.
Do take note of the fact that this game will have you start in some completely random place on the map of the town you have chosen to start in. The world is an unfair place, and there are some locations you can spawn, where a first time player really have no business spawning in, and are left with nothing to do but to make peace with their god, because things are about to get rough.
If that is the case, dust yourself off, make a new character, and try again.
(Disclaimer)
1. Preparing to go out into the world
This consists of scraping together something to heal yourself with if things go wrong, and at least one actual weapon to fend of things that wants to eat your brains.
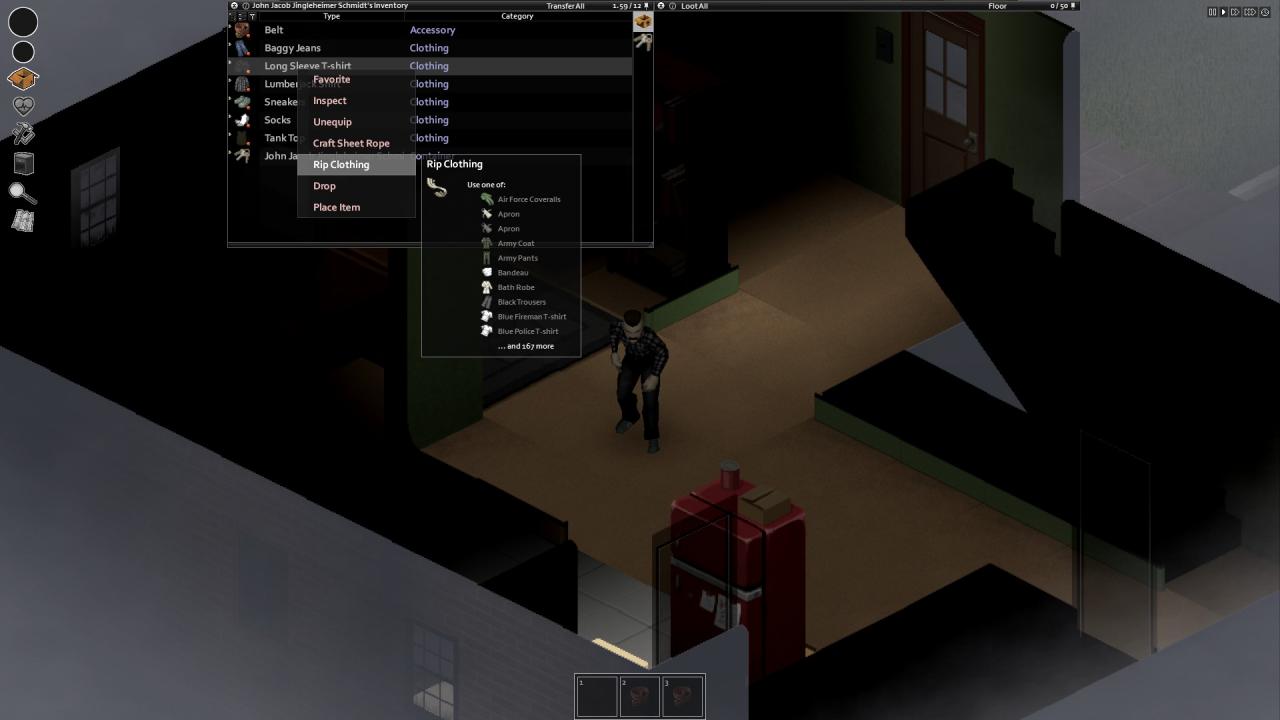
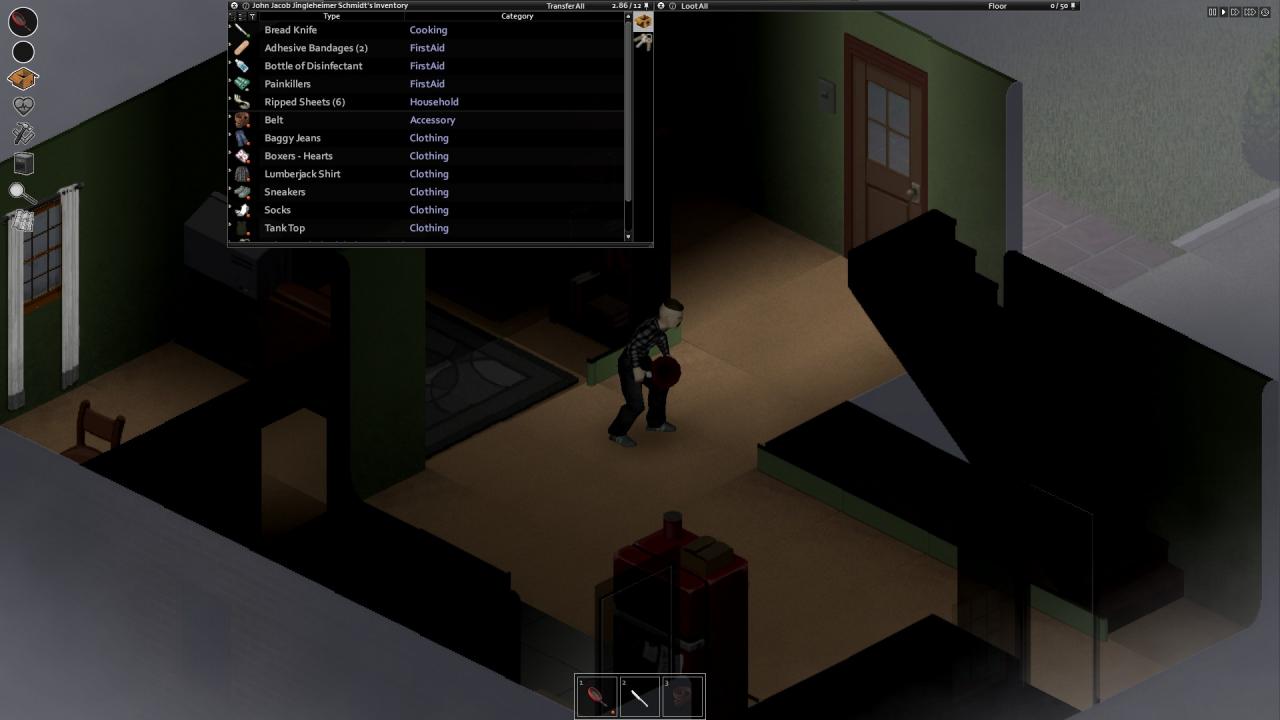
For the first part, open your inventory, find a piece of clothing you do not need, right click, and chose “Rip clothes”. This will provide you with some ripped sheets, which can be used as makeshift bandages. It is mid-July, you do not need to wear a tank top, a long-sleeved shirt, and a lumberjack shirt.
As for weapons, anything will do. You will soon find out that some weapons have less durability than others. Grab whatever you can find in your house, right-click it in your inventory, and attach it to your belt/back. This allows you to quickly equip another weapon, should one break, using 1, 2 or 3 on your keyboard.
2. Very basic movement
Hold ctrl to enter an aiming stance. This will also make the character look in whatever direction you are pointing your cursor. Definitely keep your head on a swivel, so you wont get any surprises from behind.
Pressing shift makes you jog, or while crouched do some sort of hunkered down hustle. Tapping “E” lets you vault over low fences. When you encounter a taller fence, a long press of “E” lets you climb it.
If everything goes sideways and you need to GTFO, tapping Alt sends you into a mad sprint mode. Be aware that your character will be likely to trip, fall on his face, and drop items, if running into trees, bushes, fences or something like that.
Standing next to an object, pressing “E” will make your character interact with it. A long press of “E” will sometimes lead to another contextual option based on what you are standing next to. Unfortunately sometimes this means that pressing “E” means “close the window” while a long press of “E” means “climb through the window”, and when several zombies are bearing down on you, this tends to mean that you die. For the sake of simplicity, get used to right-clicking and choosing the action you actually want from the menu, until you get used to things.
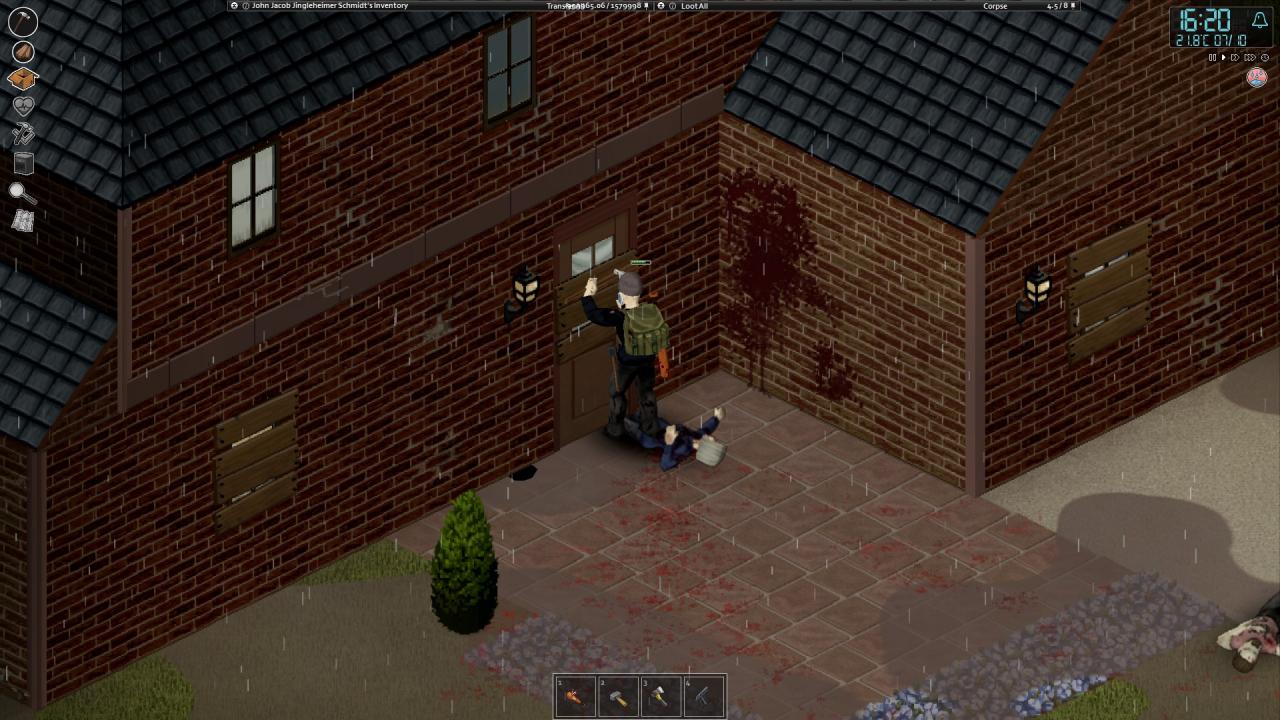
Standing next to a window, you can try to force it open. This generates a little bit of noise, and can attract zombies from within a few meters. Should you fail, you will ruin the lock on the window, leaving it stuck shut (indicated by the sound of metal snapping). Should this window be on a very tempting target, such as a shed that is very likely to contain tools or weapons you desperately need, you can choose to smash the window instead. This will generate a lot more noise and is very likely to attract nearby zombies. Remember to remove any broken glass before trying to climb through the window, to avoid injuries.
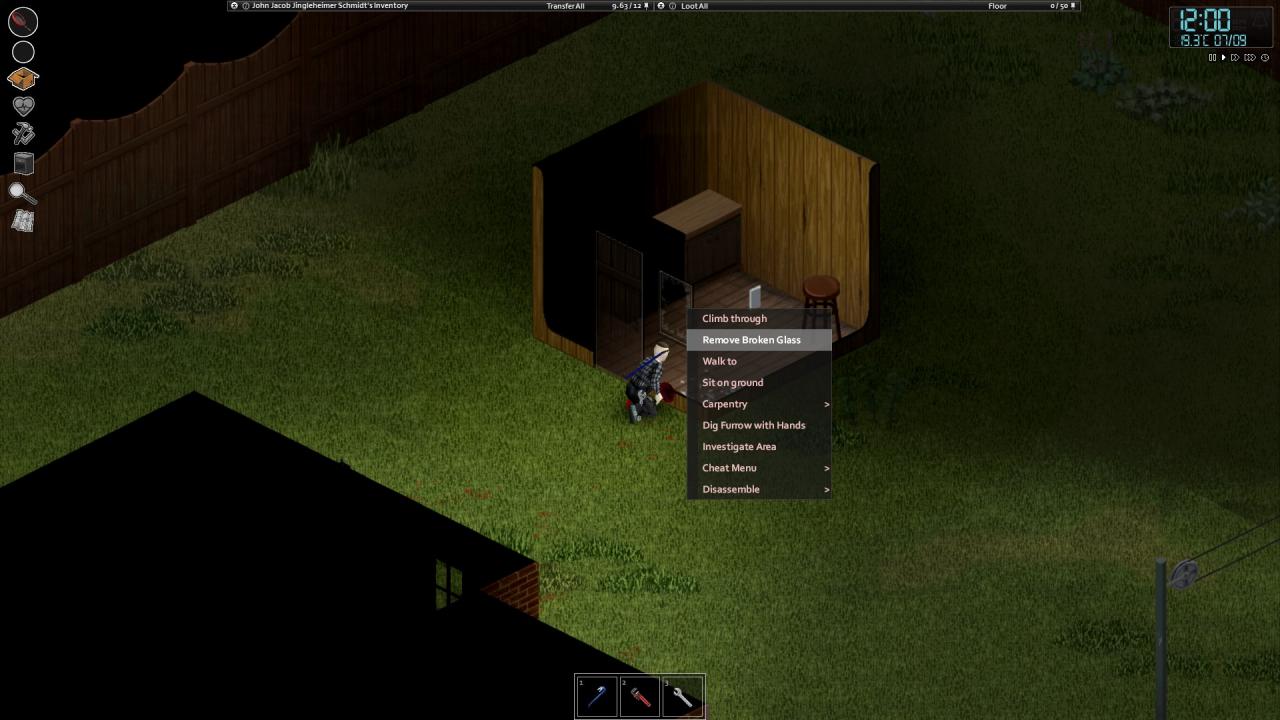
It is highly recommended to have some sort of weapon equipped while doing this, otherwise your character will punch through the pane of glass with his bare fists, and proceed to knock away the remaining shards of glass stuck in the window-frame in the same manner, practically guaranteeing that you will need an introduction to more advanced first aid than what this guide plans for.
3. Very basic combat
As already mentioned, pressing ctrl will enter an aiming stance. Whether you want what you aim at to have an outline or not is up to you to decide. For someone just starting out, having it turned on would be recommended though.
Every weapon has its own speed. A small knife lets you get a quick stab, a huge sledgehammer wielded in both hands has a much slower attack. You will just simply have to get used to the weapon in question, and soon enough you will have your own favourites.
In the very beginning of things, what you will want to do, is to fight as few zombies as possible at once.
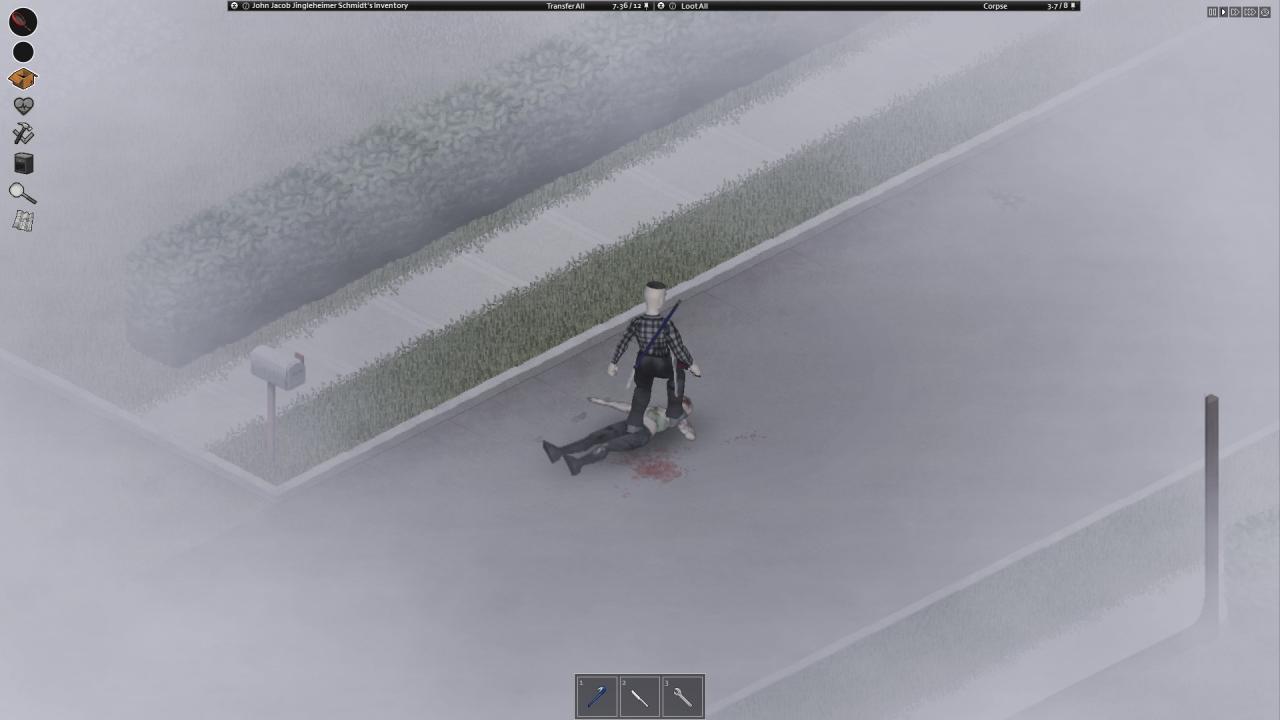
Stay crouched, back away from your attacker, keep checking your rear, so you don’t end up walking into some trouble. If you want to save your weapon from breaking, use it sparingly. When fighting a single zombie, rather just use Space in order to give it a push. Eventually, you might manage to shove it onto its back. Walk up to the downed zombie, used ctrl to keep aiming, and use Space in order to start stomping. Adjust until you’re aiming so you’re stomping the skull for the best result. Keep stomping until you hear a wet sploshing sound, indicating that this particular zombie is in fact dead-dead, and no longer amongst the living dead.
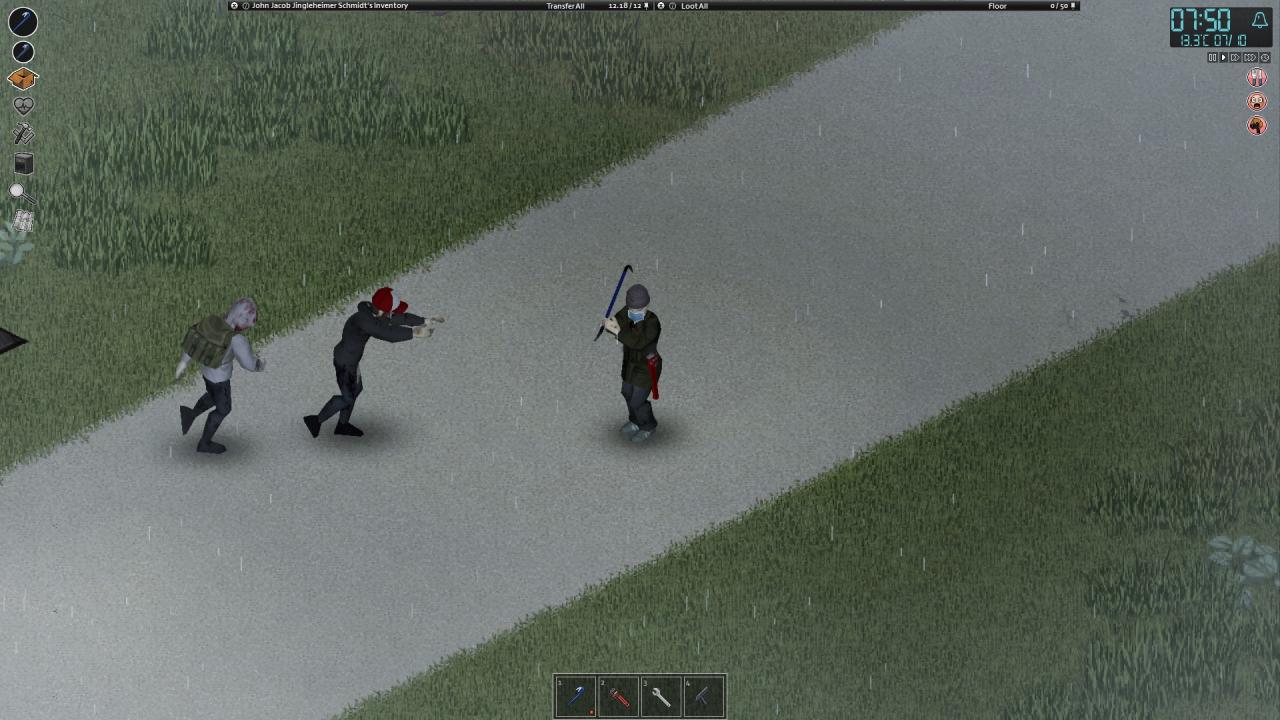
When fighting more than one zombie, stick to your weapon, try to get staggering hits to keep one zombie stunned for a few seconds, allowing you to focus on the other. If you manage to down one of them, stand your ground and keep hitting or pushing. Ideally you want to end up with both zombies downed, so you can have all the freebie strikes/stomps you want without them getting up.
Depending slightly on your weapons and your fighting, you might find yourself able to “juggle” up to three or four zombies in combat simultaneously. Any more than that, and you should consider turning tail and fleeing, as it is very easy to end up getting grabbed and dragged down.
If you find yourself facing a group of several zombies, with no option to circumvent them you can try to attract the attention of a few of the zombies, to have them break away from the group.
Pressing “Q” on your keyboard, will make your character shout out. Pressing “Q” on your keyboard while crouched, will make your character whisper. The difference will be visible, whether your characters SHOUT IN ALL CAPS, or whether it is a more subtle lowercase “pssst”.
Make sure you are crouched, approach the group while tapping “Q”, until you see one or two of the zombies noticing you, back slowly away, and take them on. Rinse and repeat.
Do however be aware that the moans and snarls of zombies attacking you, can make other zombies pay attention, turn around, and start chasing. If this happens to be the case, you will not go in this direction, and instead you will spend the next couple of minutes disengaging from the action.
Stay crouched, retreat the same way you came from, where you are more or less certain there will be no terrible surprises, use short bursts of hustling away using shift, use ctrl to look around and keep track of the zombies, and try to break line of sight. Use trees, bushes, and houses. It is especially effective to pass through houses, as zombies can end up having to break down doors or windows getting to where they last saw you, giving you time to put distance between you and them. Likewise, tall fences are ideal for breaking line of sight. Be aware that the noise the zombies make, can and most probably will attract more zombies to the location.
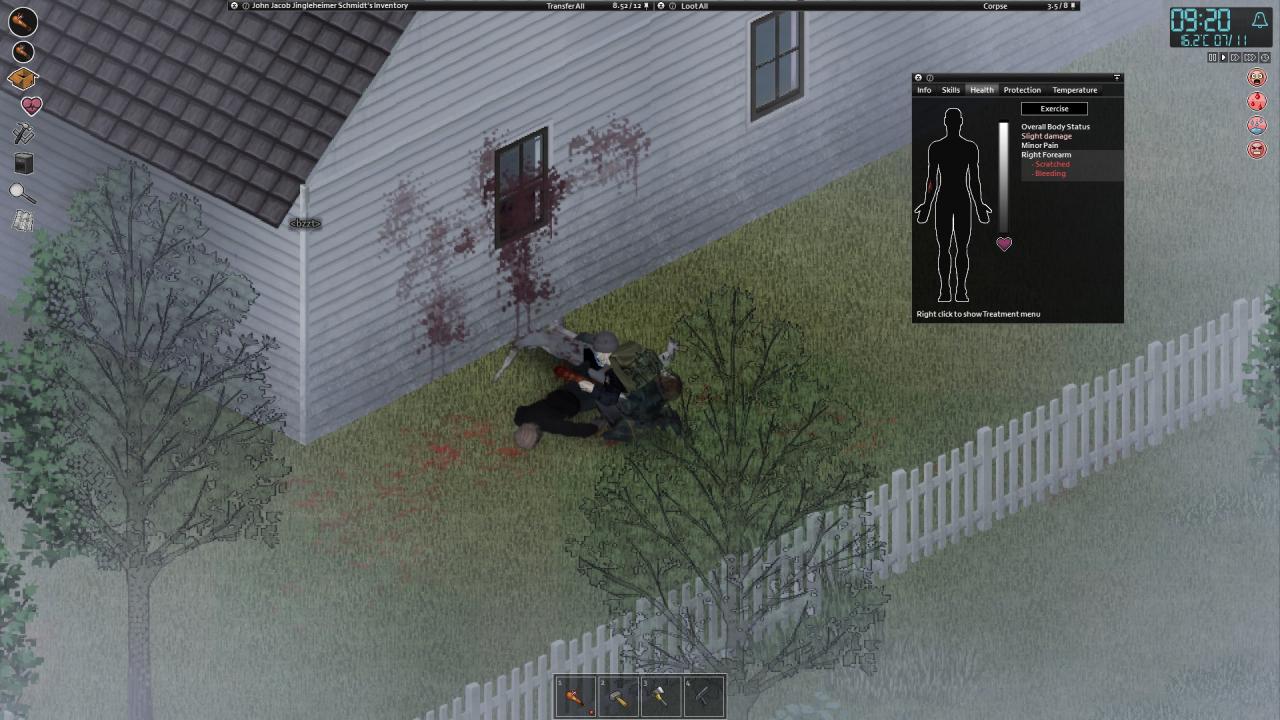
4. Very basic health management
Fighting zombies will likely see you end up getting hurt eventually. And getting hurt by zombies, carries the risk of being infected and ending up zombified.
A zombie fight gone wrong leads to three different forms of damage you can sustain.
By default settings, a scratch carries a very minor chance of infection, a laceration carries a slight chance of infection, and a bite carries a 100% guarantee of infection. If you get bitten, disinfectant will not help you, antibiotics will not help you, prayer will not help you. You are guaranteed that you will start getting sick, developing more and more negative effects, and eventually perish, before joining the ranks of the living dead.
Ripped sheets can be used to stop bleeding.
Be advised that even if you do not get zombified from a laceration or a scratch, there’s still a chance of more regular infections occurring, due to dirty surroundings and you yourself being covered in blood and sweat from your everyday activities. After having sustained a wound, it is recommended to clean yourself up properly, disinfect the wound if you can, and make sure that you are not wearing dirty bandages. Dirty bandages and dirty rags can be cleaned using any source of water and re-used.
Over time, you will want to get hold of proper first aid supplies. This includes proper bandages, as well as alcohol wipes or disinfectant. Before you get to this point, however, you will more like be doing action movie tropes of disinfecting a wound by sloshing a quarter of a bottle worth of bourbon over it, should you be so lucky to have some, and then tying a rag torn from a t-shirt around it.
5. Managing you moodles
These tell you of the sensations your character is experiencing, ranging from being warm from wearing a leather jacket outside while the temperature is at 30°C/86°F, to feeling excruciating pain from a shattered thigh, as well as certain mental states, such as anxiety, panic, boredom and sadness, to the fact that you are bleeding form a wound.
Some of these things, you can’t do much about in the short term. Some of these don’t have an immediate effect on your character. Others require some more precaution. “Moderate Exertion”, for instance, involves a 50% decrease to melee damage. This means that you can suddenly find yourself swatting helplessly at zombies, failing to inflict proper damage, and at the same time exhausting yourself even further, until “moderate exertion” turns into “high exertion” instead, which leads to an 80% decrease in melee damage, which leaves you even worse off fighting zombies.
Exertion also affects the chance of being able to climb tall fences, meaning that you can suddenly find yourself trying to escape a horde of zombies, only to fall back to the ground, and get eaten.
A lot of them are somewhat logical. If you are exhausted you find somewhere to sit down and rest, if you are hungry you eat something, if you are thirsty you drink something, if you are sleepy get some sleep, and if you are bleeding you wrap torn-up pieces of t-shirt around your injured limb to make it stop.
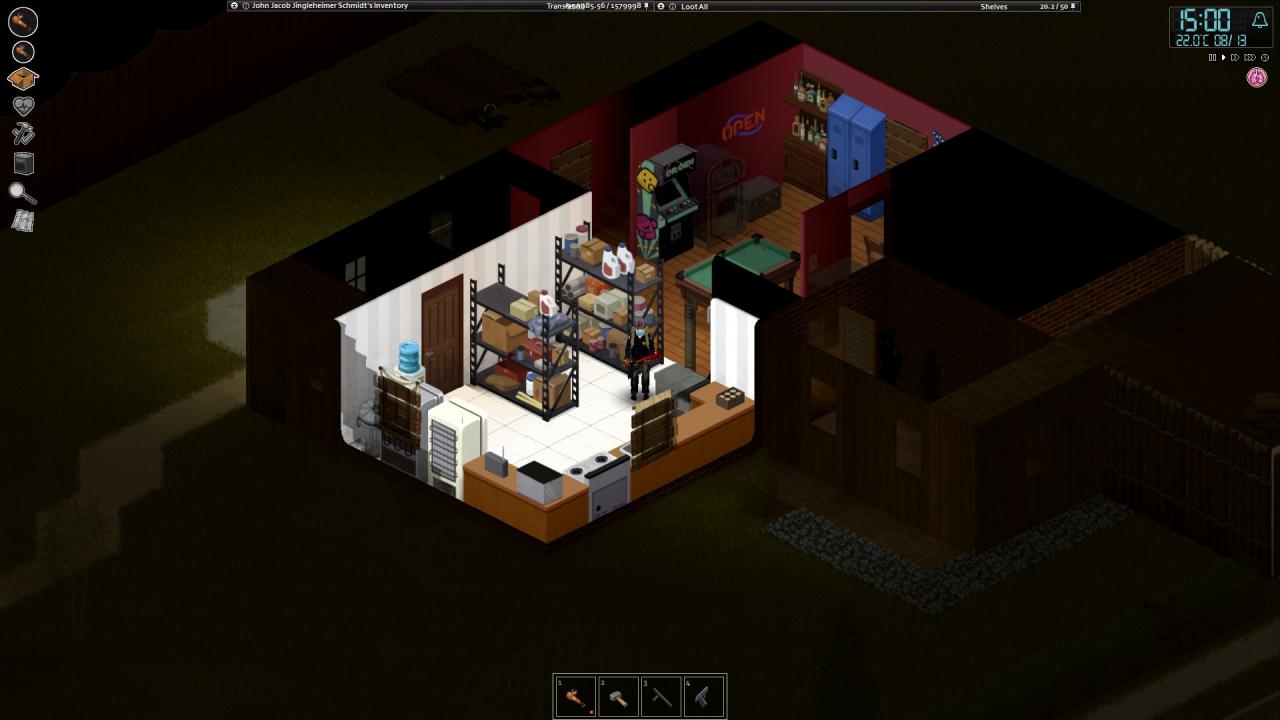
6. Setting yourself up for immediate survival
A quick list of what you need consists of:
a. Your most basic kit
b. Food and water
c. A safe place to call home
d. Tools
e. A running car
Because your starting location is determined randomly, along with the distribution of things in the world, you will have to play this by ear a little. Sometimes you start in a house that will be suitable as a safehouse, and you have that objective covered from the very start. Sometimes you get lucky and find a car more or less immediately, making you highly mobile and capable of going to your favourite spot on the map right away, as well as ranging out to get supplies easily. Sometimes it takes a week or more in game to cross the bare necessities of the checklist. Sometimes you find tools and equipment you will want to have at a safehouse, but end up not even finding a garbage bag for days, and need to make a temporary stash of things in a not-so-safe-house you will have to come back and empty out later on.
Either way, the following five main sets of things, should be considered the bare minimum for being able to eke out some sort of survival over time in the world, and you should make sure you cover all five before you go out on any daring adventures beyond pilfering your immediate neighbourhood for supplies.
a. Your most basic kit for being able to take care of yourself
– One main weapon
Ideally, it should be one that can be maintained, such as a spiked baseball bat This is a bit of a luxury in the absolute first few days though, and you might find yourself resorting to hammers, kitchen knives or pipes instead. The great advantage of the spiked baseball bat, is that as the wear and tear on it increases, it can be repaired by simply driving another nail through it for a while, until you’ve made roughly 20-25 “repairs” of this kind and start seeing diminishing returns on new attempts.
– At least one, preferably several, back-up weapons
These are dispensable weapons for use in an emergency. It can be whatever tools or kitchen equipment that fits the bill that you have an excess of, such as wooden mallets (which is a tool that can’t be used for carpentry and crafting, unlike other hammers), night sticks looted of dead police officers, kitchen knives, hunting knives, and whatever you might feel you can spare.
Also be advised that some weapons do more damage to clothes than others. You might run into a zombie wearing a particular outfit you might want, especially firefighter outfits or rangers and police officers, who wear clothes that offer a bit more protection against scratches and bites. This is where you want to rather carefully smack them in the face with a hammer or a night stick, instead of tearing up the outfit you want using a spiked baseball bat, or cutting it to shreds with a machete or axe.
– A duffel bag or a hiking backpack
At the very start, you will find yourself stuffing your pockets, or possibly walking around with your belongings in a garbage bag carried in your off-hand. This is fine to begin with. However, you are not ready for long-term adventuring until you at least have a duffel bag or a hiking bag (or an even better backpack) on your bag. This will greatly improve your carrying capacity, and allow you to bring proper hauls of stuff back to base.
Duffel bags are definitely easier to come by, as they are carried by several zombies you may encounter out in the world. You should also consider having a spare duffel bag packed when ranging out once you can spare the luxury, carrying one on your hand, and on in your off-hand, in case you run into some extra tempting loot you cannot possibly imagine leaving behind. Be aware that when climbing tall fences, you character will drop anything carried in the off-hand.
– A first aid kit
Not necessarily the green little first aid kit you find scattered throughout the world, but more a basic kit of the necessities you need to ensure that you survive. At least a few bandages, some alcohol wipes or some other disinfectant, some painkiller pills and probably also some sleeping tablets.
If things should go terribly sideways, this allows you to hole up for the night in a makeshift safehouse, treat your wounds, manage your pain, and make your character sleep through the night in order to be ready to be rested and ready to trek back to safety if need be.
– A digital watch
Should be easy to come by. A digital watch lets you not only see the time of day, but also gives you an indication of the current weather and temperature.
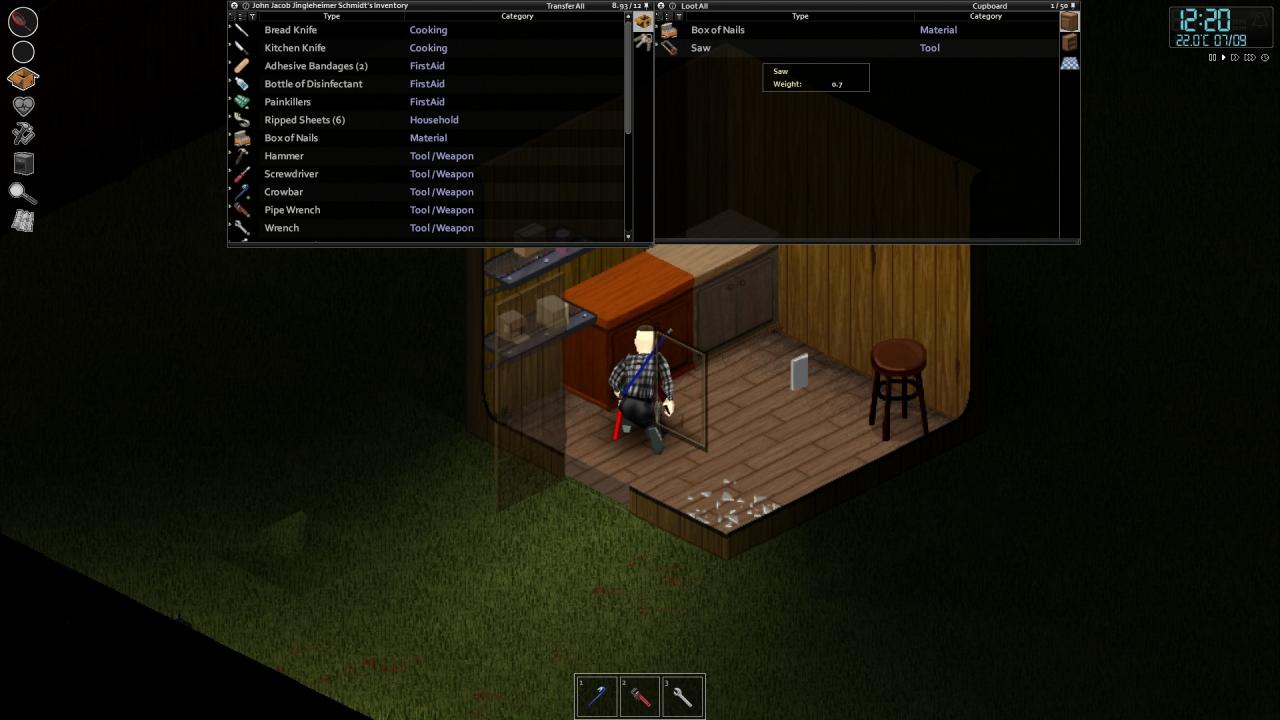
– The holy trinity of tools
A hammer, a screwdriver, and a saw, constitutes the holy trinity of tools. These three tools together, allows you to start dismantling objects and furniture out in the world, letting you acquire planks you will need in order to barricade up your safe house. An added bonus is that you can now disassemble even (wooden) locked doors from the outside, should you run into a locked door on a building with no other ways of getting inside.
– Clothes that offer some protection
Opening your character screen, you can see what level of protection your various clothes offer. Various clothes offer different rates of protection, and you can even layer up clothes to make yourself significantly harder for the zombies to kill. Some clothes require that you look for them in specific places, some are at the mercy of the random number generator and luck. It should be relatively reasonable to manage to acquire a pair of jeans, offering some protection, as well as a leather jacket or a police deputy jacket. Combat boots seems to also be easier to come by than they were, and offer excellent protection for your feet against attacks.
In addition, it is not proven in game mechanics that the game likes to have the zombies dramatically rip of a hat or any protection worn on the face, but it feels like the game likes to have the zombies dramatically rip of any headwear, and that is more important than game code.
b. Tools and utensils
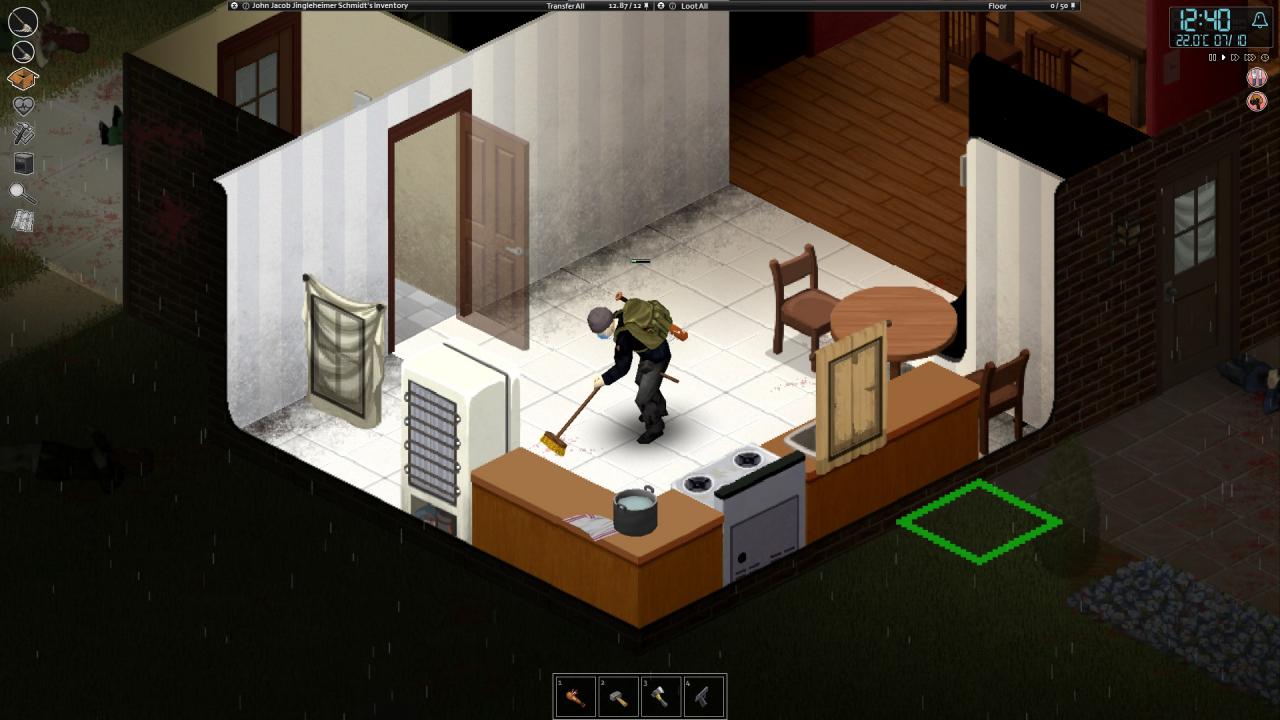
Zombies following you back to the base, or wandering through the neighbourhood, will become a health hazard if left to rot in piles around your home. A shovel will allow you to bury them instead, which is a safe option than making a funeral pyre for them. Lacking the supplies to dig graves, do by all means consider piling up the dead, and burning them. Or at worst, spend time carrying corpses into the yard of some other house in the neighbourhood.
If your kitchen floors and walls are covered in blood, you should also consider obtaining a mop and a bottle of bleach. With these equipped, you have the option of right-clicking and choosing “Clean blood”.
You will also need various tools for car mechanics over time. As well as some specialized tools for more advanced construction and carpentry, along with metalwork, plumbing work, gardening and farming. A welding torch along with a welding mask will allow you to do metalworking, or dismantling metal doors. It is, as a general rule, smarter to just drag back one of everything you’re not sure if you have or not, rather than to find yourself at a point later in the game where you discover that you need a pipe-wrench.
In addition, when you do have a place to call home, you also want to stock it with several cooking implements, such as pots, pans, bowls, knives, can openers, and over time also more specialized stuff like cake trays and similar.
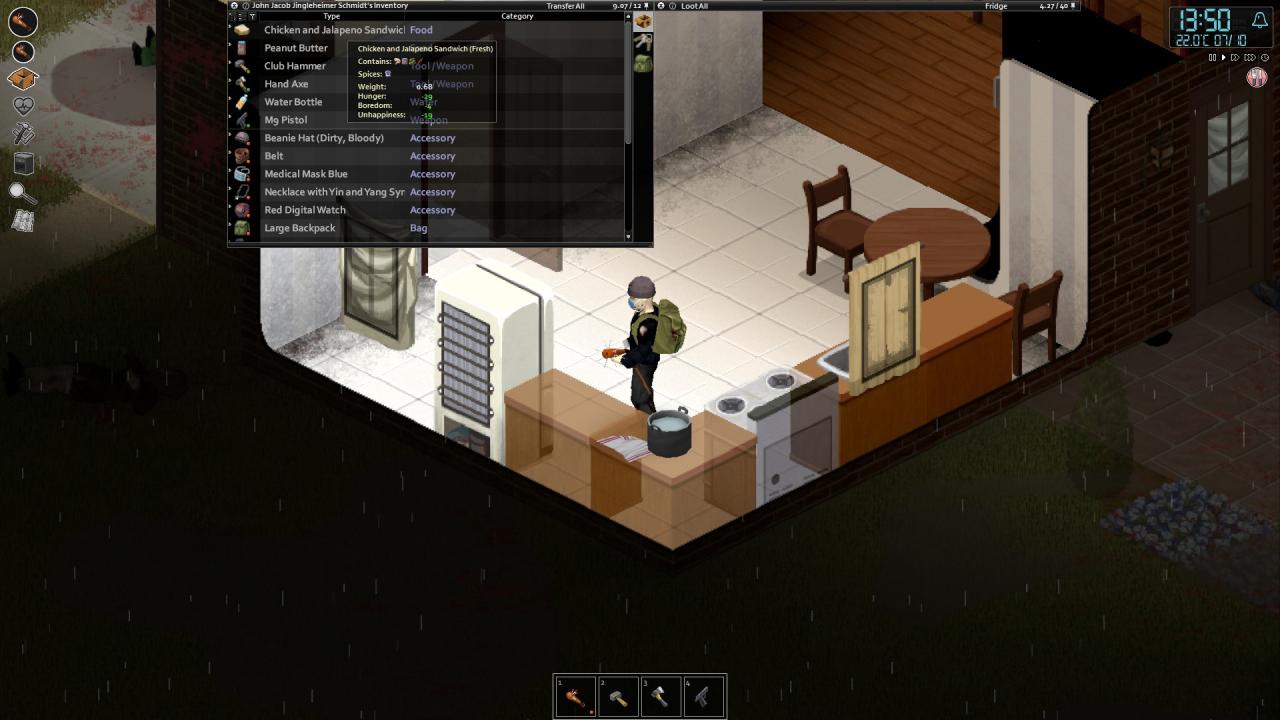
c. Food and water
You also want to start cooking, using the cooking implements mentioned above. And for several reasons.
First and foremost, a lot of food you find out in the world, particularly meat and fish, can be dangerous if eaten uncooked.
Further, some “raw” foods will cause boredom and unhappiness, as opposed to when used as an ingredient in cooking, where you can end up lowering your boredom and unhappiness. Particularly true for ingredients such as dog food, or rodent meat, which will be significantly less detrimental to your mental health if part of a stir fry, or in a taco along with some other ingredients.
In addition, the cooking skill will increase the nutritional value of food when prepared, meaning you get more nourishment from fewer resources. It is also worth noting that a skilled cook can utilize rotten ingredients in a recipe. You gain cooking xp ever single time you prepare a meal, which makes cooking one of the easiest skills to advance in over time.
For the first day or two, a meal consisting of a can of tuna and a bag of chips washed down with water will do, but over time it will utterly wasteful to not spend time learning how to cook properly.
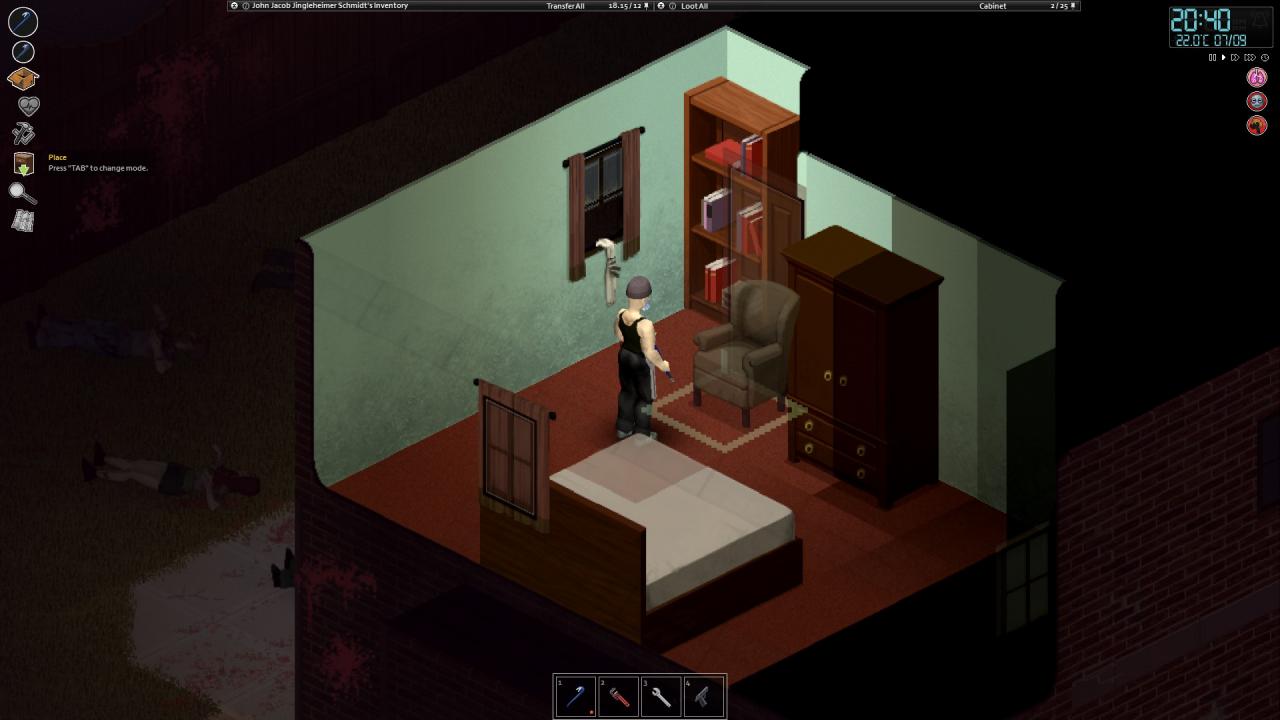
d. A safe place to call home
In the very beginning, this can be a house with no zombies nearby, a door you can close, a bed you can sleep in, and a sink that provides you with water. This is however not a home, but merely somewhere to sleep for the night, before you move on.
But first of all, let us start with “somewhere to sleep”. All depending on how bad things are at the very start, this could be “a bathroom floor with a trash can in front of the door”, just so you can get rid of tiredness and exhaustion. Once you are tired enough, you can choose to sleep on the ground. This will of course cause discomfort and pain the next day, so a minimum of a bed is highly recommended.
If things come down to it, you can use the “Pick up” option to move a piece of furniture in front of the door of the room you intend to sleep in. This will at least give you a few seconds longer to react before having to flee, should you wake up to the sound of zombies banging on your door.
Ideally, you will want to be on the second floor, so you wont wake up to a small horde of zombies spilling into the room through a broken window. Should you have a hammer, a nail and two lengths of sheet rope made from torn up clothes, you can also add an escape rope to the window, having an emergency exit.
Should you find yourself with a car, but no place to call home, you can in a pinch park the car with the driver side window up against the wall of a building, and sleep in the seat. This is pretty much as uncomfortable as sleeping on the ground, and you will wake up with a sore neck. On the upside, you will wake up again, and not from a zombie eating your face. At worst you will wake up to a zombie banging on the passenger seat window, allowing you time to start the engine and flee.
But for long-term survival, you will want a proper home.
Ideally this should be a house with two floors, so you will not have a rude awakening of zombies pouring in through the windows of the room you sleep in.
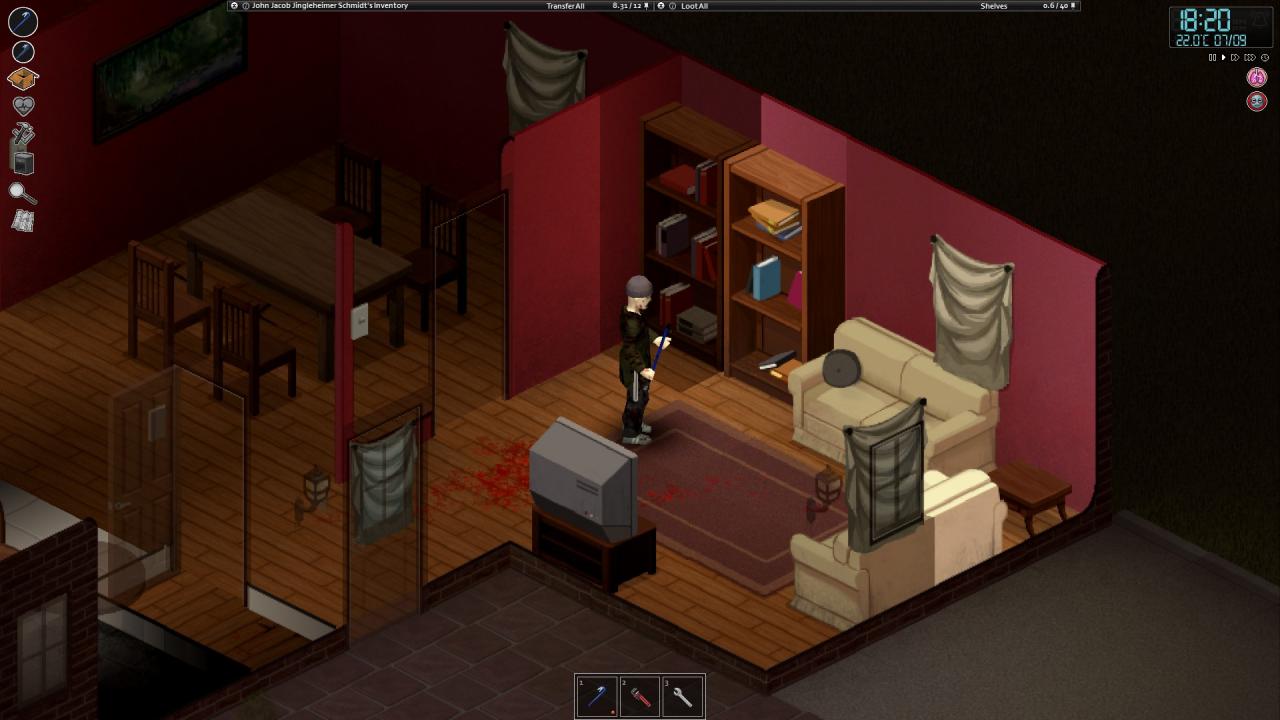
The first thing you will want to do when finding a suitable house, is of course to clear it out and make sure that you do not have any zombies inside what will be your new home.
The second thing you want to do, is to start closing any curtains you have, so that roaming outside wont see you inside, and start attacking your doors and windows. Next, add sheets to any windows that do not have curtains. Be aware that even if zombies can’t see inside your house, they can still hear any noisy activity going on. Be careful with the volume of radios and TVs, and do not start any construction work or disassembling of furniture inside your safehouse until it is properly barricaded.
The third step is to barricade all entryways to the first floor, if you can. A hammer, a few of nails and a plank allows you to barricade windows and doors.
You can barricade a window with up to four planks on the outside, and a further four planks on the inside, giving you very ample time to go out and clean out any zombies attacking your safe house, before the barricades break. A window barricaded with four planks, also blocks line of sight into the building, so you wont need sheets covering a fully barricaded window.
The easiest way to obtain planks, is to head on over to the neighbour’s house, and start disassembling doors and furniture, using The Holy Trinity of Tools. Be aware that the chance of success for getting any material, depends on your carpentry skill, and every time you choose an object for disassembly, the prompt will tell you your chance. If you have the luxury of being picky, disassemble the things with the lowest chance of failure, and leave the more complicated furniture for later when your skill is higher.
The ideal safehouse will have all doors and windows fully barricaded, with two escape ropes on the second floor allowing you entry and exit in opposite directions. Be particularly aware that zombies might tear down escape ropes, so you will ideally want two of them, to be on the safe side. Nothing is worse than coming home slightly wounded and carrying too much weight, only to find that you can’t get into your safehouse without tearing down barricades before you can get inside, because your escape rope is missing.
e. A running car
The map of Project Zomboid is VAST. Really, really vast. At times, looting the more remote parts of the town you start in alone, can at worst be something that requires you to spend a day of traveling to get there, sleeping in a much more rudimentary safehouse on the way, and in the end only allowing you to haul back one single backpack full of materials from whatever place you looted.
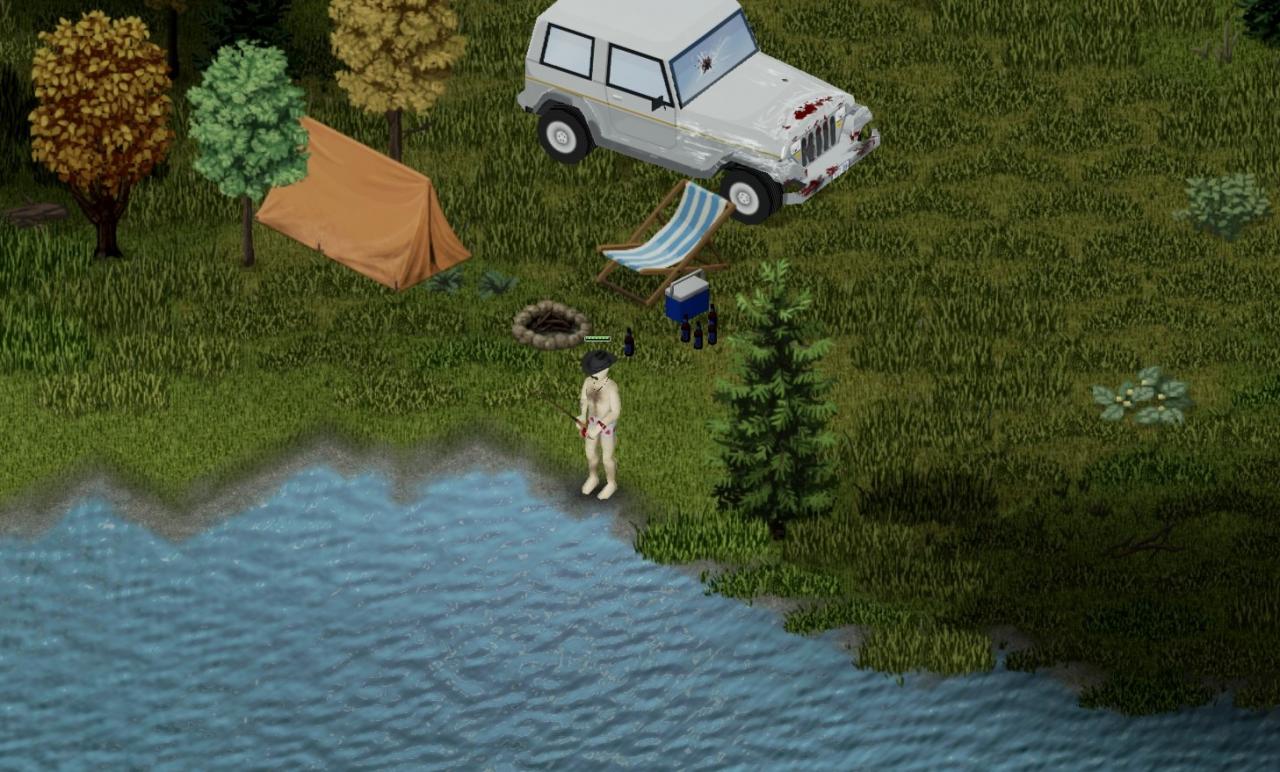
Even if you decide that you want to live in the woods, sleeping in a tent and making a living of what nature has to offer in the form of foraging and fishing, you will still sometimes find yourself in need of more fishing equipment or better clothes, and be left with no option than to make a trip into the ruins of civilization.
A car cuts down the travel time significantly, in addition to allowing you to haul a heavier load of stuff back to your base.
Beggars can’t be choosers, and at the very beginning of things, you will take anything you can find.
Sometimes you will be extremely lucky, and just hop into a car, finding that it starts right away, and you can just drive off. Most of the time, you will not be so lucky, and will probably need to spent time looking for a car that works, or at worst getting a car to work.
A running car breaks down into three main elements. It needs to have four wheels and an engine that is not damaged beyond repair, it needs a key in the ignition, and it needs some gas in the tank.
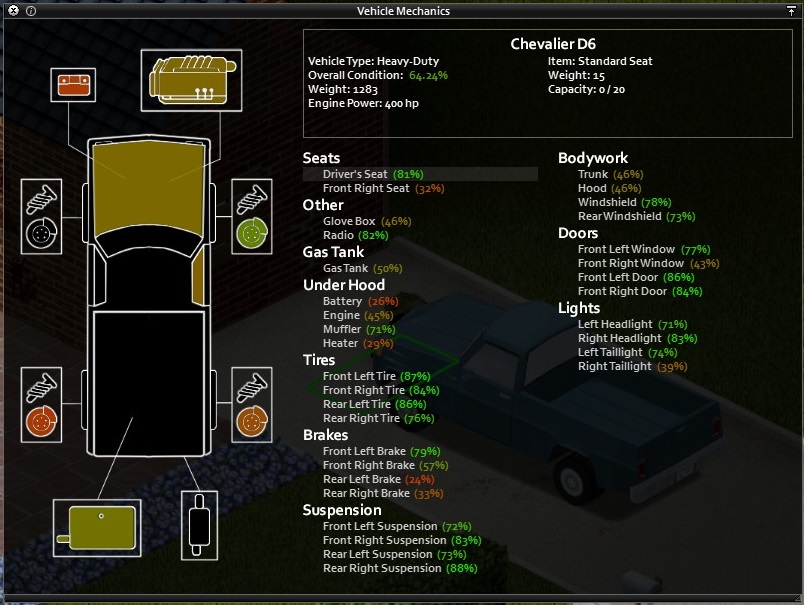
When it comes to assessing that a vehicle is not damaged beyond repair, initially a quick look will tell you whether the car is in one piece, and haven’t been crashed too badly. For further, more thorough assessment, walk up to the hood of the car and tap “E”. This will give you an overview of the cars condition. Parts have status between 0 and 100 %, conveniently colour-coded from green to red for the state of distress.
Next is the matter of the key. Certain professions and skills will allow you to hotwire cars, making the last point moot. But unless you know what you are doing, or have a character built for the purpose, you will find yourself walking from car to car, hoping to find it unlocked.
Sometimes the key will be in the ignition, sometimes the key will be in the glove box, sometimes the key can be found on the ground nearby, inside a house if the car is parked in the driveway (although definitely not always) and sometimes being carried by a nearby zombie. The latter is especially true of various service vehicles found in the world, either police cars, SUVs belonging to the fire department, ambulances, utility trucks with “engineers” nearby, or similar. You can also sometimes run into cars where the owner met their demise in the middle of changing a ruined tire.
When you have access to a car that isn’t entirely wrecked (although some vehicles, and service vehicles in particular can definitely have been driven roughly), you have the potential for a running car, if you can get access to some gasoline.
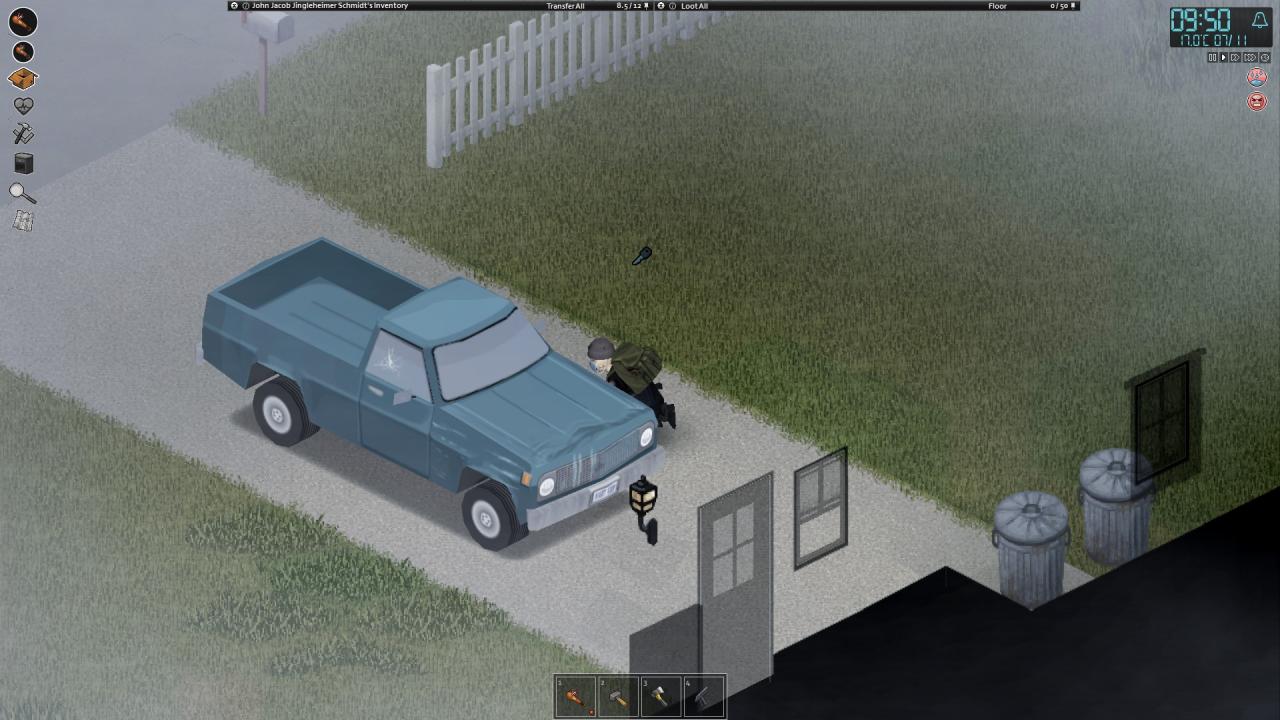
For this, you will need a gas can. Gas cans can commonly be found in the trunk of cars, in garages, and in sheds. Sometimes they are full, sometimes they are empty. Even with an empty gas can, you can still siphon gas from one vehicle, and then transfer it to another. This allows you to circumvent the conundrum of having one car with the keys in the ignition but no gas, and one car with gas in the tank but no key in the ignition.
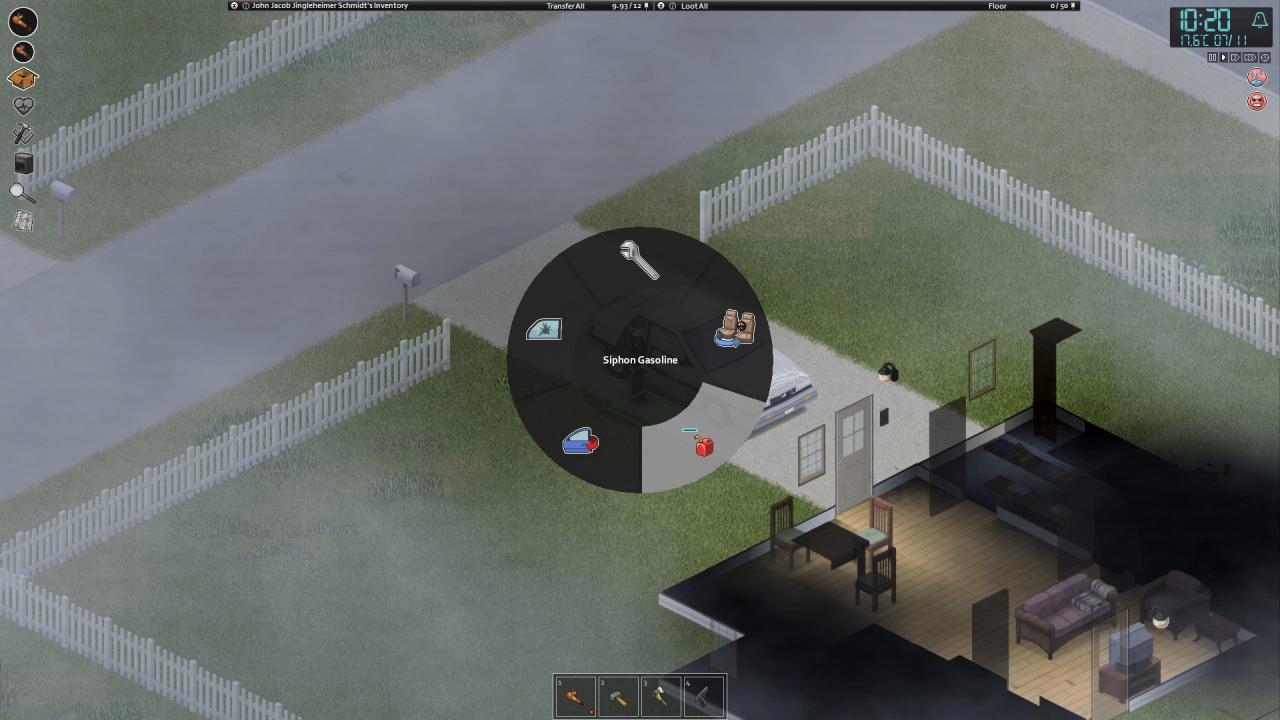
Cars have a special user interface of their own, unlike most other things. When either next to, or inside a vehicle, you can bring up a radial menu by tapping “v” by default. This allows you to do things such as breaking a specific window you are standing next to, or while seated in the car doing things such as switching seats, going to sleep in the seat of the car, turning on lights, radio, heater and similar. If you are carrying an empty gas can, standing next to a car and bringing up the vehicle menu, also gives you the prompt of “siphon gas”, if the car has any gas left in the tank.
Should you happen to find a gas can with actual gas in it, you can skip this step, and simply go fill up your vehicle. The same applies, stand next to the car, tap “v” to bring up the radial menu, and choosing to refuel the car from the gas can.
Finally, it should be noted that all cars in Project Zomboid (very unlike the real world in the year of 1989) has electronic central locks for all doors, and the trunk. Should you run into a car you want to loot, finding the trunk to be locked, you can smash a window, sit down in the driver’s seat, and simply click the trunk lock icon on the dashboard in order to unlock the trunk. Police cars also have a special layout that do not allow passengers in the back seat to climb into any other seat of the car. Clicking the door lock icon on the dashboard, will lock all the doors, potentially locking anyone riding in the rear seat trapped inside the vehicle. It would be considered very very rude to lock someone in the car, turning on the siren, and then evacuating the area, while playing multiplayer.
7. Some words on firearms (122 to be exact)
Firearms generate a lot of noise, and attracts zombies. And for this reason, they are absolutely not something I would recommend a new player start experimenting with early on. They can be highly effective, and after managing to get to the point where you are actually living and surviving, they should be explored. However, using a pump-action shotgun in order to get rid of 7-8 zombies, can potentially attract 100-200 new zombies. If you do find a shotgun and want to try it out, do not do it near your safehouse, have a car, and have an escape plan.
8. Going from “surviving” to “thriving”
However, once you have all the basics covered, you get into the second phase of the game.
By now, you need to start thinking beyond just somewhere with roof overhead, and rather start planning for the long term. You will want to find somewhere suitable to create a proper base, where you can farm, establish a garage to work on vehicles, keep a library of skill books, perhaps build up an arsenal of firearms for a more aggressive deep-cleaning of an area if needed.
Maybe you need all your countertops to be only dark oak. Maybe you need nothing but chrome kitchen appliances. Nobody gets to second guess your decisions and longer, after the apocalypse.
Likewise, you probably want to range out a little, and set up a few more small safe houses. They wont need to be anything like your proper home. Rather just a barricaded house, some canned food and some medical supplies just in case. Maybe some at the far reaches of the town you’re in, maybe some in the next town over, and have a small network of places where you can sleep safely through the night if you do not make it back home.
Regardless, by this point you should have gotten to a point where things are settling into a routine of sorts, getting up in the morning, heading out into the world to get hold of something you feel you need, doing some maintenance of yourself, your own physical health and/or mental health, taking care of your equipment, maybe moving some furniture around, wondering about maybe adding a log fence around the base. And that means you have managed the bare essentials for surviving in Project Zomboid.
At the end of the day, Project Zomboid is an open world game, where you decide where to go and what to do, and what is “good enough” at the end of the day.
Thanks to Skype_of_Cthulhu for his great guide, all credit to his effort. you can also read the original guide from Steam Community. enjoy the game.
Related Posts:
- Project Zomboid: How to Transfer Data From a Player-hosted Server to a Dedicated Server
- Project Zomboid: How to Create a Server on Linux
- Project Zomboid: Guide to Maintenance of Weapons