A general purpose, ‘here’s some basic tips to help you survive’ guide.
Preface. Or; “How words work.”
Also note stuff IS subject to change, since there is some randomness to you getting weapons and enemy appearances- It took me around five runs of Liminal/4 to see an armored turret for example.
1: Guns. Or; “How to not shoot yourself in the leg.”
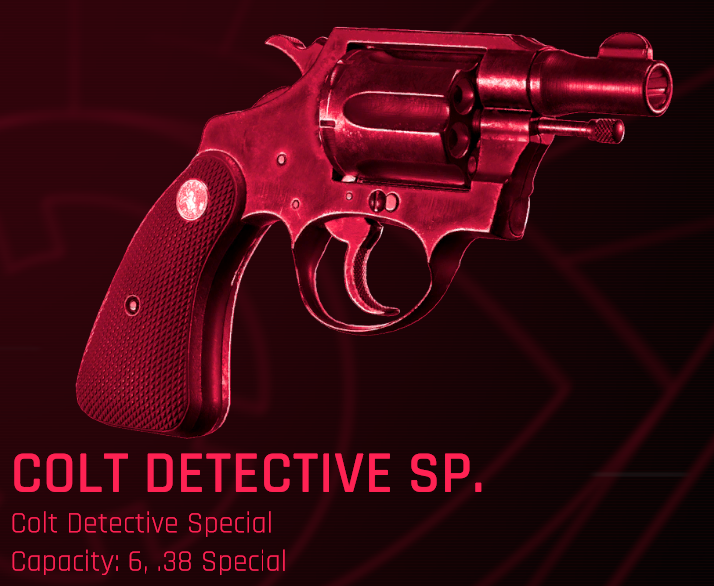
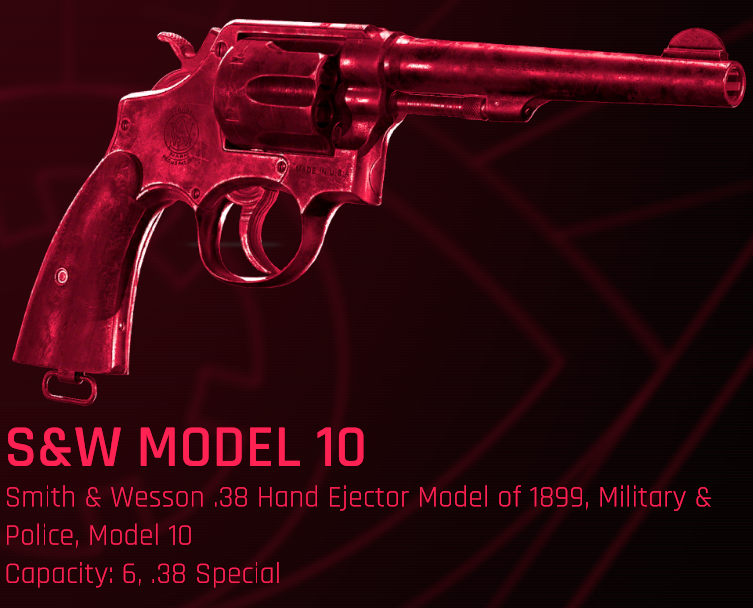
The Colt Detective Special & Model 10: Decock the hammer to safe yourself from legshots, Hold F – Hold LMB – Release F – Release LMB. They’re basically the same gun, except the colt rotates clockwise, and the Model 10 rotates counterclockwise. You start with these.
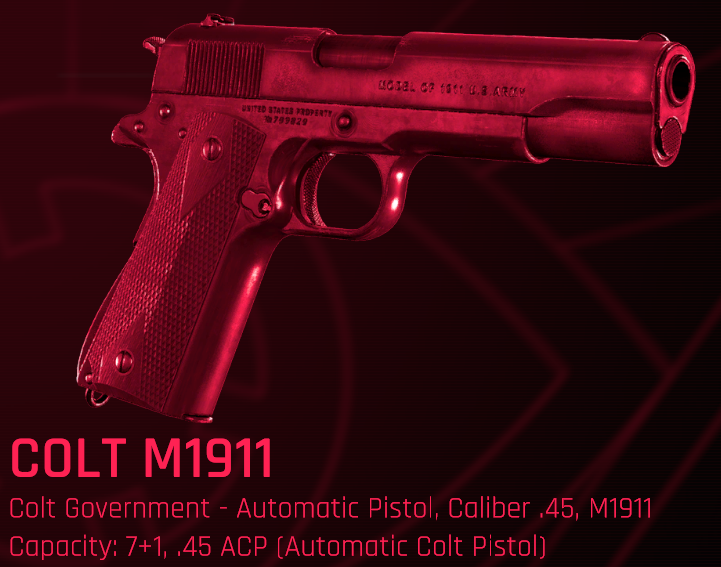
1911: Press V to safe it, wowie. You get this at level 2.

Glock: No manual safety, either get really good at holding tab, or- E to eject the mag, hold G, R, tap Z to reinsert the mag. You’ll have to rack it again to fire, which can lead to you getting killed by a drone if you’re unlucky. Pressing V makes it full-auto. This is worthless and makes it jam up constantly. Screw the glock, man. You get it at level 2.
New method! You can lock the glock back with less effort. Hold R, Hold T, Release R, Release T. This’ll still eject a round, but you don’t need to fiddle with the mag. Then press T when you want to shoot again. You’ll be down a round though, so keep that in mind.
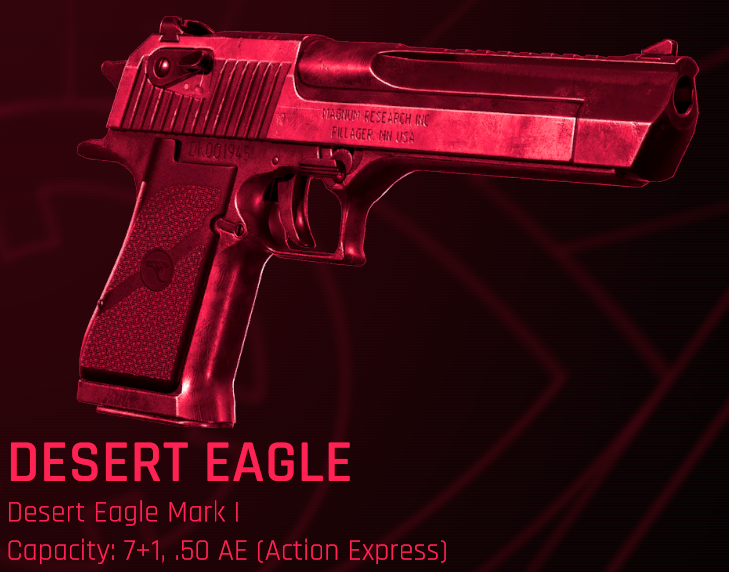
Desert Eagle: Manual safety, press v when you don’t want to shoot, press it again when you do. Donezo. Oh, and you can still do all the regular gun operations while the deagle is safe, unlike some other guns. This includes racking the slide, etc. You get it at level 3.
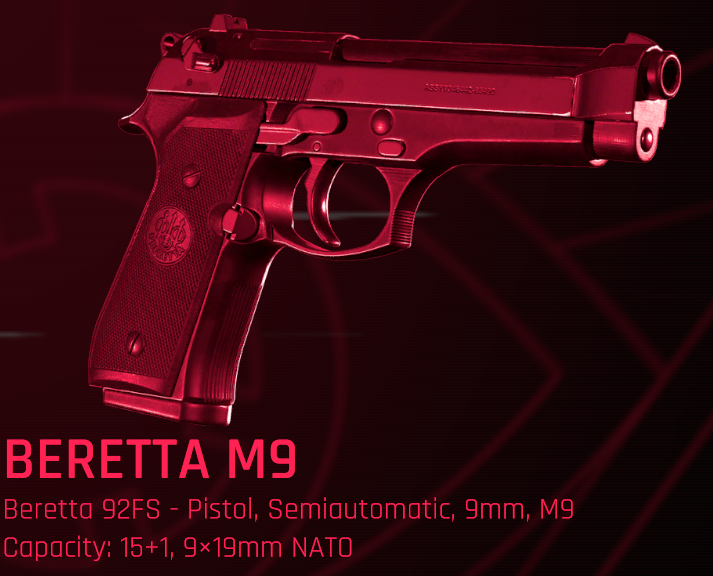
M9: Manual safety, but it’s kind of weird. It’ll decock the gun when you use it, which can lead to you leaving the safety on by accident. Double check that the striker is showing if you want to kill. You get it at level 3.
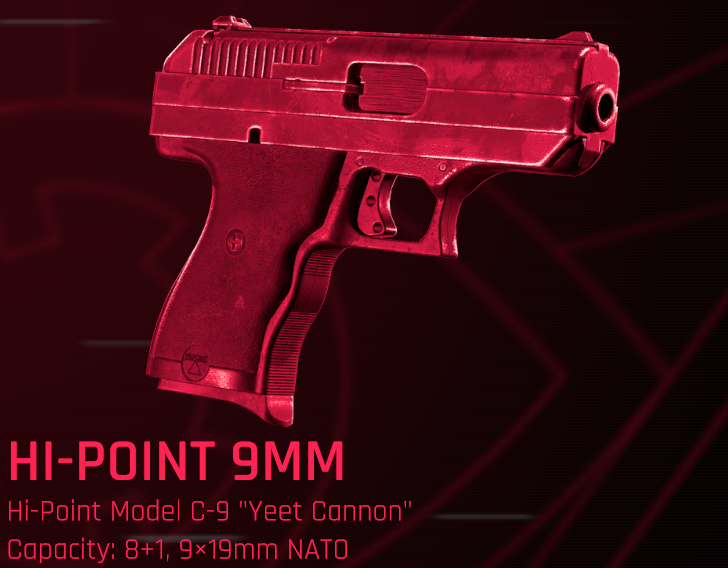
Hi Point: Manual safety, but it locks the slide. Hard to brass check when safe, and you can’t clear it. This can actually screw you over during Threat Echos, so make sure you don’t safe it before trying to rack it. You also get this at level 3.
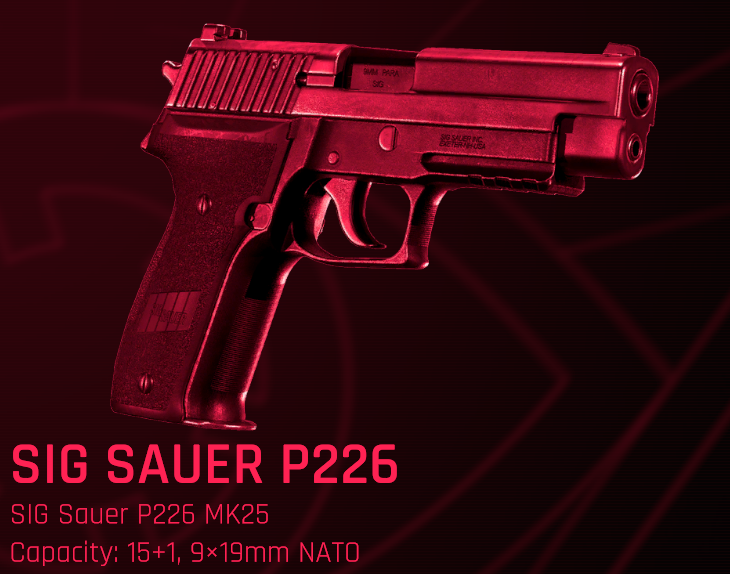
P226: Decocker. Think of it like the M9, except you don’t need to tap v again to start killing. Probably the nicest safety of any of the guns for that reason, glock level ‘always live’ without the glocks problem of unitentional suicide. You get this at level 4.
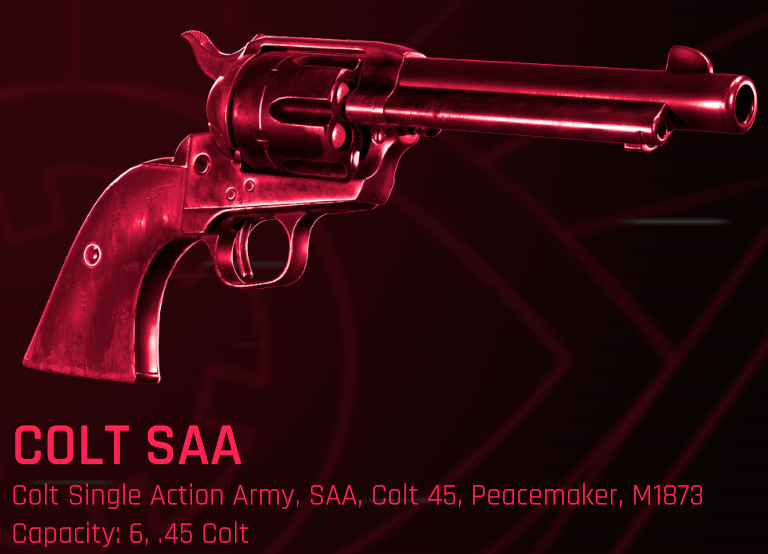
The COLT SINGLE ACTION ARMY: This one’s a doozy. Tapping F to put it at half-♥♥♥♥ is your safety, and how it reloads. You need to put it to half, press E to open the loading gate, align the round with the ejection rod, press V to eject, then repeat that for every round (minus the gate.) It takes a lot of getting used to. You get this at level 5.
2: Movement. Or; ‘Why do I keep falling into bottomless pits?’
With mantling in mind, you can go pretty much anywhere you want to. Too many turrets down a hallway into an apartment cell? Back into the previous room and jump the balconies, then shimmy down the side.
3: Enemies. Or; “That’s a new ligh-ohgodwhy”
Normal turrets appear from the getgo, I personally aim for the big ammo can on the back as I think it’s the most reliable shot to shoot.
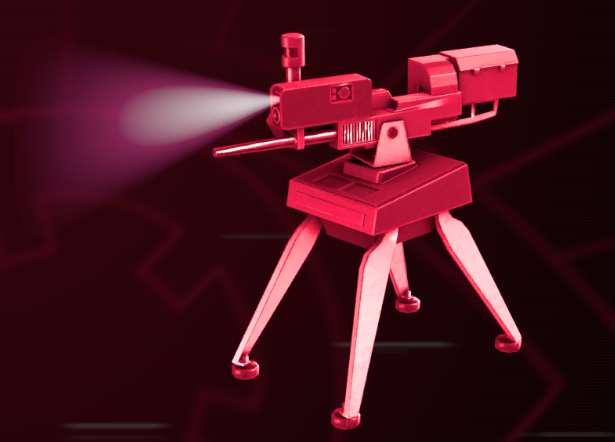
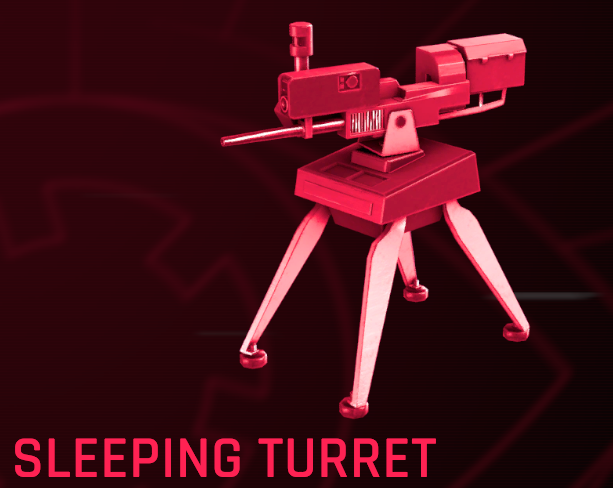
Sleeping turrets appear from level 2-3 onwards, they alert if you walk infront of them, but are basically free ammo as long as you’re observant.
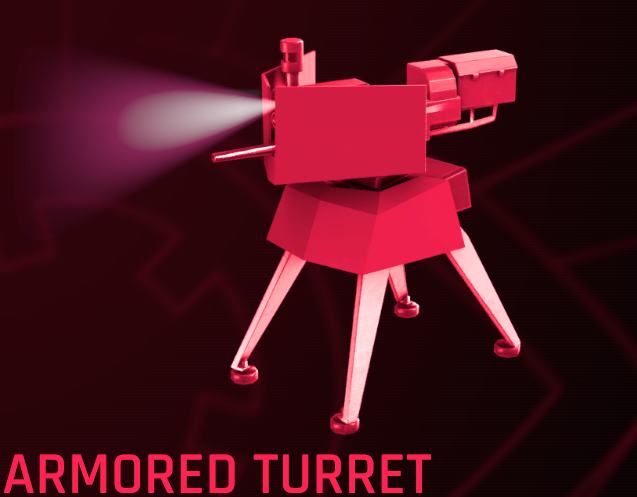
Armored turrets appear level 4 and up, and have a gunshield protecting most of their body. The Desert eagle and SAA are theoretically able to penetrate it, but I’ve never had much luck. Just stay hidden and aim well.
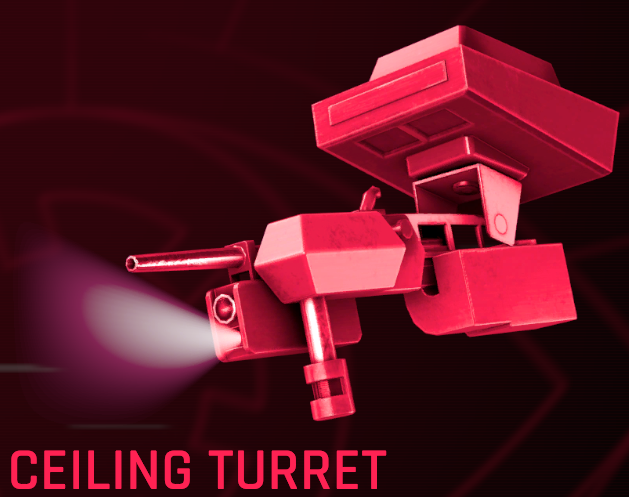
Ceiling turrets appear level 3-4 onwards, and are generally tucked away into corners. Their light is also shaped differently than ground turrets. They DO NOT aim straight down as part of their patrol path, so you can sneak up on them and hack them fairly easily.
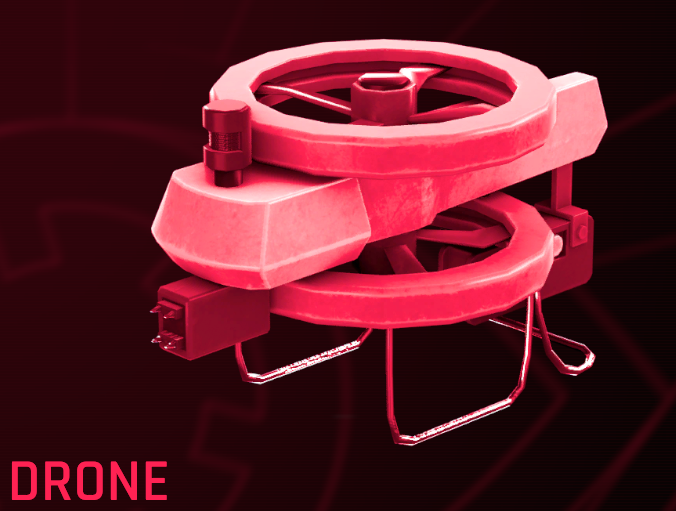
Drones are your worst enemy. They’re fast, they’re aggressive, and they’re jerks. They appear level 2 onwards, and rotate in place at that level. On level 4+, they sometimes patrol in an area around wherever they are. Aim for the center. Oh, and they don’t drop ammo. Jerks.

Cameras start appearing at the highest levels. They don’t have a gun on their own, but they don’t drop ammo, and if you step in their FOV they’ll alert all nearby drones to come chase you down. You also cannot hack them.
4. Balloons And Tapes! Or, “Free ammo!”
(mind my horrible aim.)
Also, you can shoot tapes. It counts as a pickup. If you run into a situation where you can say, see a tape on the bottom of the hospital while it’s surrounded by 8 drones and 3 turrets? Shoot it from above. Just don’t mind the fact you’re forsaking your training, Receiver.
5. Final notes. Or, “Goddamn awful progression system.”
This is also the first guide I’ve ever written for a game, so yell at me if this ends up out of date or if I missed something other than the proto-turret.
Related Posts:
- Receiver 2: All Firearms
- Receiver 2: Some Tips to Help You Along
- Receiver 2 Compound Challenge Dome Floppy Disk Locations
- Receiver 2: Rebinding Controls/Tweaks
- Receiver 2: All Decrypted Notes