
A detailed and explanatory guide on the boss fights and how to efficiently deal with them.
This guide will go in details for each of the boss fights, explaining the behaviors and giving the strategy to fight them. Hopefully this should help you figure out how to do it and vanquish your worst fears!
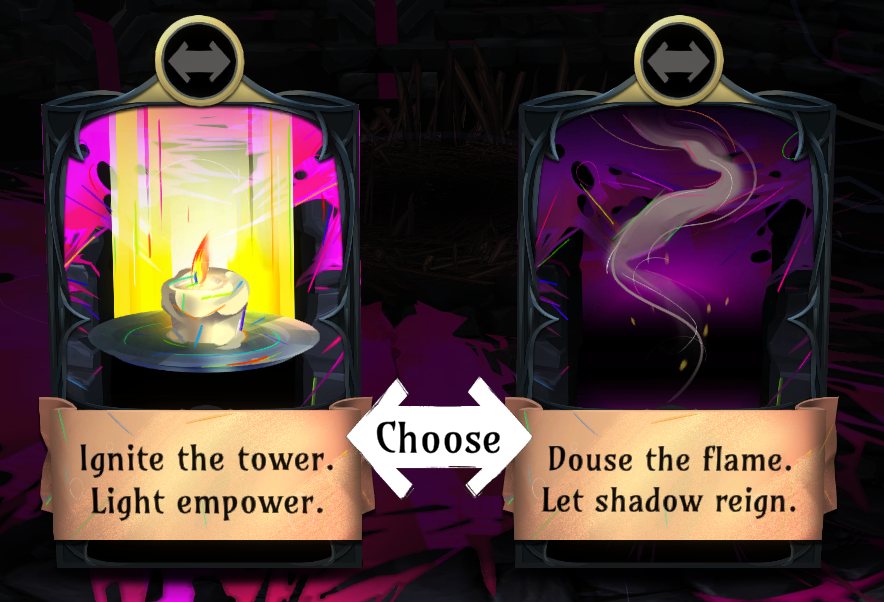 Which to choose?
The shadows path will be quite harder, but in counterpart has much more items and scrolls in each room.
The Owl fight is easier, but you have to rely more on what you already have to win.
Note: If you manage to defeat Owl in Reprieve, you won’t be given a choice and will directly railroad into the Owl fight, with a fifth of his health down.
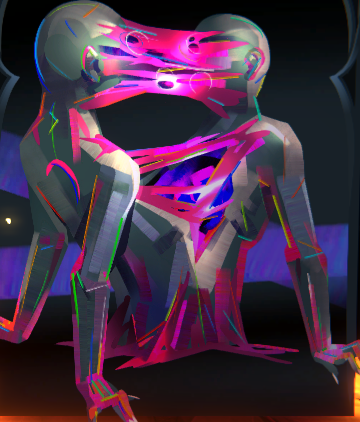
 Owl will start by summoning a full ring of monsters, potions and rarely items. Then it will jump on the other side, opposite from you. Once this is all set up, the fight begins, every turn he will be chasing for your position until he comes in reach, then he will try a basic slash.
During that time, you have many options, but the best is to clear up your position by fighting the enemies summoned around. It is best to not use any of the safe cards as they will act as important free movement during the fight.
You’ll quickly realize once in front of Owl, that he does not joke around, and there is no way to fight him fair. Thankfully, he has weaknesses, and the major one is explosions! As you could notice, Owl always summons a number of exploding hives ready to be set off, and that will be his downfall. Your goal will be to lure Owl near one, then make it explode somehow. There are a fair number of ways to do so, but if worst has to come, attack it directly, even at the cost of a bit of health.
You can use splash damage through other monsters, room wide effects, poison. Another way is to use Owl directly, you need to place him with an exploder behind, and as if you bait him out a bit by evading his attacks and coming back, he will be annoyed and will perform his swipe attack, ensuring a risk free stun. Warning: He will not do this if you haven’t killed a few monsters already. Finally, be very wary of freezing exploders, otherwise you might be in a world of hurt with no way of stunning owl, the above tactic is the best way to ensure he gets stunned regardless of your build.
 Owl is now stunned, and will stop any action he was going to do(which is important to avoid getting hit in some situations). During that state, he won’t retaliate and also loses a lot of defense, it lasts for around 5 turns, so dish out the maximum of damage you can. Once he is going to wake up, the vulnerable icon will flash briefly, be wary of it, do your last attack and get ready to run away.
As when he recovers, he will perform an angry swipe that targets the monsters around him, and you. After that, he will jump away in the ring, and summon more monsters. Rinse and repeat until you take his health down to half.
Notes: Wall monsters are deadly when running away from Owl, be very careful when you see one has been summoned. Don’t use items and potions unless necessary. Clear up a bit the ring of monsters to push Owl to resummon more monsters and potions. Jump around one card if your position is good but Owl is too far. Don’t try to fight Owl directly. Don’t waste exploders by trying to stunlock Owl when he is vulnerable, it won’t reset his state.
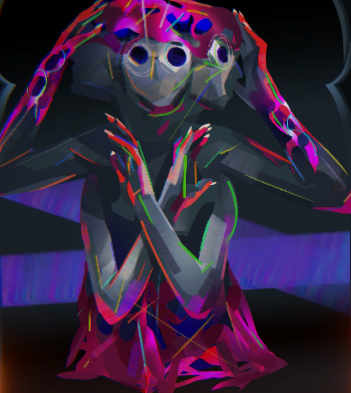
 Those attacks target the two cards in front of you, with a 2 turn cooldown, leaving you just enough time to evade it, don’t stick around! Once the attack falls down, you have 2 turns of respite to fight and don’t need to move. The screams can be used as they will also damage monsters, but be careful because killing a monster which would be targeted won’t remove the attack, it will still happen on the card that has now replaced it.
Meanwhile, whenever Owl has summoned Hatchlings, after a few turns of screaming, he will do a 1 turn Powering Up attack which transforms all the Hatchlings in the ring into Crooked Loombirds(light version). Be very careful of this as they will hit hard, so try to kill them before they can be transformed.
Now we can focus on progressing: in that situation, you have only one way, it’s to destroy a Boundless Soul. Thankfully they have no stats, and can be brought down very easily in a few attacks. Once done, it will force Owl out of the middle, and put him in a vulnerable state, similarly to explosions. Although this can be tricky since Owl won’t be close to you so you’ll have less opportunity to hit him.
 After this, he will chase you like in Phase 1 for a bit, then jump back in the middle and do a wide scream attack that targets random spots in the ring, dealing a bit more damage. You have 5 turns to find a good position, clear up some monsters and avoid the attack. Then, like usual, it’s summon time, and we’re back to the screaming phase. You know the drill now, and hopefully can end him for good!
Notes: You will take double the damage if you stay in the middle of a scream attack, at least try to move from one card if you can’t fully avoid it. Make good use of the screams to clear up monsters. Walls are still problematic, even if less so. When Owl is chasing you, you can chain stun him by destroying more Boundless Souls.
 The shadows path is not a conventional boss fight, instead you have to fight 5 rings of monsters with an Elite boss monster in a row, starting with Confidence.
This fight is the first one, but not the easiest; Confidence is going to aim at you from afar and deal 4 damage per turn when in reach, then it jumps away after a turn at close range, or after taking damage. Like with all the ranged monsters, it cannot do anything if you’re in melee range, so the best course of action is to simply rush it down!
The room will often have many walls, so the best course of action is to clear up the annoying monsters out of range, then try to tackle down Confidence when it’s clear. Although it won’t always be that easy, if you are under fire, you will have to take hits but you need to reach the boss fast. Make good use of the potions to stay alive and after an arduous fight, the door to the next boss will appear.
Take your time, heal yourself if possible, get some of the gear laying around, and jump in.
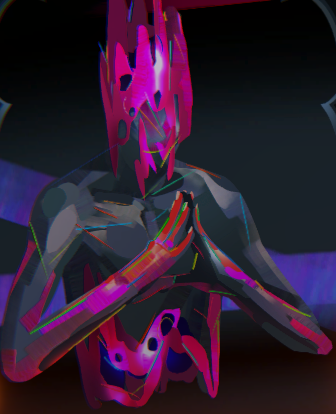
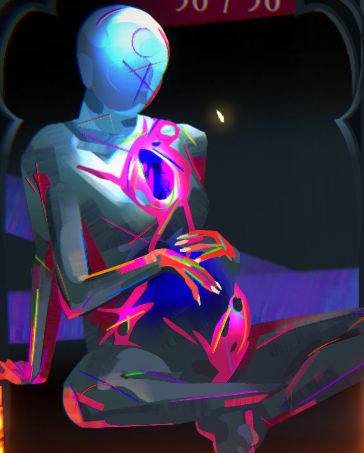
 I think that Connection is easily the most dangerous fight you will have to fight. The boss is quite weak by itself, but it has a frightening ability: every time it gets hurt, it severely buffs a monster that will then begin chasing you. But it’s not all, if you hit another monster, Connection is the one that gets buffed!
For this one, don’t waste your time, run to the boss without fighting, then pummel it to death and directly jump into the door, it is too dangerous to stay around a single turn more. Thankfully this room doesn’t have walls, so it won’t be an issue to do that, but in counterpart, it will have 2 Amalgams, which are another major reason you don’t want to stay around for long.
Another solution, although there is no clean way of doing an in between, is to completely sweep the room clean of monsters before starting to hit Connection. It is a much easier fight, but due to the end game builds, you have a high chance of inadvertently hitting the boss while doing so. If you’re able to, it is much less pressuring, but keep in mind to absolutely avoid the boss until it’s cleared.
The strategy here is quite simple: first, clear out the ring as much as you can, it will have some huge firehives and leaking bilebags, and you don’t want to die from a misstep. Once the range is clear, you can focus on Discipline, one hit at a time, using the many potions scattered to heal and continue attacking until the boss goes down.
It should be a walk in the park, if you’re disciplined enough, that is…
 You might be wondering what could be worse than what you already went through… Well don’t worry, Calm is the easiest one of them, the boss itself isn’t a threat, and the whole ring is frozen at first.
Every turn, Calm will unfreeze a monster, and this is where the danger comes from. Nothing prevents you from doing preemptive attacks and clearing the ring before they can get unfrozen, killing Calm also stops them from unfreezing.
There is honestly no particular strategy needed here, except slaughter them all! Keep your head cool, and you will face the last challenge.
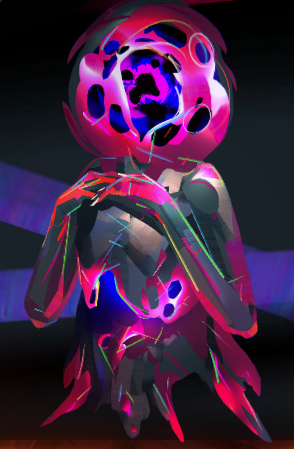 Vision is a special fight, if you rush it might spell your doom, but when handled with care you can finish it easily. Vision’s special trick is to hide completely a card after it has been hit, you better remember clearly what was where, otherwise you might be in for a bad surprise… It will also try to move away from you every turn or so.
The strategy is again pretty simple, at this point, you should be strong enough to stomp most monsters, so aim for the boss, and as long as you don’t carelessly expose yourself to danger, the fight should be over soon. Be careful of the many exploders and spinebacks.
Now then, enter the final door, insult yourself a bit more, and slash the darkness away, spelling your own doom…