In this guide you will learn about the controls, gameplay, basic strategies and speedrun strategies. Images Spoiler Alert!!!
Introduction
This guide will be your manual and possibly reference guide in order to get start and to start sweeping! We will be covering the basic controls and some strategies. Everything mentioned in this guide can be applied to any Minesweeper game out there.
If you are already familiar with Minesweeper in general then the strategies section might be interesting as well as the speedrun section.
Do note that when you run the game you can choose between DirectX11 and DirectX12. 12 requires a beefy graphics card, but contains ray tracing. As it is unstable you will get the cleanest experience from the 11 version.
Controls
Left mouse button is used to interact with anything. In game this is used to reveal tiles. As long as you don’t release the left mouse button you can hover over tiles highlighting all the adjacent tiles.
Right mouse button can be used to plant/remove flags. You can use flags to mark where the mines might be. With this you can easily keep track of how many mines are left to track down.
Bigger grids require more options depending on your monitor.
WASD can be used to move around with the camera.
CTRL+Space can be used to adjust your height.
Scrollwheel can also be used to adjust your height.
Holding shift increases your movement speed.
Gameplay
That being said there are certain things that you might notice over time.
Each run is timed. Once you solve the grid you will see your time with 3 decimals. This is build in for people that want to speed run in order to achieve the fastest possible time. The game will also keep track of your own fastest times per puzzle.
After you solve a puzzle you will also see your skill percentage. The higher the better. Your skill level gets lower the more helpers you use.
A helper is something like highlighting adjacent tiles in order to see which tiles are connected to the tile you are currently selecting.
Planting flags are also a helper mechanic as it makes the game easier for you since you can see where the possible mines can be if you planted the flags correctly.
The purpose of helpers is to make your experience easier or more bearable and there is absolutely no shame in that! Please make use of them until you are very experienced. Even the most experienced players use flags. If you want to challenge yourself you can try to play without.
Basic strategies
Once you reveal a tile you will notice that if it’s empty that it will clear multiple tiles.
Empty means that there are no mines nearby.
However if there is one or more mines nearby the tile will tell you so by showing it as a number. For example 3 would mean that there are 3 mines nearby.
These numbers are based on the tiles that are directly connected to it, so if for example the number 1 is shown and there is only one tile that hasn’t been revealed then that tile is most definitely the mine. Clicking on it would result in a game over.
There can be situations where you have to “gamble”. These are often called 50/50’s since you have a 50% chance on picking the right tile. It can be very unfortunate, but on very rare occasions it happens. However always try to clear the grid as much as you can. A 50/50 at your current position might mean that other places have a 100% calculatable tile that you can click.
As you can see you might encounter a 50/50 near the end of the game.
Once a tile is revealed and it shows a number and is still clickable. Empty tiles as well (this will make sense later on). When a tile with a number has the same amount of flags nearby (indicating the marked mines) it will reveal all non-flagged tiles that can be revealed by just clicking on it. For speedruns this feature is essential.
Minesweeper in general is a game that you will get better at with experience.
Make sure to check out the patterns section to see some examples in order to get a better understanding about what is solvable and what isn’t.
Patterns
If you want to practise patterns I would strongly advice you to play in the Waterfalls puzzle at the Asia level. This might seem overwhelming at first, but you will encounter most patterns to familiarize yourself with.
This strategies will be based on the numbers per tile in order to make it easier to understand.
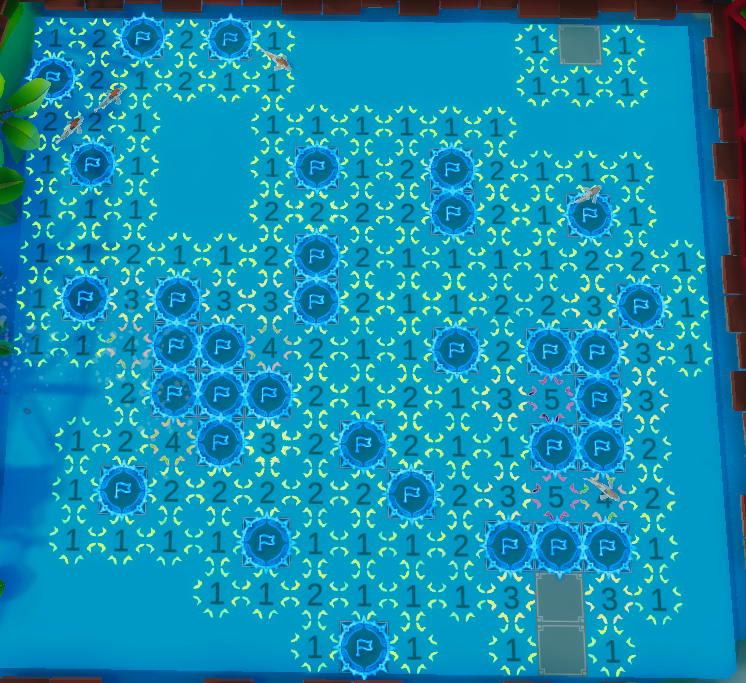
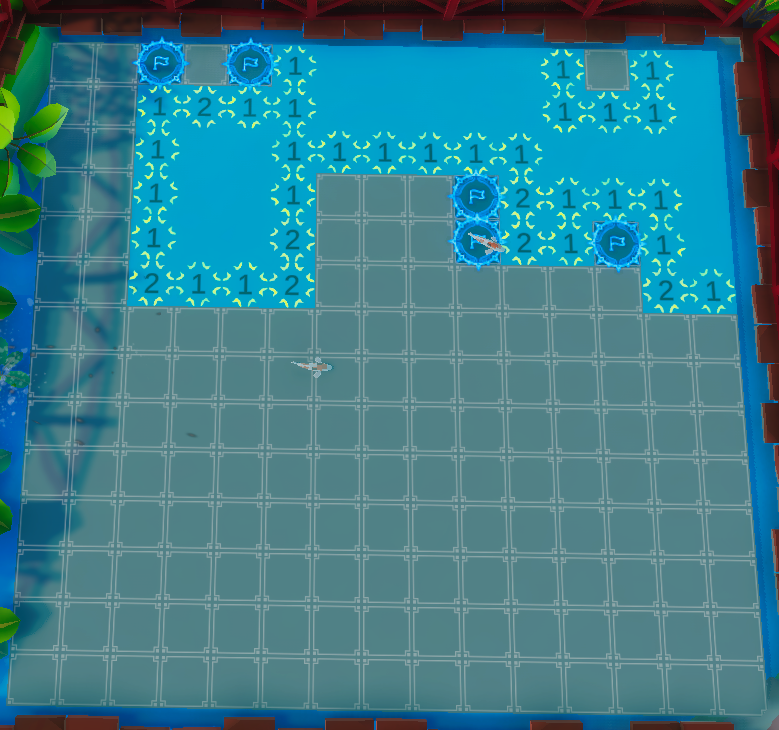
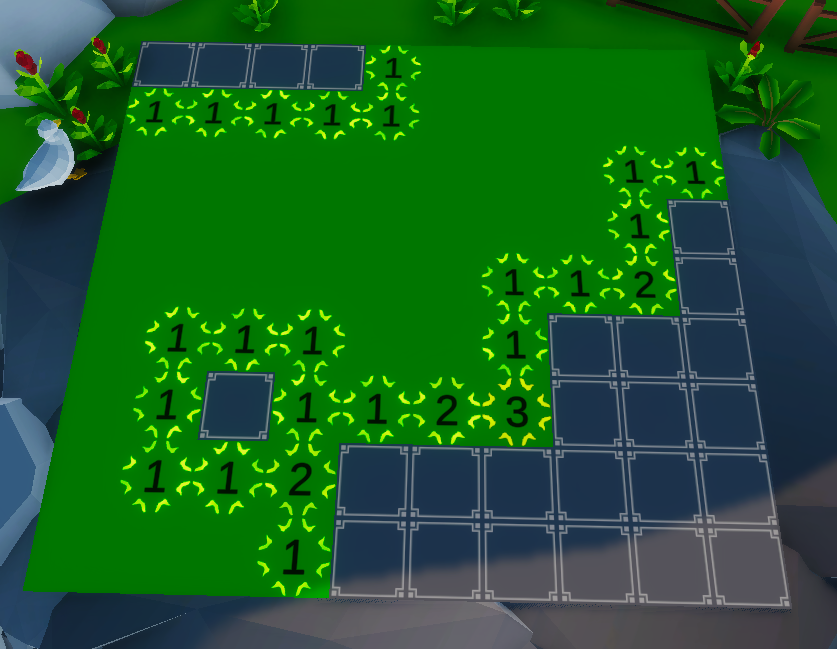
You will encounter an 1 pretty much everywhere. These can be the easiest, but also the most annoying ones at times.
Look at the image above you can see in the top right corner that there is for sure a mine surrounded by ones. We can mark it with a flag if desired, but for now it will remain untouched.
The first step is to flag corners. An 1 at a corner (meaning only 1 unrevealed tile is available to the one surrounded by either numbers or empty tiles) always means that the tile is a mine.
Another common encounter are double ones at edges of the grid. This means that the top most 1 has a mine in 1 of the two tiles. The second one has 3 tiles nearby, however since it shows all nearby mines (including the mines from the one on top of the one) it is correct to assume that the third tile is empty. Clicking on it will further our progress.
Always keep in mind that if a flag is nearby an 1 that all other tiles near that 1 are empty if you flagged correctly.
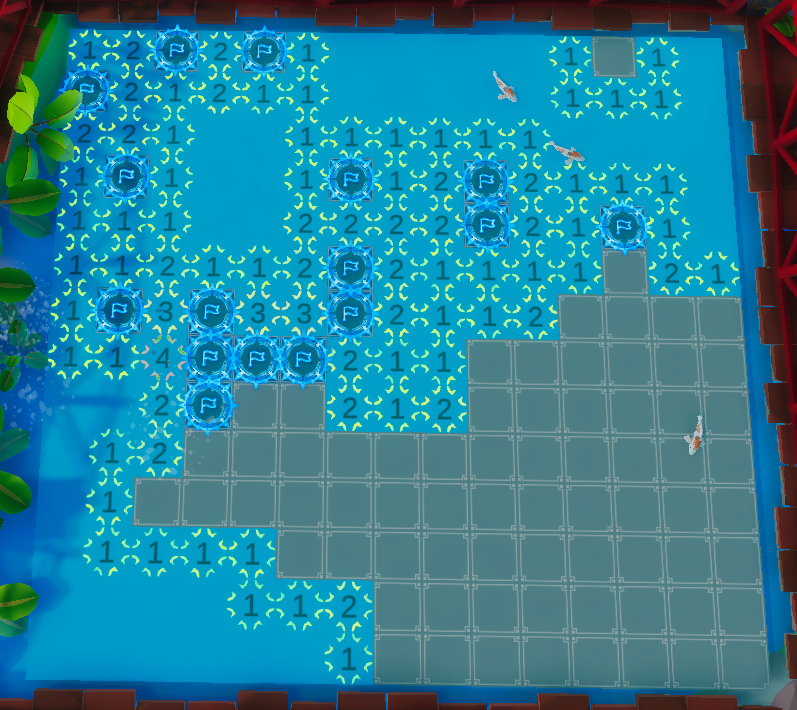
This brings us to the 2s. As the number suggests, this means that there are 2 mines nearby. If 1 has been flagged already due to the ones it means that it is essentially a 1, since you have to discover 1 more mine nearby.
Let’s look at the center 2 next to the flag. All ones surrounding it already have a mine flagged, so there is only 1 tile adjacent to it that has to be the mine. We can flag that one. If you are unsure you can also click on the number 1 to reveal all adjacent tiles, or you can safely click the tiles one by one.
With 2s and 1s comes a specific pattern called the 1-2-1 pattern. Whenever you see this with unrevealed tiles at one side the mines are always placed in a manner of 1 – 0 – 1. If the mine was placed in for example 0 – 1 – 1 then the pattern could be 1 – 2 – 2. Top left shows the pattern in the current situation.
On rare occasions you can also see 2s in corners, similar to the 1s. This means that the 2 adjacent tiles are mines. Usually the 2 isn’t in the corner, but next to a cornered 1, which you can see below the 1 near the center flags.
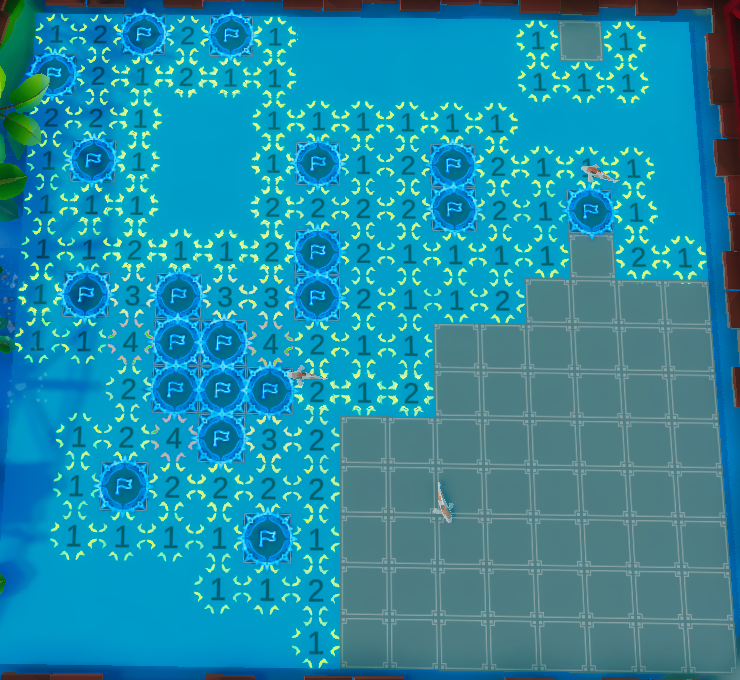
It is also possible that you encounter 3s. If it is at an edge this means that the 3 only adjacent tiles are the mines. If there is a 2 next to the 3 in that line-up then you have also discovered the 2 mines of that one.
Sometimes they can be in a shape similar to a cornered 2, make sure to flag them when you know 100% sure that they must be a mine. However make sure to pay attention to all the other nearby flagged tiles as well to prevent mistakes as they can easily happen. Can you spot it in here?
Sometimes you will also discover cornered 3s where there are only 3 clickable tiles next to a number, this is very comparable to 5s which can be frequently found in a similar situation.
In the sample above you can also see a 4. This 4 only has 4 tiles nearby, which makes it easy to check off even more mines!
I was lucky to spot a five in here after clearing more of the grid. Once you start encountering 5s or higher you should think different from before. Before your thinking proces has been “Alright, I see a 1 so there must be 1 mine nearby”. From here on you will be thinking “I see a 5… so there must be 3 empty tiles nearby!”. Each tile that isn’t on the edge or a corner always has a max of 8 tiles connected to it.
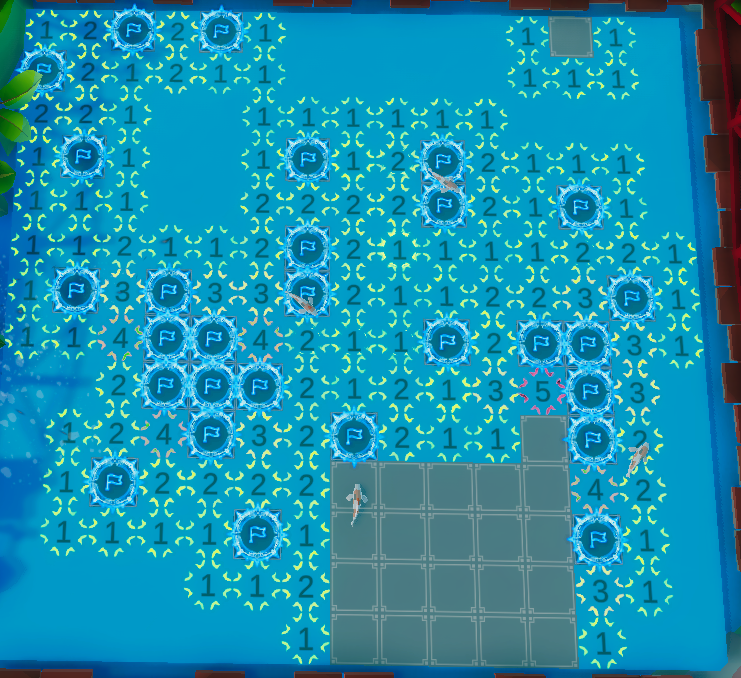
5s can also come in (inverted) L shapes. It looks like a larger corner version of your traditional cornered 3.
The highest number I encountered was a 5, so this will be more theory than samples with screenshots. 6s have only 2 empty tiles nearby. Doing a random click will have a high chance of it being a mine. So you might want to clear the surrounding area first in order to shape a path towards the 6.
7s mean that only 1 empty tile is connected to it, usually you encounter a 7 after another high number such as 5. So everything else is a mine.
Well aren’t you extremely lucky with your random click? Just kidding, you can find 8s if you have a cluster for example in the center of your playfield with all the mines flagged, but a single tile in the center not. Other than lucky clicks the chances of you finding one is close to zero… or is it?
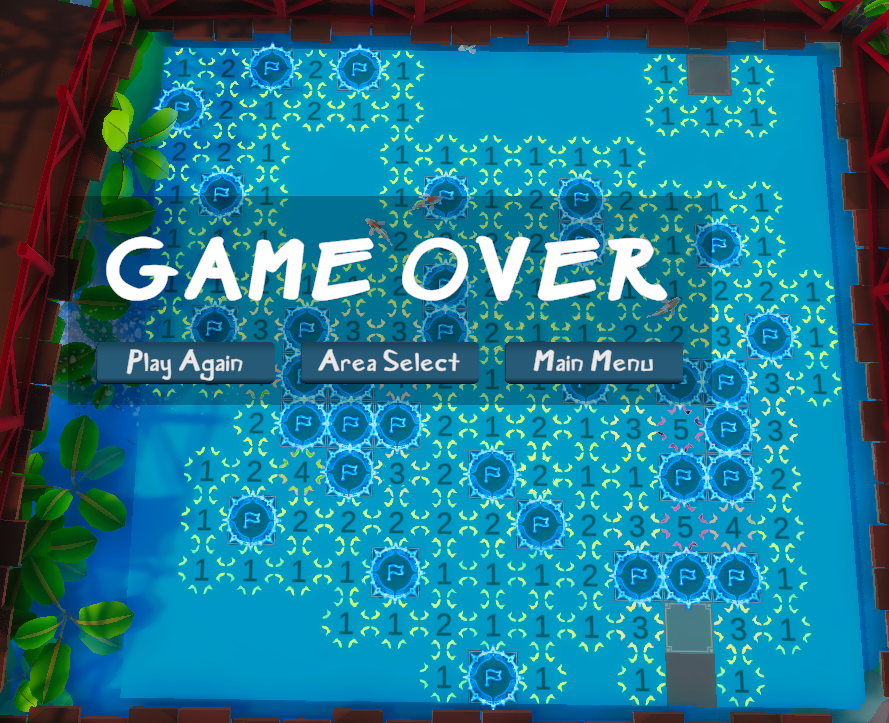
In case you are curious… this is what we ended with. The last 2 was a 50/50 and unfortunately I clicked on the wrong one, but it happens!
Speedruns
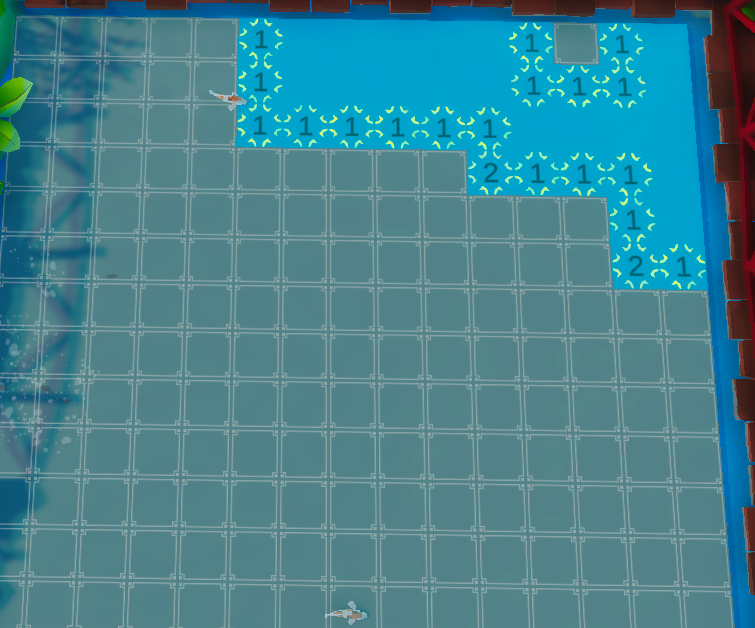
After memorizing most patterns the second most important thing is your first click. Let’s take an easy grid as a sample.
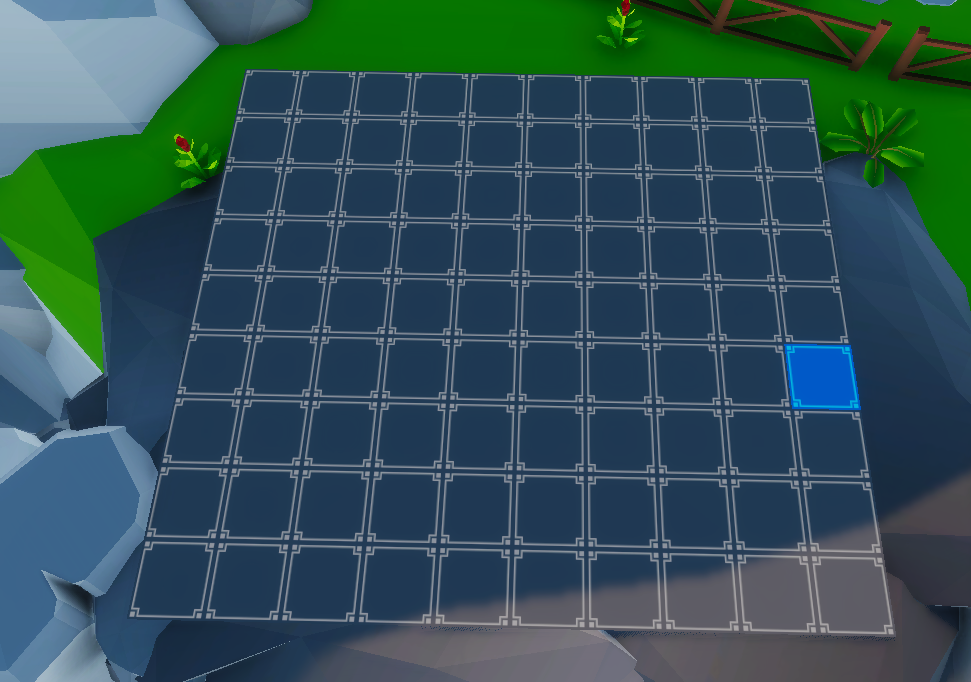
The Cliff in Asia will probably be one of the puzzles you get the quickest times in. The first click reveals a lot tiles, so you always want a good starting point.
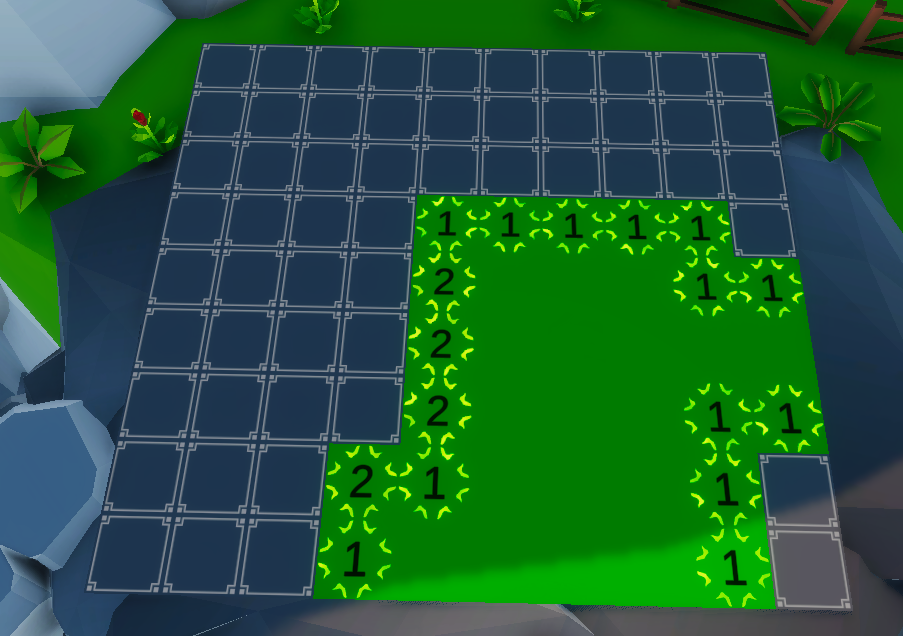
If you don’t get a good start you might as well reset. Eventually it will come down to the most efficient start!
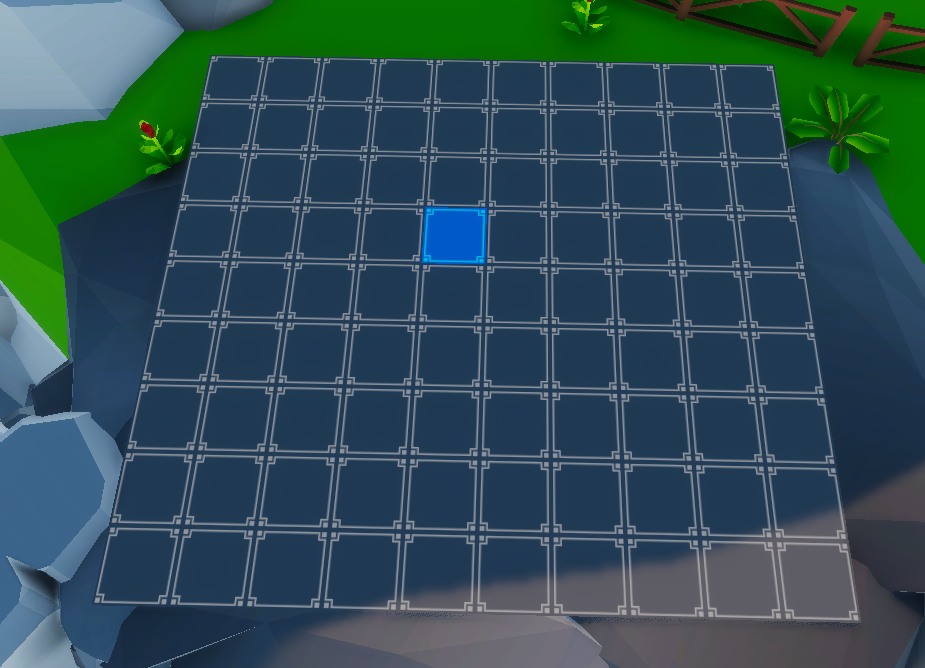
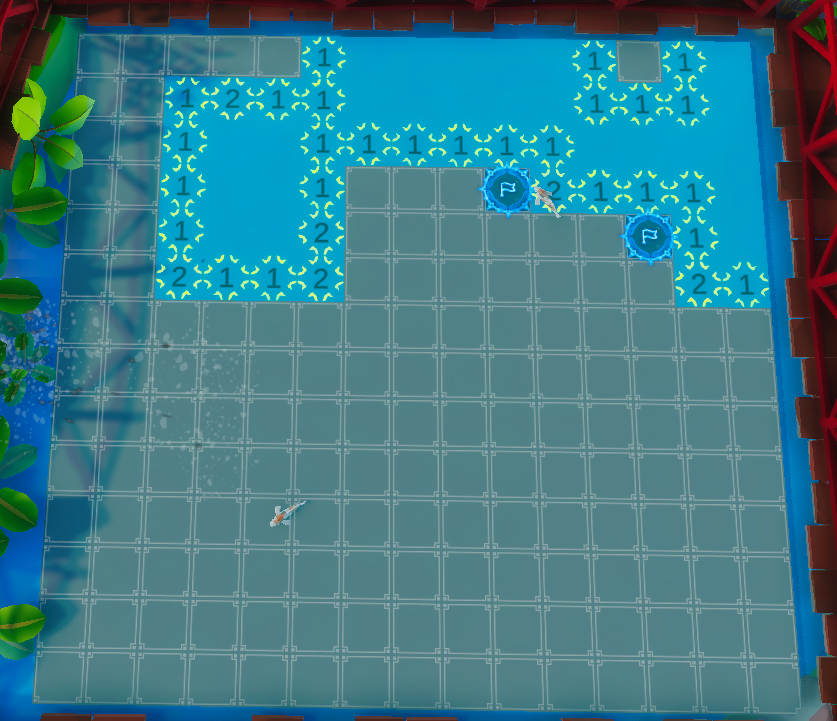
As you can see this is a much better start, but the chances of getting a better start is quite low here so I might as well clear it.
The final important thing for speed runs is multi clicking. If you click on a number that has the correct number of flags nearby then you will reveal all unrevealed tiles connected to it. Do this once you are already comfortable with the Minesweeper genre, otherwise it might leave you confused.
Final words
The game has a lot more to offer than I covered in this guide, but this should at least get you started, so good luck and get puzzling!
Thanks to ploopploop for his great guide, all credit to his effort. you can also read the original guide from Steam Community. enjoy the game.