Overview of the Rusted Moss’ level editor (Demo Version) features and how to use them. Also how to play other people’s levels and share your own.
Level Editor Controls
Delete block – Right click
Move screen – Middle mouse button OR Ctrl/Shift + Mouse Scroll
Teleport Player – R (This only works in test mode, not when you’re playing a level. Right now in test mode, the first player spawn in doesn’t quite work so use the R key to teleport them to the appropriate position when testing.)
Move Tool

Move tool that is available inside the level editor. Use it to drag blocks around.
Rotate Tool

Rotate tool that is available in the level editor. Clicking on a block rotates it.
WARNING: Not all blocks rotate nicely. Some blocks like mana stone and jump pads will visually appear to rotate but their behaviour will be kinda weird. Blocks that the rotate tool was mainly made for are the vent blocks. You can also rotate the room transition blocks (see room transition section for details on how it affects room transitions).
Editor UI Guide
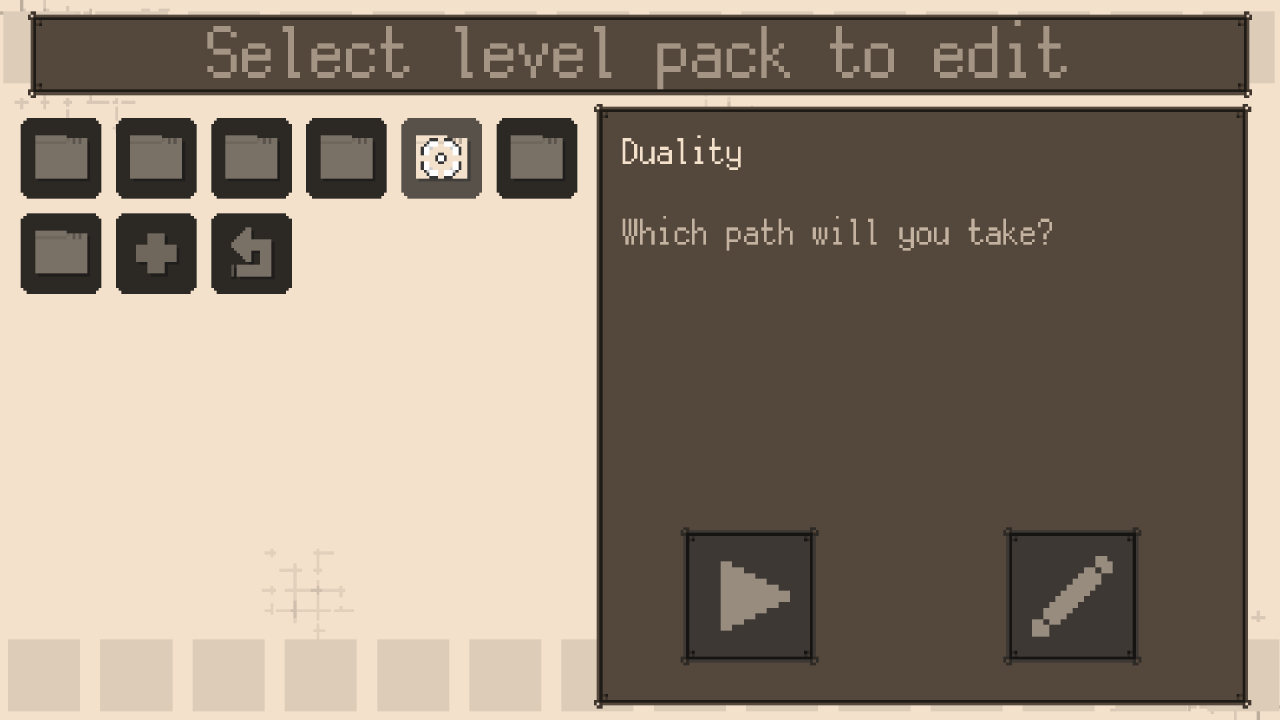
After clicking on “Level Editor” when you start the game, you should eventually get to this screen. The plus sign is to create a new level to start editing. Existing levels appear as folder icons. Clicking on the folder icon should bring up the level’s name and description. The play icon starts the level for you to play. The pencil icon lets you edit the level.
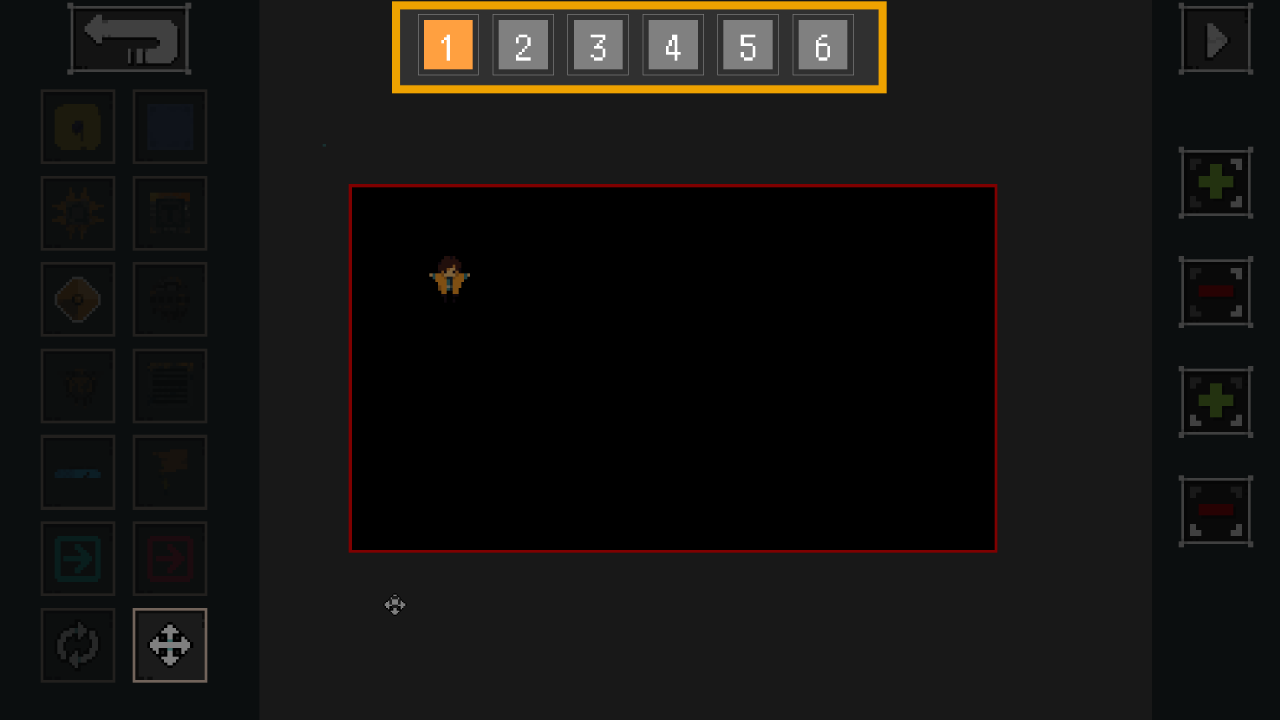
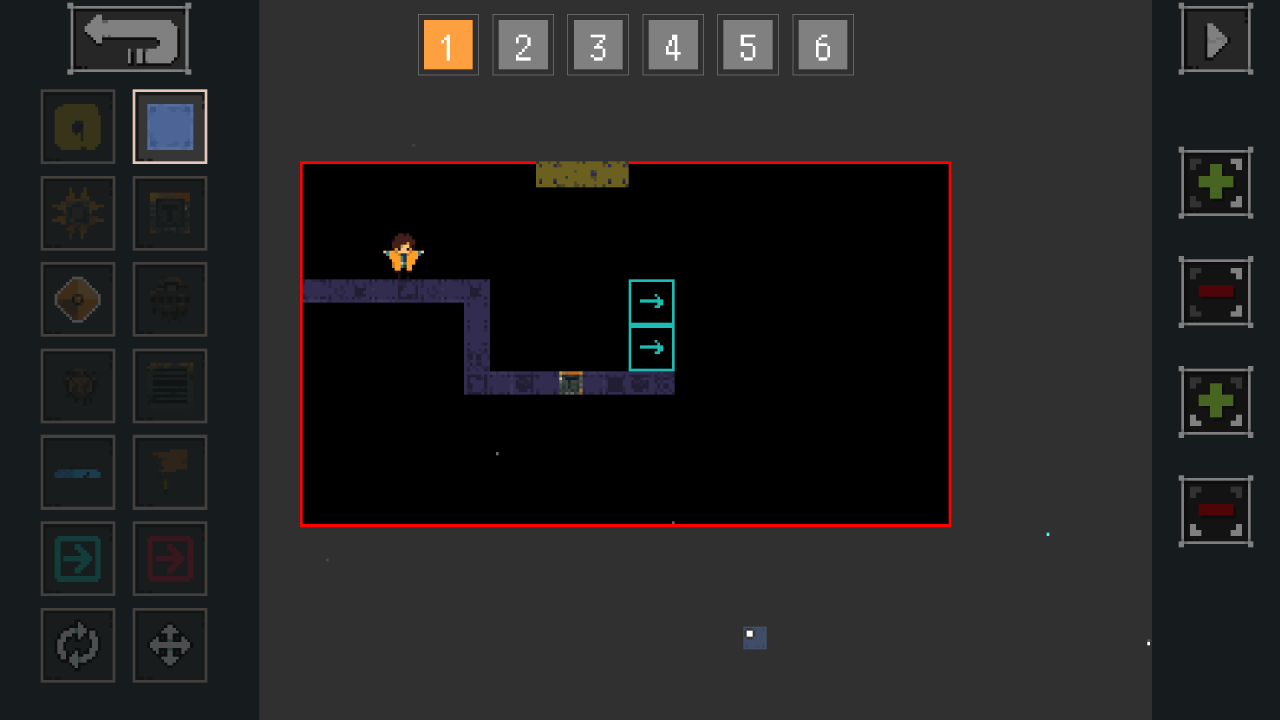
There are a maximum of six rooms to switch between. Click each of these squares to change to different rooms.
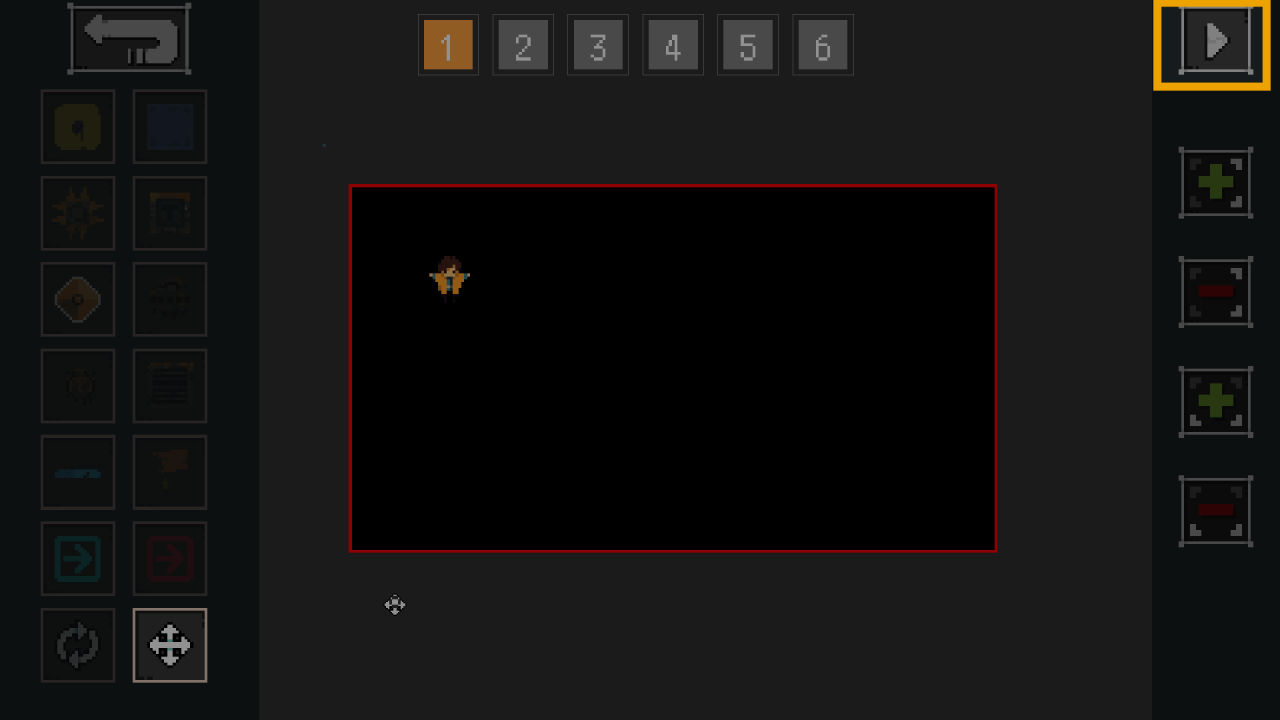
Button to test play room that is currently selected. In this screenshot, it is room 1. To exit out of test play mode, hit “esc”.
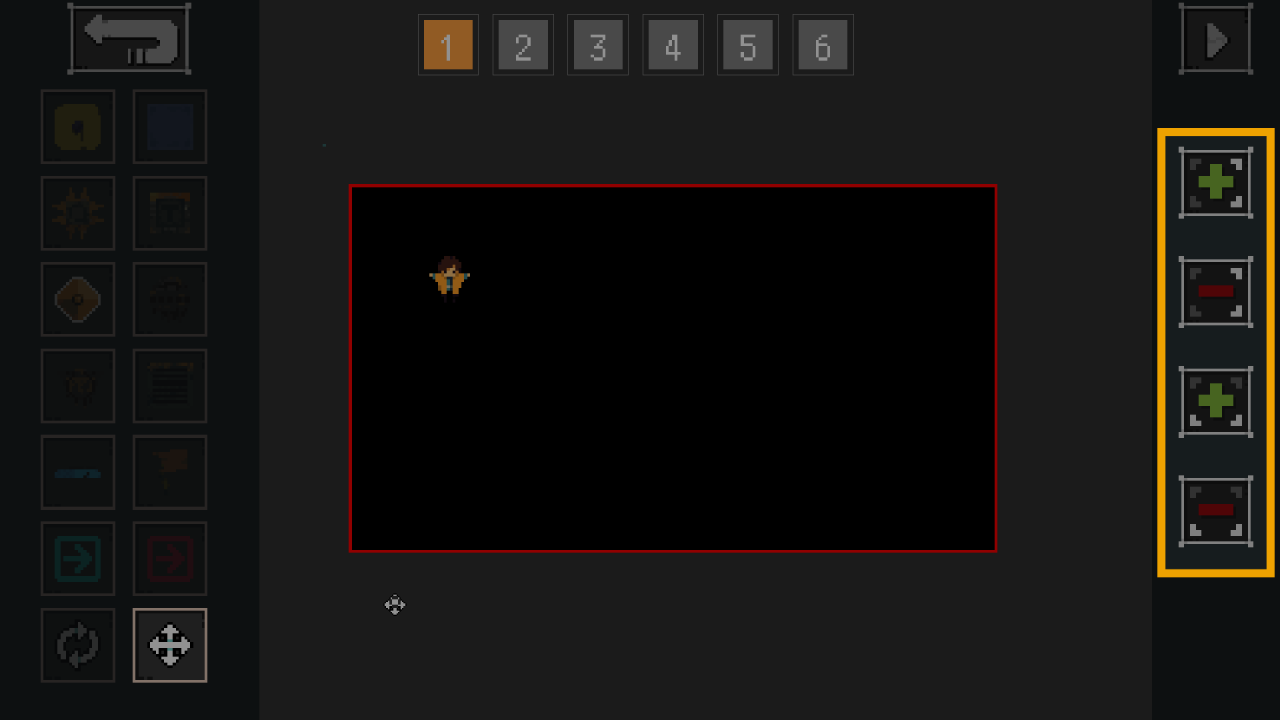
Buttons to resize rooms. Rooms get bigger and smaller from their bottom border and right border.
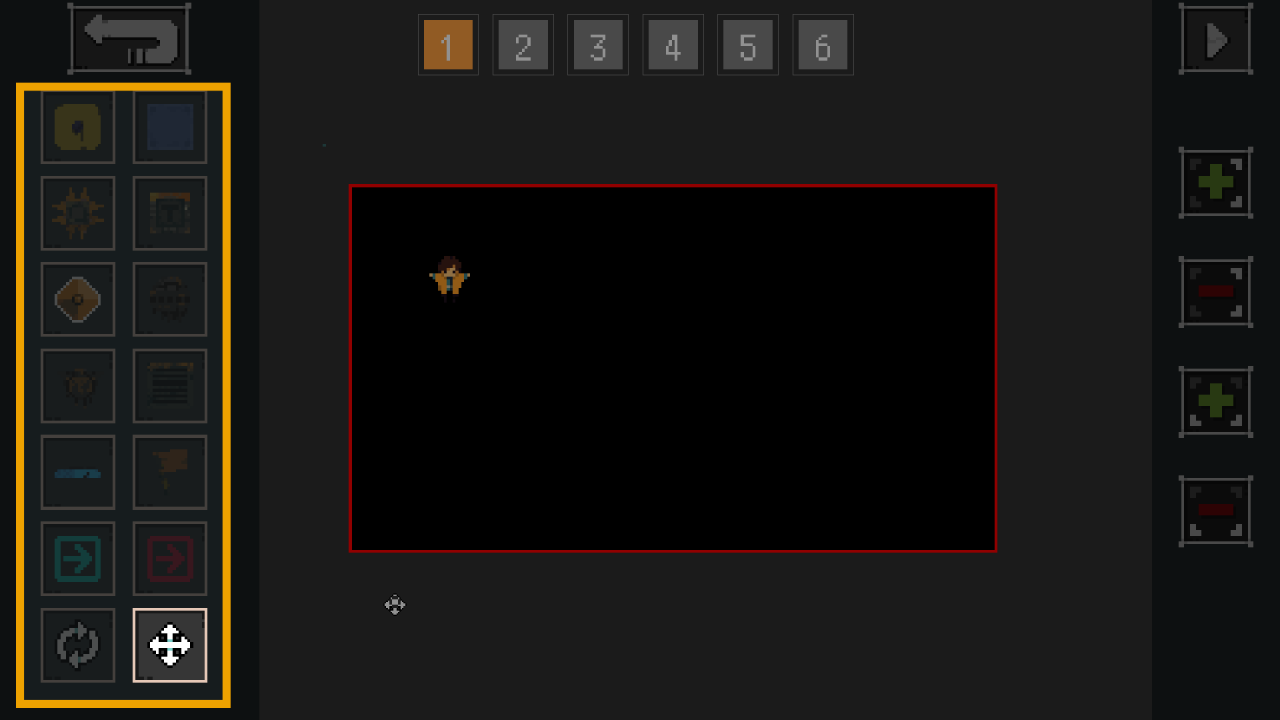
Tools for room editing, including blocks to place in room.
Available blocks

Fern Marker
This only appears in Room 1. It can be dragged around with the move tool. It marks out where the player first spawns in. The marker doesn’t work in test play mode but it should work when someone is playing the level for real. In test play mode, use the R key to teleport player to appropriate position.
 ⠀
⠀
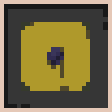
Moss Block
Basic faerie moss block.
Players can grapple onto this and charge jump when standing on top of it.
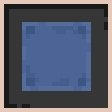
Wall Block
Basic wall block.
Players cannot grapple onto this.
Spike Block
Basic spike block.
Players take damage when hitting spike block.
As there is no death floor, spike blocks need to be used if you want the player to die when falling into a pit.
Jump Pad
When players jump off a jump pad, they will jump with greater height.
IMPORTANT NOTE: Jump pads NEED to be placed over a solid block or they will not work.
Jump Crystal
Recharges the player’s grapple if the grapple is already used.
Also boosts them a small height.
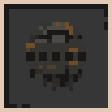
Ground Enemy
Basic enemy.
Enemy that stays on the ground.
Flying Enemy
Basic enemy.
Enemy that flies.
Vent
Periodically releases hot steam that damages players.
IMPORTANT NOTE: Vents NEED to be placed over a solid block or they will not work.

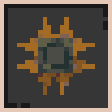
Mana Stone
Lets players recharge their mana for healing.
Best placed on the ground.
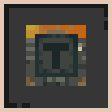
End Flag
This block marks the end of a level. When a player touches it, the level ends and shows their final time (time it took to get to the flag).
Rooms and Room Transitions
They move from 1 -> 2 -> 3 -> 4 -> 5 -> 6
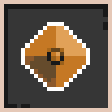
The room transition tools are:


The blue arrow means “next room”. The red arrow means “previous room”.
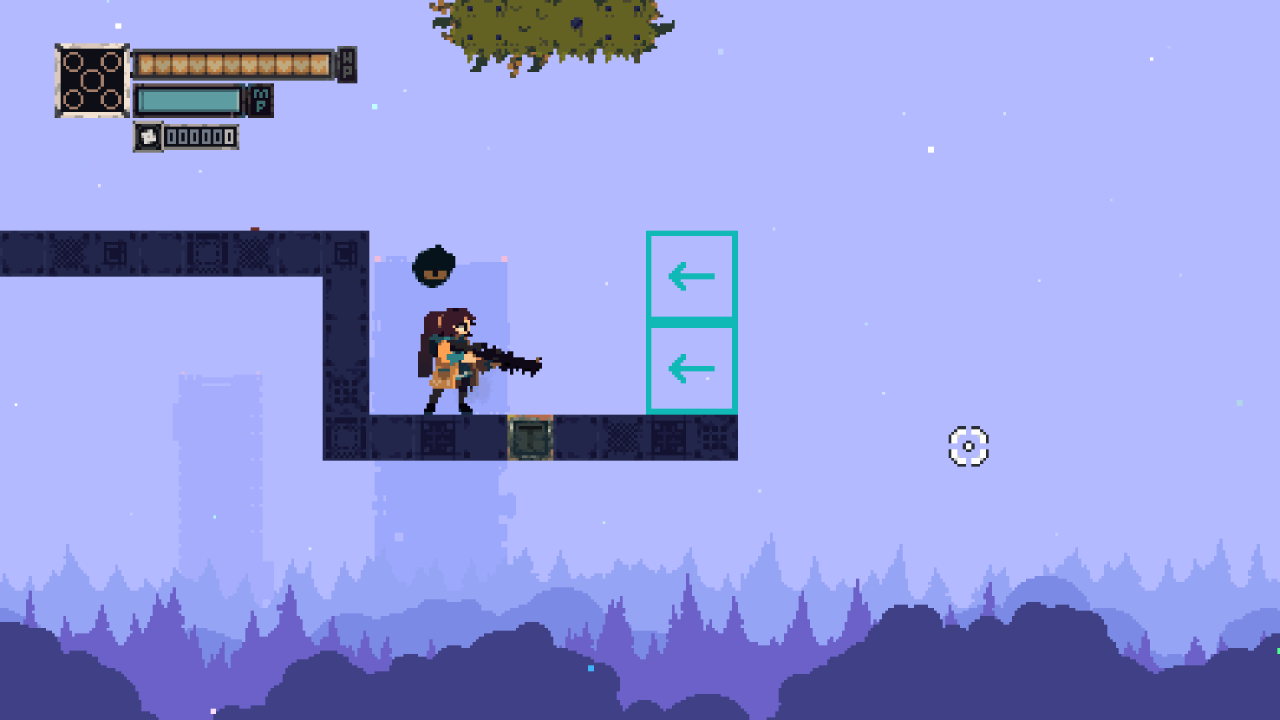
So because our rooms are linear, if a blue arrow is placed in room 1, upon the player touching this transition block, they get moved to room 2.
The player’s position they appear in room 2 is where the “previous room” block is placed.
For example, the following image is room 1 with a blue transition block.
Room 2 looks like this:
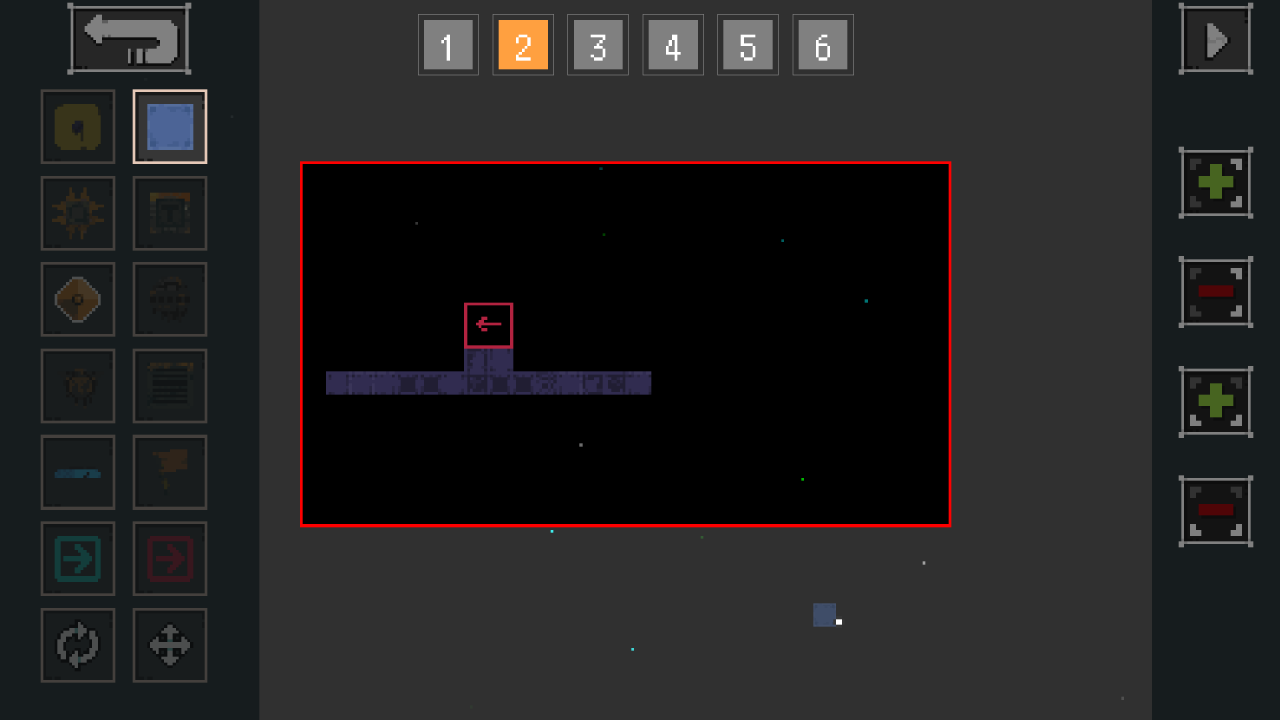
This is what Room 1 looks like in the test level:
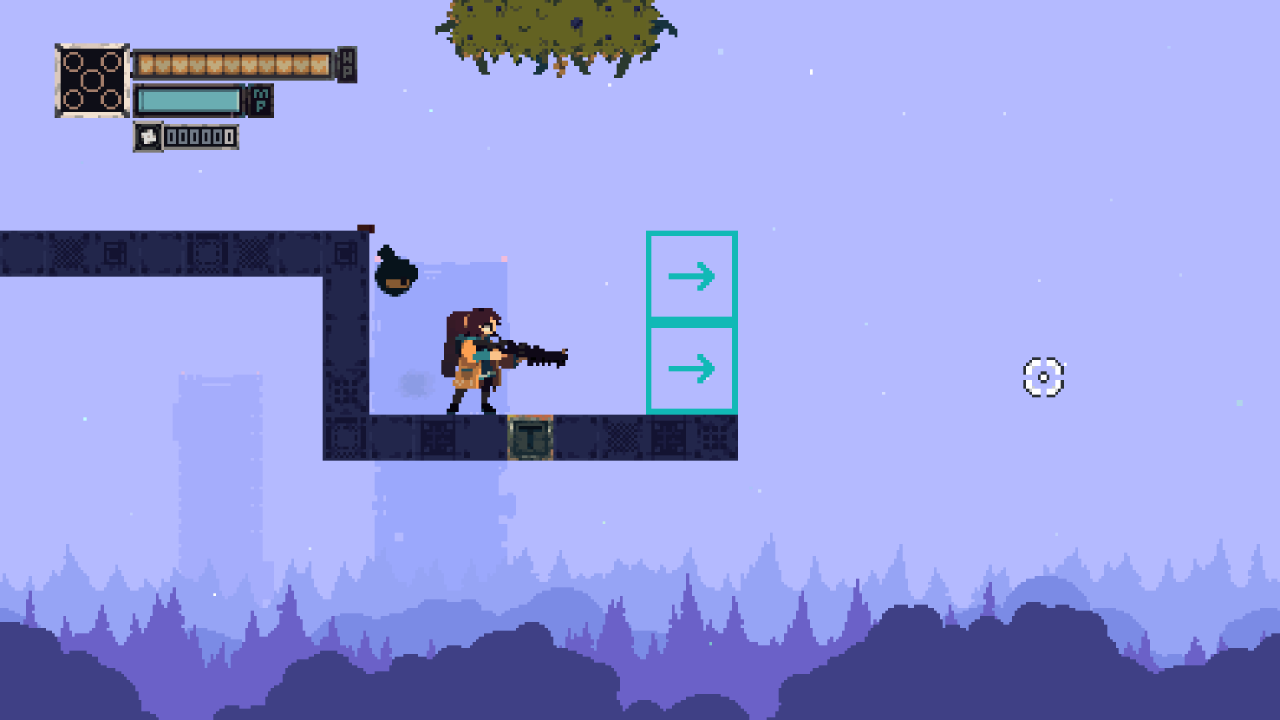
When the player collides with Room 1’s “next room” transition block (the blue arrow), this is where they will appear in room 2:
The arrow indicates the direction the player will appear in the next room.
So again, if you look at the previousimage of room 1, the arrows are pointing to the right. That is why the player spawns to the right side of room 2’s “previous room” transition block.
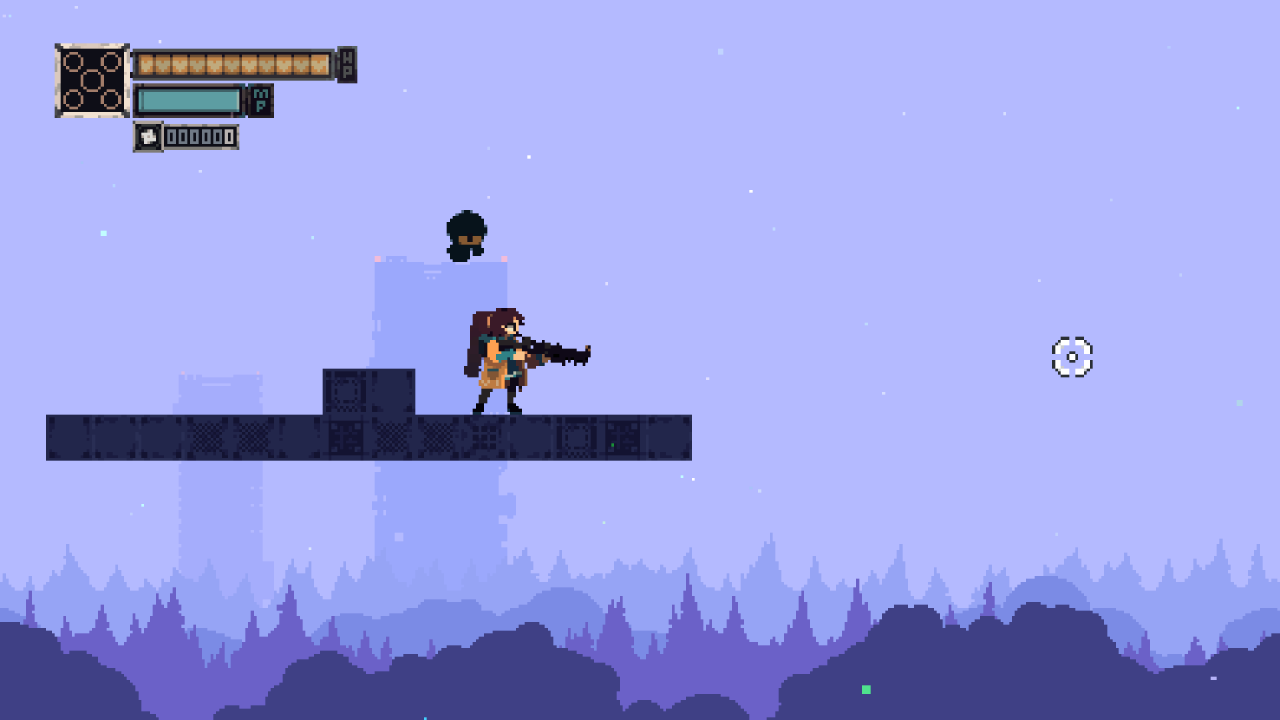
However, we can make the player spawn to the left of it.
In this example, room 1’s “next room” transition block is rotated so the arrows are pointed to the left.
When the player collides with that “next room” transition block, here is the position they will appear in room 2:
The player is now appearing to the LEFT of room 2’s “previous room” transition block.
NOTE: It is possible to have multiple room transitions placed inside a room far away from each other. We haven’t tested it a lot so not sure what the exact rule is of where the player will spawn if there are multiple blocks placed in very different positions. However, wherever the player spawns does remain consistent. I’m just not sure how to predict where they will spawn without running the room and just testing it out.
How to Share and Play Levels
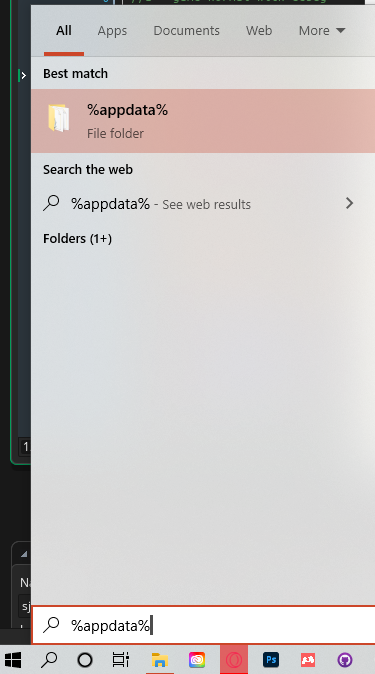
One way to find the folder is searching %AppData%
When you search for AppData this way, it brings you to \AppData\Roaming.
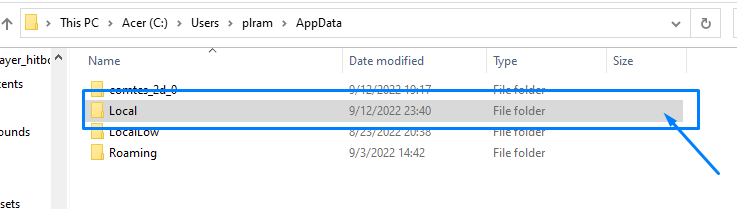
Navigate one folder out of Roaming and you’ll be in the AppData folder. When you are in the AppData folder, go to “Local” folder.
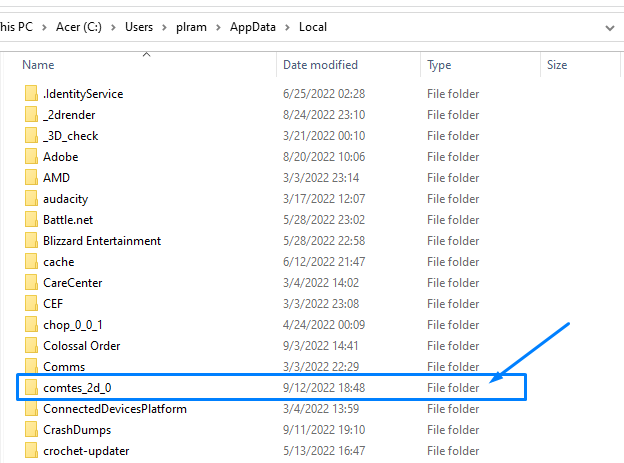
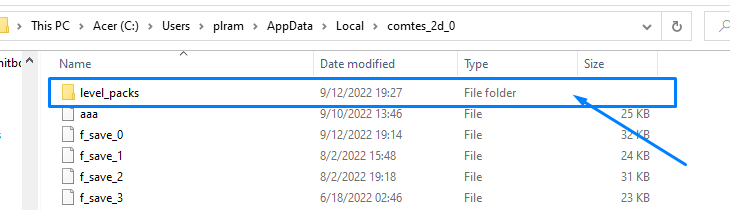
The folder associated with Rusted Moss is called “comtes_2d_0”. Here’s an image of it in the Local folder:
From there, go to the “level_packs” folder.
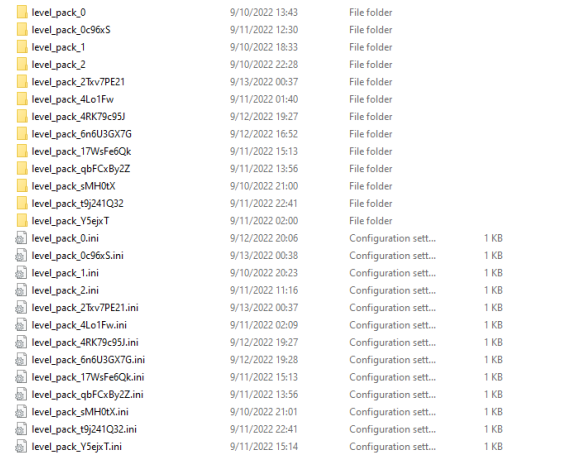
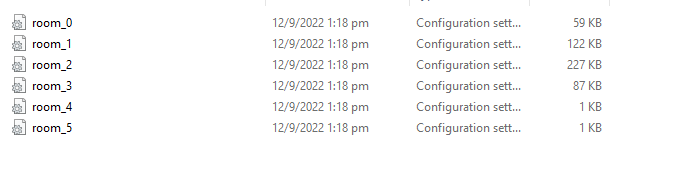
A level pack is made up of two components: 1)1 ini file with general data such as name and description, 2)1 folder with 6 ini files, containing the data of each room.
In the example below, it shows one level pack in the “level_packs” folder available.

This example below shows thirteen level packs available:
This is what the folder full of configuration settings looks like inside:
To share a level pack, just copy out the both components of the “level_packs” and give it to someone. We want to use Steam Workshop in the future but we don’t have that implemented for the demo.
To play someone’s level pack, copy over their configuration file and folder full of the levels into your “level_packs” folder.
Thanks to happysquared for his excellent guide, all credit to his effort. if this guide helps you, please support and rate it via Steam Community. enjoy the game.