
Weapon Evolution Combination, along with my experience/opinion of each weapon based on the initial release.
Weapon Evolution
Sword x Damage
Physical Melee (cursor)
Evolution 1: Endless Tide (Straight Line)
Evolution 2: Crescent Blade (Screen Wide AoE) – Unlocked by Evolving the Sword once
Remarks: Endless Tide has excellent Knock Back (going to test its usefulness for opening a path in Extreme mode, keeping certain elites away helps keep you alive, and it is convenient to open a path to chest drops, etc.). Crescent Blade is the superior Evolution for low and medium difficulty. The passive item Damage is highly recommended for all difficulties.
 Crystal Bow x Projectile Speed
Physical Line
Evolution 1: Rainy Wings (Screen Wide AOE)
Evolution 2: Barrager (Frontal Wide Cone) – Unlocked by Evolving the Bow once
Remarks: Rainy Wing is lacking in power and passable for Casual. Barrager is good for medium difficulties given it can pass thru mobs.
The passive item Projectile Speed is not that useful and can usually be picked up on map.
 Scythe x Area
Random Area
Evolution 1: Dark Scythe (Drains life at 1HP per hit?)
Evolution 2: Storm Scythe – Unlock by Defeat 200K Enemies
Remarks: Scythe is a horrible weapon given its random nature. Evolved Scythe is a great weapon at Medium High difficulty. I prefer Storm Scythe for shaving off mob’s health at medium range. Passive Item Area is highly recommended as it buffs range of Holy Pendant, Froze Orb, Lightning Shield, etc.
 Magic Lamp x Cooldown
Auto Target Closest
Evolution 1: Overcharged Lamp
Evolution 2: Magic Orb – Unlock by picking up 50 items from Ground
Remarks: Passive Item Cooldown is highly recommended for all difficulties. Magic Lamp is good for low-medium difficulty. Not a fan of Magic Orb.
 Sun Stone x Amount
Random Area
Evolution 1: Meteor Stone
Evolution 2: Sun Orb – Craft 50 Potions with Sophia
Remarks: Meteor Stone is good for low-medium level by lacks the punch for higher difficulty. Passive Item Amount sounds good on paper, but does not effect AoE Weapons making it situational. With only 6 Passive Item slots, there isn’t room for it in higher difficulty.
 Protector Shield
Random Target
Evolution 1: n/a
Evolution 2: n/a
Remarks: Avoid it. Lacking damage due to no evolution.
 Storm Amulet x Magnet
Auto Target Closest
Evolution 1: Lighting (Lightning) Amulet
Evolution 2: n/a
Remarks: Lightning Amulet is extremely good at low-medium difficulty. Passive Item Magnet is a huge quality of life improvement and I always select it along with exp up.
Small Circle AOE
Evolution 1: Holy Cross
Evolution 2: Divine Punishment (Defeat a final boss with Cassandra)
Remarks: Holy Cross generates a screen wide AoE every time it does 1000 damage. Things die too quickly at low-medium level to make it useful. It is a godsend at Extreme, as tanky mobs cluttering the screen let you spam proc the explosion. Until the dev re-balance the other weapons for Extreme difficulty to help thin out the mobs, it will continue to dominate.
Passive Item Max Health got a good chance to appear on map, but at high difficulty you may not have the luxury to wait and pick up the heart to evolve weapon.
Weapon Evolution (Con’t)
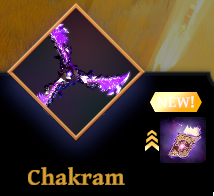 Chakram x Experience Gain
Random Target
Evolution 1: Falling Flower
Evolution 2: Flying Stars (Defeat a final boss with Isaya)
Remarks: I usually pick up Chakram to increase appearance chance of passive Item Experience Gain. Flying Stars is pretty nice as it does medium range Circular AoE before spreading out. Passive Item Experience Gain = Never leave home without it. Faster level up = more rolls = faster power up.
 Fire Boots x Movement Speed
Damage Type
Evolution 1: Fire Orb
Evolution 2: Devil Boots (Walk 10,000 meters with Fire Boots)
Remarks: I don’t like Fire Boots, the fire effect makes it hard to see elite mobs and when Map 2 final boss uses his Fire Trail. Devil Boots’ damage is great for wiping out medium difficulty trash mobs. There are better choices for low and high difficulty.
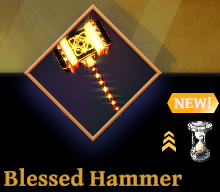
Blessed Hammer x Duration
Small Circle AoE
Evolution 1: Storm Hammer
Evolution 2: Magic Armory (Pick up 30 healing potions)
Remarks: Storm Hammer has a small knock back and interferes with Holy Cross proc. Magic Armory = avoid it (it is under powered and there is a delay before it fires, meaning you have to keep pointing your cursor in the direction you want and makes game play a bit unnatural).
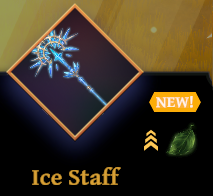 Ice Staff x Recovery
Damage Type
Evolution 1: Froze Orb
Evolution 2: Staff of Freezing (Defeat a final boss with Ciara)
Remarks: This is the only reliable CC in game and a godsend at higher difficulty. I recommend Frozen Orb as it does significant more Screen wide AoE damage (decent freeze chance) than Staff of Freezing (100% freeze chance). Freeze works on trash and elite but not the 2 bosses.
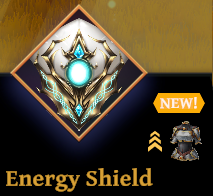 Energy Shield x Armor
Small Circle AoE
Evolution 1: Inferno Shield
Evolution 2: Lightning Shield (Evolve Energy Shield 3 times)
Remarks: Each charge of the shield can take a hit (in place of your HP). Evolve version can do damage with Lightning Shield’s sustain damage being superior. Note that shield does not damage when it has no charge, so prioritize cooldown upgrades for it. I pick this for higher difficulty not for the damage, but for staying alive,
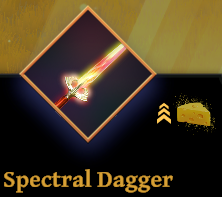 Spectral Dagger x Revival
Random Target
Evolution 1: Duplicating Daggers (Collect 1,500 Gold during a single run)
Evolution 2: n/a
Remarks: This is the Pin-Ball weapon and does decent damage at medium/high difficulty. I always pick up the cheese (revival) at high difficulty, so picking up this weapon is a natural choice.
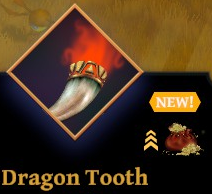 Dragon Tooth x Gold Gain
Small cone (cursor)
Evolution 1: Dragon Heart
Evolution 2: Hellfire Butterfly (Defeat Map 2 final boss 3 times)
Remarks: Dragon Heart is pretty fun at medium difficulty. I avoid Hellfire Butterfly as the location is random. Gold Gain passive is great for gold grinding.
What Weapon to Pick
Personally, I pick my Weapons based on available passives.
- Take into account of what is available to pick up on the map so you can go beyond 6 passive items
- If you already max out a passive item and then pick it up on the field, you can go 1 level above. That is a very nice boost for things like Damage and Experience Gain.
- I recommend specialization over quantity. If the passive is not useful to your current build/difficulty, it is okay to leave that passive on the ground and let the Exp rolls into more level for your weapons.
I focus on 4 passives as the core of my build, and would try to roll legendary version.
- Legendary Damage and Cooldown are the basis of my builds
- Legendary Experience Gain is also mandatory, faster level up = faster power ups
- Attract Area is just a nice quality of improvement and makes level up more efficient
This leaves 2 slots for you to be flexible. Use these 2 slots to pick up passive items to ensure you can evolve your weapons, or augment their strong point.
- Do pick up area if you are going for things like Holy Cross
- Pick up Amount if 5+ of your weapon can benefit from it.
- Gold Gain and corresponding relics at casual – medium works well. Melisandre can take real good advantage of it and Dragon Heart is pretty fun. Kill it with Fire!
- Revival (Cheese) is great choice at harder difficulty
Sample Game Clear DPS
Casual:
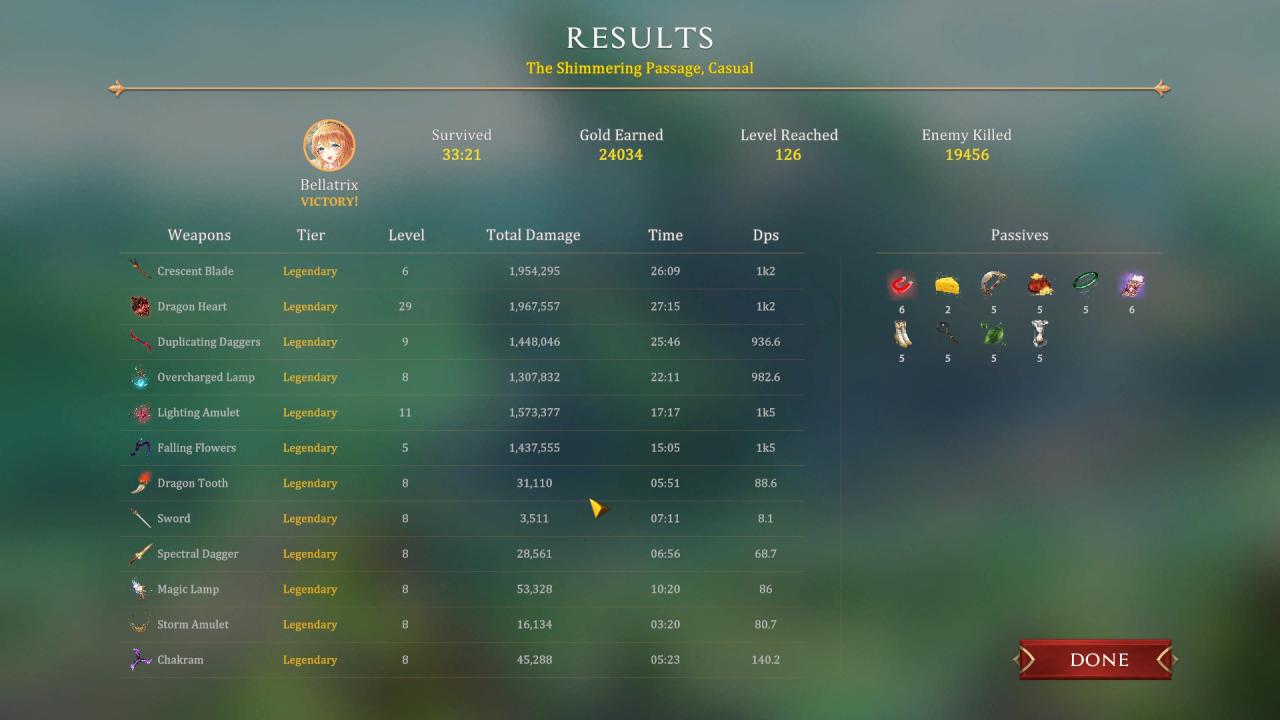
Things die too quickly for damage to register… The Lamp is a good learner weapon as it auto target anything close to you and is a better defensive option that the shield at lower difficulty. It is worth nothing that the lightning amulet and the dragon heart drowned out its damage potential. Also worth mentioning, it is fairly easy to farm 20K+ gold per run despite the -5% gold debuff.
Very Hard:
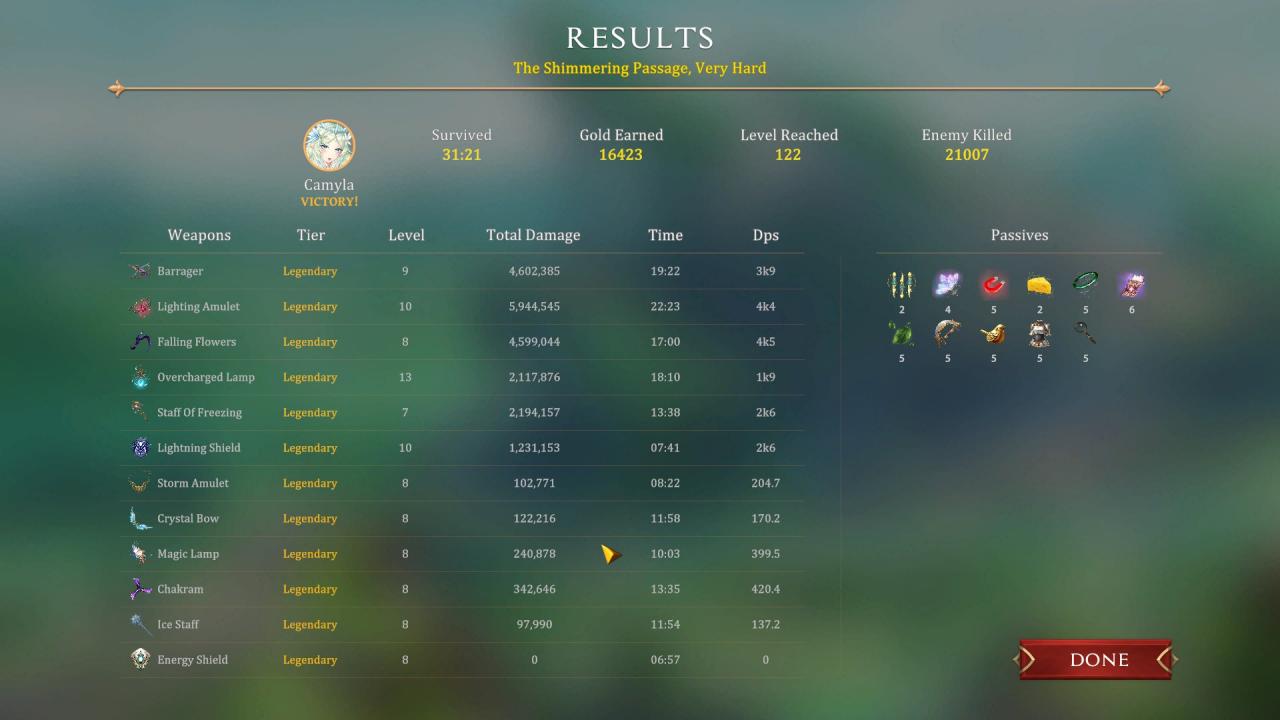
The Barrager did decent damage despite all the bow suck comments I read on the forum. You will notice the Lamp’s damage completely drop off. It is time to graduate to stronger weapons. Falling flower did pretty decent DPS. Staff of freezing can freezes everything with it’s ray but the direction is random… the DPS is on the low side compared to Frost Orb. Things dying quicker is the more reliable CC.
Extreme:
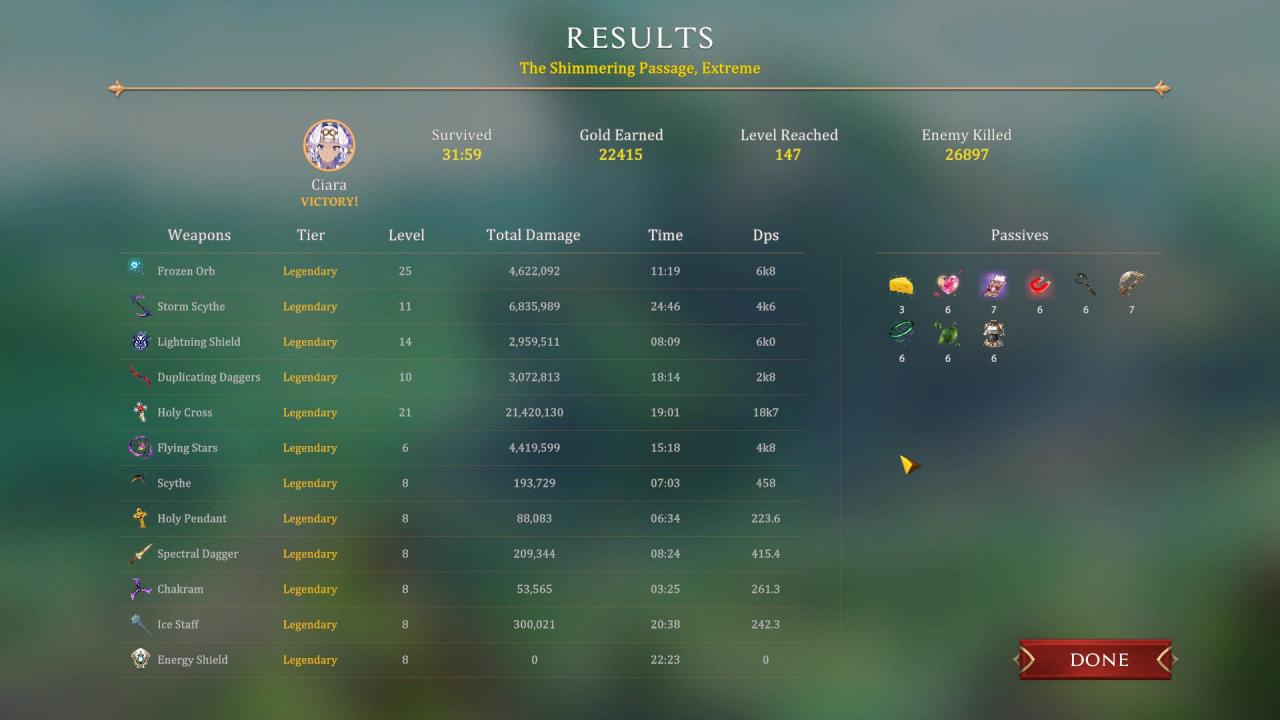
- Due to 70% more mobs in Extreme, they clutter very quickly so it is very easy to proc Holy Cross. That’s why there is this huge DPS #. You will also notice Lightning Shield’s DPS tripled when compared to Very Hard. Area AOE damage weapon will benefit when map is cluttered with mobs.
- Also worth mention is the up time of Lightning Shield, I am surviving by running from chest to chest to grab health potions, so it is quite easy to lose the charge and kills it damage potential. But having the shield does help keeping me alive so I see the damage as icing on top.
- Frozen Orb’s CC is extremely useful for this difficulty, and its area damage is spectacular.
- Storm Scythe and Flying Stars’ job is to shave the down the HP of the mobs in mid range to ensure I kill them quickly when they get close.
- Next run I would be swapping the Spectral Dagger for the sword given its low DPS performance. It pretty much got overpowered by the other weapons. I want to test Endless Tide’s knockback ability to open a path.
Always a good idea to keep your core build, and experiment with 1 or 2 weapons. Some weapon combination might surprise you.
Thanks to Bladewind for his great guide, all credit to his effort. you can also read the original guide from Steam Community. enjoy the game.
Related Posts:
- Sexy Mystic Survivors: Advanced Weapons and Passives Guide
- Sexy Mystic Survivors Guide: Tier List, Builds, Playstyles, and etc