
A guide to your companion, including where to find them, how I have leveled mine and how I use them in combat.
Note: the latest Update V0.750 released on July 9 that had been Improved Lingerie System, New Lingerie Shop, and Torture Devices.
Available Companions
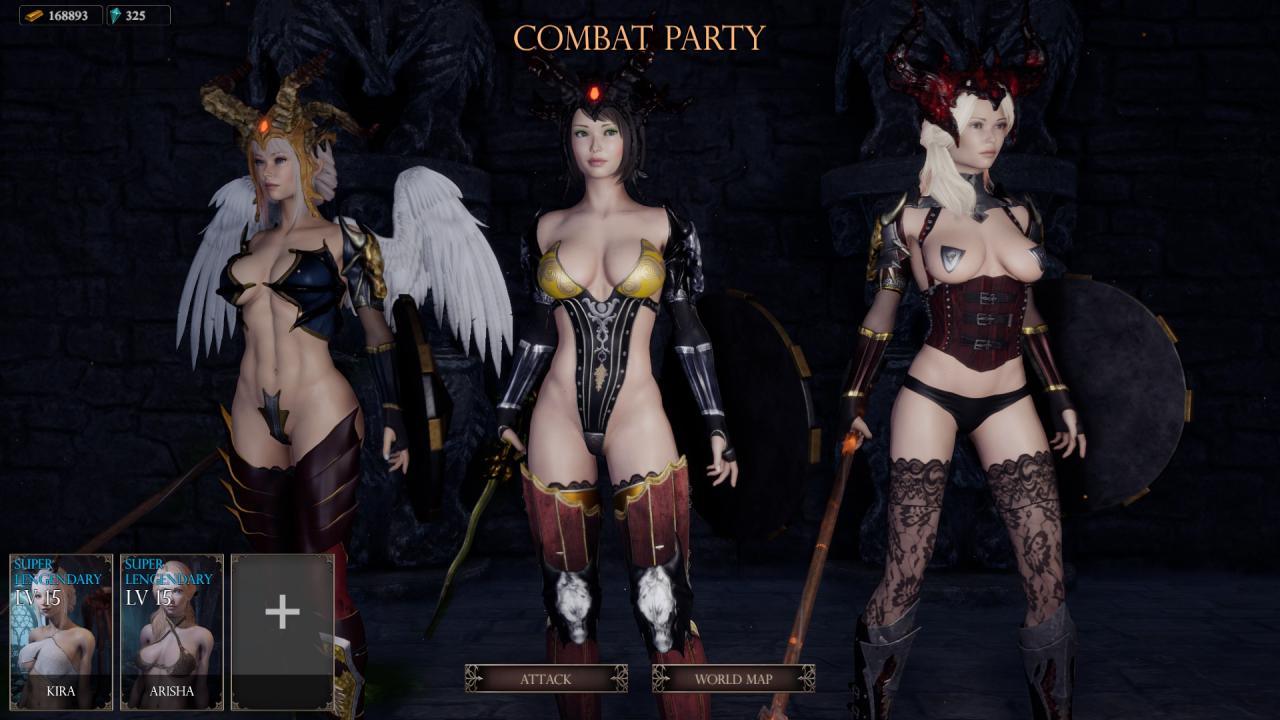
Currently you can only have 2 companions in your combat party even though there is a slot for three.
Forget the hint that mentions that you can unlock some in the tavern, you will need to go rescue them.
Currently available companions:
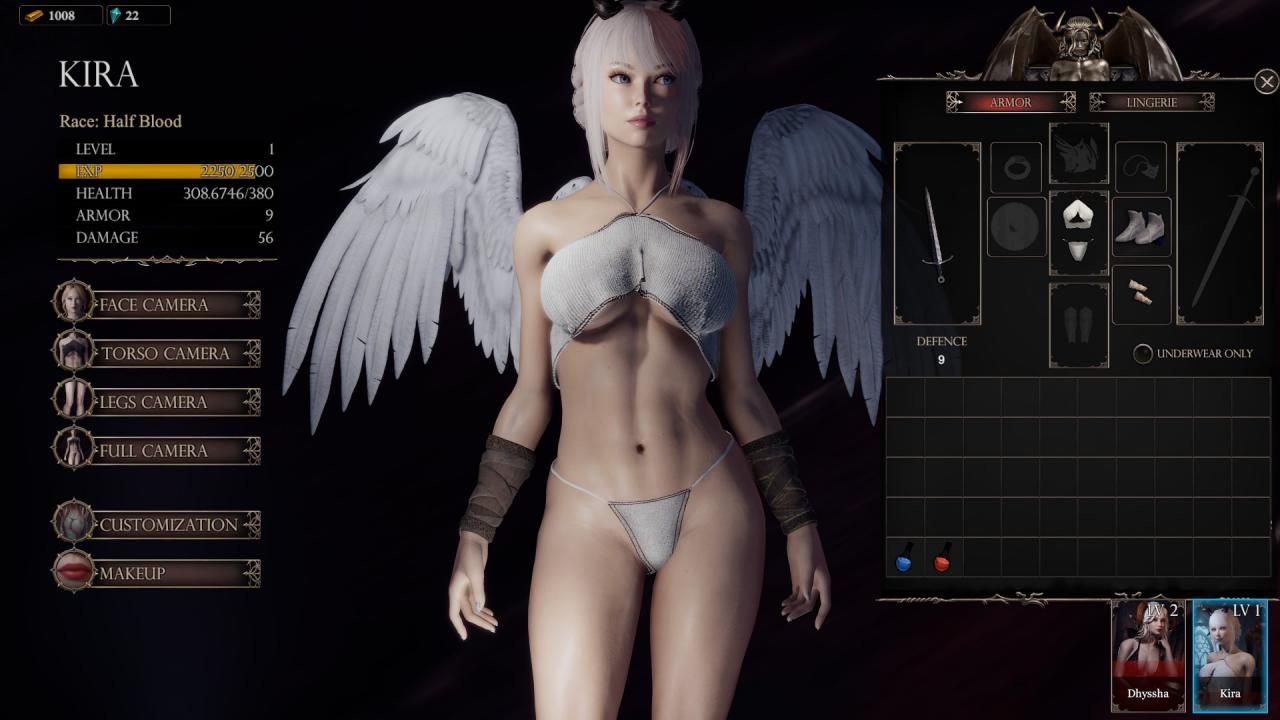
Kira
She is available to you from the beginning. You will have access to her once you have completed customising your character. Do not assign any of her points until you’ve read the levelling section.
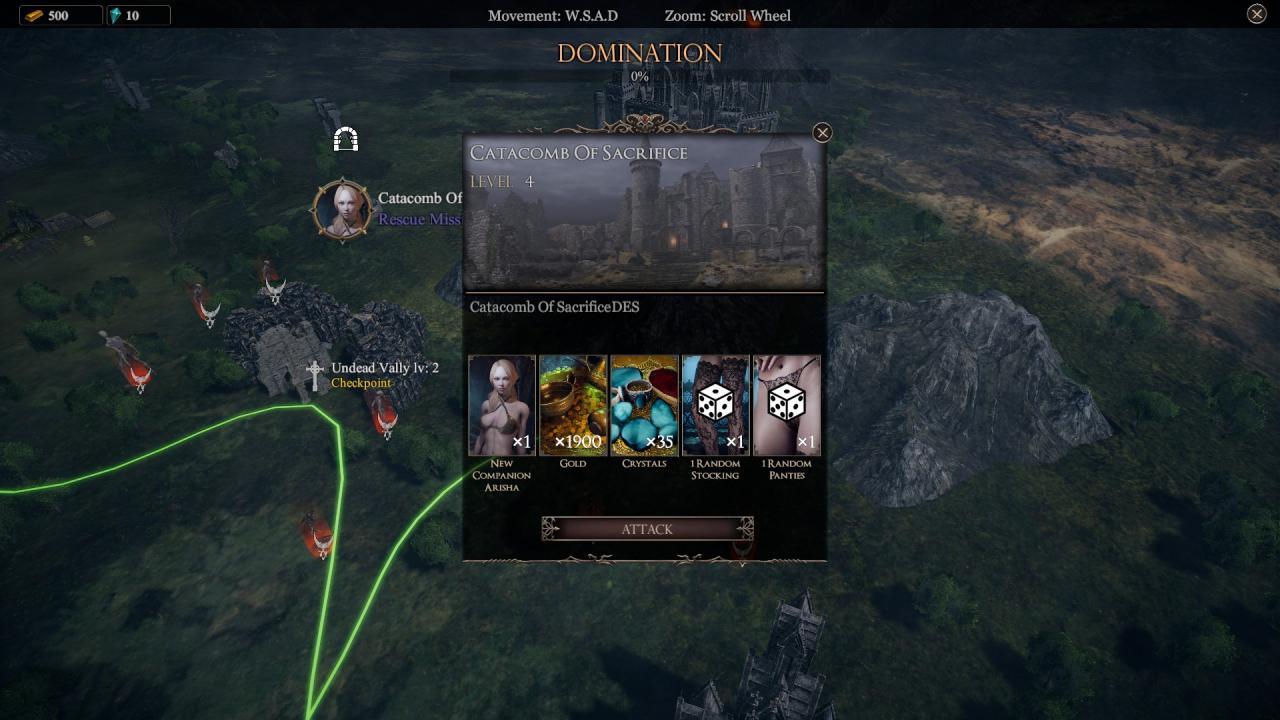
Arisha
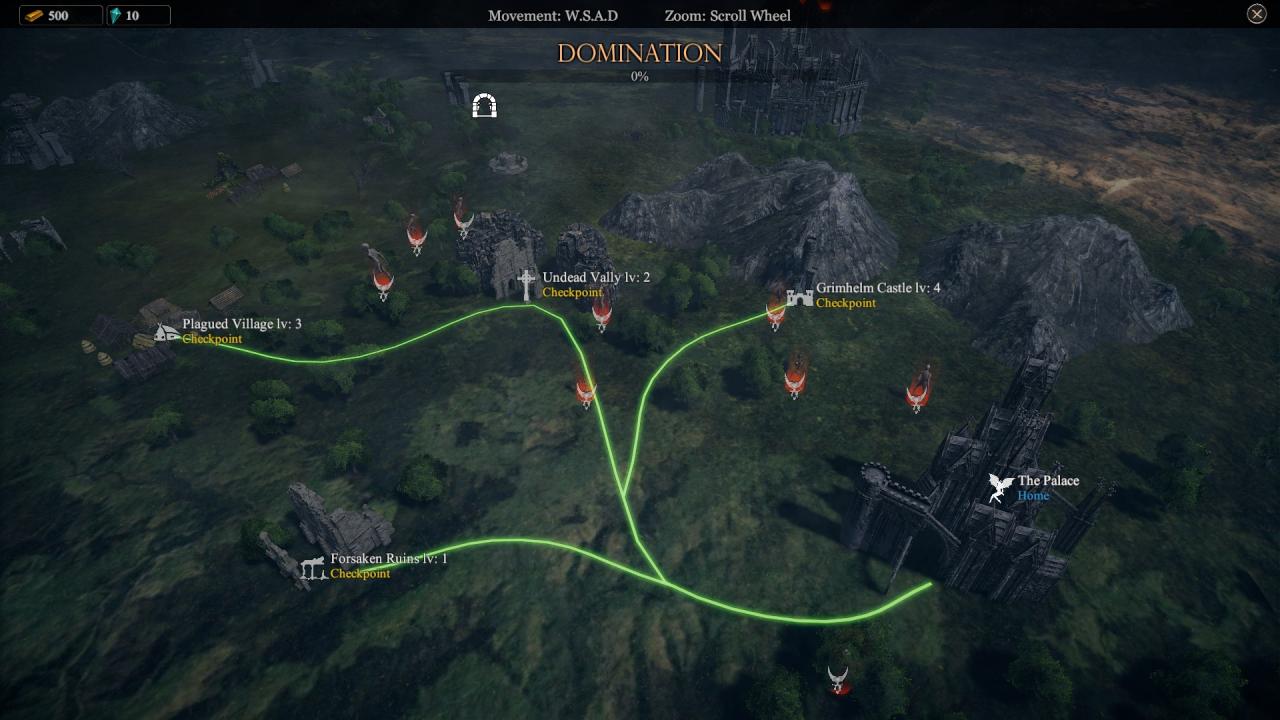
You will need to rescue her. She is located in the Catacomb of Sacrifice to the northwest of The Palace, in the circular keep above the Undead Vall(e)y. This is a level 4 dungeon so you should have Kira as well as yourself levelled to at least level 4, have good equipment and a reasonable stock of potions to complete this dungeon.
Future – Blank slot 3
Far to the west you will see another circular keep. As of Ver 0.751 there is no access to this keep.
Combat
In She Will Punish Them there are two types of combat. Dungeon based and encounter based.
Dungeon based (Checkpoints)
In a dungeon, you or your companions will move to within range of groups of enemies causing them to attack you. At times moving into a specific area will trigger gates behind and/or around you to shut, causing your companions to respawn next to you and locking you within an area until you kill all the enemies in that area. This can be useful if your companions get a little lost/stuck. You will be given the option to exit the dungeon once the main Boss is dead. Encountering a boss without decent equipment is not good. Checkpoints generally drop a number of items of armour, weapons, and potions in addition to gold.
Encounter based (Hordes and Armies)
Groups of enemies will spawn in periodically in waves and shortly thereafter they will begin moving towards the closest member of your party. Ranged enemies will stop within ranged distance and begin attacking. Encounters are a recommended start point for the first few battles as you will not encounter too difficult a boss, and you just have to manage the waves of enemies. Loot is generally not as good or as plentiful as you would get from a checkpoint.
Using your companions
Basically your companions are going to tank for you. You are going to run around kiting* the enemy so that your companions don’t get over run by too many enemies at once and removing the ranged enemies such as archers as well as picking up the loot as quickly as possible.
* Tanking – be the muscle that gets up close to the enemy and hits them with maces or axes.
** Kiting – drawing the enemies attention away from your companions.
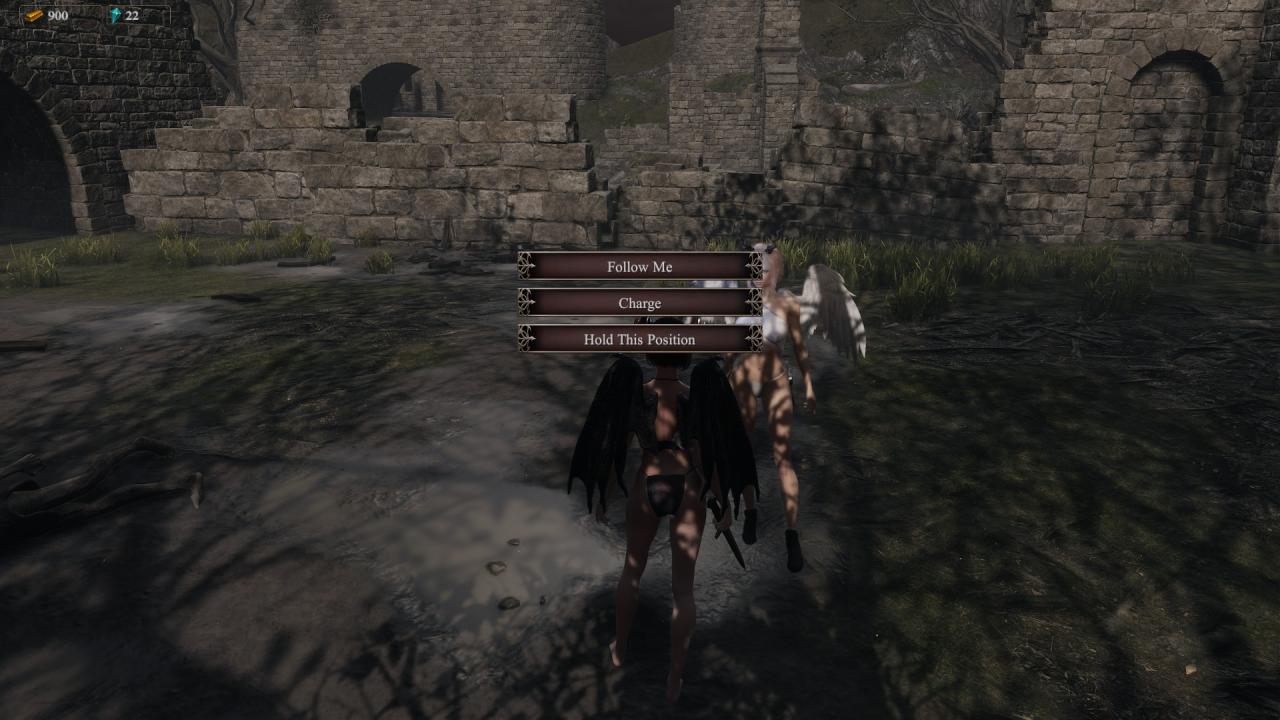
Companion Commands
Accessed via your Commanding key. ”R’ by default on PC.
Follow Me – they will stay reasonably close to you unless the enemy attacks. This can be reasonably good for getting them to disengage from a fight, but not always, and for getting them unstuck on occasion.
Charge – Charge at any enemy they see. Most commonly used once they have levelled up and are well equipped.
Hold Ground – useful for setting up ambushes. Leave your companion(s) in place, in a bottle neck for example, whilst you go off and carefully draw a limited number enemies back to them.
An ambush is all about proximity spotting by the enemy. If your companions go running up to an enemy they will draw all the enemies within a certain radius. However, if you get your companions to hold ground whilst you approach only as far as the edge of a single enemy’s radius you can cause that one enemy to come to you instead. This is only really effective in dungeons as hordes and armies will head towards the closest member of your group shortly after they spawn.
Weapons and Equipment
Daggers – your companions do not seem to do any of the martial arts that you as a player can do with a dagger. Don’t bother.
Swords – are not as effective as axes or maces. Don’t bother.
Axes and Maces – the weapon of choice for your tanks. Most things that don’t look like an ordinary sword or mace are axes. This includes staves.
Bows – are not effective. Don’t bother.
Shields – get one as soon as you can, they do seem to use them.
Armour – they are going to wear the brunt of the battle, give them the best armour you can afford.
Potions – at the beginning give your companion a couple of healing potions. However they will mostly go through mana potions once they have a few levels under their lingerie so to speak (not seeing any belts so far). Fireball and Frostbite are very effective Area of Effect (AoE) spells that they will use often.
That is unless they shoot the fireball into the back of another companion. Luckily Friendly Fire is turned off.
Levelling Guide for Companions
Straight out, I expect a number of arguments from other players on this, but this has worked for me.
As at the time of writing I am using both companions in exactly the same way so they get the exact same skills.
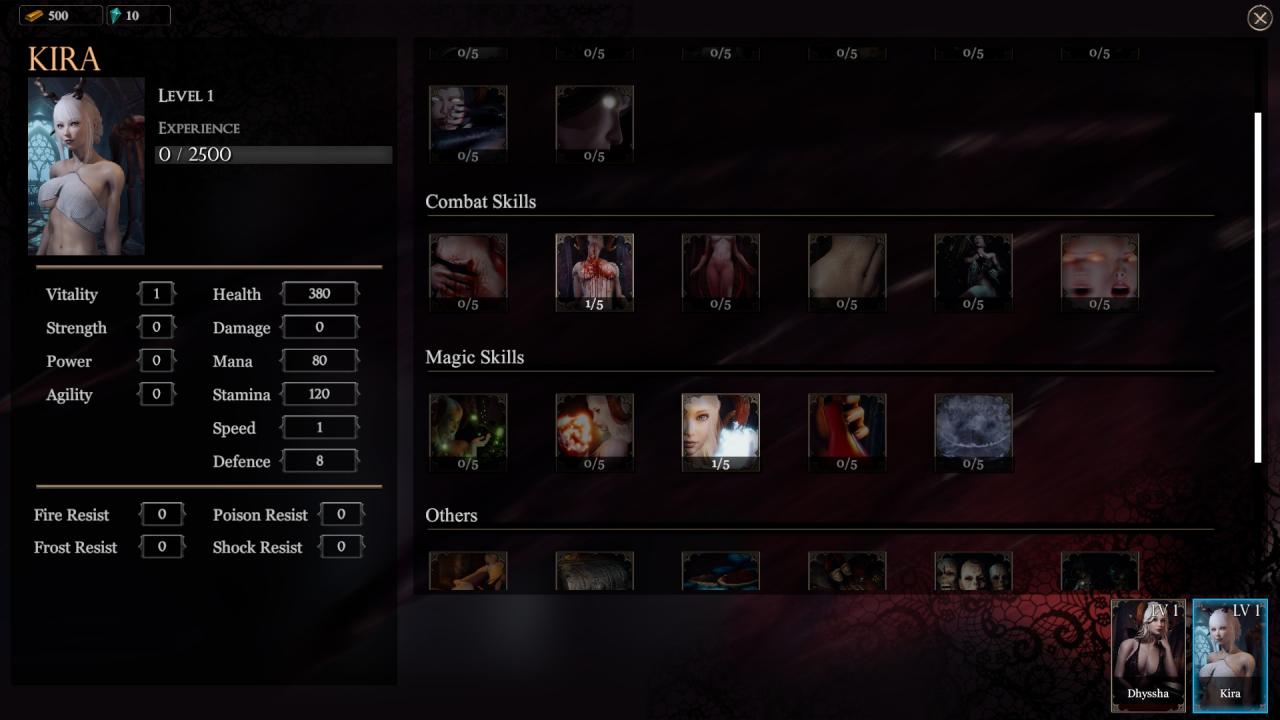
Level 1
Vitality, Regeneration and Frostbite. You’re going to need health and an AoE spell to help keep your companion alive.
Level 2
Vitality, Regeneration and Fast Learning.
Level 3
Vitality and Fast Learning x2.
Level 4
Vitality, Fireball and Fast Learning.
Level 5
Agility, Fast Learning and Hardened Skin
Level 6
Vitality and Hardened Skin x2
Level 7
Agility and Hardened Skin x2
Level 8
Power, Alchemist, Frostbite
Level 9
Power, Fireball, Blocking (or Phantom Slashes)
Thanks to Sceadugengan for his great guide, all credit to his effort. you can also read the original guide from Steam Community. enjoy the game.
Related Posts:
- She Will Punish Them: Tentative Suggestion For An Alternative Levelling Path
- She Will Punish Them: Optimal Skill Leveling Path: Post-update (Normal Difficulty)
- She Will Punish Them: How to Get Back on the Map When You are Stuck
- She Will Punish Them: How to Switch to Old game Version
- She Will Punish Them Cheats Guide (How to Enable & Custom)