A step by step guide to building your small village and making yourself strong enough to survive almost anything that gets thrown at you, Or at least until you can make your own decisions.
Location
Once you start a new game you will be allowed to choose your name and a few other stats, For the sake of this guide i will just assume you’re going by default settings (not changing anything).
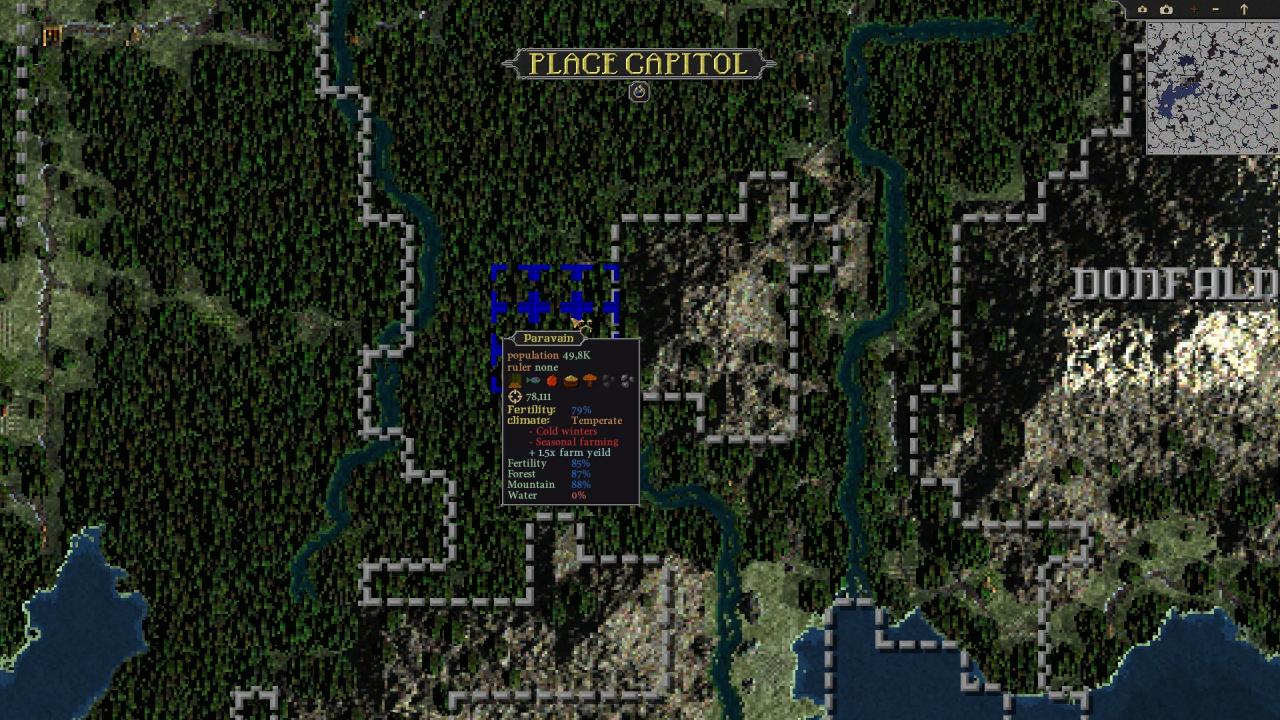
First you’ll want to understand the importance of “Fertility”, As simply as i can put it it is the overall average fertility of the location your mouse cursor is on, choosing to be near a forest or a body of water will increase fertility while being near mountains and deserts will lower fertility, The more fertility there is the more productive your farms will be and food will be your most desired resource through almost the entirety of the game regardless of where you’re at.
Mountains offer many advantages though such as an abundance of stone and the possibility of caves and other resources that i will get into shortly, one advantage i strongly urge you to take is the fact that mountains can cut off possible entry points to your village, in some cases they can cut off almost half the map, You’ll understand how good that is later in this guide.
Forests are of course a greatly desired terrain for the abundance of wood the map will contain.
Different bodies of water dictate what you’ll get, Rivers are going to cut through the edges of the map and do aid farming by making fertility skyrocket, Oceans and inland seas however have beaches and thus make you have no fertility directly beside the water, However this does not remove the fertility bonus at all, In fact it gives about the same amount of fertility bonus in the same amount of land as rivers, Both previously mentioned types of water bodies also provide ample opportunities for fishing so if you want an agricultural community then go for it.
Me personally i like the combination of mountains and forests.
The abundance of building materials certainly help and so for the sake of this guide i’ll continue as if you’ve chosen the same set up i have, One important thing to note is that its best if you have more coal and iron deposits, Preferably close to each other, I’ll explain later in this guide.
Beginning Setup
As i have previously said i’m going under the assumption of you choosing my favourite starting terrain and so with the forests there is a lot of fertility in the area and so plenty of room to chose from, As long as you’ve chosen a spot reasonably close to the afore mentioned iron and coal deposits then we can get right into the setup.
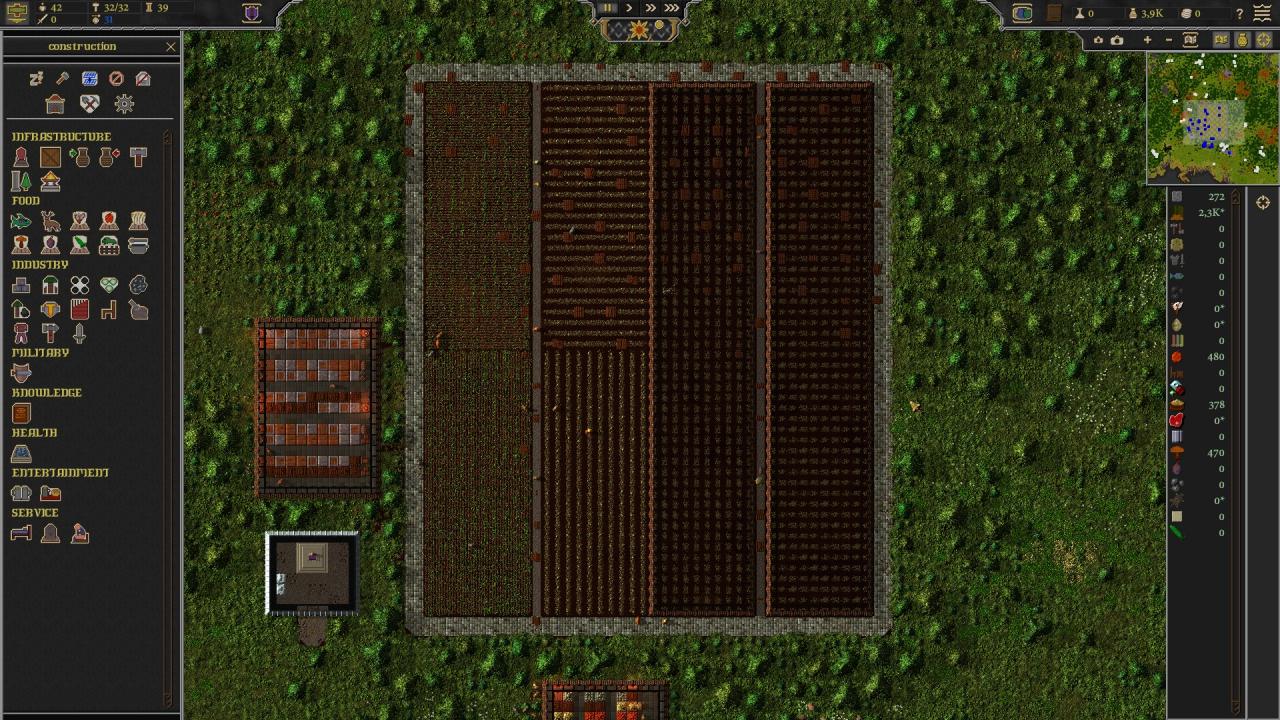
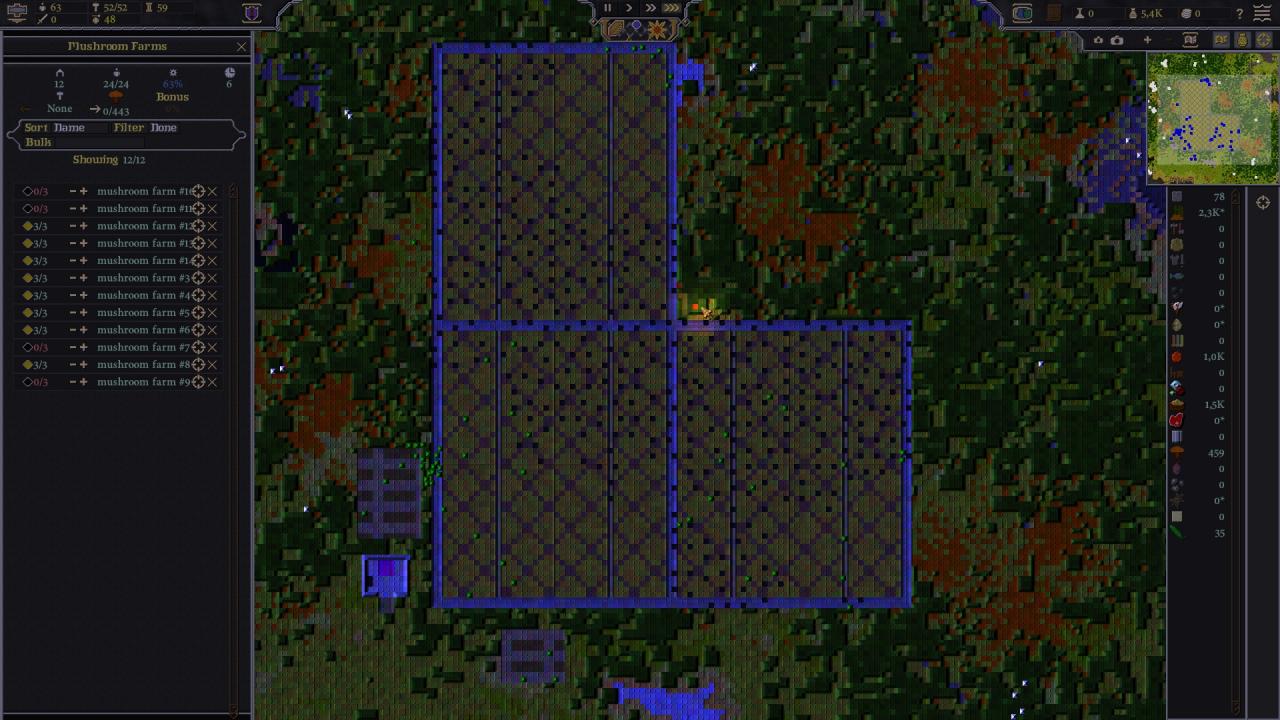
Now assuming you’ve played the tutorial you would know that getting farms is your top priority, however i do things a little different to the tutorial, go ahead and put down a grain farm as a 10×10 grid, It should look like a square, then put down a fruit farm as a 10×10 grid next to the grain farm BUT leave a space of 1 between the two farms, It will make sense shortly, Then put down a mushroom farm in a 10×10 grid directly next to the fruit farm on the opposite side of the grain farm, And like the space between the fruit farm and the grain farm make another farm with 1 space between the mushroom farm and your fourth farm (it can be whatever you want it to be, But its best to be mushrooms as mushrooms are the lowest yielding farm in the game), So now you should have 4 farms each 10×10 being build, with two separate empty lines between your fruit and grain farms and your mushroom and fourth farm.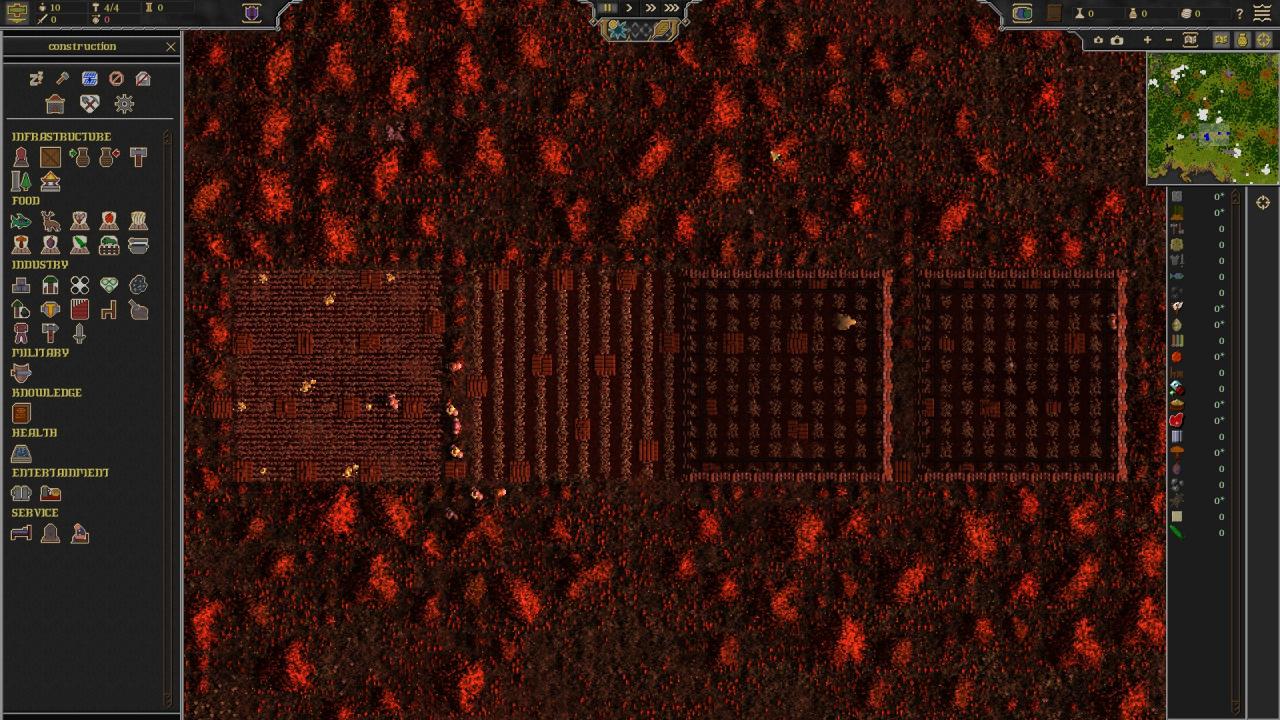
Once those Farm are finished you can begin building your warehouse, the shape and size of the warehouse doesn’t matter as much as the farms will, Go ahead and let your farmers work for a few years, Once you’ve finished the warehouse and stocked it with some food you will get more immigrants to your small village, once you feel comfortable you can edit your farms by clicking on the farm you want to edit and clicking the hammer icon (note that its best to do this in the winter as it will destroy your harvest) and now that you’ll want to do is expand each farm in one direction to make it a 10×25 farm, i did a bit of testing and making it a 10×20 farm will make the worker requirements 3 farmers (the math doesn’t add up i know) and so to take advantage of the 3 farmer requirements i added a small bit to the farm until it was just under being taken to 4 farmers, Go ahead and do this to all your farms and staff your farms with your new workers. With that done you should also build a large warehouse to store all the food you’ll be getting.
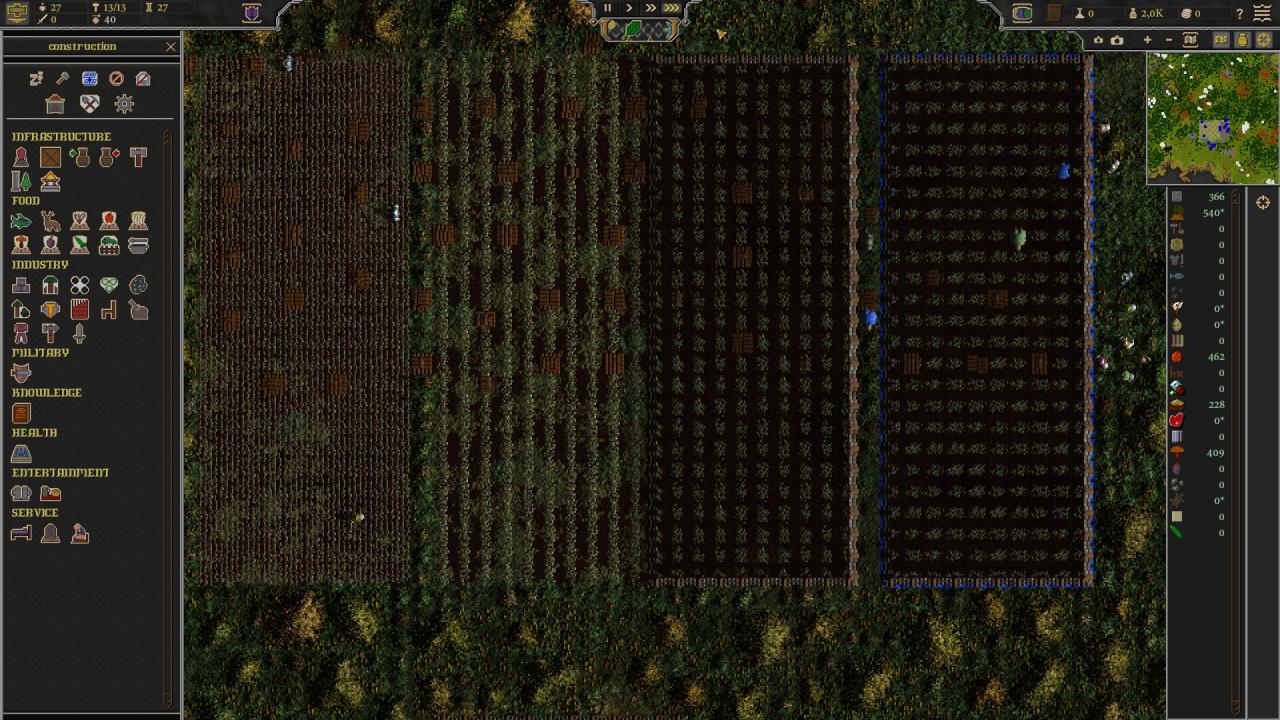
By this point you should have between 30-50 people total, at this point i’d build more farms, So go ahead and copy your farms and place them directly next to their originals still following the flow of your first 4 farms and keeping the 2 channels in the farms. (insert picture here) Now comes the reason for the channels, go ahead and build a canal in between those farm in that 1x(inset number of squares you made your farms length ways) empty space, the canals will irrigate your famrs increasing the total yield of the farms, Without the canals 1 10×25 grain farm will bring in more than 250 grain per harvest, adding the canal increases that number to at least 280 and thus is a worthwhile investment inn all your farms, Note that if you keep using canals you’ll use up a water resource called the “Water Table”, If you run out of this resource you can remove water from other sources such as rivers, oceans and ponds to increase your water table and thus build more canals,
So now your Farm should look like a 50×42 rectangle of farms.
Restrain yourself and build
So a little explanation on reputation and how its calculated and what it does.
Reputation can be considered your score, Its value is determined by almost 2 dozen factors including Stored food, Enough comfortable beds, Easy access to lavatories, Access to bathhouses, Extra food rations, More road access, No unburied bodies, Respectful cemeteries, Decorations, Clothing and more that i can’t be bothered to note from the top of my head, but basically the higher your reputation the better off the game thinks your town is and from that the more immigrants you’ll get.
Now that we’ve got that out of the way you’ll want to have an army for when the raiders come knocking, The first raid will have 150 untrained naked men attacking you, So you’ll want at least more than 150 soldiers to defend yourself, Now the question you may ask is “How do i get soldiers?” well i’ll tell you, you need to build a training ground, But to do that you’ll need metal and furniture, And you’ll need to build it all quickly hence the need to build up your food stocks, By this point you should have about 50-60 people total, Your’re not going to get much more than that by food alone, so what you’ll want to do is build a Carpenter.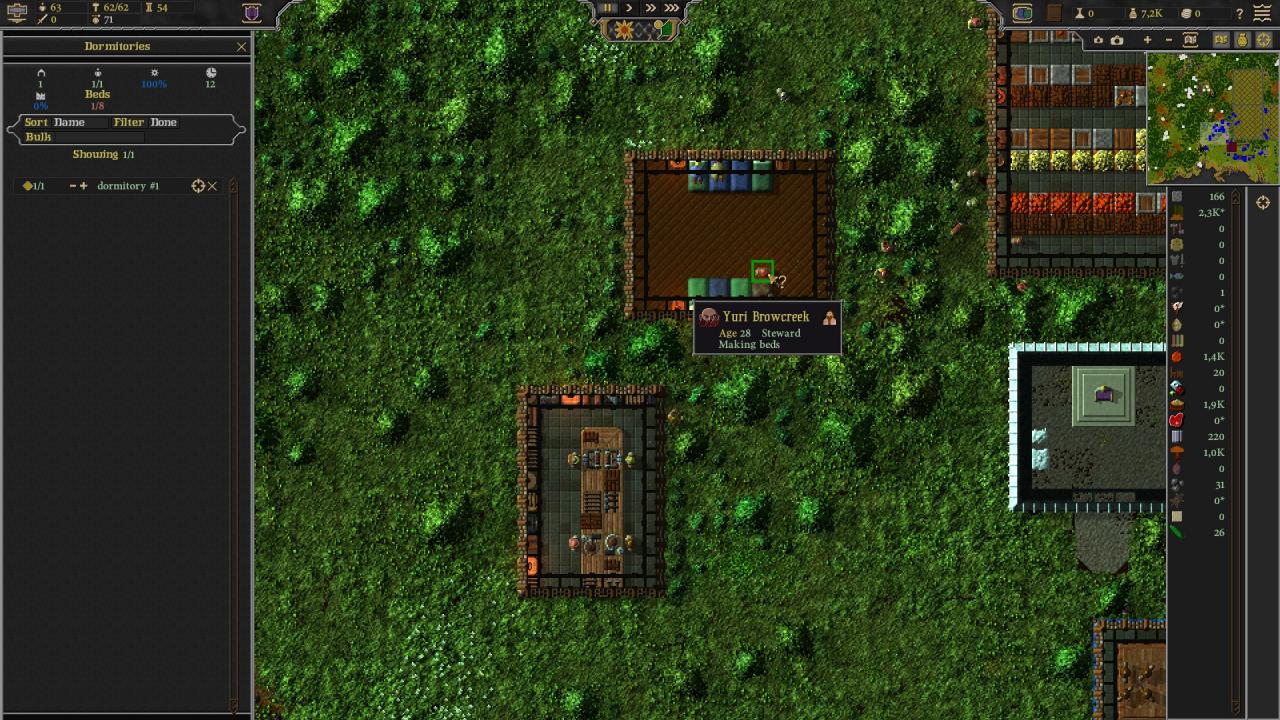
Then a Dormitory or a Lavatory, It really doesn’t matter which one as both will make your reputation skyrocket, At the same time set down a few jobs to mine coal and iron and start building a Metal Smelter to get metal production going fast.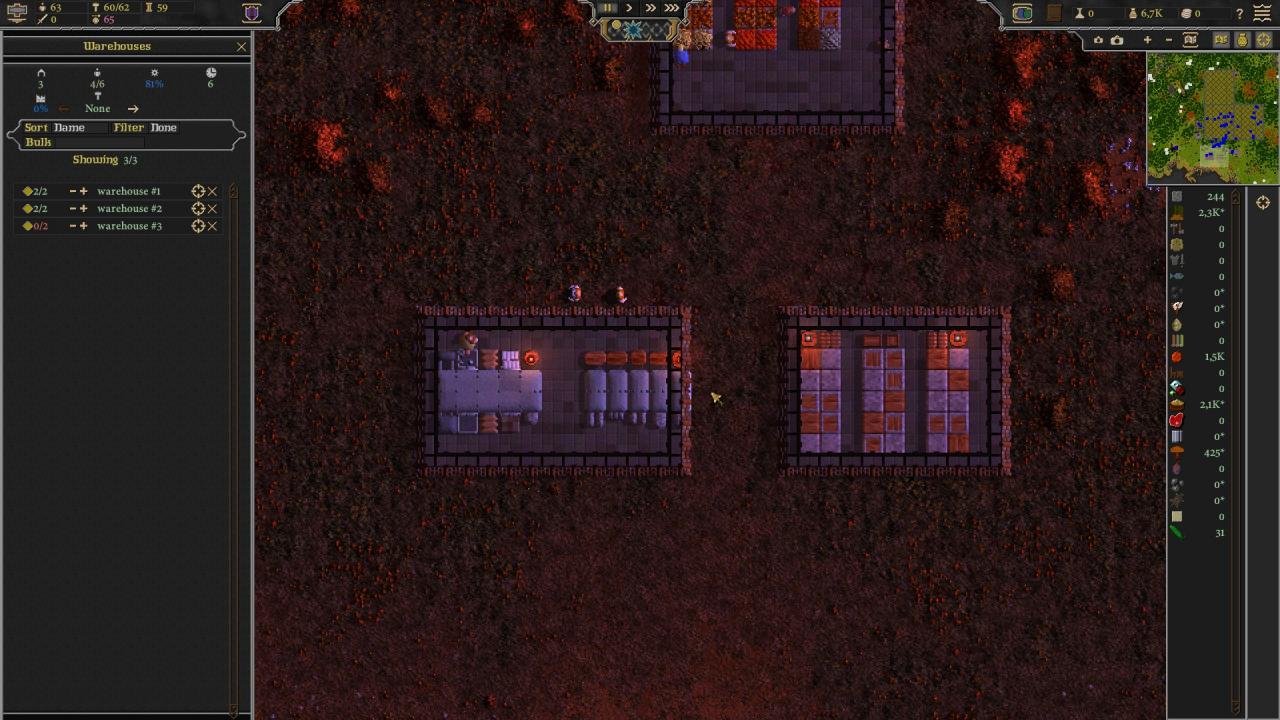
Once all that building is done you should have about doubled your total population and now you’ll start dipping into your food stocks, Quickly Build a Training Ground and start training your soldiers it shouldn’t take long as they’re training to the lowest level (Which is fine for their purpose).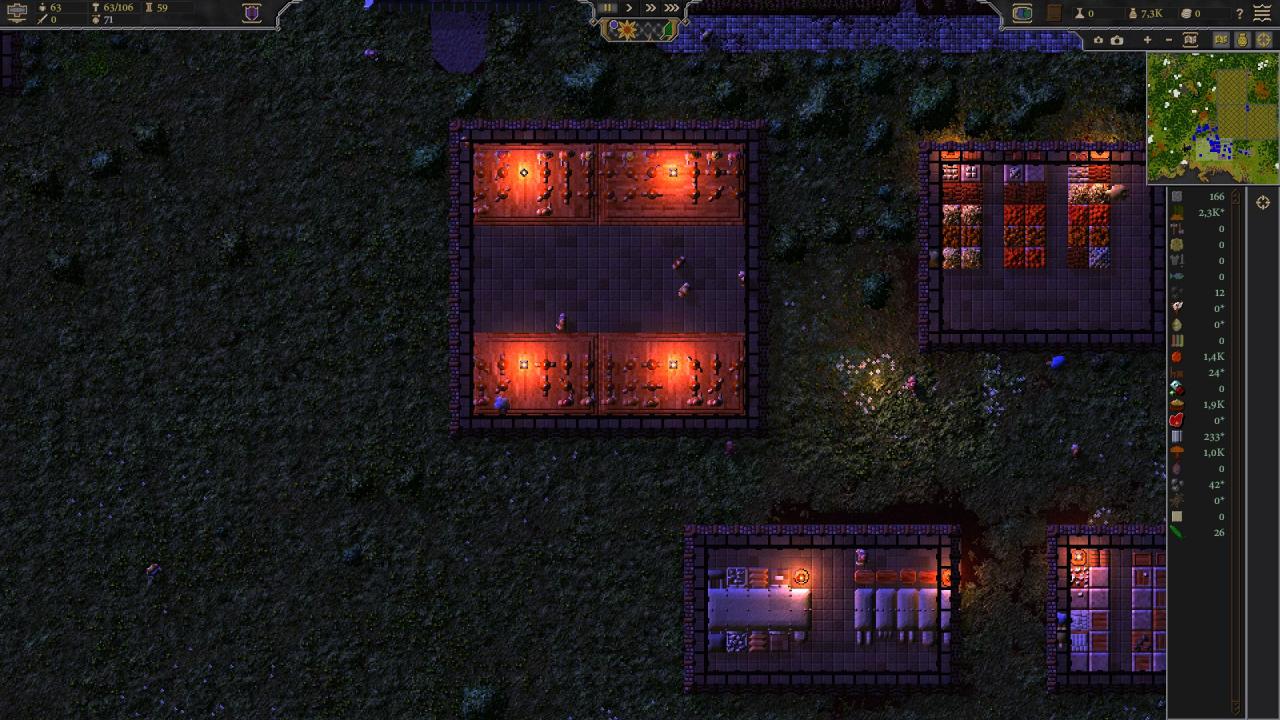
While your army is training you’ll need to expand your food production to accommodate the sudden population growth, build more Dormitories, Lavatories and warehouses for food storage too as food stocks only show when they’re in a warehouse, Don’t hesitate to gather wild edible plants during harvest time (Summer, Autumn) they regrow multiple times during harvest time and so are an excellent option in times like these.
Also if you’re like me then you like having your growing village organised and clean, Remember how i wanted my farms, Well they provide the perfect “Template” for planning and expanding my village, I tend to call each rectangle a “Sector” so i can have an agriculture sector, An industrial sector and a residential sector, it really helps to plan my building like this.
Managing your army
In the upper left corner of the screen you’ll see various symbols and numbers, They correspond with important parts of your village, the person symbol represents your total population, The hammer icon represents the number of employed people and total jobs you currently have it does not show idle people, The symbol that looks like a capital I or the Roman numeral for 1 (take your pick) represents your reputation, The symbol of the sword represents the number of deployable soldiers you have, Clicking on the sword symbol will bring up the army management screen, From there you can change many things about your army, The number of soldiers per division, The level of their training, The amount of experience required to be in that division (in case you want only battle hardened soldiers as your elites), What race you want that division to be made of (as i’m typing this there is only one race in the vanilla game) and of course what level of training.
Obviously the higher the level of training you set that division to the more effective they will be, However it comes at the cost of requiring more constant training, This way you can have either a massive civilian militia army or you can have a small elite army, The civilian militia (lowest level of training) needs training once every 15 days while the elites need training constantly, equiping them with battlegear is very powerful and can mean the difference between victory and defeat, as the raids keep coming they’re numbers grow rapidly, so always grow your army and keep soldiers ready for the next attack.
To muster your soldiers there is a button in the upper left corner of the screen that looks like a purple shield clicking it will take you to the army control screen, It is this screen that will let you control your army during combat.
When a raid finally happens you’ll have some time to prepare, When the demand for ransom comes you’ve got from half a day to a full day until the attack begins, Once you’ve built your village enough this is just enough time to arm your soldiers and go to their positions, You will never know the direction the attack will come from as its randomised every time, The very reason i enjoy playing in the mountain terrain is to limit the number of spawn points they can come from and thus making their attacks easier to counter, In the mid-late game you will likely have built a wall around the perimiter of your village and have only one opening, An excellent tactic that i use frequently, Just have elite fully armoured (yes armoured i’m and aussie) and defend the only entrance, although since i’m walking you through the start lets just say you’ve trained all four divisions of civilian militia to a total of 200 soldiers, you can survive the first raid easilly, the second raid not so much as their numbers will more than double the first raid.
That’s all you need to know to get started with army management and defense.