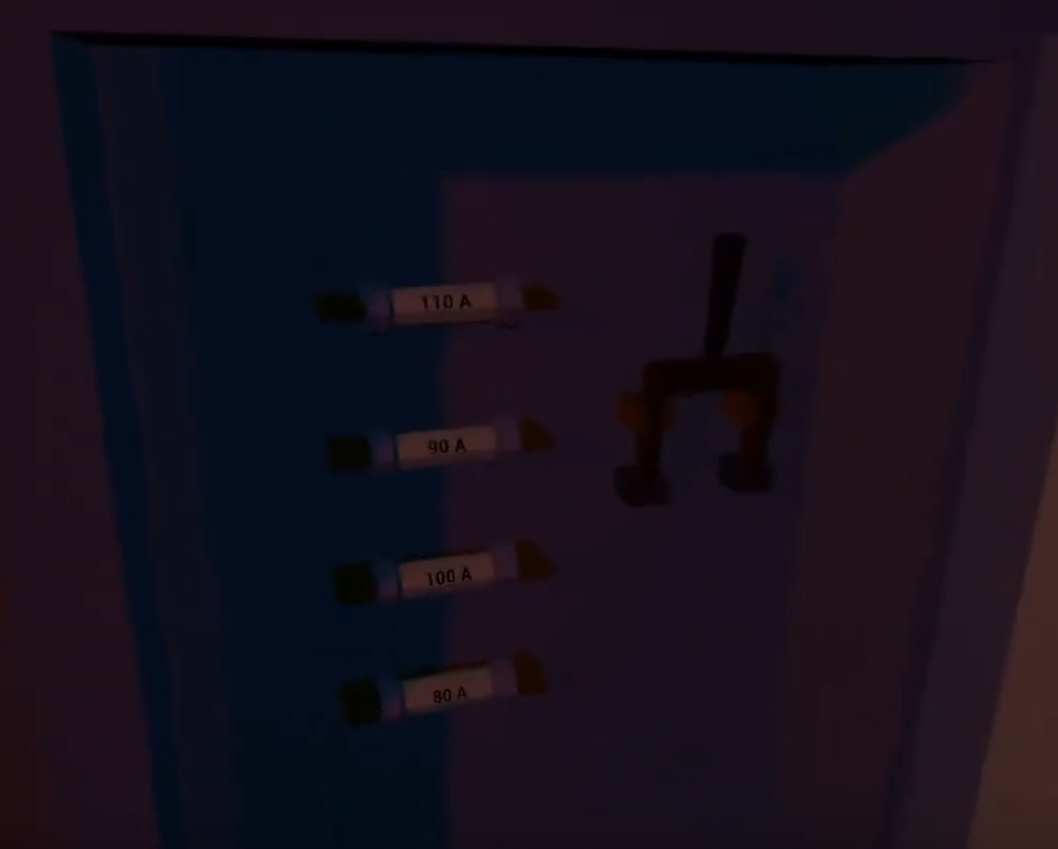
Turning on the Lights
110A
90A
100A
80A
Then flip the switch up.
First Door
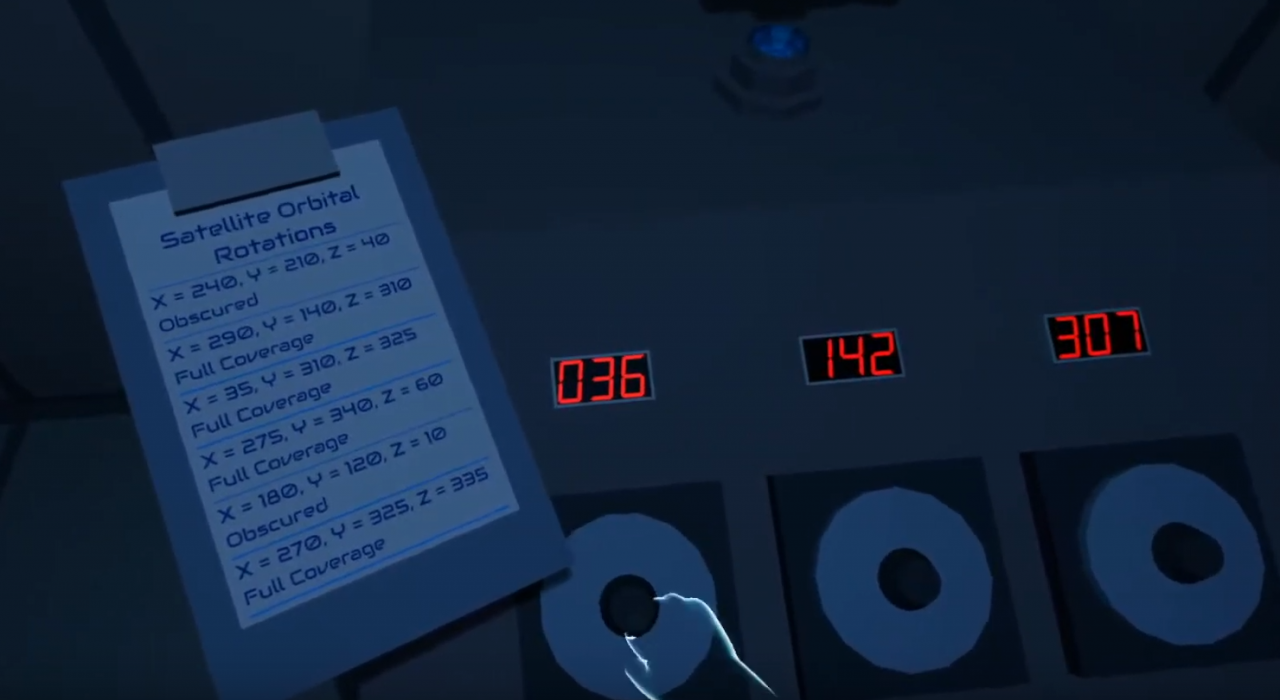 You are going to want to find this clipboard that is in one of the lockers, now input the coordinates into the big ol box in the middle of the room, but only the ones that say “Full Coverage.” Going from top to bottom, the number you see on the cube above is what you input into the door.
The numbers should come out to
6594
ONURDSE
If you aren’t interested in knowing how to get the answer, skip to the next paragraph. Otherwise, grab the ONURDSE clipboard from the first room, and give it a once over. It mentions a quote from a cosmonaut. In the second room near the farthest back door, there is a poster with text. Look back at your clipboard, and look at the numbers. The first number before the dash is which line, and the second number is which letter. So if the numbers are “3-24” it means, line 3, and the 24th letter. Follow that down your list and you have your pattern.
Go to the pillar in the middle of the second room that has the letters ONURDSE going down the side of it.
Press the letters in this order
SREONDU
A ball will pop up above it with a bunch of buttons and arrows. This one is pretty hard to describe but just know that if you press a button, it’s light will turn on / off, and whatever button it is pointing to will turn on / off. This does not chain tho, so if you press a button with an arrow, that hits another button with an arrow, the 2nd buttons arrow won’t set off a 3rd button’s light.This should be simple enough with a little trial and error.
Align the Planets
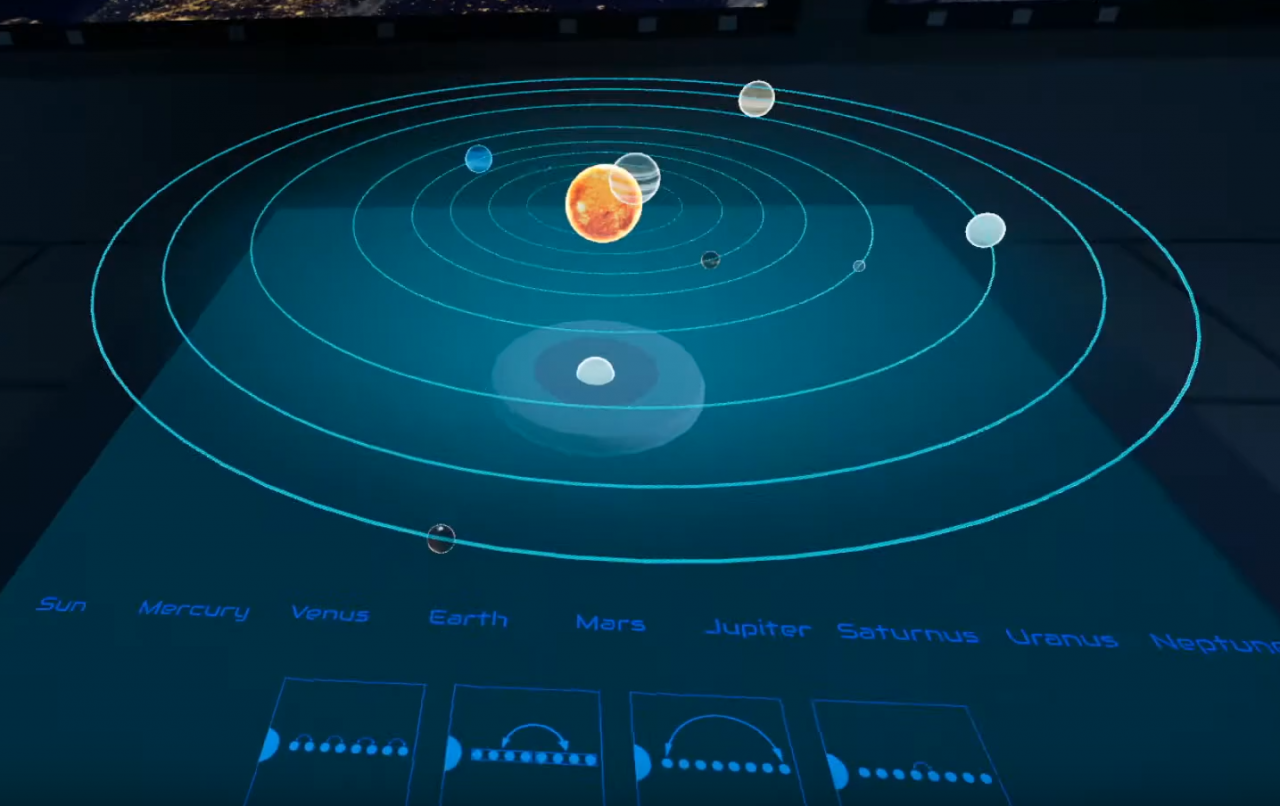
So in this one you have to put the names of the planets in the correct order.
SUN MERCURY VENUS EARTH MARS JUPITER SATURN URANUS NEPTUNE
First hit the reset button to get everything on a blank slate and lets go to pushing buttons.
Hit the buttons in this order
312
141
431
Colored Tubes
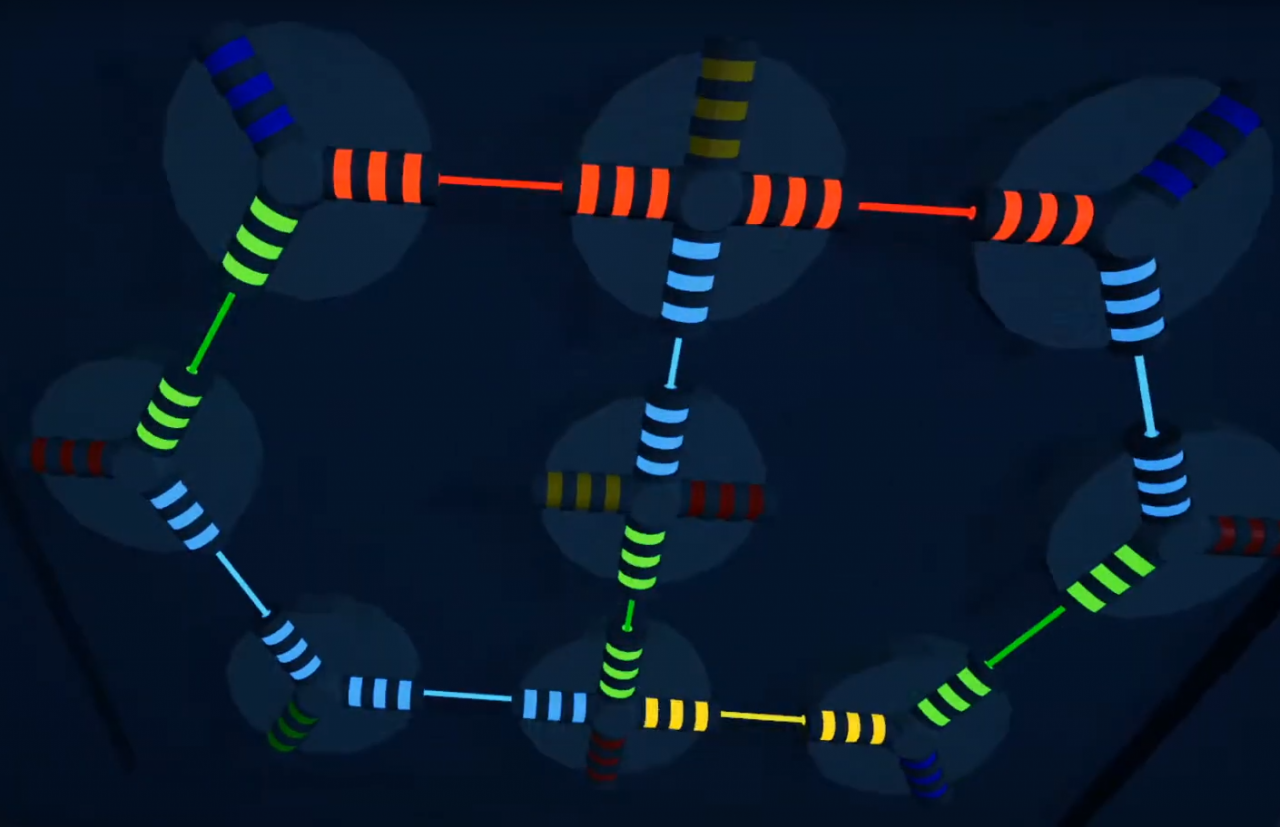
Hieroglyphs
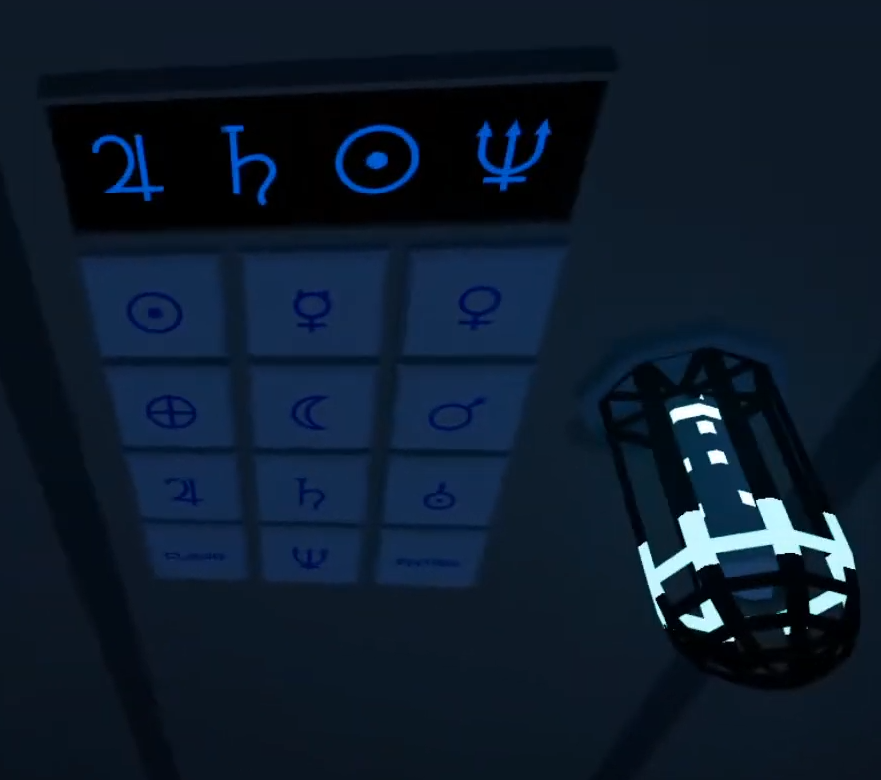
If you want to find the code for this yourself, you need to pick up the mini hubble space telescope on the table, it has a blue button on the end of it, when you press it a blue orb appears, take this to the poster of the man on the moon the opposite end of the world map, and point the blue orb at the poster, scan it yourself to find the code.
If you just want the code:
4, h, target, trident
The Second Door
Go back to the world map and to the left of it there are 4 dials and a sine wave thing above it. If you’re colorblind, this is probably going to hurt your eyes and give you a headache trying to focus on it for a period of time (I know it bothered me.)
First dial is the height of the wave.
Second dial is the width of the wave.
Third dial is the horizontal positioning of the wave.
Fourth dial is the vertical positioning of the wave.
Here are the answers.

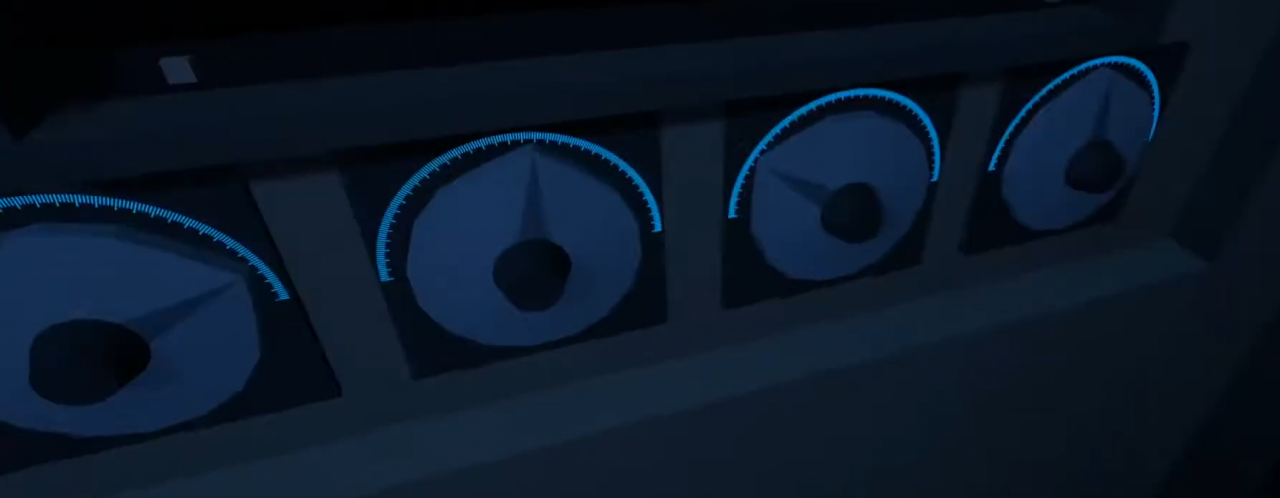

Sorry those were the clearest images I could snag from my walkthrough video and I didn’t want to have to go back into the game and grab em again.
ALRIGHT
Now look at the map, there are lines pointing to different places.
Figure out what those places are, then you have your second door code by looking at the clocks above them and seeing what time it is.
Places: New York, Hong Kong, Paris, Sydney
Code: 2386
9 Red Dots
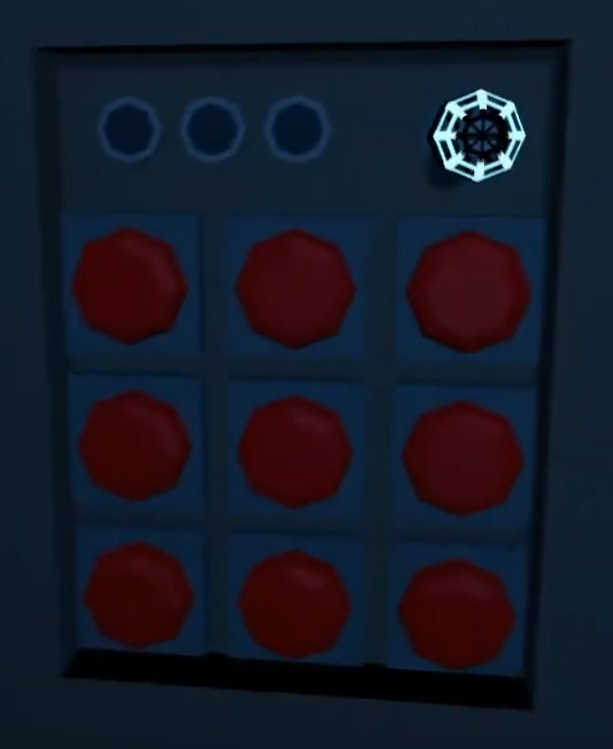
Throughout the rooms you have probably seen these 9 red dots lighting up. Well that is your answer, you need to do this 3 times.
The first one is in the second room next to the table with the mini satellites.
The second one is in the room with this puzzle in it.
The third one is in a small hole in the wall past the pressurize pipe valve puzzle.
I will be saying the answers in this format
123
456
789
Answers:
1372,
6752,
9481
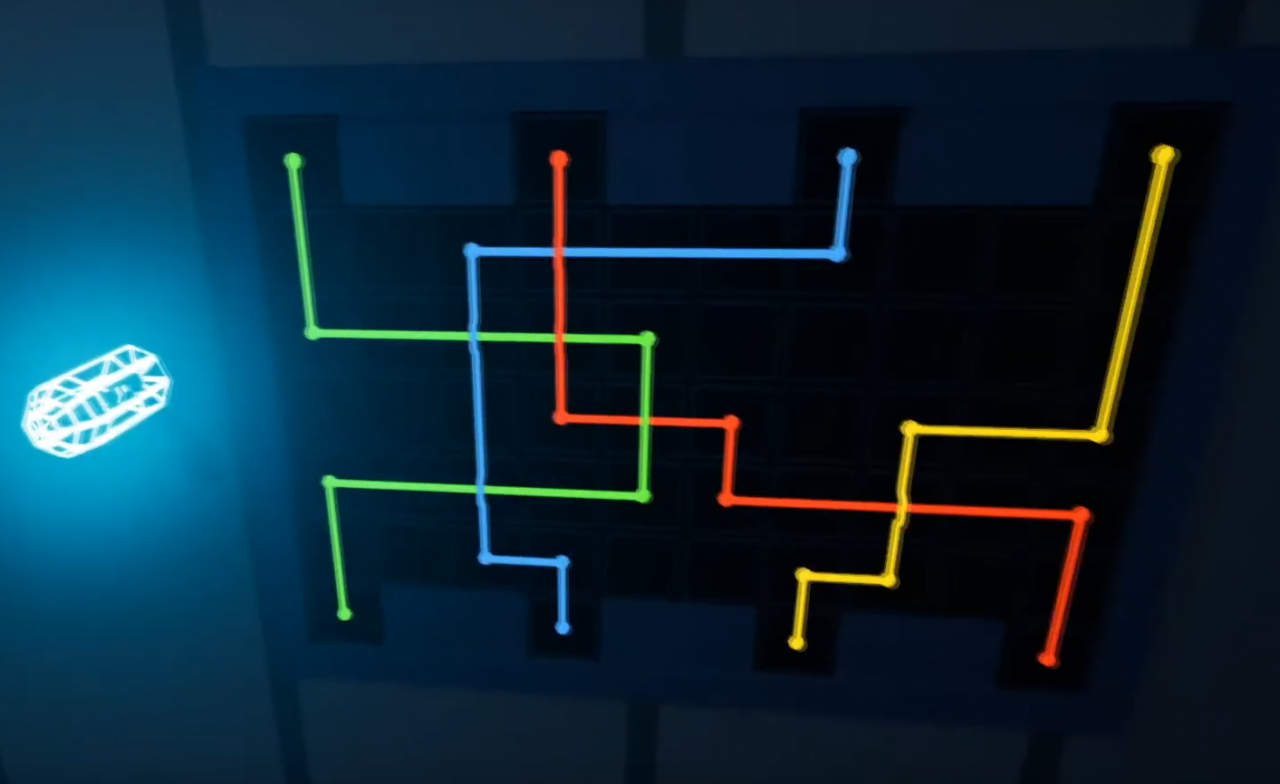
Connect the Colored Wires
Here is the final answer.
The Microscope
Crawl under the table and set each colored slider to the number of time each light flashes.
This powers on the telescope.
When you look into the telescope with the slide, a 3d hologram of a sphere with the number 106 is pasted all around it. This is the number you need to set the pressure to with the valves.
The Valves
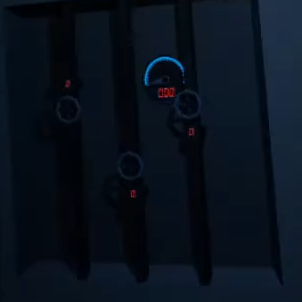
First you’ll need to find the valve in the first room in one of the lockers.
Take it into the second room, next to the world map. Place the valve onto the middle pipe that is missing a valve.
Now you will need to get the pressure to a specific number in order to complete this puzzle.
If you have done the microscope puzzle already then you know what pressure you need to reach, you just need to find the right combination of numbers for each valve through trial and error, or “math.”
Here is the answer
1,3,9
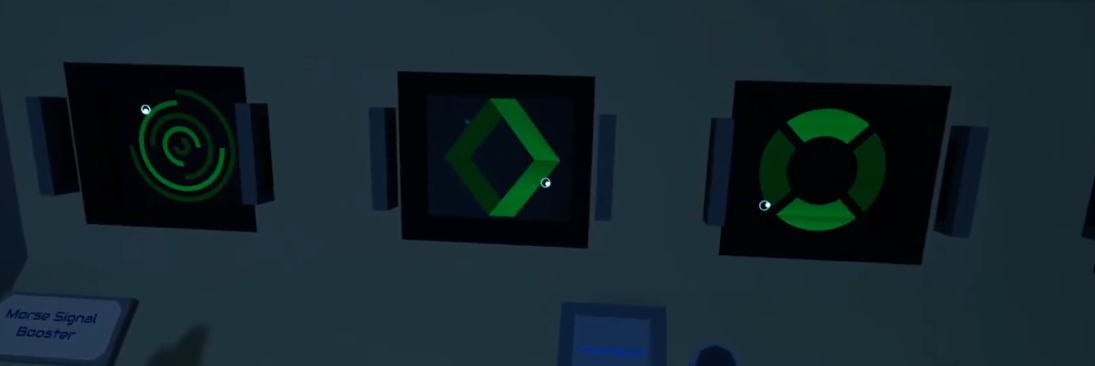
4 Joysticks
You can find the symbols hidden on the giant poster in that room. Once you find that, go to the joysticks and put the symbols in the right order.
Big Blue Box (16 Switches)
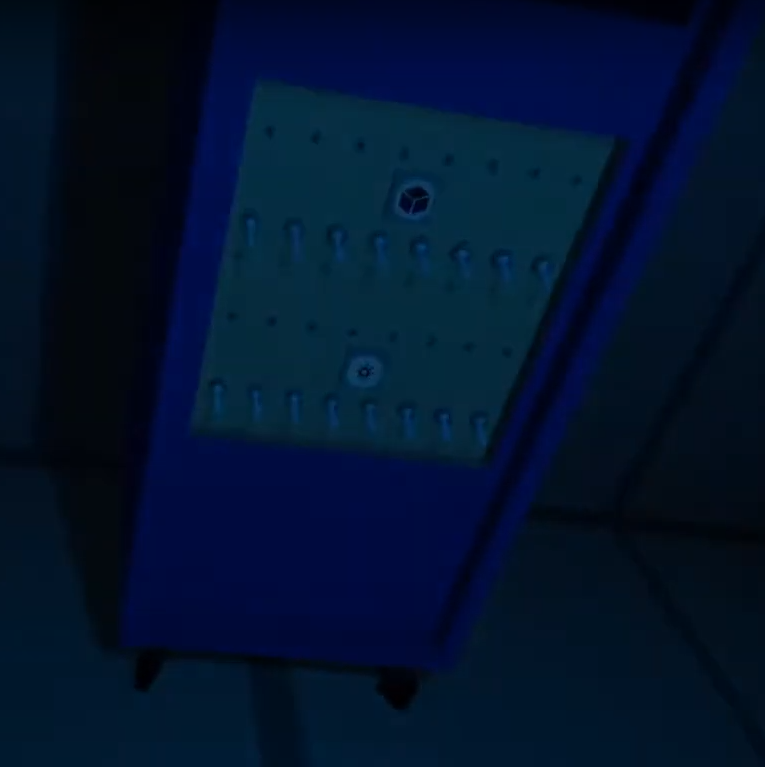
There are 16 switches here, the top 8 represent the power for the box on your left, and the bottom 8 represent the power for the box on your right.
If you go to the box on your right there is a clipboard on top with a graph with 8 positions horizontally, and 2 positions vertically. (See where we are going?)
From left to right flip the switch up if it is 1, and down if it is 0.
The box on the left is a little different but the same concept. You just need to find your “key.”
It’s the serial number on the bottom left of the box.
Once again, from left to right, flip the switch up if it is one, down if it is 0.
Morse Code (Override Key)
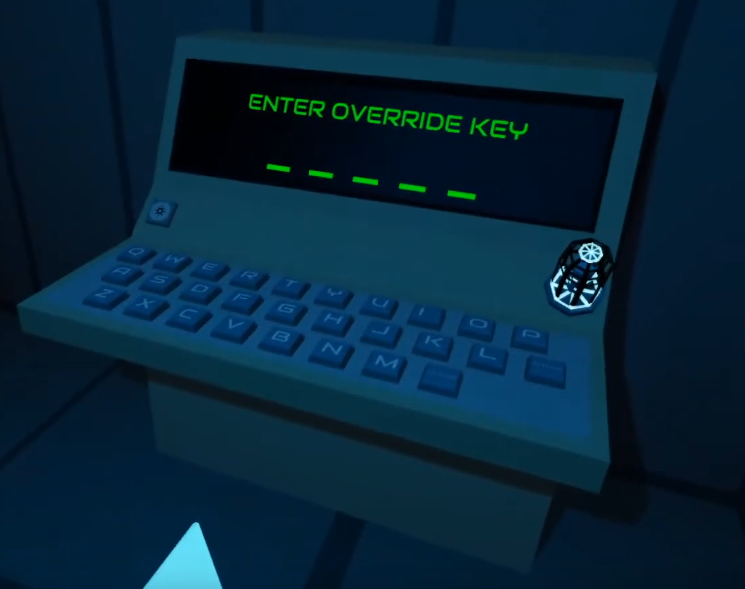
If you are a certain type of cool guy like myself and already learned morse code yourself because you were bored and now you flaunt it everywhere even though you still need to listen to the beeps about 4 different times and still mistake the letter F for a Y, then you don’t need the clipboard that translates morse for you!
If you are anyone other than that, go to the desk where the microscope is, one of the drawers has a clipboard with a morse code translator. Now go back to the room and listen to the series of beeps, a short beep is a dot, a long beep is a dash.
For those that want the answer: WDQAF
Fuel Puzzle
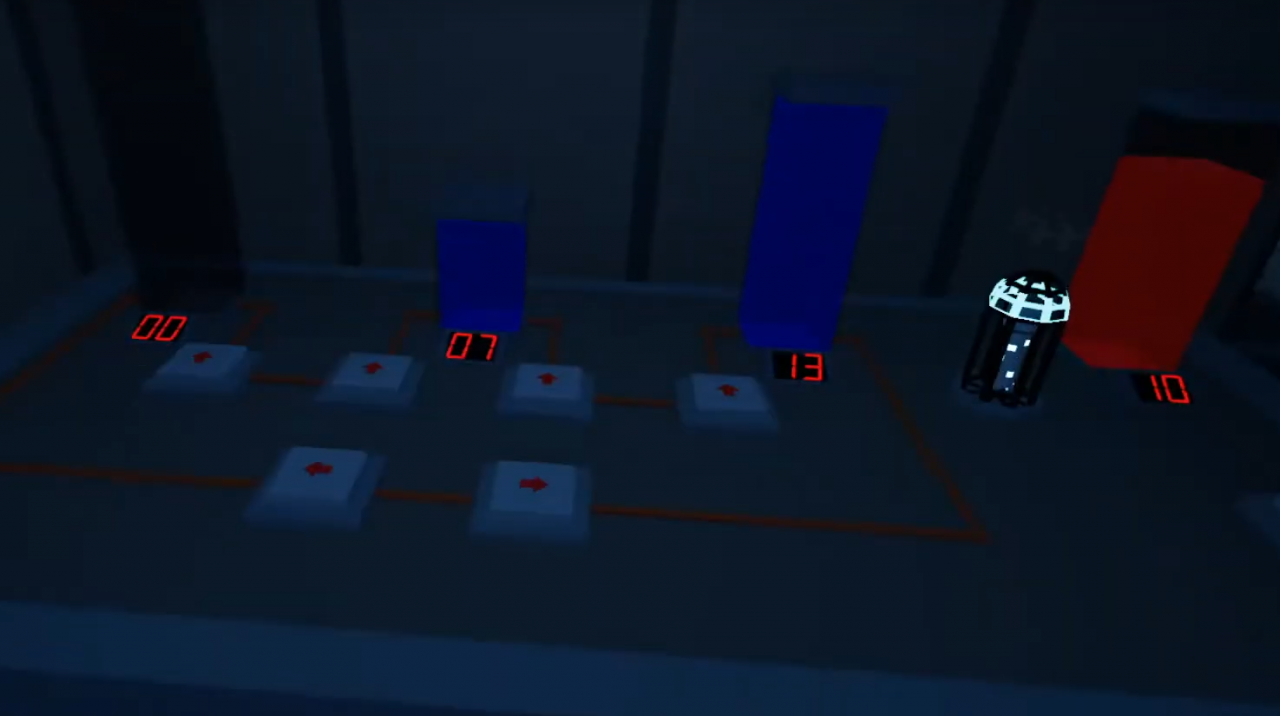
This was probably the hardest puzzle in my opinion. The goal of the puzzle is to get the farthest right container to equal 10. There will be six buttons:
1 2 3 4
< >
5 6
You will need to press the buttons in this order
5 4 2 4
5 4 2
4 2 4
5 4 2
4 2 4
5 4 2 4
Then hit the transfer button.
The Final Room
Perhaps the hardest “puzzle” in this room, a skill based game. Move the joystick so that the little dot is within the two highlighted rings. If your ball goes missing, you may need to reset objects in the settings. This might reset all the puzzles in the last room, so I would do this one first. Do that 3 times, and you’re done.
Follow the wire, and flick the switches in that order.
Look at the monitor, and flip it until you see 5 numbers – 5 numbers. From left to right, subtract the numbers vertically and input that into the sliders.
Switch the monitor to the screen that has a bunch of symbols.
That’s right, press those symbols in that order.
Simple enough, the 7 levers all have their own value, from left to right, 1 – 7. Now flip the levers up so the value equals 14. Lever 2,5,7
And that’s it, congratulations you did it! You will now be sent back to earth. Despite this you still won’t get the achievement probably, I believe it is broken.

