
Walkthrough for Spellarium 8 levels and jigsaw puzzle minigames.
Basics
A M4 gives you a dynamite, and M5s or bigger give you a rocket.
The new things with this Spellarium are that regular coins can passively drop down, much as they did in Laruaville 12, and some coins may now be shielded where you can’t gather them from that side, much like how shielded tiles cannot be broken on the shielded side.
There is a new leftwards facing arrowhead in the scene building area which when clicked upon pulls out the minigames menu where you can replay any unlocked minigame at your leisure, if you’d rather not be interrupted with a minigame appearing while playing M3 levels. The minigame which appears by default when you select a game type will be the last one you unlocked, but you can use the scroll arrows at the top of the screen to go to earlier ones.
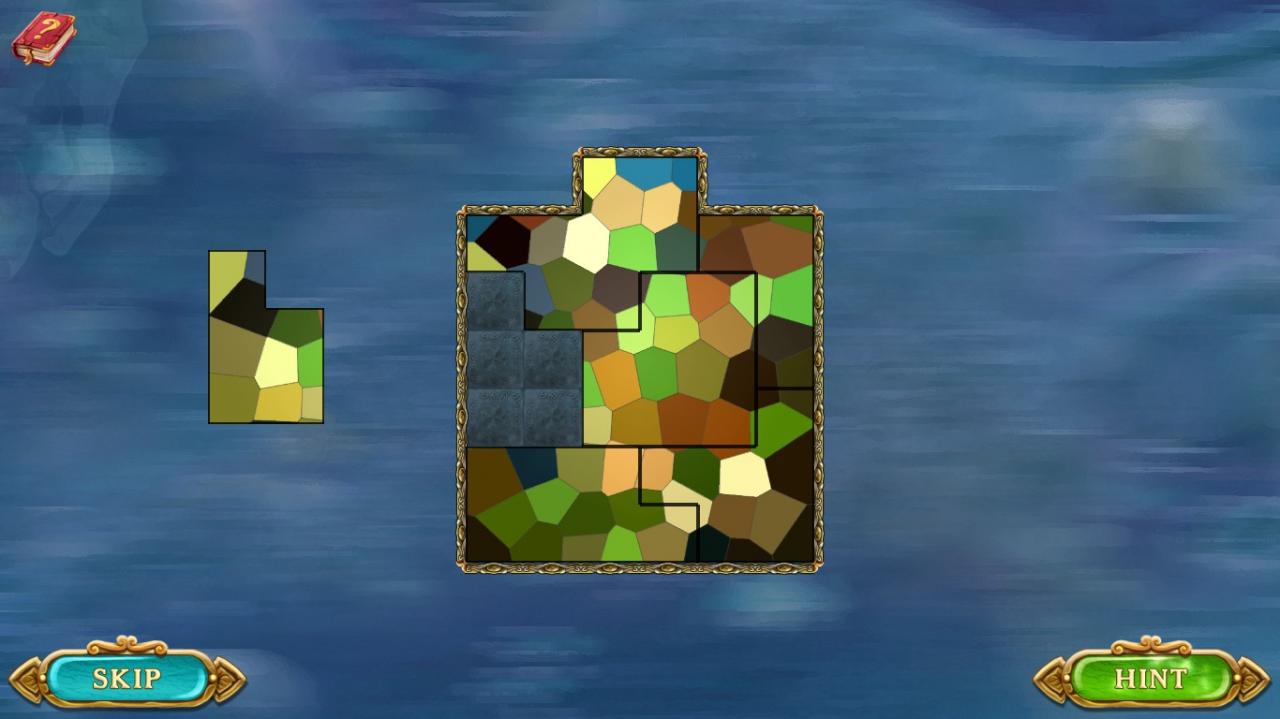
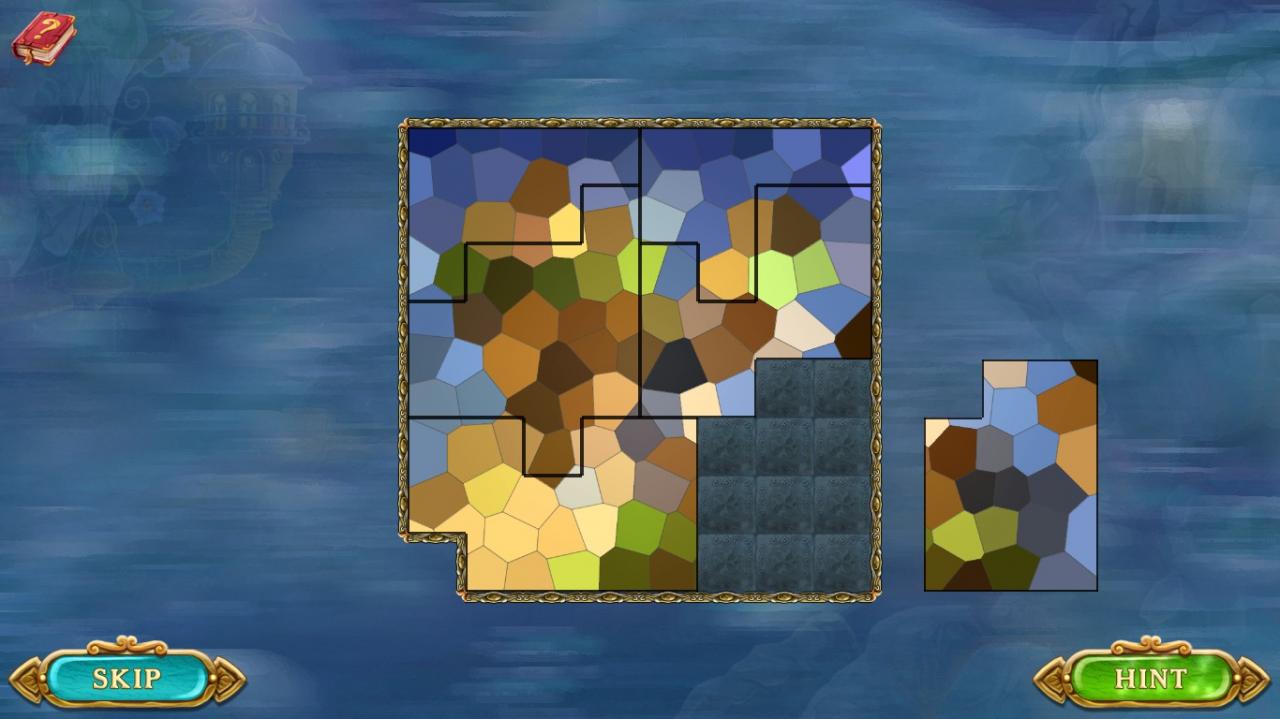
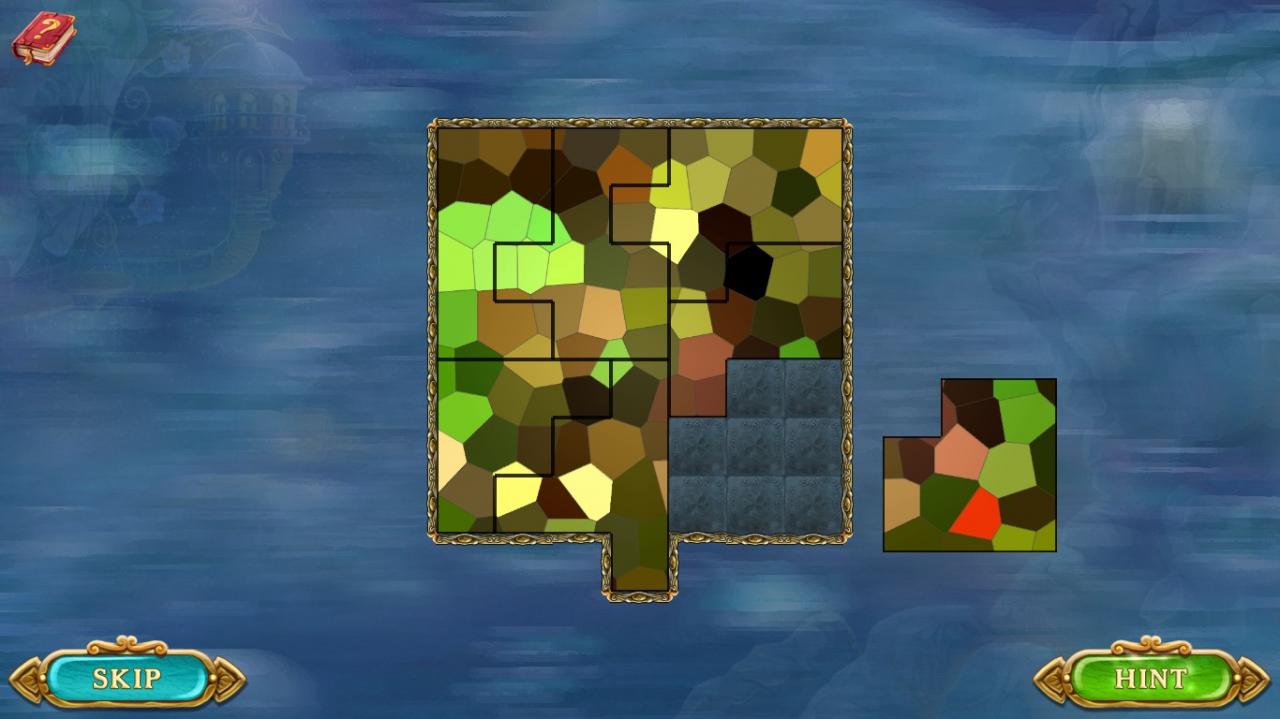
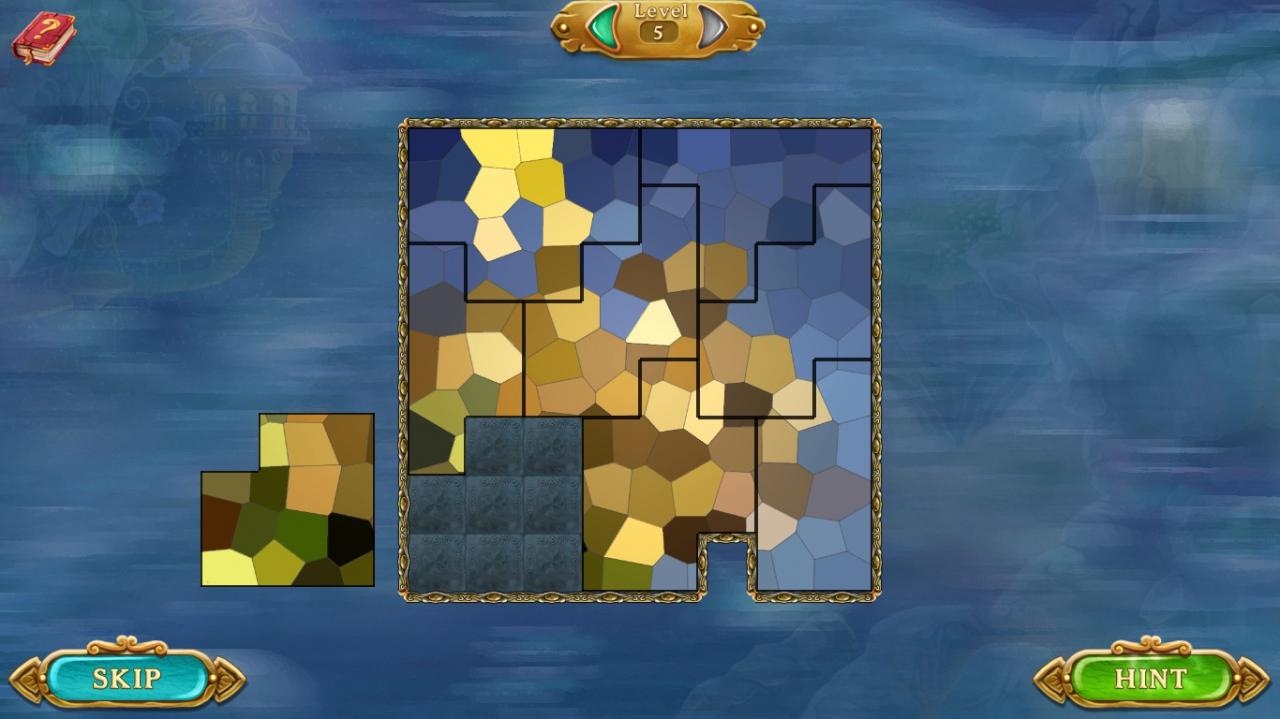
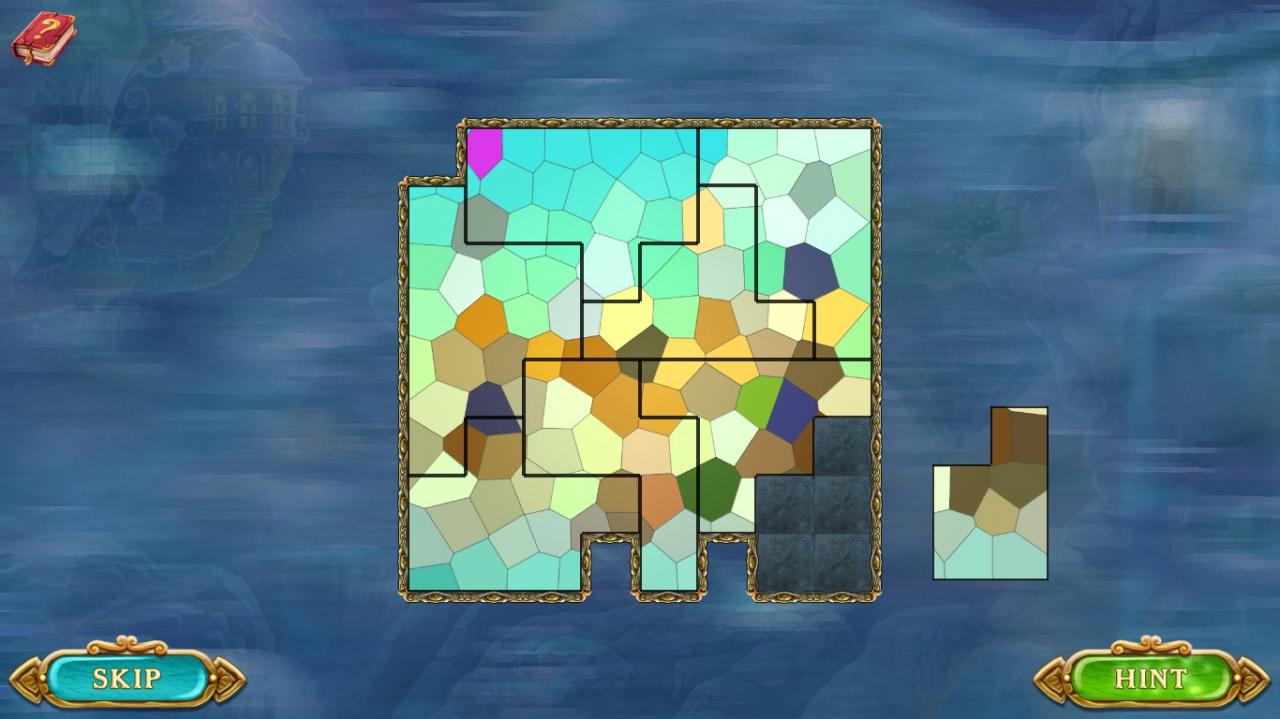
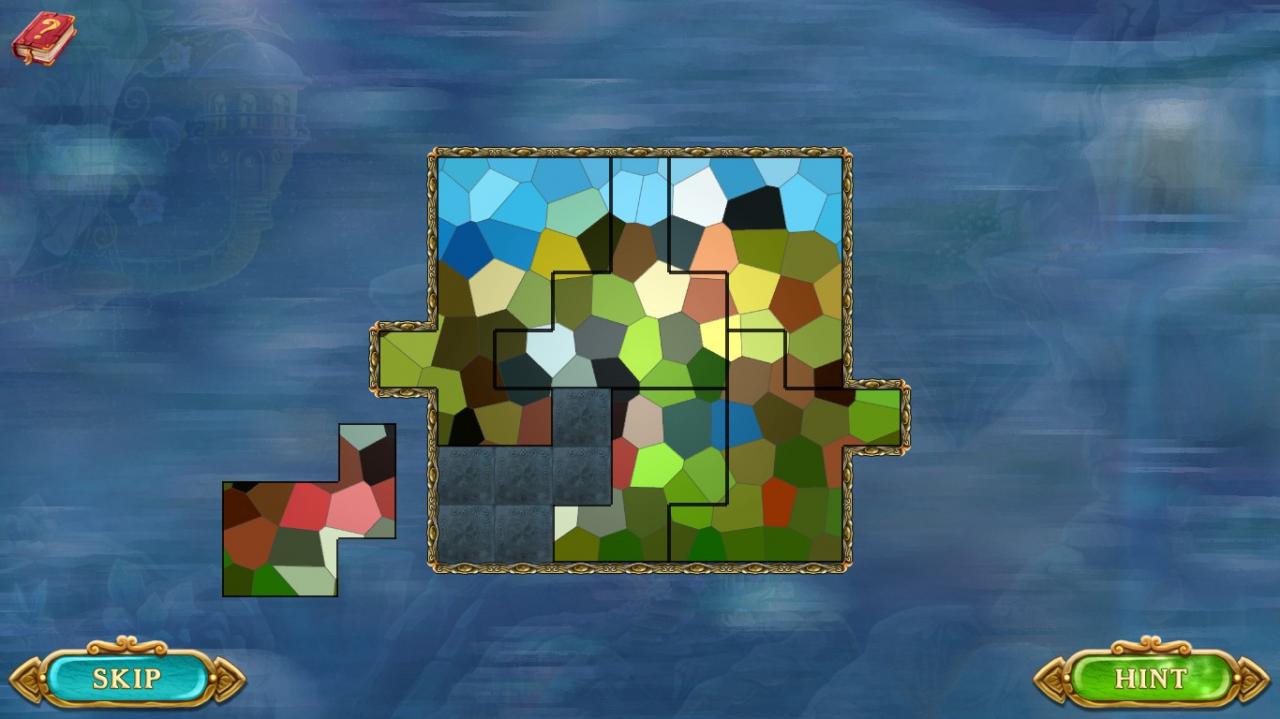
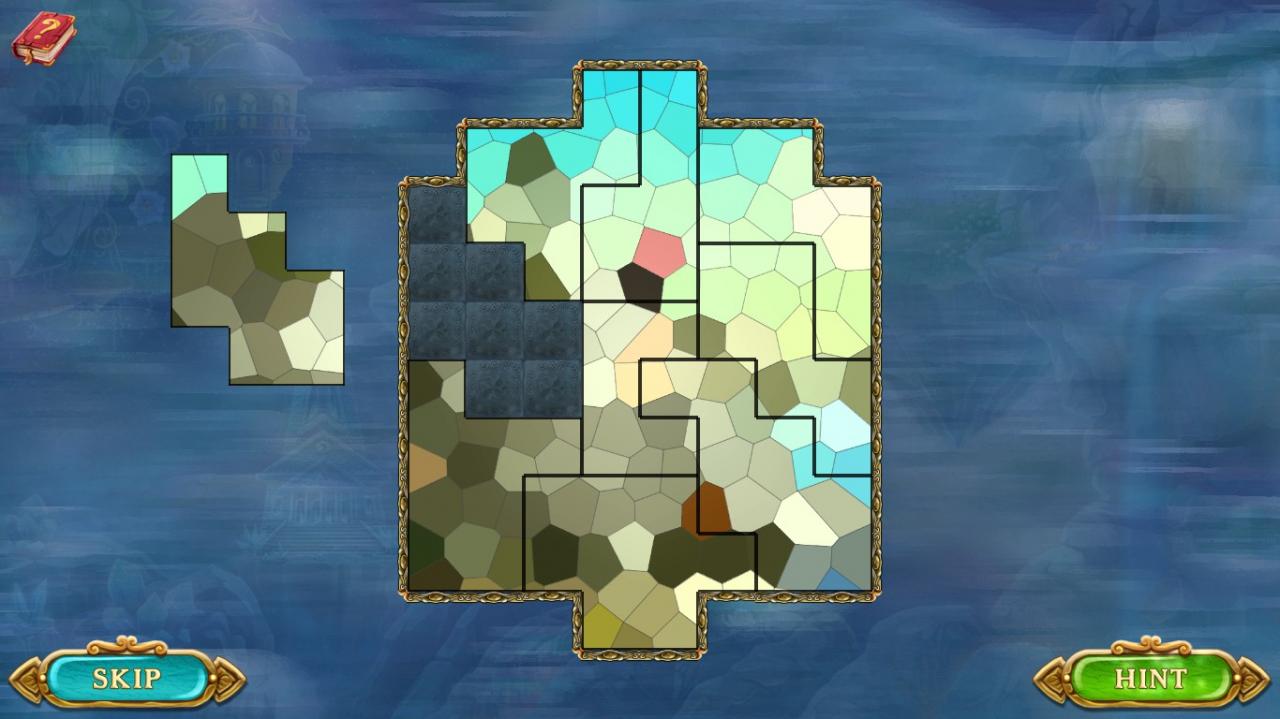
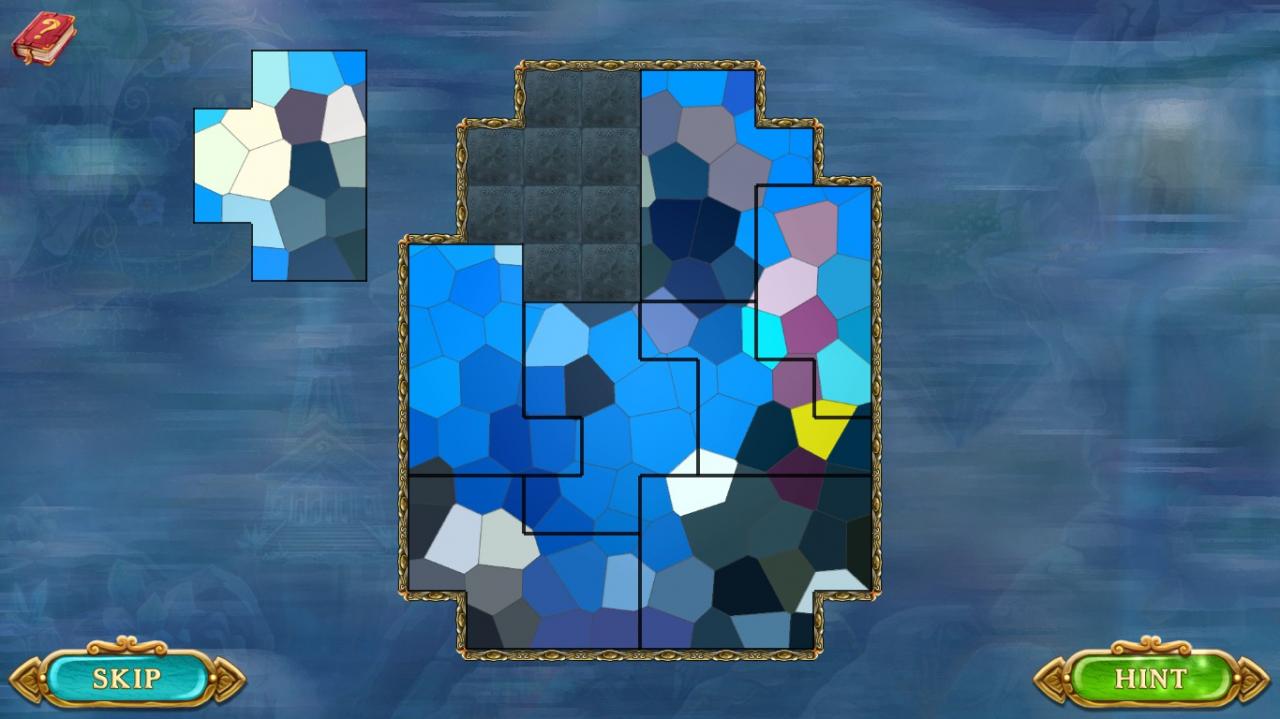
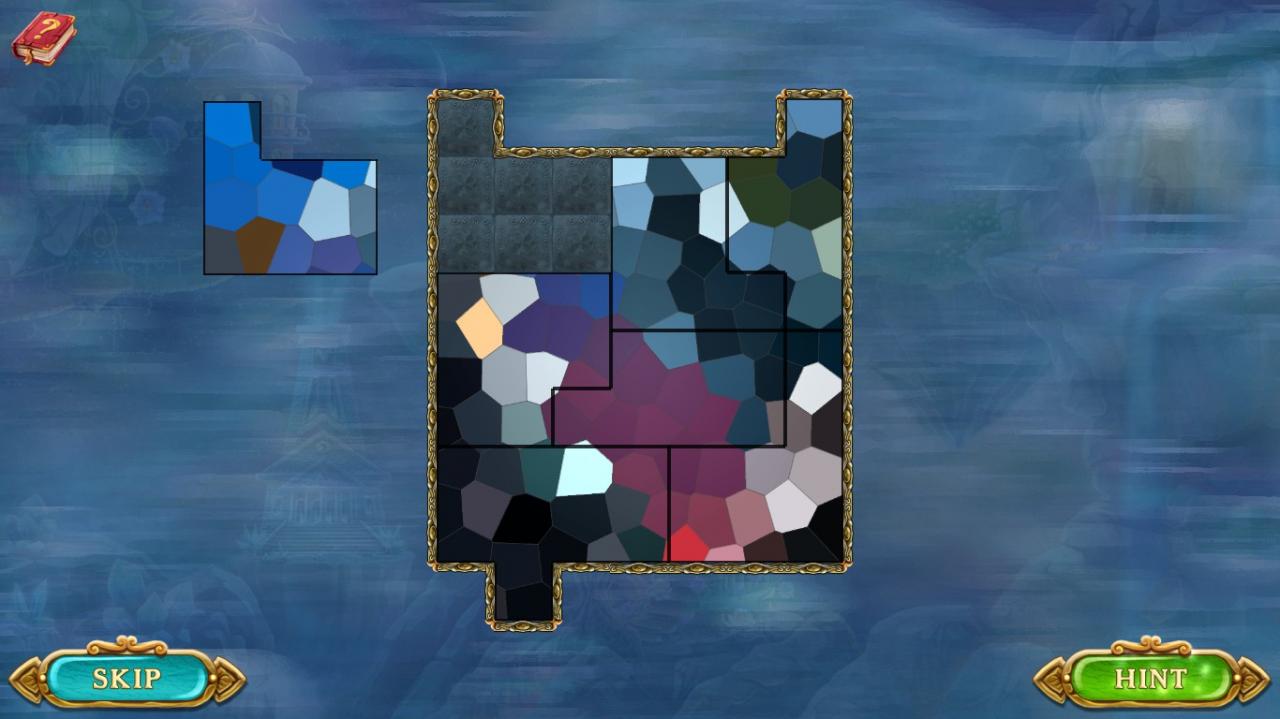
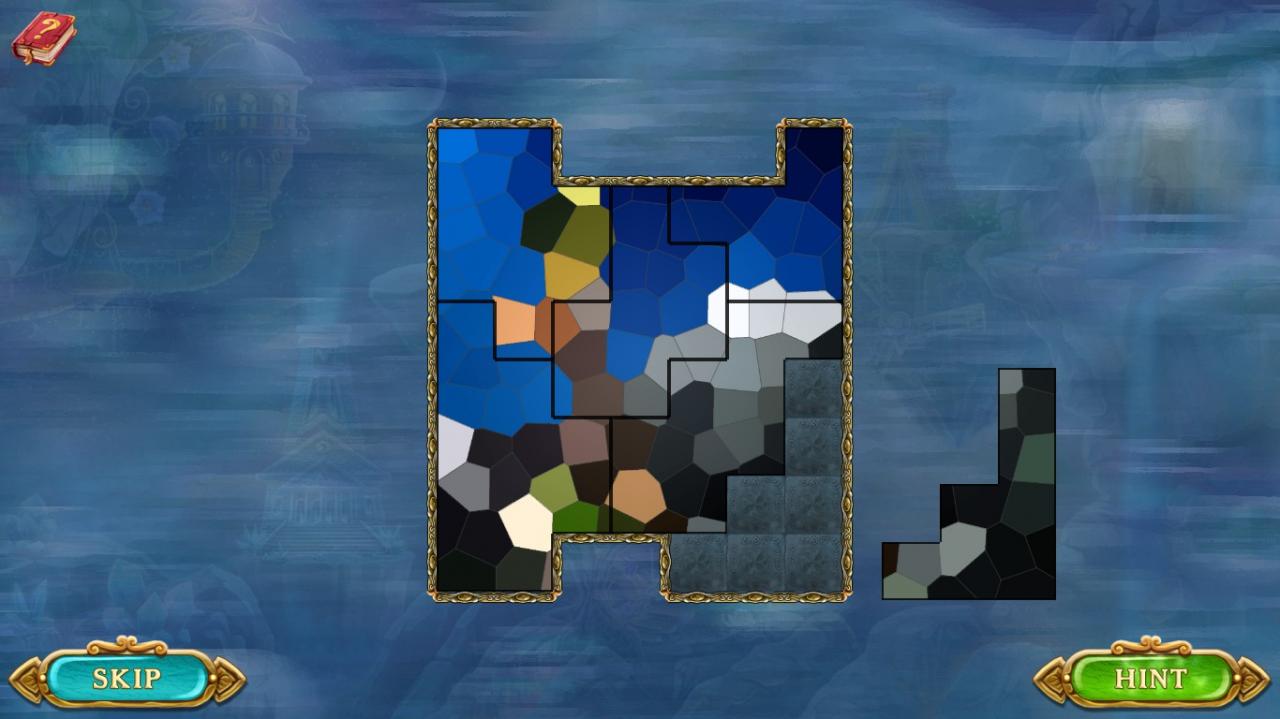
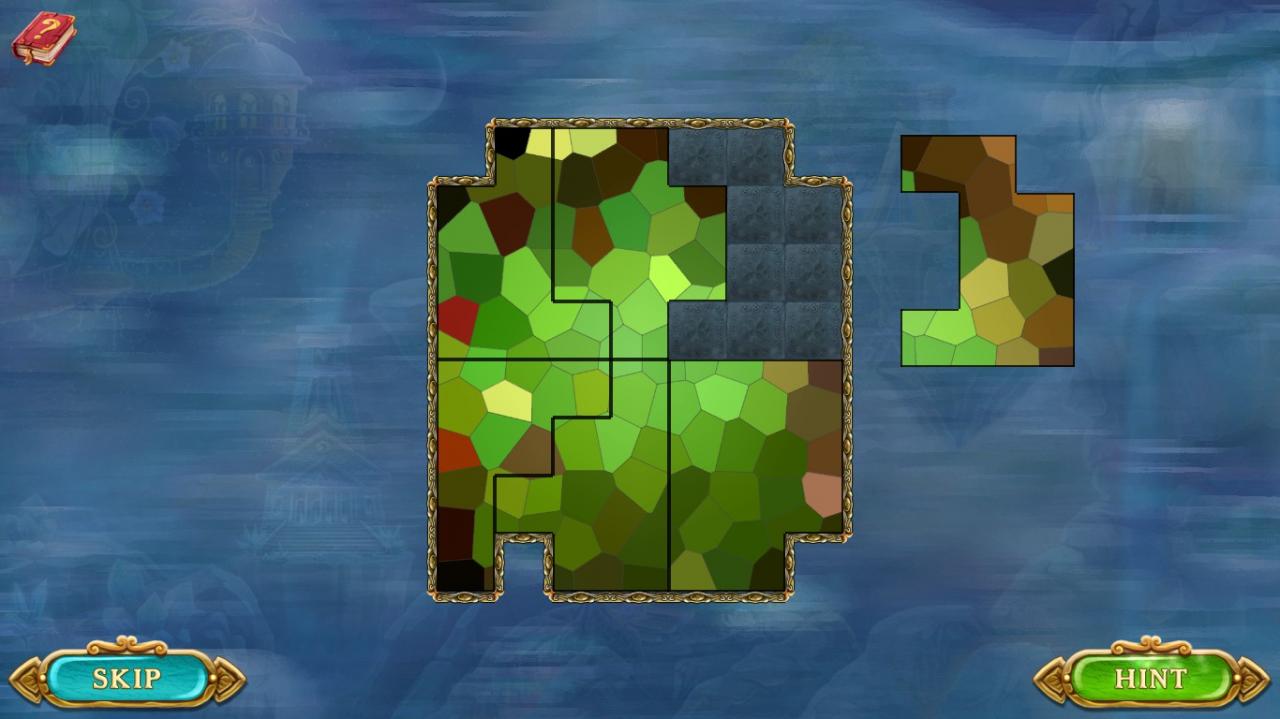
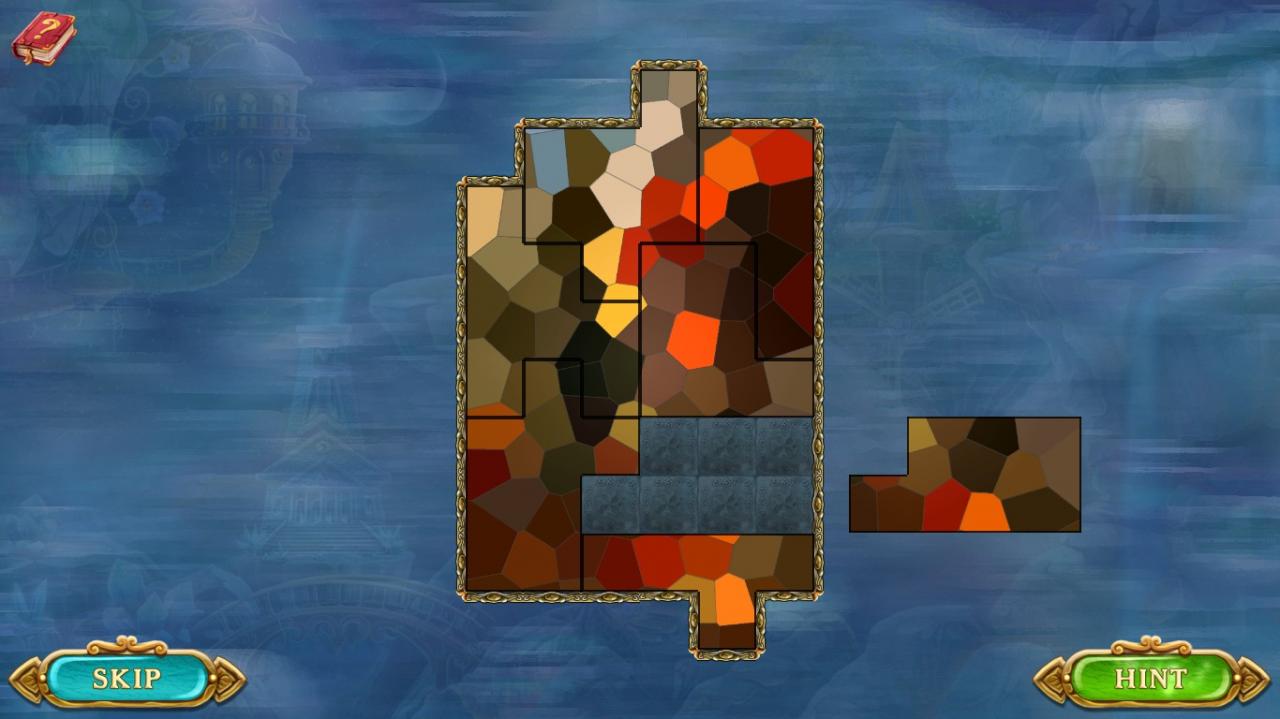
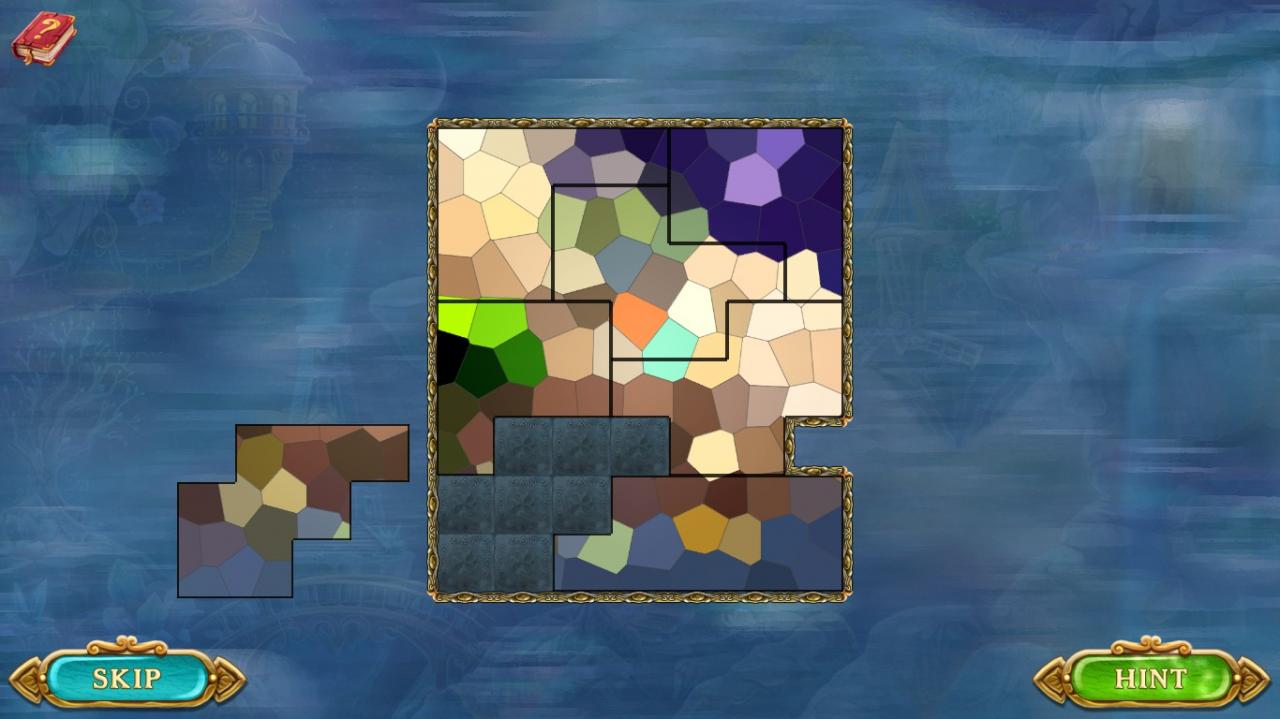
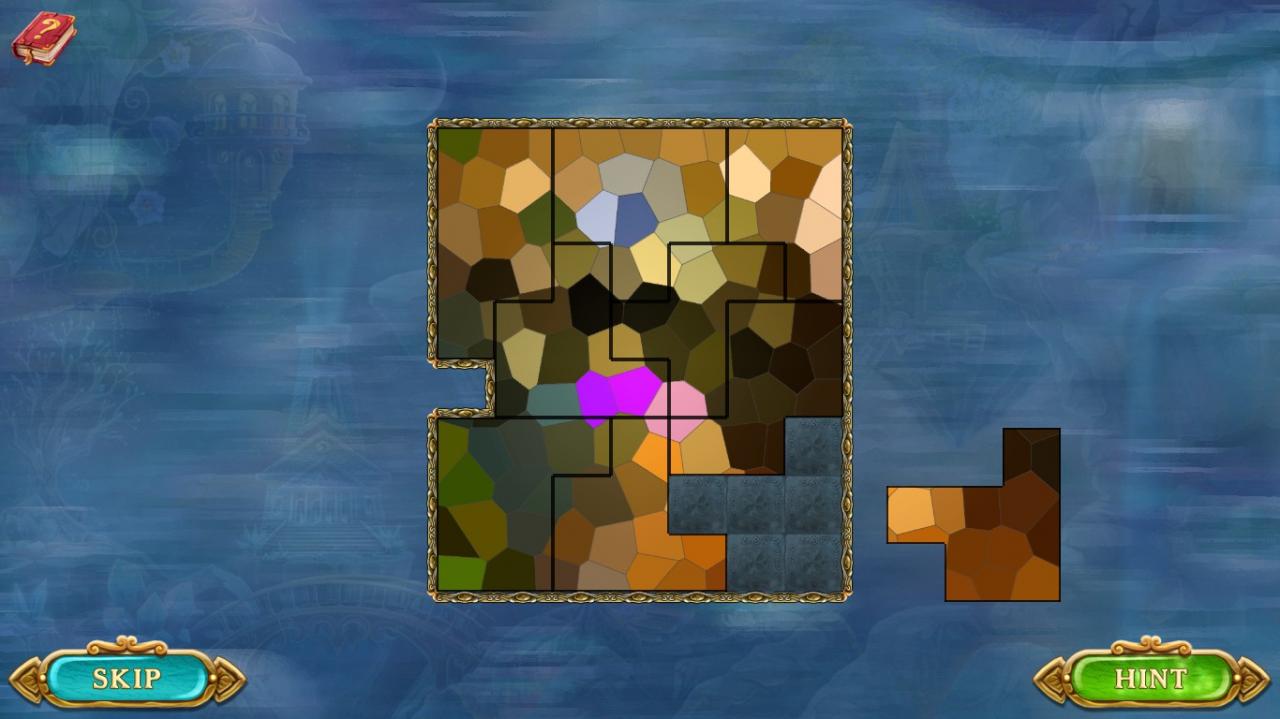
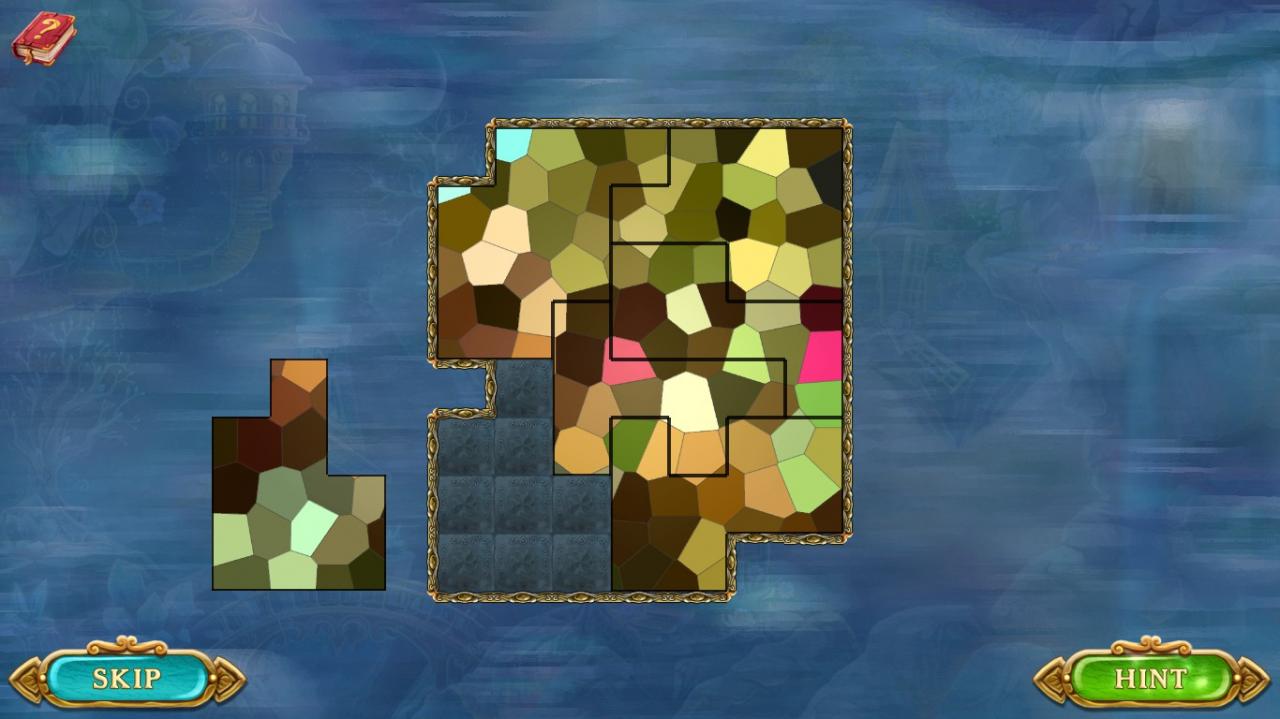
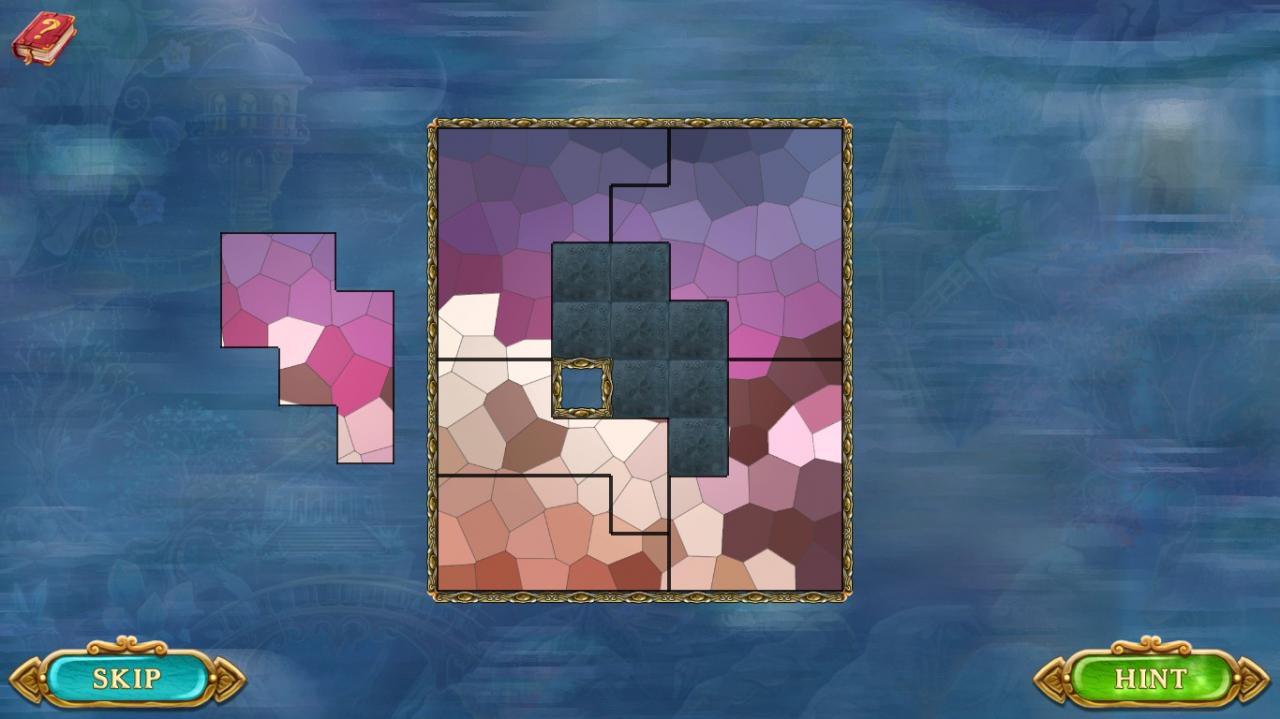
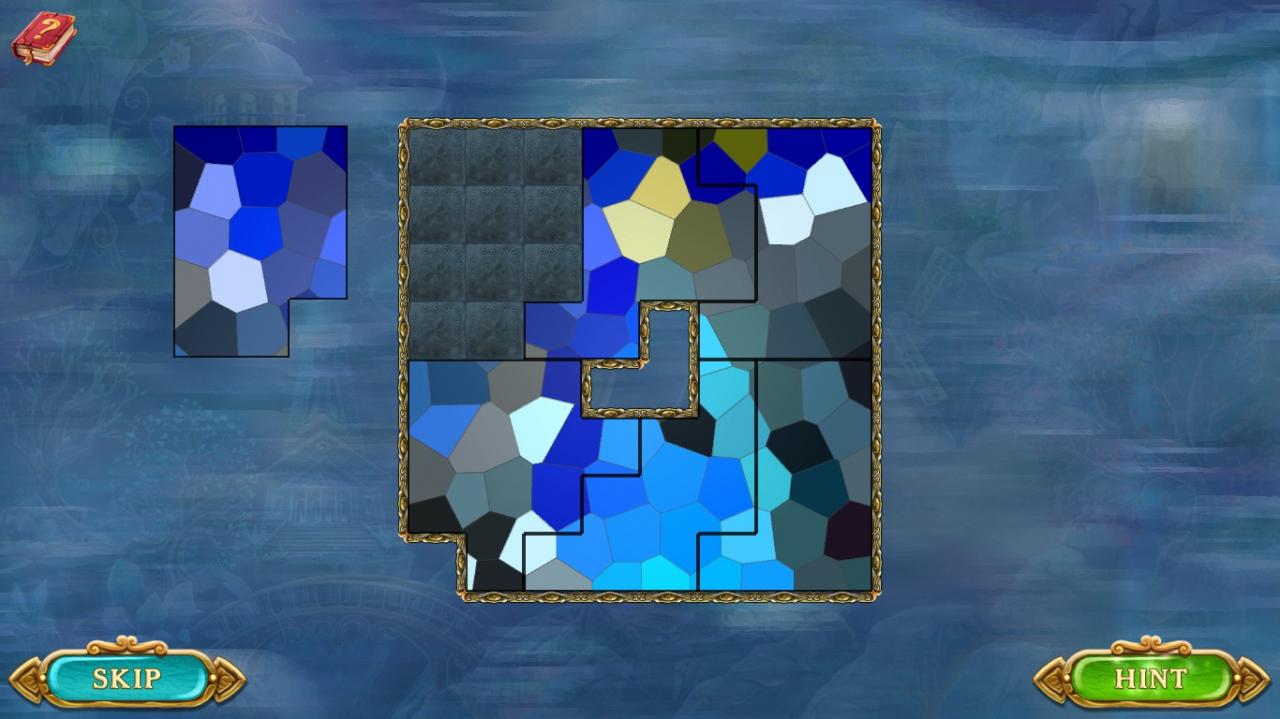
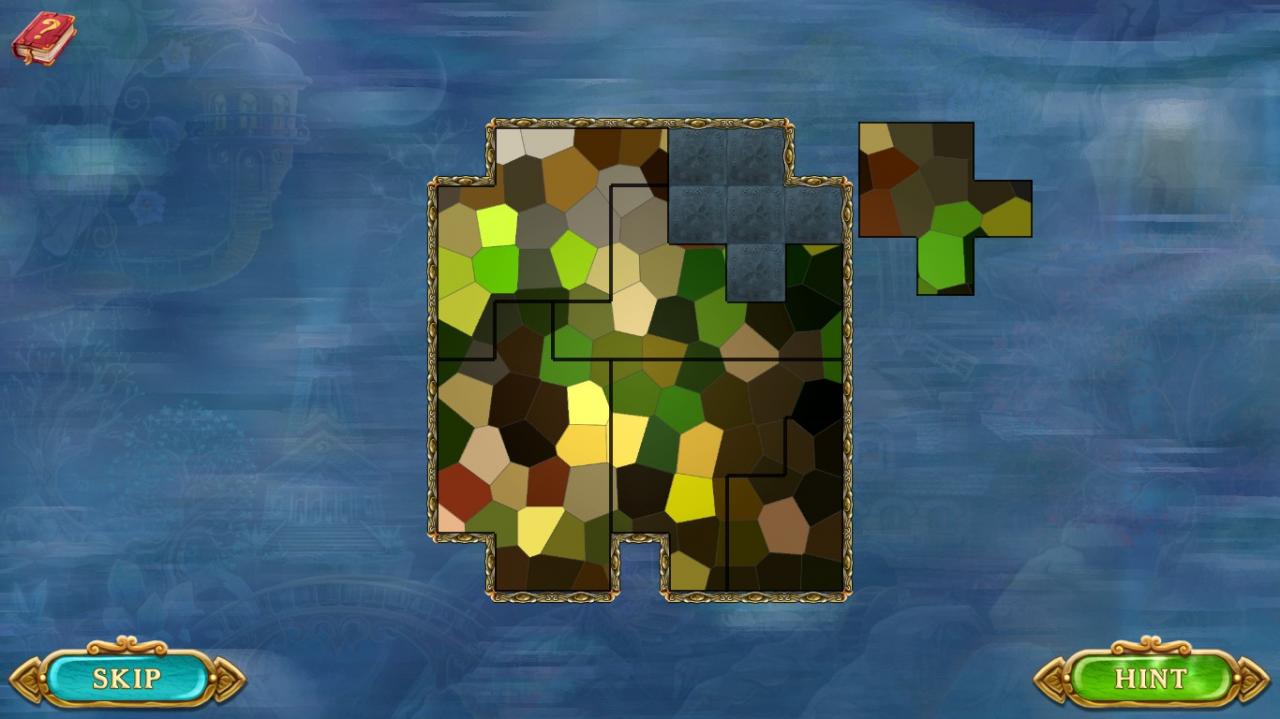
The new jigsaw puzzle minigame is pretty tricky. It’s not just a tangram-type puzzle as you have to match all the colors on the edges of each piece too. The way I finally figured out how to solve these puzzles without using the hint button is to line up all the pieces outside of the frame first focusing only on matching up all the colors. Then if your “finished” layout is not in the orientation the frame is, simply rotate each piece until the whole layout is in the right direction. When the puzzle is solved, you get to see the hidden picture underneath the blah mosaic pattern. Click on the picture again to get the end level dialog and go back to the rest of the game.
levels 1-10, puzzles 1-2
Level 2: The clay atop the shielded tiles in the center which in turn block the cannons can be cleared with enough matches too. Get rid of the clay, then match above the shielded tiles to free the pathway for the cannons. Alternate firing the cannons starting with the left one until all the coins in the center have been obtained, then get the rest of the coins from the sides.
Level 3: It’s possible to ignore the colb on the right side as the space it opens isn’t all that useful for getting to the coins, but if you’re having trouble breaking the wood in the center column, may help a bit to remove both colbs. Clear out the colb on the left. Remove all the wood in the center column. Work carefully around the shields to get coins from the bottom left side of the center until the top center populates with playing tiles, then join the coin halves and finish coin collecting.
Puzzle 1 appears after level 3.
Level 4: Get through the fog (bomb the bug in the area if you wish) and fire the cannon. This knocks the shielded coin into the nook by the red square. Use bombs on the 2 bugs at the bottom and bomb the bug near the cannon which you can reach if you haven’t already. Make a rocket for the last bug. Fire the cannon two more times to get rid of the dirt and trip the red square at the far left. Clear the coins in the top right and any which are down on the bottom right. Match around the bottom left corner to get the shielded coins to drop down, then match them from the top.
Level 5: Gather all the regular coins from the top corner sections. Work through the fog to reach the permanent bombs and trip the permanent bombs until all the regular coins are gone. Fire the cannons on both sides until there are 4 shielded coins in the center column below. Trip the permanent bombs to get them, then fire the cannons again to push the rest of the shielded coins down to the bottom and trip the permanent bombs until all the coins are gone.
Level 6: It’s the yellow flowers which will clear the yellow squares, not the beige envelopes. Get the keys to the locked coins and remove the vase. Wait for the chain reaction to finish, then finish up on the right.
Level 7: Get rid of the yellow and blue squares so the coin halves can be joined. If you’re like me and don’t like to use powerups unless absolutely necessary, it’s better to work on the squares from the right going leftwards because the stuff in the middle will start getting cleared while you’re working on matching out the squares. Remove the shielded tiles, bombs and ice in the middle, then fire the cannon to drop the stack of shielded tiles on the center right down. Explode the red bomb in the dirt at the top right and clean up.
Level 8: Bomb the bugs on the bottom half, then make rockets in the bottom half to get rid of the bugs in the top half. This keeps the snow from melting and making the level overly difficult. If there’s still any blue squares in the bottom, get rid of them. Clear the colb to drop the coins from the top left next to the red squares. Collect all the coins from the bottom right, then spread the fire to melt the snow in the top and gather the coins in the top right. Trip the red square on the top right to finish.
Puzzle 2 appears after level 8.

Level 9: The branches to remove the stump blocking the cannon are only on the bottom, and those 5 pieces are the only ones in the level, so you’ll most likely have to blow at least some of them up because it’s next to impossible to otherwise line them all up for one match. Get the coin in the bottom left corner, then clear the fog and explode the bomb so the shielded coins drop down since you can’t shoot them with the cannon because of how the shields are placed. Fire the cannon after the coins have dropped out of the way to hit the bombs on the right instead and let more coins down. You can do the rest.
Level 10: Leave the higher of the 2 locked coins alone for now. Get rid of the lower locked coin and trip the green square behind it. Collect all the coins from the top half. Clear out the rest of the blue squares in the bottom right and get the last locked coin; trip the red square which was behind it.
levels 11-20, puzzles 3-5
Level 12: Fire the topmost cannon twice to knock the shielded coin out of the way and then to trip the red square. Gather the 4 coins which are around the middle cannon and fire it. Use the fire which lit to get the frozen coins on the bottom left. Bomb the single hat blocking the locked coin and fire the bottom cannon to thaw the coins on the top right. Keep firing the bottom cannon until all the coins which fell into the bottom right corner are gone. Bomb the single hat in the top right to remove the stump blocking the shielded tiles in the top left, which will give you an access point to reach the last coins.
Jigsaw puzzle 3 appears after level 12.
Level 13: Get rid of all the bugs first, then remove the colb blocking the key and get the locked coin so you can spread the fire to the unlit torch by the permanent bombs. Trip the permanent bombs to thaw the coins in the center and drop coins to the red squares below. Get the locked coin and trip the red square which was behind the locked coin and you can figure out the rest.
Level 14: Break the chains and clay in the center so all the shielded coins will fall to the bottom and gather them. Fire the cannon to give you an access point to the coins.
Level 15: Remove the 2 yellow squares blocking the drops on the right while you’re working on clearing the colb. Clear out the clay in the bottom center so you can gather all the coins coming down and trip the red square. The rest is easy.
Level 16: Focus on gathering brown vases from the bottom at the start to clear the 30 vase stump on the top left and let the single branch piece down with 3 coins. Bomb the branch piece to free up the top right corner’s coins along with letting down the blue S. Bomb the blue S to get rid of the last stump blocking the coin halves up top and you can take it from here.
Jigsaw puzzle 4 appears after level 16.
Level 17: Ignore the green squares in the center and clear the fog on the left side so you can reach the coins above the 35 envelope stump before the stump vanishes. After getting the coins from the left, go to the right side and get the coins above the 70 triangle stump before it goes away. Don’t panic if the game flashes the Replay button at this point as all the coins are reachable assuming you didn’t let the coins fall down into the narrow corridors at the bottom. Break the clay on both edges and get the shielded coins behind them as they start trickling out through the gaps. Now you can clear the green squares in the middle and the clay for the last coins.
Level 18: Remove the bugs, then bomb the hat pieces as the 5 on the playfield are the only ones and they’re scattered everywhere. Clear the green squares in the bottom center. Fire the cannon until all the shielded coins have been pushed to the red squares below. Break the clay blocking the red square at the bottom right, get the coin from the drop, and trip the red square.
Level 19: Work your way through the top half to get all those shielded coins from the top side to get the bottom half to populate. Then you can clear the green squares and remaining coins.
Jigsaw puzzle 5 appears after level 19. This one has a glitch because there is more than one way to fit the pieces into the frame and if you do it “wrong” the finished image is fractured, although you will still get credited for a solve. Make sure all the colors on the edges match! I confess to using a hint to get started.
Level 20: Gather all the regular coins you can reach and evict the 2 bugs. Remove the 2 colbs to drop the coins behind them to the bottom. Break the clay in the bottom right and trip the red square.
levels 21-30, puzzle 6
Level 22: Get through the fog so the key can go to the locked coin. Bomb the 2 bugs in the area while you’re at it. Trip the green square in the bottom right corner. Fire the cannon twice to make the 2 shielded tiles fall into the gaps. Bomb the bug in the top right and use a rocket on the last bug. Clean up.
Level 23: Start by clearing out the ice cubes and bombs on the right so the cannon has a free path for later. Then get through the fog and get the locked coin; fire the cannon to push the shielded coin 1 space right. Trip the now reachable red square. Trip the green square in the bottom left corner. You can do the rest. Don’t forget about those green squares to clear.
Level 24: Don’t worry about the bugs for now unless they’re blocking off your matches. Clear both colbs instead so all the coins behind them fall to the red squares at the bottom. Now you can get rid of all the bugs.
Level 25: Clear the clay and dirt to reach the fog in the center. Keep going through the fog until you reach the bottom of the stack of shielded tiles and remove one of them so the stack gets out of the way of the cannon. Fire the cannon twice so the green square below is tripped, then clear out the coins in the bottom left and bomb the single hat to free the colb. Remove the colb and trip the red square.
Level 26: Remove the 2 bugs while obtaining the reachable coins. Fire the cannon twice to drop the coins from the top left corner. Remove the colb to get the coin above it to drop into the lower left too. Bomb the single hat in the bottom left while clearing out the coins from there. You can take it from here.
Level 27: Break the clay in the way of the drops and put the drops into their slots. Get rid of the bugs with rockets and the rest is super easy.
Jigsaw puzzle 6 appears after level 27.

Level 28: Get rid of the 2 bugs each in the top and bottom halves using bombs (rockets may not go to them) which you can reach while clearing the green squares below so the key can go to the locked coin. Trip the green square to evict the rest of the bugs. Gather all the regular coins which appeared, then fire the cannon to move the shielded coin 1 space left. Clear some of the shielded tiles which lowered so you can trip the red square behind them. You can do the rest.
Level 29: Remove the colb in the top center. Clear the yellow squares in the bottom left. Bomb the 5 hats. Work through the assorted obstacles to trip the red square in the top left. Finish gathering the coins.
Eric said in the dialog a while back that he was going to set up a tent to enjoy the scenery, but I’m glad he decided to build more stuff into the scene first instead since there wasn’t much to look at when he first mentioned the tent.
Level 30: Bomb the 2 hats in the open areas. Fire the cannons such that they remove the shielded tiles from the vulnerable side. The shielded coin will drop below along with the last hat. Use the permanent bomb to collect them. Trip the red square to free the fire and it’s now easy.
levels 31-40, puzzles 7-8
Level 32: Bomb the 3 hats on the left side. Collect all the shielded coins in the center. Clear the yellow squares in the top right while working on the last coins. Get rid of the green squares in the top left.
Level 33: Break the clay and remove the red squares below so the key can go to the locked coin. Collect all the shielded coins dropping down from the center so the cannon’s pathway is freed. Fire the cannon to push another shielded coin into the top left, then keep firing the cannon until the 3 dirt tiles are gone. Get the frozen coin with the fire. Fire the cannon after the flames go out to trip the red square. Remove the vase. Get rid of the last red squares in the bottom left while collecting the last coins. This level can be done sans powerups…but it’s freakishly hard!
Jigsaw puzzle 7 appears after level 33.
Level 34: Clear the fog and put the drops into their slots so the coins fall to the bottom. Pick one of the red squares to trip (doesn’t matter which side). Finish clearing the yellow squares and pick up the coins on the other side before they fall into the narrow corridor.
Level 35: Bomb the 2 hats in the top half, then get the locked coin from the left and trip the gate behind it. Bomb the 3 string-tied packages which just got freed so you can get the other locked coin and trip the gate on the right. Clear out the green squares on the bottom half and clean up.
Level 36: Remove all the bugs. Gather all the coins on the right side and trip the gate. Work through the clay to reach the permanent bombs and use them to get the lowest shielded coin in the center. Trip the gate again. Match to the right of the shielded coins to get a few more until you’re cut off by the coin with the shield on the right. Trip the gate and use the permanent bombs to get the last coins.
Level 37: Start with matching somewhere by the 4 coins in the center which will rearrange them so you can collect them. Then break through the clay to light the torches on the other side. Do NOT melt the snow yet (spread the fire along the bottom)! Start working on the top right section instead and remove the 2 bugs there. Make a rocket in the top right to hit the 3rd bug behind the snow in the center. Break the clay to trip the red square. Now you can go back to the center and melt the snow to reach the last coin.
Level 38: The really important key is the one leading to the locked coin with the red square behind it, so clear the yellow squares and fog in the way and trip the red square. Unlock the remaining locked coins, which will cause them to drop into the nooks by the green squares. Break the clay and shielded tile at the bottom to reach the shielded coins. Although it appears that tripping the green square should remove the coins by the other green squares, it doesn’t, so you will have to use rockets to reach those last 3 coins. Wondering if that was a design error with how the green squares were placed.
Level 39: Match on the right of the iron box to scoot it out into the top right section. Collect the locked coin, then bomb the 2 branch pieces in the top left. Trip the permanent bombs on the far left to fire the cannon so it hits the coin in the center. The stump vanishes, freeing the center cannon. Use the permanent bomb there to keep firing the center cannon at least until you get some working room around the shielded tiles in the top right. Trip the gate which was behind them. Get rid of the bugs which just got freed and the rest is relatively simple, although you may have to scoot the iron box around a little to get it away from the coins in the top right.
Jigsaw puzzle 8 appears after level 39.
Level 40: There’s 2 easy M5 setups in the center to get you started on ridding the bugs. Make 2 more rockets to get rid of the rest of the bugs, but do NOT thaw all the coins. If the flames are growing too much up top, match on the bottom section until the fire goes out. Carefully spread the fire over to the frozen coin by the cannon. You must still leave at least 1 frozen coin somewhere else, so go back to the bottom and gather some coins there to put the fire back out after the cannon’s firing spot is freed. Fire the cannon 3 times to get the coins on the far right. Now you can thaw the remaining frozen coins and clean up.
levels 41-50, puzzle 9
Level 42: Use the permanent bomb by the lower cannon in the top left to fire the cannon and push a shielded coin down. Get the locked coin in front of the cannon in the bottom right and fire the cannon to remove a shielded tile. Collect the other locked coin in the bottom left so you can reach the permanent bombs and trip them to get the coin in the middle. Fire the cannon on the top right to move a shielded coin down to the lower top left cannon, then fire the lower top left cannon to push the coin down. Trip the permanent bombs to get it. Fire the upper cannon in the top left to move the remaining coins down to the top right cannon. Fire the top right cannon to move the coins down to the lower top left cannon and fire that so one coin falls down to the permanent bombs. Use the permanent bombs to get the coin before firing the lower top left cannon again to get the last coin down for the bombs to collect. Fire the lower top left cannon again to hit a bomb on the far right, which collects the single branch piece. Clean up.
Level 43: Ignore the bugs for now and break the clay so you can collect all the regular coins below. If the bugs are seriously getting in your way, remove some of them, but not all. When only the 3 bug coins are left, get rid of all the bugs so the coins drop down by the horizontal match setups below and make the matches. Finish clearing the green squares.
Level 44: Trip the green square in the bottom right. Collect the locked coin blocking the colb and remove the colb. Do NOT trip the red square which was behind the colb yet! Instead, get the locked coin in the bottom half and explode the red bombs by the cannons. Keep firing the higher one until all the coins fall down to the red squares. Now you can trip the red square on the top right for a quick finish. If you’d accidentally tripped the red square too soon, you can still solve this one by firing the lower cannon to get the coins.
Level 45: Bomb the 3 flowers scattered in the playfield. Use the permanent bombs to get the shielded coins and the purple flask in the middle. Trip the permanent bombs from the top right section to get the last few shielded coins in the middle. If the clover stump in the top left hasn’t gone away yet, keep gathering clovers until it does and clean up.
Jigsaw puzzle 9 appears after level 45.
Level 46: Thaw all the coins on the bottom right so some of the rocks will fall down on the left. Break the clay blocking the drops on the right and collect coins on the top right until the shielded coins and 2 rocks block you from moving the last 2 drops. Get through the clay on the left enough to trip the red square, which will drop the shielded coins and drops down. Use the cannon to get all the remaining coins on the right. Finish up with the coins at the left.
Level 47: Get the locked coin from the bottom left and trip the red square which was below it. Get all the coins from the bottom right, then fire the upper cannon to first move the shielded coin until it falls down into the lower cannon’s pathway, then to drop the stack of coins down in the top left. Collect all the coins which fell into the left side, then fire the lower cannon until the shielded coin drops into the lower right to collect. Clean up any red squares still in the left side.
Level 48: Clear the yellow squares holding up the shielded coins so they drop downwards to collect. Cascades are a great help here. As soon as you can, start scooting the key across since it has to go all the way to the other side. Remove the vase. Get the locked coin in the bottom left and trip the red square. Make a rocket for the bug, then get the remaining coins and any yellow squares left.
Level 49: Bomb the 3 branch pieces to remove the stump blocking the gate at the left, then trip the gate. Trip the permanent bombs to get a shielded coin to fall down. This also trips the gate under the bombs, so you will have to alternate between tripping the gate at the left and tripping the permanent bombs until all the shielded coins in the center have fallen to the bottom by the red squares. Start gathering whatever reachable coins there are while getting the flame pieces needed to remove the last stump. When the stump vanishes, trip the red square (if you’re lucky, you may be able to get the red square in the narrow gap earlier).
Level 50: Pick up all the coins buried in the clay at the bottom right. Ignore the bugs for the most part because you want to leave the bug coins blocking the cannon for now. You can get rid of the 2 in the top right to make coin collecting there easier. Trip the 2 permanent bombs in the bottom center to get all the drops into the slots and the coins falling to the bottom. Now get rid of all the bugs and get the 4 coins in front of the cannon. Fire the cannon. Trip the permanent bombs in the top left to get the coins off the bottom. Clear any yellow squares remaining in the top left.
levels 51-60, puzzles 10-11
Jigsaw puzzle 10 appears after level 51.
Level 52: Gather the coins above the chained pieces in the bottom right, then evict the bugs. Fire the cannon in the top right twice to push the shielded coin into the pathway of the cannon on the bottom. Collect the coins around the bottom cannon and fire the cannon to get the shielded coin up top. Fire the top right cannon until all the coins have fallen down. You can do the rest.
Level 53: Collect white flowers until the stump on the left vanishes. Clear all the obstacles on the left and the yellow squares underneath while getting the coins. Bomb the single branch piece when you reach it. The double shielded coin at the far left is impossible to match out, so leave it there for now. Get through the coins on the right and trip the red square. Get rid of any yellow squares still remaining.
Level 54: Break the wood and bomb the 2 bugs there so you can get the locked coin and trip the green square behind it. Do not use rockets because they may not go to the bugs on the bottom and you need to leave the bugs up top alone for now. Gather the coins by the cannon and fire the cannon using the permanent bomb until the iron box has been pushed all the way left. This will keep the coins from falling down. Get rid of all the bugs. Break the clay blocking the red square in the bottom right and trip the red square (it’s sort of fun watching that iron box move around by itself). Clear out the blue squares on the top.
Level 55: Remove the 7 hats in the bottom right. If you set up your matches just right, it’s possible to make 2 M3s and a dynamite for the 7th hat to get them all. Bomb the one clover which fell down and get the locked coin. The other clover drops down for you to blast. After the clover stump in the top center disappears, make the match by the cannon to drop a coin and set up another horizontal match by the red bomb a little lower down in the left. Get the coin which dropped and match by the bomb to set it off. The rest is easy.
Jigsaw puzzle 11 appears after level 55.
Level 56: Clear out the yellow squares and the colb in the upper left. If the branch piece is still by the red bomb, simply explode that bomb to get the branch, otherwise you will have to make a dynamite to blow it up to get rid of the stump in the top right. Join the coin halves in the top right and get the coins while clearing the yellow squares in the top right so the key can go to the locked coin. Do not remove the vase yet! Trip the gate on the far right and remove the wood boxes which just got freed so you can then clear out the shielded tiles below. Now remove the vase to set off a chain reaction that gets the majority of the coins and clean up.
Level 57: Remove the red squares and bugs in the way of the locked coin. Gather all the accessible coins (there is a regular wood box in between the shielded tiles which drop down to let you keep going) and remove the colb. Fire the cannon to move the iron box out of the way and go get the coins as they drop down.
Level 58: Get rid of the green squares, then collect the locked coins and remove the vase. Get all the coins below which you can, exploding the bomb below one of them. Get through the fog and match by the dirty coins to drop them to the bottom. Trip the red square and watch that chain reaction until the end level dialog appears.
Level 59: Get rid of the bugs. Work your way through the fog to reach all the colbs and clear them out. Pick up the coin in the middle and trip the permanent bomb under it to move the iron box up 1 space. Get the last reachable coins on the left and trip the permanent bomb there to drop a coin down on the right. Alternate between tripping the permanent bomb in the middle to move the iron box up and tripping the permanent bomb at the left to drop another coin down until enough dirty coins on the right side have fallen where you have matches available and clean up.
Level 60: Evict the bugs and bomb the single branch piece in the top. Remove the colb and use the permanent bomb on the branch piece. Trip the red square. Pick up all the coins in the open areas, then use the permanent bombs to fire the cannon. You can take it from here.
levels 61-70, puzzles 12-13
Jigsaw puzzle 12 appears after level 61.
Level 62: Clear the yellow squares in the way of the locked coin and get the locked coin. Explode the red bomb to drop the shielded coins down and get those so you can bomb the blue S to free the left side. Gather the shielded coins from the left and blow up the hat. You can do the rest.
Level 63: Remove the bugs. Clear all the green squares in the top, then get through the ice and trip the red square. It’s now easy.
Level 64: Remove all the bugs without tripping the permanent bombs at the bottom. Get all the regular coins in the top center, then trip the permanent bombs below to drop the stack of shielded tiles and collect the coin from the halves. Clean up if there are still any coins in the corners.
Level 65: Break the clay on the left to reach the permanent bombs by the cannon. Use the permanent bombs to fire the cannon and also to get the 2 branch pieces which dropped down until the red square is tripped on the bottom right. Get the coins on the left by the green square and trip it. Break the clay blocking the last branch piece and blow it up so you can get to the last coins.
Level 66: Make the double M5s in the setup over the shielded tile in front of the cannon. Leave the rockets there for now. Clear the dirt at the bottom so the coins start trickling out. Collect them until the red square trips. Use the 2 rockets on the bugs and make more powerups to get the rest of the bugs out. Get through the chained pieces and fog to reach the permanent bomb that fires the cannon. You can take it from here.
Jigsaw puzzle 13 appears after level 66.
Level 67: Get rid of the bugs, then break the clay at the bottom right and trip the permanent bombs to remove the shielded tile in the way of the key. Collect the locked coin and trip the permanent bombs behind it. Clear the dirt and clay at the bottom left enough to reach the coins.
Level 68: Bomb the 2 branches first, then the 2 hats. When the chain reaction finishes, bomb the seashell. Get any yellow squares remaining in the top and clean up.
Level 69: Get the locked coin and regular coin from the bottom right first and trip the permanent bomb there until the rightward-shielded coin blocks you from getting more coins. Collect the locked coin and regular coin from the top left and trip the permanent bomb there to make the iron box move left 1 space. Pick up the last reachable locked coin and regular coin in the top right and trip the permanent bomb behind it to trigger the gate. The bottom left opens for you to get the final locked coin. Trip the permanent bomb until you can’t get any more coins due to the shielding position. Trip the permanent bomb in the top left to move the iron box left 1 space. Then trip the permanent bomb on the top right to reopen the bottom right corner so you can use the permanent bomb there to get the last 2 coins.
Level 70: Get through the fog to explode the red bombs (use one to get rid of the bug there) and reach the colb to clear out. Keep going towards the right and remove the shielded tile blocking the bomb over the fire and explode it to light the torches. Gather the coins on the bottom right and bomb the single hat to free the gate. It’s a tight squeeze to trip that top gate, but do it to open the top right so you can get rid of the remaining bugs and clean up.
levels 71-80, puzzles 14-15
Level 72: Break through the clay and trip one of the red squares. Finish gathering any coins in the upper left, then clear the red squares in the top right and bomb the single hat. Go back to the left and work through the clay some more to trip one of the green squares. Get the rest of the coins from the left side, then bomb the single purple flask in the bottom right. While clearing the green squares in the bottom right, spread the fire to the other frozen coins and clean up.
Level 73: Keep firing the cannon until the pile of shielded coins in the top left have fallen down. They’re now in the way of the key, so collect them all and get the locked coin. Trip the gate to free the bugs and use rockets on them. You can take it from here.
Level 74: Get rid of the bugs, but be careful not to remove too many branch pieces while you’re at it because you don’t want the stump in the middle to go away. As long as the stump stays in place, the red square will trip itself in a cascade when the bugs are gone. Clear out the coins and remove all the blue squares in the top.
Jigsaw puzzle 14 appears after level 74.
Level 75: Spread the fire to the torch in the top right section first. Then break the clay in the bottom left so you can trip the red square. Gather the coins from the bottom right and remove the colb. Use the permanent bomb under the cannon to fire it and light the remaining torch so you can get the frozen coins.
Level 76: If you shuffle the pieces around just right, you can get 3 of the purple flasks to align into a match setup. Bomb the last one. Trip the gate which just got freed, which sets off a chain reaction in the bottom left and opens the area up. Remove the 3 hats there and collect the frozen coins. Trip the upper gate (the other is grayed out so doesn’t work anymore anyway). Gather the coins which just fell into the bottom right and trip the green square.
Level 77: Work on the yellow squares and the locked coin in the bottom right first. Trip the single permanent bomb which was behind this locked coin to drop a hat next to the red square. Next, get the locked coin in the top left and trip the chain of permanent bombs which was behind that coin to drop another hat down. Trip the chain of 3 permanent bombs in the top right to drop the last hat down and trip the red square. All the coins are now accessible, so ignore those bugs and let the poor things run around inside the tiny box they’re in. Clear out the yellow squares in the bottom left while you’re coin collecting.
Level 78: Get through all the fog so the cannons have a free pathway. While you’re clearing the fog, scoot the iron boxes one by one left and up so they end up out of the way of the cannons. This is harder than it looks, as the boxes will want to move themselves back in the way with cascades. Then keep tripping the permanent bombs until all the coins on the right have been shot out.
Jigsaw puzzle 15 appears after level 78.
Level 79: Clear the red squares on the top right so you can get the locked coin in the middle, then remove the vase which was below it. Do not remove any other vases until the center vase is gone! The vase on the right is probably the easiest one to remove next, but it doesn’t matter which one you get next so long as you remove both vases. Clear the rest of the red squares while you’re at it. Trip the red square on the top right when the fire goes out and you can do the rest.
Level 80: Ignore the snow and fire for now and get the 3 coins blocking the vase so you can remove the vase. This removes the single hat and opens part of the pathway below. Gather enough blue bottles to get rid of the stump next, then spread the fire over to the snow. Trip the permanent bombs to get most of the coins at the bottom, then fire the cannon to drop the last coins. Keep using the permanent bombs until all the coins are gone.
levels 81-90, puzzles 16-17
Level 82: Break the clay and thaw the frozen coins with the fire. Remove the colbs and trip the permanent bombs which were behind them to move the iron boxes out of the way. Clean up.
Level 83: Get the locked coin on the left first, then trip the permanent bomb which was behind it to drop the coins on the left to the bottom. Remove the colb and clear the fog behind it so the key can go to the locked coin there. Pick up the coins as you’re going along the right and trip the permanent bomb in the right which has the pink ring above it. Break the one shielded tile blocking the cannon, then fire the cannon 3 times to get the coins over the red square. Trip the red square.
Level 84: Remove the clay to reach the permanent bombs and trip the bombs. Now get the locked coin which just got freed. Trip the red square which was behind it. Trip the permanent bombs twice to lower the coins so the last locked coin is available. Collect it and trip the green square which was behind it. Trip the permanent bombs to get the remaining coins.
Jigsaw puzzle 16 appears after level 84.
Level 85: Don’t let the fire out. Work through the clay elsewhere and get all the coins except the ones by the fire. When there are only the 2 coins by the fire remaining, break the clay over them and pick them up.
Level 86: Get through the ice on the bottom right to reach the dirty coin and match by it to drop it and the other coins down. You have to clear the space next to the bottom right corner to get those coins. Gather all the coins in the top right and clear the blue squares. Trip the permanent bombs to get the single branch piece. Trip the gate in the bottom left. Evict the bugs and clean up.
That’s the strangest tree I’ve ever seen…
Level 87: Break the clay in the top left corner and get the 6 regular coins in the top left before doing anything else. Use rockets on the bugs. Get through the stuff on the bottom right to trip the red square. Fire the cannon until all the shielded coins have dropped to the bottom and the dirt tile at the far right is gone to make coin collecting easier. Clean up.
Level 88: Ignore the bugs as much as possible and get all the regular coins. If the bugs in the open area are really in your way, you can bomb them, but don’t remove every bug in the playfield because all the coins will end up falling into the unreachable spots otherwise. When only the 2 bug coins are left, get rid of all the bugs. I like to leave the 2 free rockets already present when the level started to use on the coins at the end, but that’s just me. You will have to use rockets to get rid of 2 bugs in the “islands” and 2 more rockets to get the last 2 coins in the corners.
Level 89: Bomb the 2 hats in the bottom right. Break the clay and spread the fire to all the frozen coins. Join the coin halves blocking the lower cannon and fire the cannon. Fire the upper cannon to trip the red square. The green square will trip itself in a chain reaction. Clean up.
Level 90: You can’t really realign those lantern pieces to match them, so blow them up. Collect the coins on the bottom left and trip the gate. Clear the red squares from the top left while bombing the 2 hats. Get the coins from the bottom right and trip the gate. Clear the green squares in the top right.
Jigsaw puzzle 17 appears after level 90.
levels 91-100, puzzle 18
Level 92: Get the yellow squares in the bottom center, then gather the locked coin blocking the cannon. Remove the bug in the bottom section if it’s in the way. Fire the cannon to push the shielded coin next to a red square. Work your way through the shielded tiles to reach the colb. Do not remove all the bugs; at least 1 bug has to remain somewhere for now. Trip the red square which was behind the colb. Now get rid of the bugs and use the permanent bombs on the left to fire the cannon there until the green square is tripped. Collect as many coins as you can from the top left before using the permanent bombs below to get the rest.
Level 93: Get rid of the bug and bomb the 2 purple flasks in the bottom left before getting through the clay so you can trip the gate. Clear the green squares and coins in the top left while bombing the 2 purple flasks. Trip the gate in the top left section. Clear out the bugs and coins in the top right before tripping the next gate there. Get the green squares in the bottom right and clean up.
Level 94: Collect all the accessible coins in the top left and top right, but avoid making matches of white flowers as you want only the keys stump to go away. Then gather keys until the keys stump vanishes to drop all the shielded coins down by the red squares below. Work on the bottom right to get to the red square there and trip it. It doesn’t matter if the other stump disappears at this point. Clean up.
Level 95: Fire the cannons on the left until the bomb has exploded and enough of the clay is gone for you to have working room on the left. Dig down through the clay to reach the next set of bombs and the gate. Get the locked coin at the bottom and trip the permanent bombs until you’ve got at least one cannon on the right freed. I found it far easier to match out the rest of the shielded tiles blocking the cannons instead of trying to use the permanent bombs to lower the stack of tiles enough. Fire the cannons on the right just until you’ve got enough working room to reach the coins below.
Level 96: Remove the bugs. Break the ice in the bottom right to get the coins behind it and clear out one of the shielded tiles which were behind the coins to lower the stack out of the way of the permanent bombs. Remove the colb and get the locked coin. Fire the cannon on the left to push the shielded coin by a red square and drop the stack of shielded tiles down a bit. Now trip the permanent bombs by the other cannon until it fires and trips the red square. You can do the rest.
Level 97: Bomb the 3 purple flasks. Fire the cannon to push the shielded coin to the right. This lowers several other shielded coins down to the red squares. Collect the coins on the top right and bomb the hat. Get the locked coin and trip the green square underneath. Gather the coins on the left, then fire the cannon to trip the red square.
Level 98: Work through the fog to reach the permanent bomb by the cannon and use it to fire the cannon so the shielded coin is pushed down by the permanent bomb in the bottom right corner. Keep going leftwards to trip the red square. When all the fire goes out, it’s pretty easy. Get a few coins in the top right so you don’t have to use the permanent bomb below as much.
Jigsaw puzzle 18 appears after level 98. Poor picture, it looks like it’s missing a piece even when done…
Level 99: Get all the blue squares out of the way of the drops so you can collect those coins and open the bottom section. Shuffle the shielded coins below around by clearing out the green squares holding them up and you’ll be able to pick them up. Collect any other leftover coins while clearing out colored squares. This level can be done sans powerups…but you’ll need more than a little luck with the cascades!
Level 100: Clear the clay enough only to reach the coins and explode the red bomb for getting the hat. Do not trip the red square yet. When the stump on the right is gone you can trip the red square and the rest is easy.
levels 101-110, puzzles 19-20
Level 102: Collect the easy coins on the bottom right, then work on gathering red drops to get rid of the stump in the middle while you’re clearing the green squares. Clear out the 2 shielded tiles now blocking the coins and get the coins. Fire the cannon to push the shielded coin right 1 space and drop the shielded tiles down a bit on the right. Work your way through the rest of the shielded tiles on the right, gather the coins, and get the locked coin so you can trip the red square behind it. Clear the shielded tiles blocking the 2 coins by the fog, then get through the fog for the rest of the coins.
Jigsaw puzzle 19 appears after level 102. LOL the “missing piece” effect is getting worse…
Level 103: Get the blue squares out of the way and collect the locked coin blocking the cannon. Fire the cannon to push the shielded coin in between the brown bottles at the left. This prevents a chain reaction from occurring and ruining the level. Finish clearing out the blue squares in the top right, then get rid of the bugs and coins in the bottom right. Make the horizontal match of brown bottles to the left of the green square to finish.
Level 104: Remove the yellow squares by the locked coin, then get the locked coin. Keep triggering the permanent bomb until all the coins in the bottom center are gone. Gather the coins from the bottom right. Clear out the yellow squares in the bottom left and get the locked coin there so you can trip the permanent bomb on that side to get the branch piece. Most of the fog clears itself in the chain reaction for you to clean up easier. Don’t forget about those last few yellow squares which will appear once the fog is cleared in the top right. It is possible to play this level without powerups, but you’ll need quite a bit of luck with the cascades.
Level 105: Yikes. Remove the yellow squares which you can reach. Break the clay in the bottom right and trip the gate. Clear the yellow squares in the top right and move the key as far as it will go to the left (it will stop at the edge of the grayed out area). Make a rocket in the top left area and use it on the bug that’s not grayed out. Trip the gate to get the center area opened back up and scoot the key some more until it’s stopped by the gray area at the left. Make a rocket in the center area and use it on the last bug. Trip the gate again to get the key all the way over. Tip: If you didn’t scoot the key quite far enough and it ends up in a gray area, don’t panic just yet! If it is only 1 space away from being out of the gray area, you can make a match next to the gray area by the key and the key will move just like usual. Trip the red square behind the locked coin to finish.
Level 106: Bomb the 4 red drops first. Do not remove all the bugs yet. Trip the red square on the top right so the iron box moves over and blocks the “impossible” spaces in the bottom left. Now you can safely evict the bugs and clean up.
Level 107: Pick a side and remove the green squares blocking the keys. Get the locked coins and remove the vase. Repeat on the other side. You can do the rest.
Level 108: Clear out the row of shielded tiles in front of the upper cannon as well as the 2 wood boxes and 2 shielded tiles around the permanent bombs in the center. Now trip the permanent bombs from the left side so the explosions go all the way across and up to the cannon to fire it. This removes the stump on the left. Collect all the coins which fell and the regular coins on the bottom right. Fire the cannon to remove a shielded tile on the right. Trip the permanent bombs from the left again to get the keys to the locked coins and clean up.
Jigsaw puzzle 20 appears after level 108.
Level 109: Spread the fire to the torches in the center. Break the clay and get the frozen coins. Once the fire is completely gone, the pieces on the edges will fill in the “impossible” spaces. Use rockets on the bugs and clean up.
Level 110: Remove the colb. Get the coins by the permanent bombs and trip the permanent bombs until the purple flask is gone. Trip the red square and gather all the coins which just got freed. Bomb the red drop. Get the coins from the bottom left corner and bomb the hat. Lower the last coins down by matching beneath them and clean up.
Thanks to SynthpopAddict for his great guide, all credit to his effort. you can also read the original guide from Steam Community. enjoy the game.