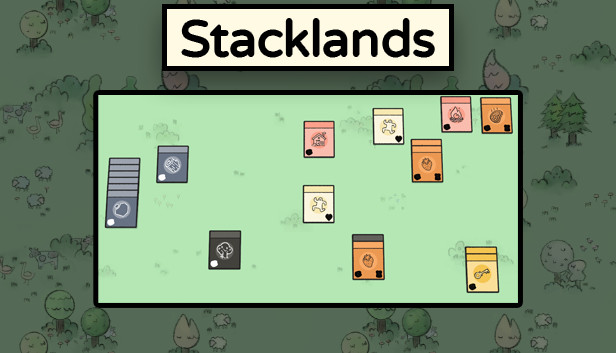
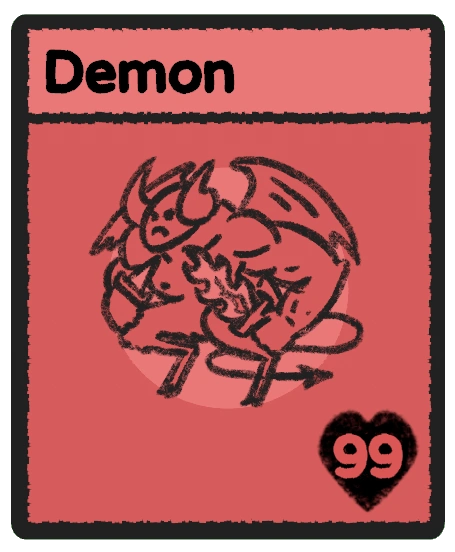
Looking to Beat the Demon in the fewest days? Or perhaps in the shortest time? Then this is the guide for you.
Introduction
Personally, I find speedrunning this game quite enjoyable. Despite the RNG, runs can be made very consistent with proper play. The random elements make every run unique, keeping things interesting by allowing you to follow a general roadmap rather than a very specific set of actions.
Currently, my record is 9 long moons in only 11:34. Short and Normal moons are possible, but require more berry farming.
Turbo (Tab): Should be on as often as often as you can manage.
Pause (Space): Used less frequently, and only in dire situations.
Sell (Backspace): Convenient hotkey, very inconvenient placement. Either rebind right-click to backspace, or deal with it until we get key remapping.
This guide assumes you use “Clear Save” in the options menu before each run.
General Strategies
Humble Beginnings: The value of this pack’s cards is always at least 3, so you can sell and rebuy to get the cards you want. The good part? Soil and Keys are worth 3 on their own, letting you keep some resources.
Seeking Wisdom: Same as Humble, you can always sell and rebuy this pack. After clearing the initial ideas, it becomes the ideal source of Trees, Rocks, and Berry Bushes.
Other packs are not used as Speedrun.com rules dictate that pack unlock progress be reset for new runs. Additionally, their high price makes them undesirable and unreliable.
Buying packs for Berry Bushes is your ideal source of food. Don’t be afraid to leave some surplus of bushes for later to save yourself time looking for more. Seeking Wisdom is a great source of these once its unlocked.
You only have 20 card slots until your first warehouse, so you may frequently need to sell cards at the end of a moon. Start with poop/trees/rocks, then food and resources as you see fit. Never sell bricks/planks/buildings you still need.
Rabbits also count towards the cap, so kill them when you have time.
Roadmap
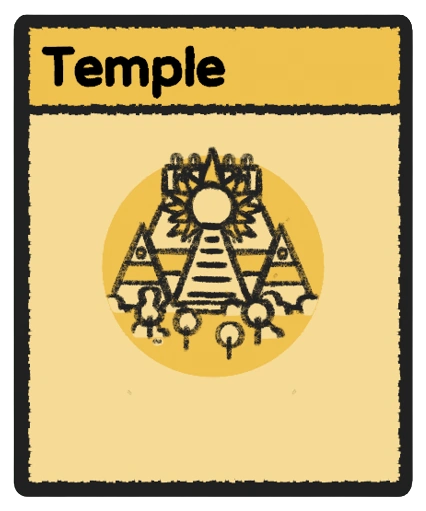
A Temple, a Golden Goblet, and enough Villagers to kill it.
The prerequisites for these can be broken down into the following lists:
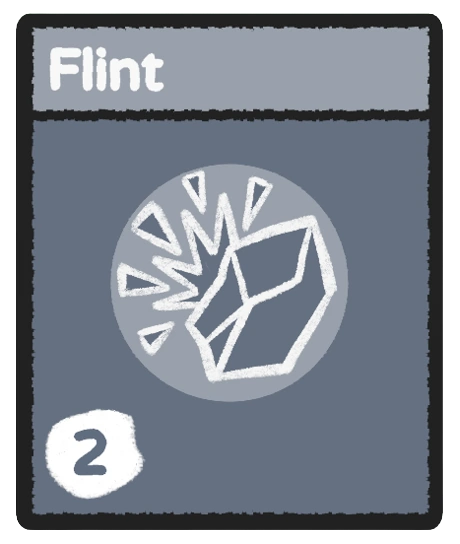
Temple > Iron > Smelter & Mine > Flint > Quarry/Rocks
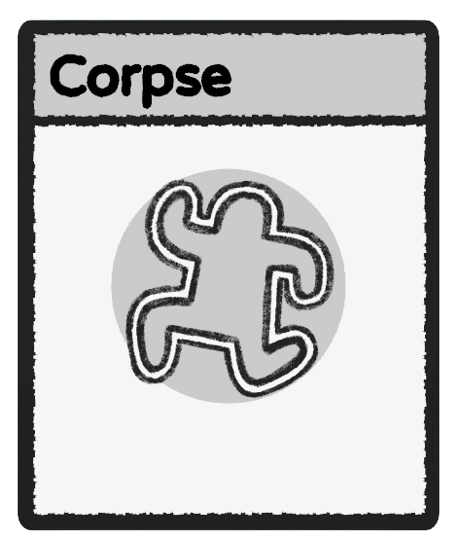
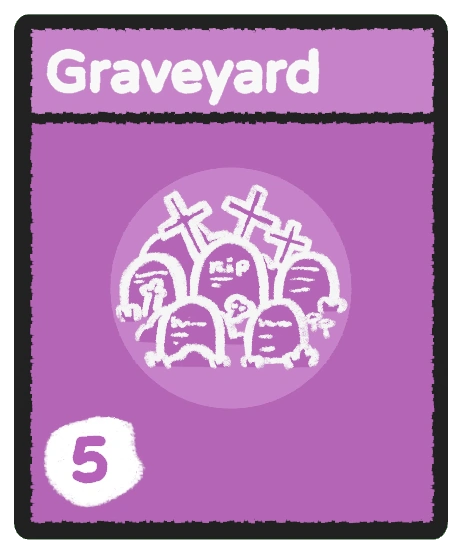
Goblet > Catacombs > Graveyard > Corpses
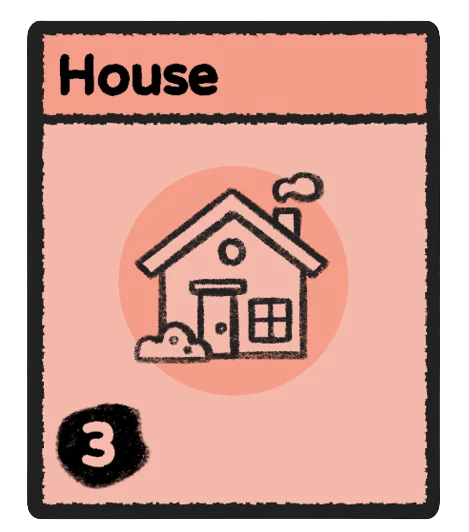
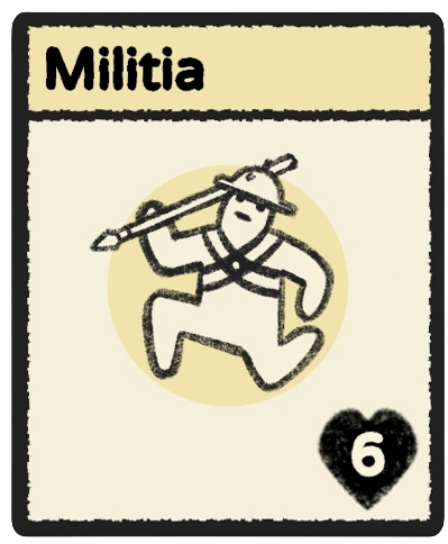
5 Militia > Villagers > House
Now, you could just follow these goals on your own, but I go into more specific strategy below.
Moon 1
Even if you are “behind” you will still be fully capable of continuing and finishing the run, so keep that in mind.
Goals:
- House
- Quarry
- Second Villager
From your starting pack, sell the wood and the first harvested berry to buy a Humble Beginnings pack. Your primary goal is to buy 7 packs this moon. A villager is guaranteed from the seventh pack.
Try to keep your villagers always working on something. If there is not anything to do, turning off turbo is technically OK, but don’t be afraid to sell resources to get a new pack. Don’t forget, soil and keys are worth 3 coins.
Make sure to only have 2 food at the end of the day. (Do not harvest more than the 1st berry bush and sell apples). You want your second villager to starve.
Moon 2
- Second House
- Another Villager
- Two Offspring
- Flint
Continue to buy Humble Packs (Wisdom once its unlocked) until you get another villager. You can only get these if you have only one non-baby villager left. Its not guaranteed after 7, but could come at any time.
You are going to let this villager starve as well for his corpse. Combine the two corpses to make a Graveyard. Since you have 2 babies, 4 food is needed.
Have your villager work in the quarry, and your second on any rocks you find. Flint is important for the mine and smelter. The buildings require 2 each, or 4 total.
Also keep in mind you will need 2 Bricks and 1 Plank in addition to the 2 Flint for the smelter, so work towards those if you can. Build the mine first (2 Flint, 1 Wood, 1 Stone) if possible, but it might not happen moon 2.
Moon 3 and Onwards
- Get your third free villager before the two babies grow. Once they do, make one more offspring. After this, the houses can be sold for room.
- Once you can build a mine, work it. Continue to work the quarry until you have 2 flint for smelter. Have other villagers work on bricks, planks, and berries.
- With your first iron, make a Warehouse (1 Iron, 1 Stone).
- After warehouse, sticks can be saved for Spears (2 Sticks, 1 Wood) or Swords (2 Sticks, 1 Iron). Swordsmen are more consistent, but iron should be prioritized for the temple. 5 Militia is the minimum you should risk.
- On day 3-5, especially once you’ve gotten both the mine and the smelter, dedicate one villager to the graveyard to look for catacombs.
- 2 Villagers can defend Graveyard mobs, but skeletons can be scary. Make a militia and dedicate him to Berry Bushes and DEFENDING the graveyard villager, not exploring it. If the exploring villager gets hurt, swap him with a healthy villager.
- Once you get catacombs, it can be left alone for towards the end. Goblet ALWAYS appears on the fourth exploration and this takes 30 seconds longer than the entire temple build. Militia is necessary to fight catacomb mobs.
- Once you assemble the temple parts (5 Planks, 5 Bricks, 3 Iron, 3 Villagers) put them together. You will have one villager left to finish exploring the catacombs, and one militia to defend and farm berries. The temple takes all day, so do not slack on food.

Beat The Demon
When a villager dies, pause the game and restack any villagers that got pushed out of fighting. Keep your finger ready to minimize the Demon’s free hits.
Turbo should of course be on. The fight itself takes only ~10 seconds, so there should be no need to get more food in most scenarios.
Thanks to Stack Man for his great guide, all credit to his effort. you can also read the original guide from Steam Community. enjoy the game.
Related Posts:
- Stacklands: All Quests, Ideas, Location Cards and Packs
- Stacklands: How to Get Infinite Food With no Labor