
If you’re like me on my first playthrough, you’re probably having a hard time with the Erchius Mining facility. It is a bit of a difficult first mission if you don’t know what you’re doing, so this guide can help you conquer- I mean save the place.
Weaponry/Armor:
-Sword, about 10 damage.
-Ranged weapon. These could either be darts/spears, or fire arms.
-Tier 1/2 armor.
Misc:
-Healing. You’ll want to bring along a healing item. Any is fine.
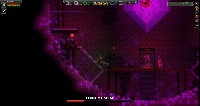
-Mutant Spawn:
Besides the fact that I don’t know what this attack is called, the Erchius Horror spawns in a mutant. That’s all. A single mutant. If you pay close attention, you’ll notice that each time it spawns a mutant, a humanoid that is inside of this thing goes away. Neat, huh?
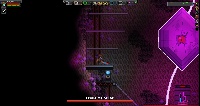
Beam:
Just a plain old beam. You’ll need to run around to dodge it, otherwise you’ll lose a lot of health. The amount of beams fired vary depending on how much health it has. At first, 2 beams. Then 4. Then 4. You need to be careful about the last one, though.
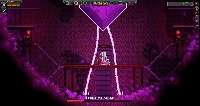
4 beams are fired next. Just dodge them like normal.
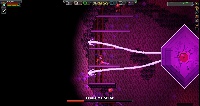
On it’s last bit of health, you’ll need to be careful. There’s two spots to stay safe from this beam attack. You can hide on the second platform, or by the gun.
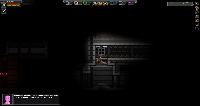
When you’re inside, keep heading East. Prepare all of your items once you’ve reached the breaker, as a mutant will spawn in. When you’re all ready, flip the switch, and fight the mutant. Then, head West, and you’ll find two more. Fight these guys, and you can head down the previously blocked hatch.
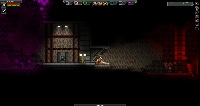
Once you’re inside the hatch, there’ll be a few more enemies. Fight those. Prepare yourself again, as the next area will be tough. Open the door, and fight all of the enemies. Remember to heal when you need to. Once you’ve defeated all of the enemies, you’ll find another door. Behind the door is your first friendly NPC! They’ll fight all enemies they see, and cannot die. Pretty handy! Take this chance to heal if needed.
Flip this next switch, but be careful, as it will spawn another mutant.
It starts to get just a little bit tougher from now on. Fight all enemies that get in the way, when you get here, jump over to the platform West.
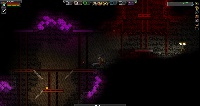
You’ll see a bunker-like thing. When you fight all the mutants, enter inside, and there’ll be more NPCs! There’ll also be a few mutants, though. You can just let the NPCs get rid of them. Keep heading West, and then jump over to the next platform. Make sure you prepare, since there’s quite a few enemies over here. Keep heading West, until S.A.I.L. talks to you about the Erchius readings. Head down, and be careful. Here’s where I advise you use those darts or spears of yours. There’s a mutant that’s in the process of changing, and these are stronger. Both in health, and damage, so be careful that they don’t hit you.
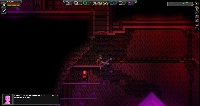
Afterwards, you’ll reach another bunker with lockers and crates. You can loot them if you want. After you flip a switch, and press the satellite dish looking thing, you’ll have set your respawn point. This is handy, since now you’ll respawn there every time. Then, head East. Be careful, as there’s two of these new mutants. You probably could sneak by, since I don’t think they head into the next area. Now, you’ll see a bunch of platforms. You MUST be careful here. If you rush it, you will die. Carefully jump down to each platform, and you’ll reach the bottom where you find your first boss. You can head in when you’re all healed, and prepared.
Keep dodging the beams, and flipping the switches. Eventually you’ll defeat it. When you do, a guy that was dying will pop out. He doesn’t actually do anything. He just thanks you. Or he doesn’t. Head up to the normally locked door, and it’ll be open! There’s a chest just for you! Do note that if you’re doing this in multiplayer, only one of you can collect the contents. Or you can share. You can do the mission over and over for more rewards whenever you want. After you’ve collected the items from the chest, you’ll want to interact with the huge mining machine. You’ll get an Erchius crystal. It won’t actually appear in your inventory, so don’t get worried if you can’t see it. Then, head back to the outpost, and talk to Penguin Pete. He’ll fix your ship for you!
Related Posts:
- Starbound: How to Vanquish Ixodoom 2021
- How to Find Floran Furniture in Starbound
- Starbound: Ship Replacement Guide by Modding