Some tips and guidance for beginners.
Introduction
I’ve seen some negative reviews for this game with complaints that it’s difficult to curate a good team. I disagree. I estimate that I get 10 wins more than half the time, and at least 6 or 7 wins the vast majority of the time. Do I sometimes never get anything good going? Yeah, sure. But it’s rare.
In this guide I will discuss some tips, early game strategies, and late game formations that are usually successful.
Basic Tips
– Take your time. There is no time limit in the shop. Consider the whole list of purchases before making any move.
– Your primary goal in the early game is to not lose any battles. The first few turns are usually a straight stat contest. If you take 2 or 3 losses early on, it gives you less leeway to build a killer combo that will carry you to 10.
– Your team should synergize with each other. Outside of the first two or three battles, it is increasingly difficult to win on stats alone.
– It may be better to keep multiple copies of animals on your team rather than combining or leveling them right away. Three Crickets and two Horses are much better than a Level 2 cricket and a half-leveled Horse.
– Whenever you level up an animal, a new animal of (your tier + 1) is offered in the shop. This can allow you to pick up a powerful animal one or two turns before you would ordinarily be offered it. If you’re very lucky, the animal could match with the strategy you were building anyway, and give you a big boost.
– Make use of the shop. Except for the animals that give permanent buffs each turn (Monkey, Giraffe), the shop is the only way to make your team stronger. Buy animals and food that will last a long time.
– Give food only to animals you intend to keep long-term. Let’s take the Ant for example. Ants are pretty strong in the early game, but their ability is meaningless on Turn 10. Should you give an Ant an apple or honey? Usually not, because you’ll want to sell the Ant to make room for something else.
– Some animals are front-loaded in power (like Tiger) and some need to be leveled up once or twice to reach full potential (like Dodo). Some animals have a great level 2 upgrade, but their level 3 upgrade comes too late to mean anything (like Horse). Try to consider this when building your team.
– Chocolate is almost always a buy, unless literally none of your animals will benefit from leveling up.
– Keep an eye on your remaining wins and losses. If you have 1 or 2 battles remaining, don’t start making long-term investments like buying Monkeys or partial level ups. This is the time to give out last-second buffs or food (steak, melons) to animals who don’t have them yet.
Early Game
- 1. Don’t Lose.
- 2. Set up your level 2 purchases.
All of the Tier 1 animals lend themselves toward one or the other. If you must choose between the two, pick the ones that make you Not Lose.
Since there are only a handful of Tier 1 animals, it’s worth going over them individually.
Ant – One of the strongest Don’t Lose choices as it offers essentially 4/2 in stats. You’re usually quite safe buying it.
Beaver – Somewhere between the two priorities, as its 2/2 stats are average, and it gives a delayed health boost on sell.
Cricket – Try to combine with Horse (e.g. Horse – Horse – Cricket – Cricket – Cricket is excellent). It’s okay on its own.
Duck – Entirely a setup for Tier 2, which makes it very risky. They are defeated by virtually every other Tier 1 animal except Horse (which you will rarely see without Cricket friends).
Fish – A great choice as its 2/3 stats are good, and if you do get 3 then it can buff your Tier 2 choices as well.
Horse – A very poor buy unless you can combine with Crickets. Only buy a Horse after you have a Cricket or two.
Mosquito – One of my least favorite choices. Although it effectively has 3/2 in stats, the 1 damage to a random enemy often falls flat and is basically useless in Turns 3 and onward.
Otter – Can be surprisingly good. Don’t sell your Otters too quick — combine them. If your Otter will level up or is leveled up, combine directly from the shop to get the +2/+2 bonus. Their only problem is that you can’t combine them once they reach level 3.
Pig – Somewhere between the two priorities. Usually a safe buy.
There is no perfect way to play the first few turns, but you should try to either go all-out Horse/Cricket, or else grab powerful animals like Ant and Fish for pure stats. The other choices are fine if you have no other choice. Don’t reroll the shop more than once on Turns 1 or 2. You need to buy three animals both turns. If you are building a Horse/Cricket team, it’s okay to put honey on a Cricket.
You may want to consider buying a Muffin if you’ve bought a Duck or two, to make up for your lack of stats. Otherwise, it’s usually a waste.
Strategy 1: Token Spam
The basis of this team is that you have 1-2 buffers in the back, 0-1 support in the back, and 3 token generators in the front.
You are looking to add the following to your team each tier:
Tier 1: Horse (buffer), Cricket (tokens).
Tier 2: Spider (tokens), Dog* (support)
Tier 3: Sheep (tokens), Whale (tokens)
Tier 4: Deer (tokens)
Tier 5: Turkey (buffer), Shark* (support)
Tier 6: Fly (support), Tiger (support)
* Note: Although Dog and Shark are clearly designed for Token Spam strategies, I consider them to be rather weak. Only buy them to replace something even worse.
Late game, you are looking for one of these formations:
Fly/Tiger/Turkey – Turkey – Sheep (+ honey) – Whale – Deer – Huge number of tokens, either massively buffed by the turkey(s) or with the double-whammy of flies buffed by the turkey.
Fly/Tiger/Turkey – Turkey – Whale – Deer – Deer/Rooster – Another possibility if you’re missing the Sheep.
Fly – Tiger – Snake – Whale – Any Tokener – A different tack that allows the Snake’s ability to trigger a ridiculous number of times.
Strategy 2: Dodo
For a start, you are looking to buy a Dodo on Turn 3 and give it some quick buffs via Fish or Ducks. Next, get it to level 2 as quickly as possible. Level 3 is useful, but is not quite as important. Alongside buying the necessary animals, keep giving the Dodo as many permanent buffs as possible from Giraffe, Pears, or even Apples if you must.
Once you get this strategy going, there is little else that can stop it except late-game Token Spam.
You are looking to add the following to your team each tier:
Tier 1 – Fish (level up with Dodo on your team), Duck (sell while Dodo is in shop)
Tier 2 – Dodo, Swan (only other useful level 2 animal on this strategy)
Tier 3 – Giraffe (behind Dodo), Ox or Turtle (not both)
Tier 4 – Monkey (replace Giraffe), Rooster
Tier 5 – Parrot (mimic Rooster)
Tier 6 – Tiger, Dragon
There is some variation on this, but it’s all centered around the Dodo’s awesome capabilities.
Swan – Giraffe – Dodo – Ox – Swan/Fish – An example of a tier 3 team. Dodo buffs Ox. Ox buffs self for a massive double attack that will break most opposing front lines. Even if you lose your front line, the Dodo itself can usually clean up.
Swan – Giraffe – Dodo – Swan/Fish – Turtle – If you get a Turtle instead of an Ox, that’s fine. It’s basically the same idea.
Monkey – Monkey – Dodo – Ox – Rooster – Your primary tier 4 goal. Continue feeding Pears to the Dodo. The monkey now buffs the Rooster, and the Dodo buffs the Ox. Very few opponents can stand up to this.
Monkey – Monkey – Dodo – Rooster – Turtle – It’s still fine to have Turtle instead of Ox.
Monkey – Monkey – Dodo – Rooster/Parrot – Rooster – If you never got an Ox or Turtle, this is about the same thing. This is one of the few builds where Parrot pulls its weight, too.
Tiger – Monkey – Dodo – Whatever – Whatever – If you got a level 2 Monkey, this is more efficient.
Tiger – Level 3 Dodo – Ox – Rooster/Parrot – Rooster – It’s only 50 damage to the opponent at least 7 times. No big deal.
Tiger – Level 3 Dodo – Rooster/Parrot – Rooster – Turtle – Once again, Turtle is fine.
(Buy/Sell tier 1’s) – Dragon – Dodo – Whatever – Whatever – If you never really got a Monkey going, get the buffs from Dragon instead.
I didn’t find many turtles, oxen, or monkeys on this team. That’s okay. The Dodo, Parrot (mimicking Rooster) and Rooster in front can destroy nearly anything, regardless of what the other two animals are doing.
Strategy 3: Tank Leader
Your ideal tanks are:
Bison: A good choice, but only if you have another level 3 animal on your team before you buy the Bison.
Camel: Tier 3, similar to Hippo, except it buffs the animal behind instead of itself.
Hippo: Tier 4 pure tank that heals itself on each knockout it inflicts.
Rhino: Tier 5 animal that also benefits from knockouts; a more aggressive Hippo.
Less ideal:
Elephant: The friendly fire makes this difficult to recommend. See “Strategy 4” lower down in this guide for Elephant discussion.
Gorilla: Very interesting ability, but the fact of being Tier 6 means you have no time to buff its basic stats.
Swan: It may not exactly have tank synergy, but you can buy it at Tier 2 and it gives you more gold each turn. What’s not to like?
Turtle: Stick a Kangaroo behind it, and that Kangaroo buffs itself and then gets melon shield from the Turtle.
Once you have selected your tank, look for these other animals each level:
Tier 2: Swan (more gold is always helpful)
Tier 3: Kangaroo, Turtle
Tier 4: Monkey
Tier 5: Scorpion
Tier 6: Snake, Tiger
You are looking to make the following formations:
Any – Any – Any – Kangaroo – Tank – When you first buy your tank, you will probably be lacking a truly cohesive strategy. This is normal.
Monkey – Monkey – Monkey – Kangaroo – Tank – You’ll probably not actually get this formation, but I’m serious about buffing your tank as much as possible.
Monkey – Monkey – Kangaroo – Tank – Scorpion – While Scorpion is only rarely bought, an opponent with Scorpion in front is the only hard counter, so buy insurance in the form of your own Scorpion. It also counters a mirror match where your opponent also has a supertank.
Monkey – Tiger – Snake/Kangaroo – Tank – Scorpion – Tiger + Snake behind a supertank will rip opposing teams apart.
Strategy 4: Elephant
However, if you are in an unlikely circumstance, such as buying Ducks early and then being offered 2 or 3 Elephants in the shop, you may want to go this route.
Combine the Elephant with an animal whose ability is triggered on being hurt, such as Camel, Blowfish, or Peacock. You are eventually looking for the following formations:
Any – Any – Tiger/Any – Blowfish – Level 1 Elephant
Any – Tiger/Any – Peacock/Blowfish – Camel – Level 2 Elephant
Tiger – Blowfish – Camel – Snake – Level 3 Elephant
Also keep in mind that an Elephant in the back can have good stats without hurting any friends. This is useful if you buy an Elephant without any of its synergy partners.
Strategy 5: Dragon
Buy a Dragon, and then buy and sell tier 1 animals repeatedly for the team-wide buff, which is a total of +4/+4 in stats (+8/+8 with level 2 dragon, or +12/+12 with level 3 dragon) while spending a total of 2 gold.
If you can, try to combine this with Turtle or Ox for the melon shields.
Strategy 6: Improvise
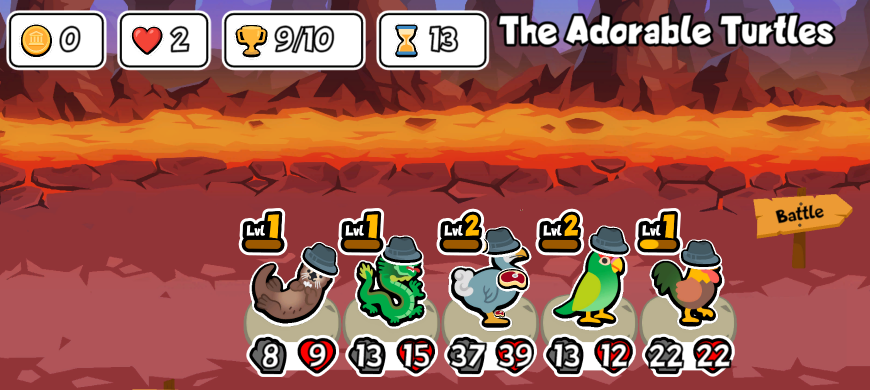
If the shops end up offering something weird, it’s better to go with the flow than to try rerolling for one specific thing. Take this situation for example. I was offered enough Otters to quickly get one to level three, and I also managed to grab a Dodo and start buffing it.
Then, as a level-up bonus, I’m offered a Bison. An early Bison has great synergy with an early level 3 Otter, but I already have the start of a Dodo going. Which strategy do I go with?
Why not both?
This team won or drew every battle.
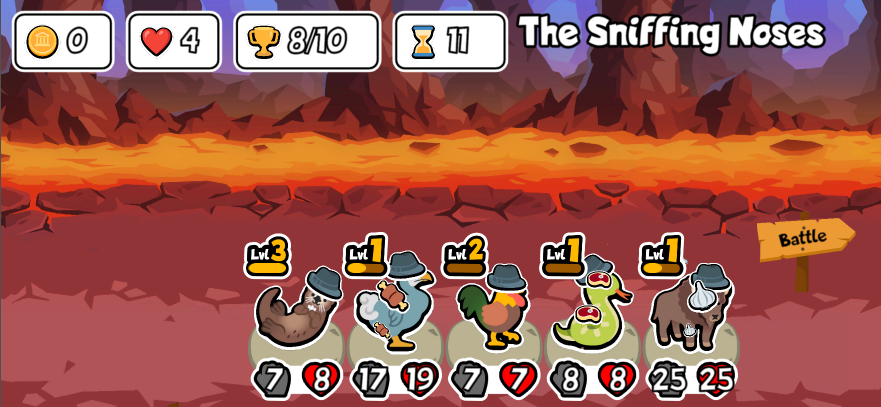
Here’s another, where I bought and upgraded an early Elephant… and then didn’t get any of its synergy animals. Eventually, I settled on buffing and upgrading a Rooster, with a little Scorpion backup. This team got 10 wins in a way I never could have predicted on turn 4.
I frequently find that it pays to have a backup plan and improvise when things don’t go quite perfectly. This goes for inside and outside of Super Auto Pets.
Situational Animals
Tier 2 Rat – The stats are unusually high for a tier 2 unit. Buy it if you are in dire need of a quick power boost.
Tier 3 Badger – Put it at the rear of your team, and its ability will affect only the opponent.
Tier 3 Snail – After losing a battle, buy and then sell. It’s usually worth it.
Tier 4 Dolphin – This can sometimes disrupt certain opposing strategies, but it’s kind of risky. Not a bad buy if you don’t have anything else going.
Tier 4 Penguin – Interesting if your other four animals are at least Level 2.
Tier 4 Squirrel – May not be too bad if you are Tier 5 and want to hunt for Chocolate.
Tier 5 Cow – If you have an extra slot on your team, buying and selling the Cow is a huge +4/+4 buff for only 2 gold. That’s like getting 2 Pears at a 67% discount.
Tier 5 Crocodile – This could snipe a Turkey or Fly and completely ruin Token Spam strategies. But be aware that it could also take out a Monkey.
Non-useful Animals
Tier 2 Crab – Although it may be able to get a lot of health, its lack of attack is an issue. You can’t really buff the Crab, because you’ll want to buff whatever the Crab is copying. Ox is almost always better.
Tier 2 Hedgehog – Outside of countering early-game token spam, hurting your own team for 2-6 is bad.
Tier 2 Shrimp – Buying and selling just for the sake of random health is silly.
Tier 3 Rabbit – I’d rather have Giraffe or wait for Monkey.
Tier 4 Worm – By the time you get this, it’s too late to start feeding a 1/1.
Tier 5 Seal – Arrives too late. Ability is too random.
Tier 6 Leopard – A tier 6 animal that’s reliant on leveling up and gaining attack damage? Make this tier 3 or 4, and then I’ll be interested.
Thanks to Hybrid for his great guide, all credit to his effort. you can also read the original guide from Steam Community. enjoy the game.