A simple photo guide to inform your journey. Know before you go.
Editor mode photos of each of the playable maps included in the game, with tips and notes about resources.
You are also able to create your own maps in the editor, or edit one of the game maps, and save it under a different name for playing.
Whatever you choose, there’s much to see and do already in this early access title.
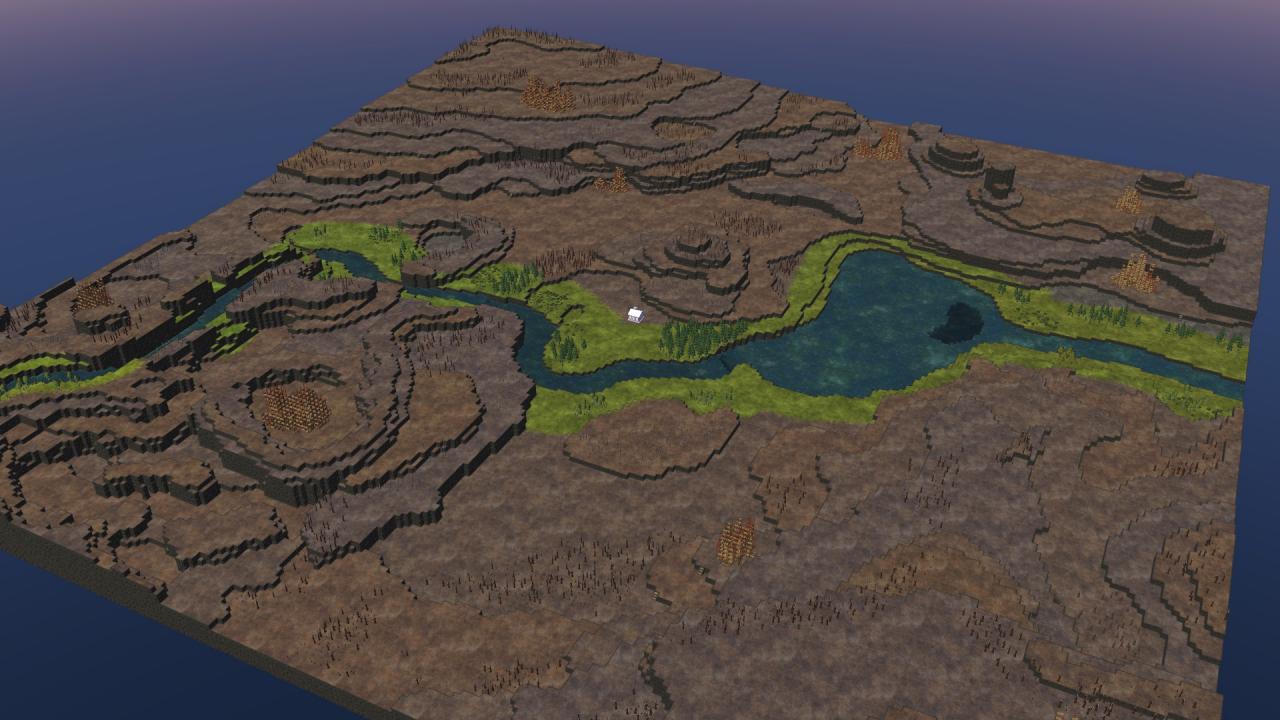
Size is 256X256
It is very basic, with easy access to the water and the bank opposite the river.
In addition, the river can be filled with platforms, creating a riverwalk for industrial buildings, and freeing up arable land for growing things. You’re not going to want to have a district without arable land until later in the game when you can adequately terraform. So stay along the river for awhile.
I recommend adding multiple resources and more water pump/ tanks on the reachable bank, which you probably spanned with a dam (just above the waterfall.) The dam here keeps water inside for the drought season. And, once you’ve stocked plenty of resources over there and built a barracks with your starting district workers, you can add a new district over there that’s already stocked, so you can reach metal. This overlap district method is an easy way to start new districts.
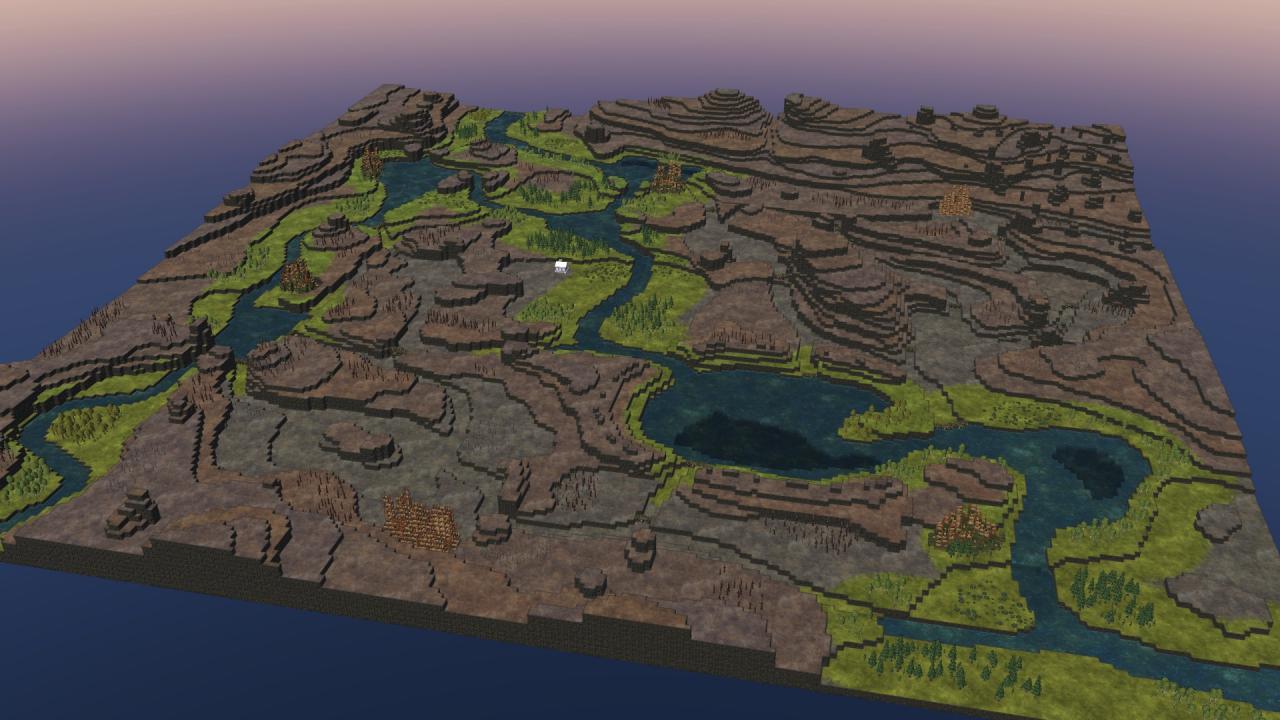
Size 256X256
The river winds off of two larger lakes. But, the map is mostly land, as opposed to the Thousand Islands map. You could do just about anything with this full size map. Everything is possible here: terraforming, explosives, suspension bridges, and either faction is do-able.
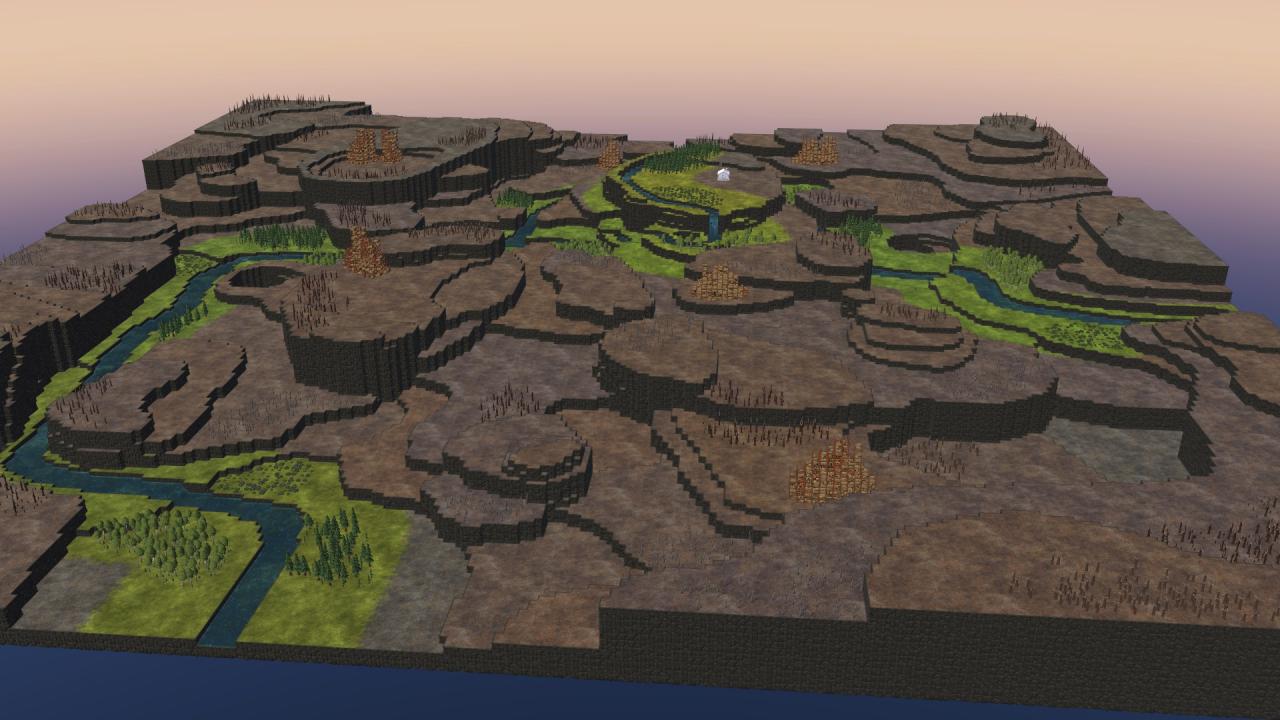
Size 256X256
This is one of the biggest, a full size map. It could be played with a mix of terraforming and suspension bridge strategies. But, the hinterland is daunting and dry. Expect a big project here. This is a decent map for the Steel Teeth Faction.
Size 256X256
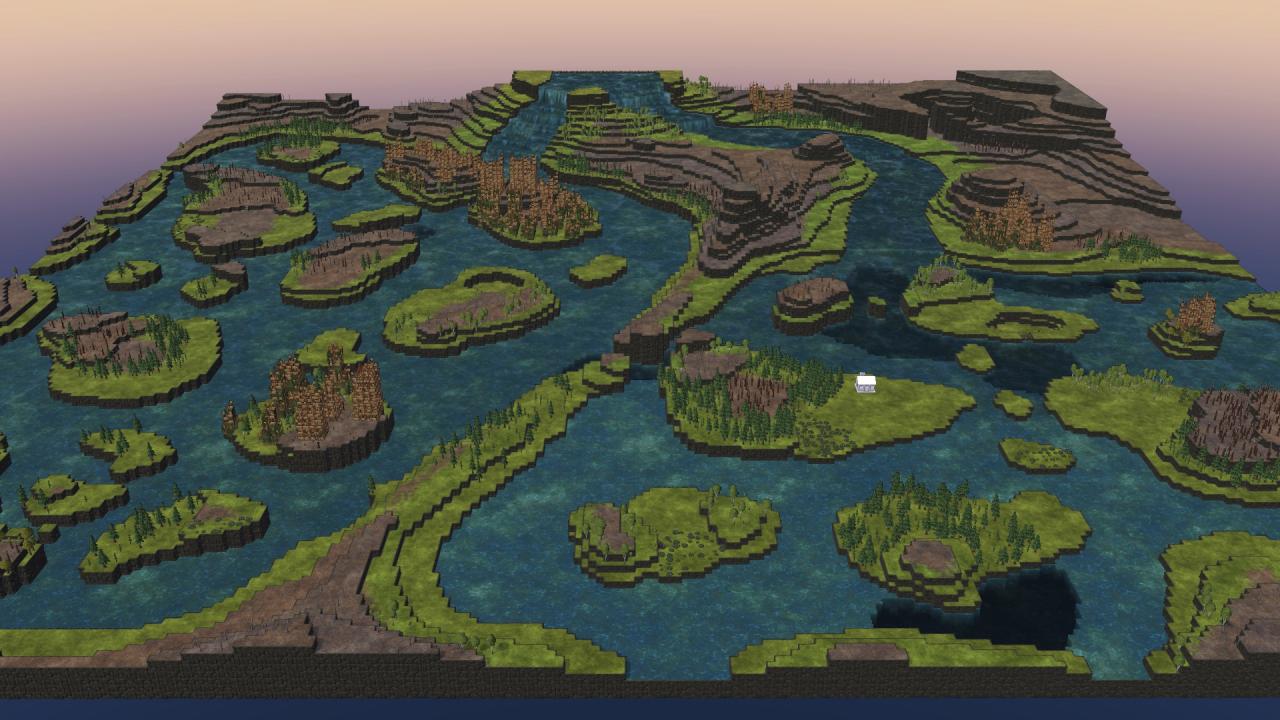
This is the wanderer’s dreamworld. You start out on a mid-sized island with only basic resources to ensure a safe and successful early game… with no steel. You will most likely make a detour right or left with early districts to obtain some steel, before moving along the middle archipelago to the lovely cascading waterfall at back.
The good news is most of the map is arable. And, industry can be built on water platforms to make better space on the smaller islands. The limits are in terraforming. There is probably nothing here you would want to blow up.
Size 196X196
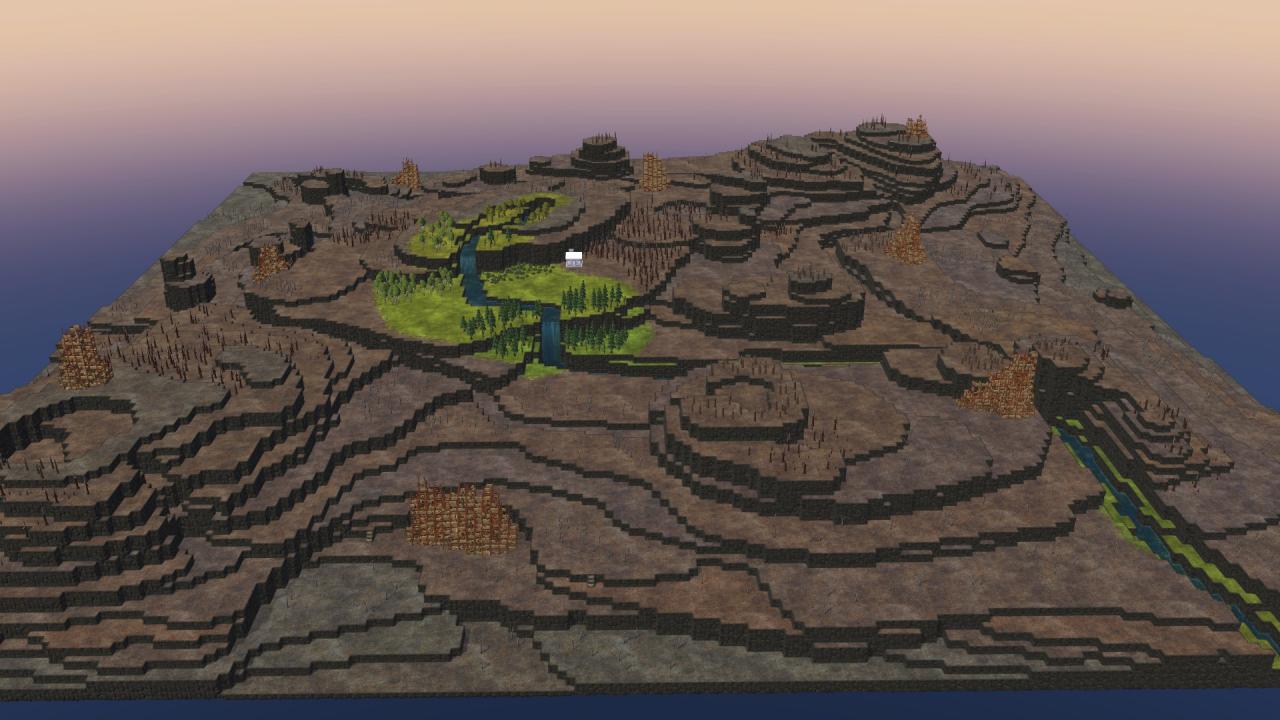
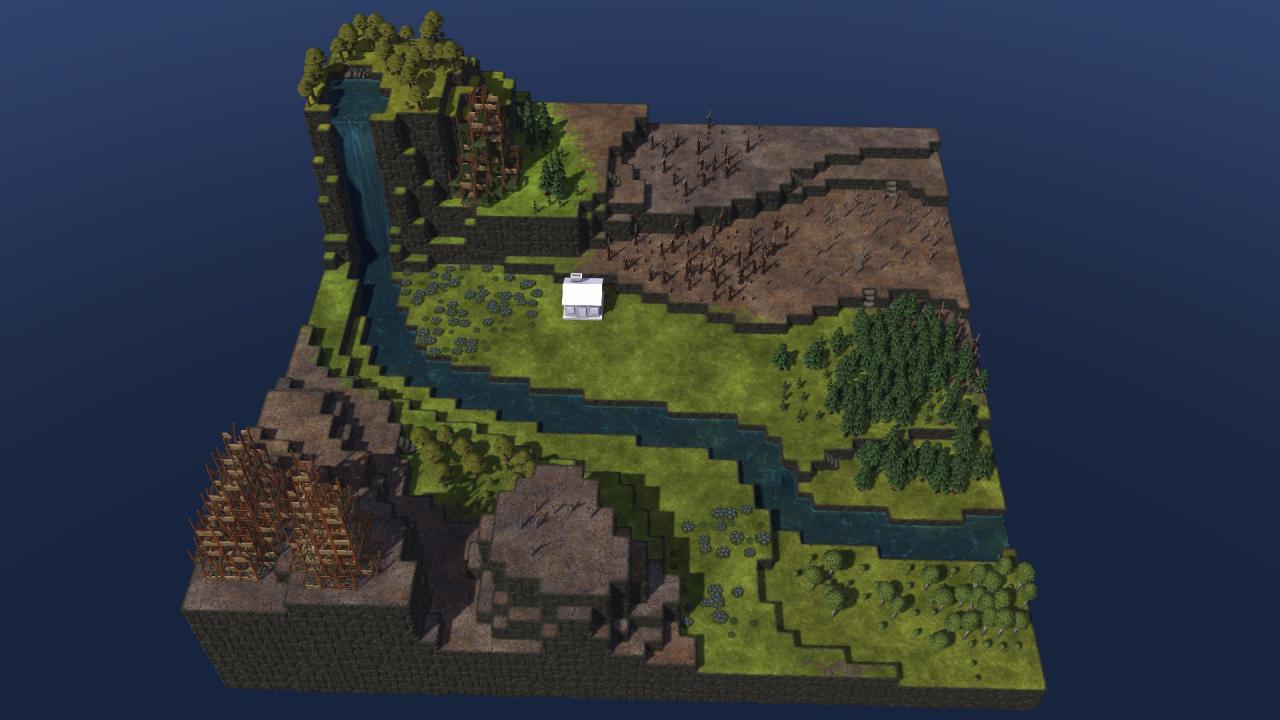
No doubt about it… this map is not for the faint hearted. Terraforming will be essential in thriving in this world. Fortunately, the start between the waterfalls is picturesque and makes it an obsession for the creative.
Size 128X128
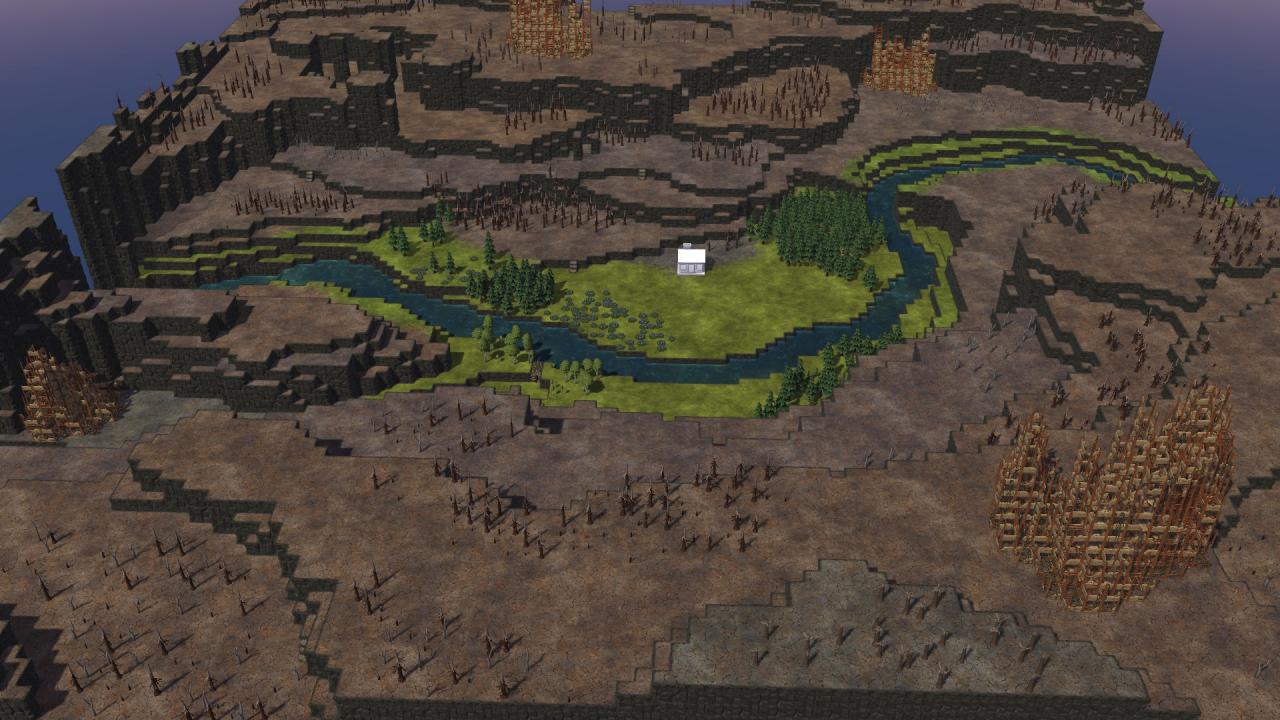
The variations in height promise a visually stunning world on this map. It also offers quite a bit of terraforming potential.
Size 128X128
The biggest advantage is close steel resources. Also, arable land edges every area, making plenty of room to build self-sufficient districts anywhere. Of course, terraforming options are few, with little reason to terraform much of it. But, it is the perfect map for building splendid suspension bridges.
Size 128X128
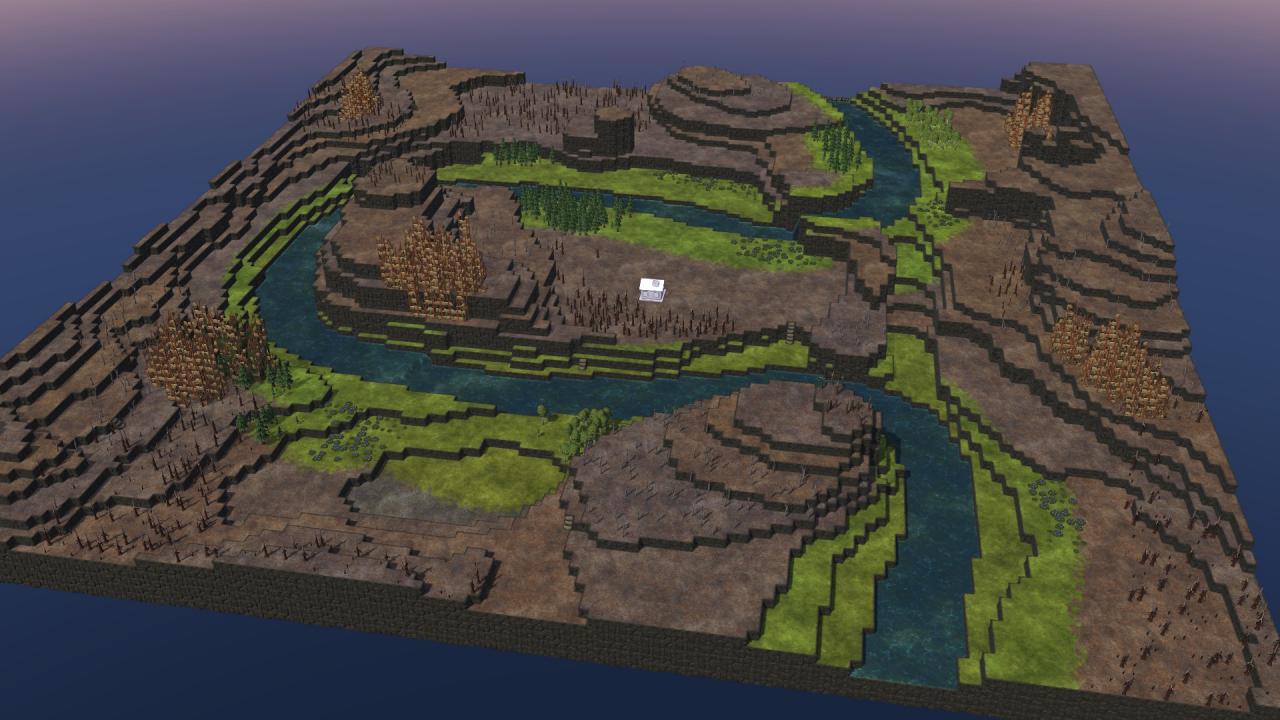
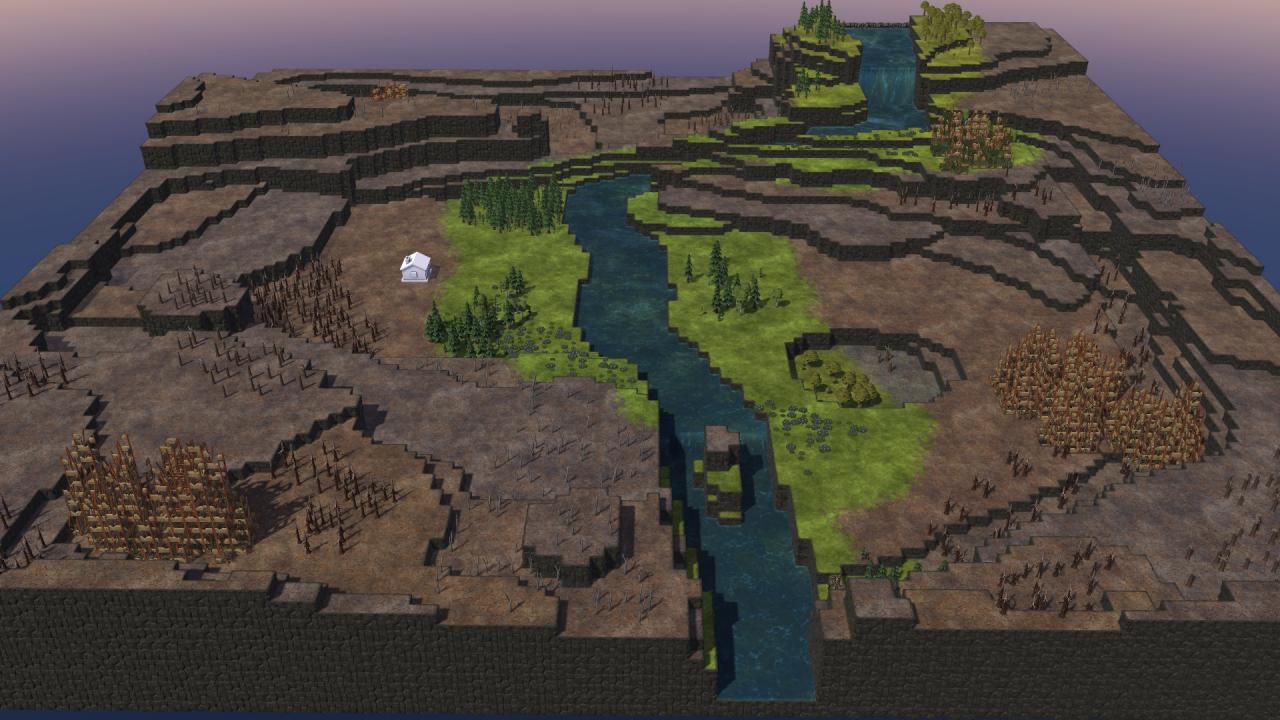
It is a medium challenge and best left to the Folktail Faction. While the middle of the map provides a wealthy early game, steel is more distant on the average. Less than a third of the land is arable, but terraforming will open up the hinterland.
Size 50X50
It is small enough to see everything in an overview. And, every pixel could be made arable with a bit of terraforming. Keep your pop low early game, and expect a bit of challenge.
Simply place a second district in the sweet spot nearby.
Add a gate on the trail between the two districts by deleting the trail in that spot.
Then delete the unwanted start district, and the gate.
You can now rename the new district to something other than District 2.
*Be careful not to strand your eager beavers. They must have immediate access to the new district.
Thanks to EdenStarGazer for his great guide, all credit to his effort. you can also read the original guide from Steam Community. enjoy the game.
Related Posts:
- Timberborn: Goods Distribution in Update 4
- Timberborn: Basic Guide (Resources, Buildings, Waterways)
- Timberborn: Beginners Guide & Walktrough for Iron Teeth
- Timberborn: How to Play Custom Maps
- Timberborn: Item Weight per Unit List (Ver.20210918)