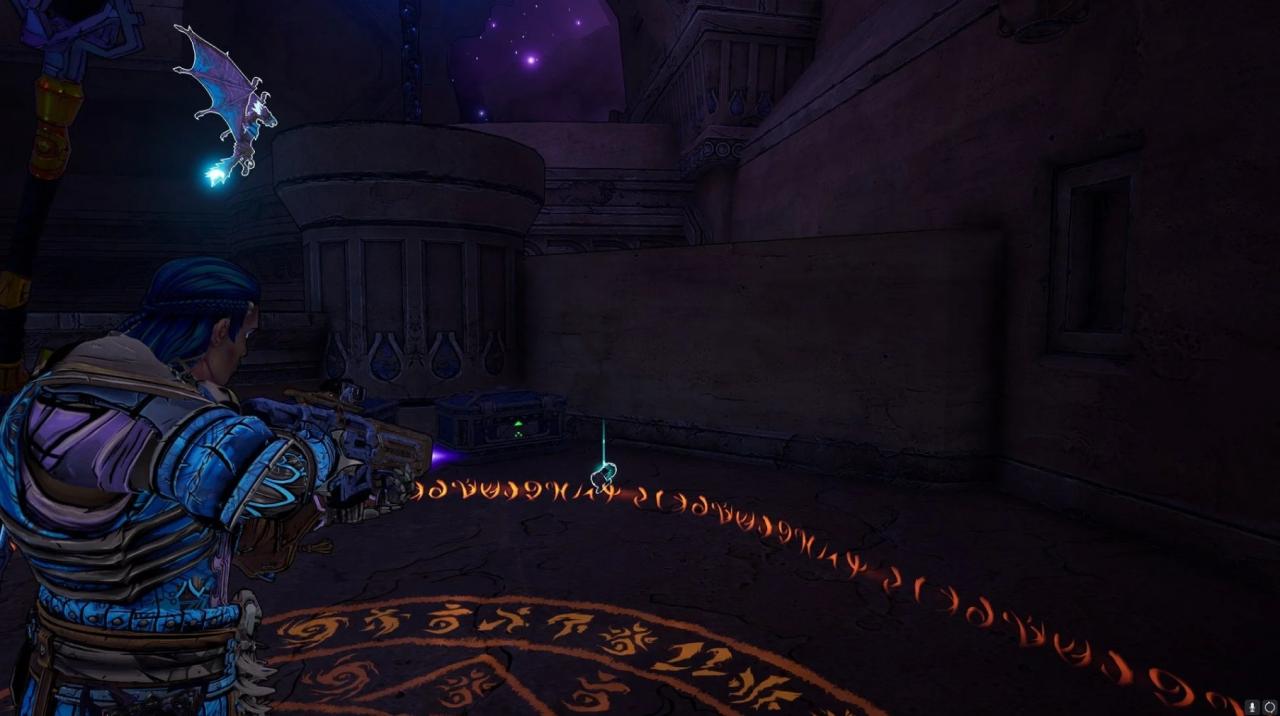
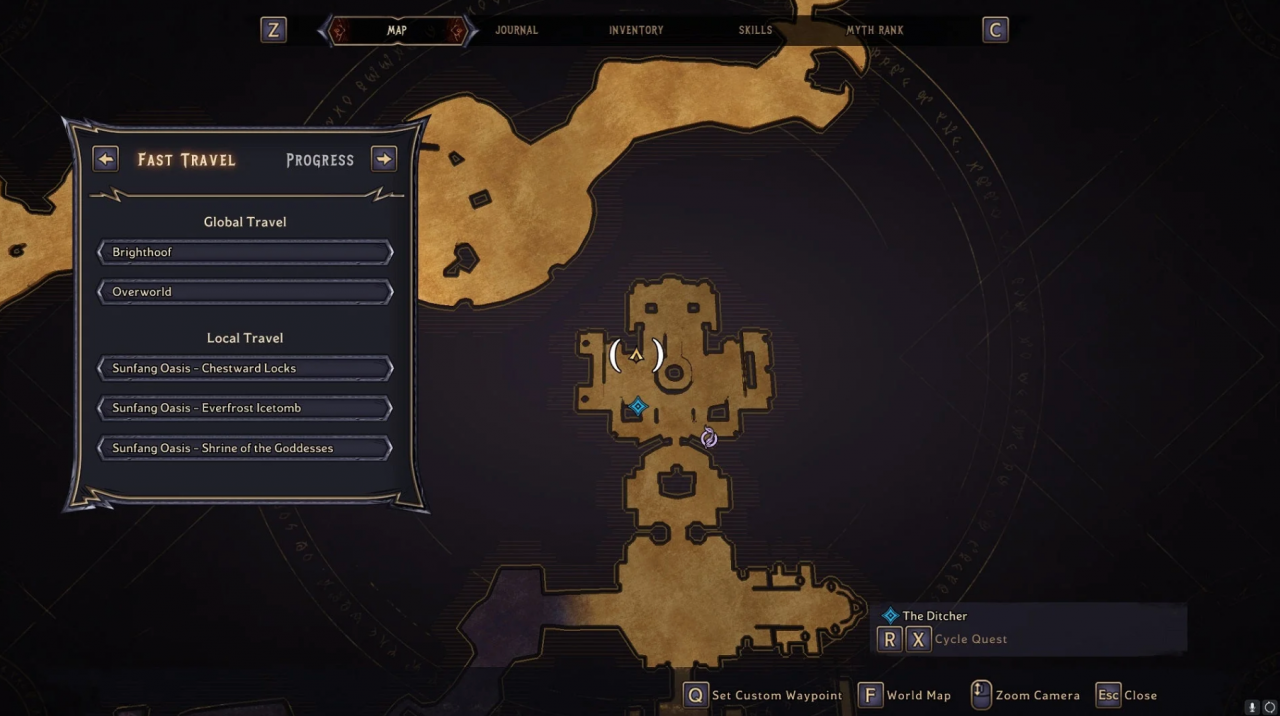
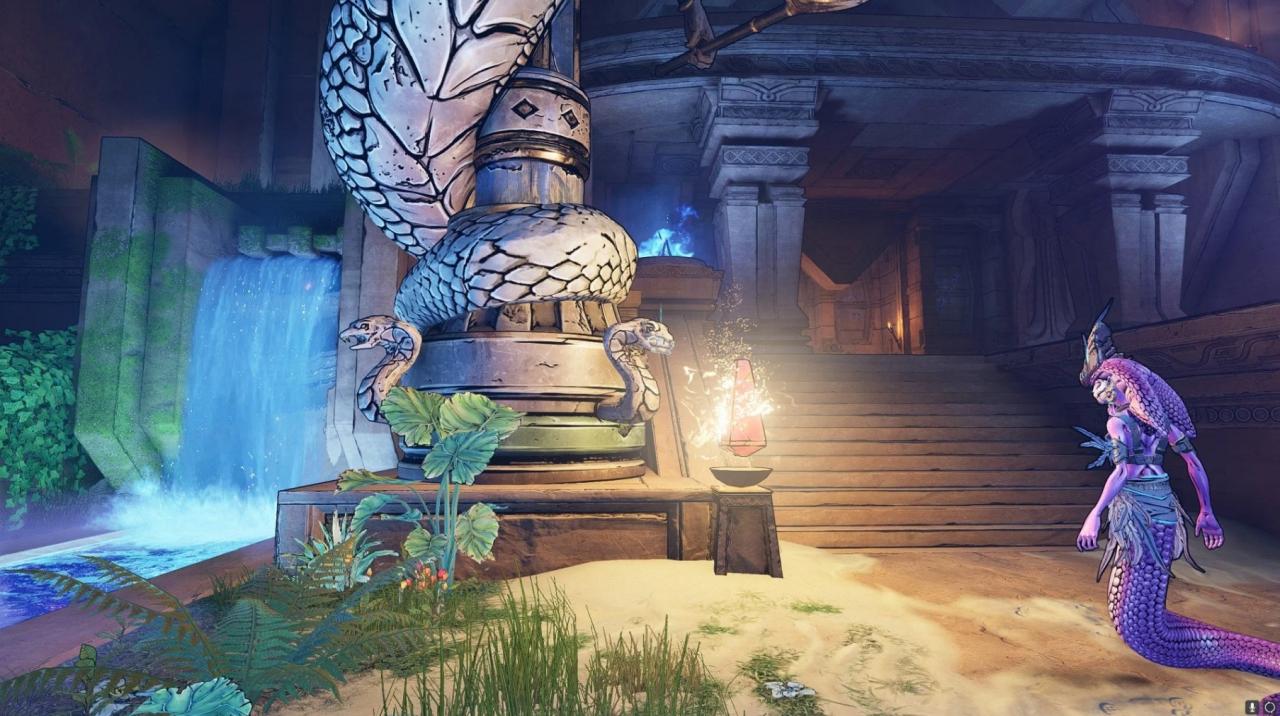
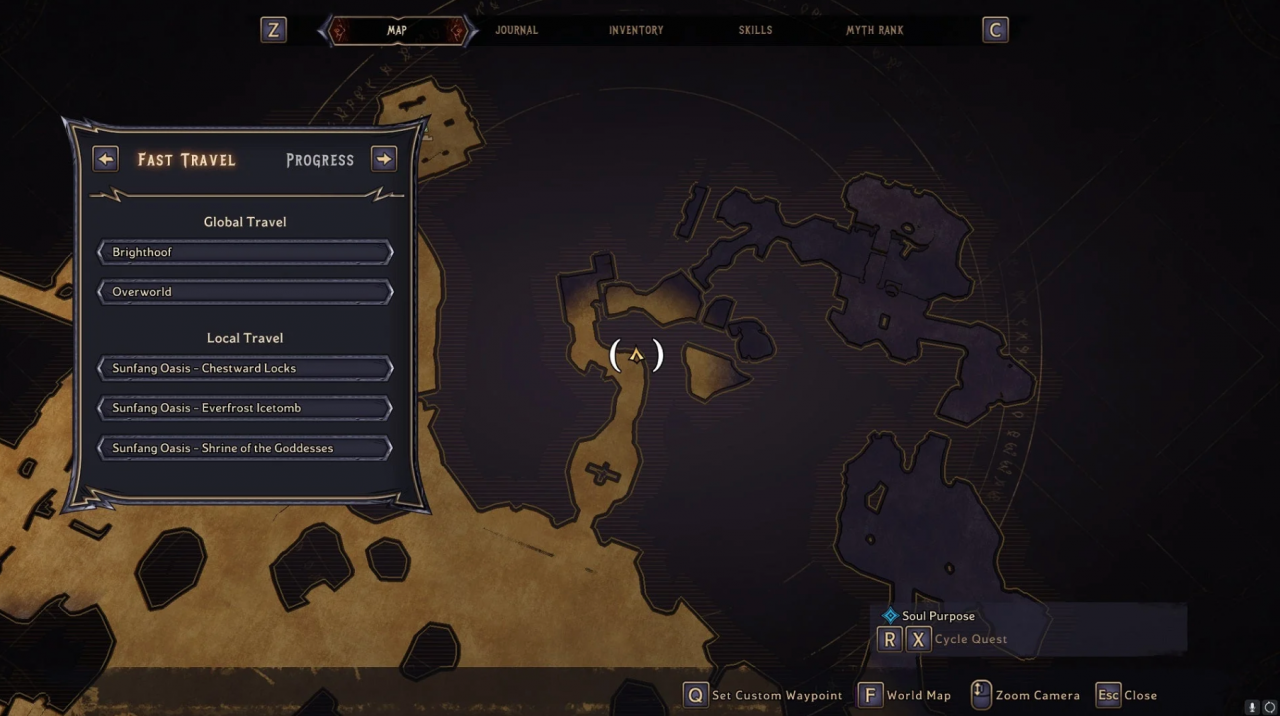
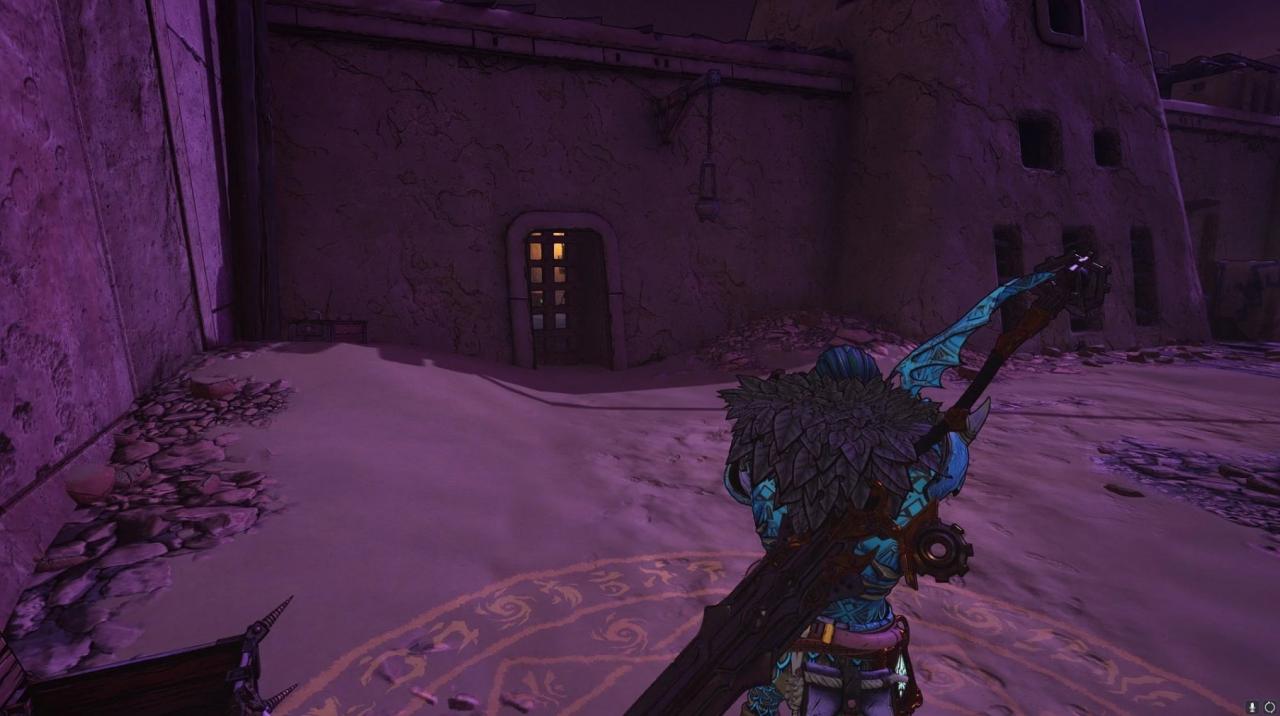
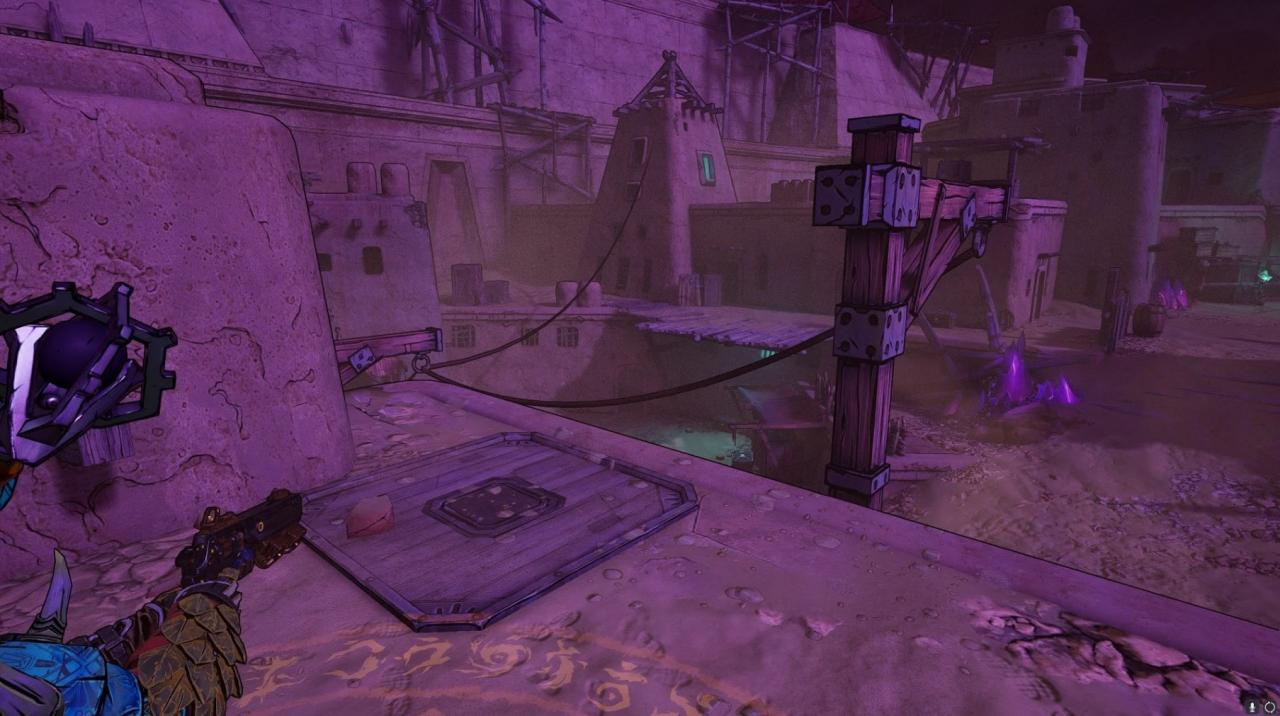
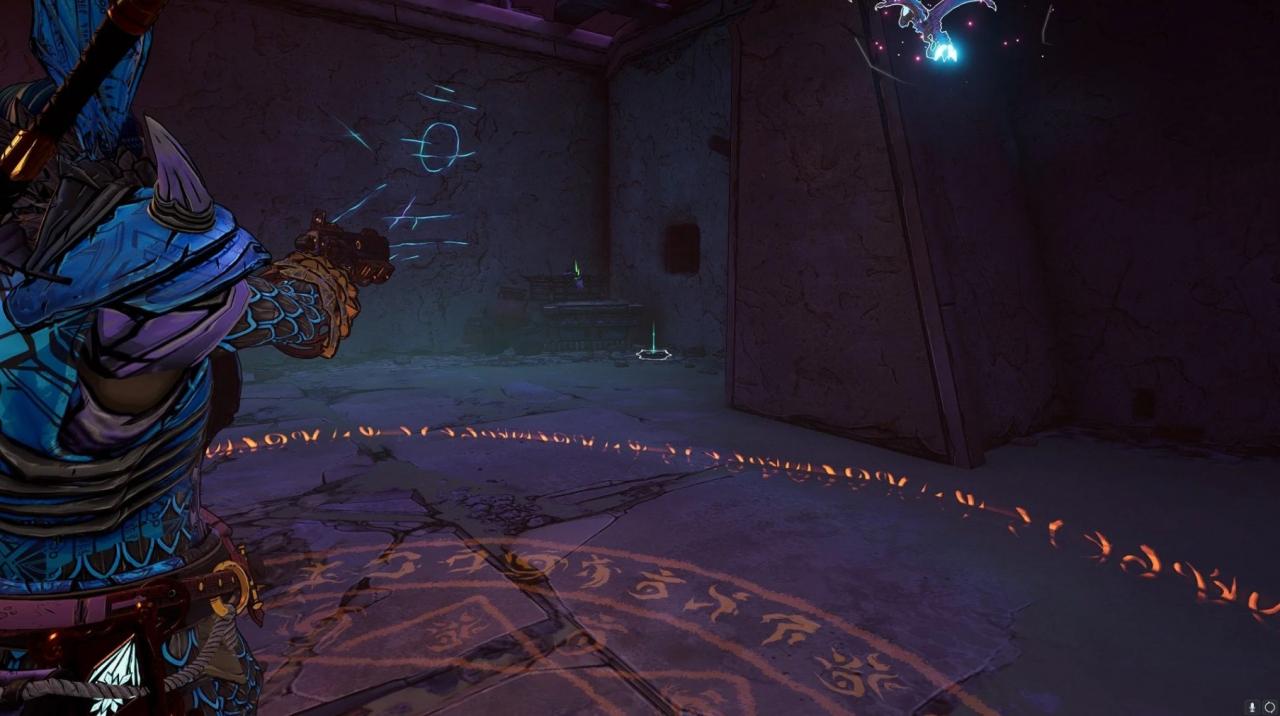
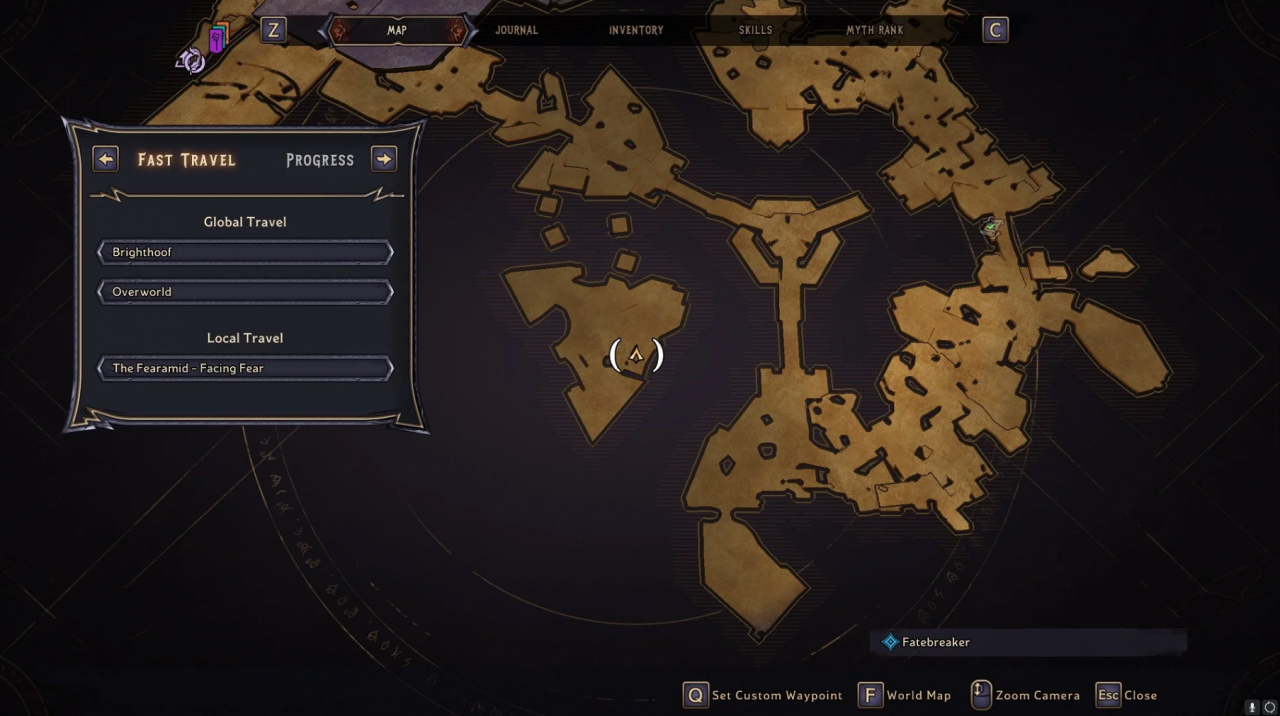
In Tiny Tina’s Wonderlands, Scrolls tell different stories from people who live in the Wonderlands. There are 57 Scrolls located throughout the different regions. This guide will provide the locations of each Scroll.
Description and Info
In Tiny Tina’s Wonderlands, Scrolls tell different stories from people who live in the Wonderlands. There are 57 Scrolls located throughout the different regions. This guide will provide the locations of each Scroll.
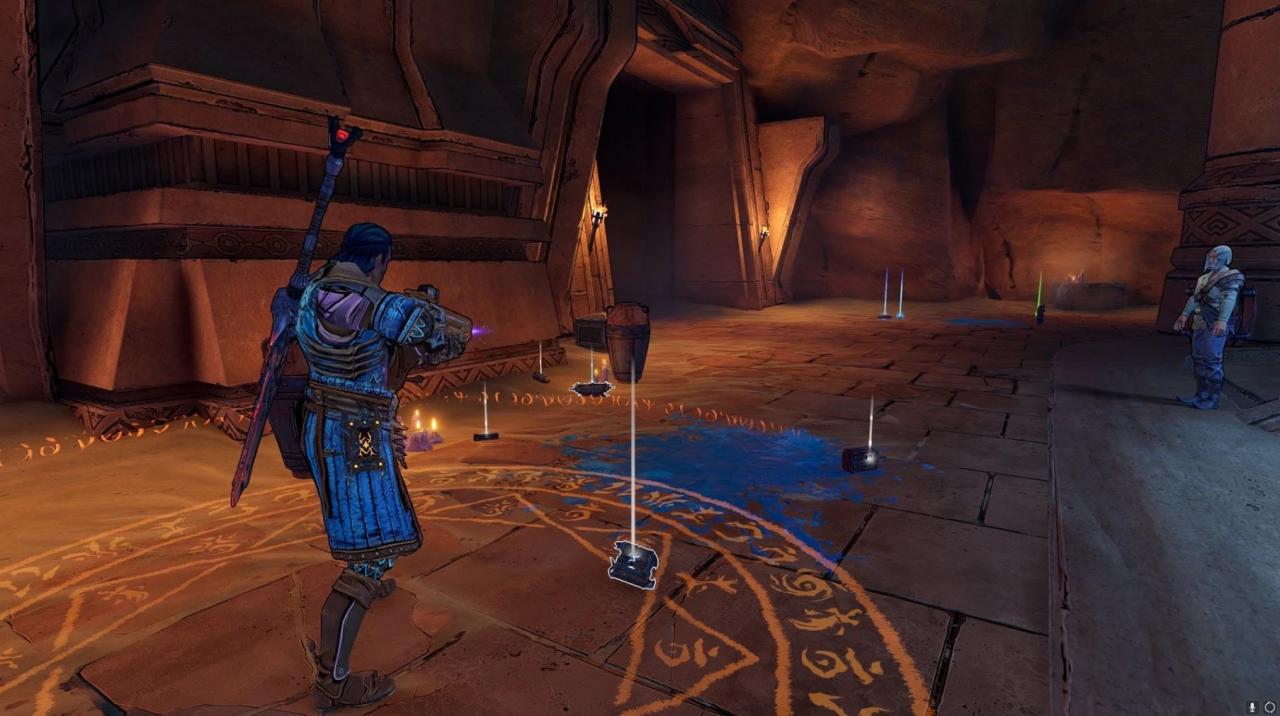
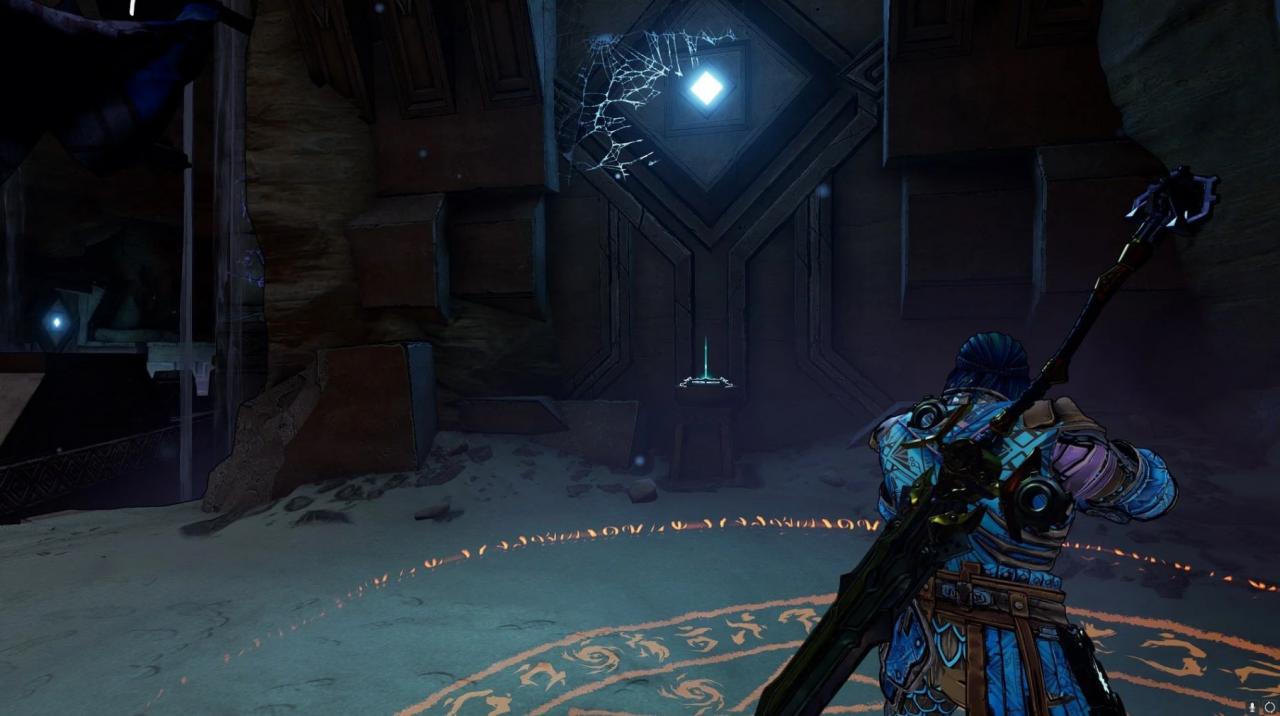
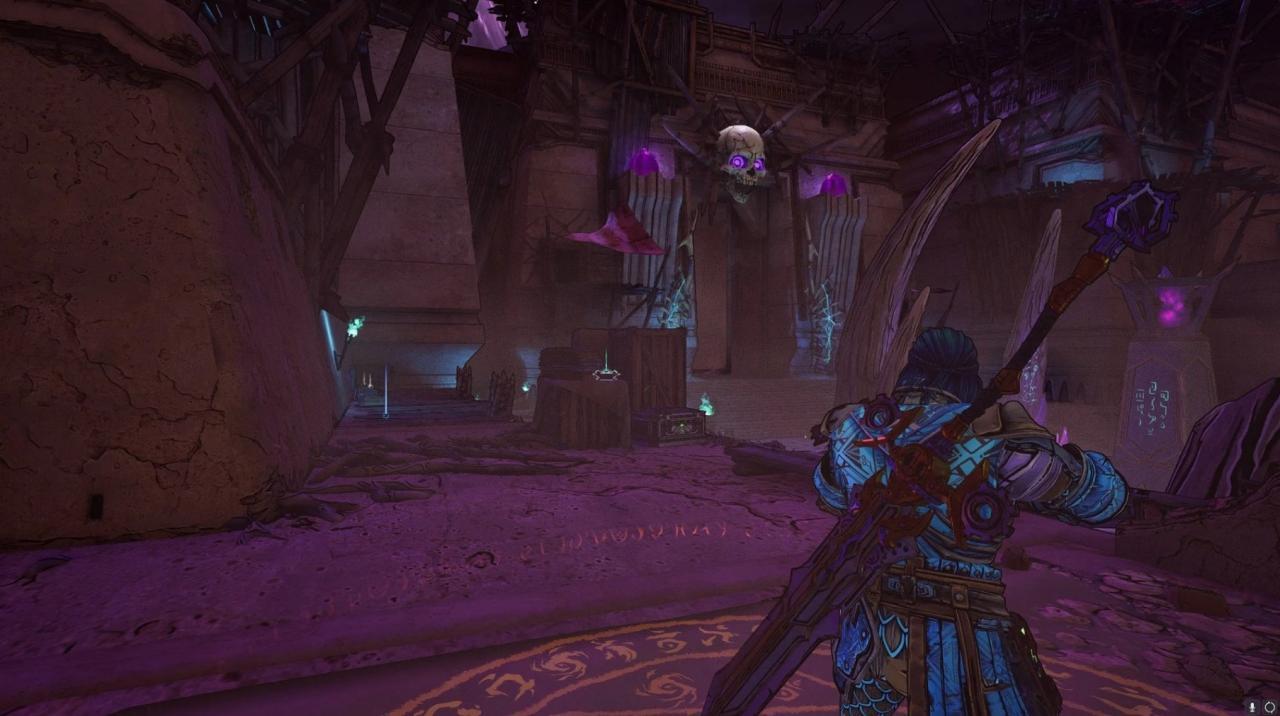
Scrolls are audio files that you can find in different locations in the Wonderlands. They can be found in houses, in the Overworld, on chests, crates, and in the unexplored corners of the maps. Scrolls are blue glowing items and are not hard to find. Once you activate a Scroll, you will hear a short audio clip from a random person that gives some insight into that character or some lore related to the region.
Location of Every Scroll
This guide will be separated by region. If you are looking for a specific region, click one of the links below to get a complete checklist.
Overworld Scroll Locations
Here are the locations of the Scrolls found in the Overworld.
This Scroll is located by the Shrine of Mool Ah. Go past the Shrine down the small slope and go up and around towards the ocean. The Scroll will be by the trees.
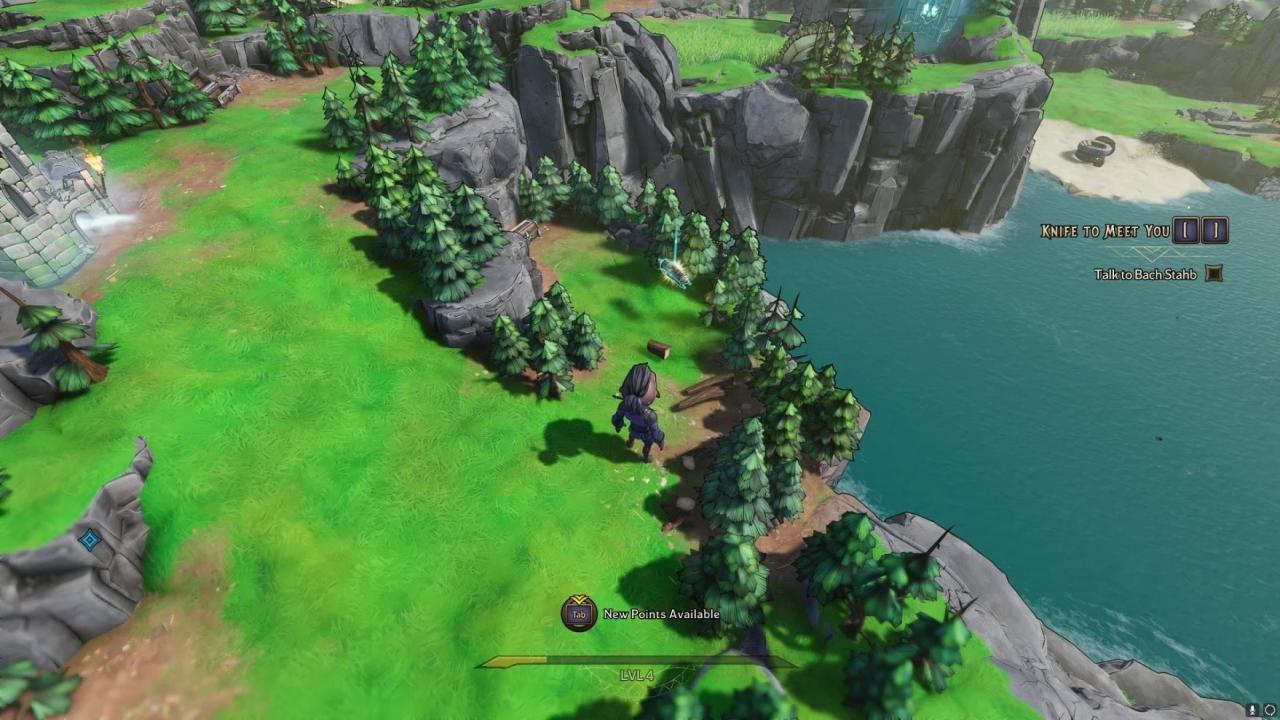
Note: You must have completed Side Quests Working Blueprint and Lens of the Deceiver to gain access to this Scroll.
Once the Rainbow Bridge has been made, cross it and follow the path to the right. Go up the slope and go past Mount Craw. Follow the path until you see the scroll. If you have completed the Lens of the Deceiver, you will see the bridge appear that leads to the scroll.
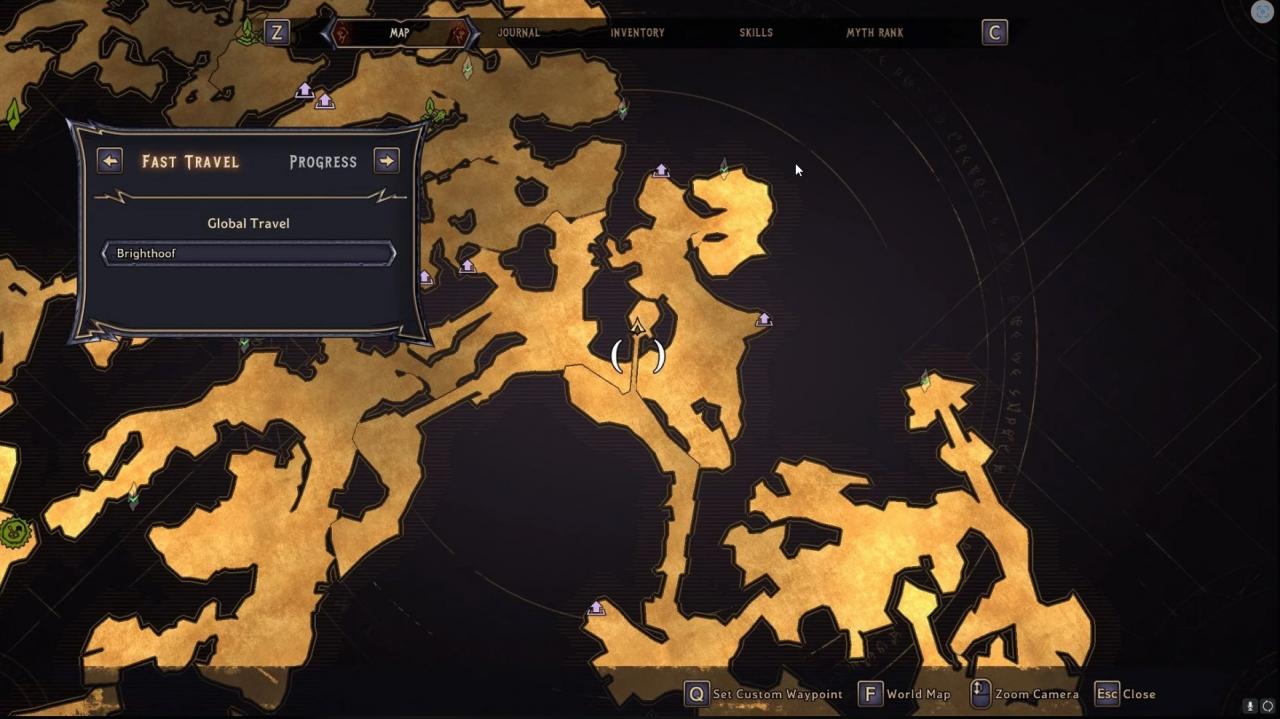
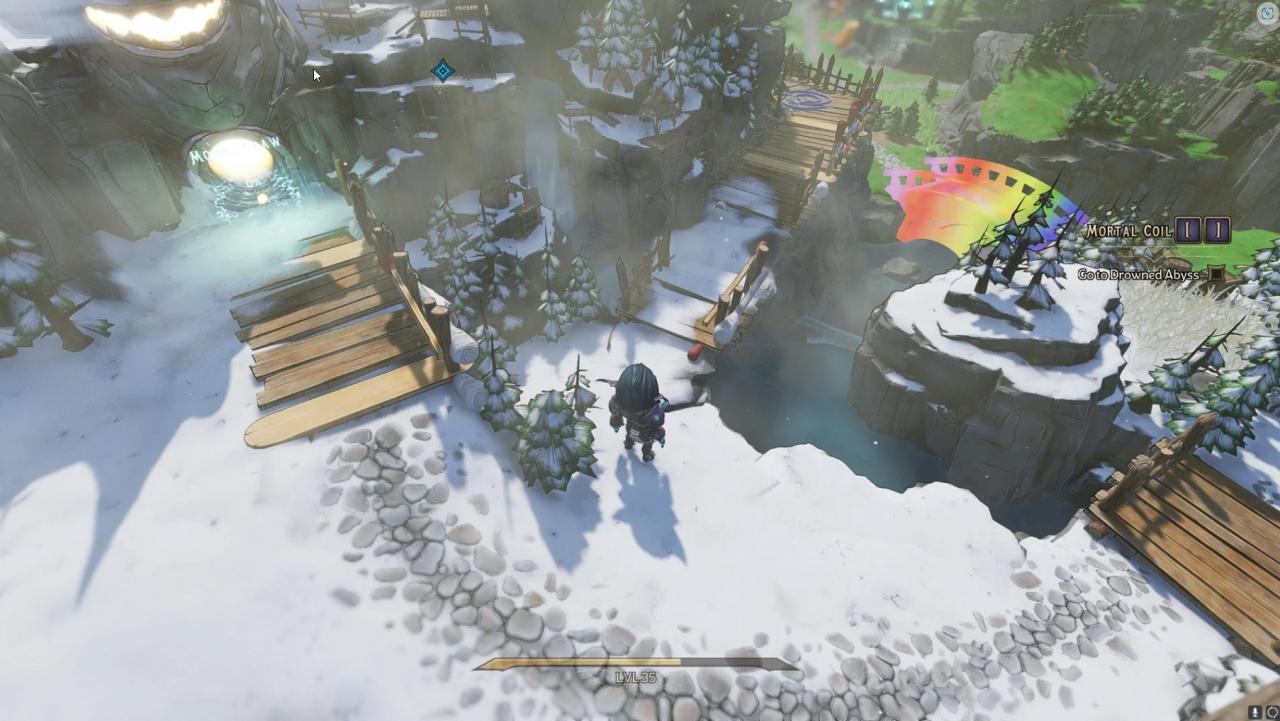
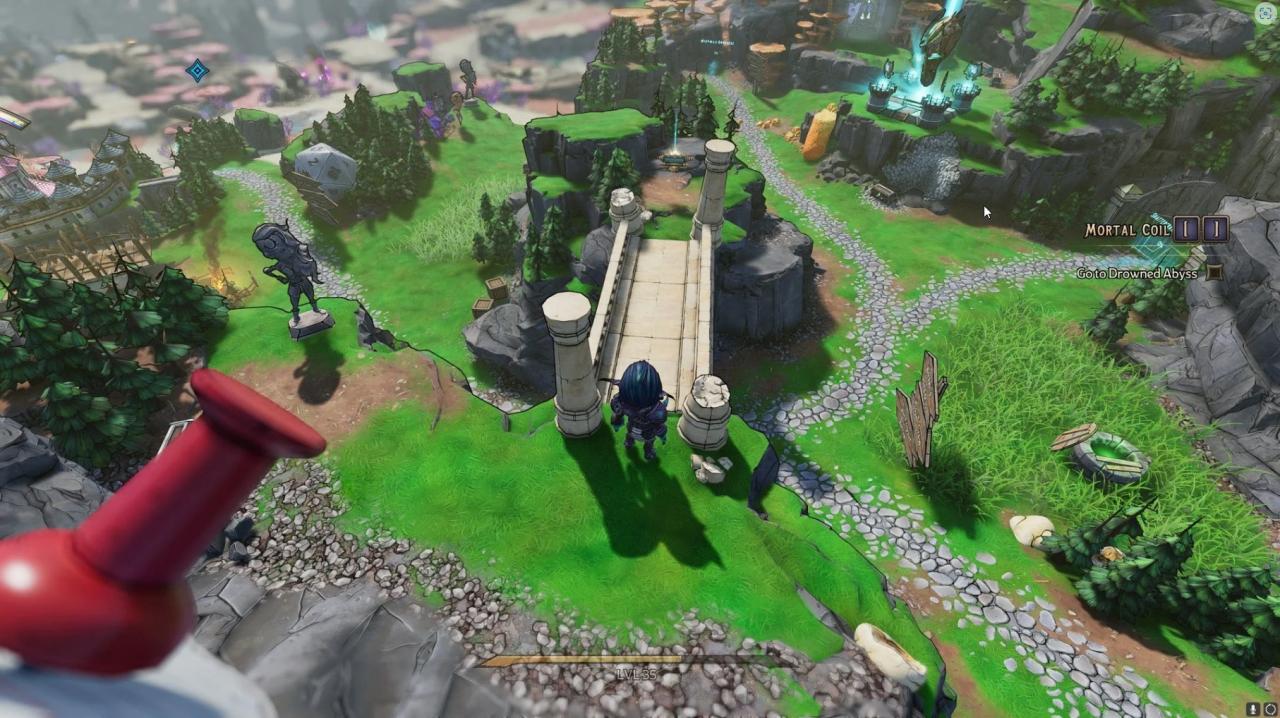
Note: You must have completed the Main Quest Mortal Coil to gain access to this Scroll.
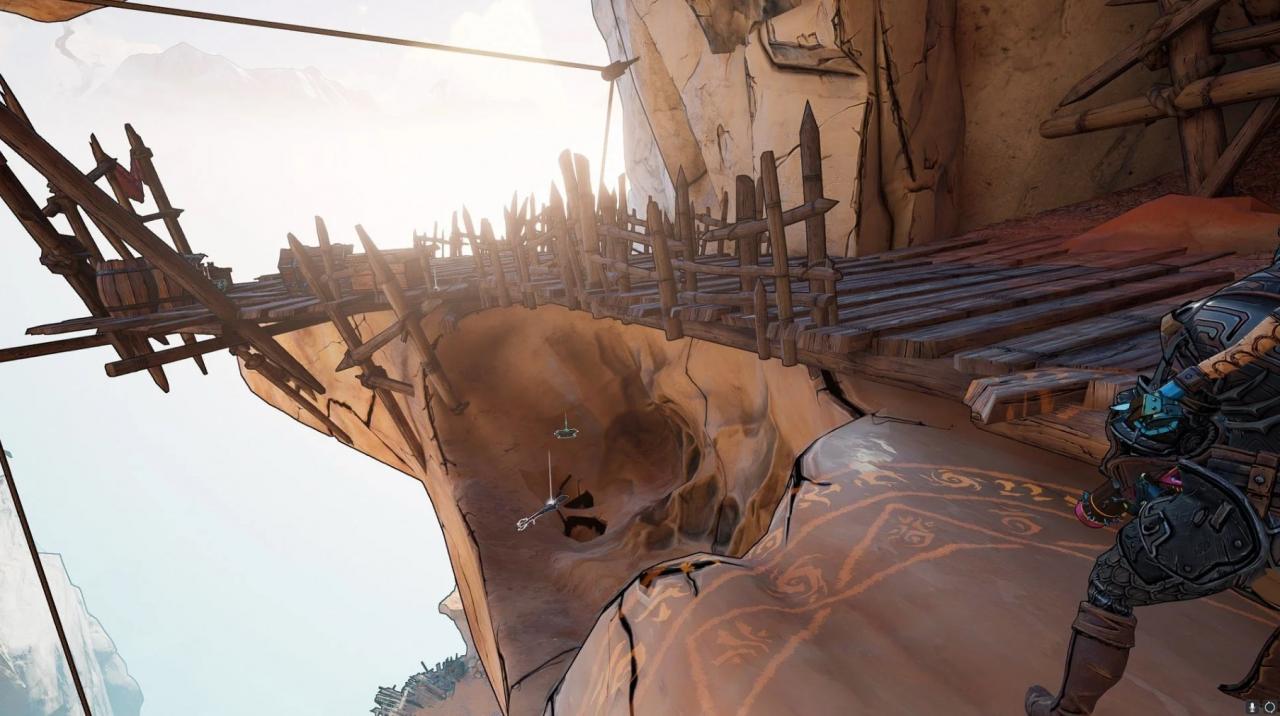
When you have completed Mortal Coil, exit the Godswell and go left. Follow the path towards Karnok’s Wall and go past it. Take the path on the left until you see a wind launcher. Go to the wind launcher and it will shoot you over the gap to the cliff above. There you will find the scroll and a Bottlecap Shortcut leading to Crackmnast Cove.
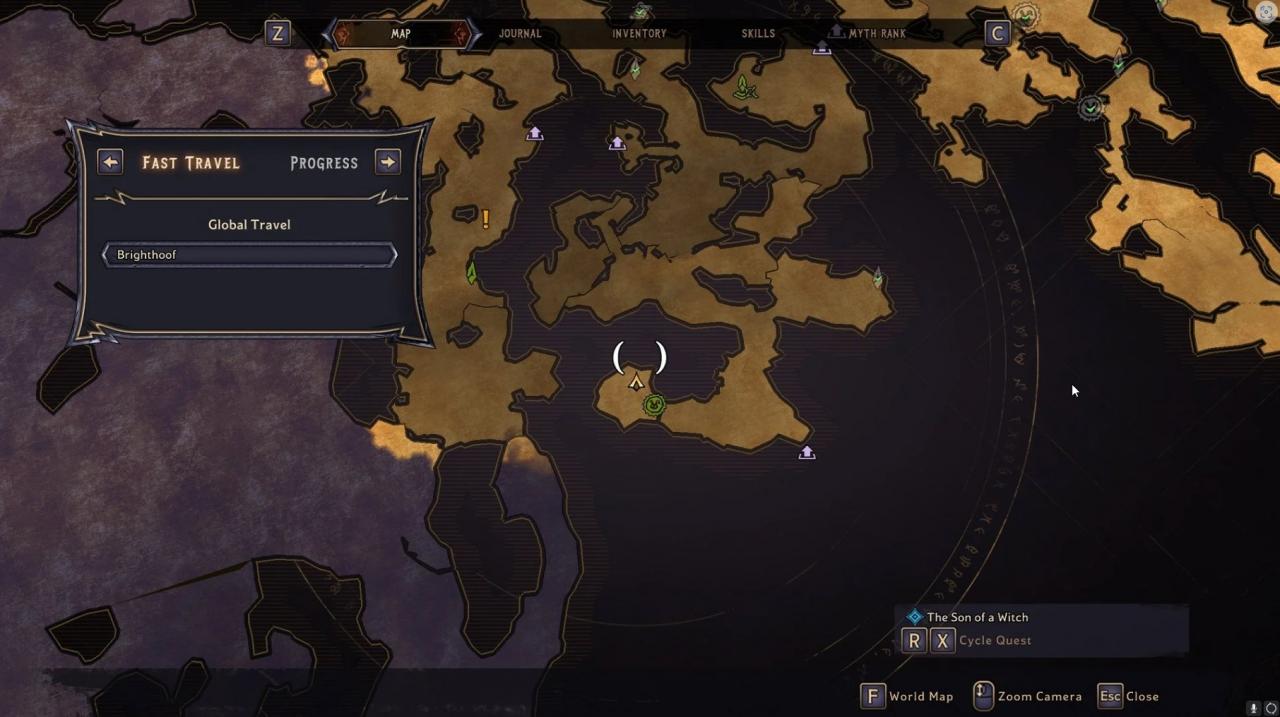
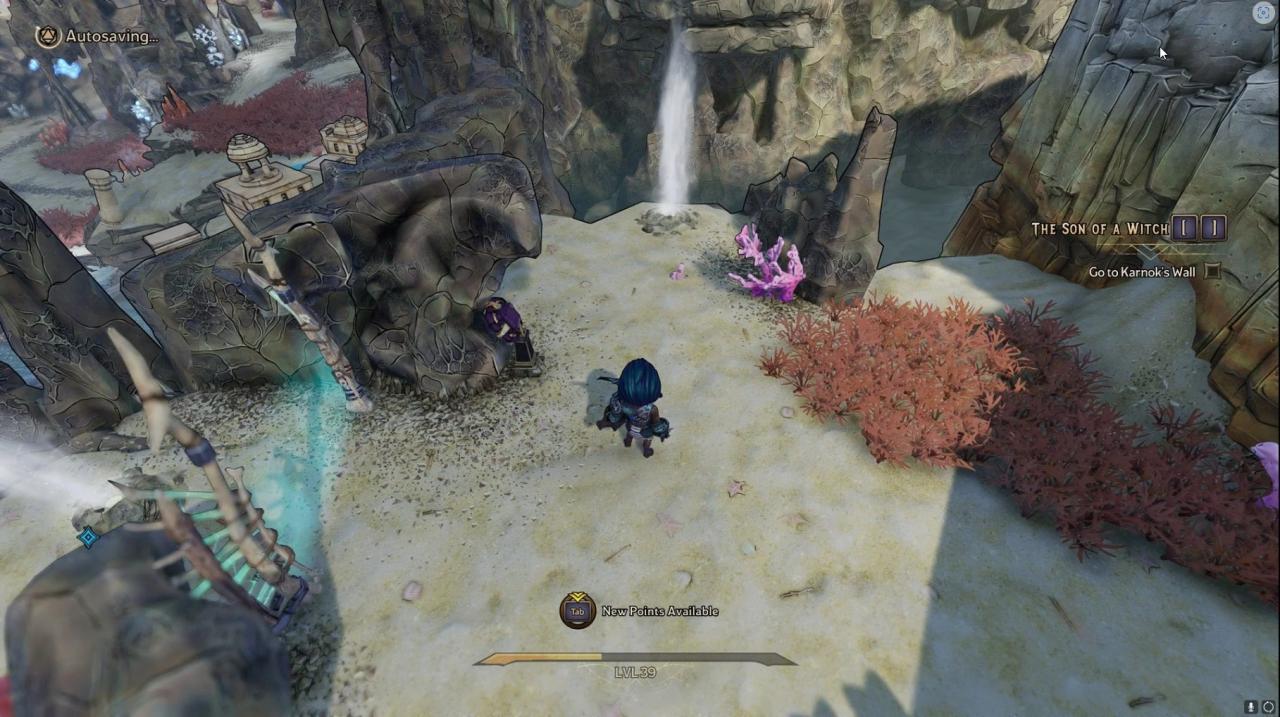
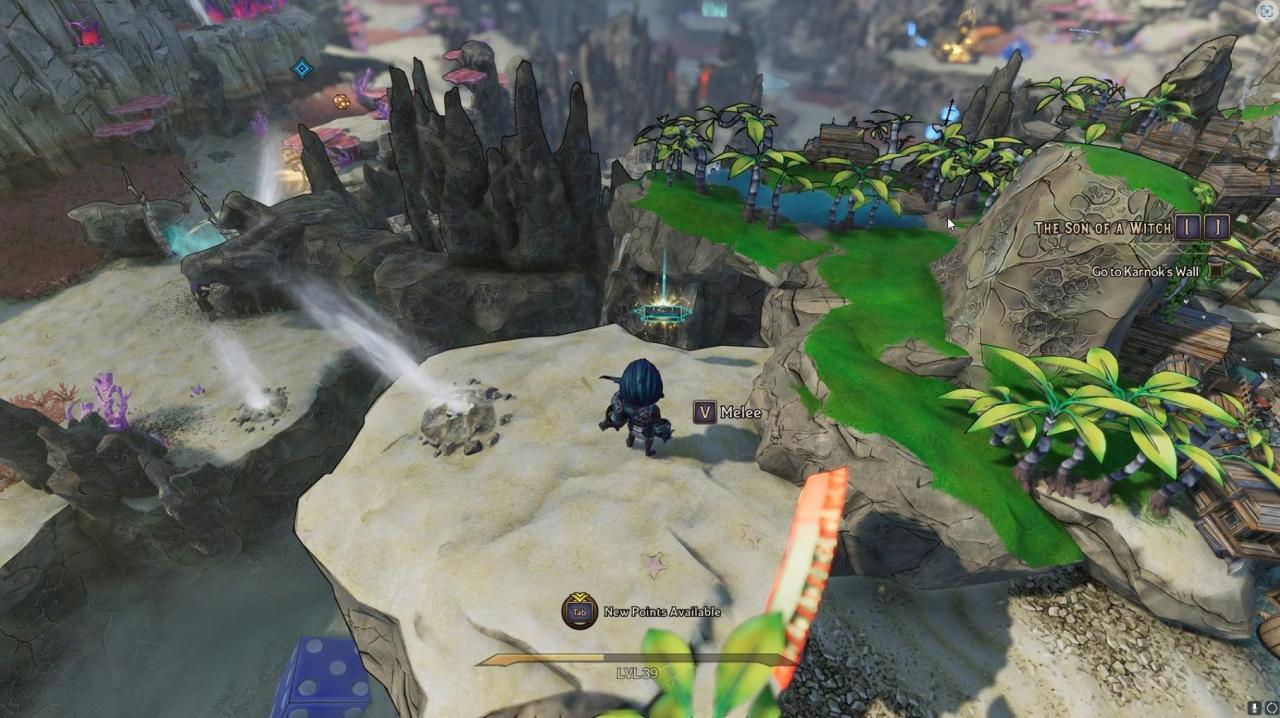
Note: You must have completed the Main Quest The Son of a Witch to gain access to this scroll.
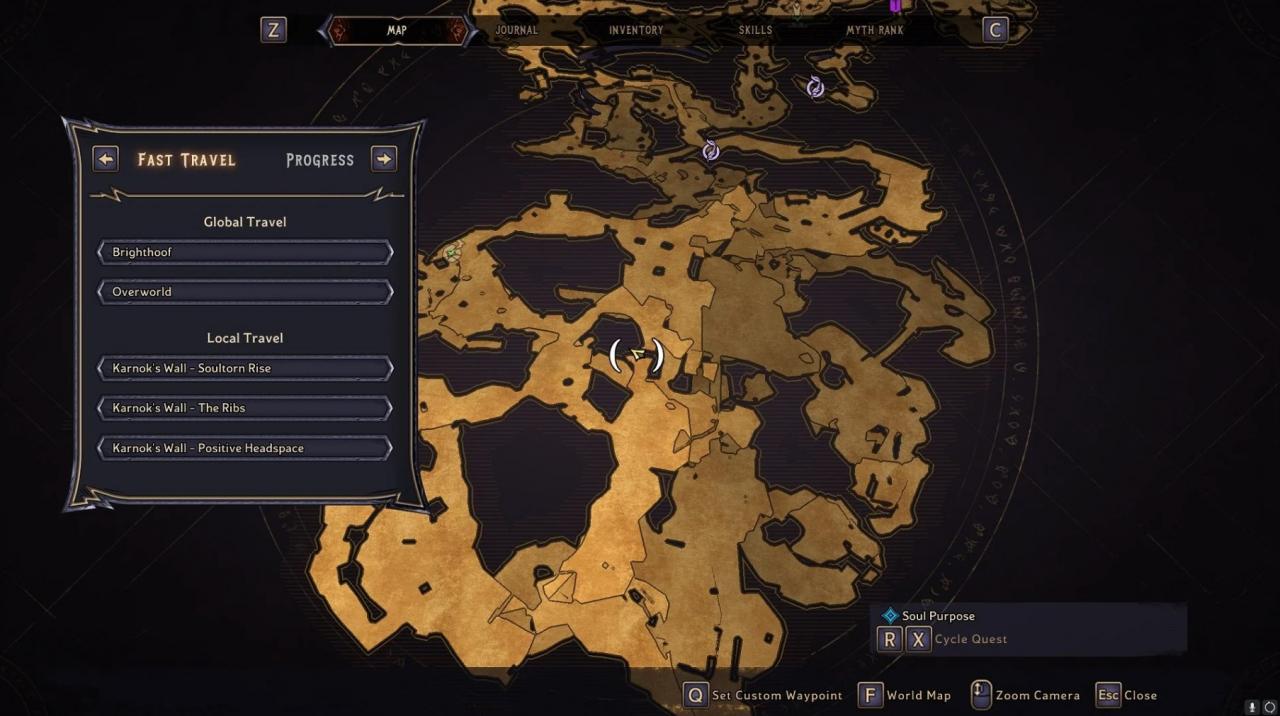
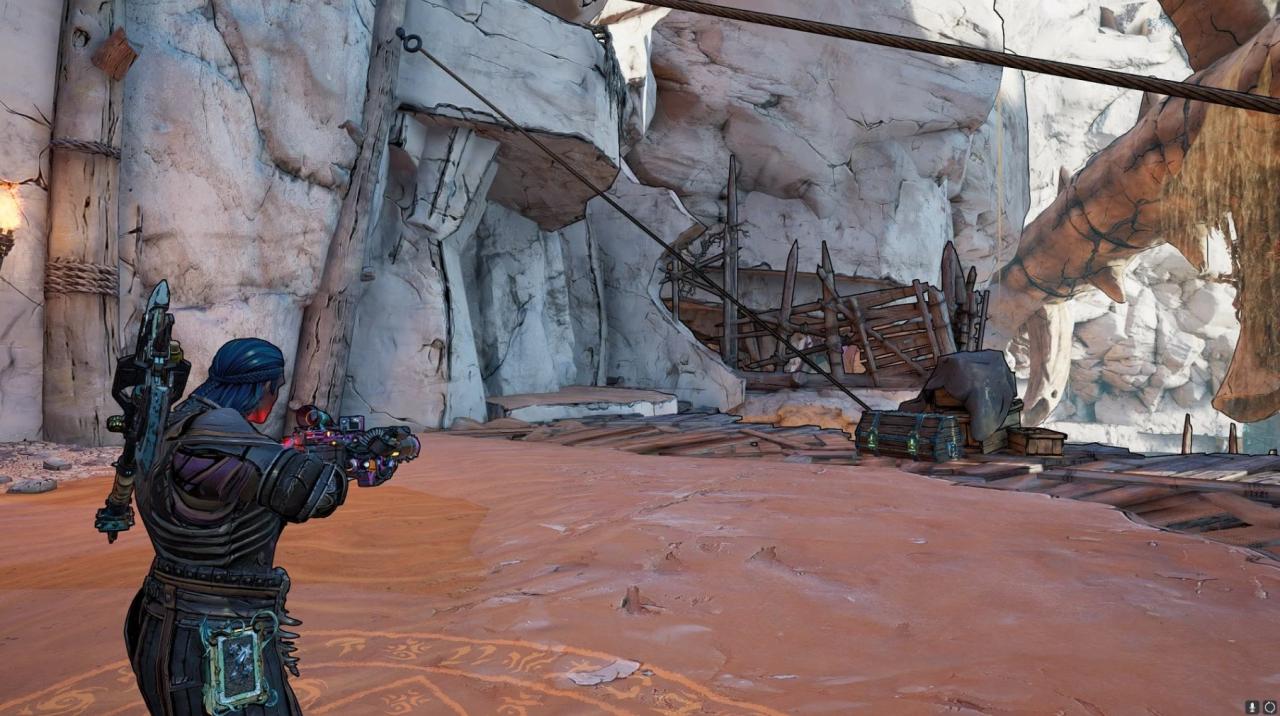
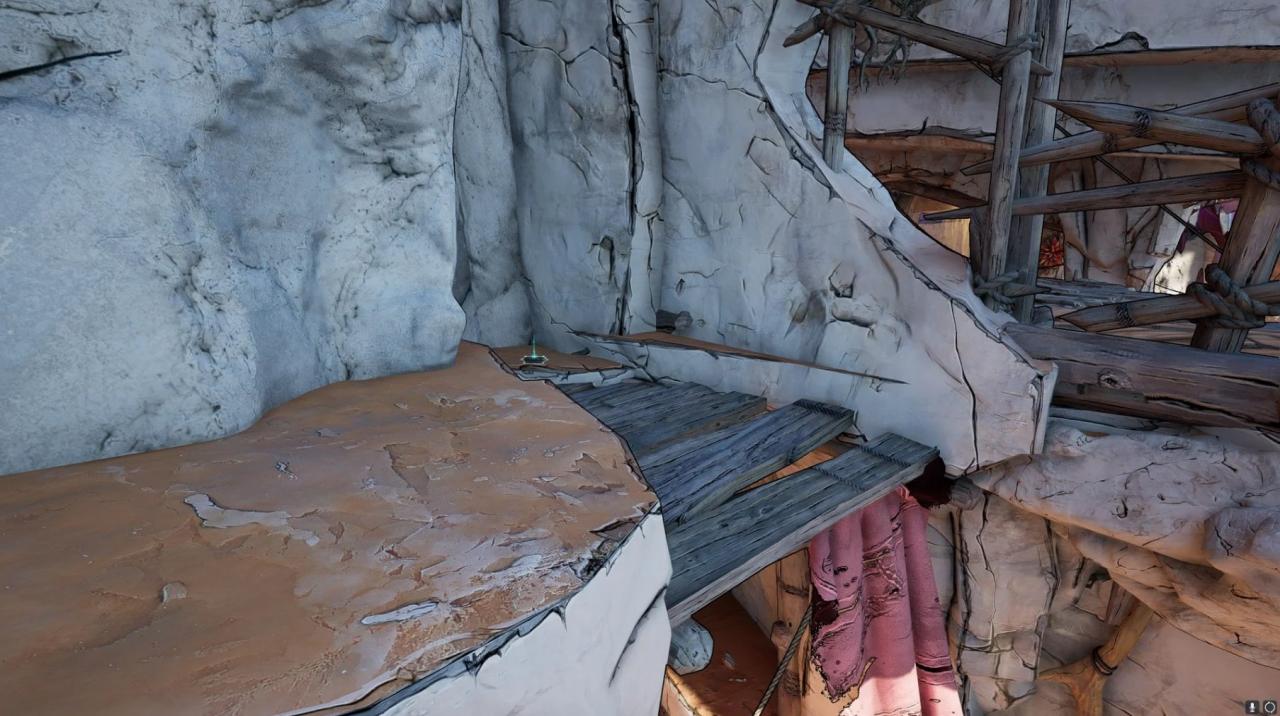
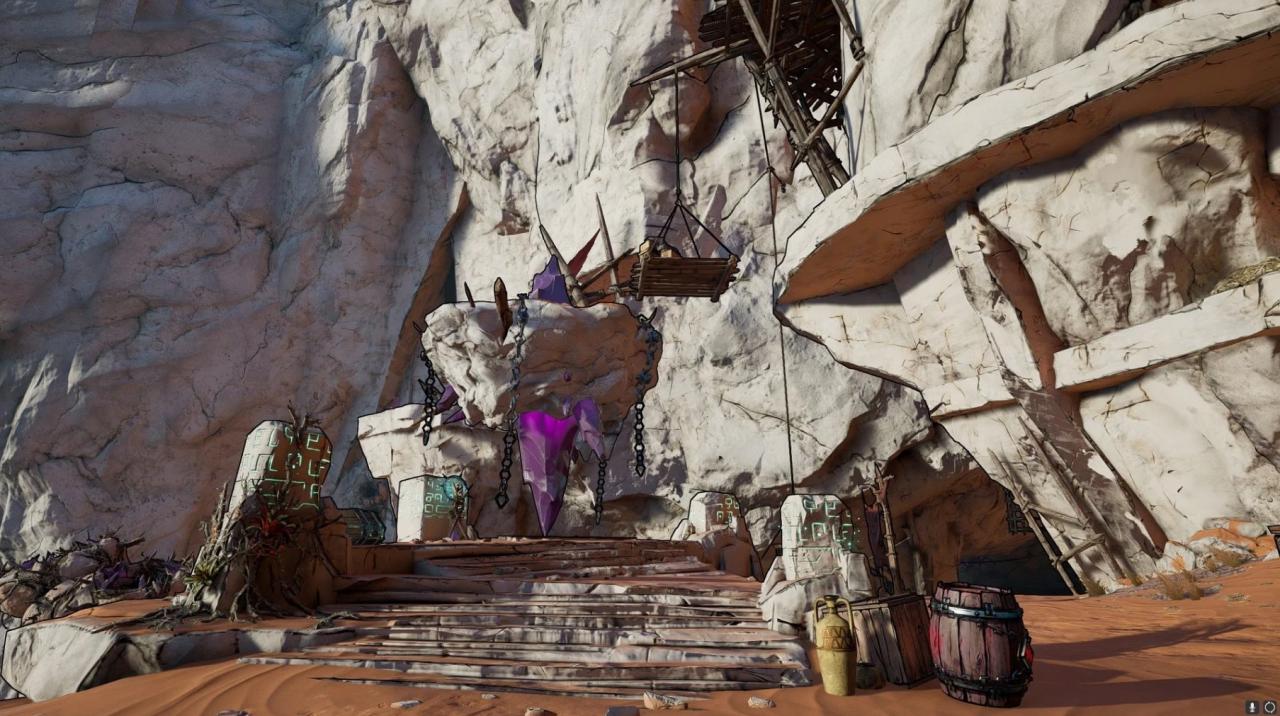
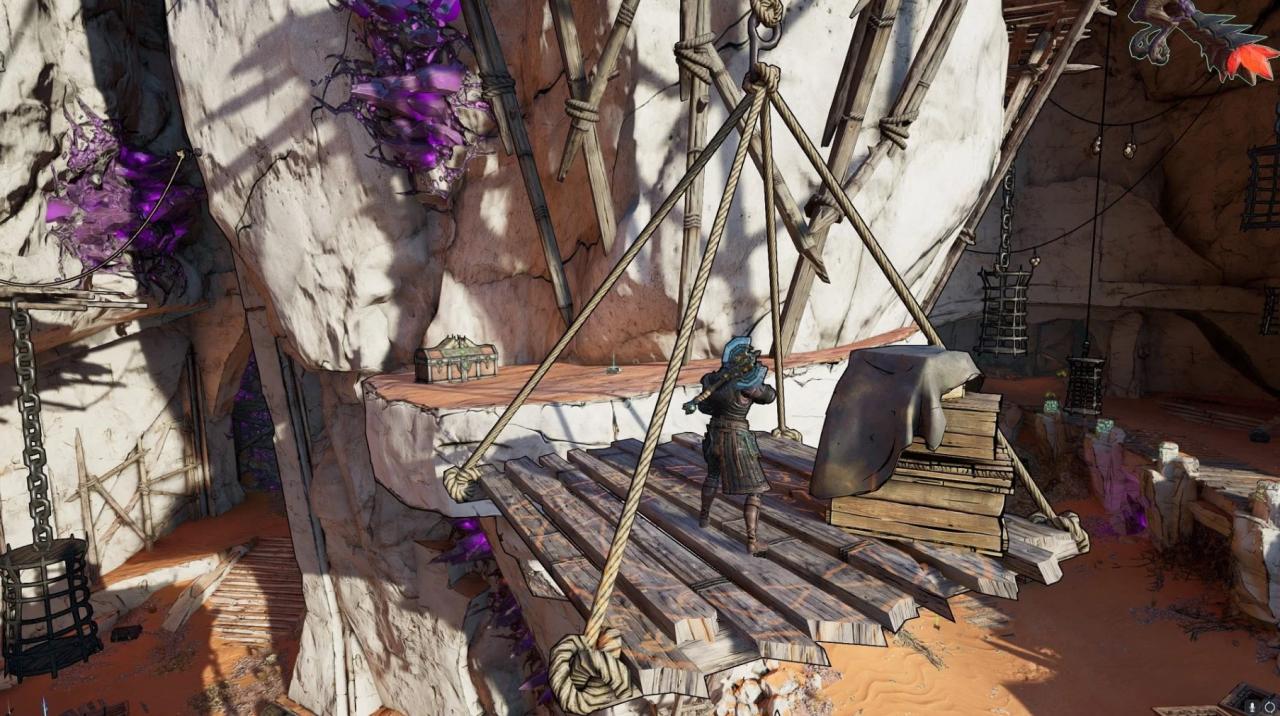
In the Parched Wastes outside of Karnok’s Wall, exit Karnok’s Wall and go right. The scroll will be on the ledge.
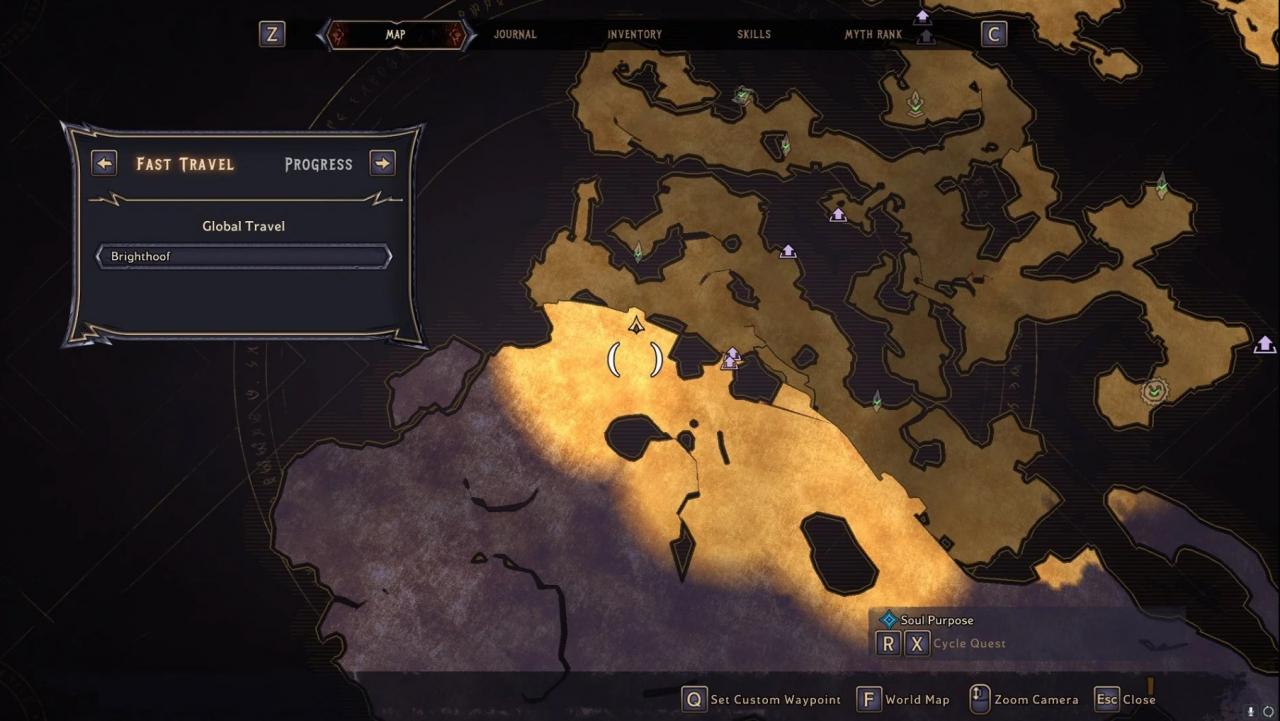
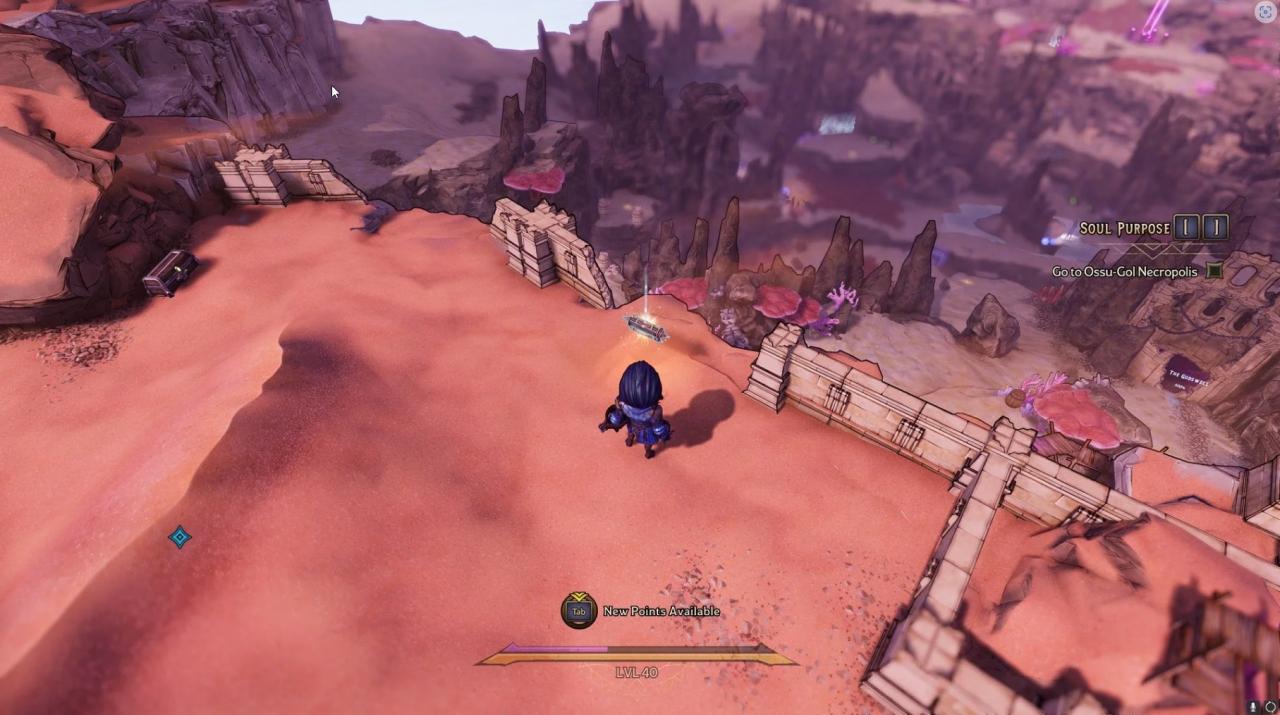
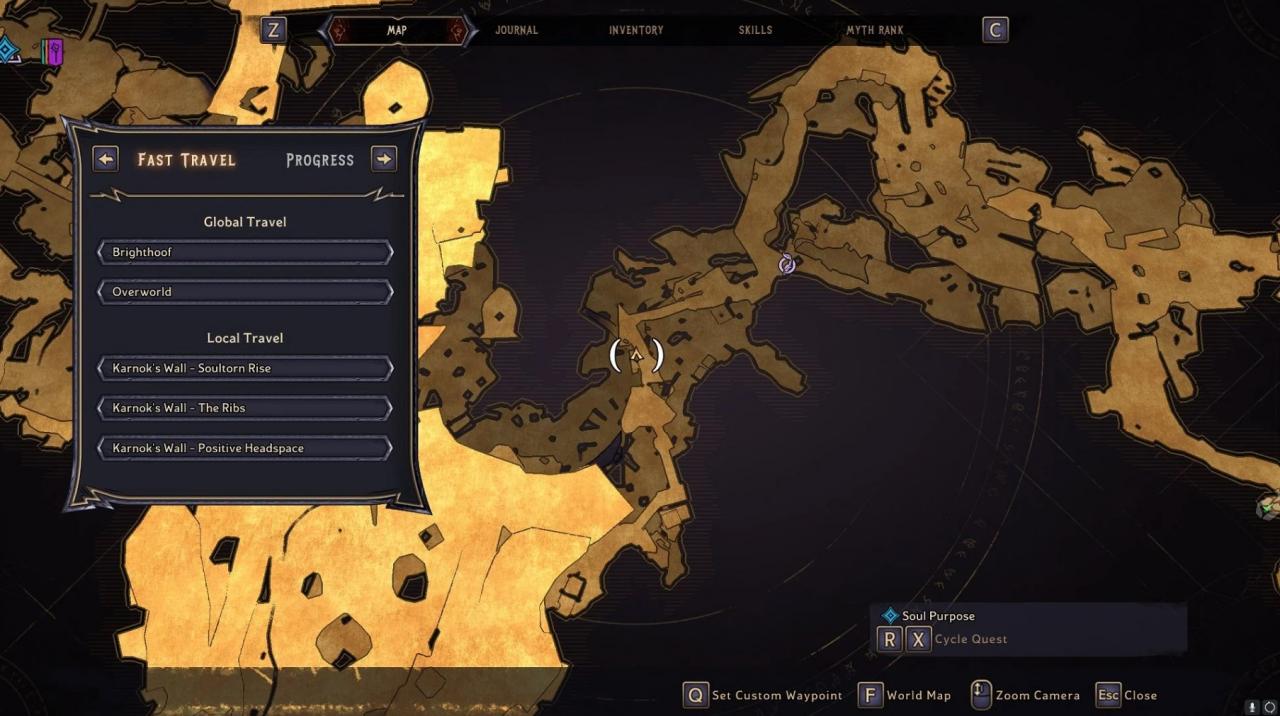
In the Parched Wastes, go left from the Karnok’s Wall exit and keep going until you reach the end of the map. The scroll will be at the edge facing the large books.
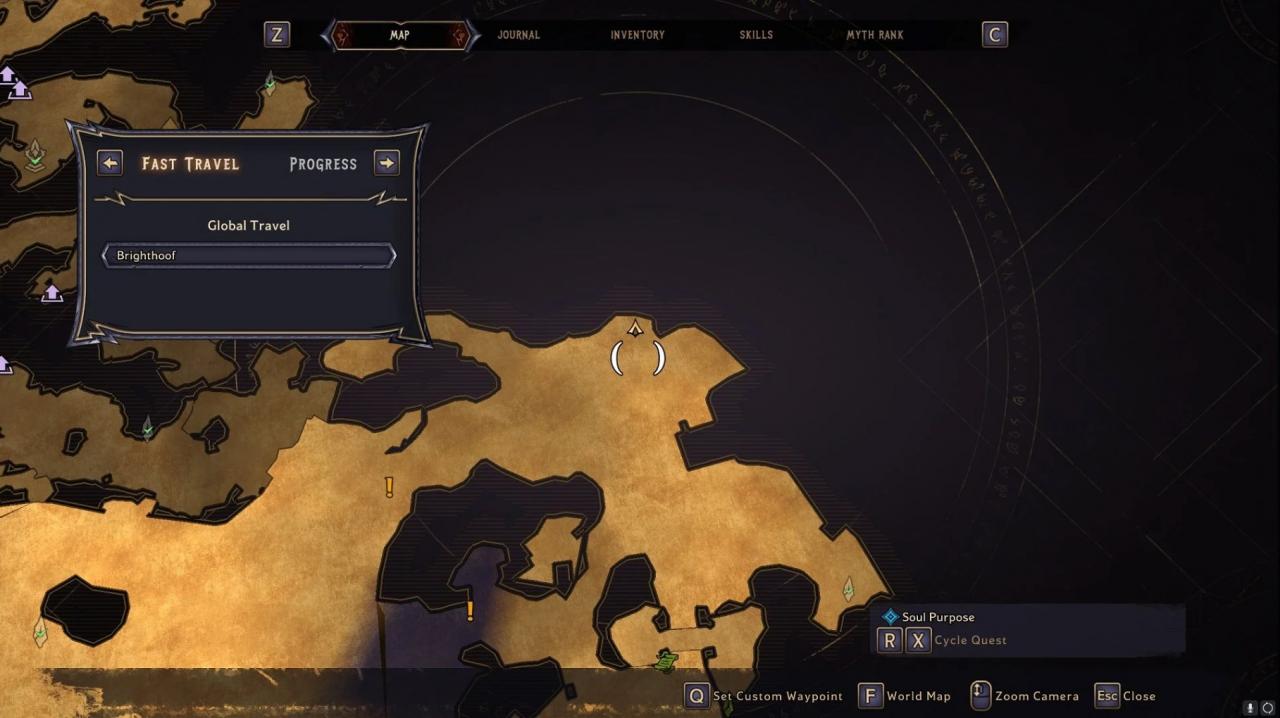
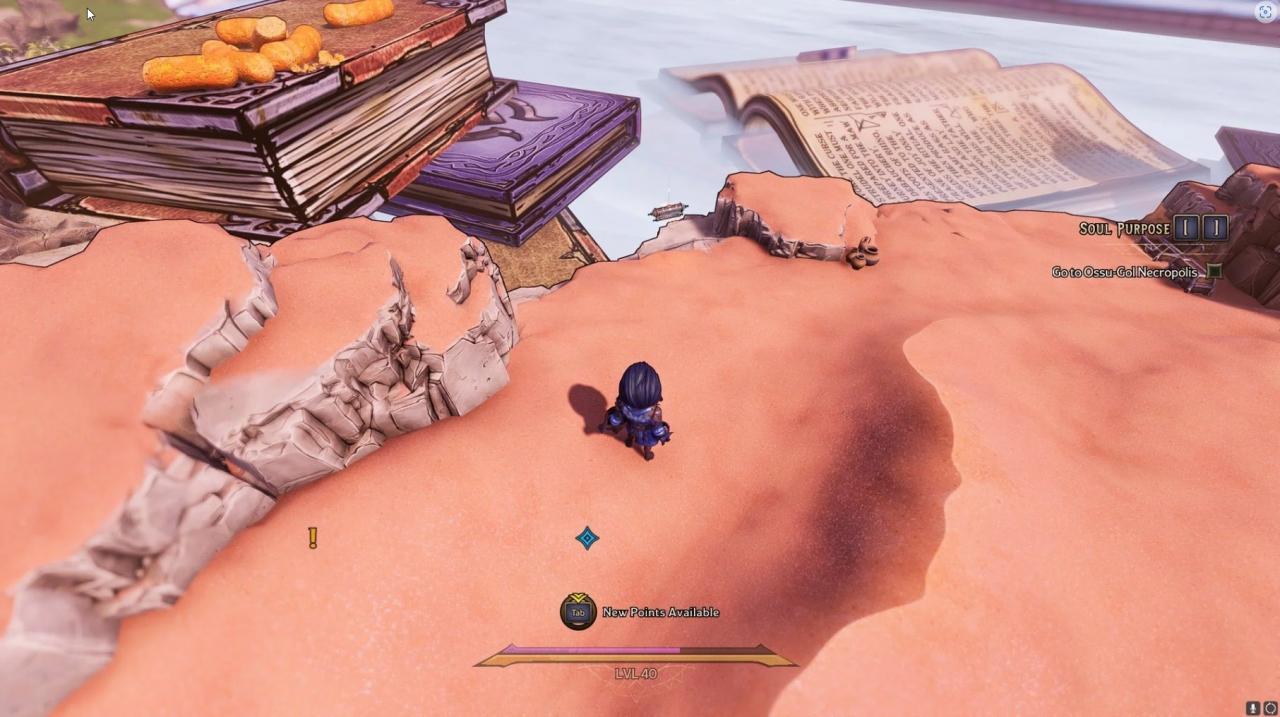
Note: You must complete the Side Quest Pocket Sandstorm to gain access to this scroll.
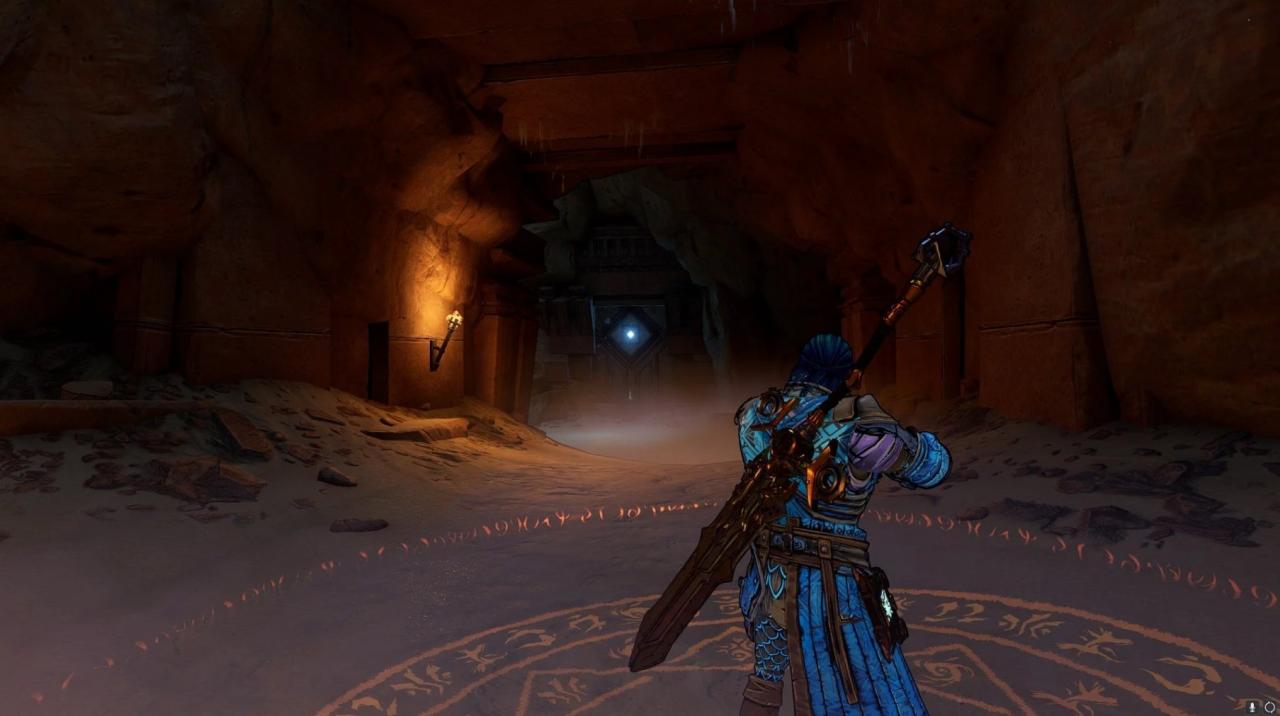
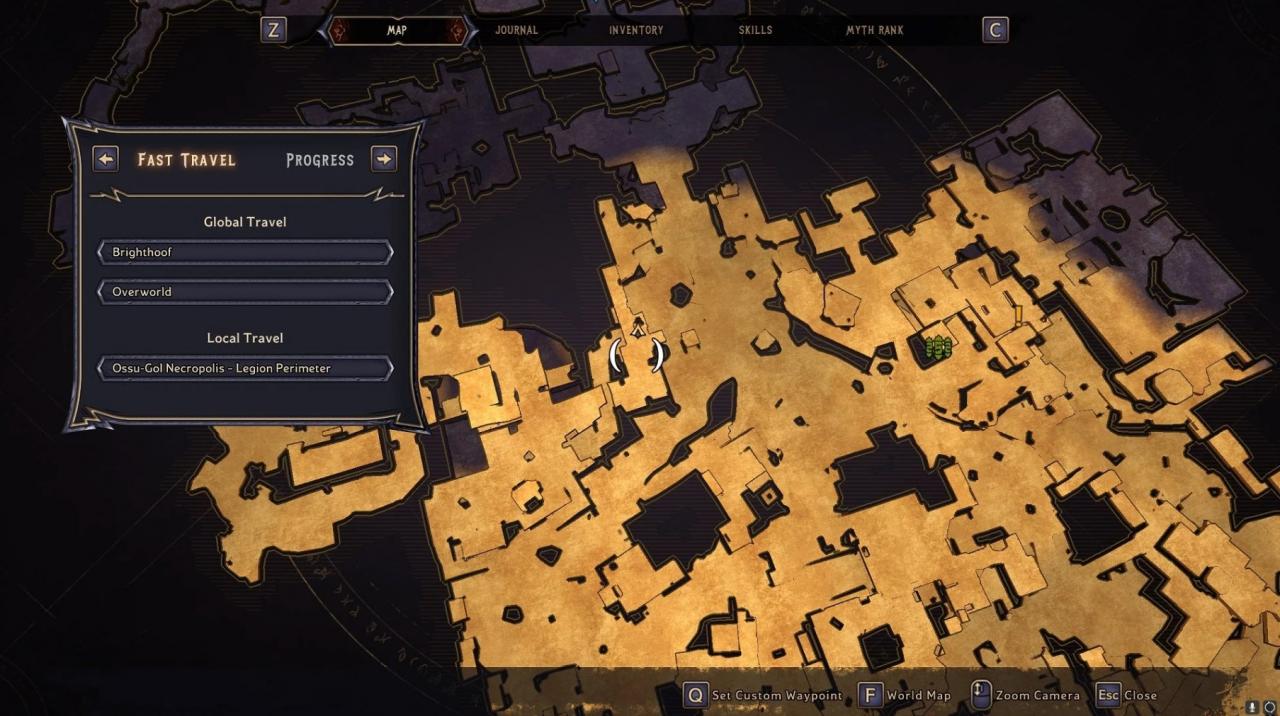
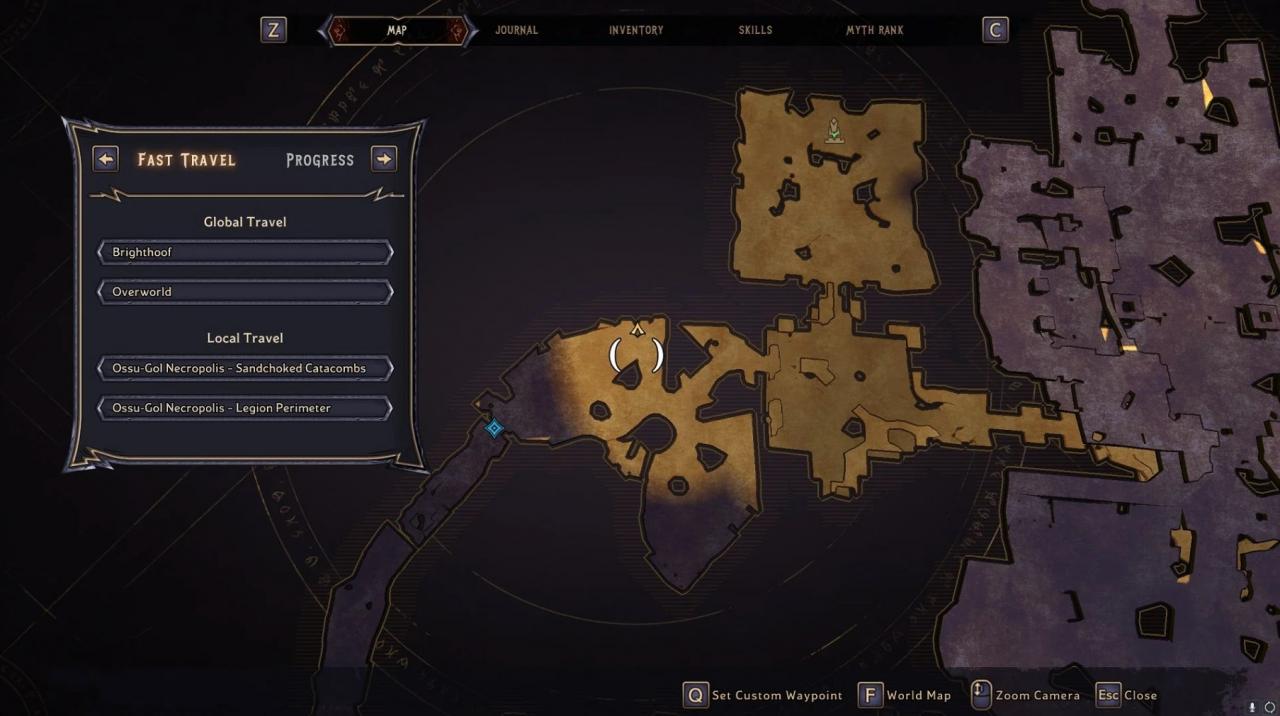
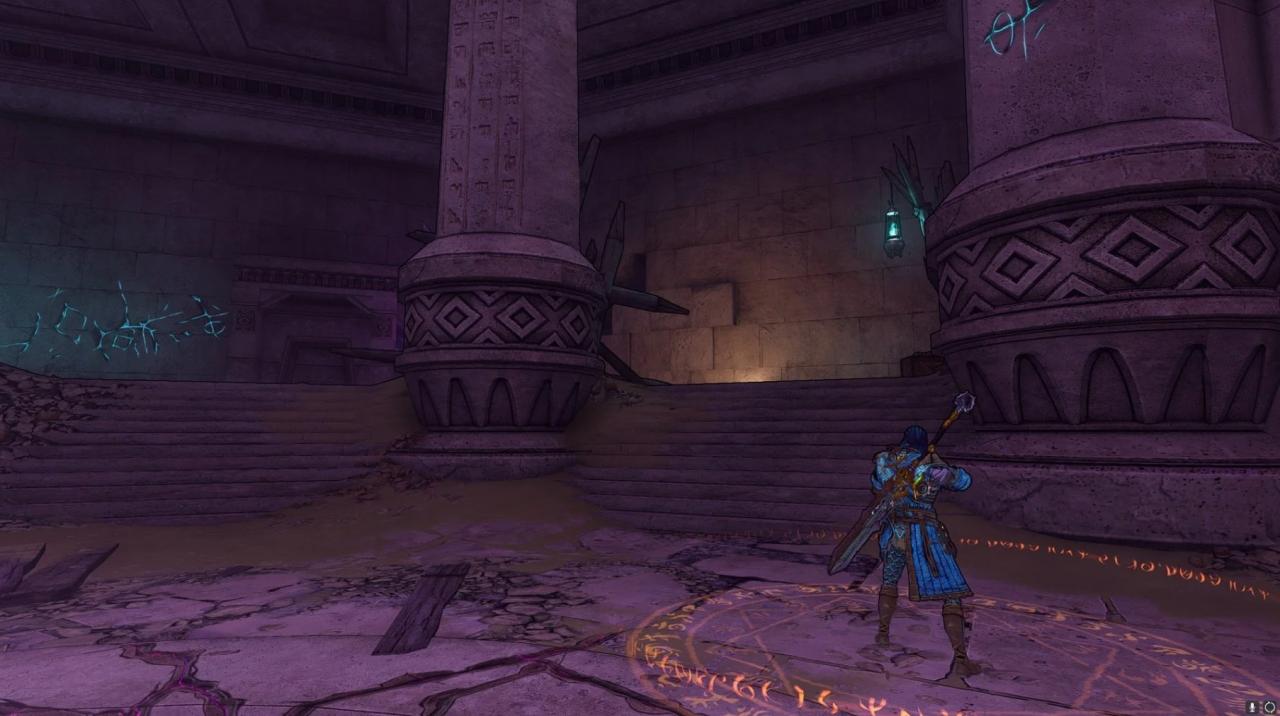
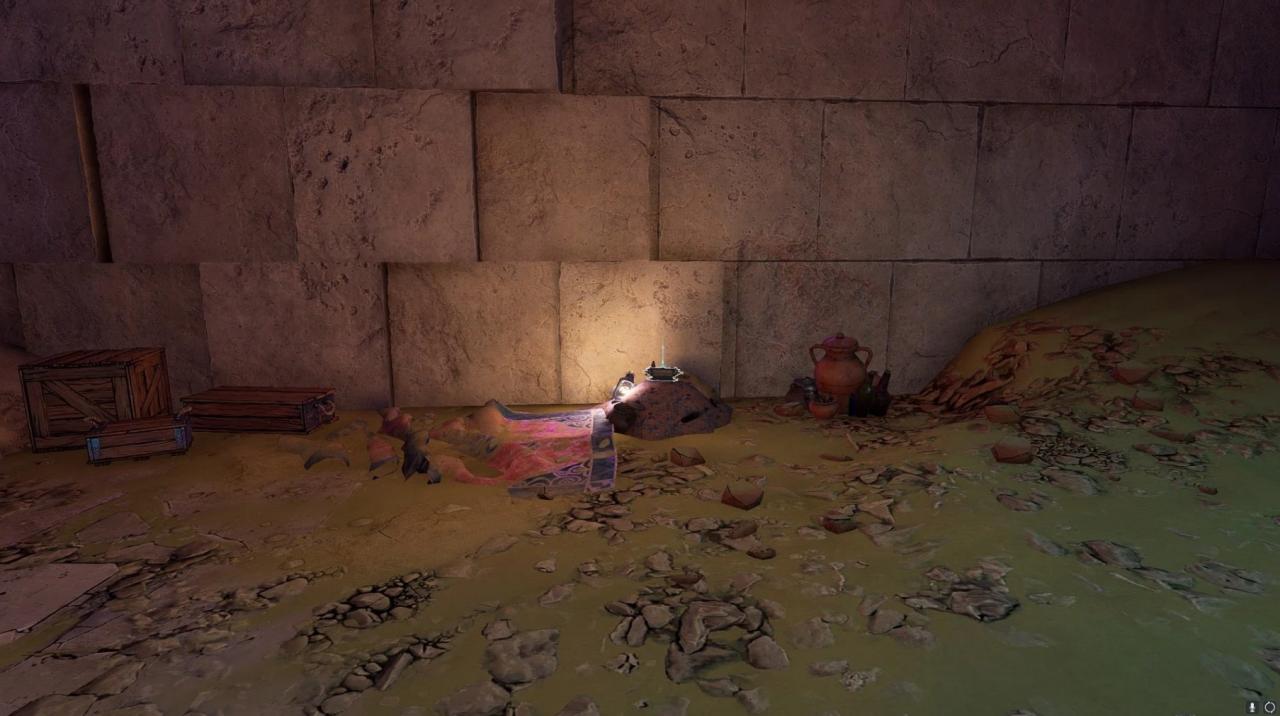
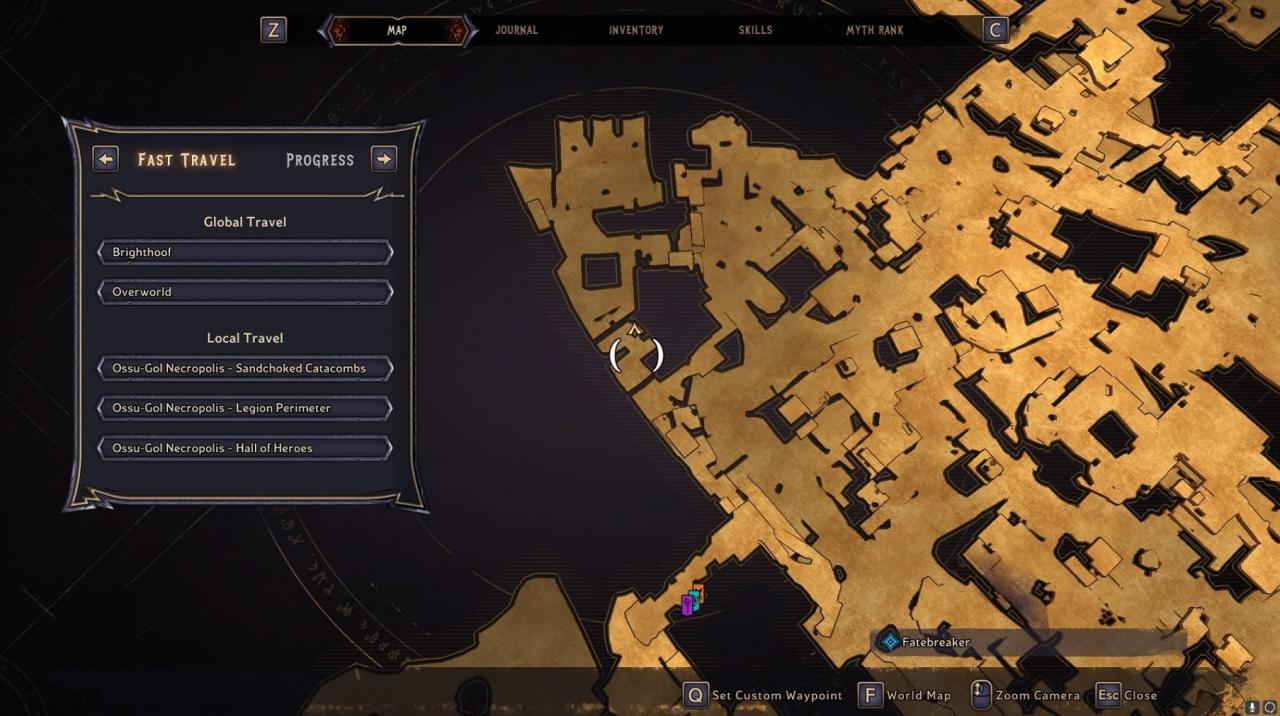
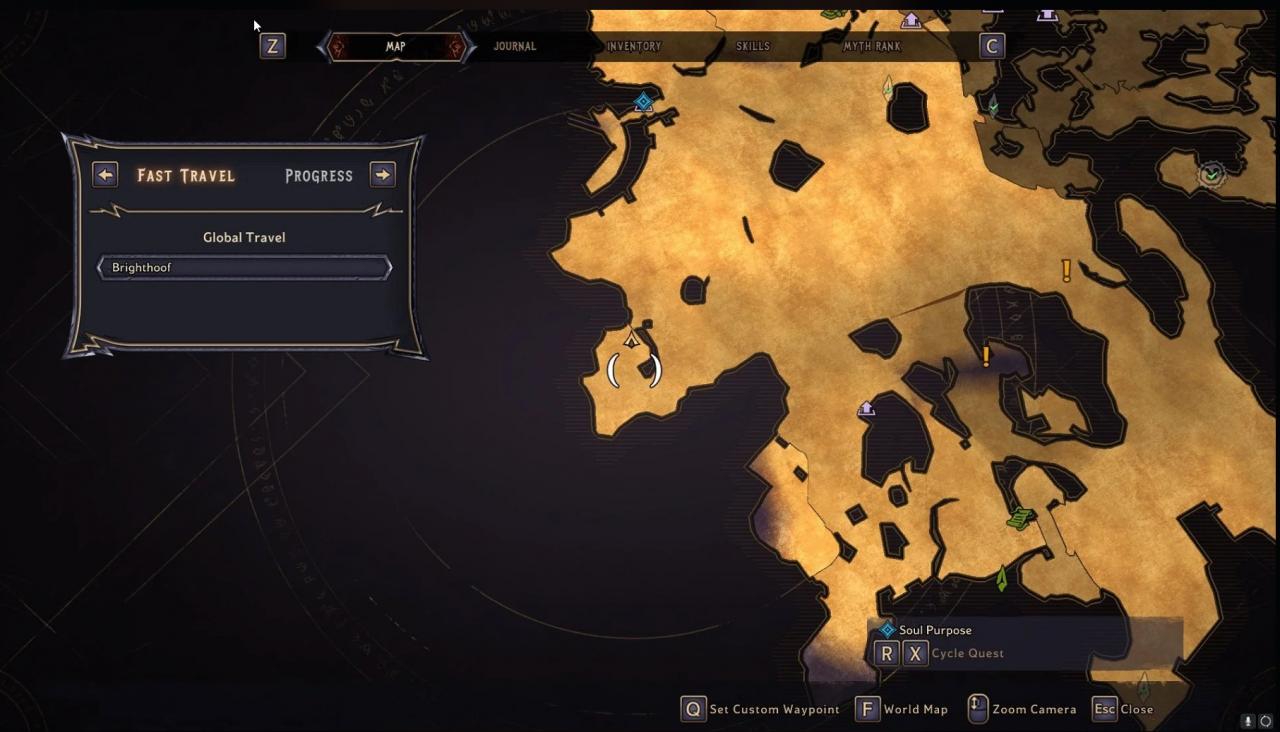
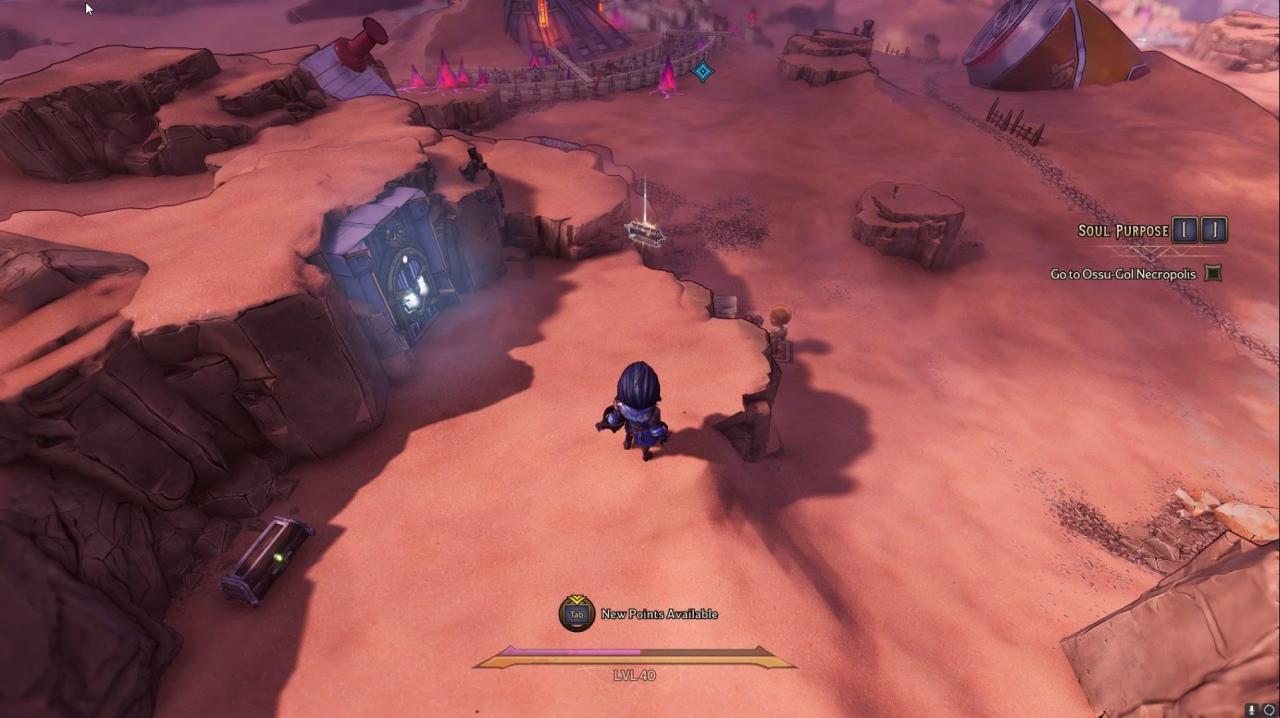
This scroll is located In the Parched Wastes near the entrance to Ossu-Gol Necropolis. Once you have completed Pocket Sandstorm, the way to the scroll will be clear.
Snoring Valley Scroll Locations
Here are the locations of the Scrolls found in Snoring Valley.
When you enter Nothinghappenshereshire, go into the first house on the left. The Scroll will be on the table to the left.
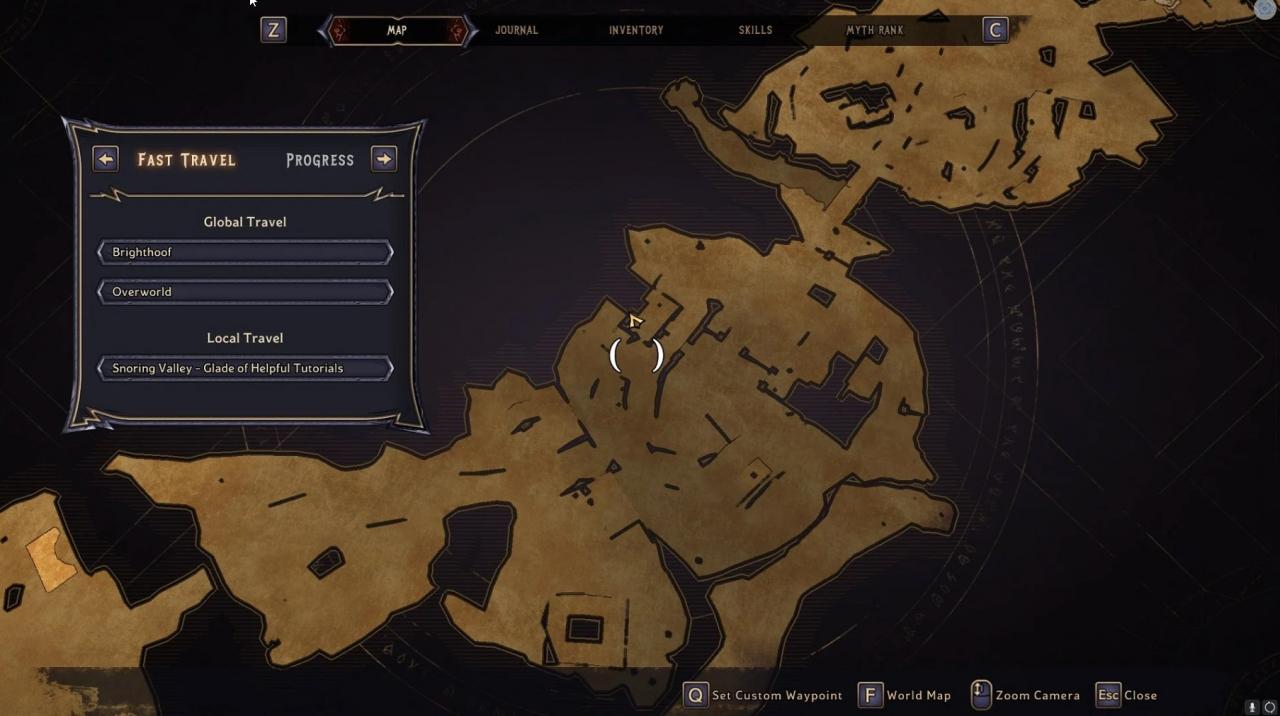
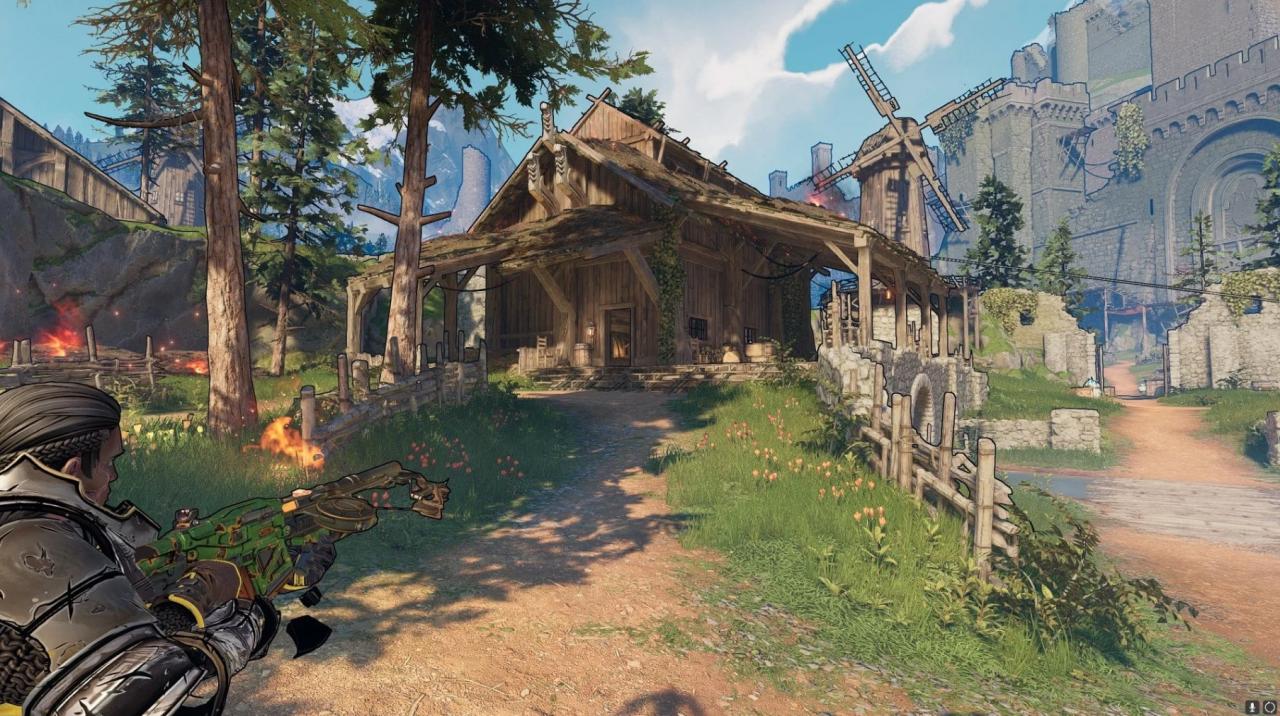
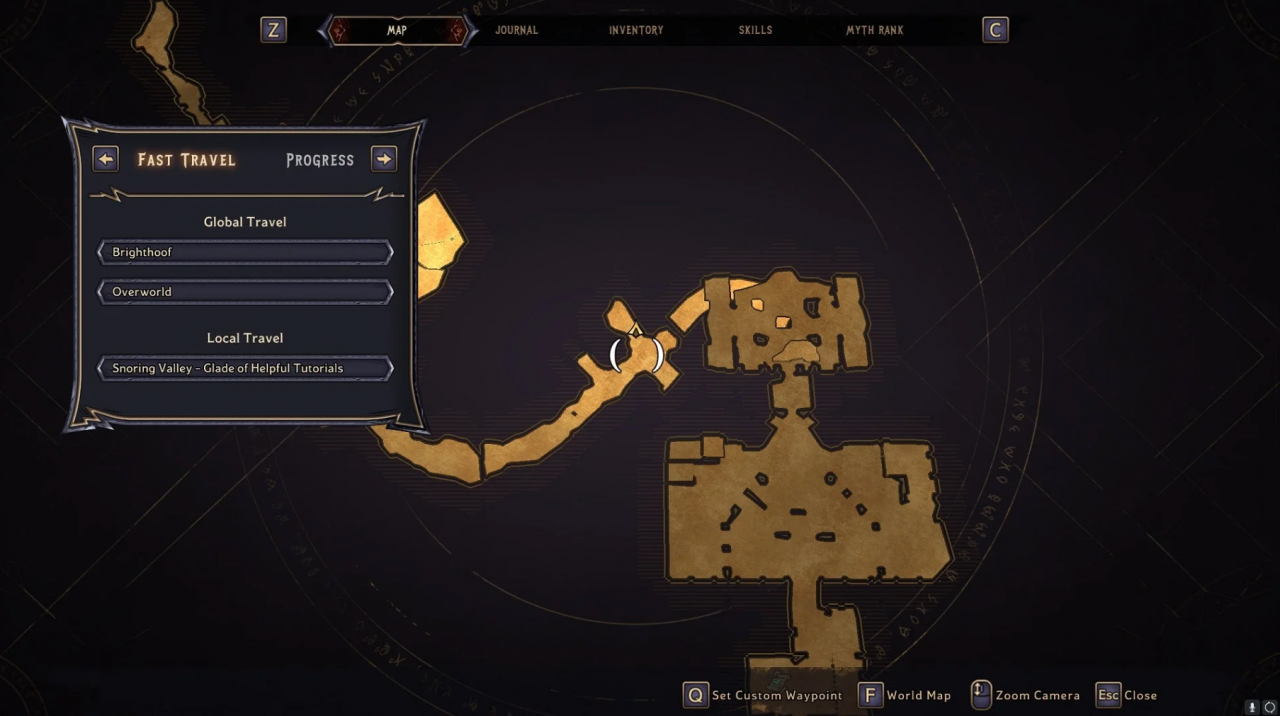
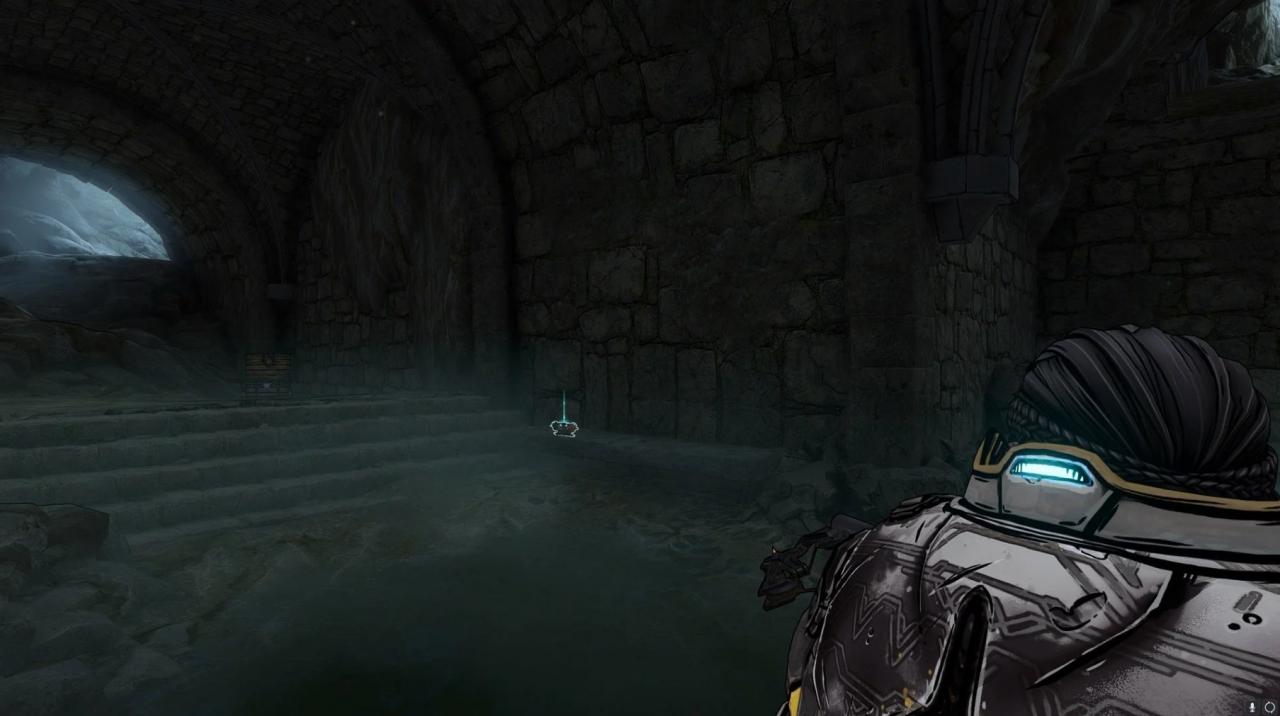
This scroll can be found in the Dusty Crypt underneath Castle Harrowfast. Once you enter the Crypt, turn right and the scroll will be on a stone slab.
Queen’s Gate Scroll Locations
Here are the locations of the Scrolls found in Queen’s Gate.
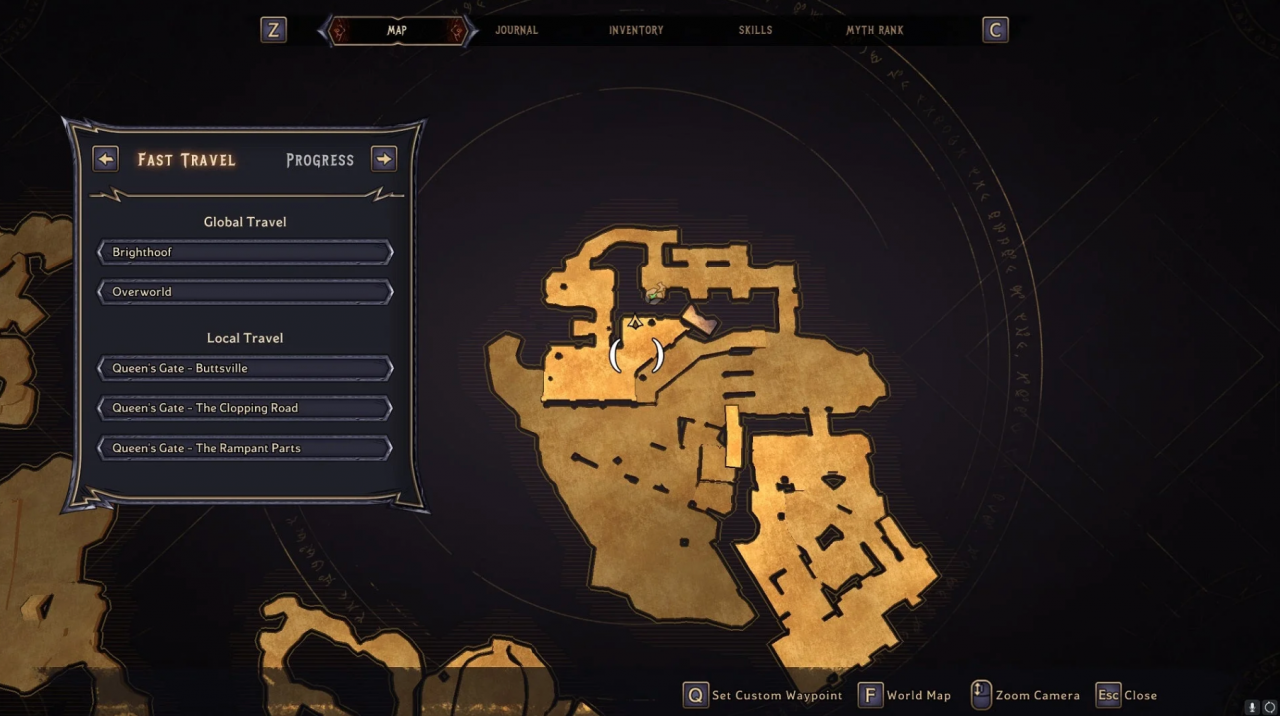
Go through the Buttsville second gate (from the catapult) and go down the main path. At the crossroads, go left and head to the gate at the far end. There is a house on the left of the road by the gate. The scrolls will be on the table to the left when you enter.
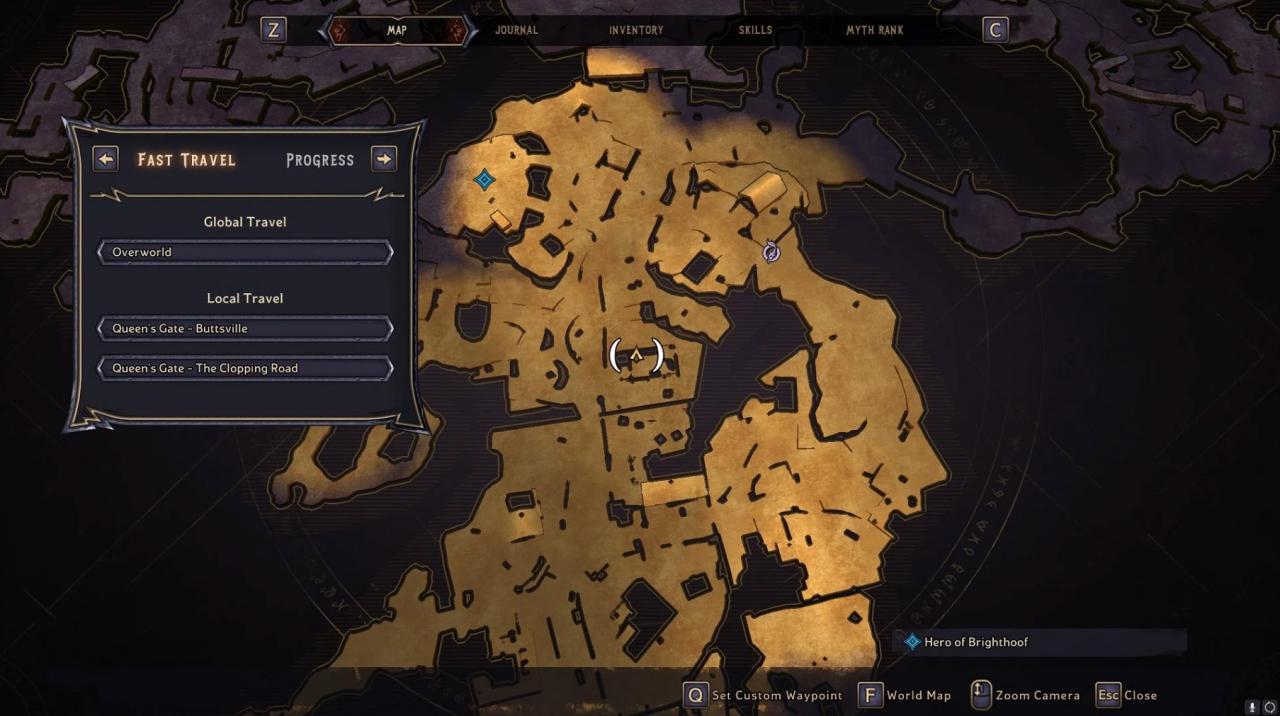
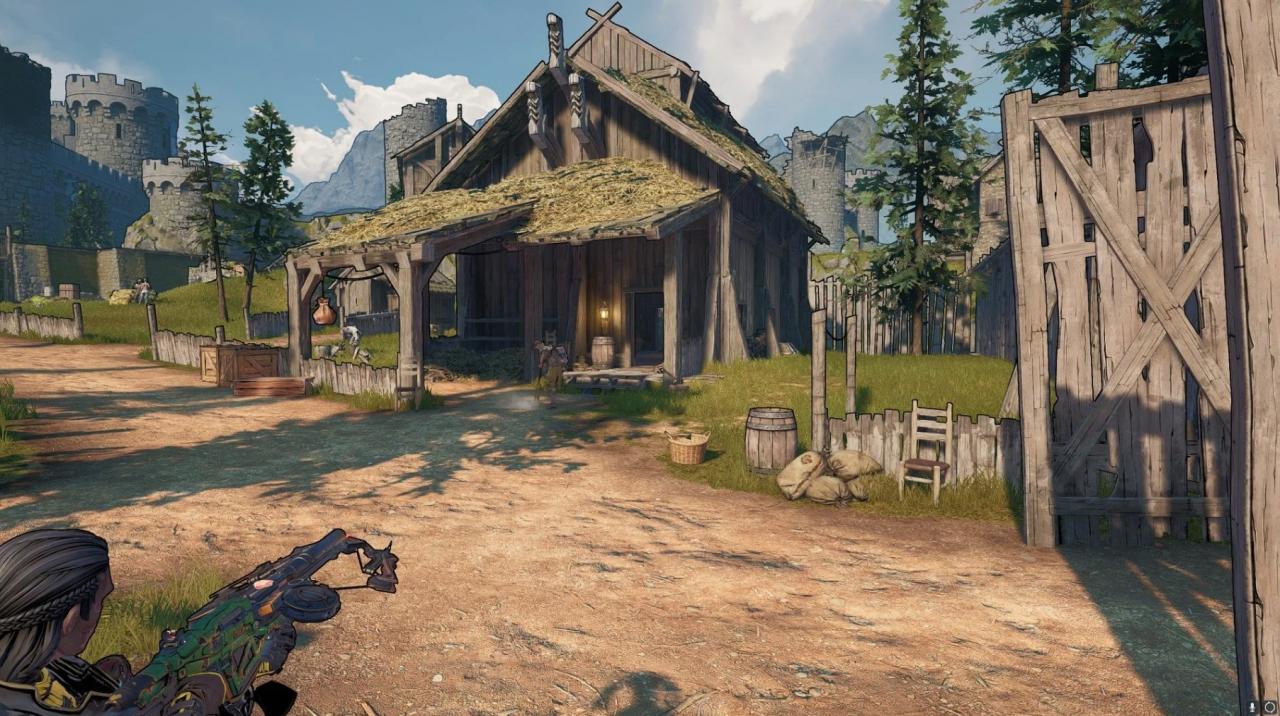
Go through the Buttsville second gate (from the catapult) and follow the path to the crossroads. From there go right and follow the path as it goes down and around to the right. Cross the wooden bridge and the scroll will be on a chest to the right of the bridge.
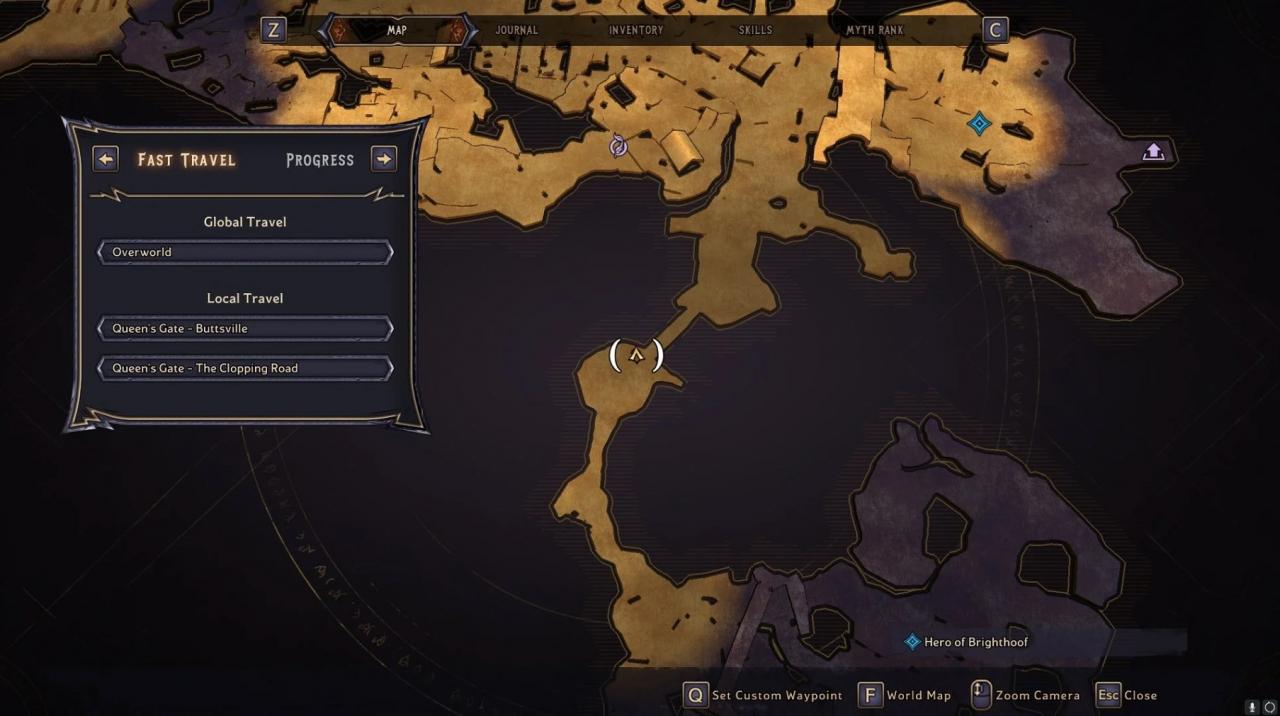
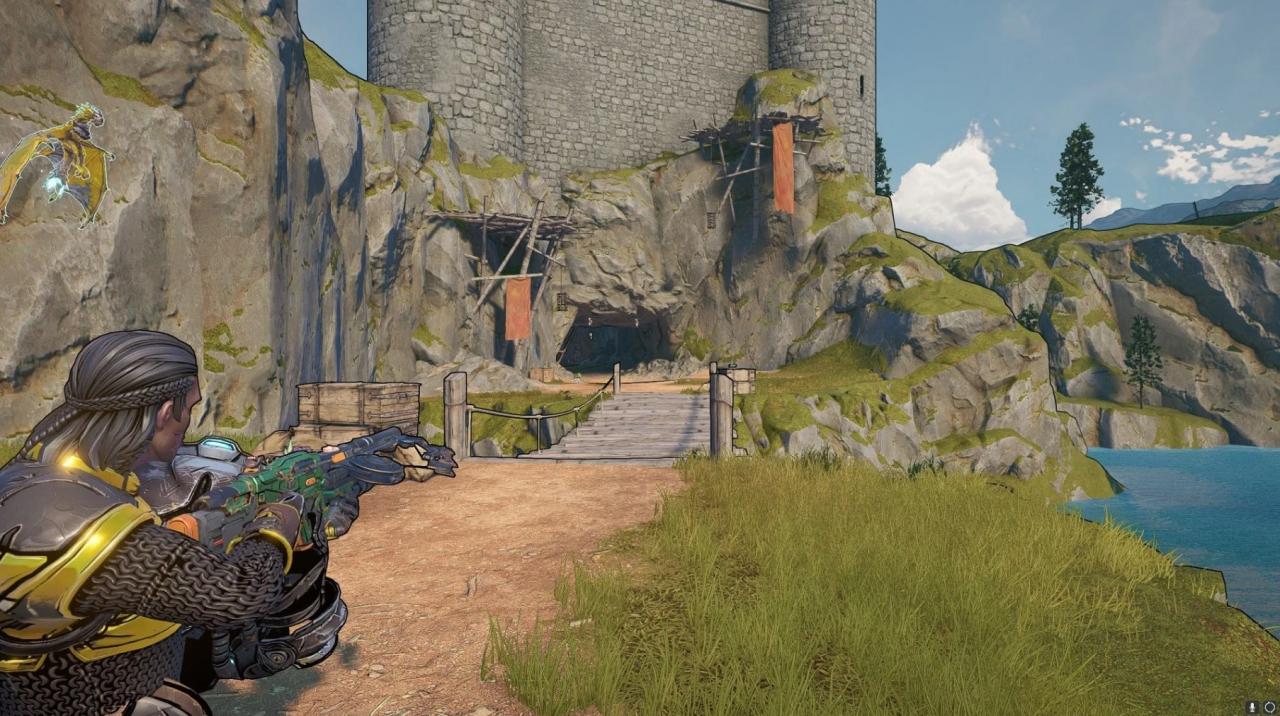
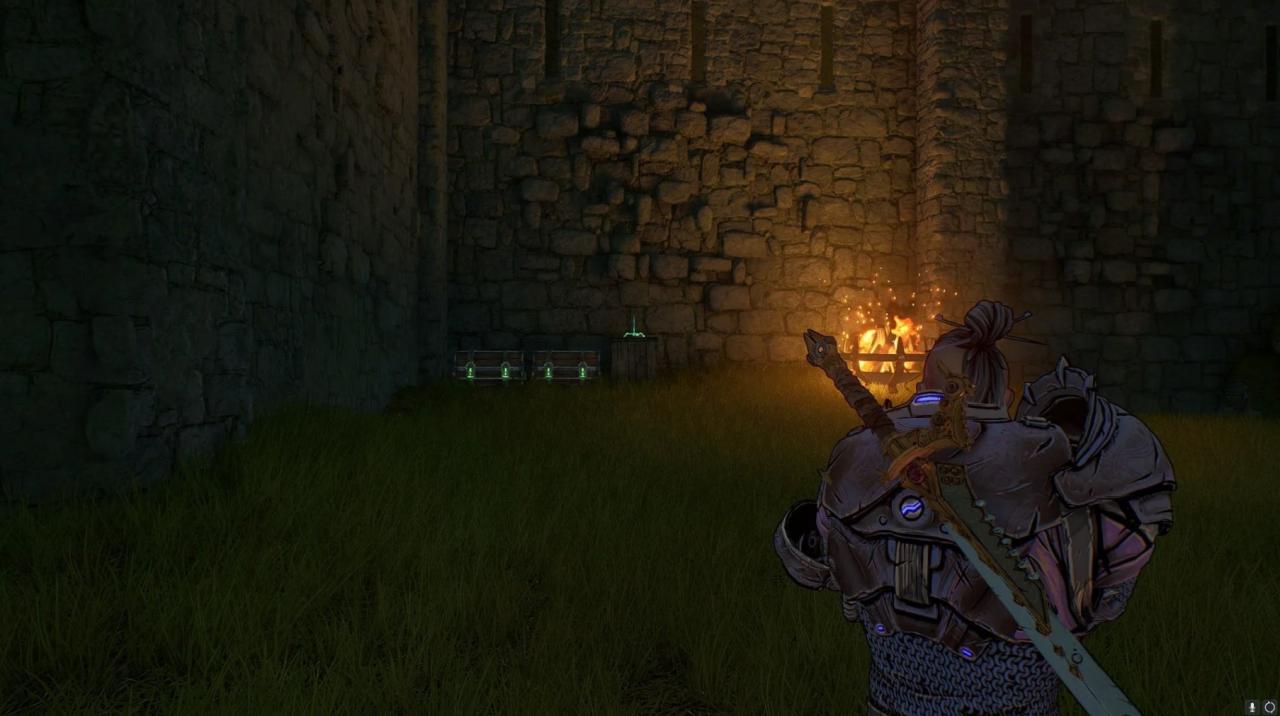
When you get to Honor’s Tower from the catapult, go straight and climb up the wall in front of you. Go straight and climb up the next wall using the crates that are up against the wall. The scroll will be on a crate near a couple of chests.
Brighthoof Scroll Locations
Here are the locations of the Scrolls found in Brighthoof.
Note: You must complete Main Quests Hero of Brighthoof and A Hard’s Days Knight to gain access to this Scroll.
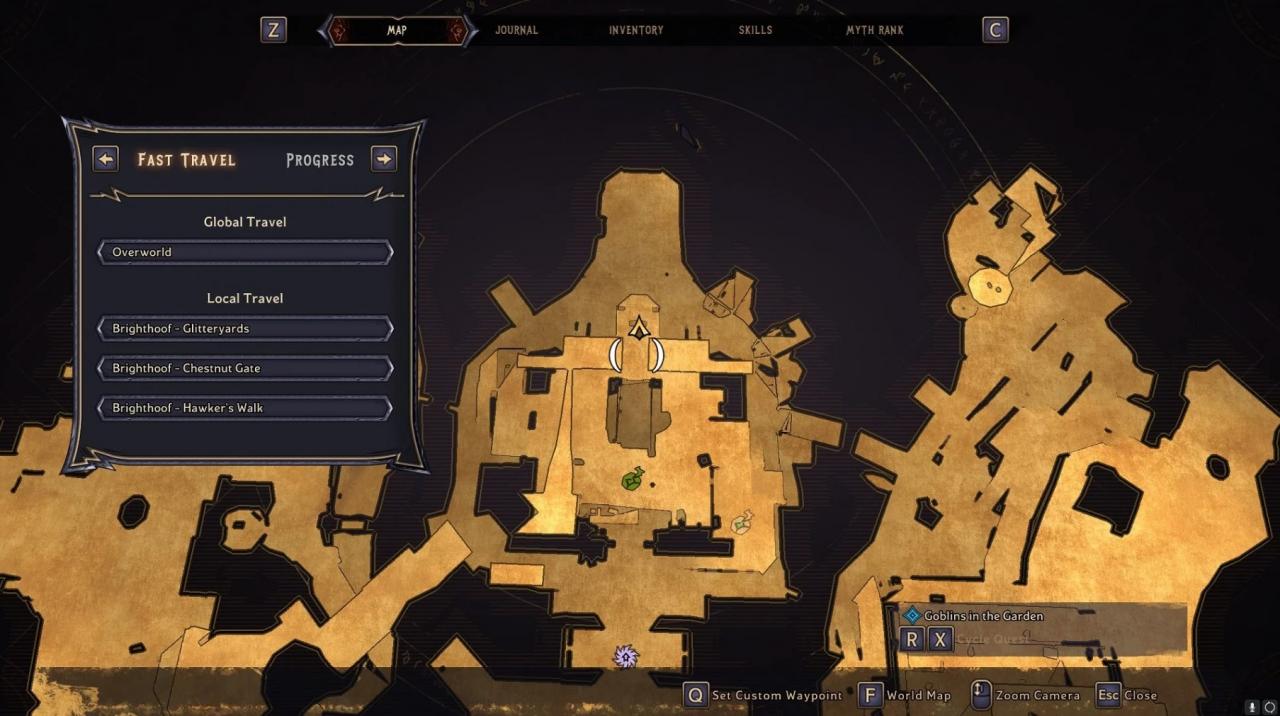
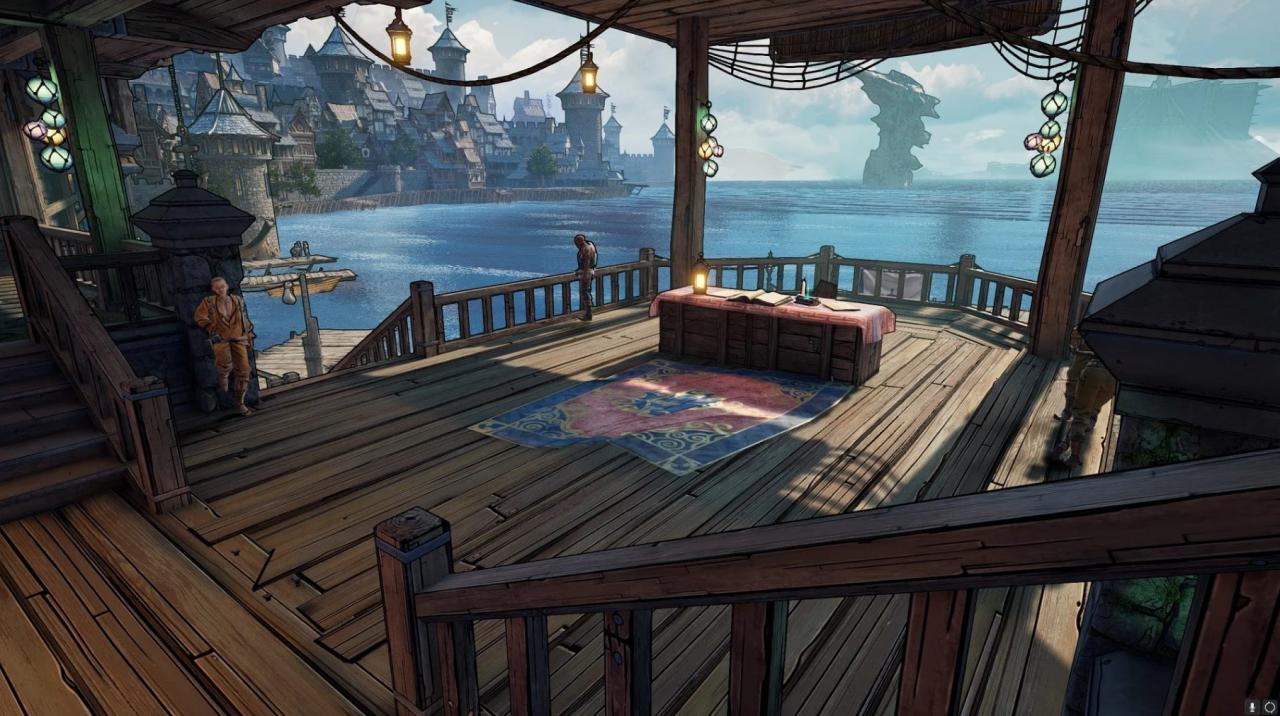
From the Hawker’s Walk gate do south towards the Hawker’s Walk building. Go right and take the stairs up. Go straight through the buildings towards the sea. The scroll will be on a makeshift table made from a crate.

Note: You must complete Main Quest Emotion of the Ocean to gain access to this Scroll.
From the Hawker’s Walk gate head right past Izzy’s Fizzies. Take the wooden path around the building. Before you get to the stairs, take a left and follow that path. There is an old building with a sign that says “Ye Olde Bandit’s Lair”. There is a boarded-up wall that you cannot melee open.
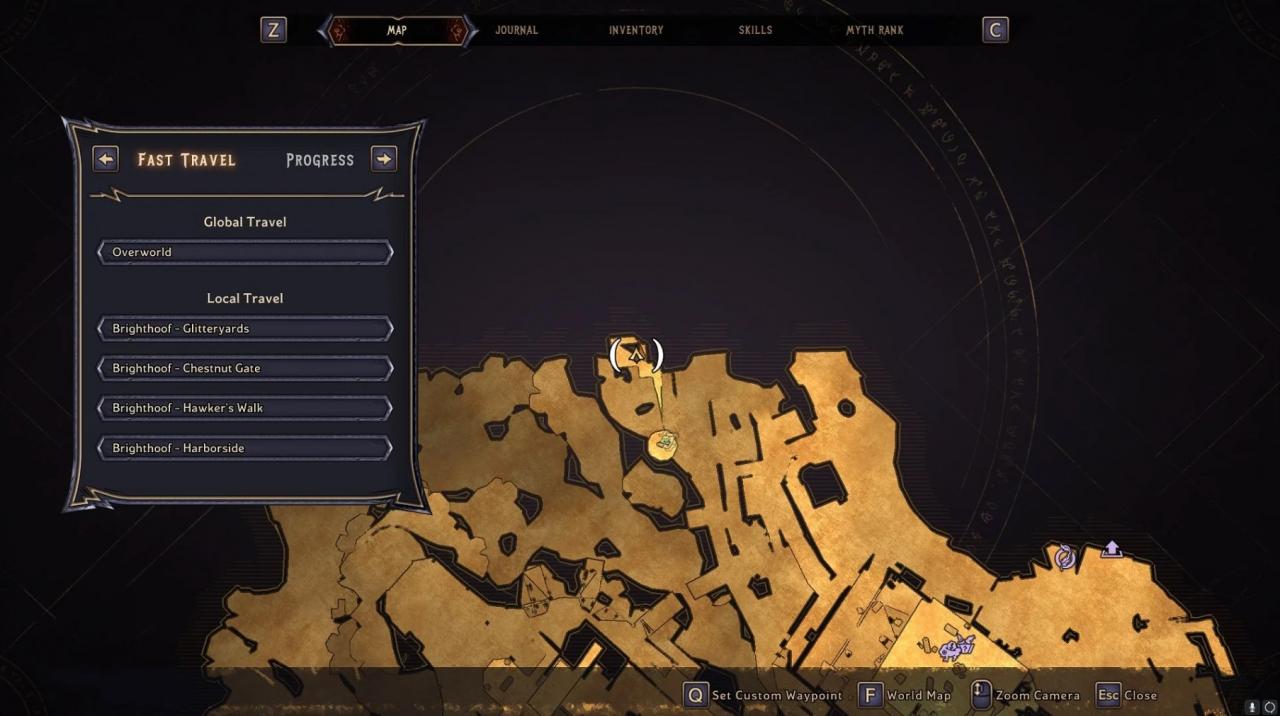

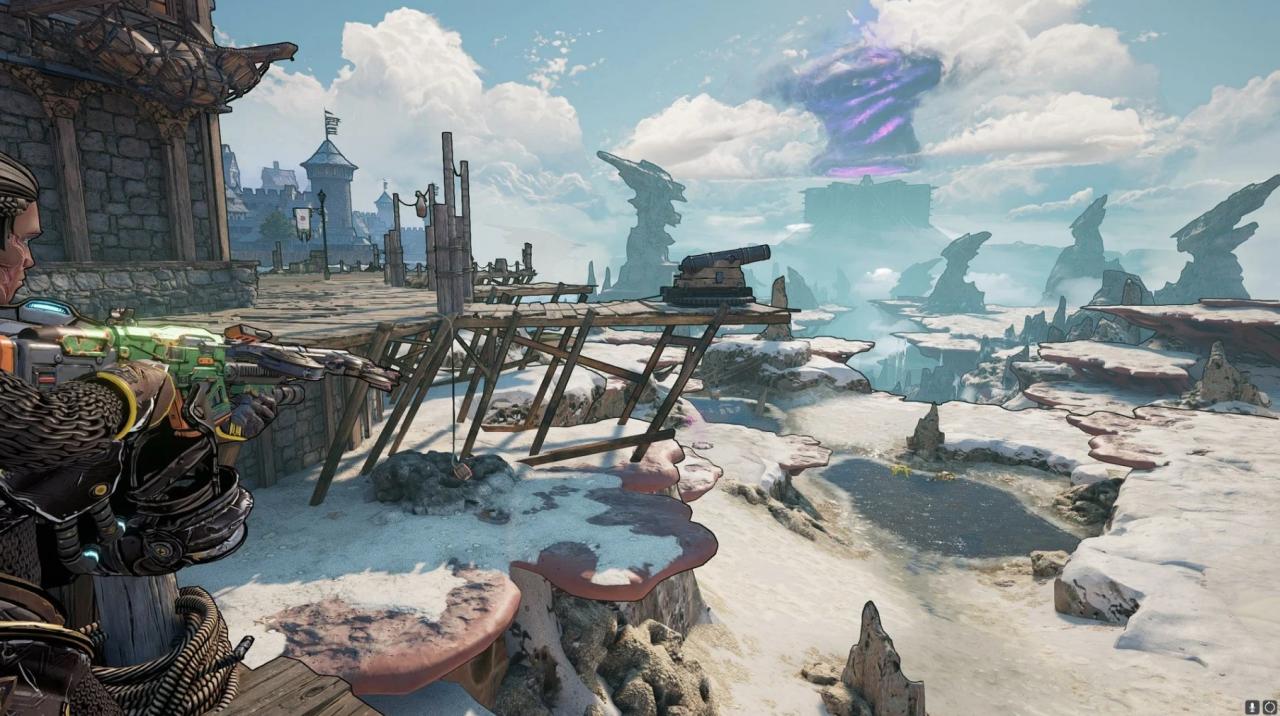
To break through this wall, look across the dried-up ocean to the buildings there. You will see a cannon. Below it will be a red glowing powder keg. Shoot the powder keg to ignite it and it will eventually shoot the cannon. The cannon will break down the wall. Kill the brigands to get to the scroll. There will be a Lucky Die there as well.
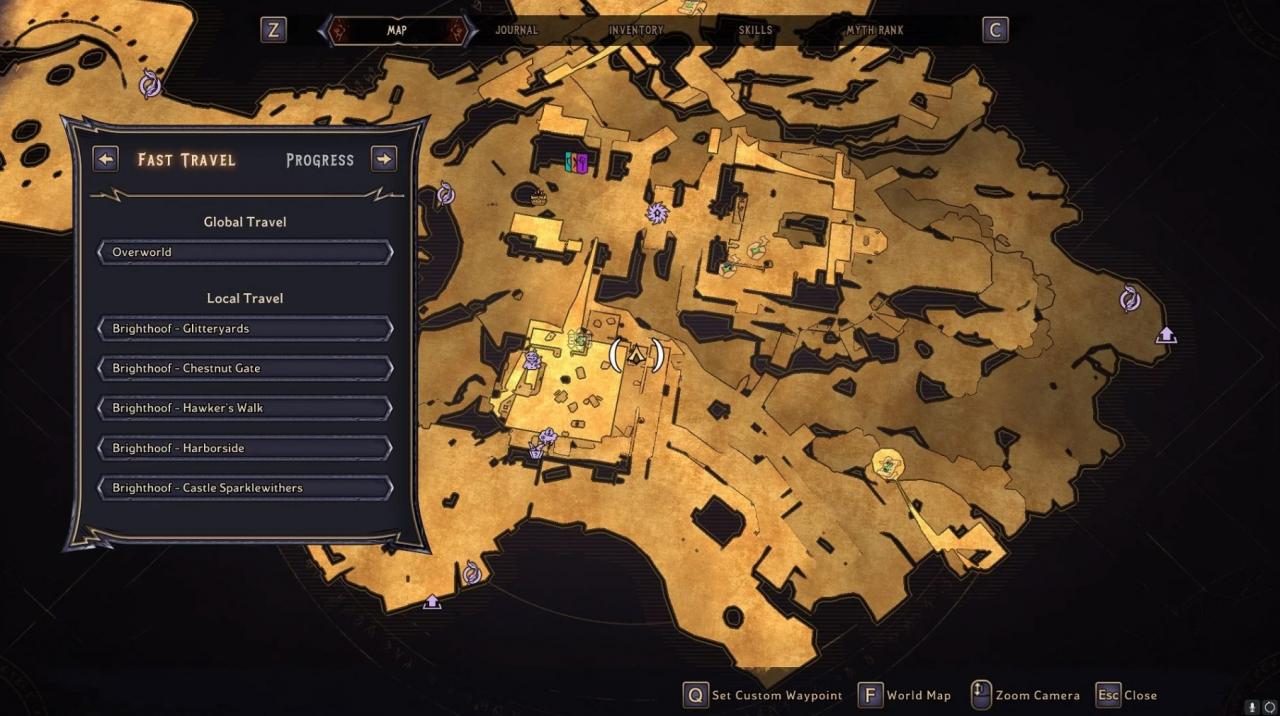
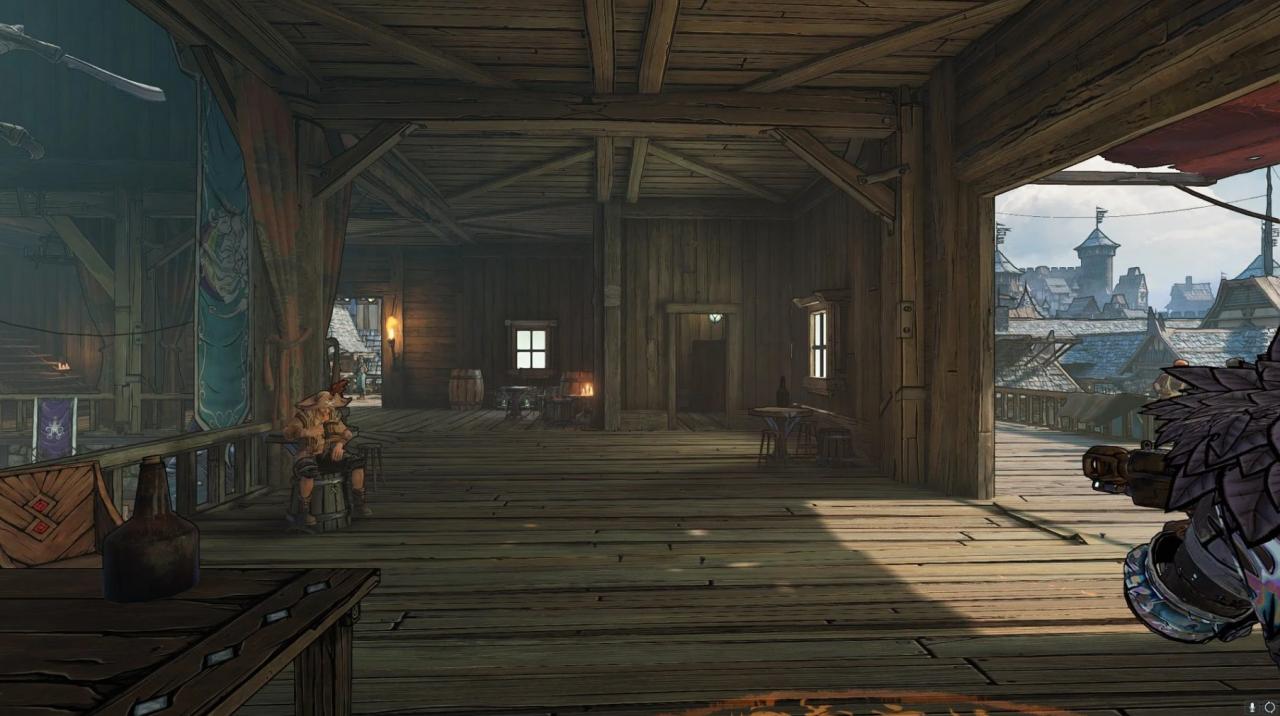
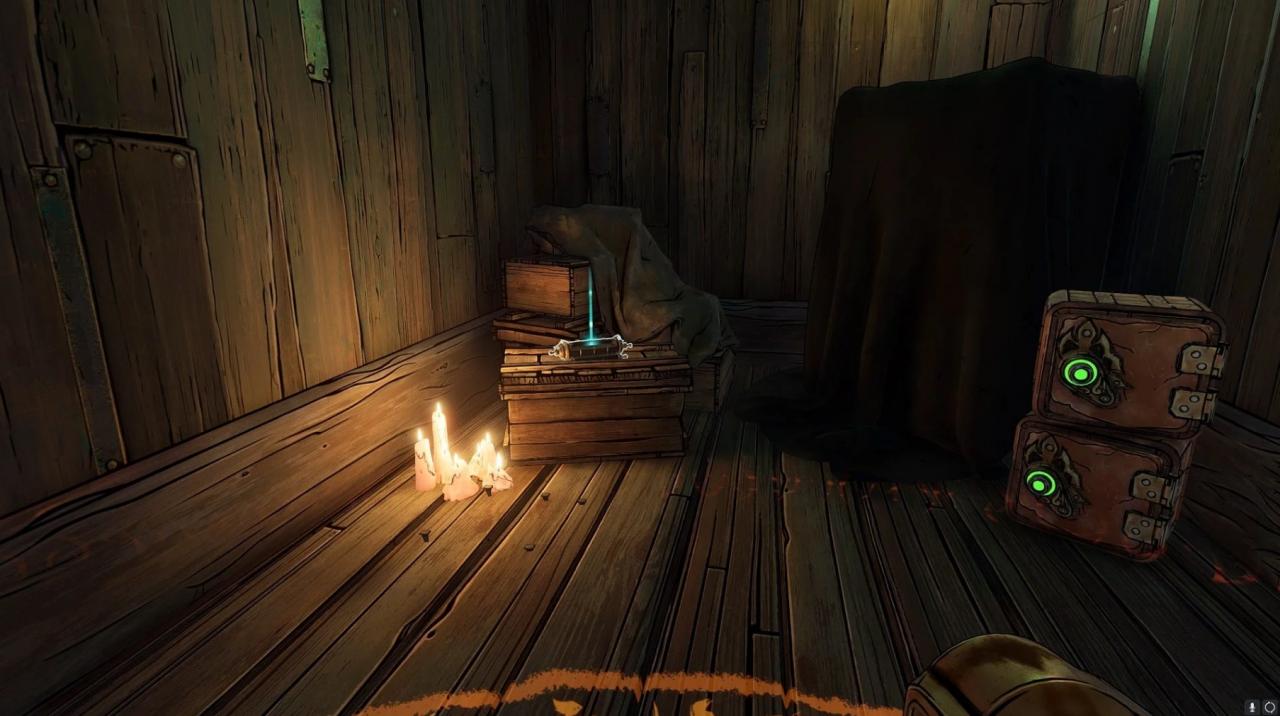
This Scroll is located on the second floor of Izzy’s Fizzies. Go to the second floor and head to the area above the Poet. There is a small storage room in the corner with the Scroll.
Weepwild Dankness Scroll Locations
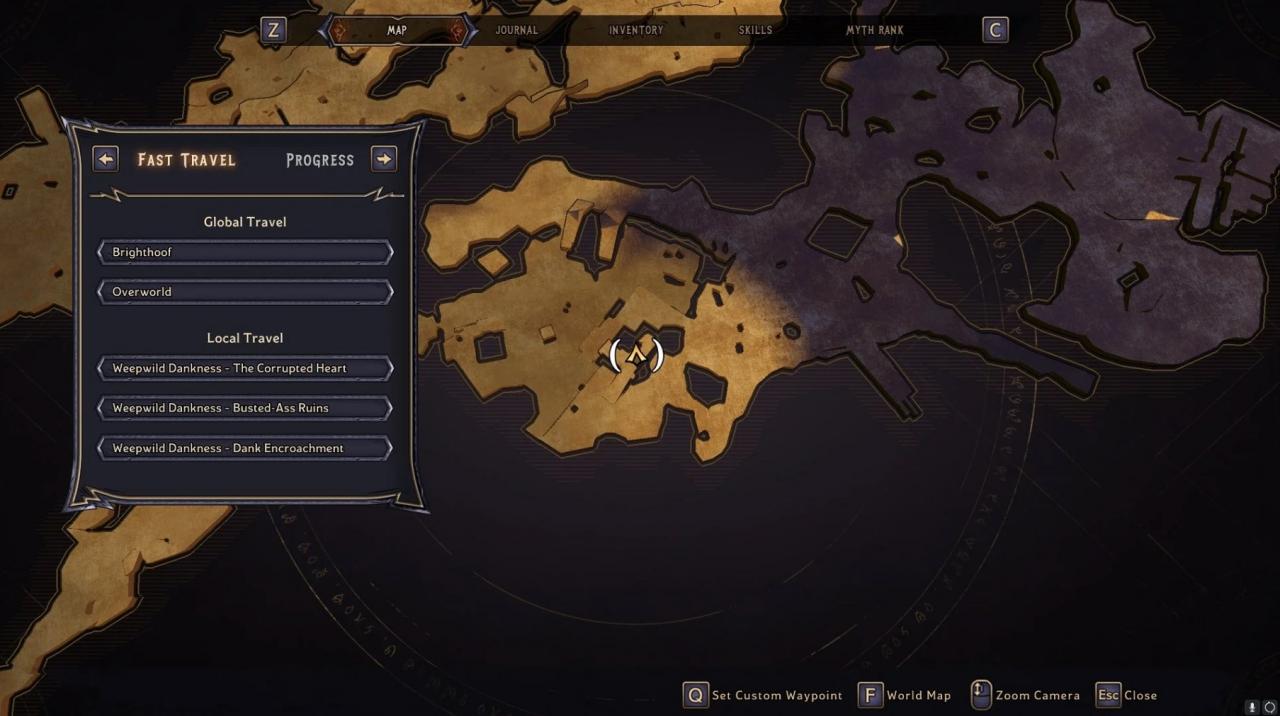
Here are the locations of the Scrolls found in Weepwild Dankness.
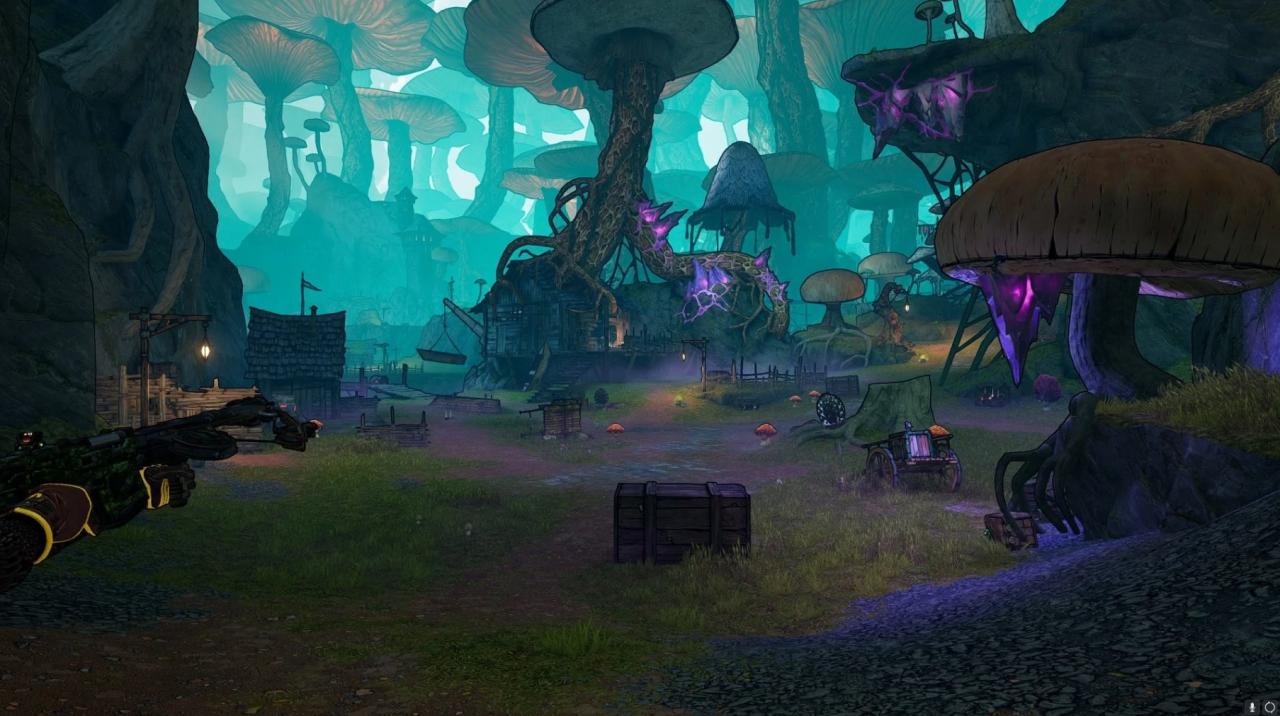
Go through the Dank Encroachment past the vending machines and follow the path into a large clearing with a house and a wooden pier to the left. Head to the pier. The Scroll will be on a crate at the end of the pier.
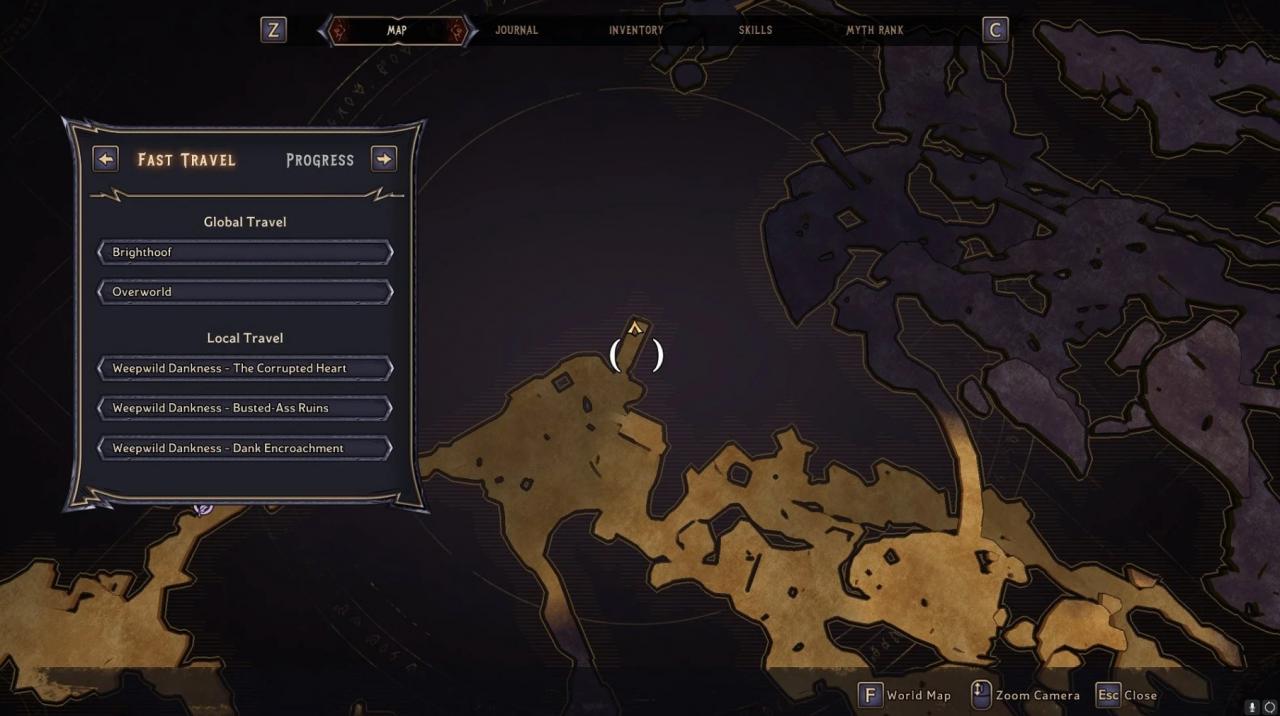
Note: You may need to pick up Side Quest Little Boys Blue in order to gain access to this Scroll.
Enter Murph’s Refuge and head to the house on the right. Climb up the wooden platform to the right of the house and go up the stairs to the left. The scroll will be on a table on the right side of the house.
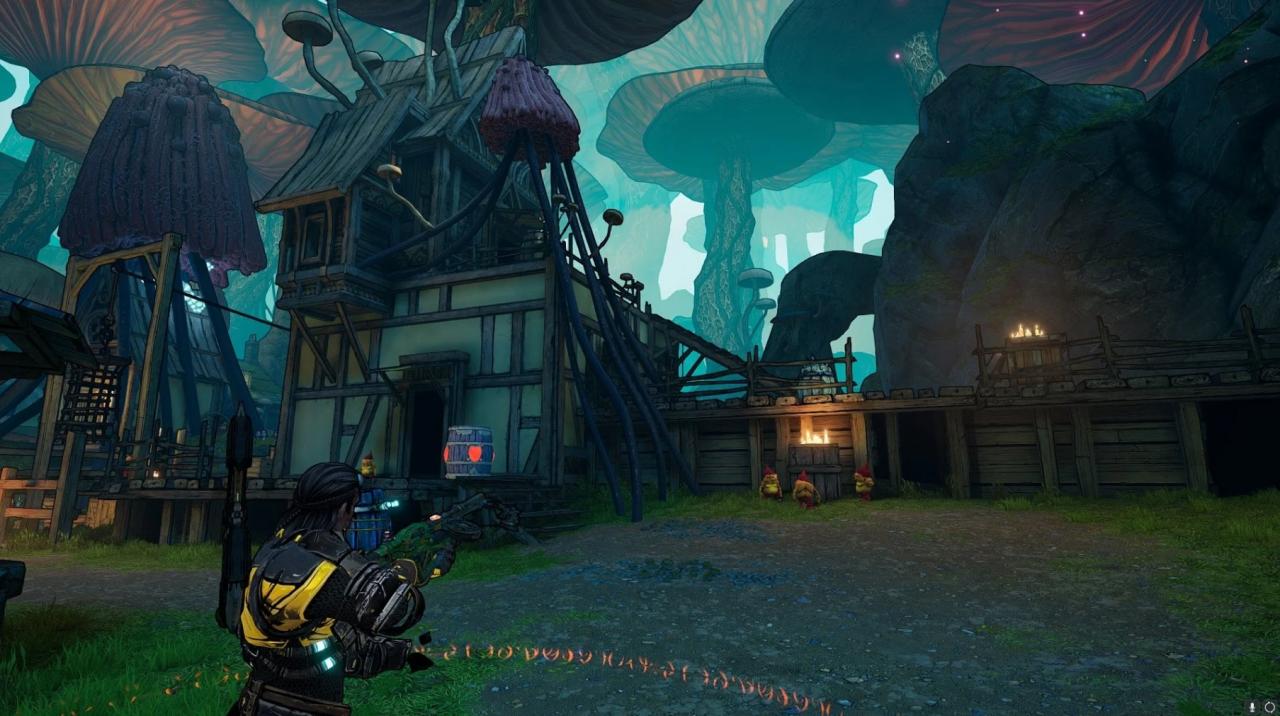
Wargtooth Shallows Scroll Locations
Here are the locations of the Scrolls found in Wargtooth Shallows.
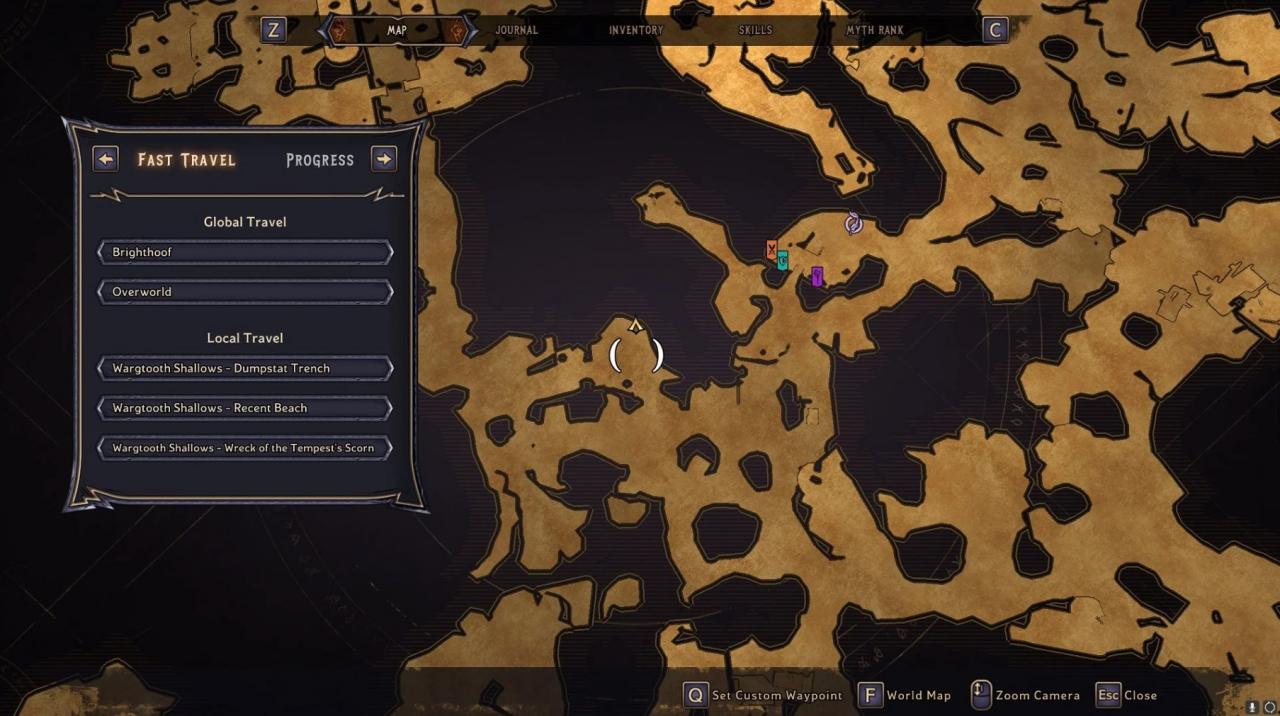
This Scroll is located in The Recent Beach behind the giant shipwreck. Find the large blacked-out cave. Fight off the giant crab that comes out of the cave and you will see the scrolls on a crate.
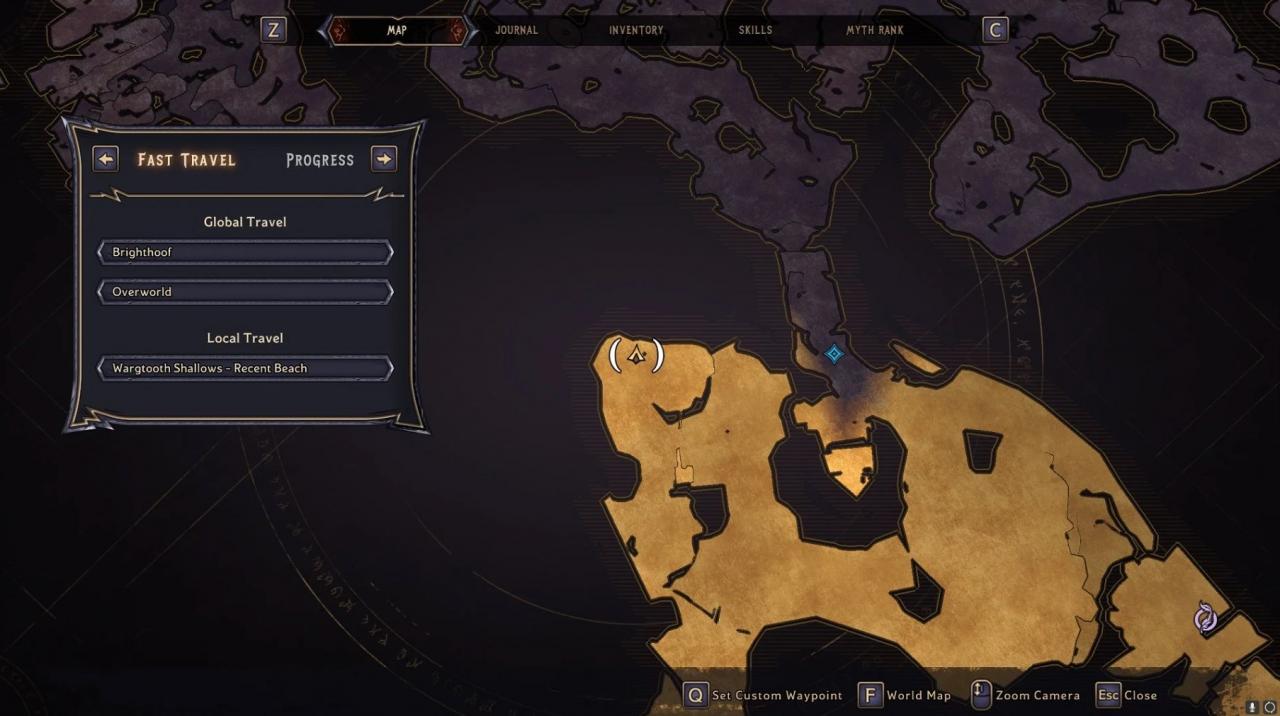
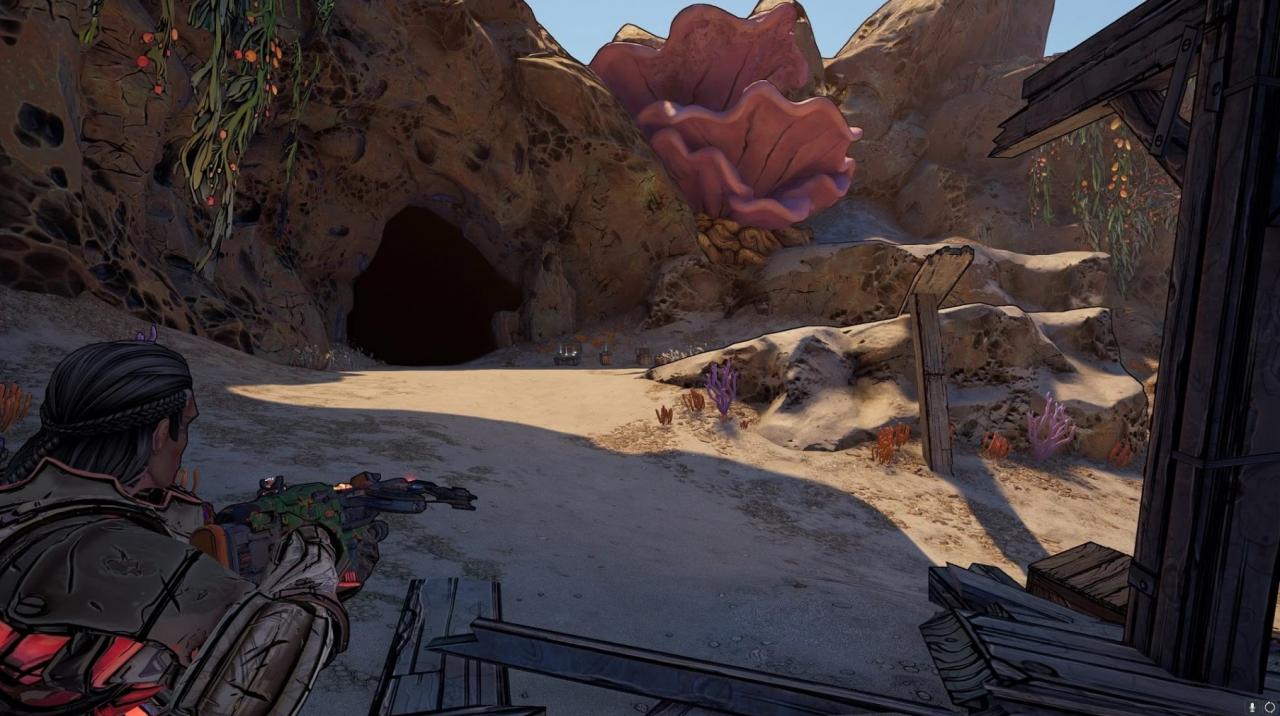
When you first enter the Plunder Port location head left. The Scroll will be on a crate behind the large coral.
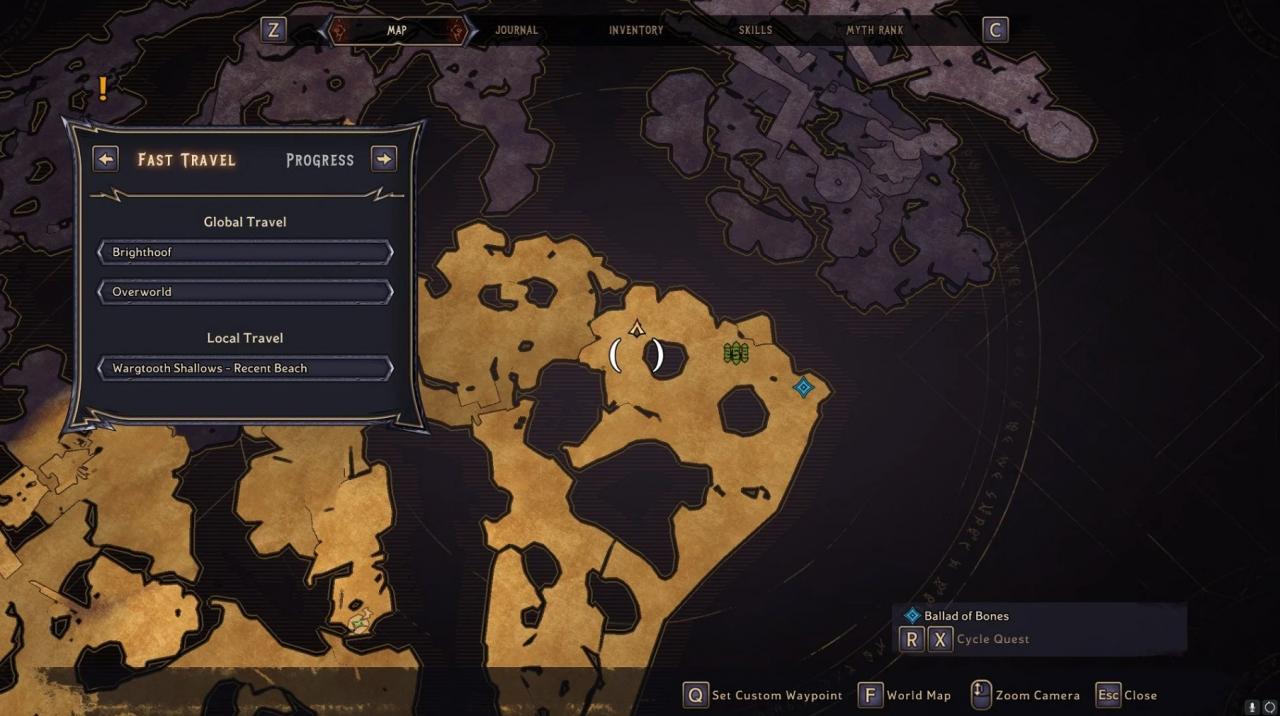

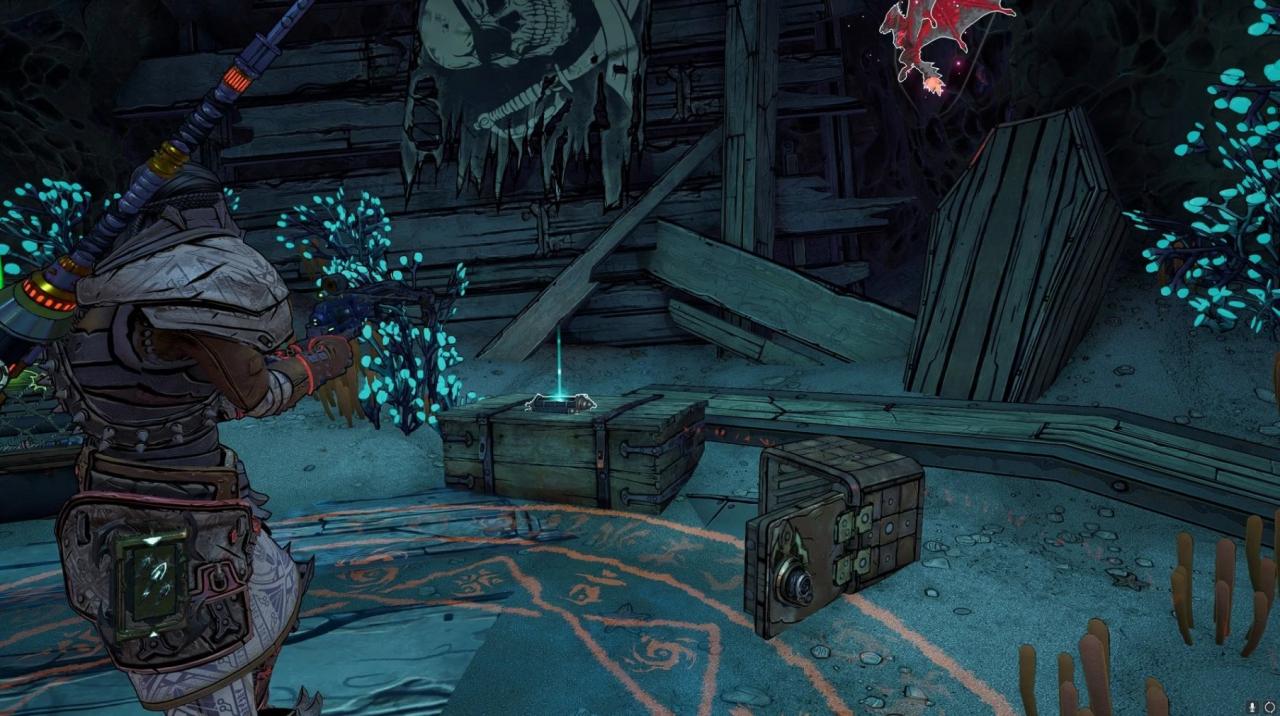
In Dumpstat Trench before you look for the missing ship for Bones Three-Wood, there is a wall of wooden planks that you will not be able to melee.
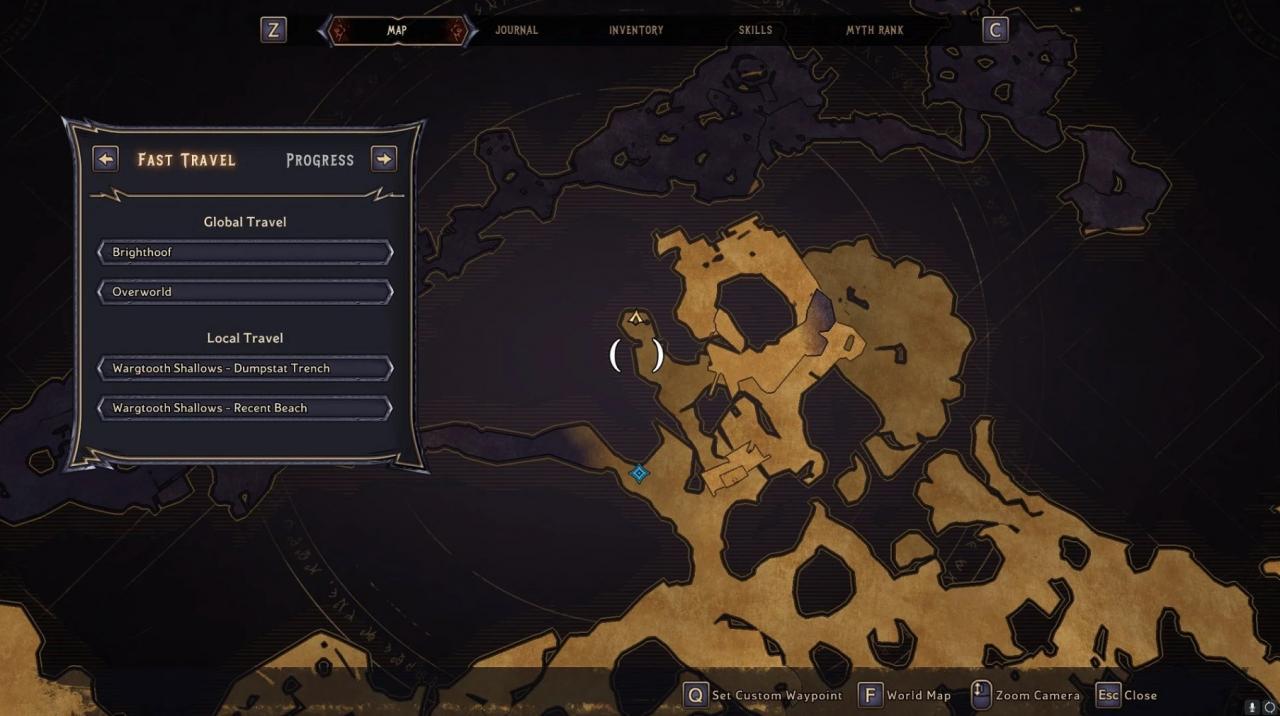
In Dumpstat Trench before you look for the missing ship for Bones Three-Wood, there is a wall of wooden planks that you will not be able to melee.
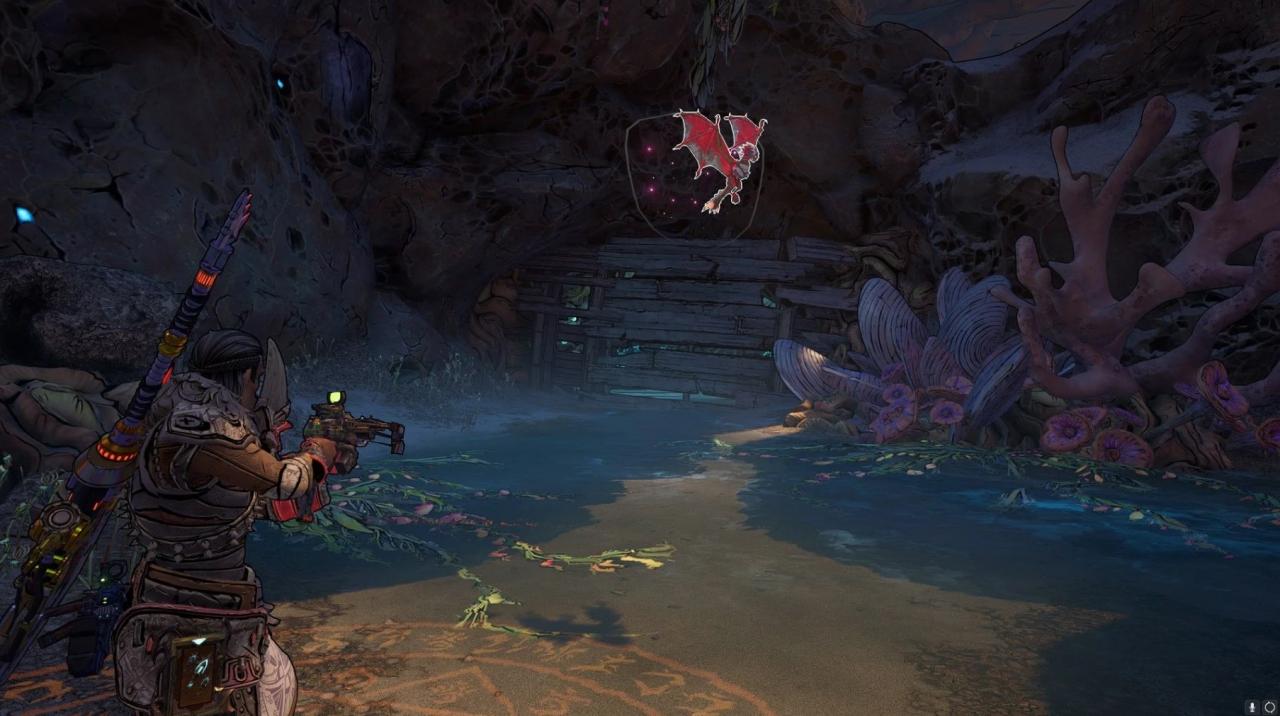
Behind the wall is the scroll. From the wall, go onto the shipwreck right next to it and climb onto the ship and walk along the bowsprit. Jump down next to the purple lift.
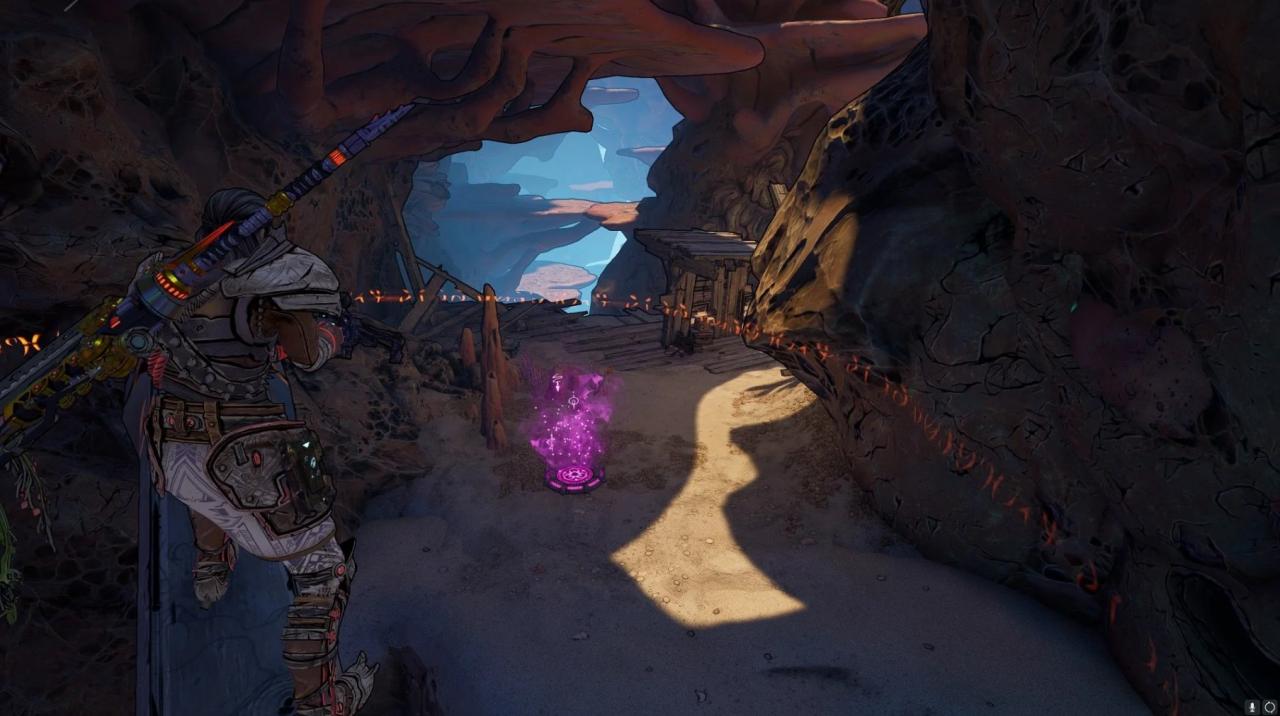
Go to the purple lift and it will lift you to a coral platform. From there go straight and jump down to the shipwreck below. There will be a cannon with an active powder keg.
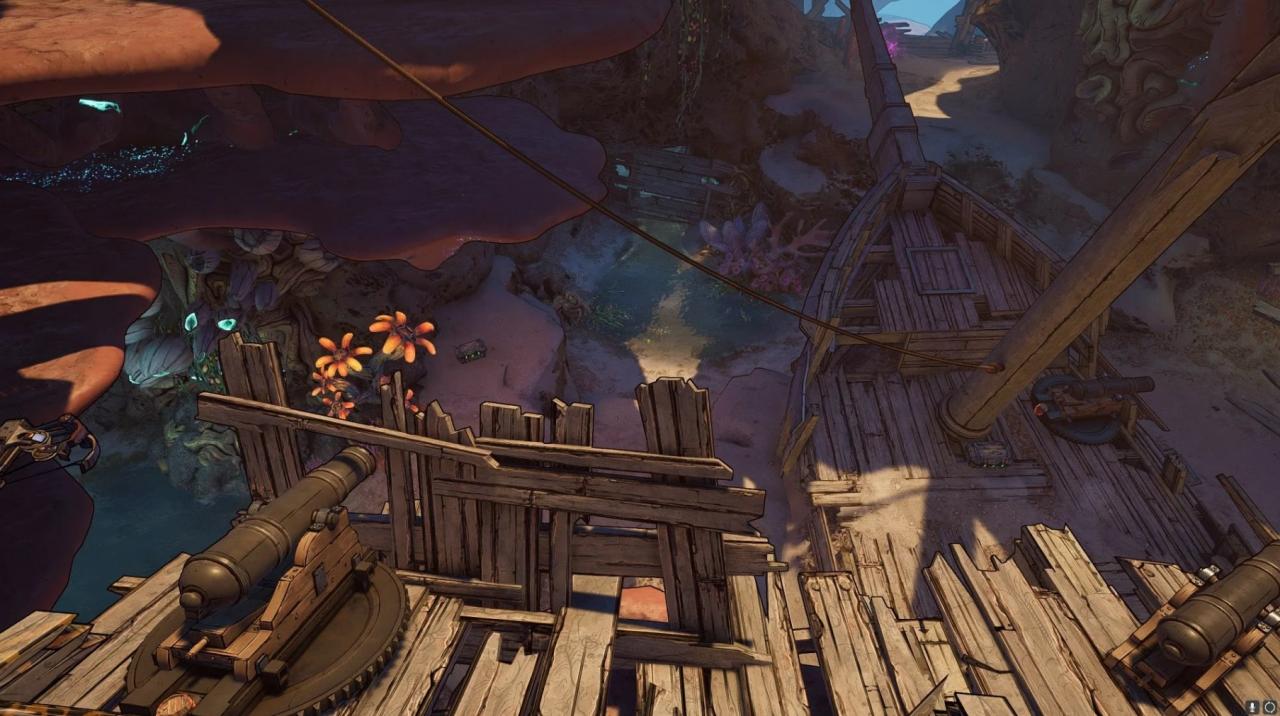
Shoot the powder keg and it will fire a cannonball towards the wooden wall, breaking it. Climb down and go into the room to retrieve the scroll.
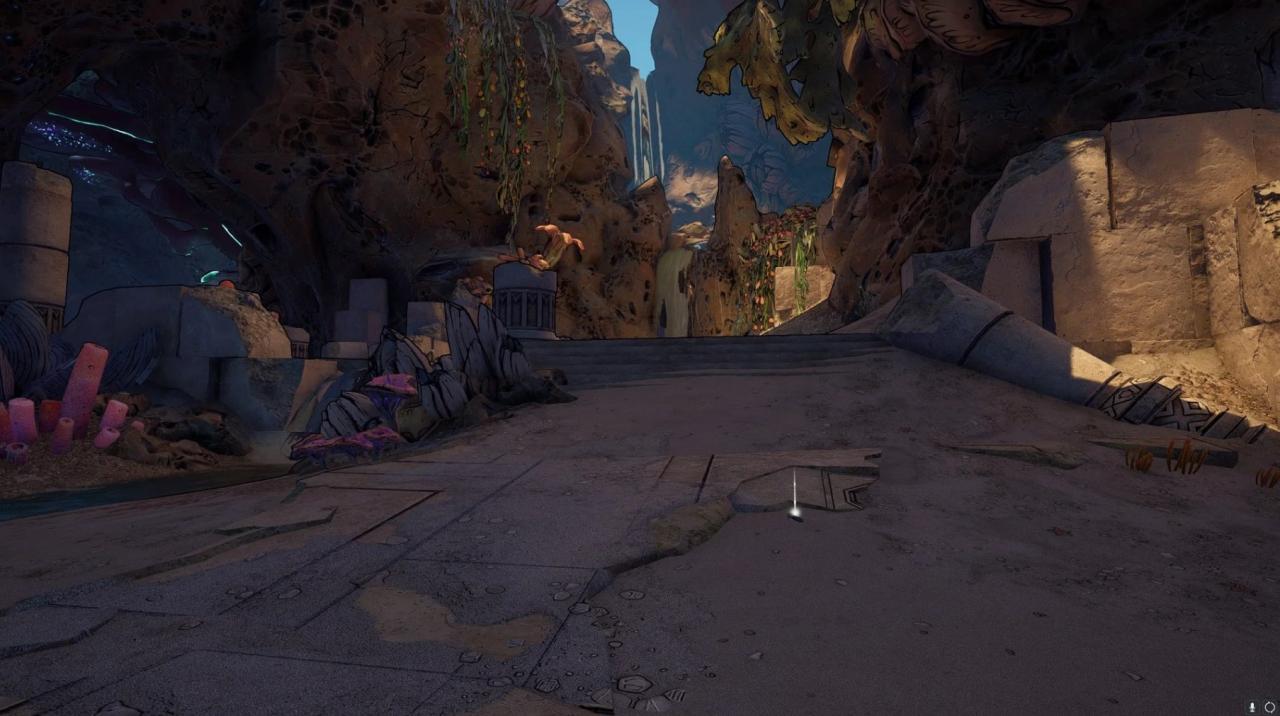
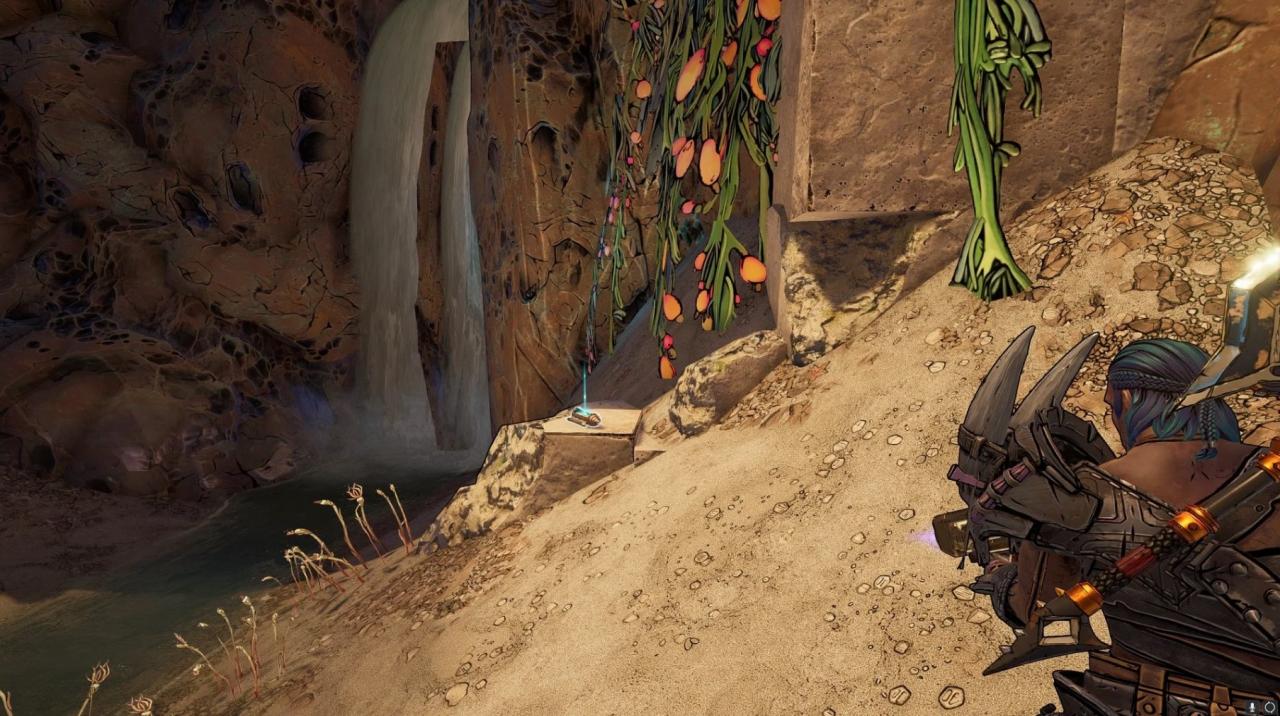
From the vending machines in Dumpstat Trench, go due east. You will see some ruined columns near a waterfall. The scroll will be on the right side of the waterfall.
Tangledrift Scroll Locations
Here are the locations of the Scrolls found in Tangledrift.
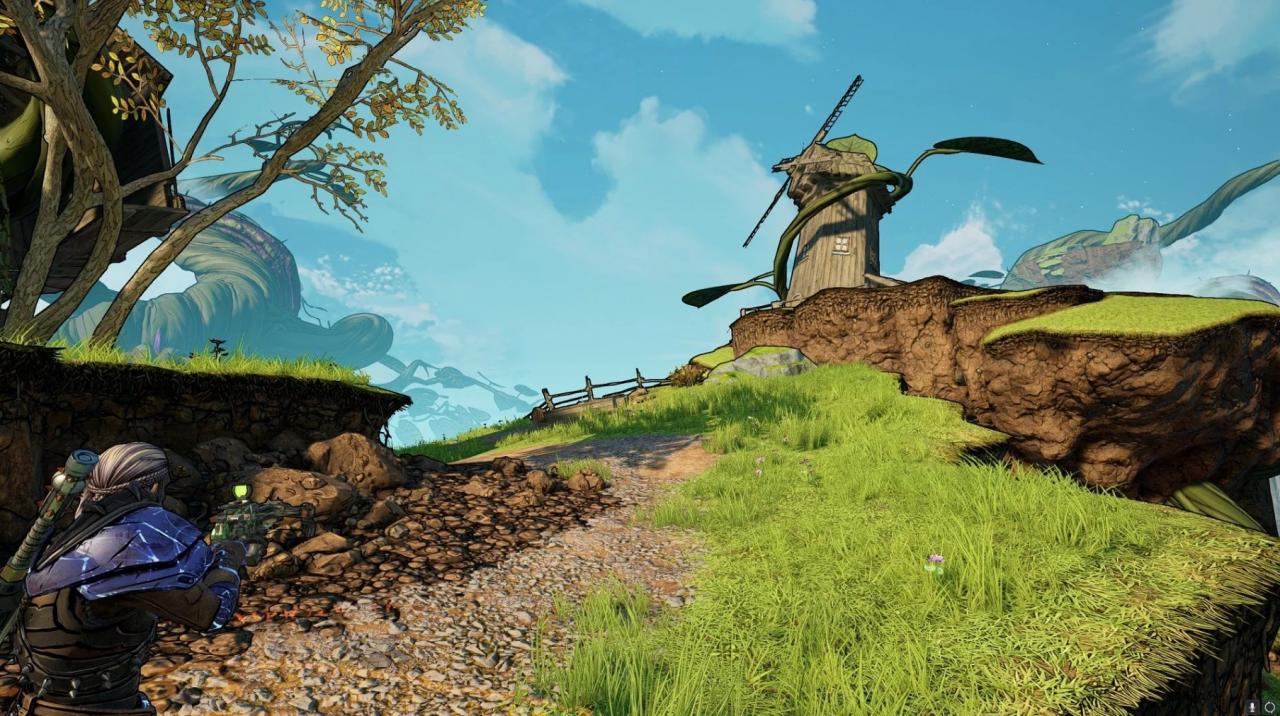
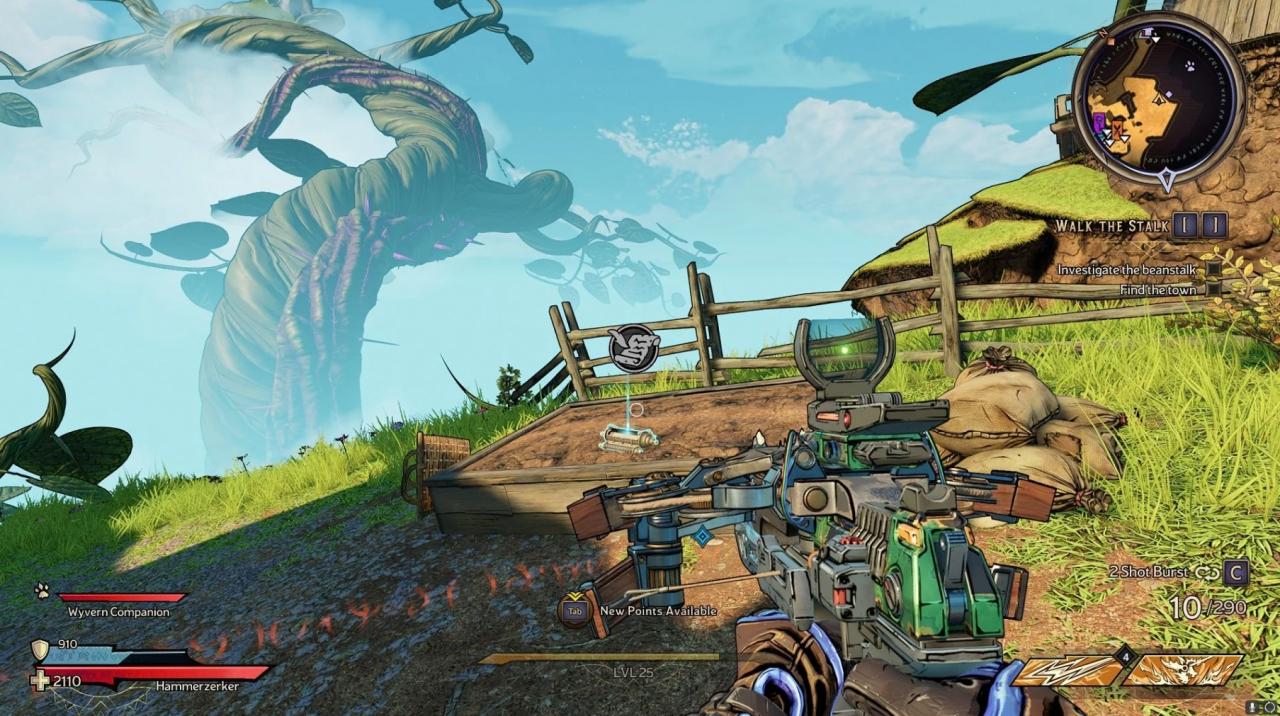
In Beanageddon, when you leave the first house, go down the stairs and turn left. Head for the side of the house. The scroll will be in a gardening bed.
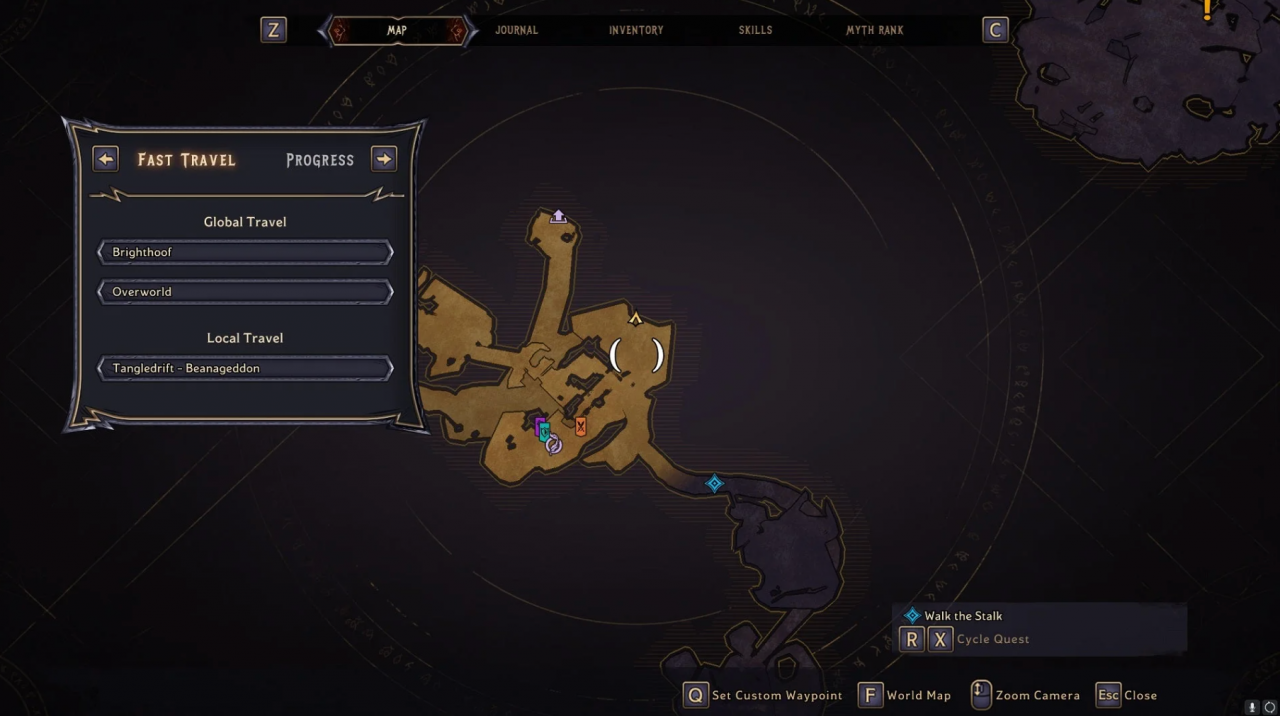
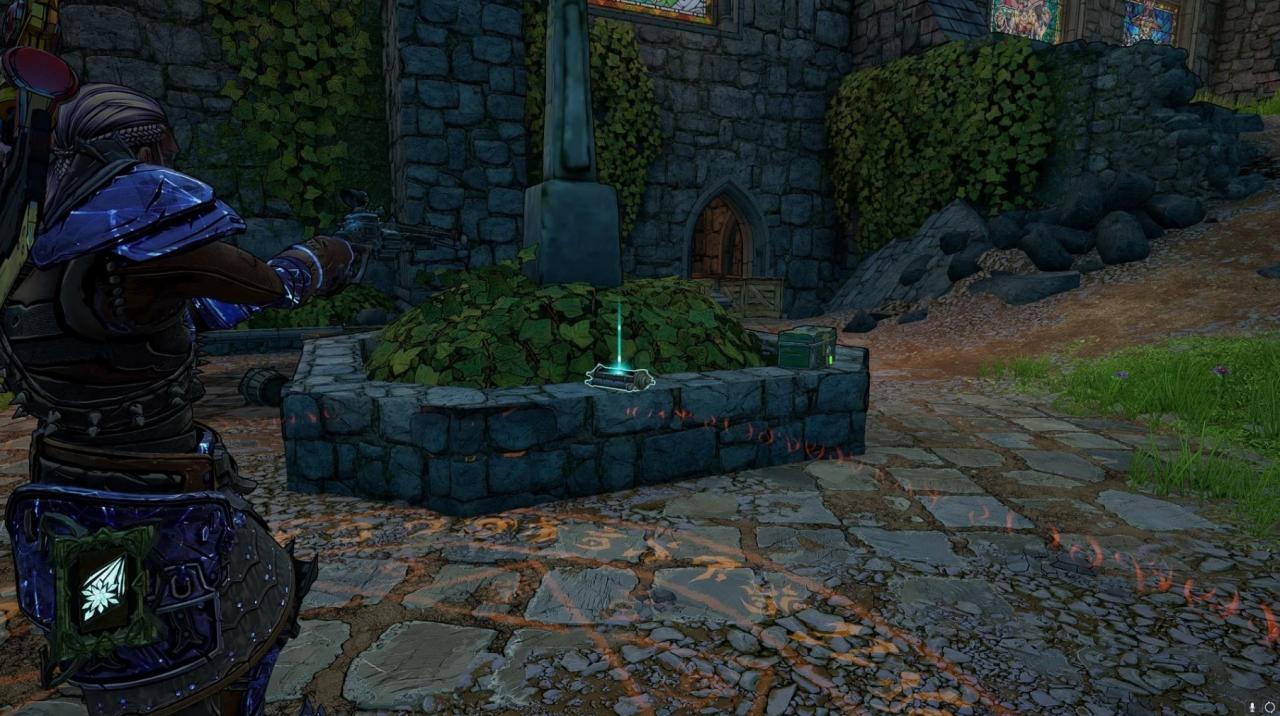
When you reach Murder Church, head towards the Cathedral. On the right side of the Cathedral, there is a small archway. Go through it and the scroll will be on a stone wall.

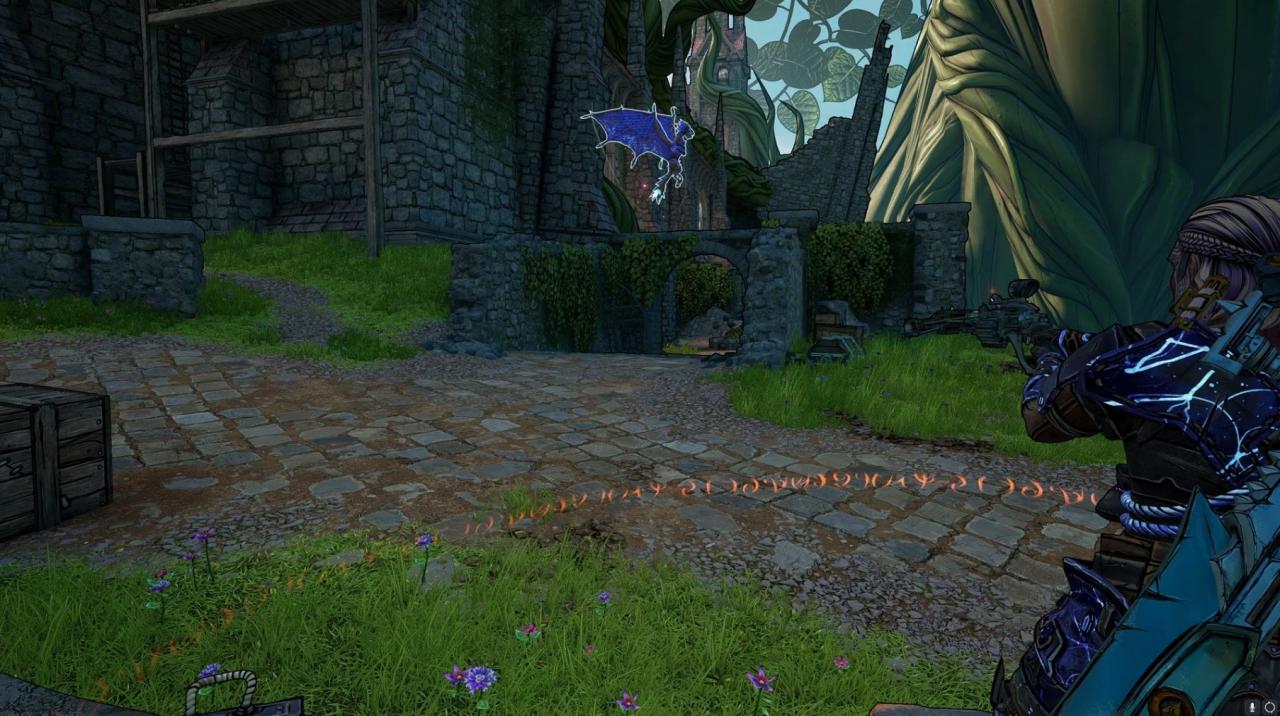
When you enter the Castle near Upkeep Keep, turn left and go through the small doorway there. The scroll will be on a chest on the left-hand side of the area.
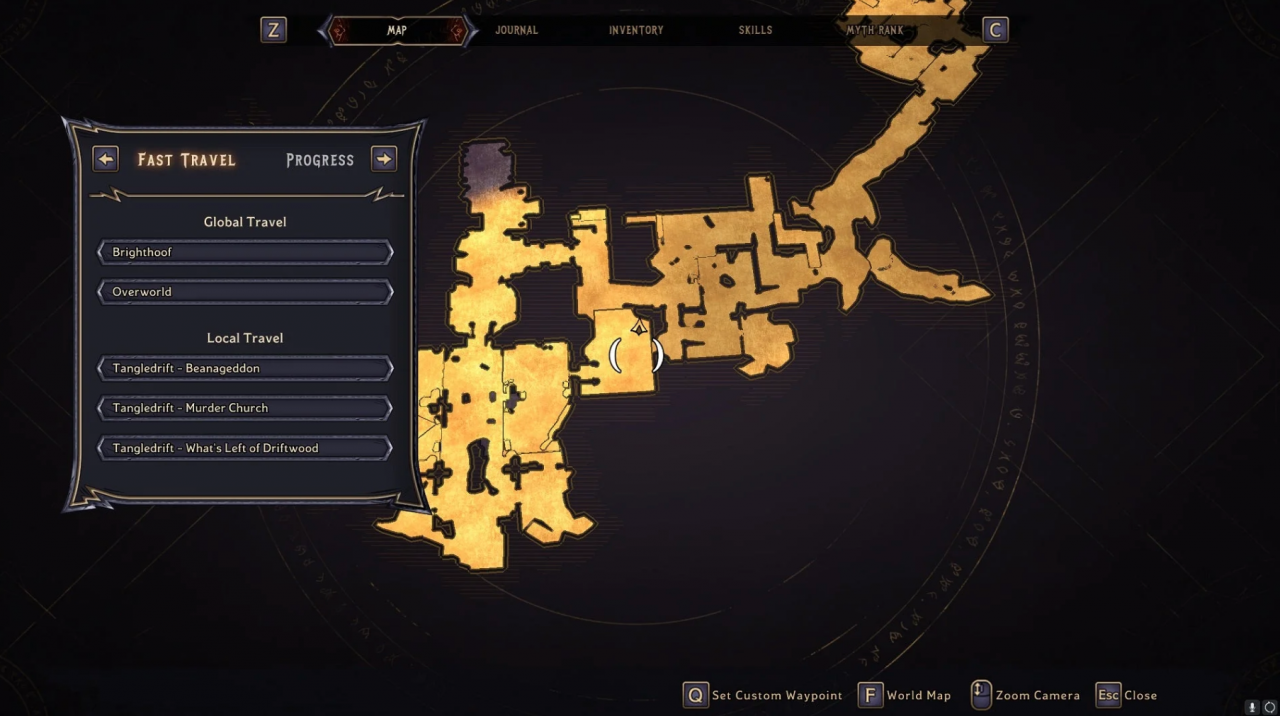
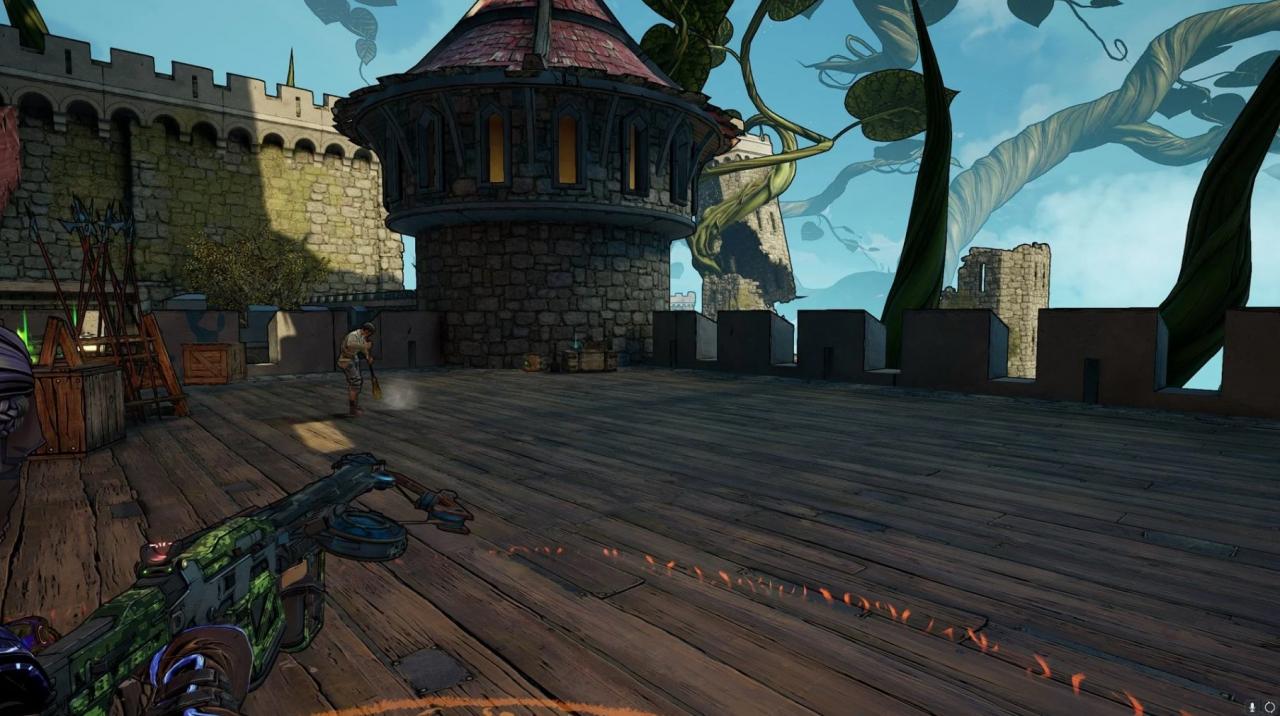
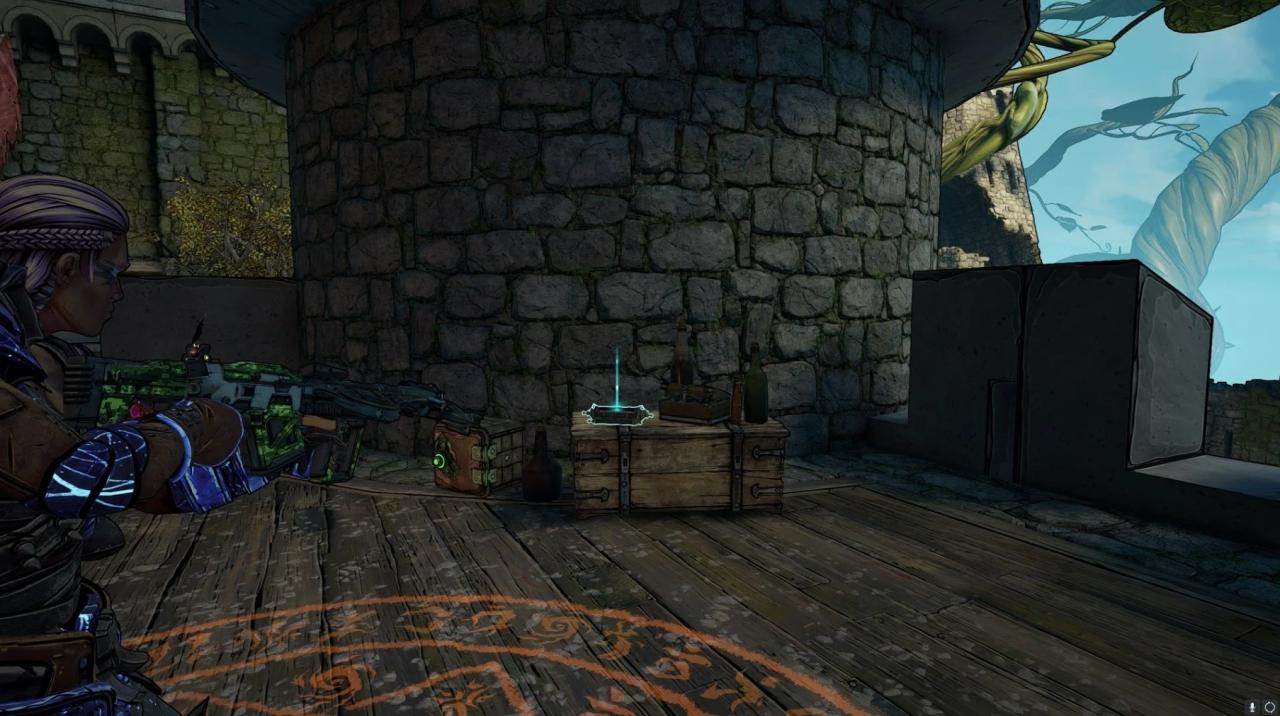
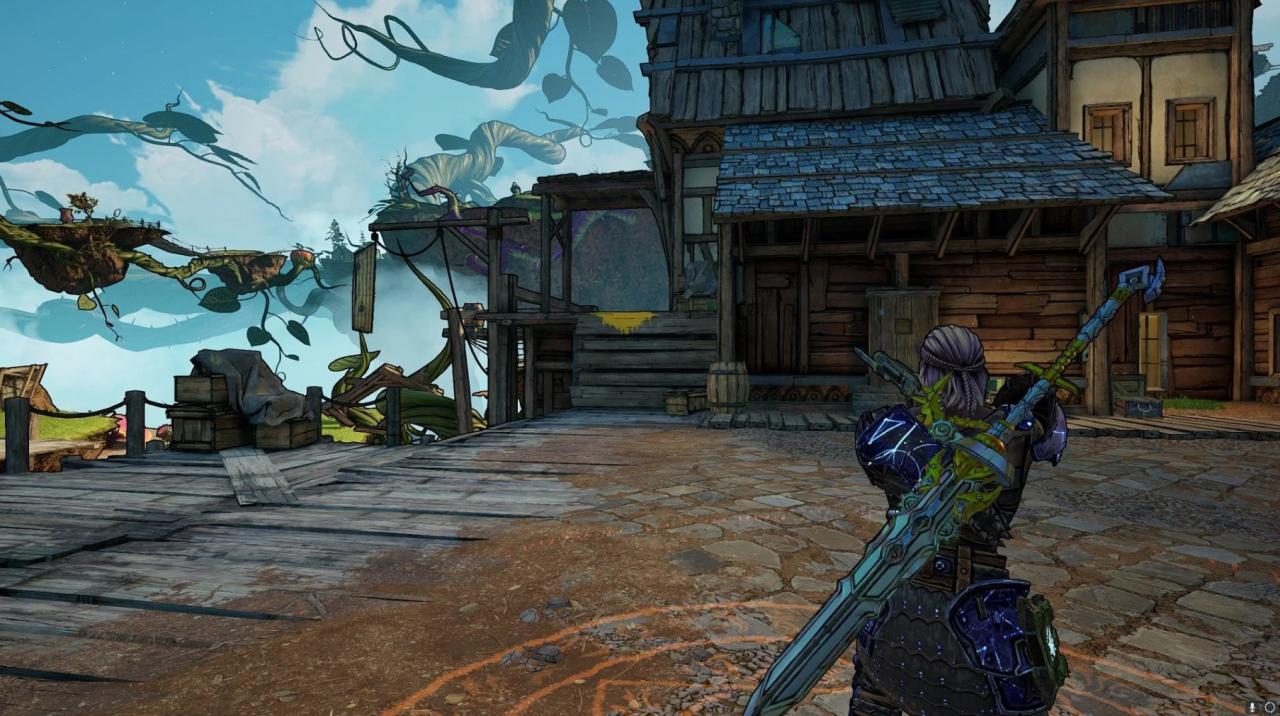
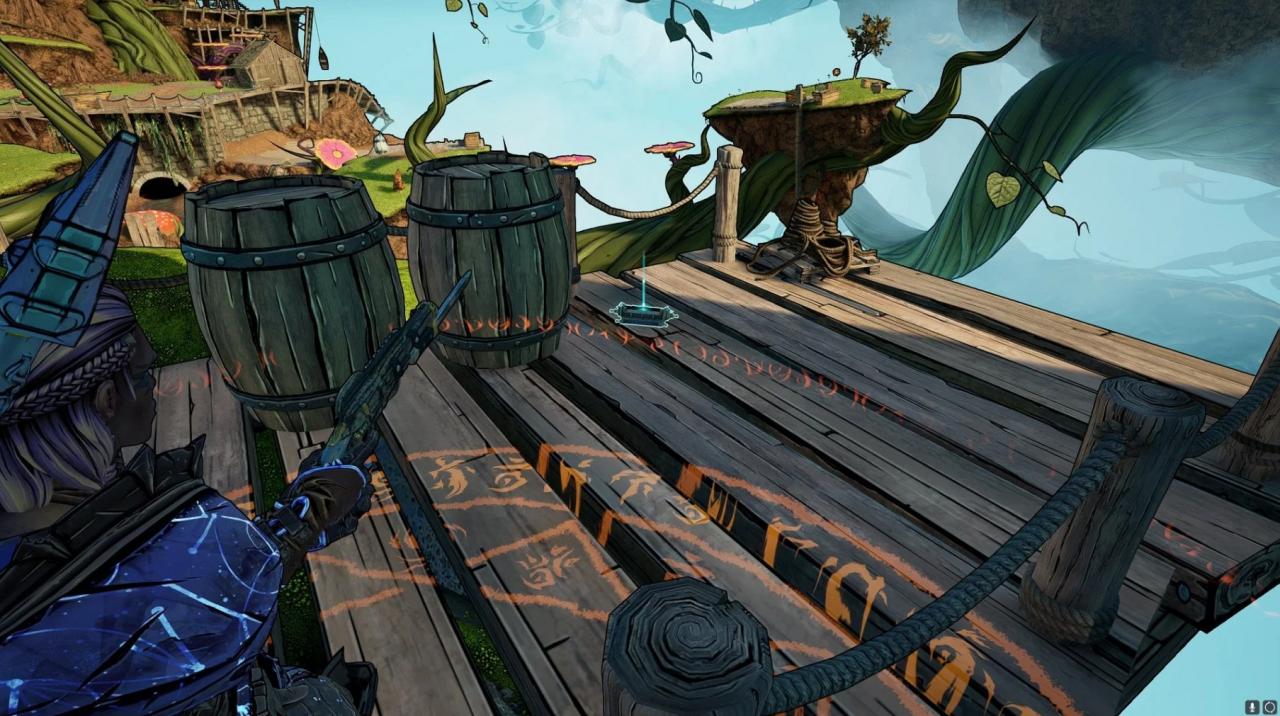
This scroll is located in Last Light. When you enter the town look to the right. There will be a platform marked with yellow paint. Climb the platform and head right. On the deck to the left is where you will find the scroll.
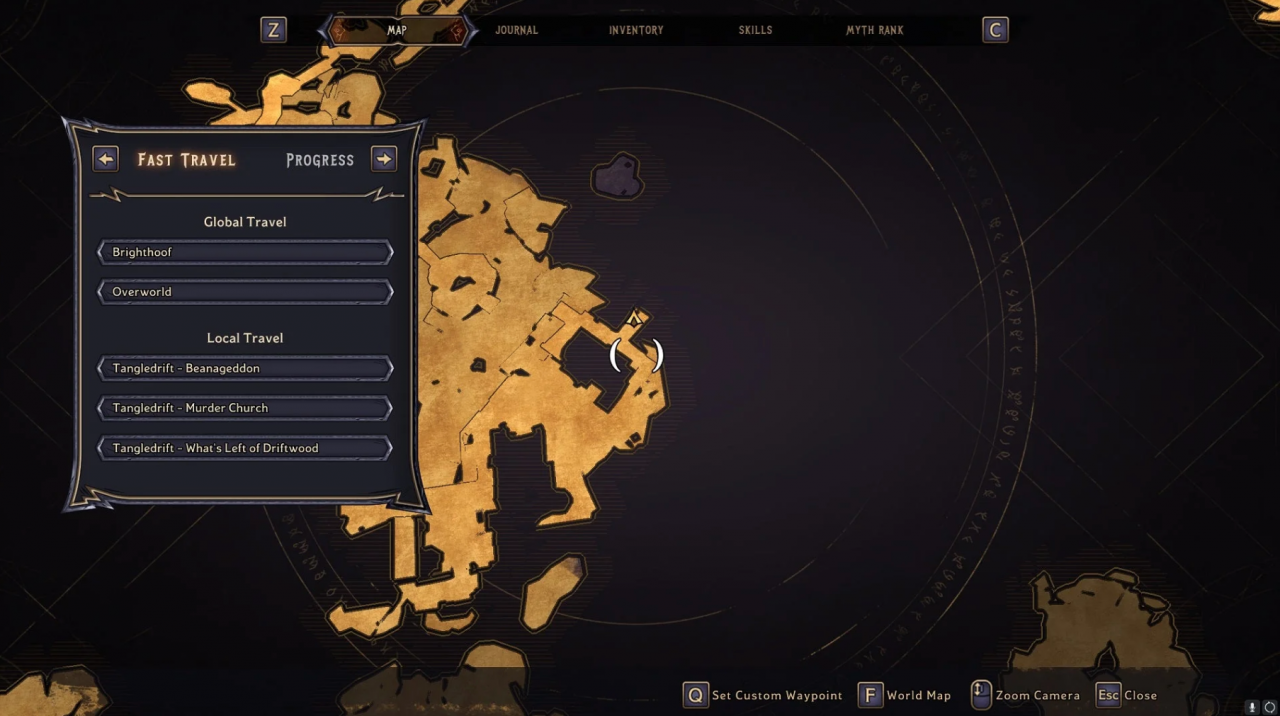
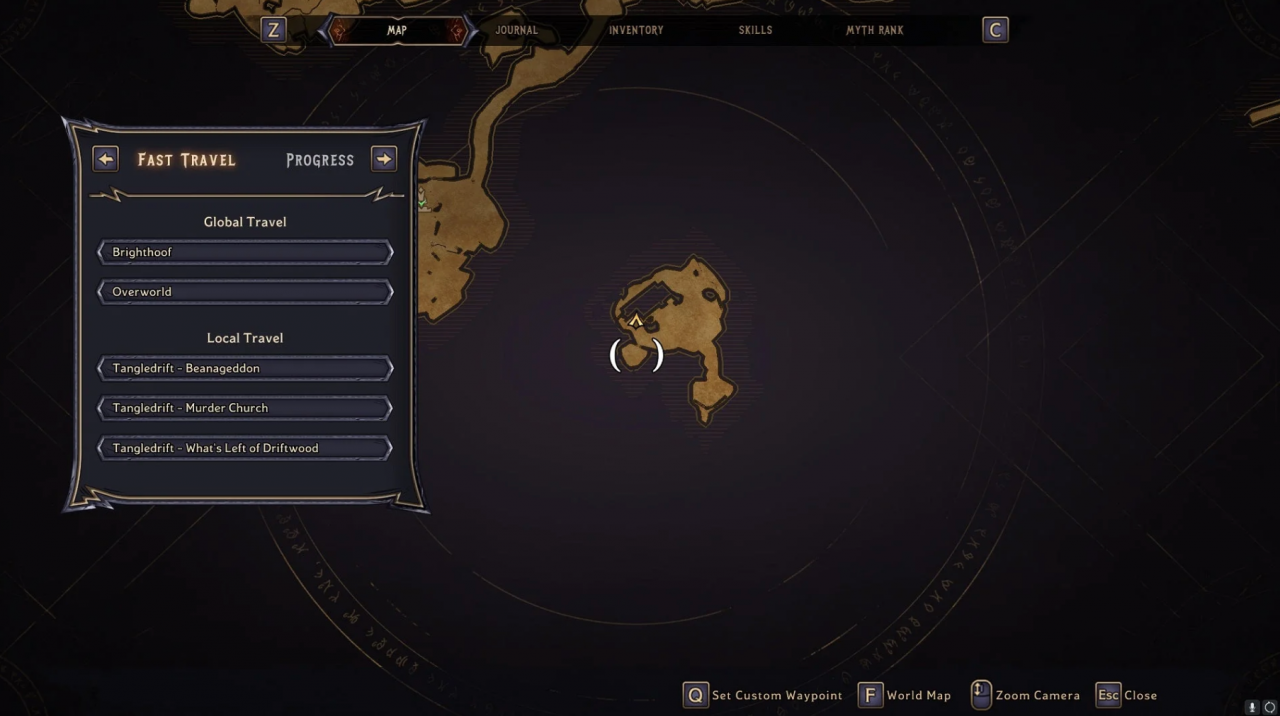
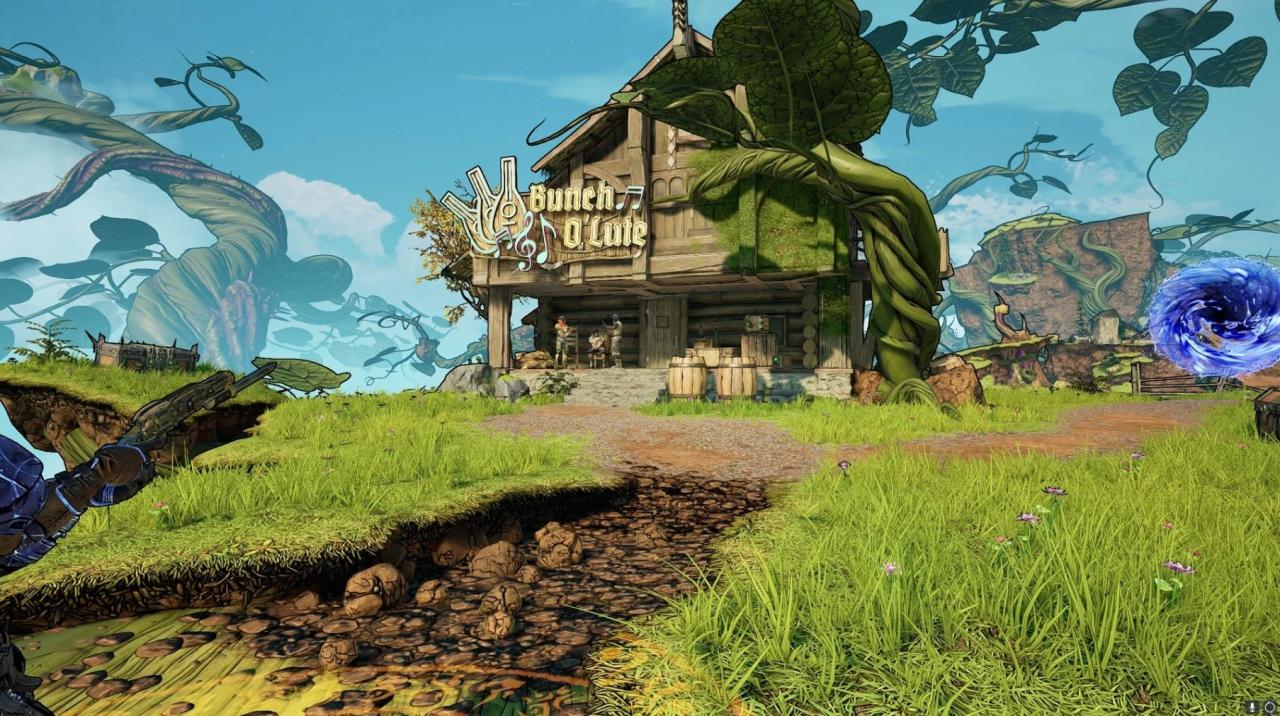
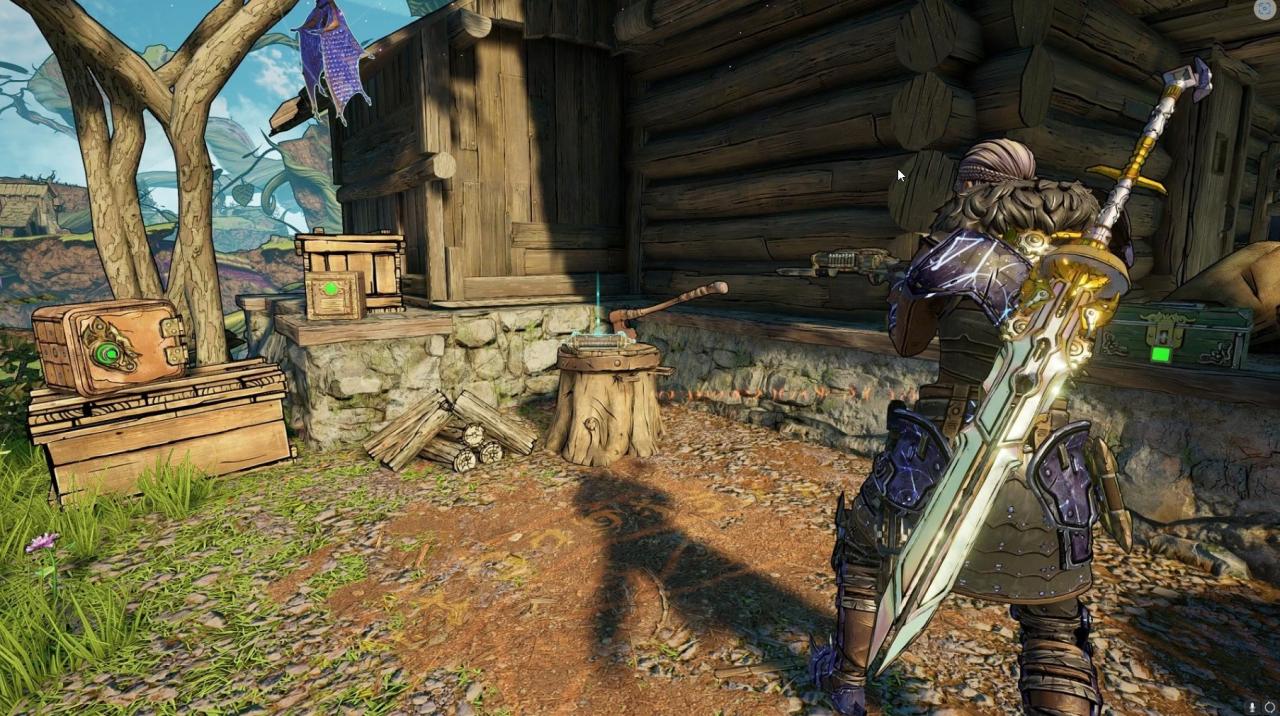
After you defeat Parasite go through the rift. It will take you to a small island with a store called Bunch O’Lute. The scroll will be on the left side of the building.
Mount Craw Scroll Locations
Here are the locations of the Scrolls found in Mount Craw
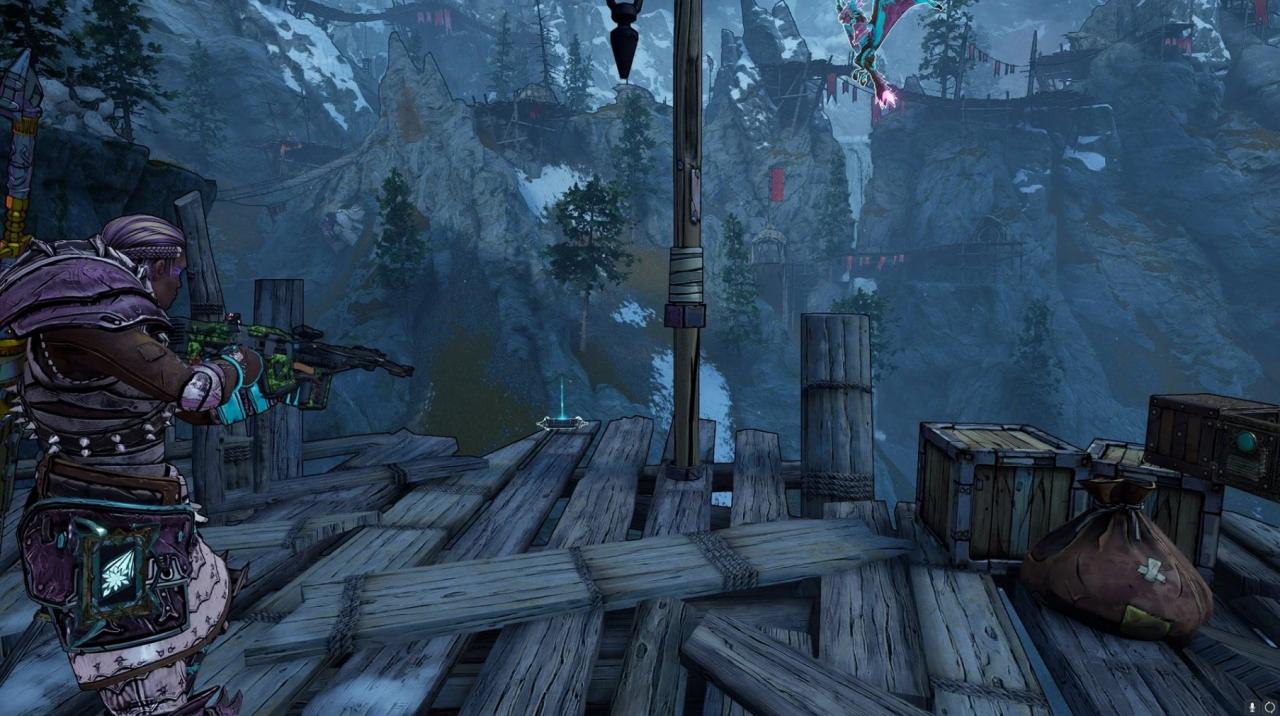
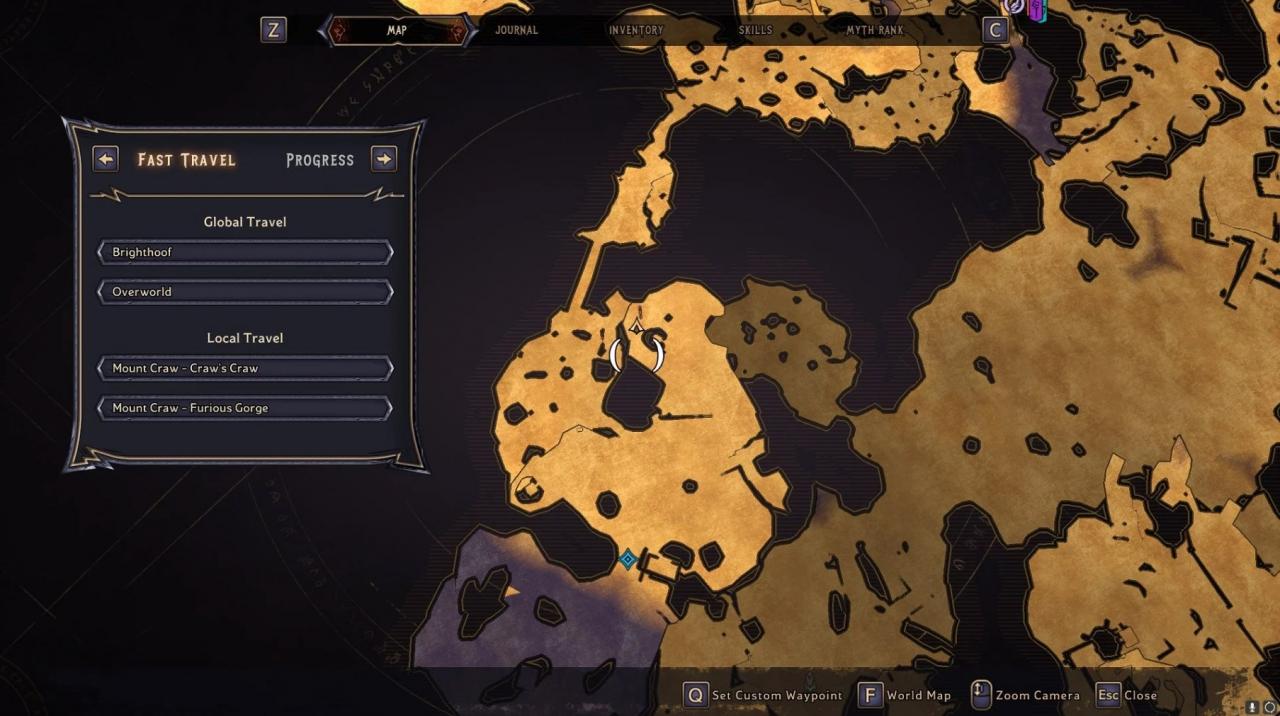
When you enter Mount Craw go down the path towards the vending machines. The scroll will be on the right.
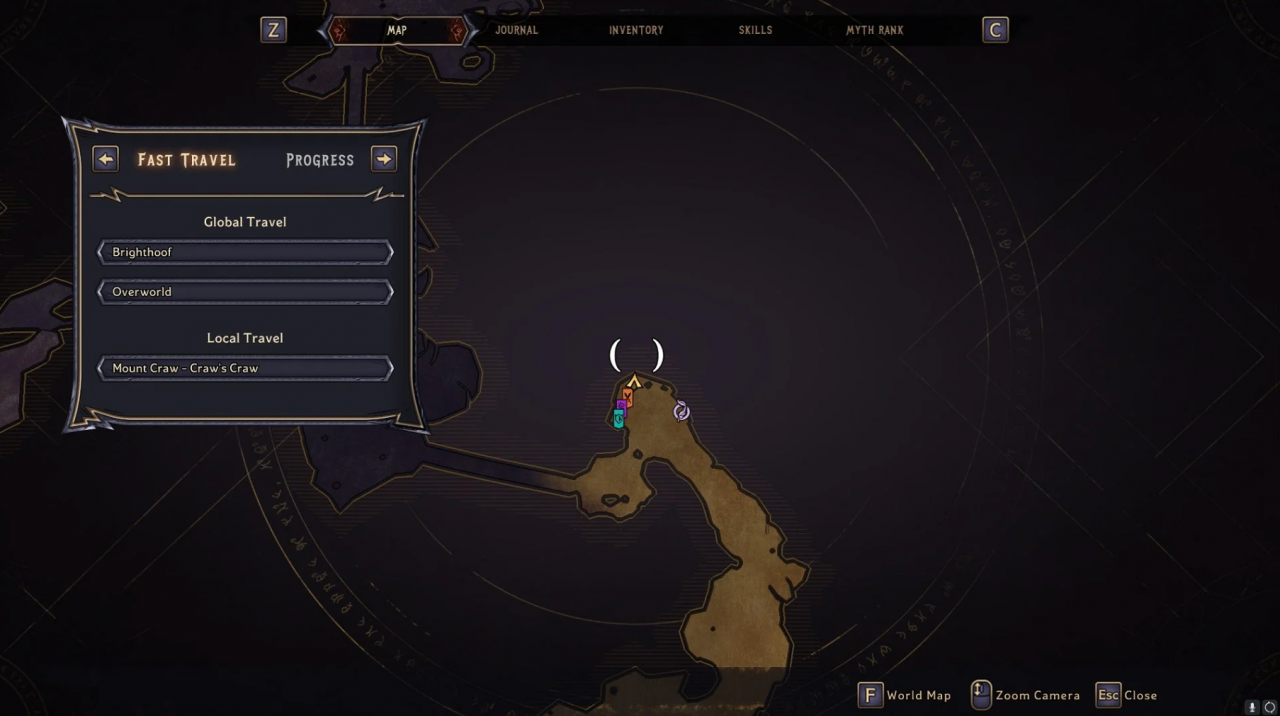

This scroll is located in the Shimmering Loch. Head left and head towards the house up on the hill. Enter the first house on the left and the scroll will be on your left.
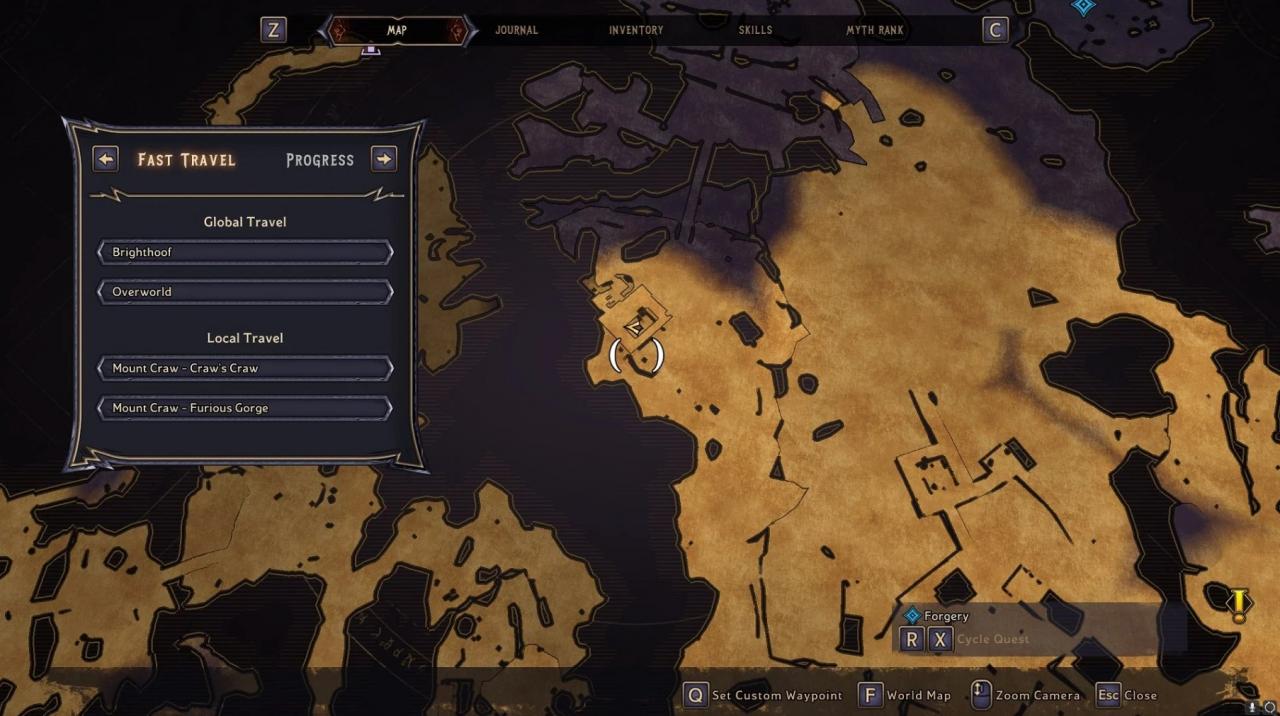
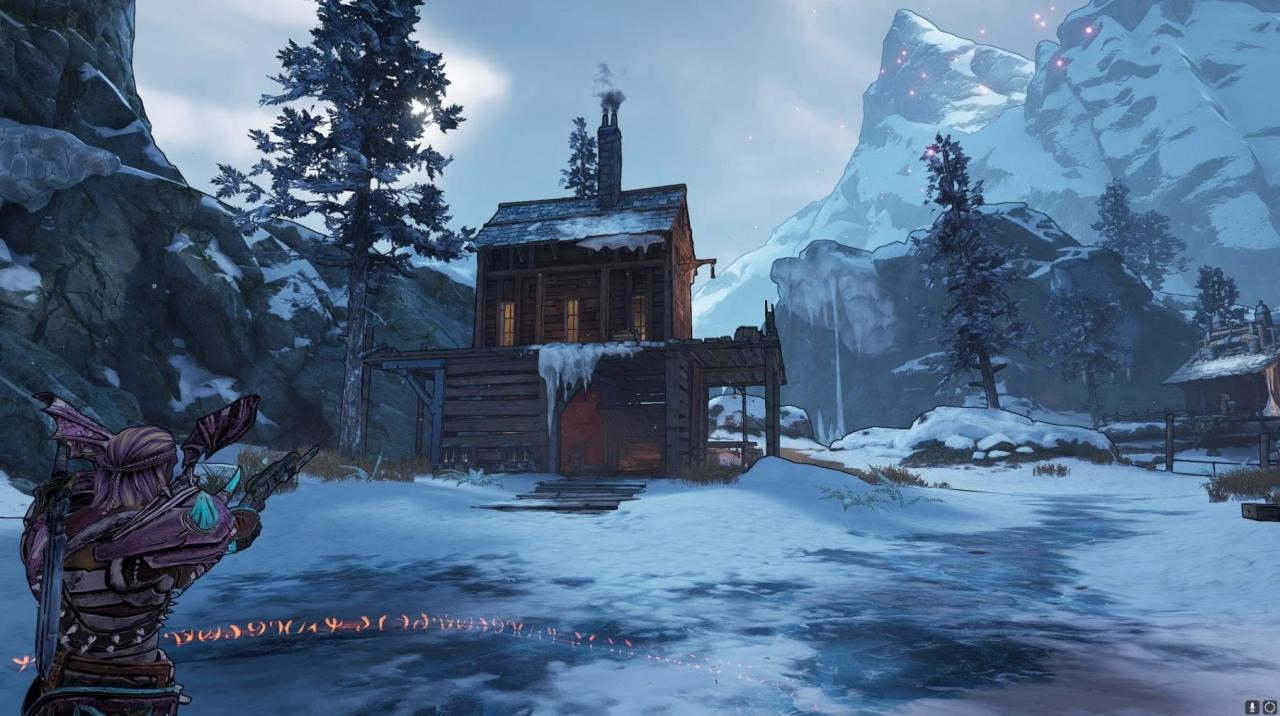
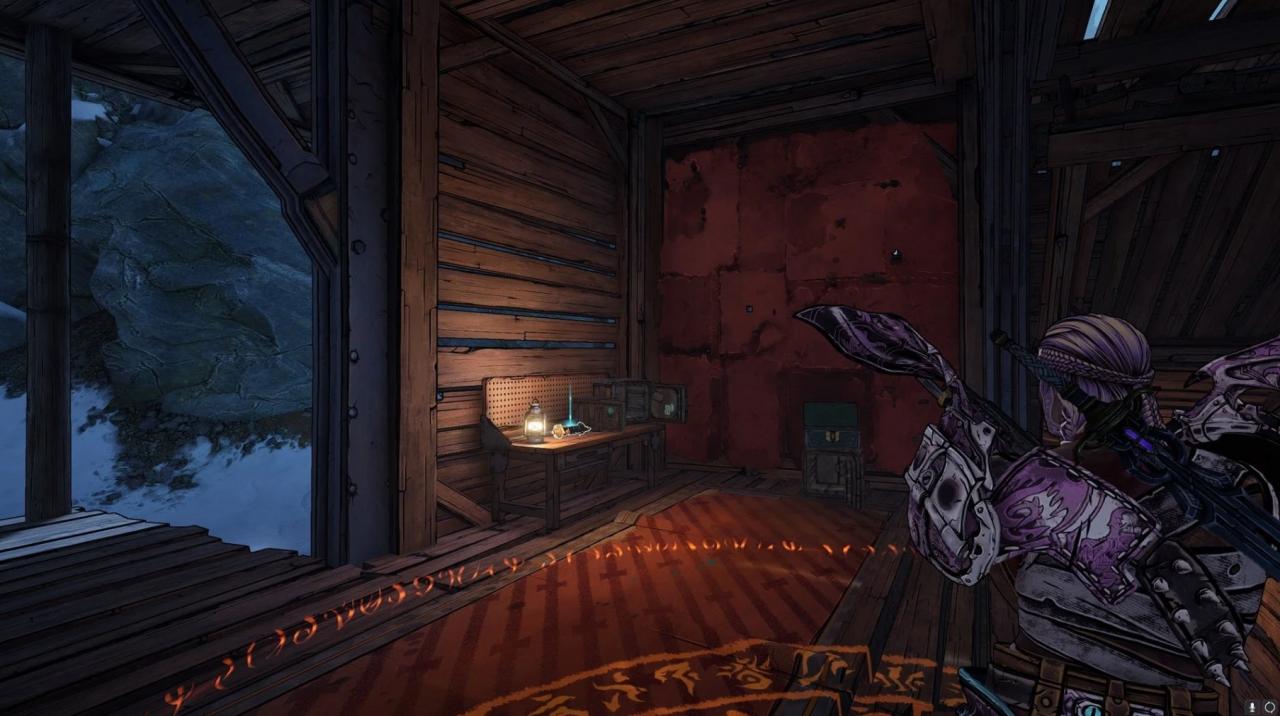
From the Shimmering Loch, head left and take the path up the slope. Pass the houses and turn right to cross the wooden bridge towards Baaldaar’s Lair. From there turn right and walk to the pier. The scroll will be there.
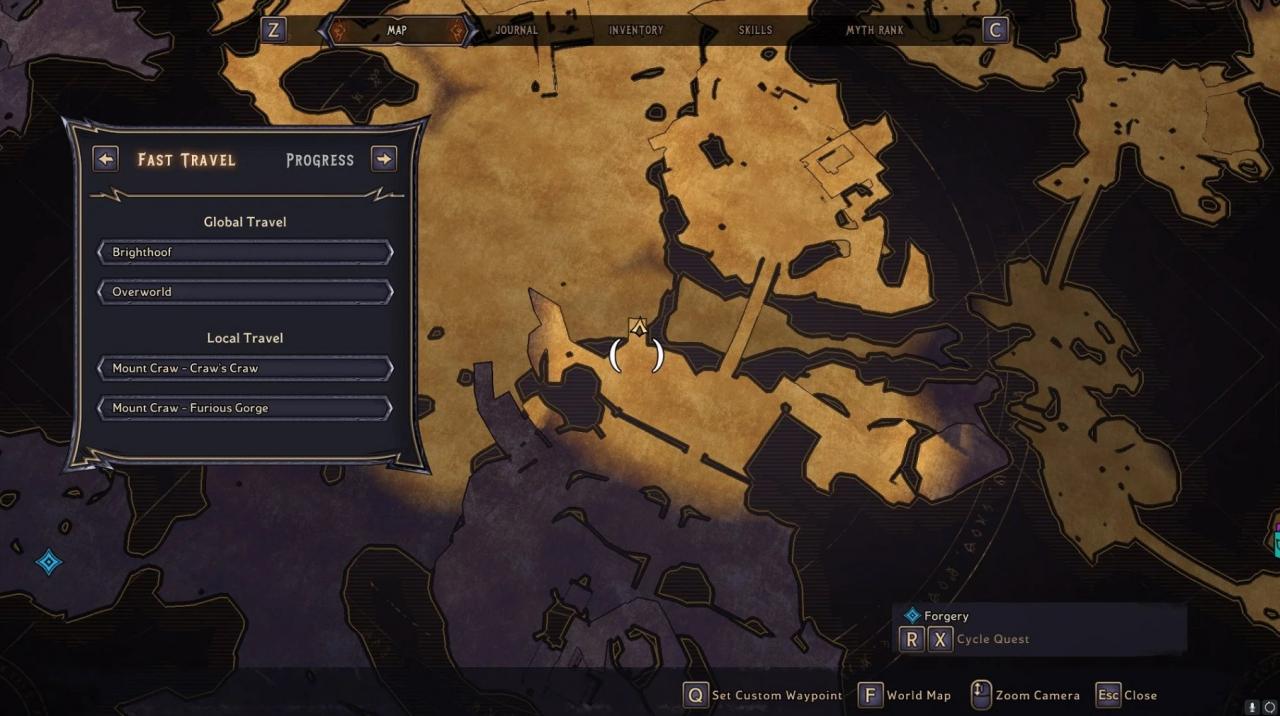

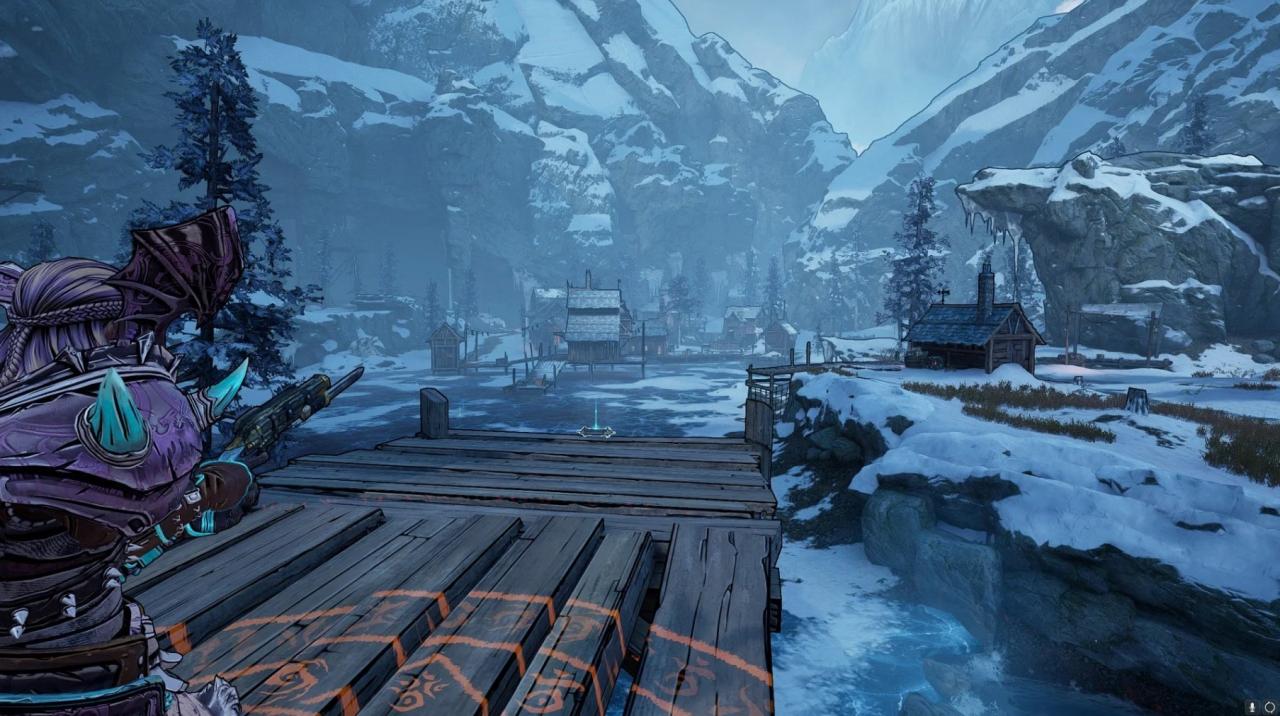
Note: You must be actively working on the Side Quest The Slayer of Vorcanar to gain access to this scroll.
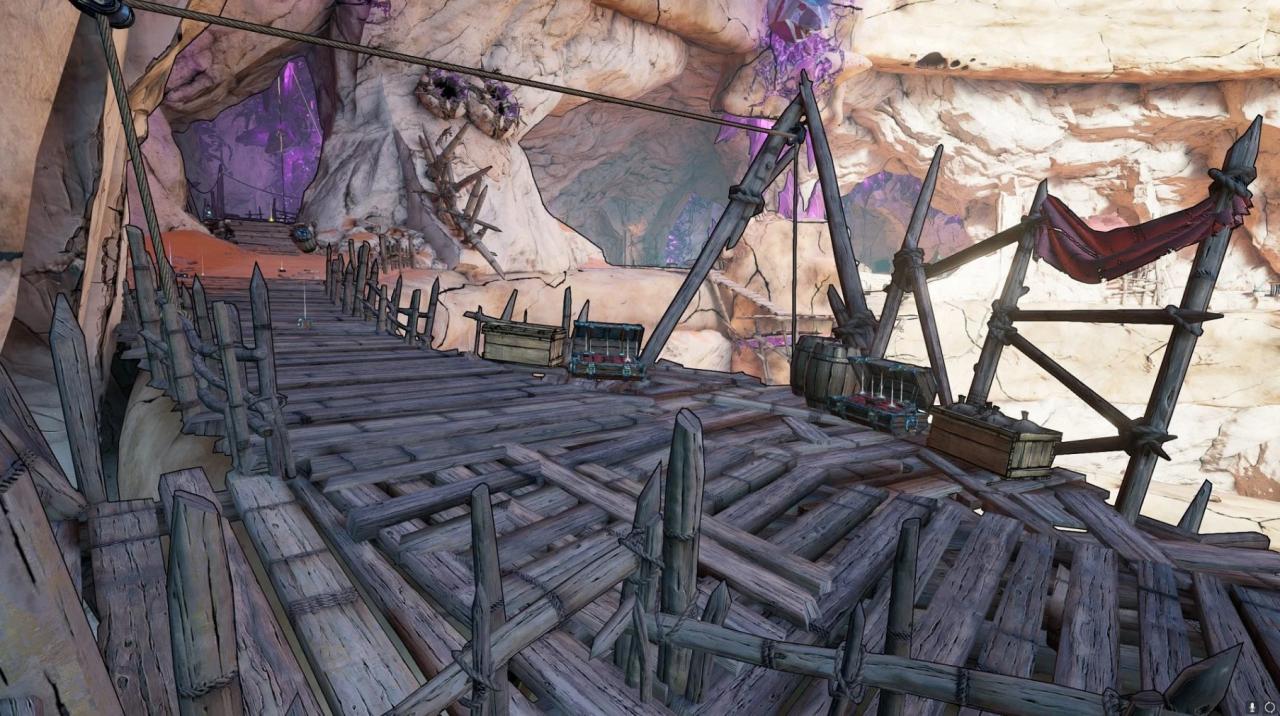
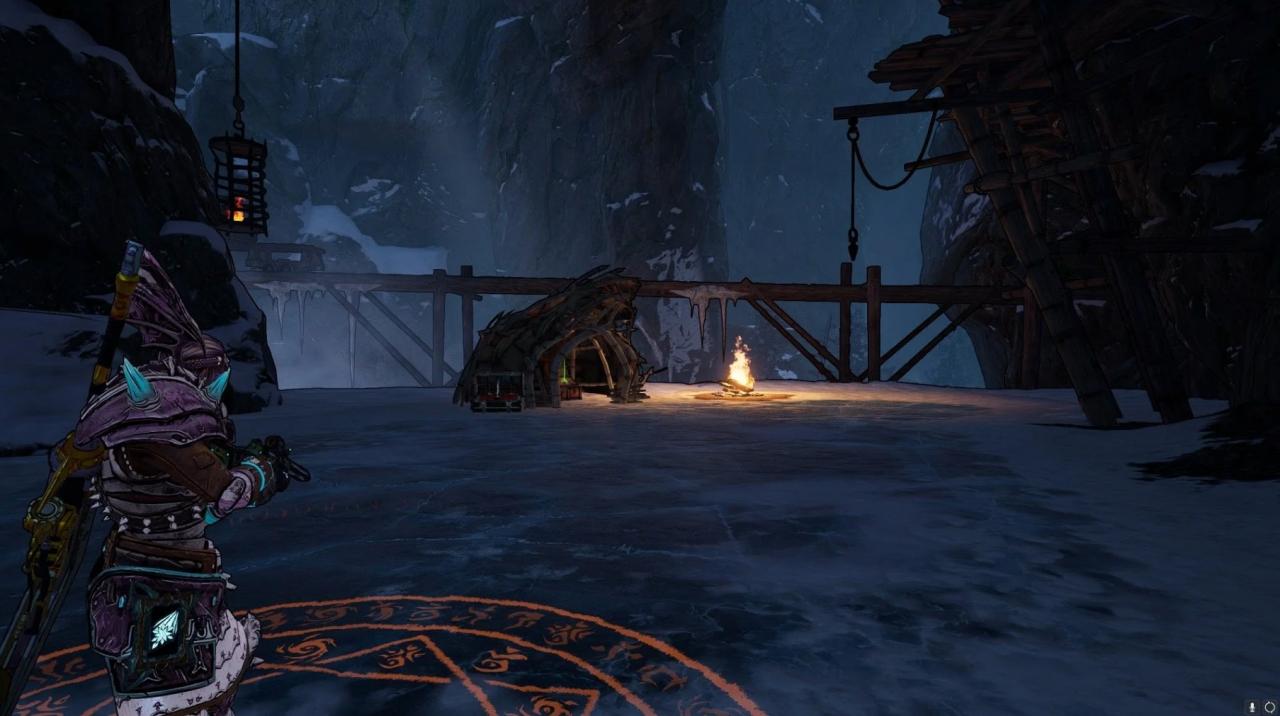
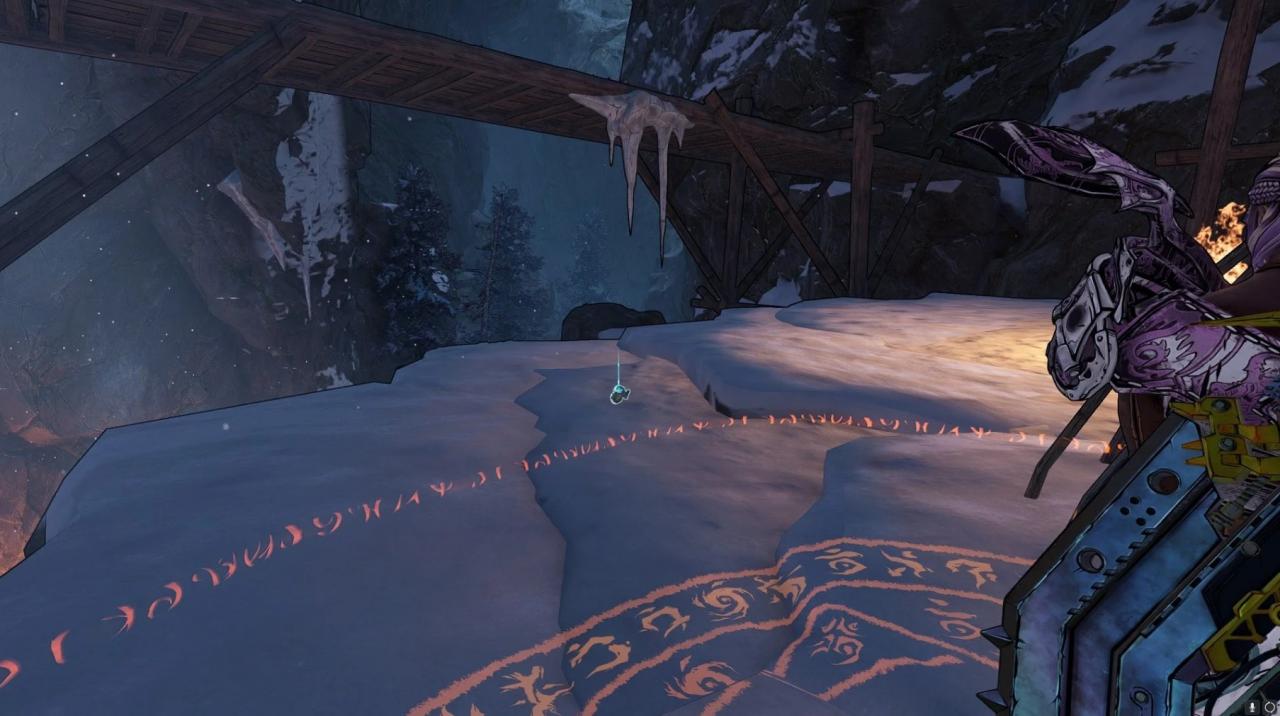
Deep in the Furious Gorge you will enter a large cavern. Keep going straight and cross the long wooden bridge. On the landing, you will see a small goblin hut and a small furnace. Behind the furnace is the scroll.
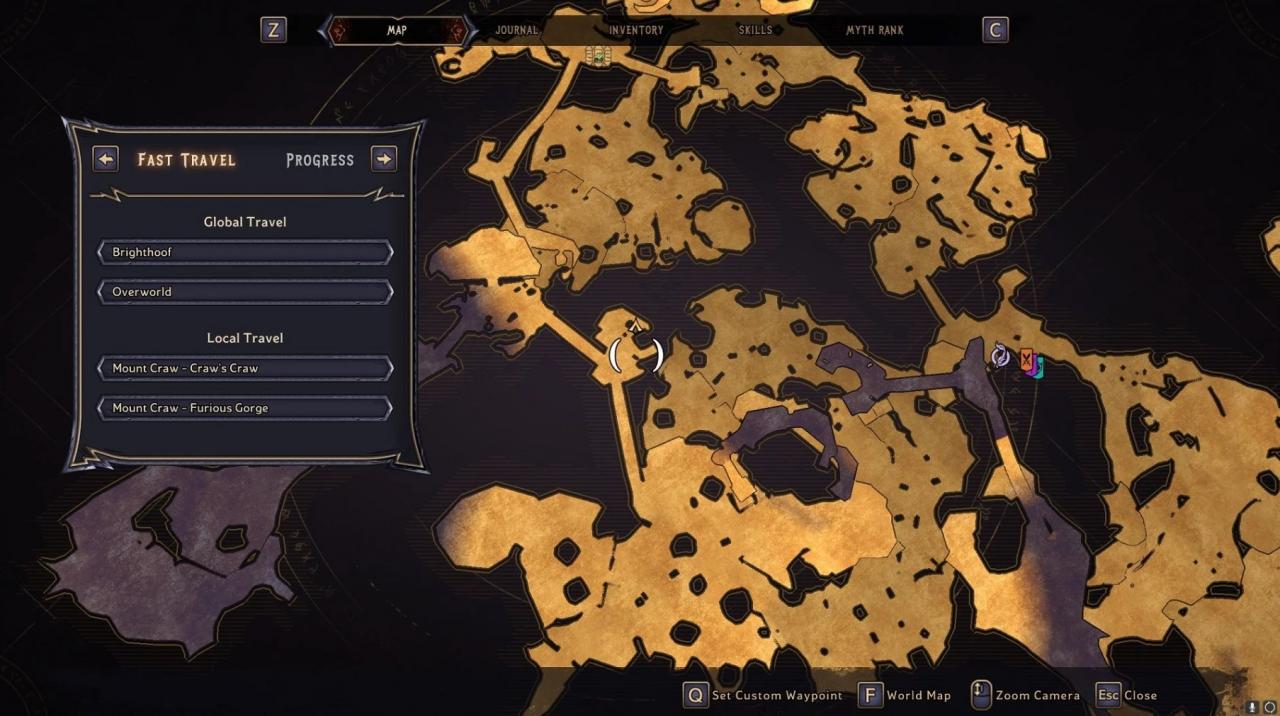
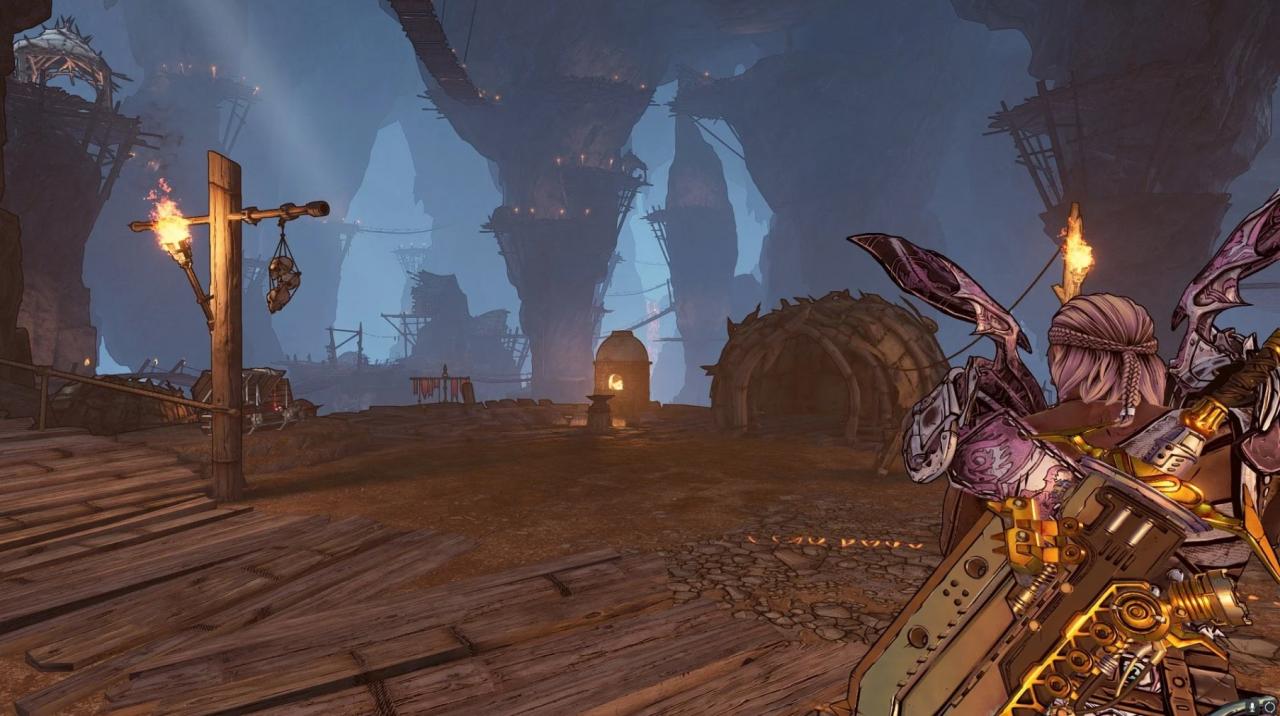
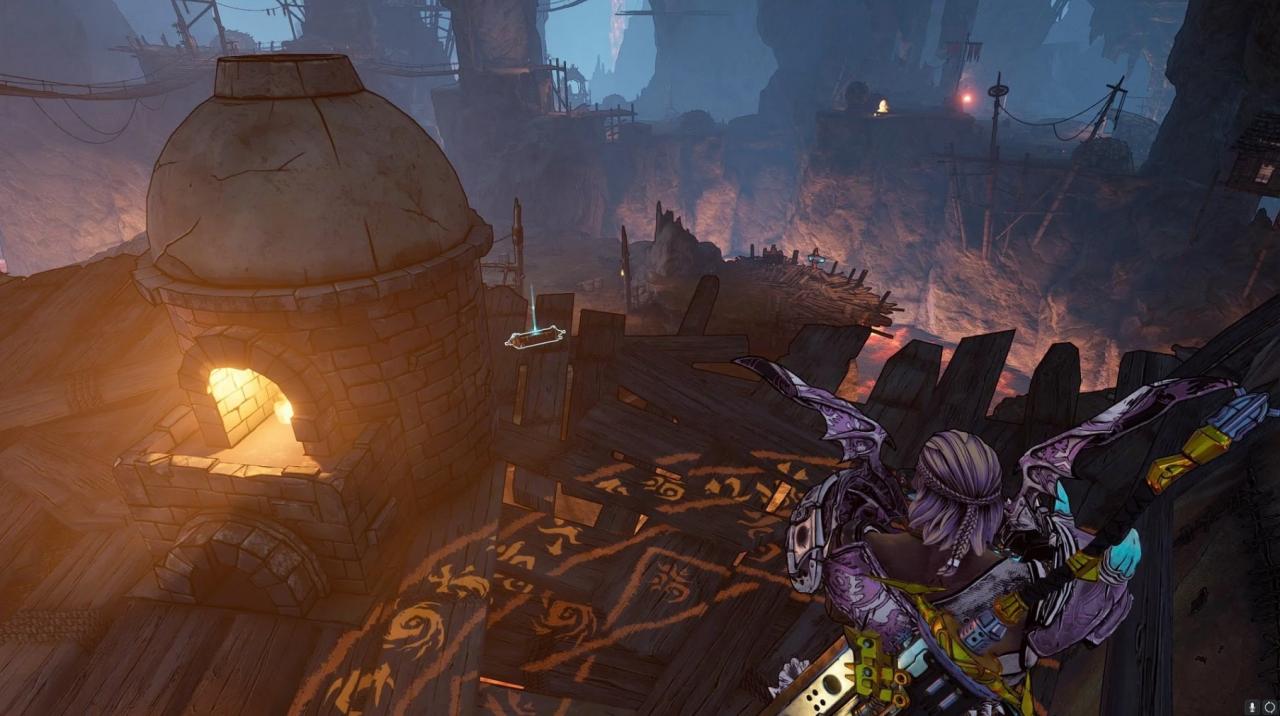
Note: You must be actively working on the Side Quest The Slayer of Vorcanar to gain access to this scroll.
When you enter Tribute Way go left up the stairs and then keep left. You’ll see a goblin hut next to a fire. The scroll will be behind the hut.
Crackmast Cove Scroll Locations
Here are the locations of the Scrolls found in Crackmast Cove.
Enter the Swarthy Cannonade and go left. Follow the path to the house along the beach. The scroll will be by the hammock.
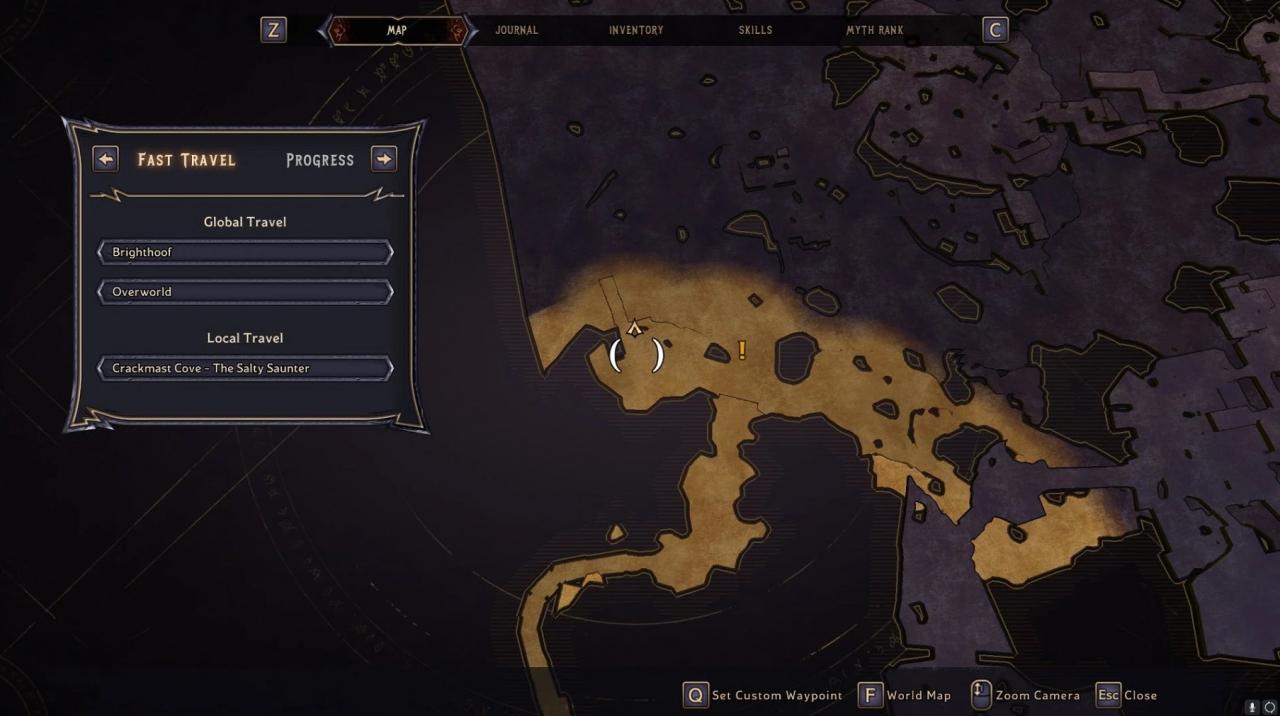
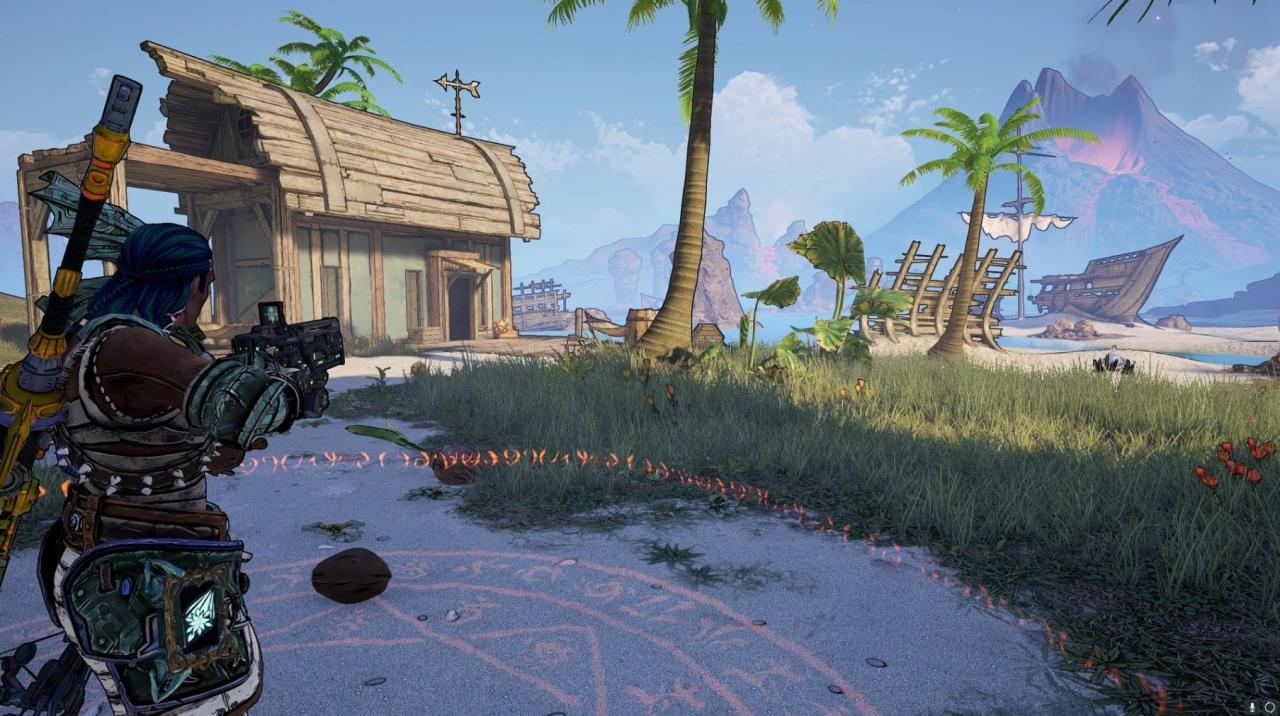
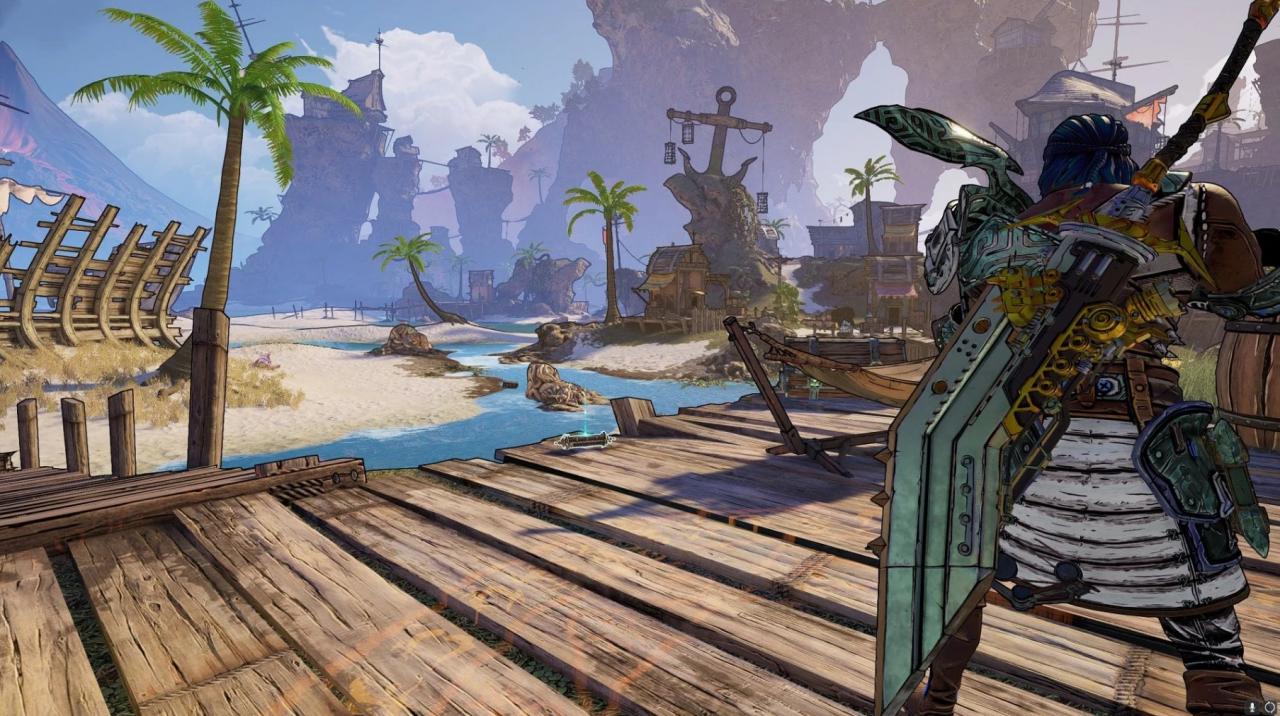
Head through Bonethrow Bay and go towards the beach. To the left, at the foot of the mountains will be a short pier. The scroll will be there.
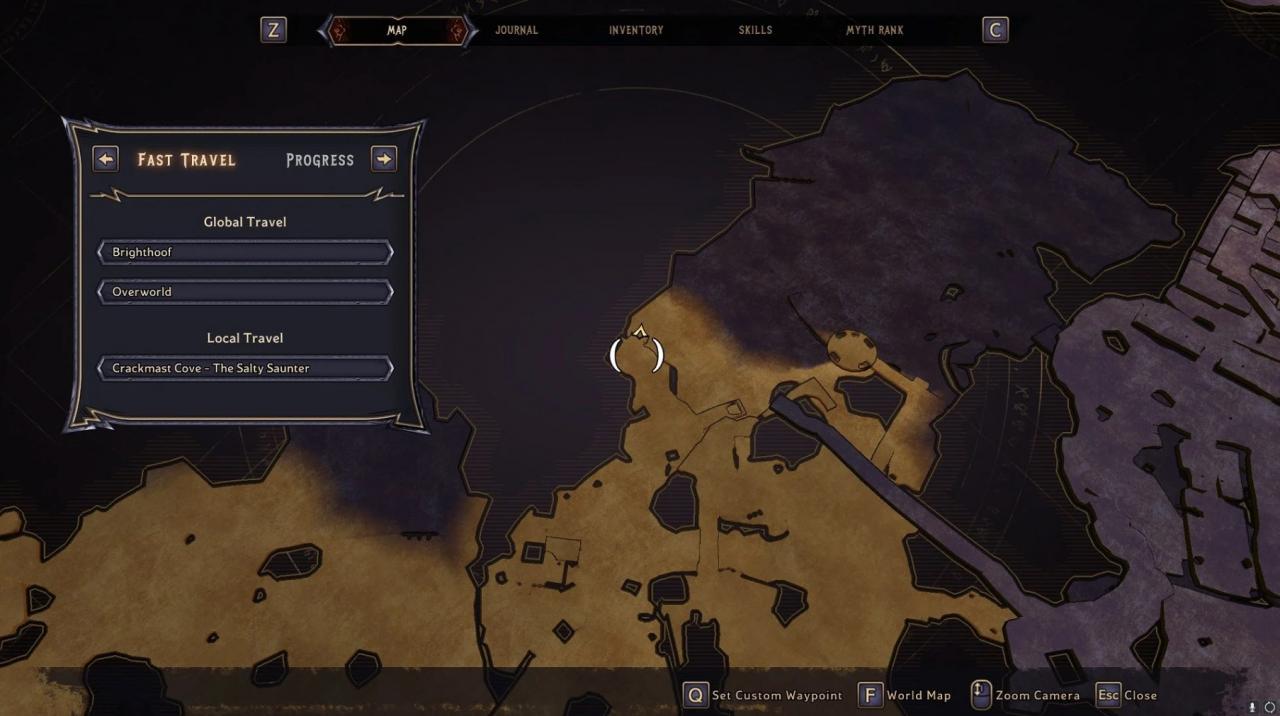
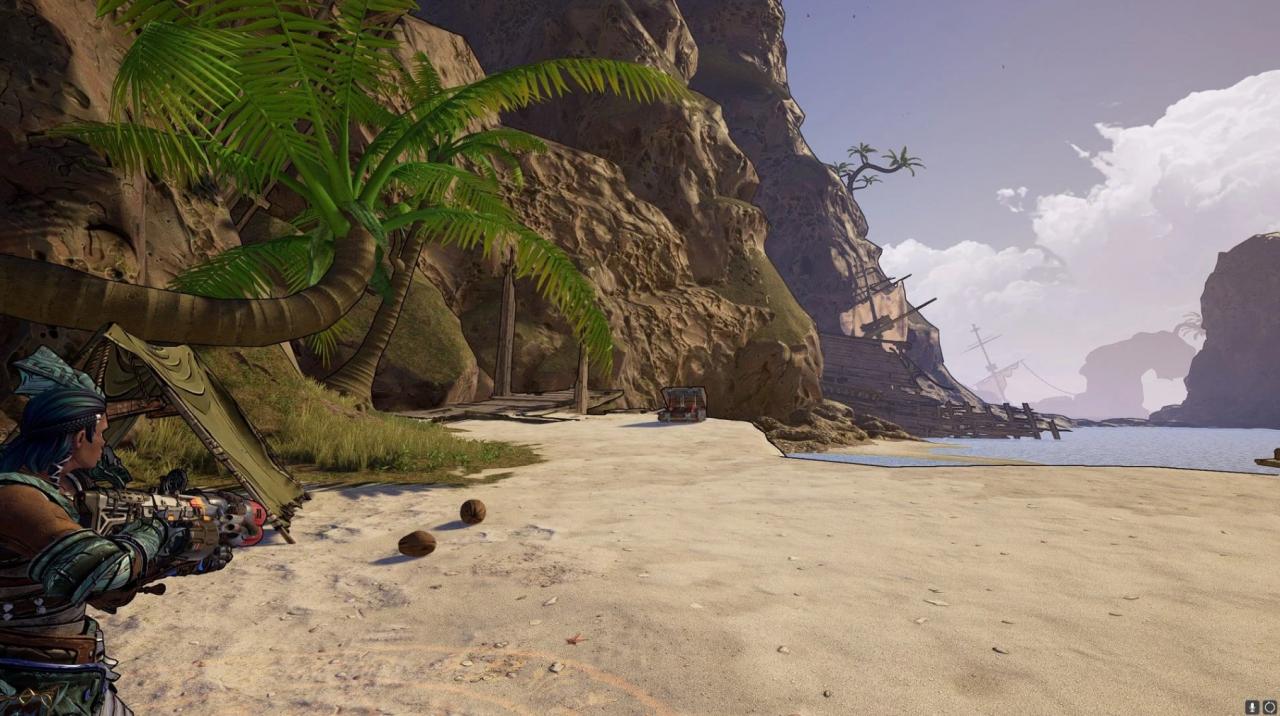
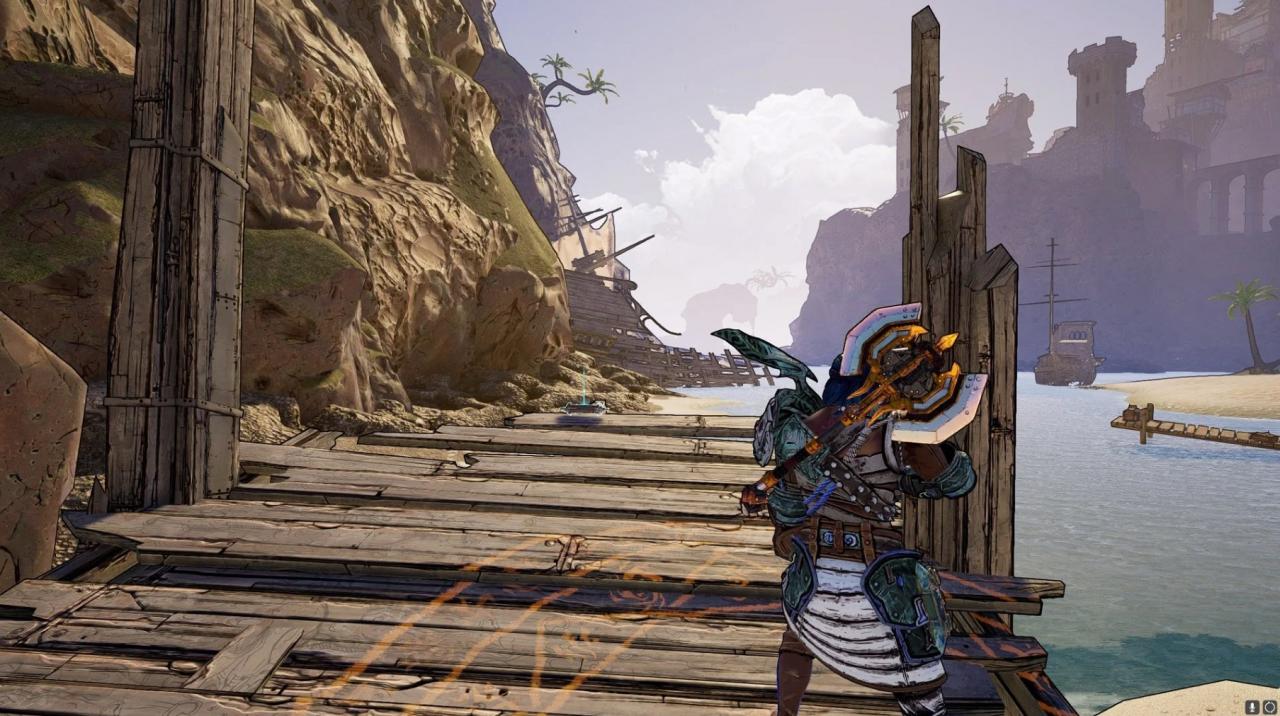
Note: You must be actively working on the Side Quest The Trial of Crooked-Eye Phil to gain access to this scroll.
Enter Scallywag Landing and look to your right. The scroll will be next to the cannon.
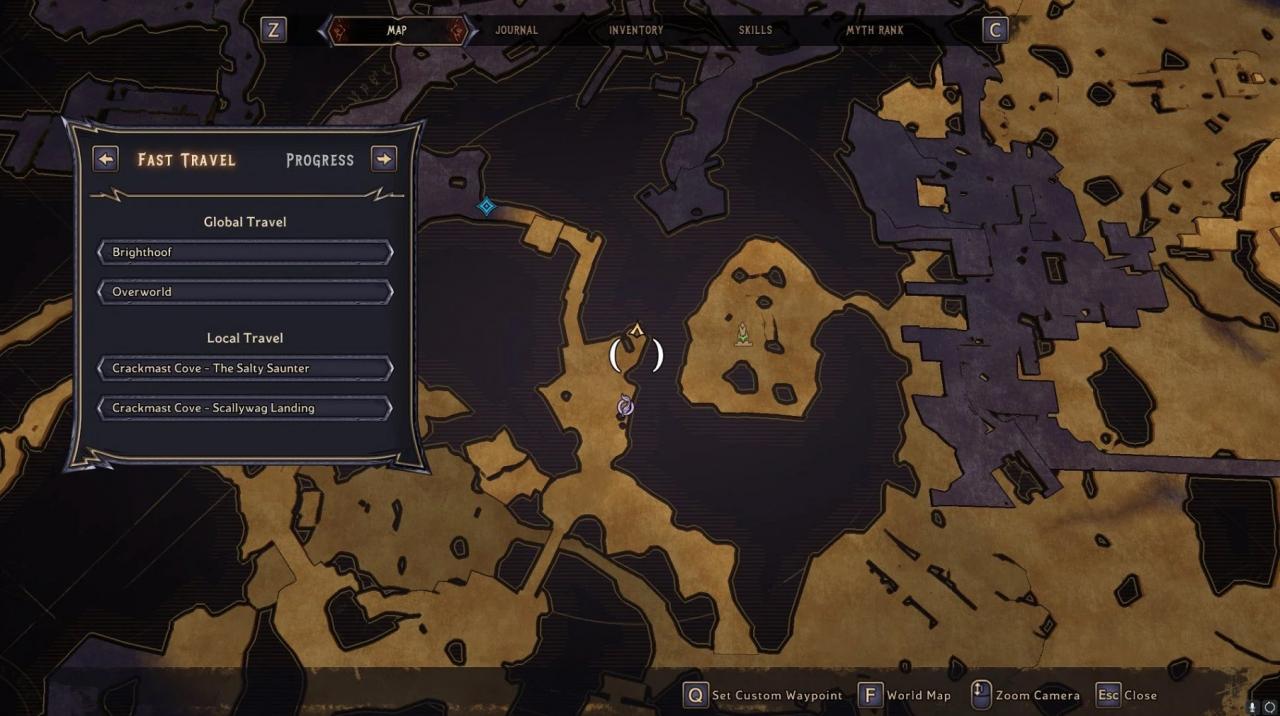
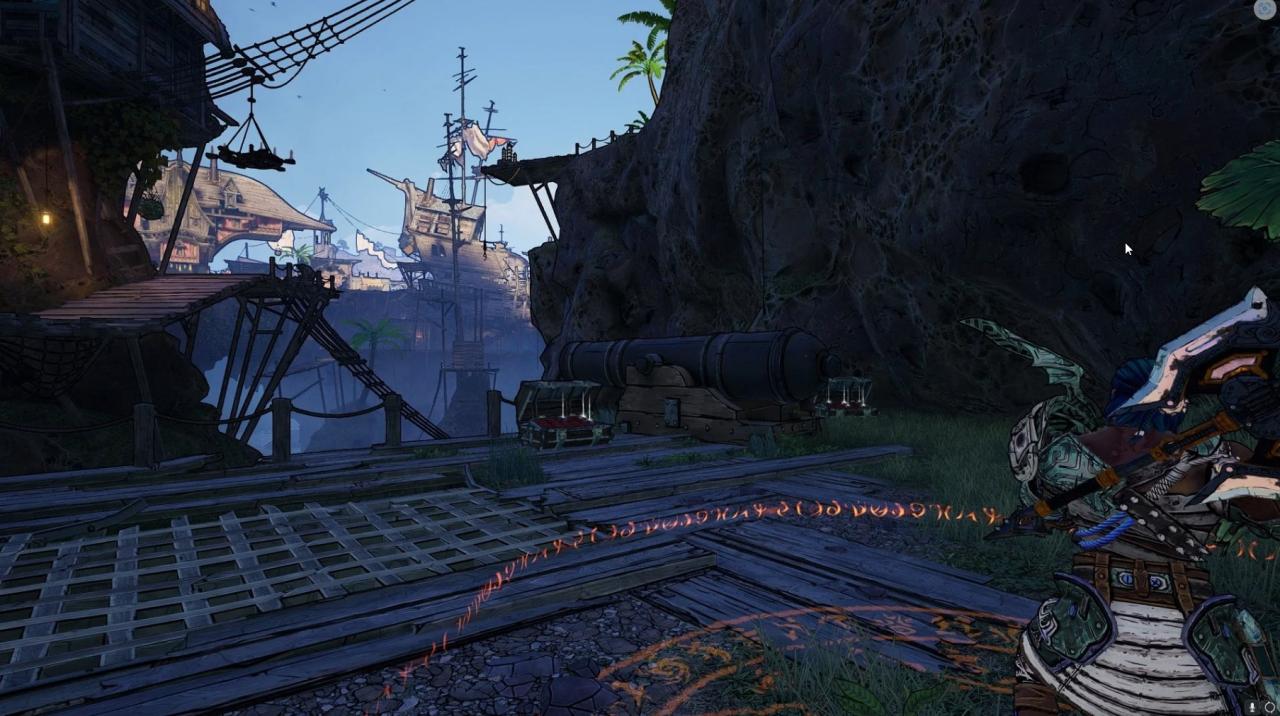
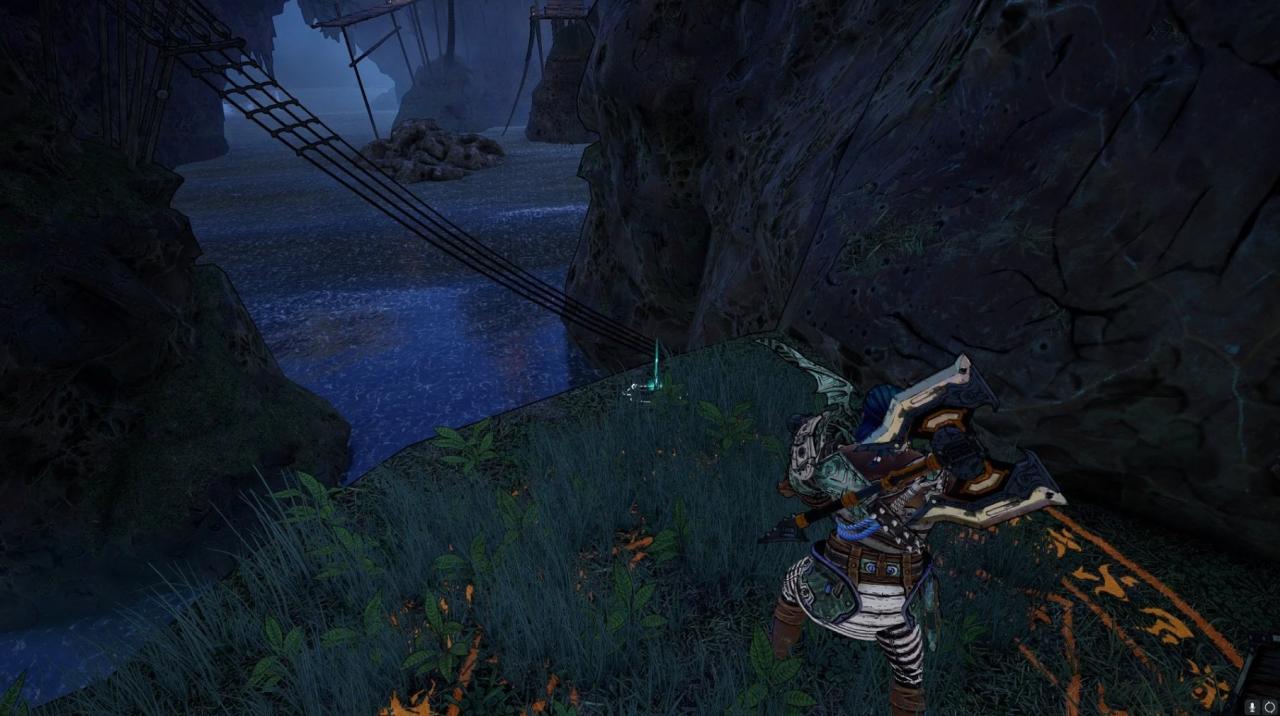
Note: You must be actively working on the Side Quest The Trial of Crooked-Eye Phil to gain access to this scroll.
After you destroy the totems in Scallywag Landing, Churl Finbreaker opens a locked gate for you. Make your way into this next section of the Landing. Go all the way to the end, until you see a coral-colored house. Go up the stairs and go to the right side of the house. The scroll will be on a crate.
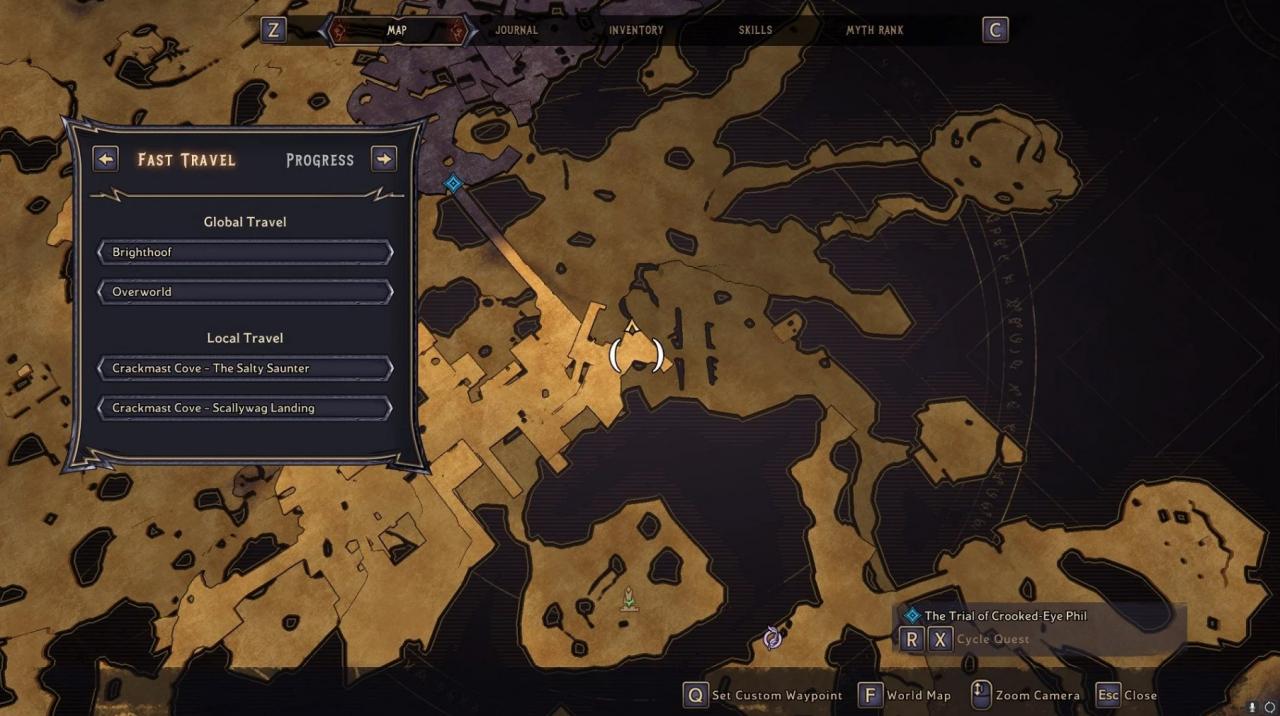
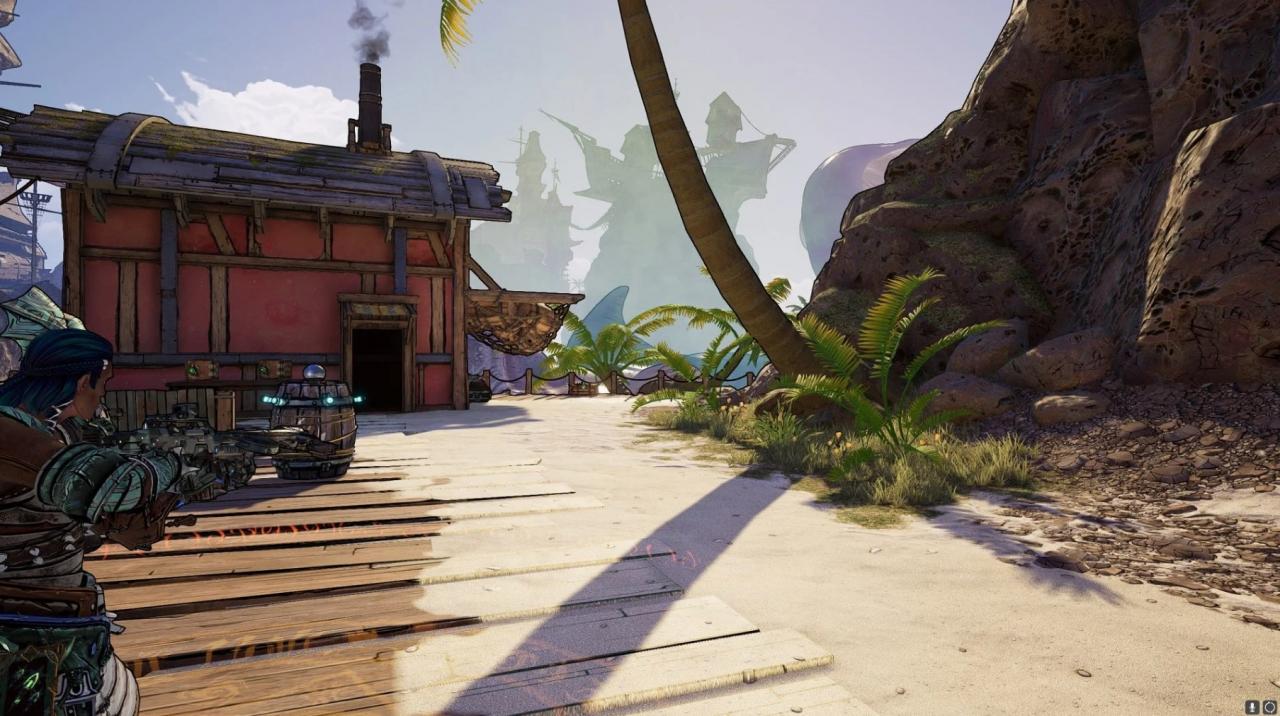
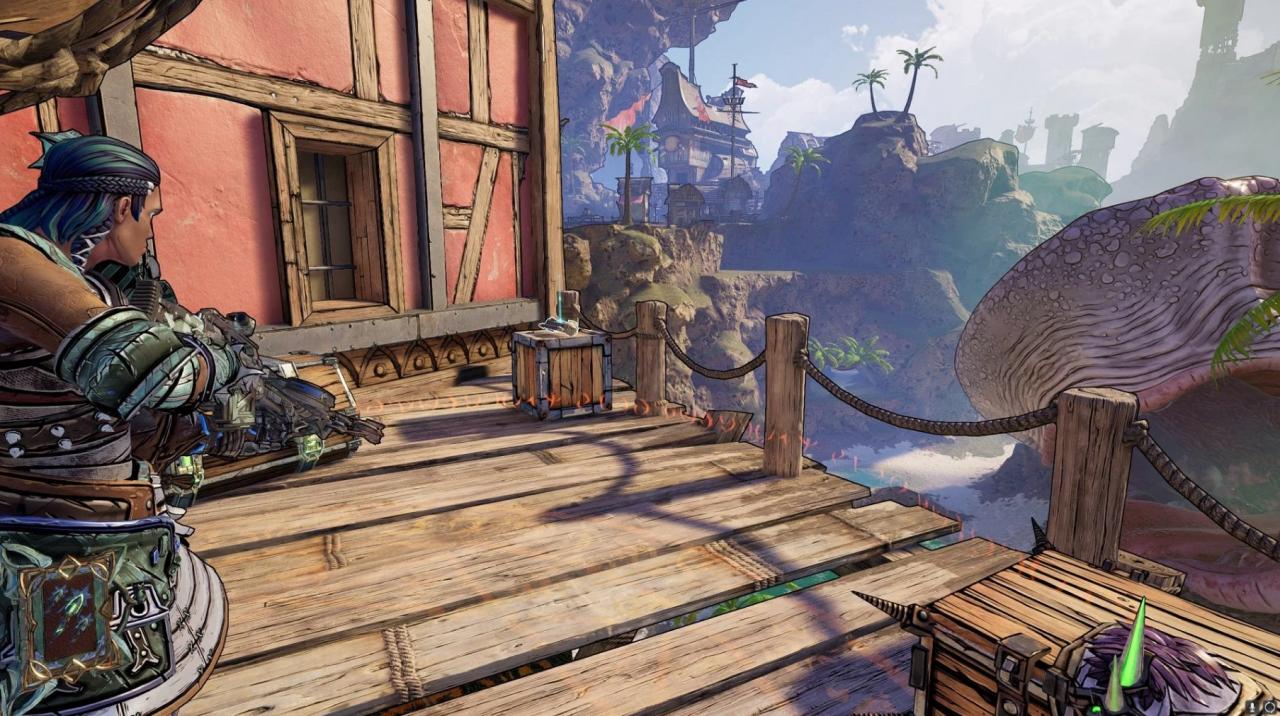
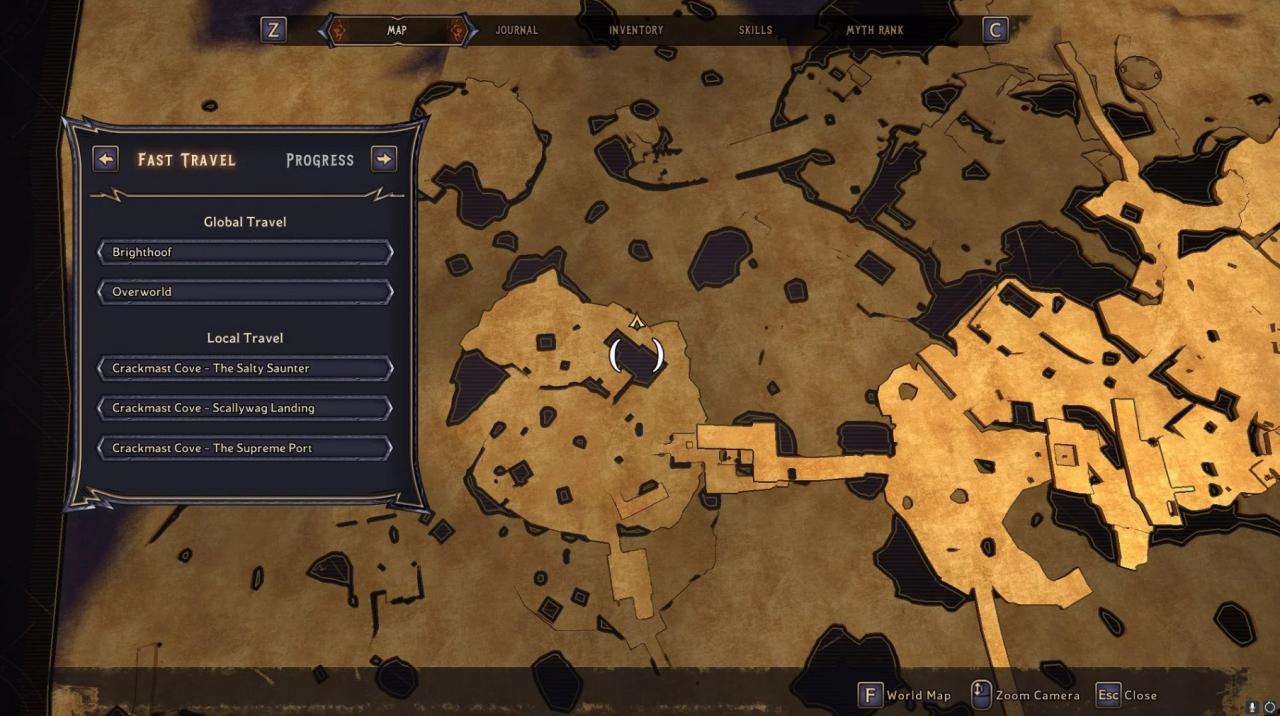
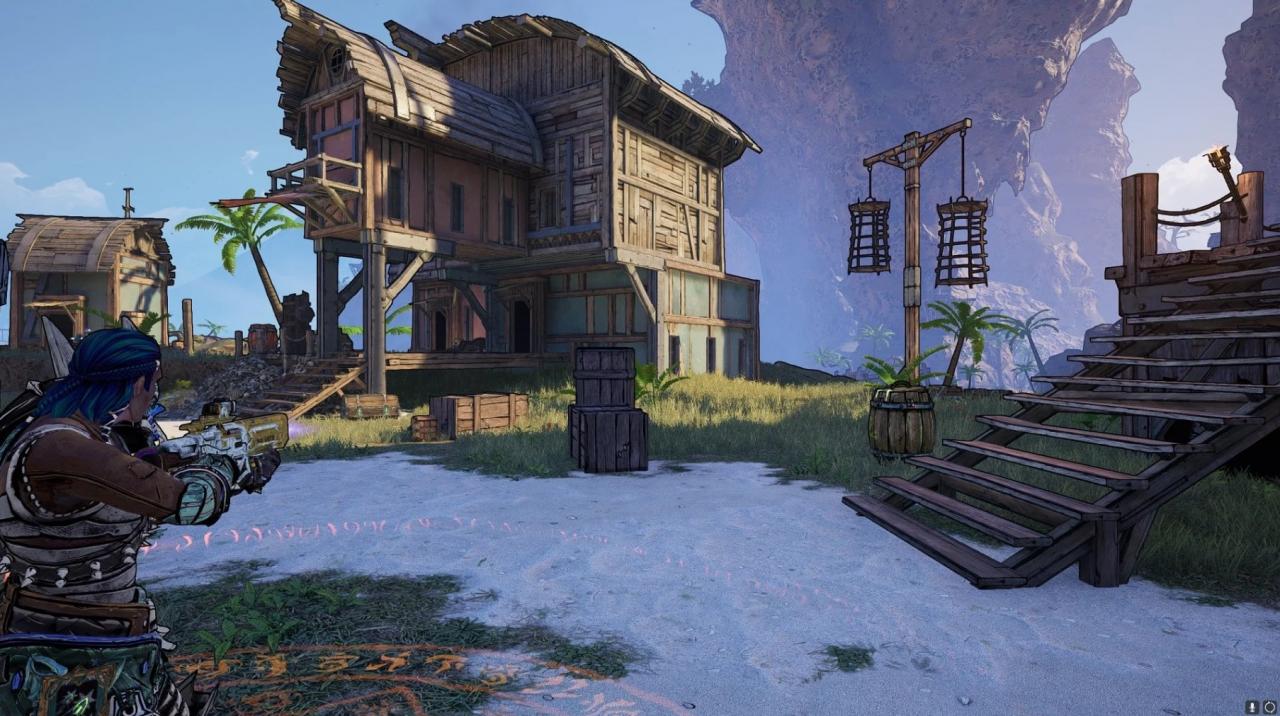
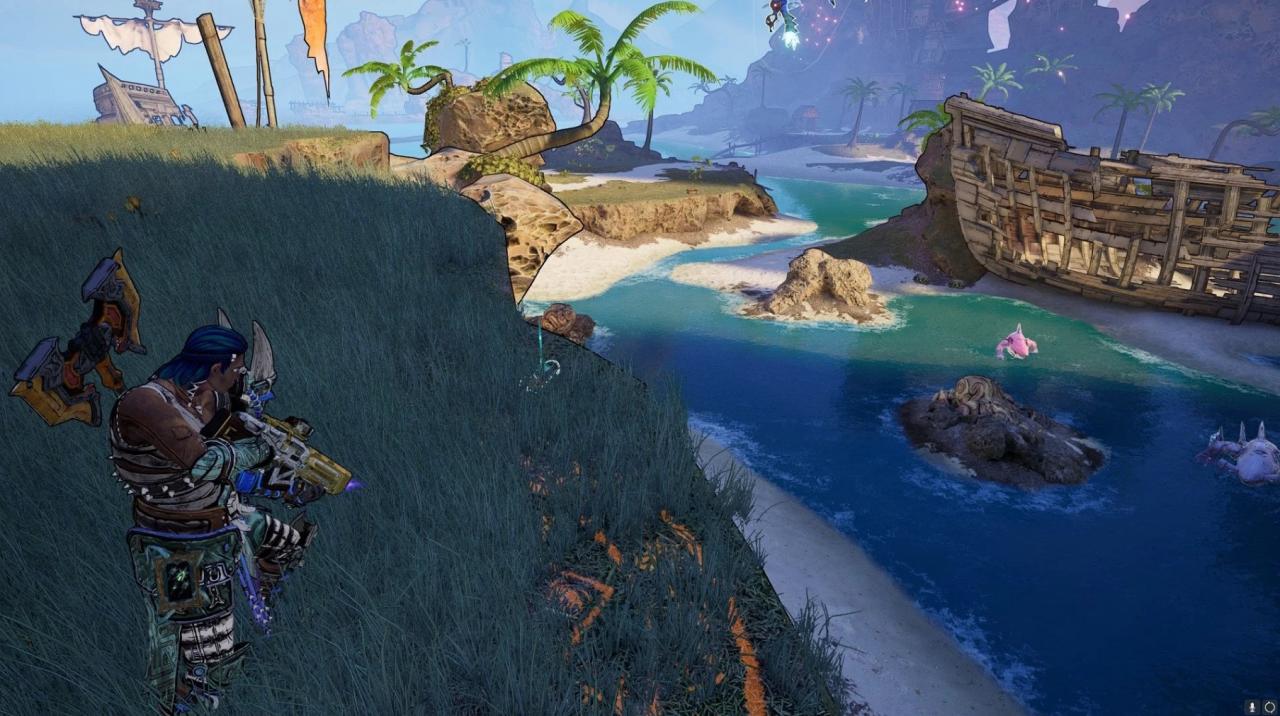
In Judgment’s Way, go to the left of the tall building where there is a smaller two-story house. Go around the back and look in the grass. You will find the scroll there.
Drowned Abyss Scroll Locations
Here are the locations of the Scrolls found in Drowned Abyss.
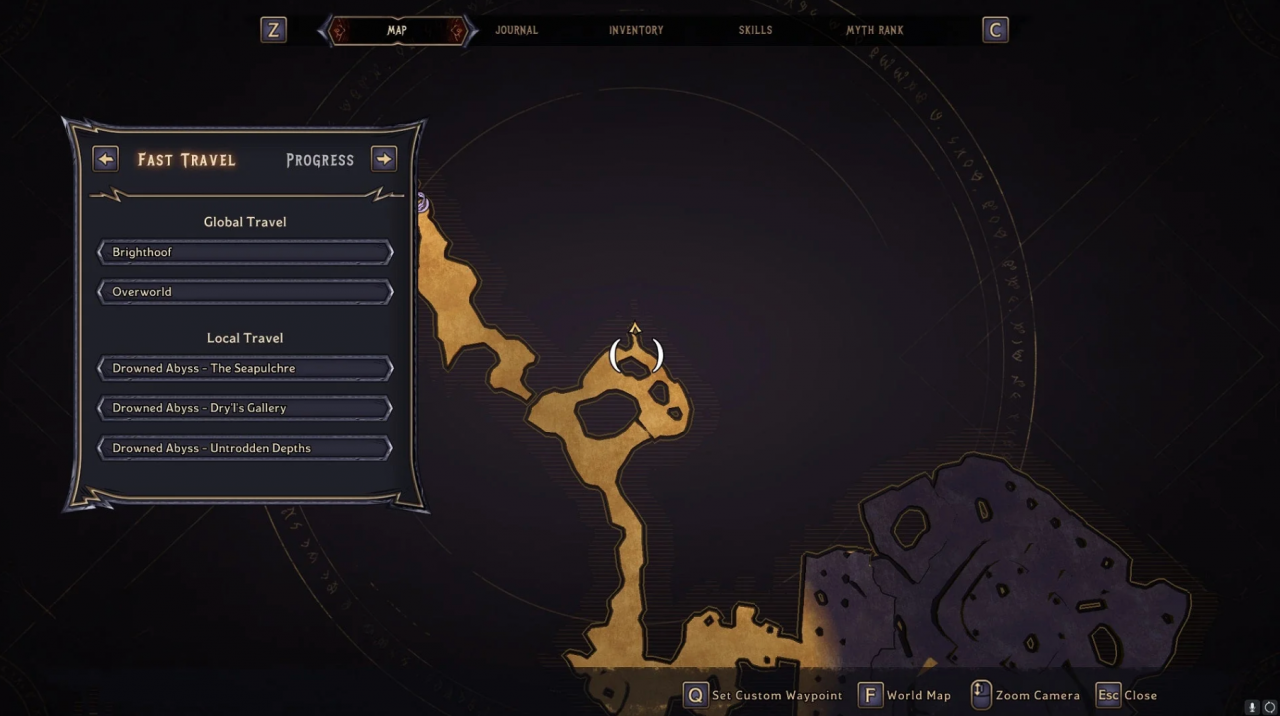
When you first enter the Abyss head north along the path in the Untrodden Depths. Go past the large orange coral.
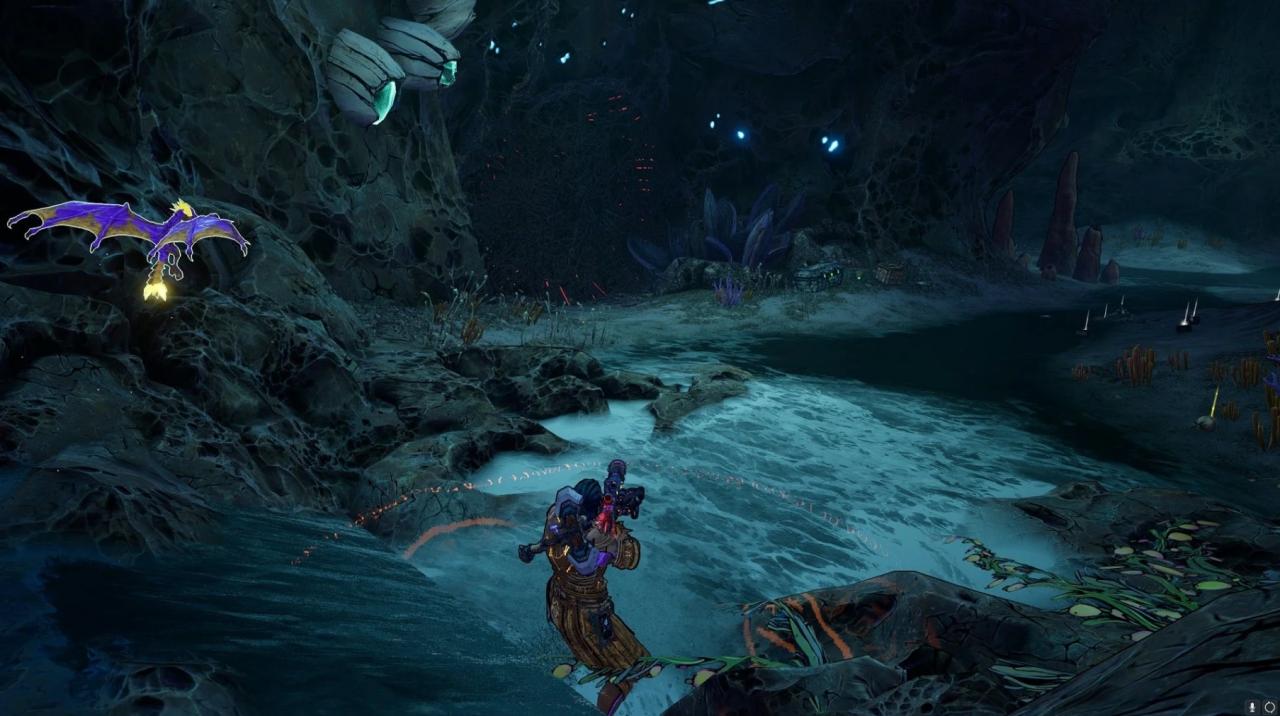
To your left, you will see a red bramble barrier. Melee it. Look left and you will see two waterfalls. Go through the second one and the scroll will be there.
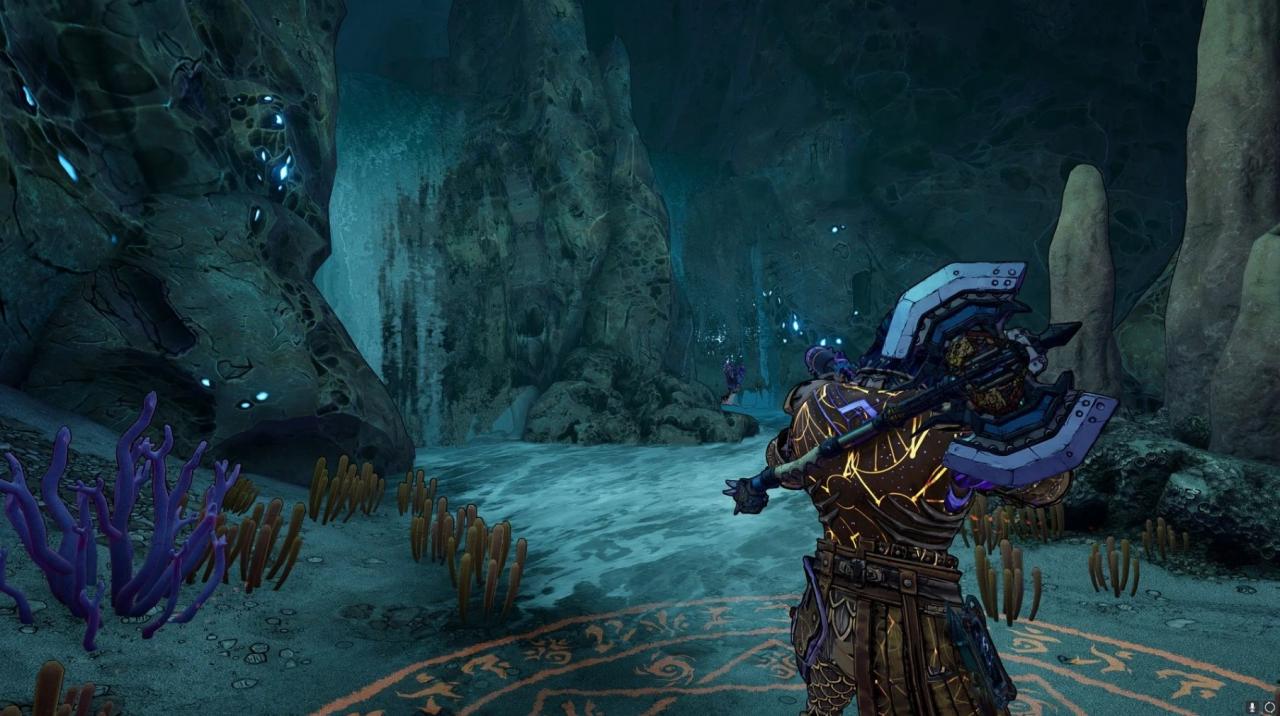
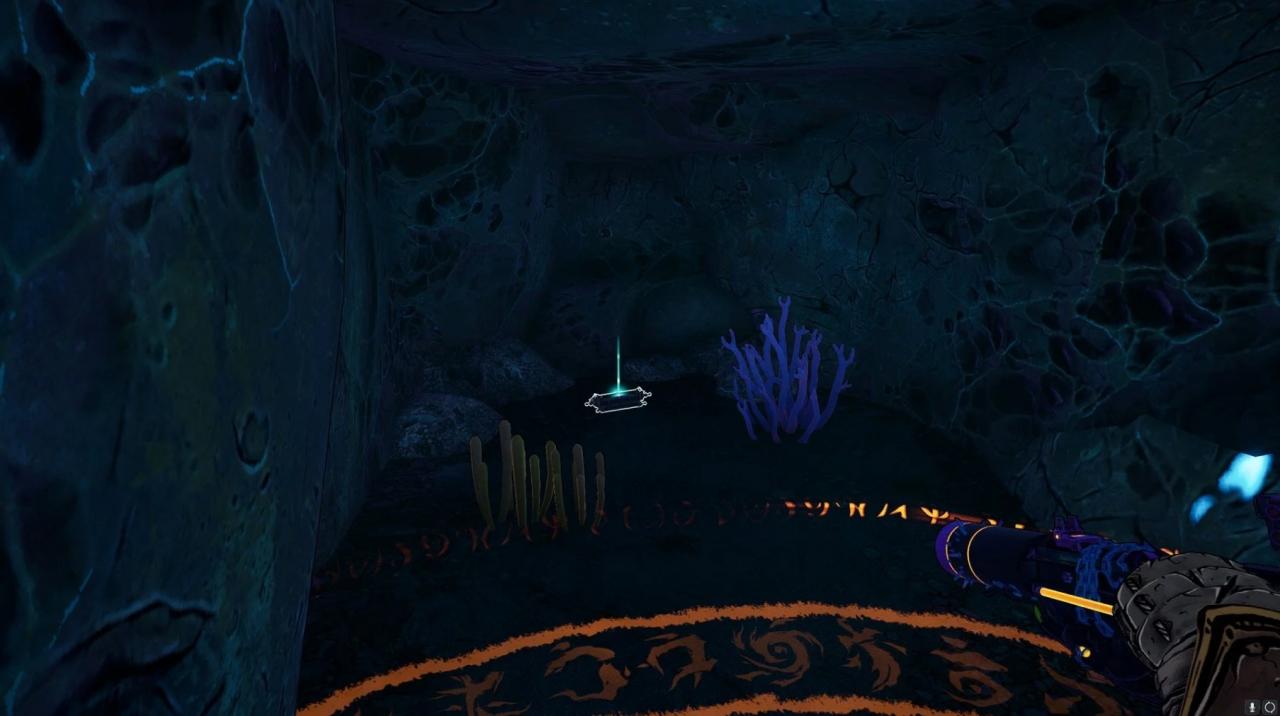
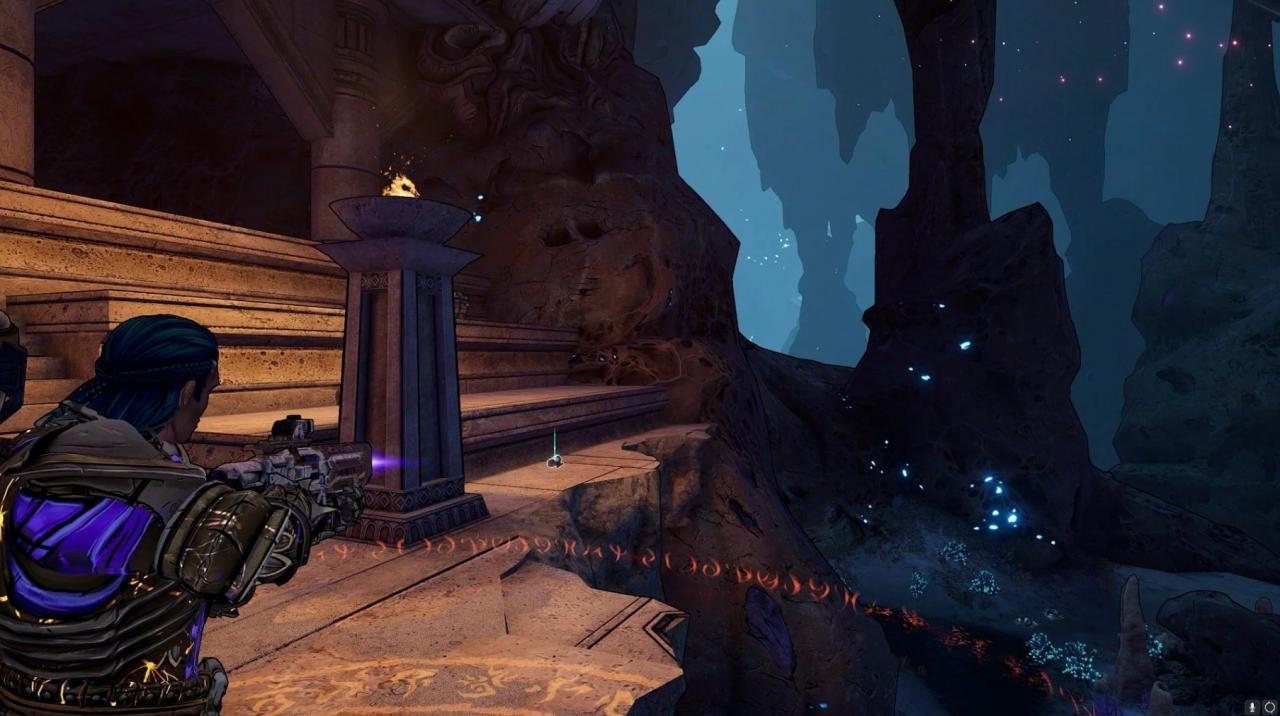
Go to the Temple of the Slithersong. The scroll is located on the second level of the Temple. To get to this scroll, use the second entrance into the temple located along the path from the Untrodden Depths to the Seapulchre. Go down the stairs and turn left. The scroll will be behind the fire pillar.
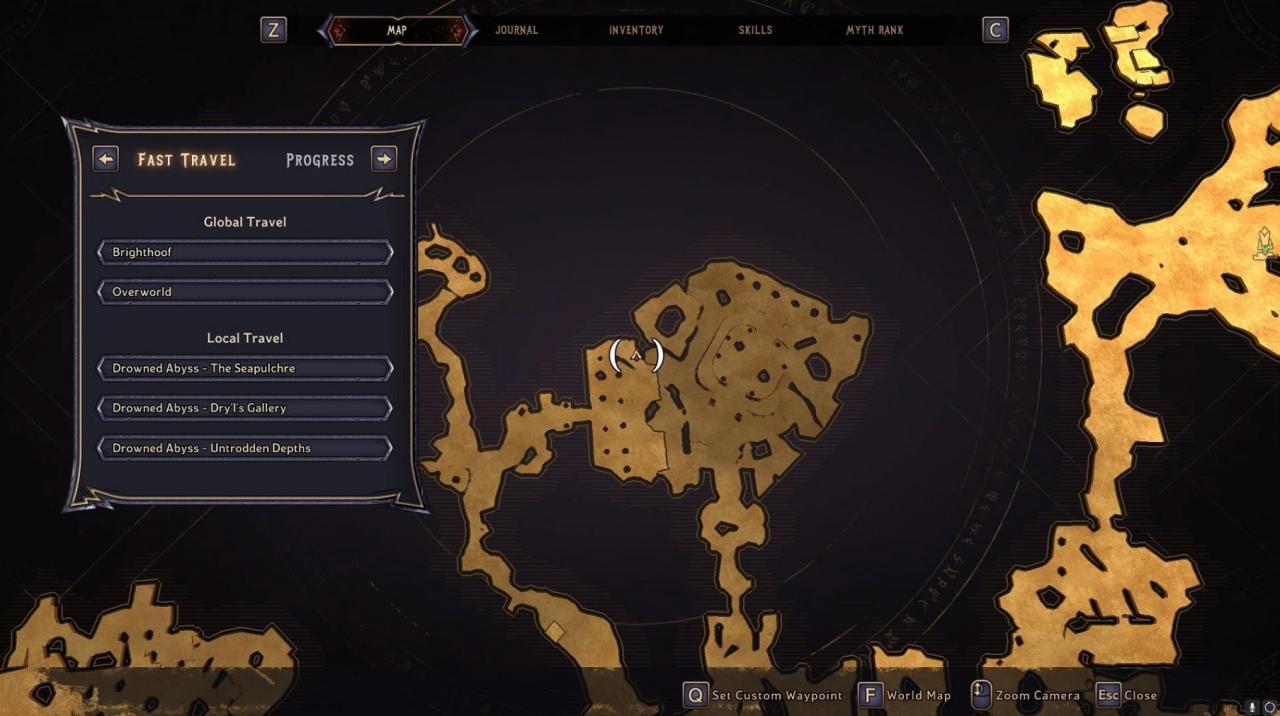
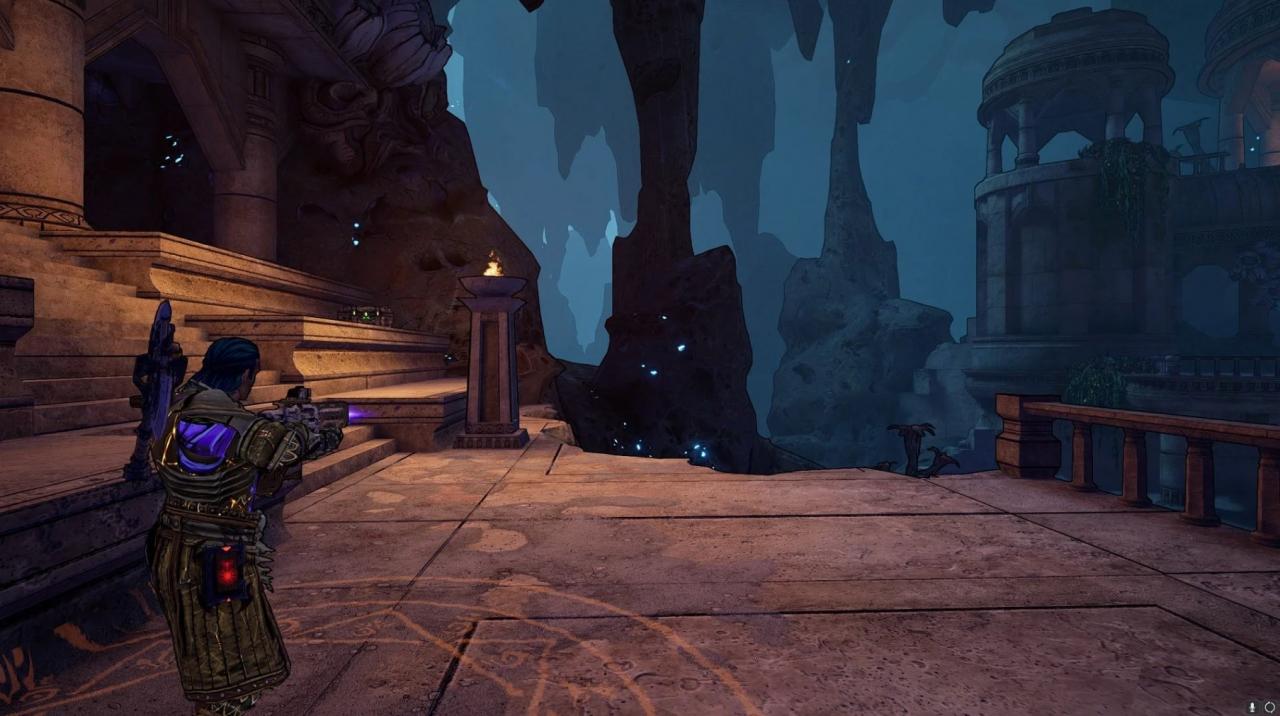
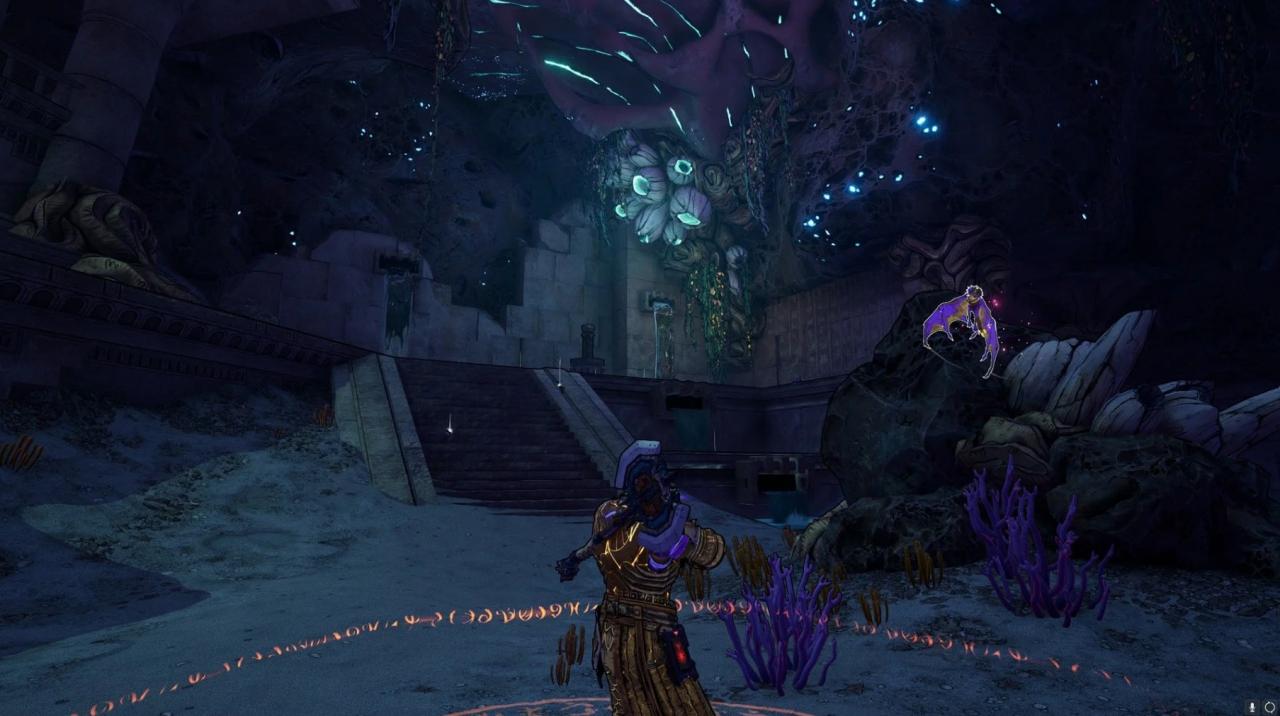
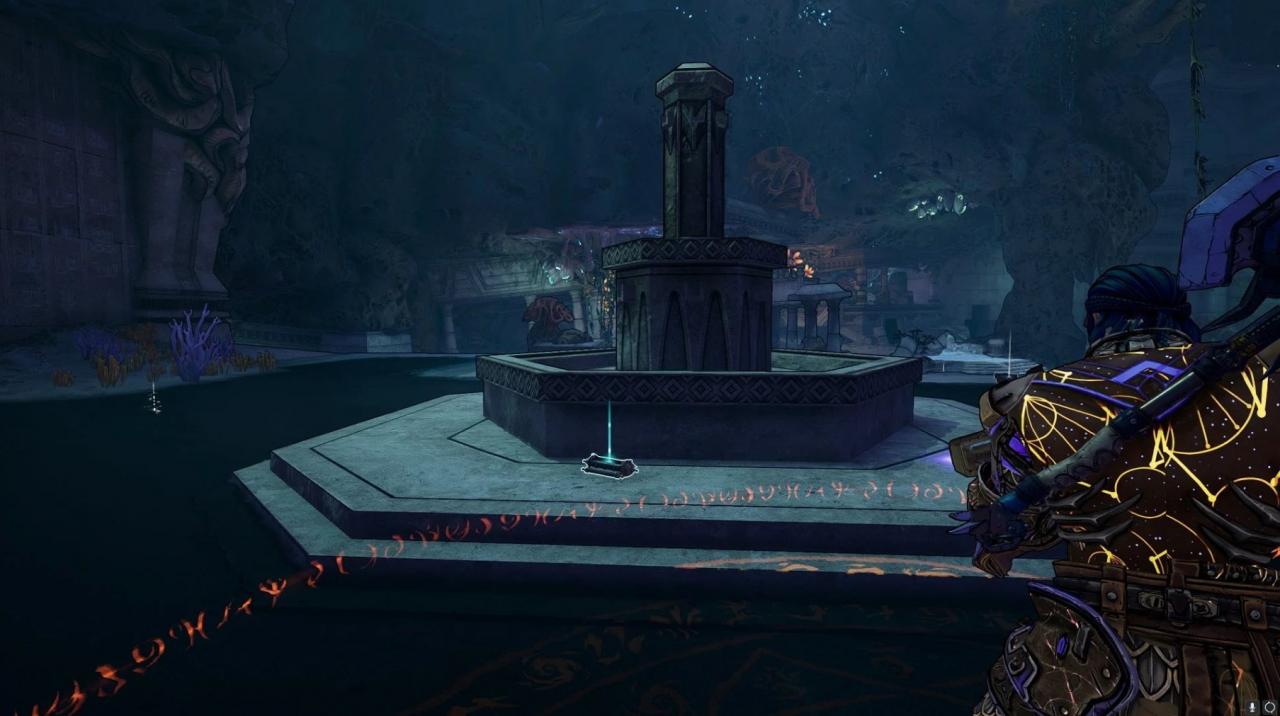
Enter the Oncewet Court and go left up the stairs towards the waterfalls. The scroll will be just behind the water fountain

Karnok’s Wall Scroll Locations
Here are the locations of the Scrolls found in Karnok’s Wall.
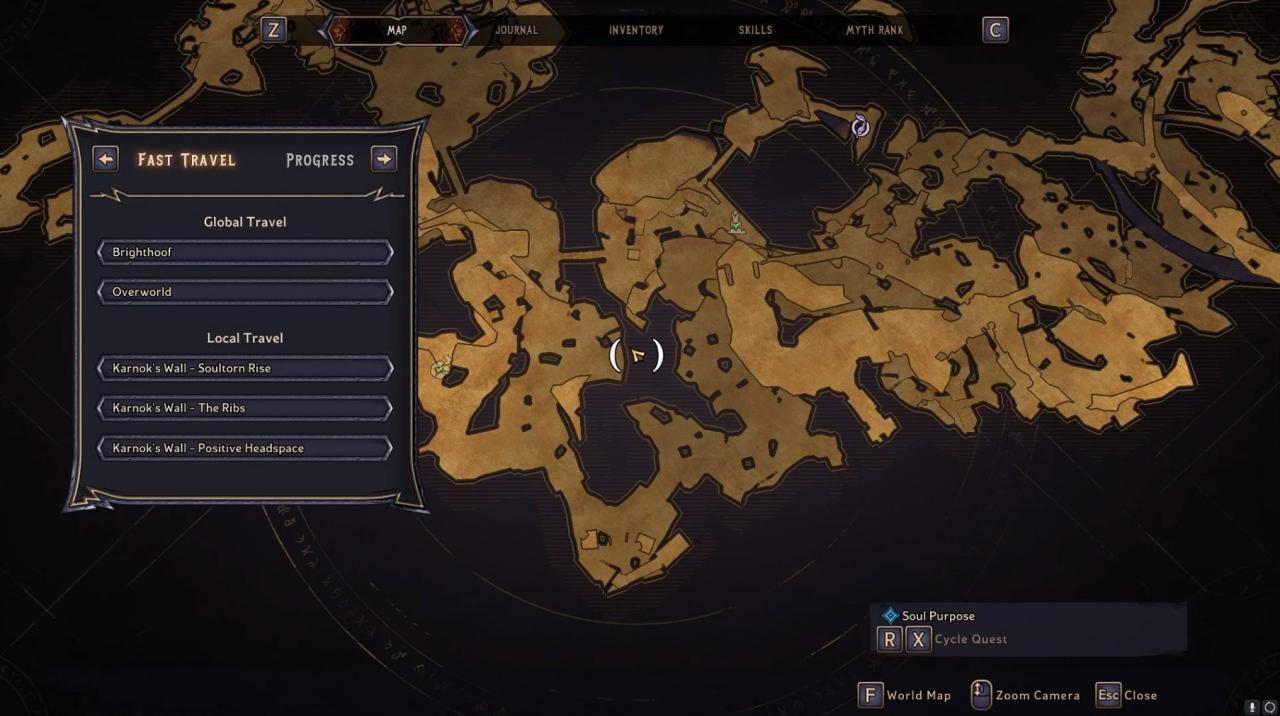
Note: You must be doing the Main Quest The Son of a Witch to gain access to this scroll.
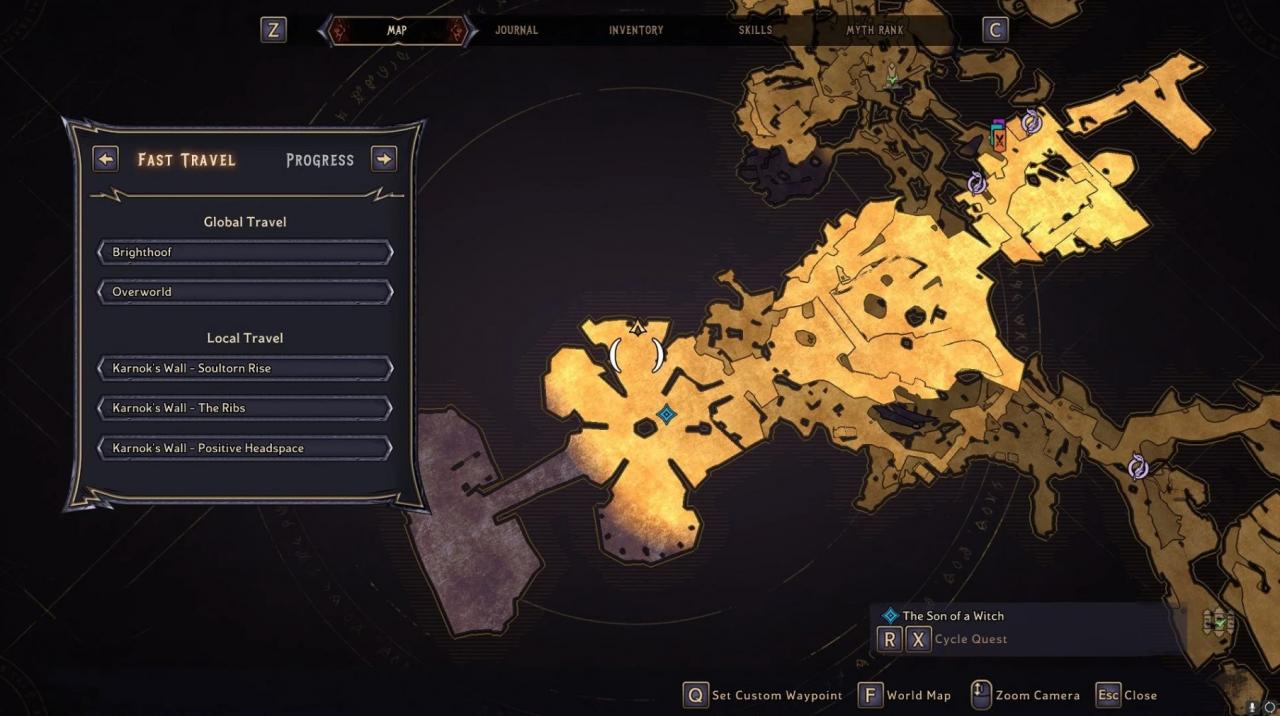
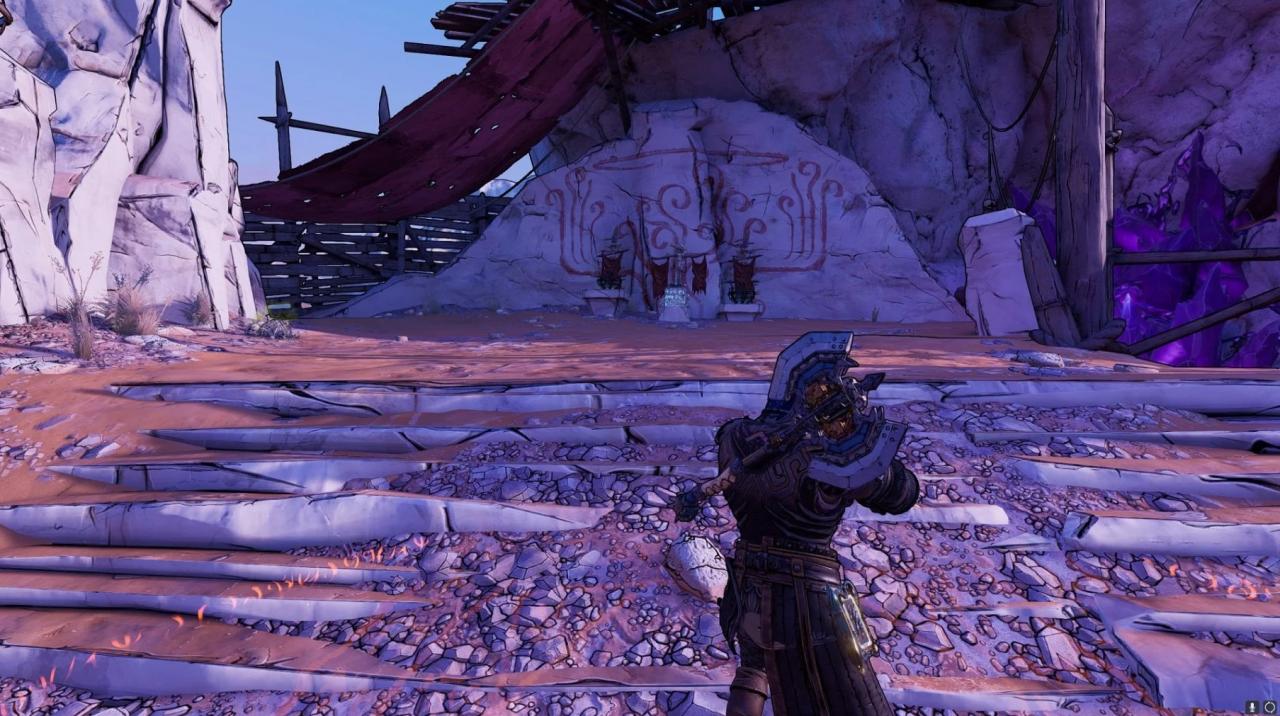
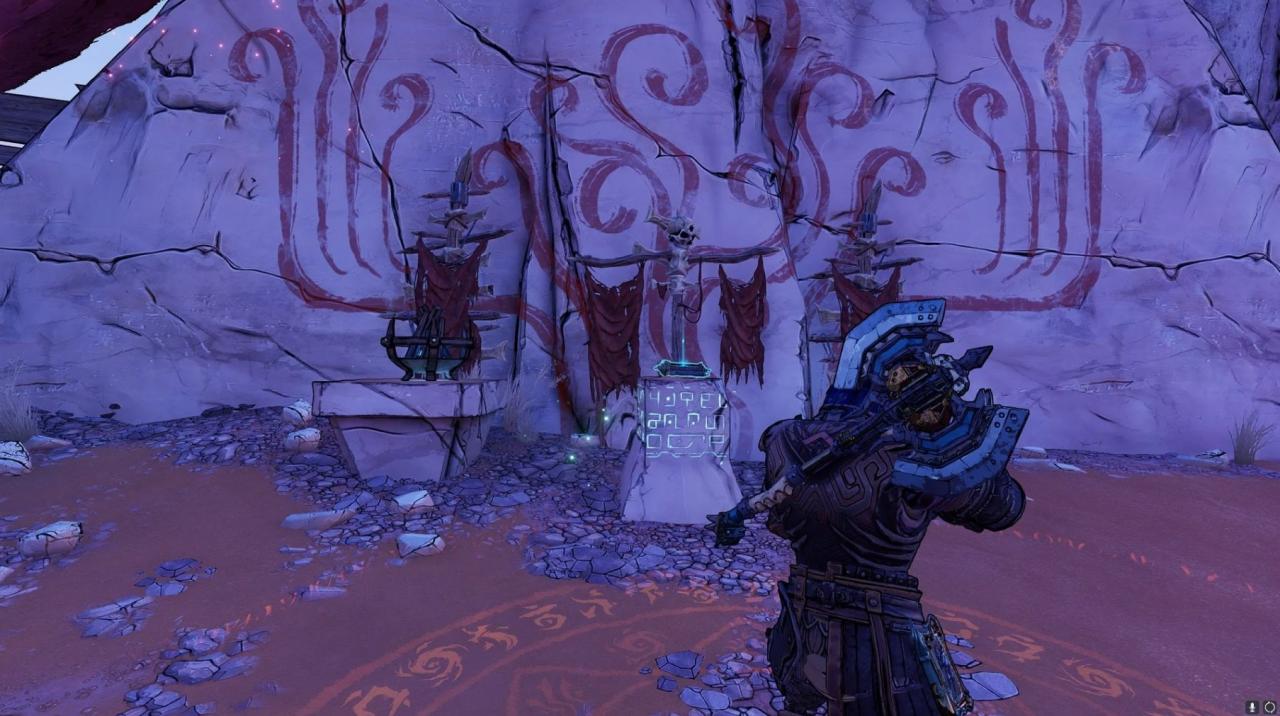
After helping the Wastard find his body, follow him to the casting area in the Positive Headspace. Before you talk to him, head right towards the shrine against the wall. The scroll will be on a pedestal.
Related Posts:
- Tiny Tina’s Wonderlands Shift Codes: Free Rewards
- Tiny Tina’s Wonderlands: Explanation for the Elemental Damage

