A complete guide with pictures to everything required for the “Cosplayer” achievement, including all Photo Challenges.
Introduction
Since getting this achievement absolutely requires the completion of all the Photo Challenges I included instructions on them as well rather than simply pointing out that you have to do them, in order to make this guide more comprehensive. The only things required for this list that are not detailed in how to obtain are the horn attachment for your camera, the log removal quest and the power plant fixing quest, since these are almost unavoidable while playing.
Homelanda
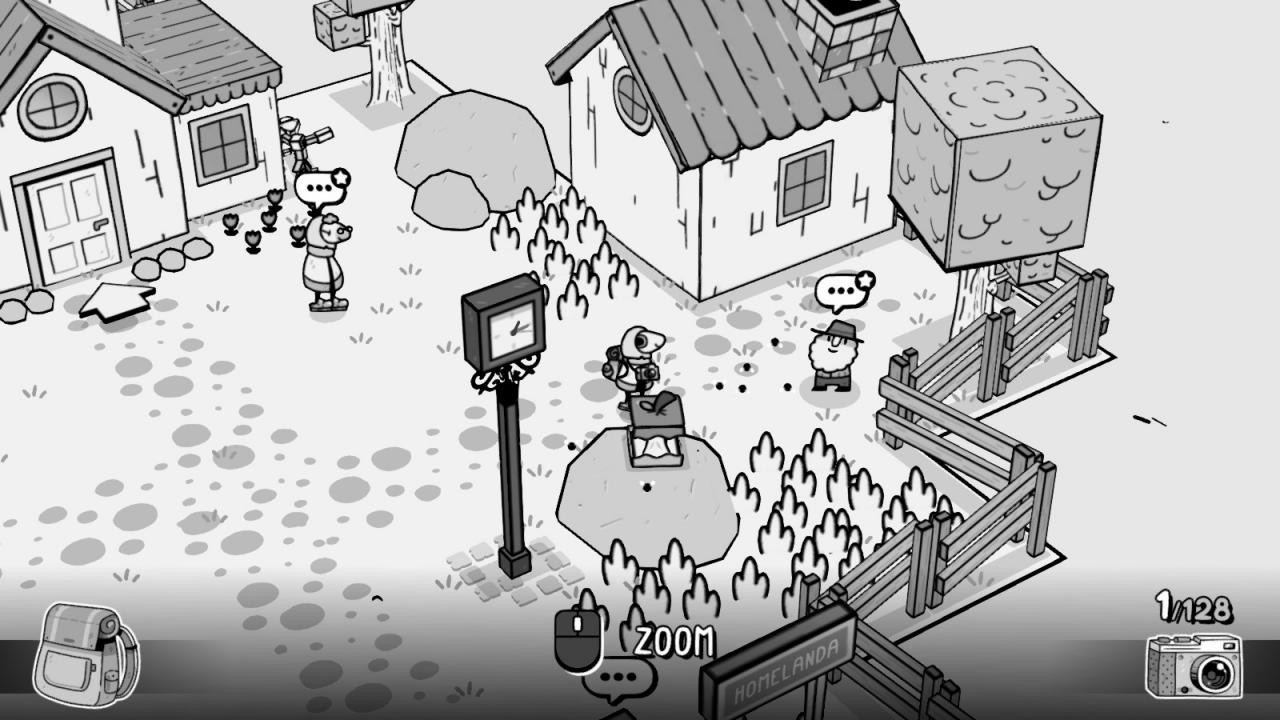
Oaklaville

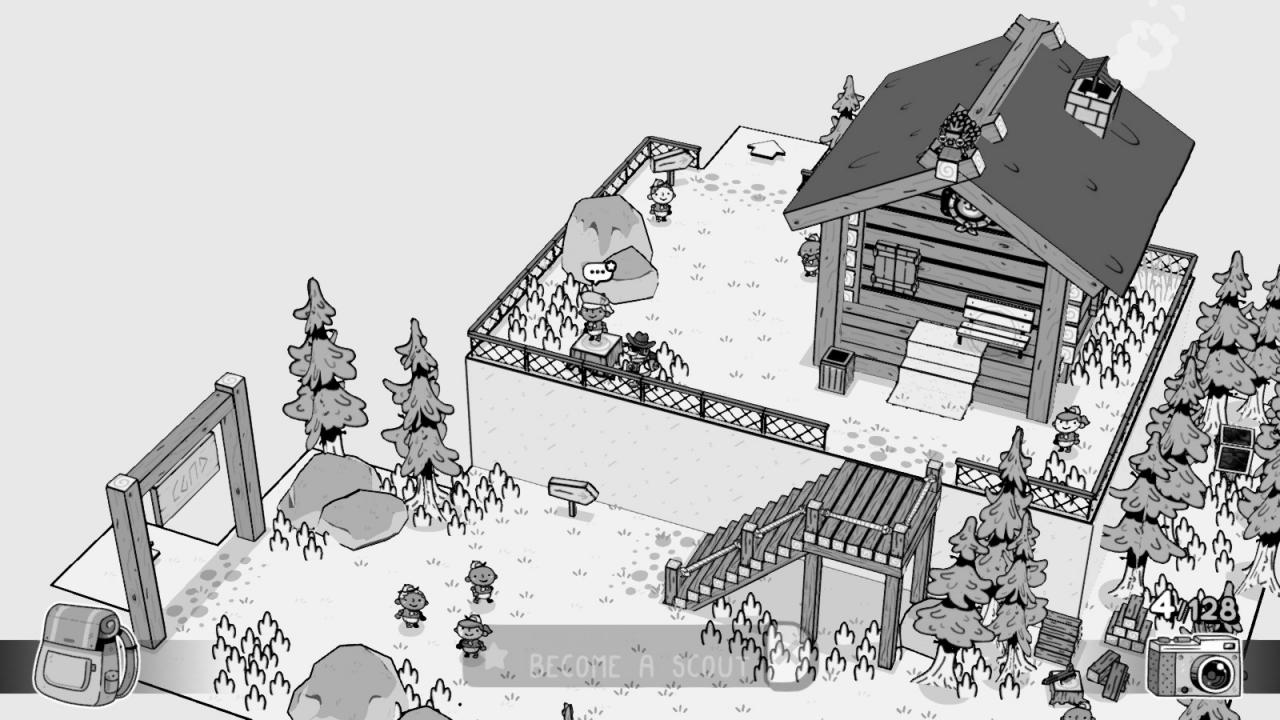
03 – Fjällbjörn Hat – East of the hotel you’ll find the Scout House, and next to it a kid who’ll give you the “Become a scout” quest. You now have to hunt for three specific items.
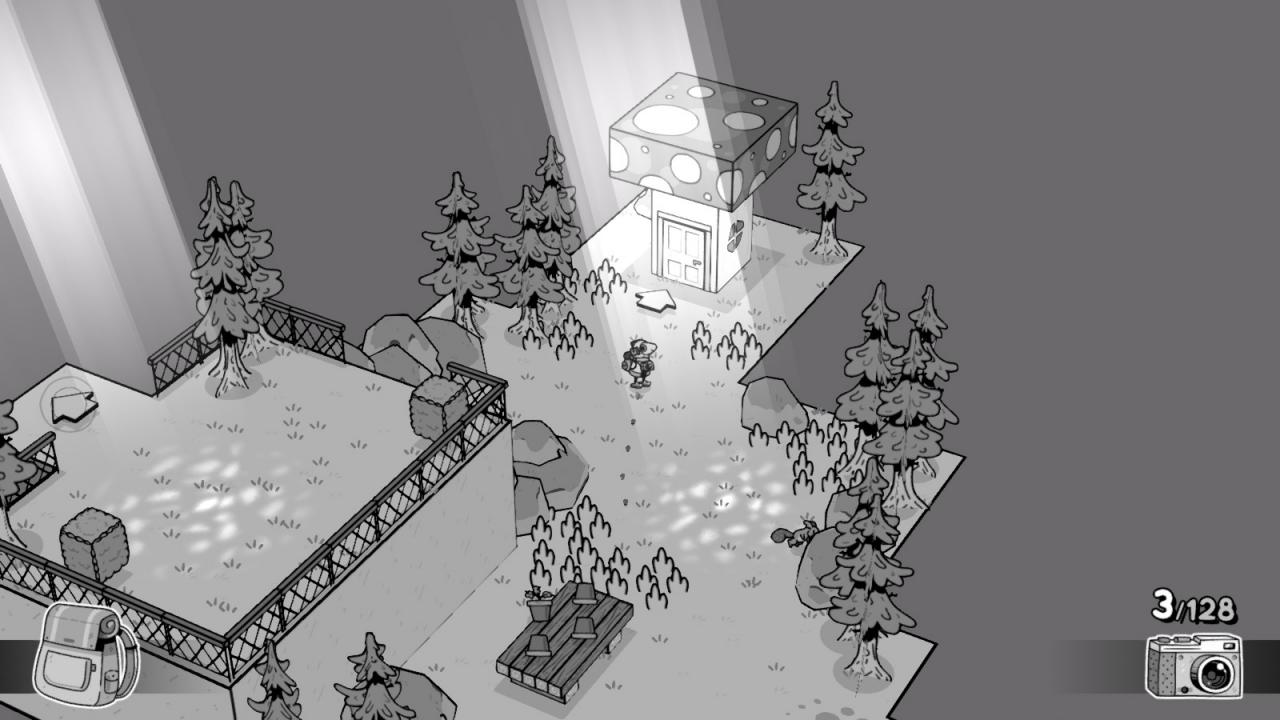
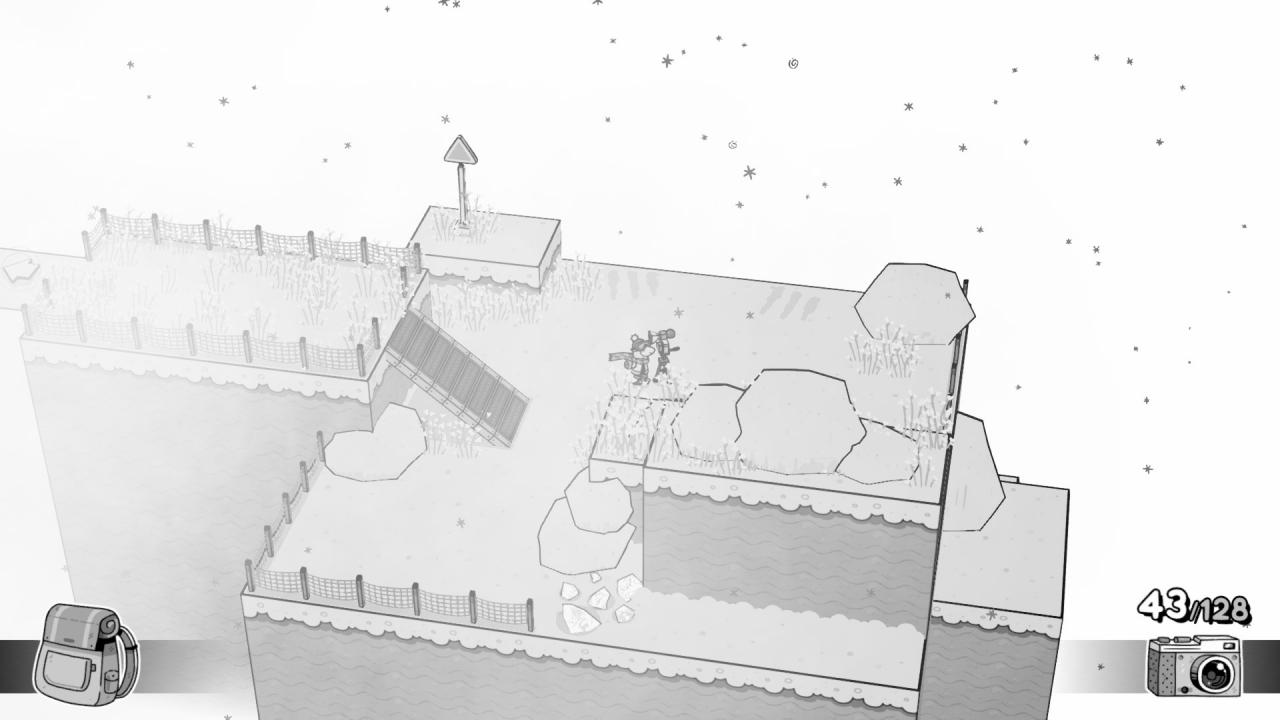
 – Block thistle: After you do the quest to remove the log, go to the now unlocked area, where you take the picture of the hotel. You can see the thistle here.
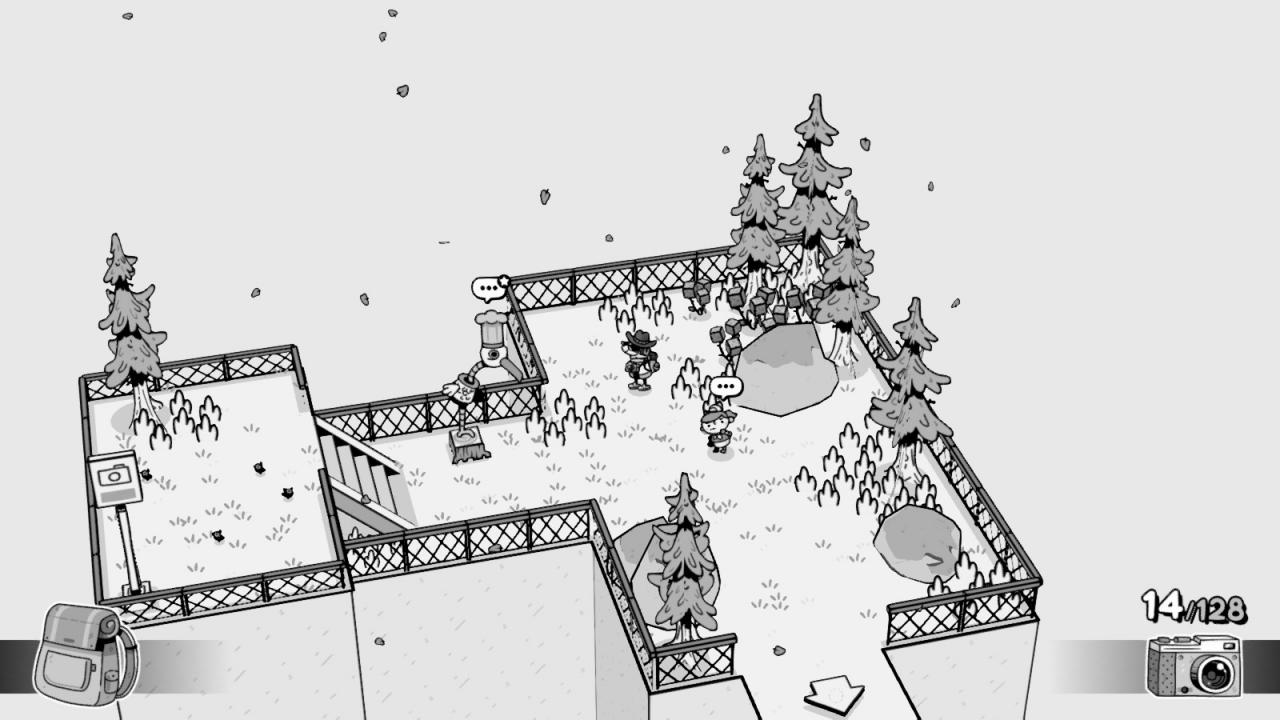
 – Striped Shroom: These are very common. You can find them on the screen east of the Scout House (where you take the picture as a flower), or inside the Mushroom House.
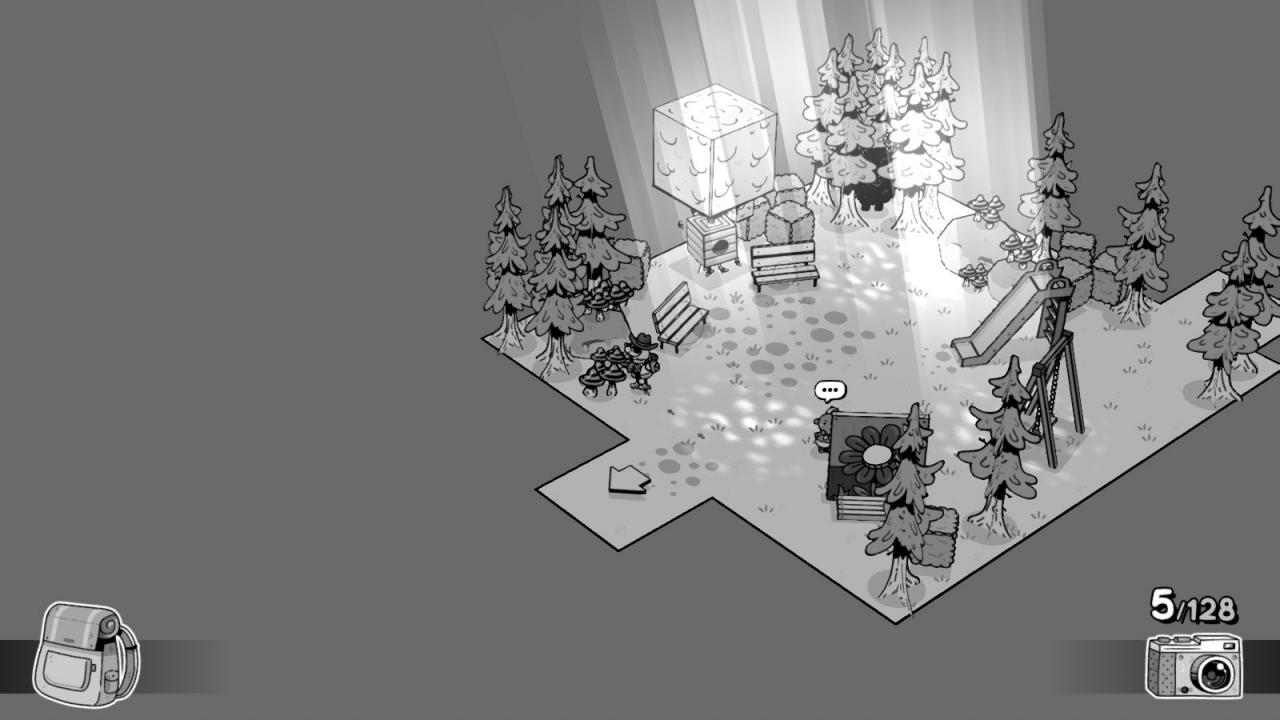
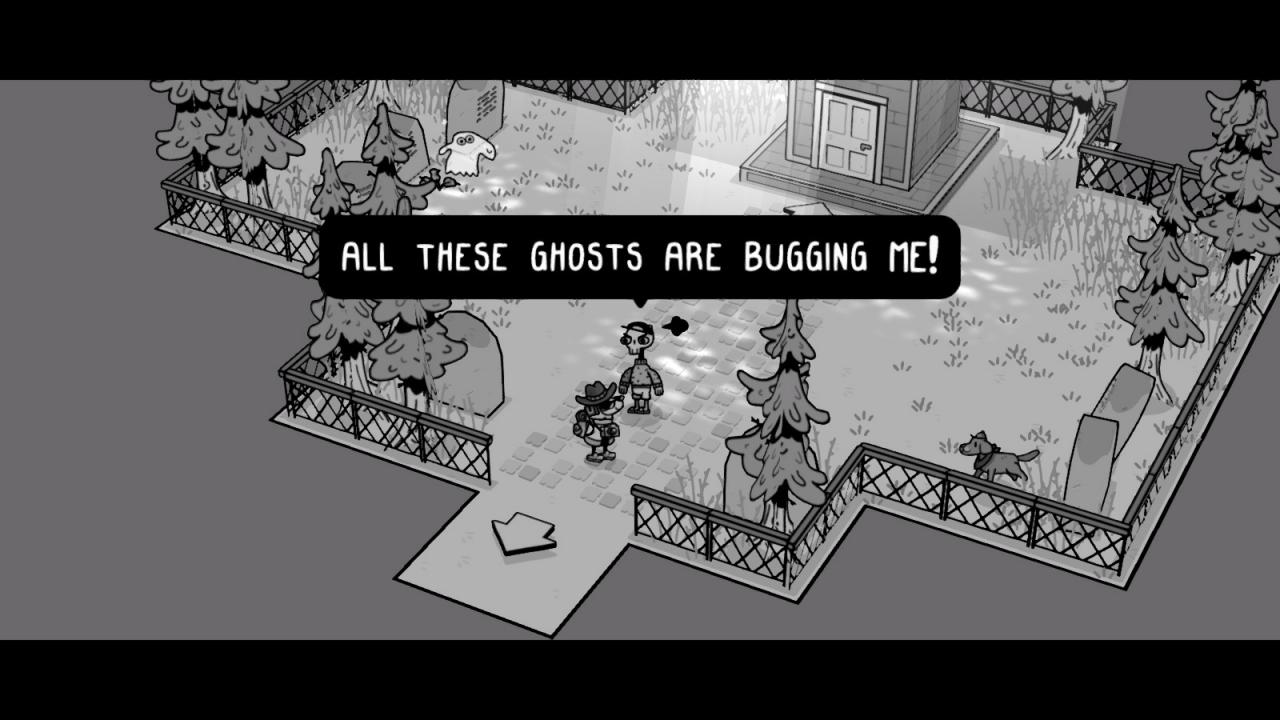
04 – Ghost Glasses – Keep going west after the mushroom house until you run into a building next to some gravestones. A skeleton man will come out and give you the glasses immediately.
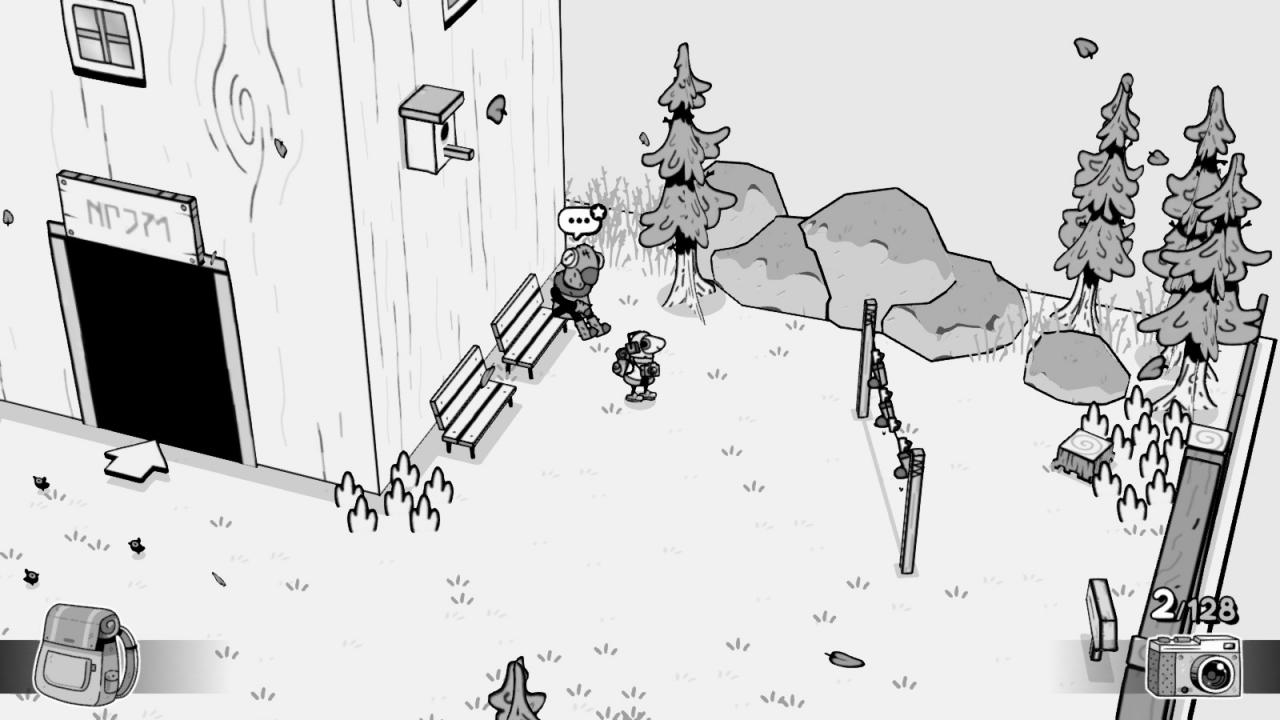
05 – Soaked Sock – First talk to the guy sitting next to the hotel for the “Missing socks” quest. Then go to the benches near the Mushroom House and equip the ghost glasses. You’ll see a ghost there who’ll ask you to compete on a game of “find the sock”, which is a simple “find the ball” game, where he presents you with three cups, hides the socks in one of them, moves them around and has you point out which one you think has them. It’s quite slow and easy the first time, which is all you need (though you can keep playing if you want another stamp). Once you get the wet socks, go give them to the sock guy and he’ll take just one, leaving one for you to wear.
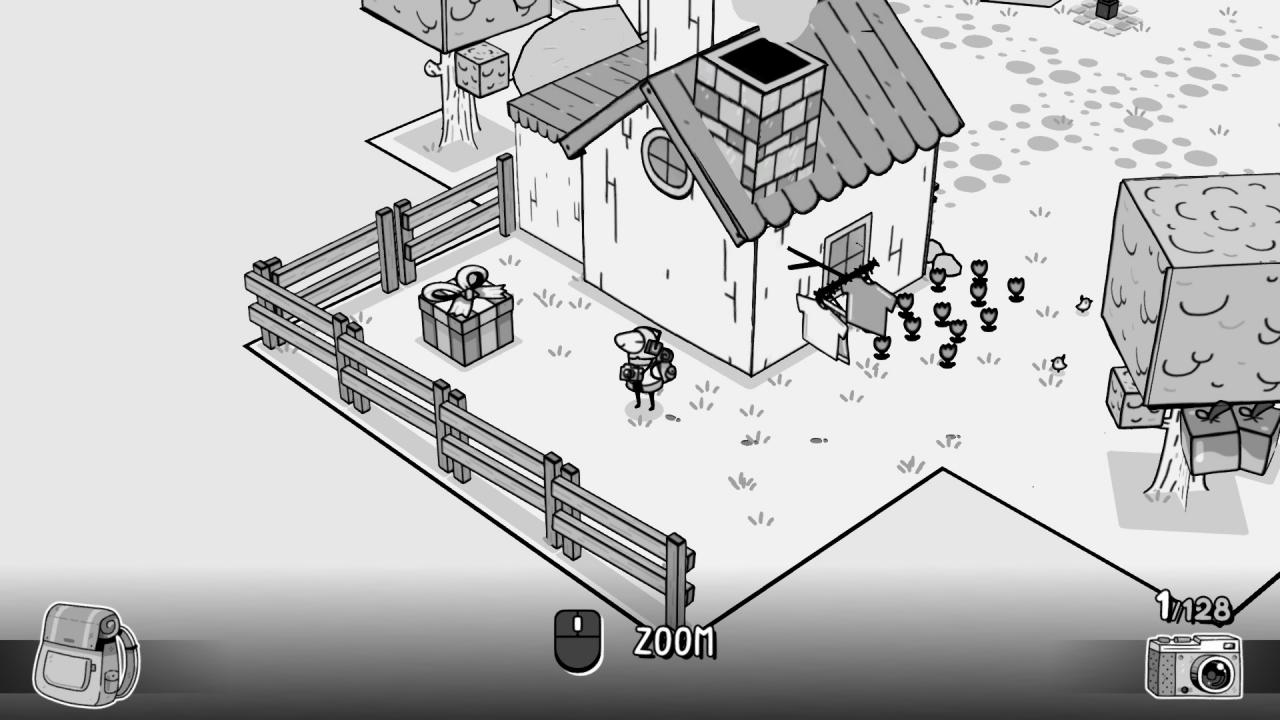
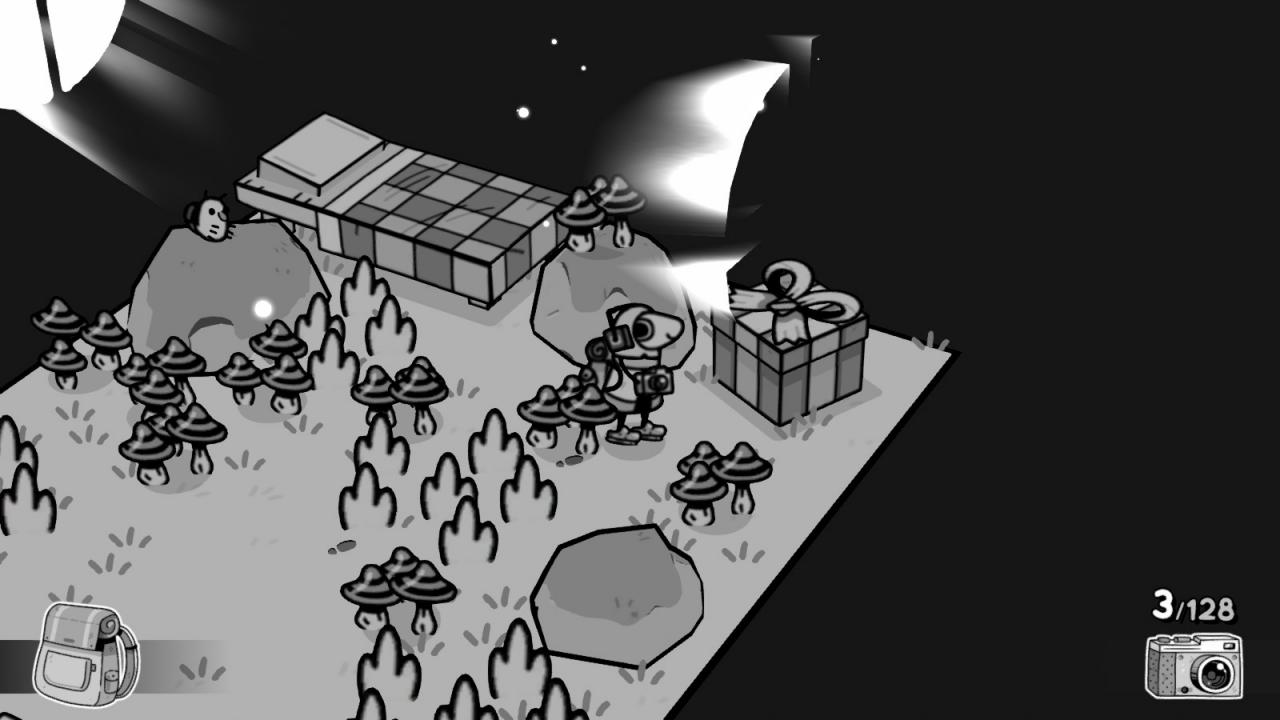
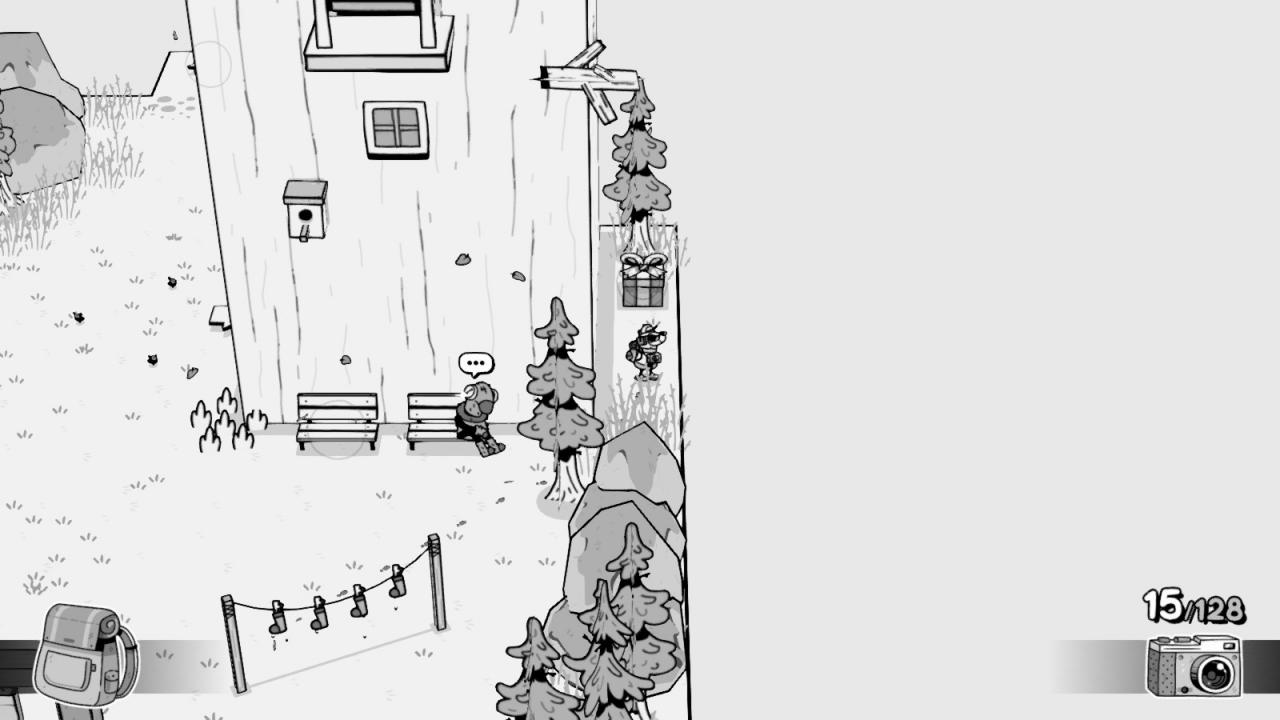
06 – Foam Finger – Go behind the hotel. There’s a gift box there, containing the item.
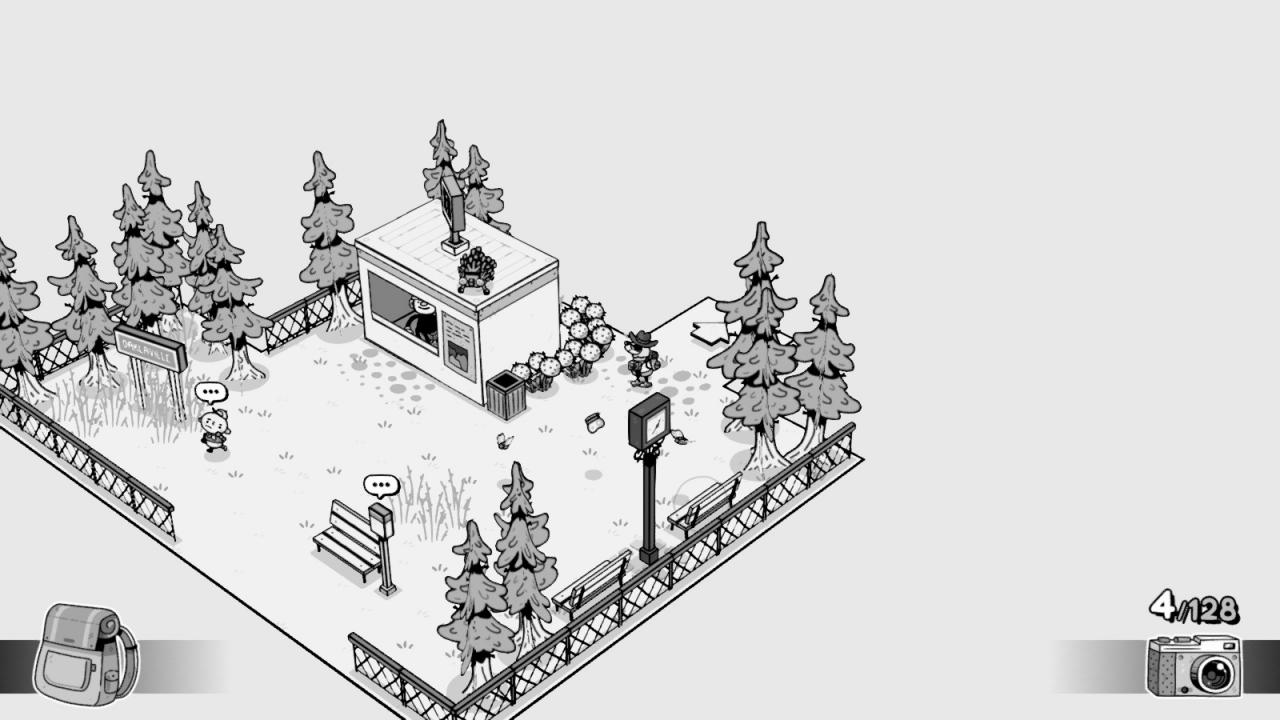
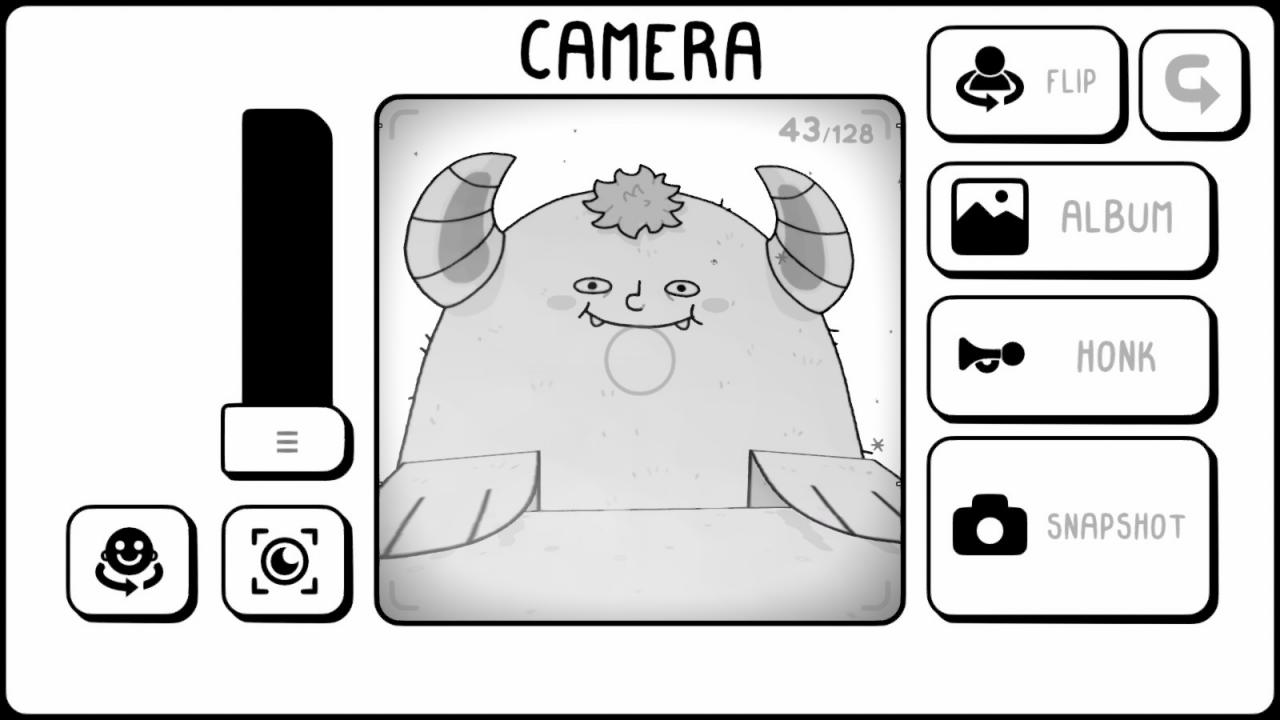
07 – Monster Mask 1/4 – Bushy – First, enter the hotel and talk to the boy there to get the “Monster spotting” quest. You’ll have to find four monsters. This quest encompasses four maps and as such it’ll be the longest of them all. The actual steps to do it are very simple, you just have to wait until you reach the necessary places to do them. The first monster is right here in Oaklaville.
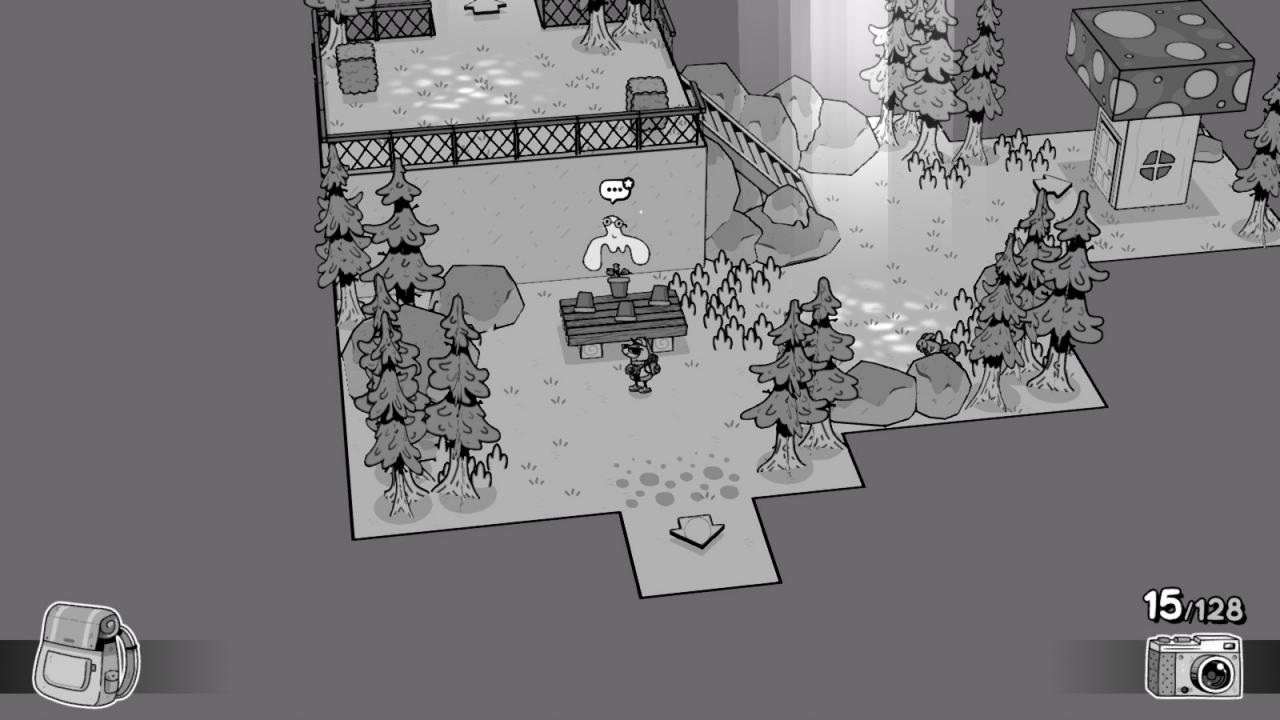
 On the screen east of the Scout house. You’ll need to put the tripod around the middle and hide behind the flower stand-in picture cutout. Bushy will come out of the tree and you can now take a picture of him and, if you wish so, also get a picture of you as a flower for an extra stamp.
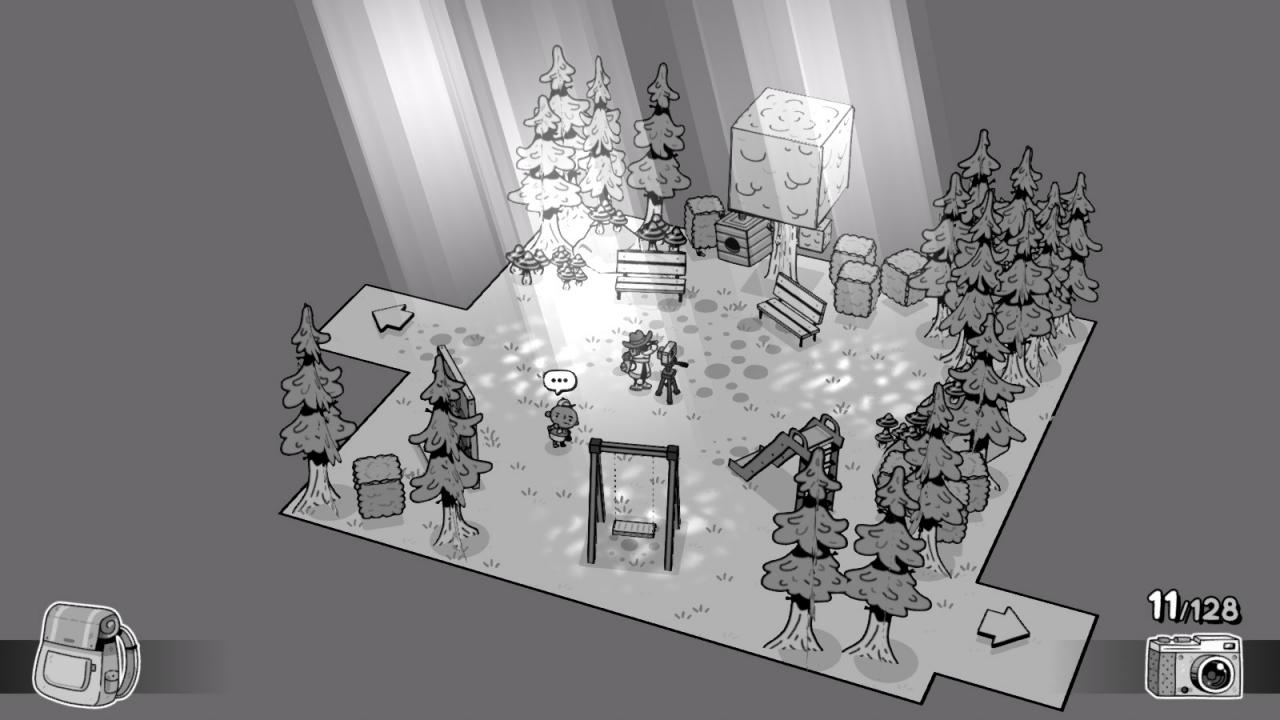
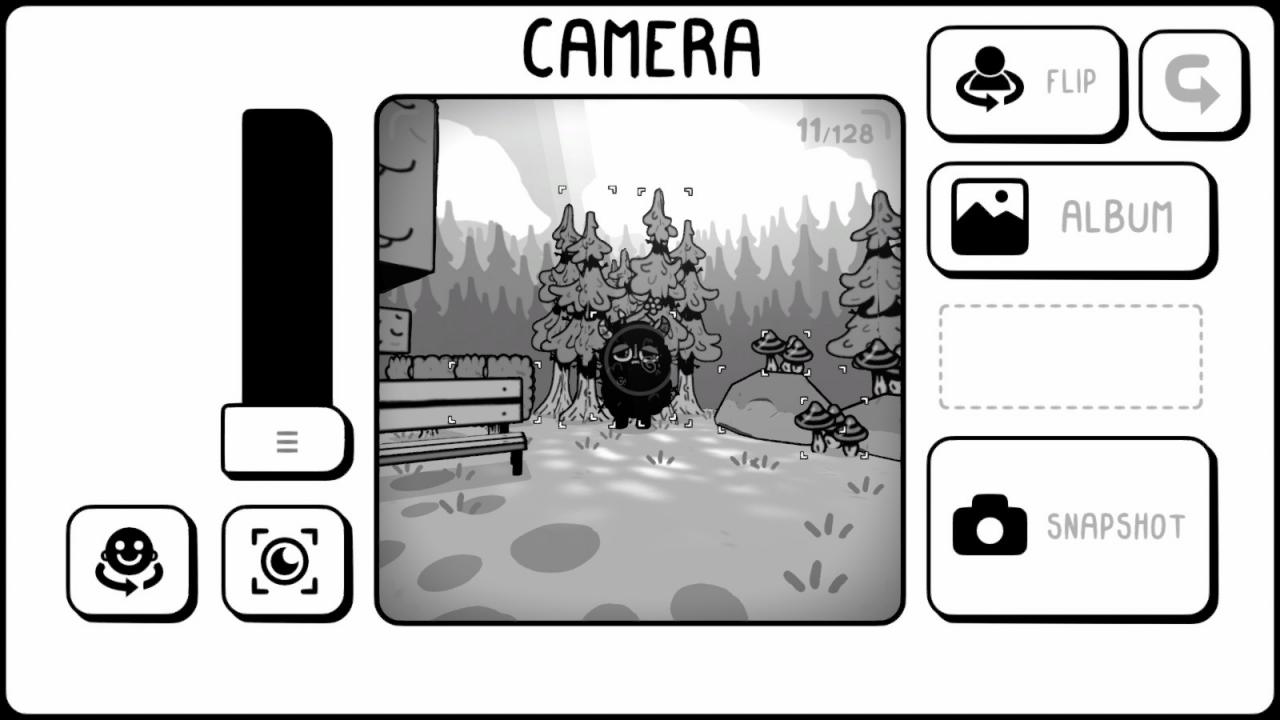
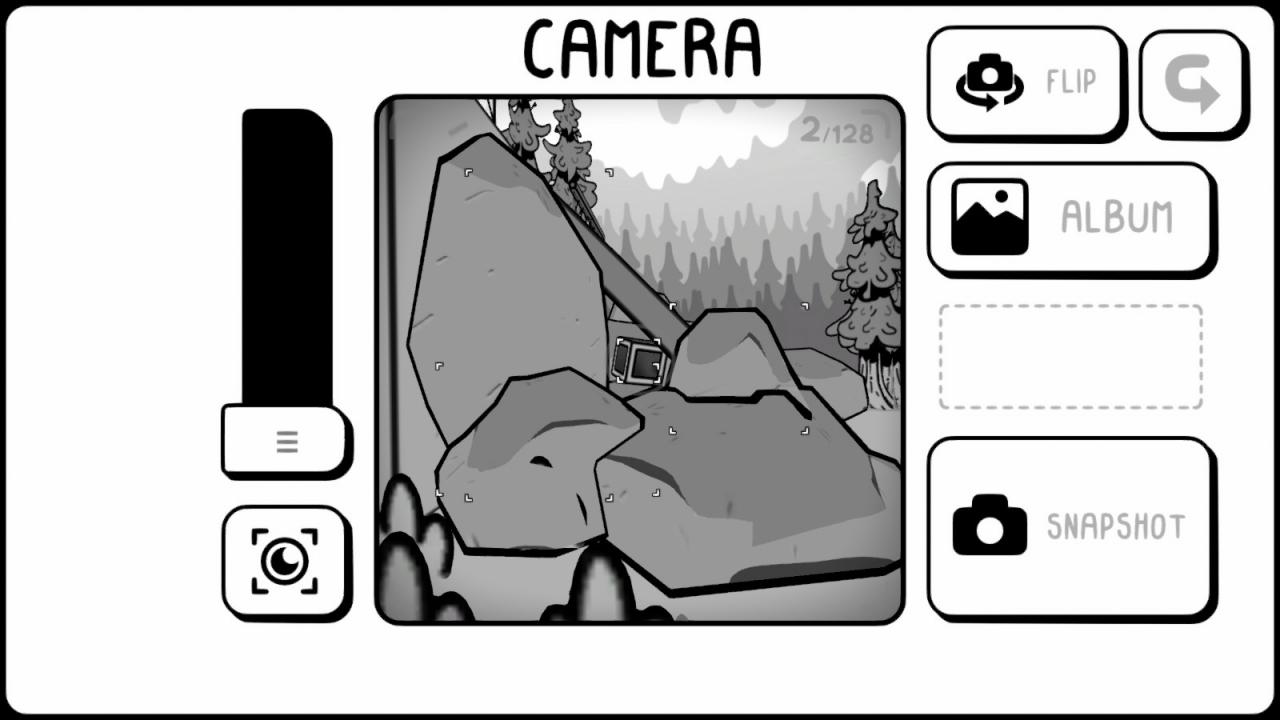
Photo Challenges – There are 8 total photo challenges. Two for each map (save for the first and last), with a total of 16 pictures to take. You need to complete them all to unlock the last item. This will be the most time-consuming part of the achievement, but there’s no quest attached to it.
Photo Challenge 1:
– Mossy Rock and Pine tree: these are both right on the screen where the kid gives you this quest. You might easily get them both in the same picture.
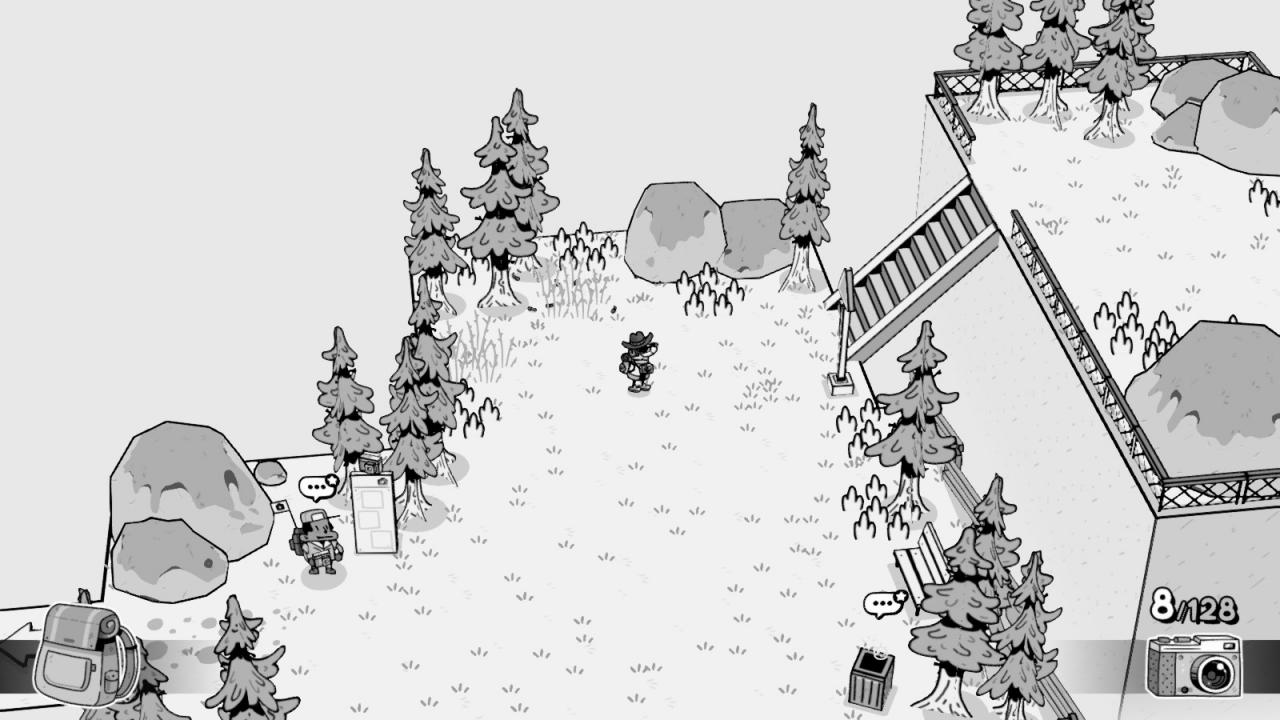 – Axe: You find this one on the same screen with the Scout kids.
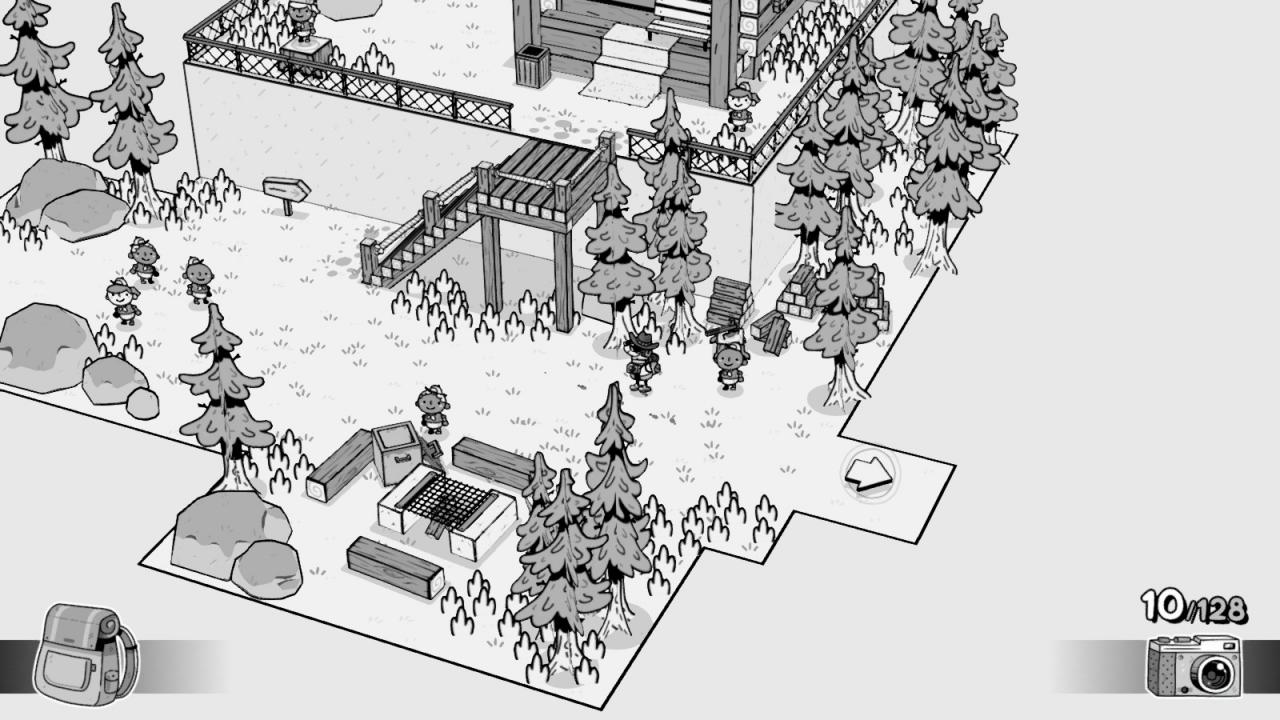
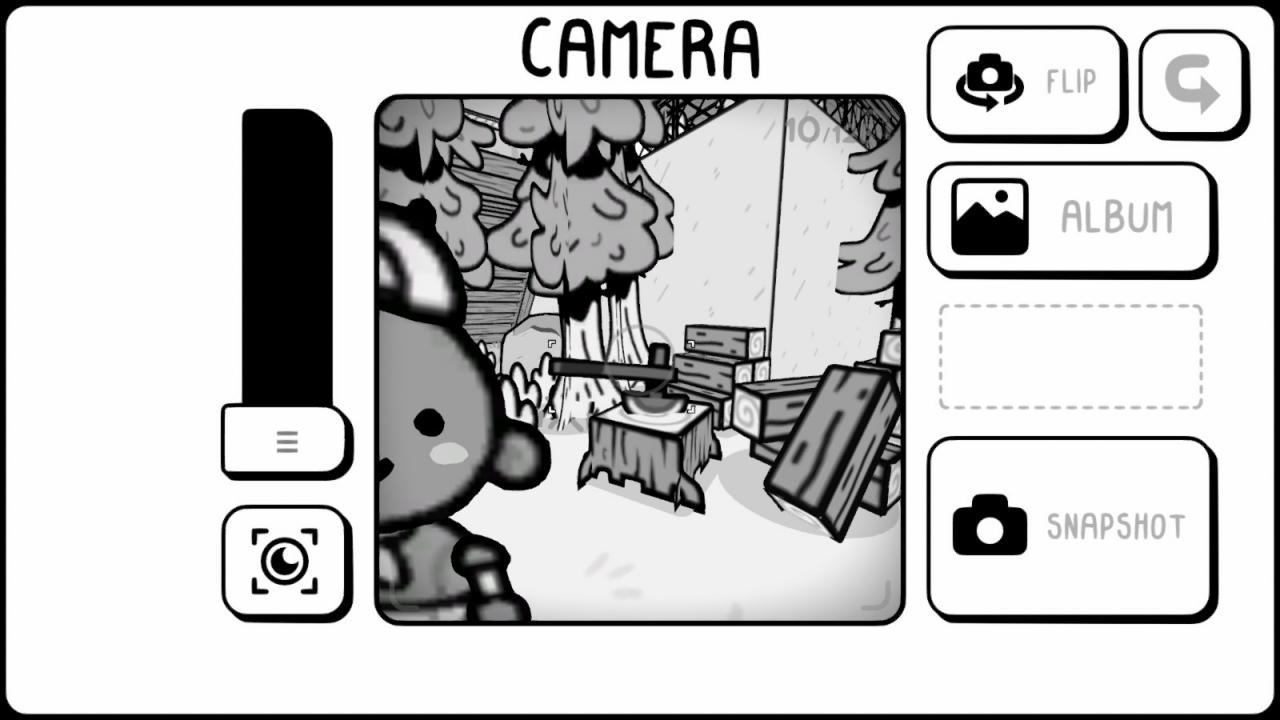 Photo Challenge 2:
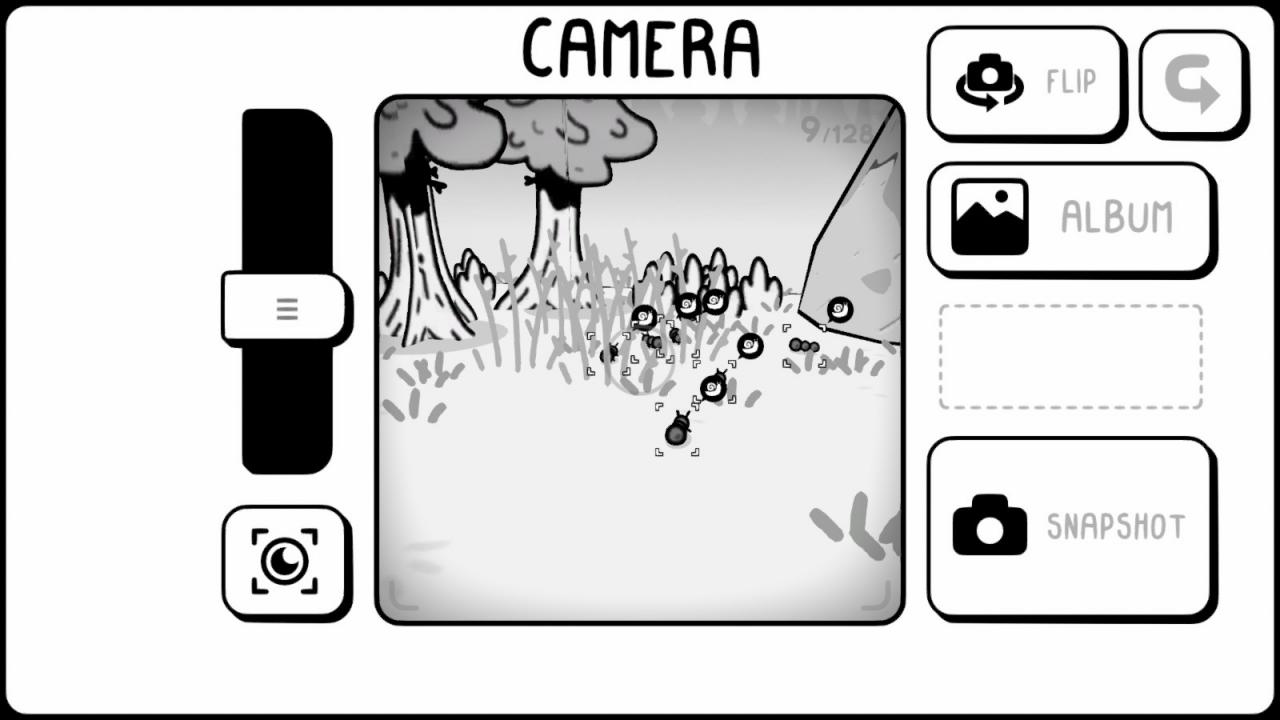
– A tiny army of soldiers: On the same screen where you get the Photo Challenge 1, near the quest giver there’s a bunch of ants walking around. Take a picture of them.
Stanhamn
 09 – Fishing Hat – Right after entering the Lighthouse (well, actually a Hornhouse), you’ll find a gift box inside. Open it to get the hat.
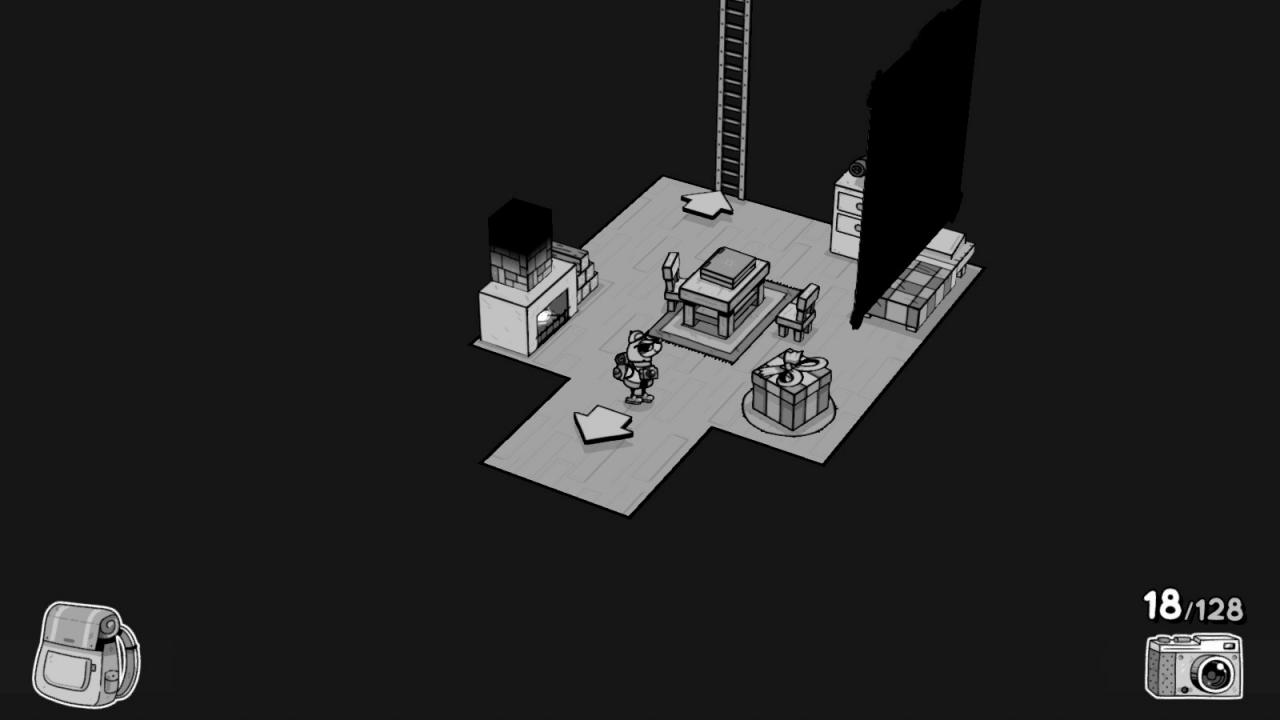 10 – Hard Hat – There’s a Factory north of the fountain. Inside it, a gift box contains this hat.
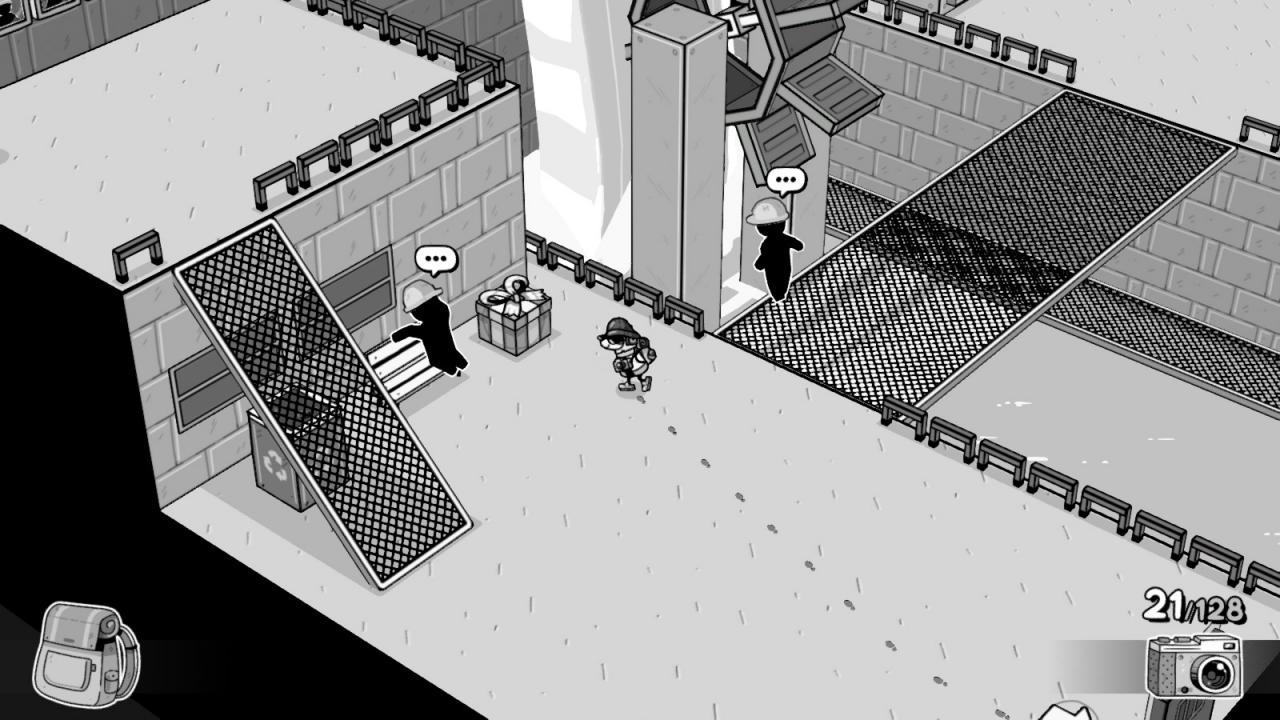 11/12 – Pirate Hat/Paper Hat – Once you get the diving helmet, go one screen west of the fountain. There’s a woman snoring on a dock, wearing a Paper Hat (she’s the Captain of the Smiling Pirates). Wake her up with the horn and she’ll give you the quest “Queen of paper hats” and a key.
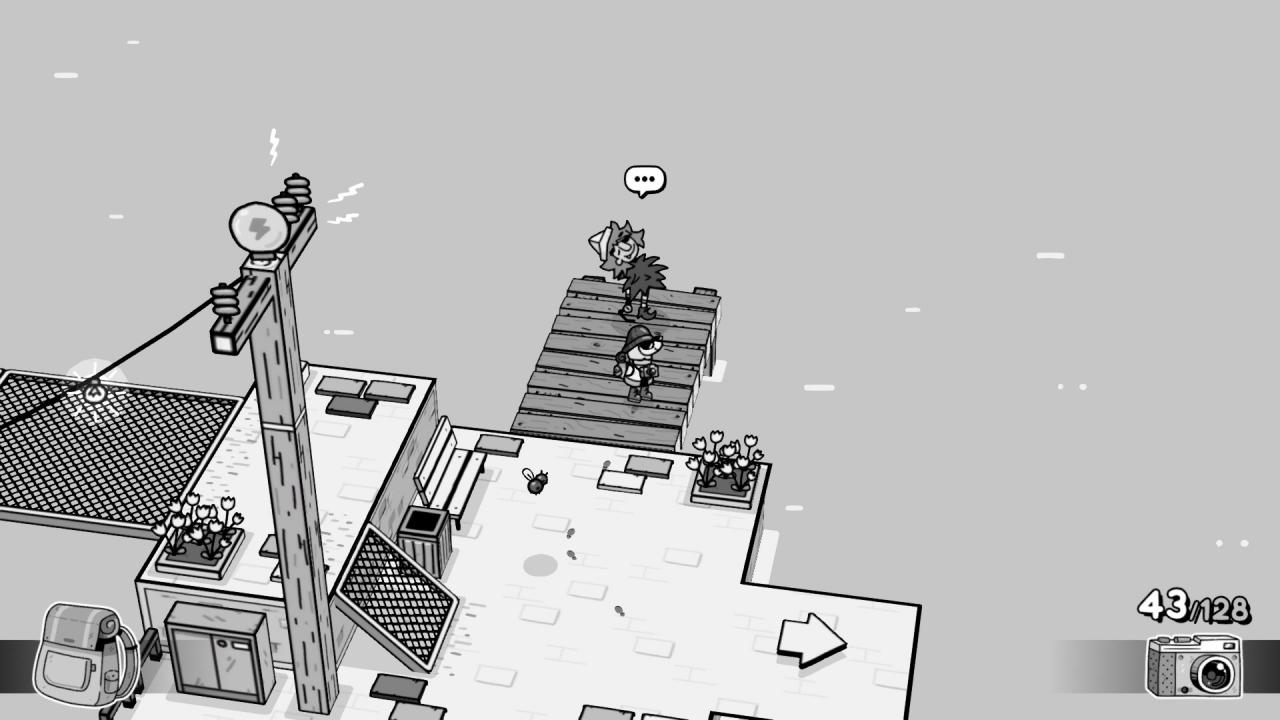 Go one screen further, to where the hippo lady is. Wear the diving helmet, go down the docks, scare away the seagulls with the horn and enter the bolthole.
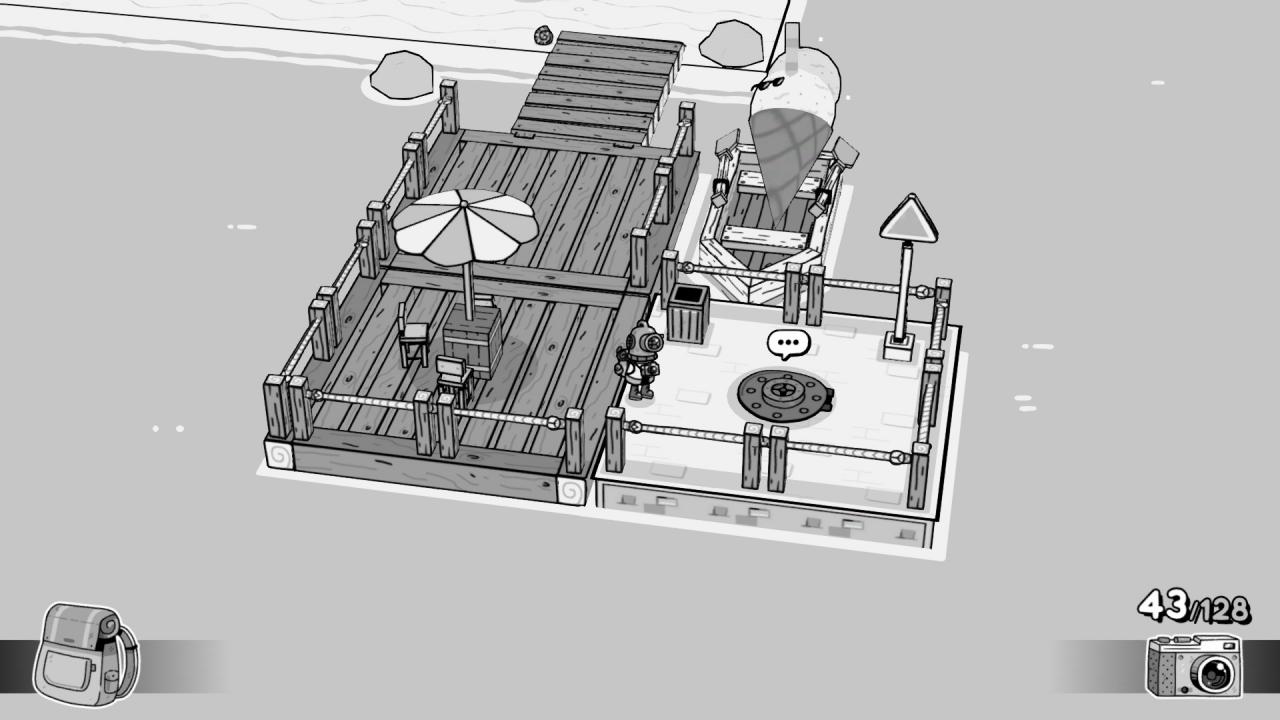 Once in the water, you’ll spot a chest. Open it to get the Pirate Hat. You can now liberally talk to the Pirate lady as many times as you want to exchange the pirate hat with the paper hat or vice versa. You just can’t have them both in your possession at the same time.
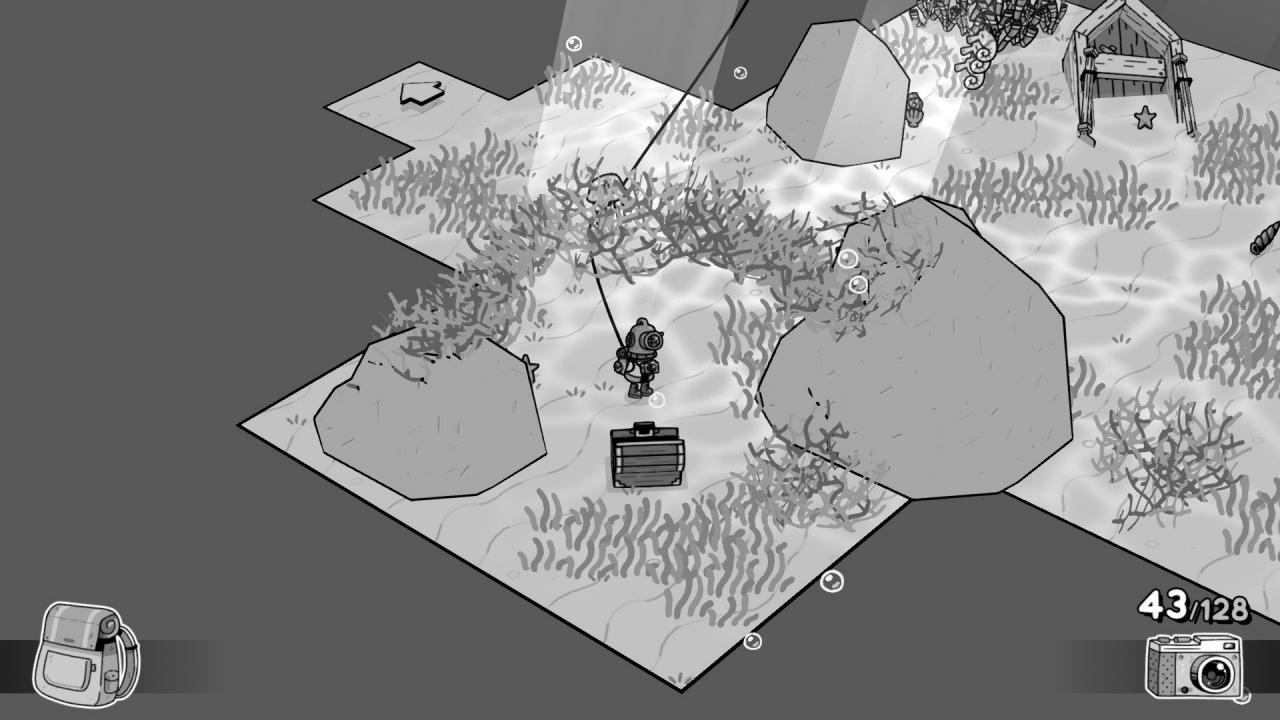 13 – Rubber Boots – On the screen with the docks, near the hiker who wants you to find his dog, there’s a gift box with these boots inside.
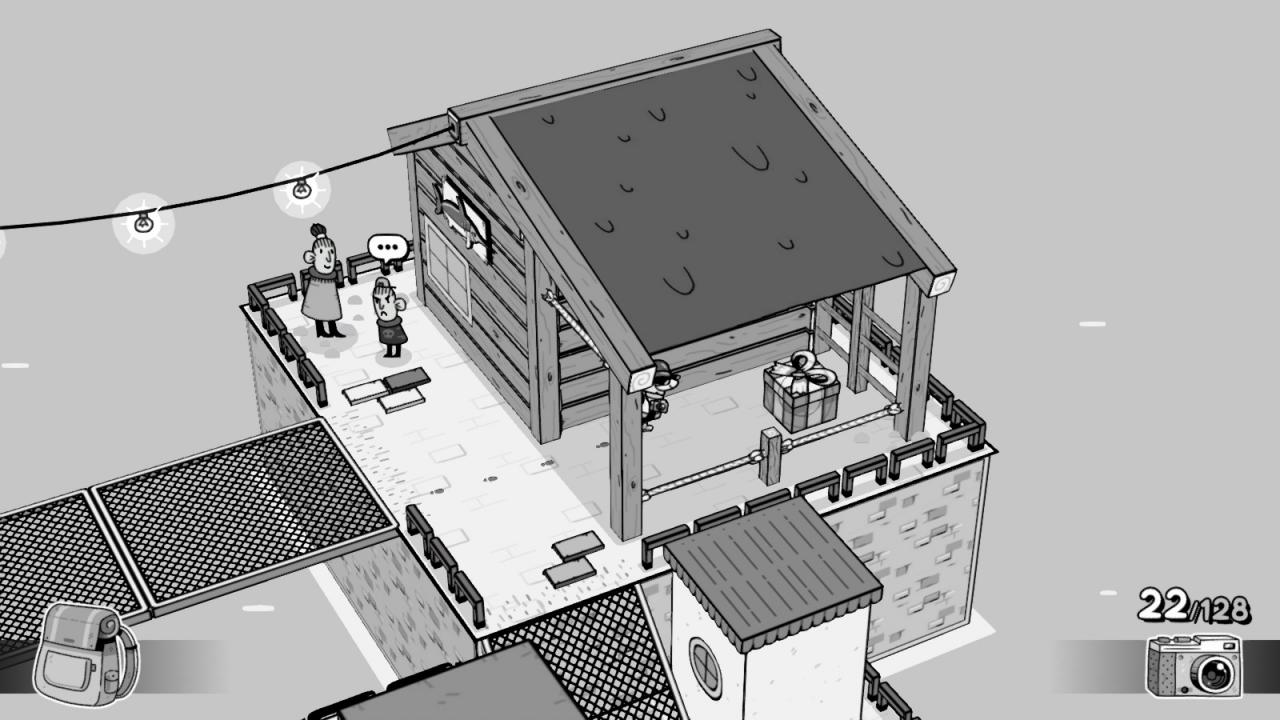 14 – Umbrella – On the screen north of the Hornhouse (you’ll need to use the horn attachment of your camera to scare the seagulls first) there’s a gift box containing the item.
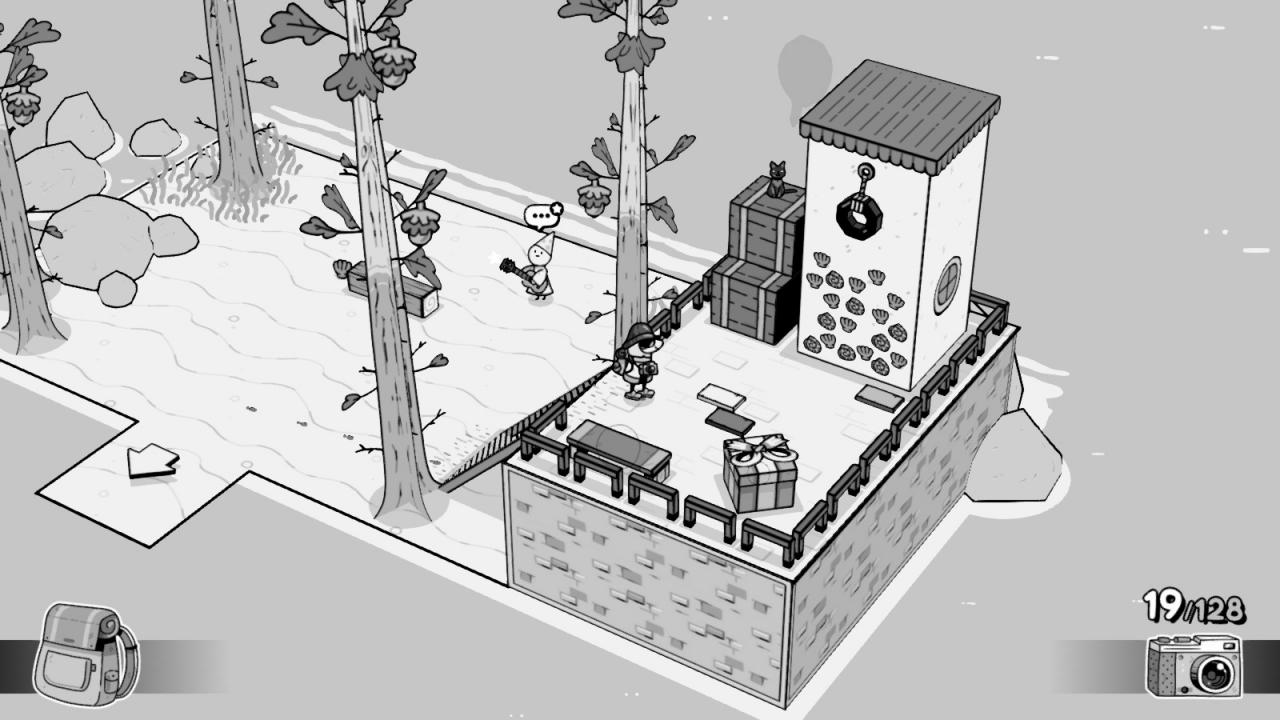 15 – Photo Challenger Flag – Once you’ve completed all Photo Challenges, you can enter the Photo Challenger Guild building near the fountain, talk to the NPC inside and you’ll be given the flag.
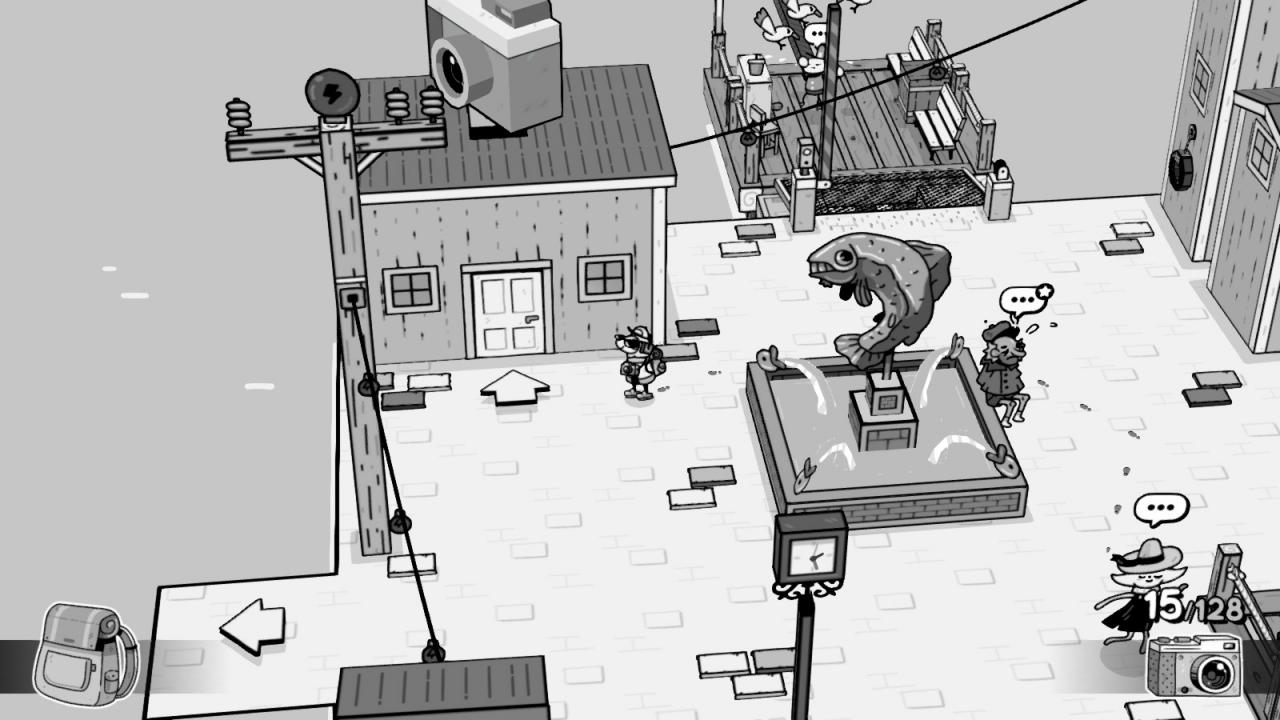
Monster Mask 2/4 – Lochy – Near the farmer stand-in picture cutout and the hippo lady, there’s a disturbance in the water. Set the tripod nearby and walk down to the beach. You’ll hear a splash. Activate the tripod and you’ll be able to take the monster’s picture.
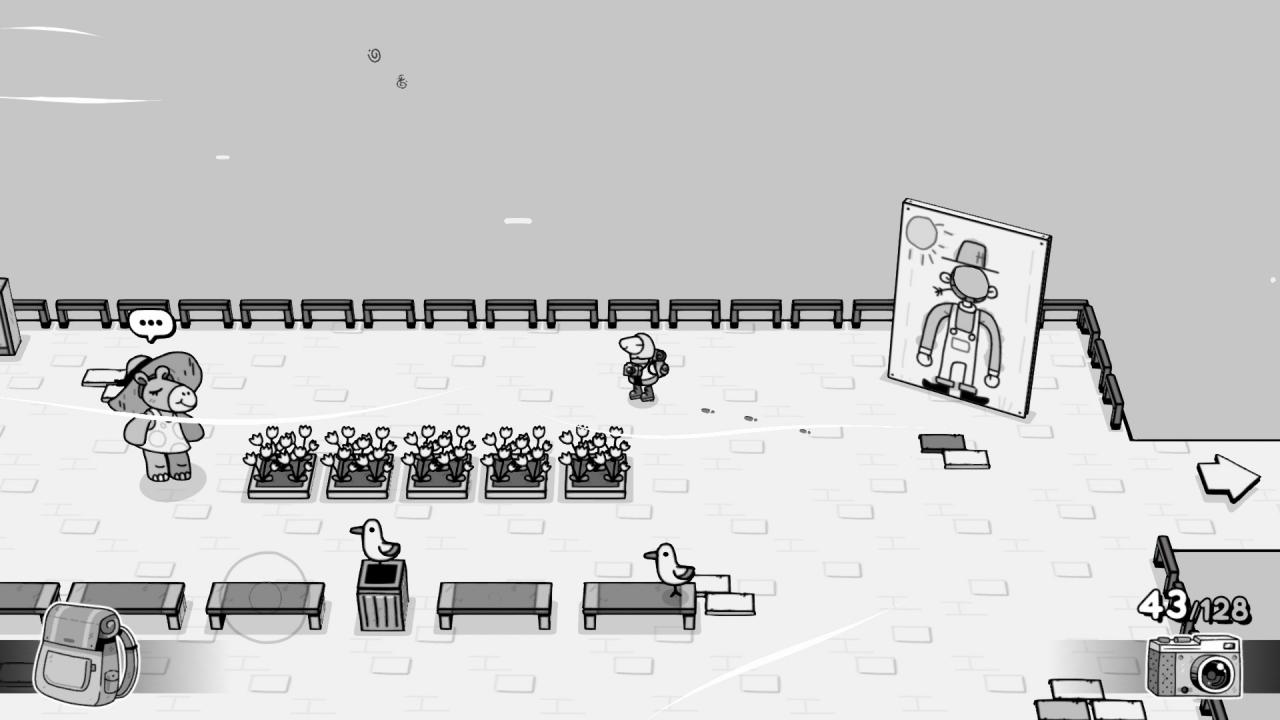
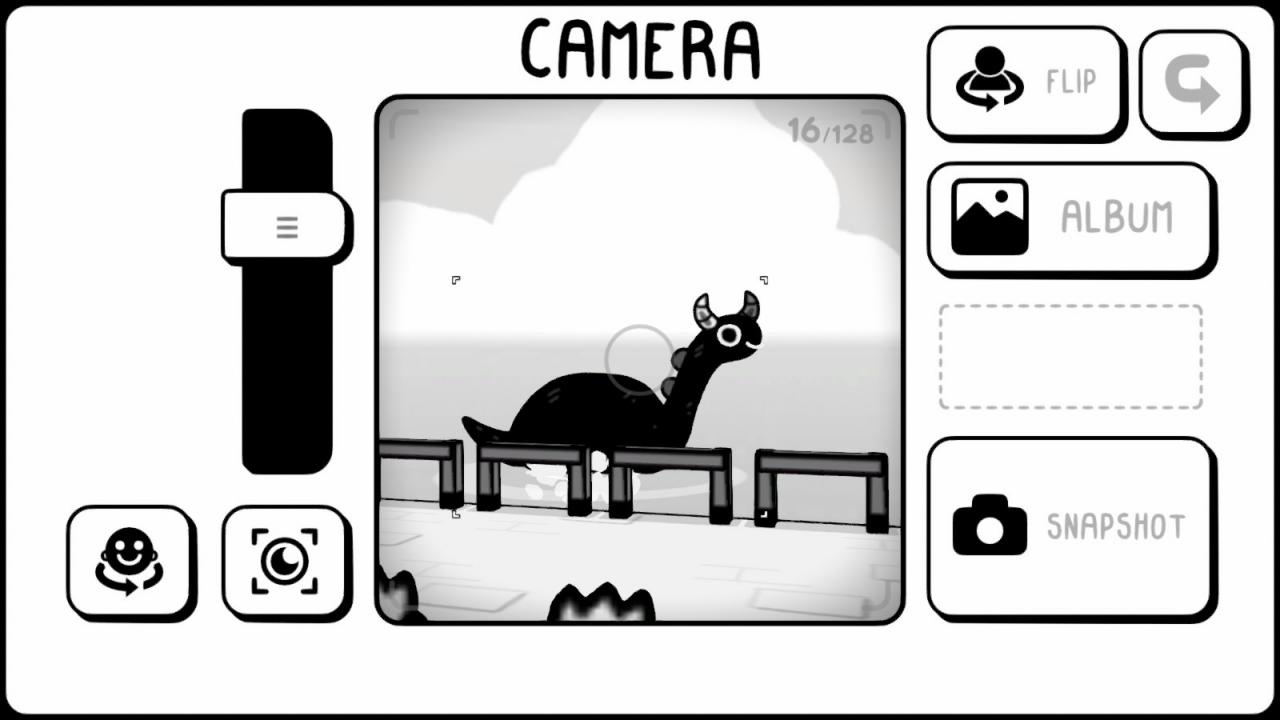
Photo Challenge 3:
 – Shy hippo: On the screen west of this quest giver you’ll find the three. There’s the hippo lady, who covers her eyes if you approach her with the camera.
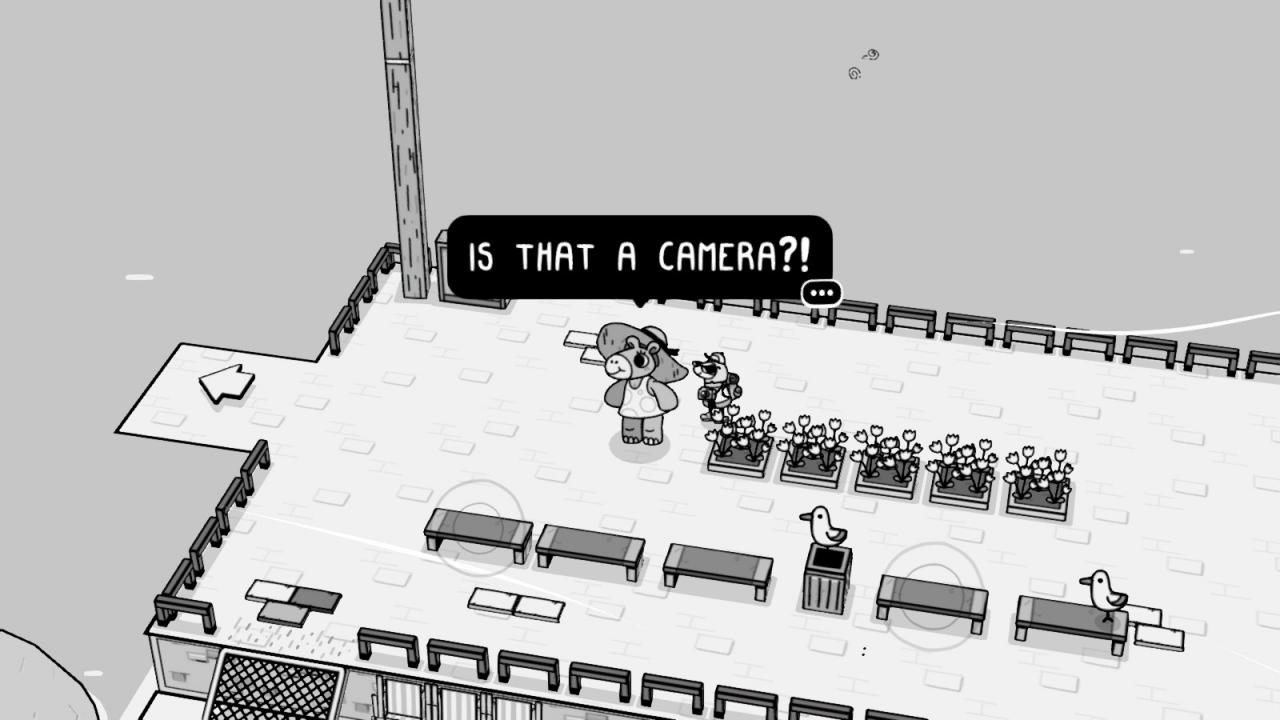 – Ice cream: There’s a giant ice cream on a boat on the docks. Can’t miss it.
 – Sand: Well, the beach is full of it. Sandcastles, even.
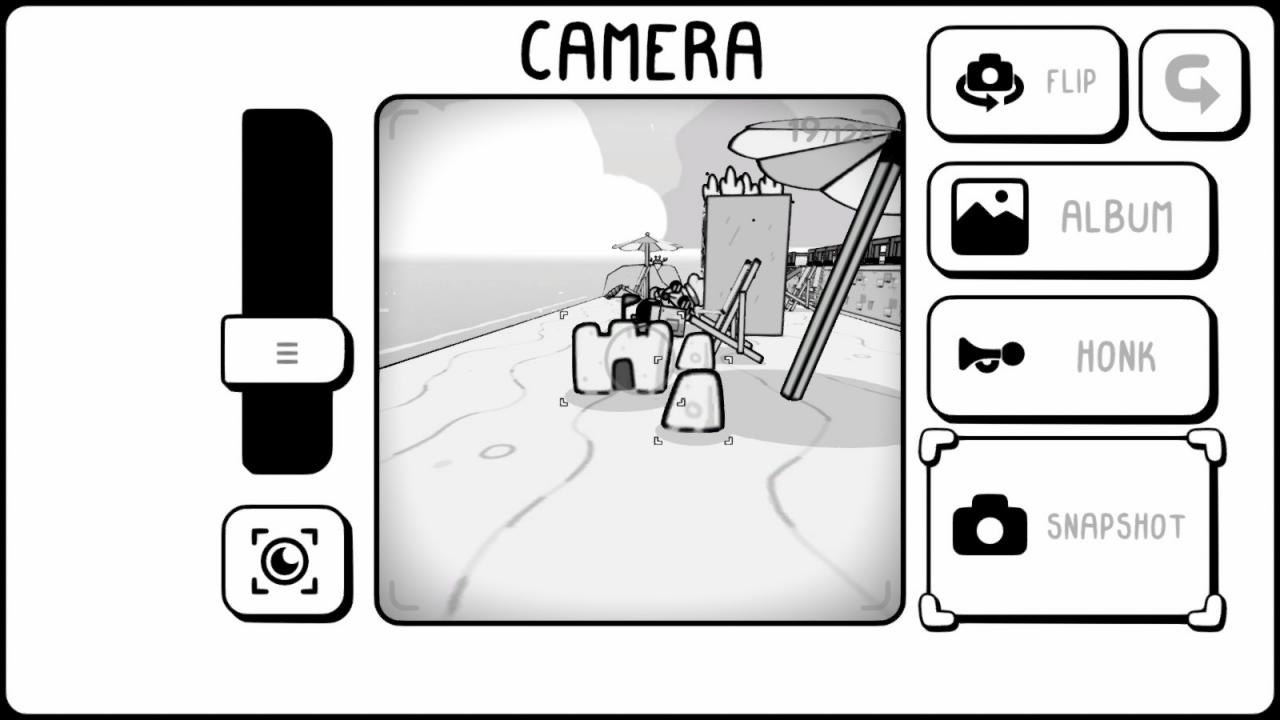 Photo Challenge 4:
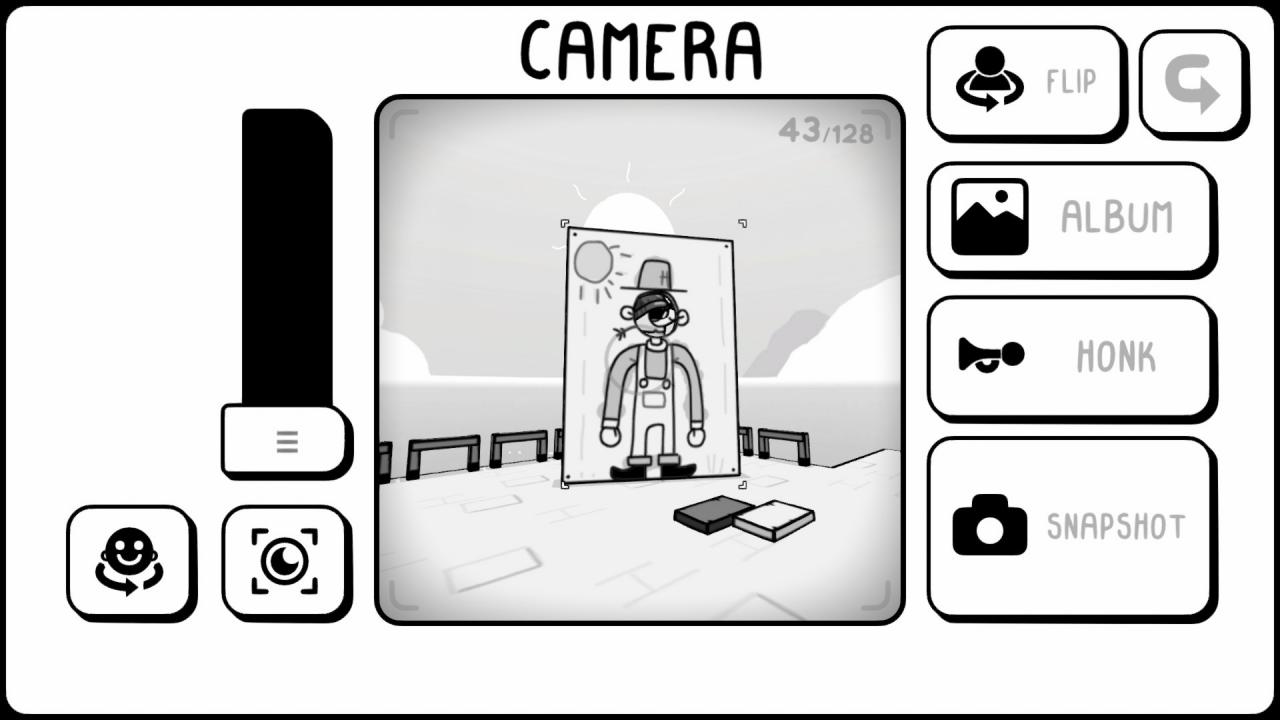
– Become a farmer: On the screen with the hippo lady there’s a farmer stand-in picture cutout. Take your picture in it with the help of your tripod.

Logcity
 17 – Reporter Hat – Inside the press building (in the area with the kid that gives you Photo Challenge 5), the editor will give you the quest “Press-ing news” and this hat.
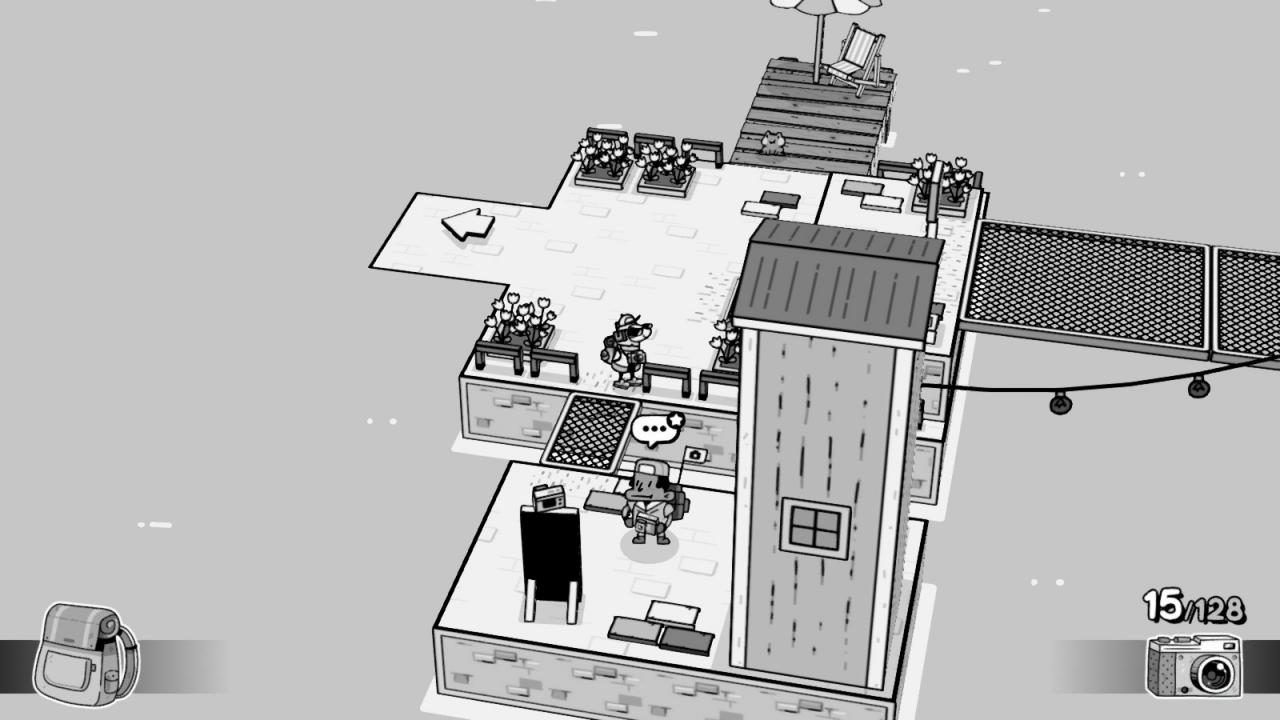
 18 – Sneakers – On the screen with the Fashion building, there’s a gift box you can get by climbing some stairs. Inside, you’ll find the shoes.
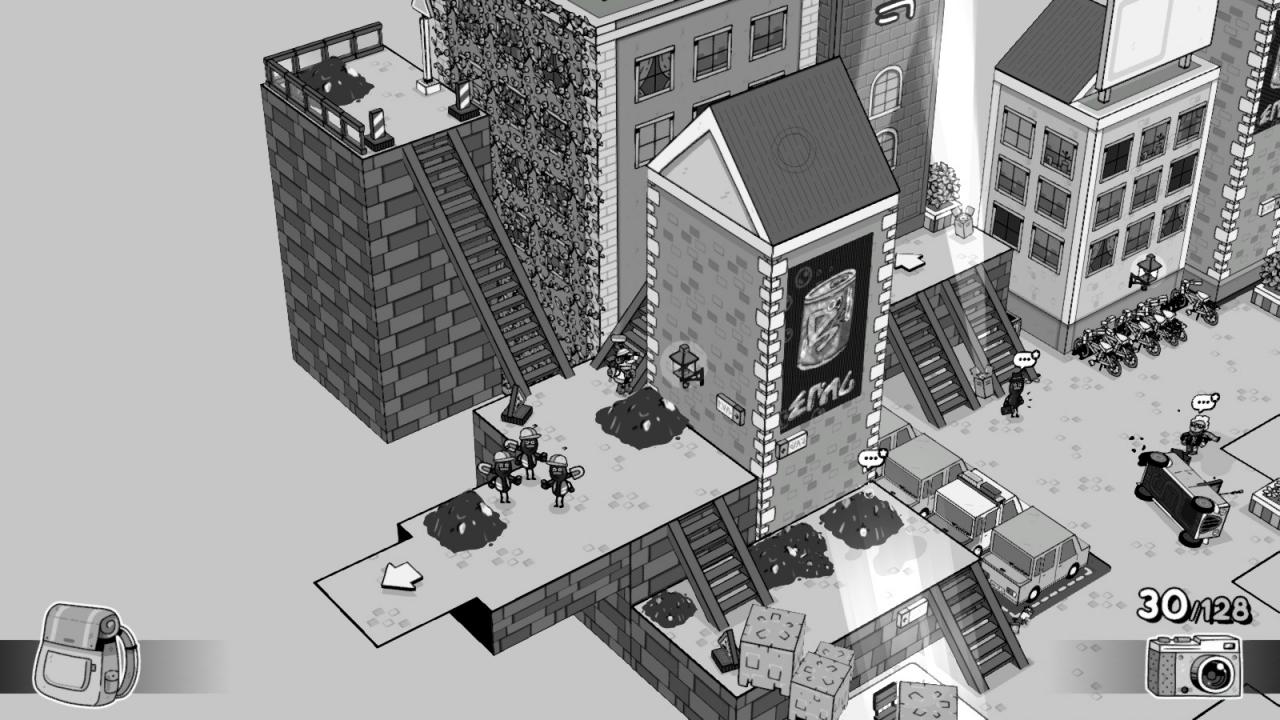
Monster Mask 3/4 – Sewy – On the area with the skating kids. Position the tripod near the manhole and get yourself near the workers resting. Once you hear or see the monster getting out of the sewer, take the picture.
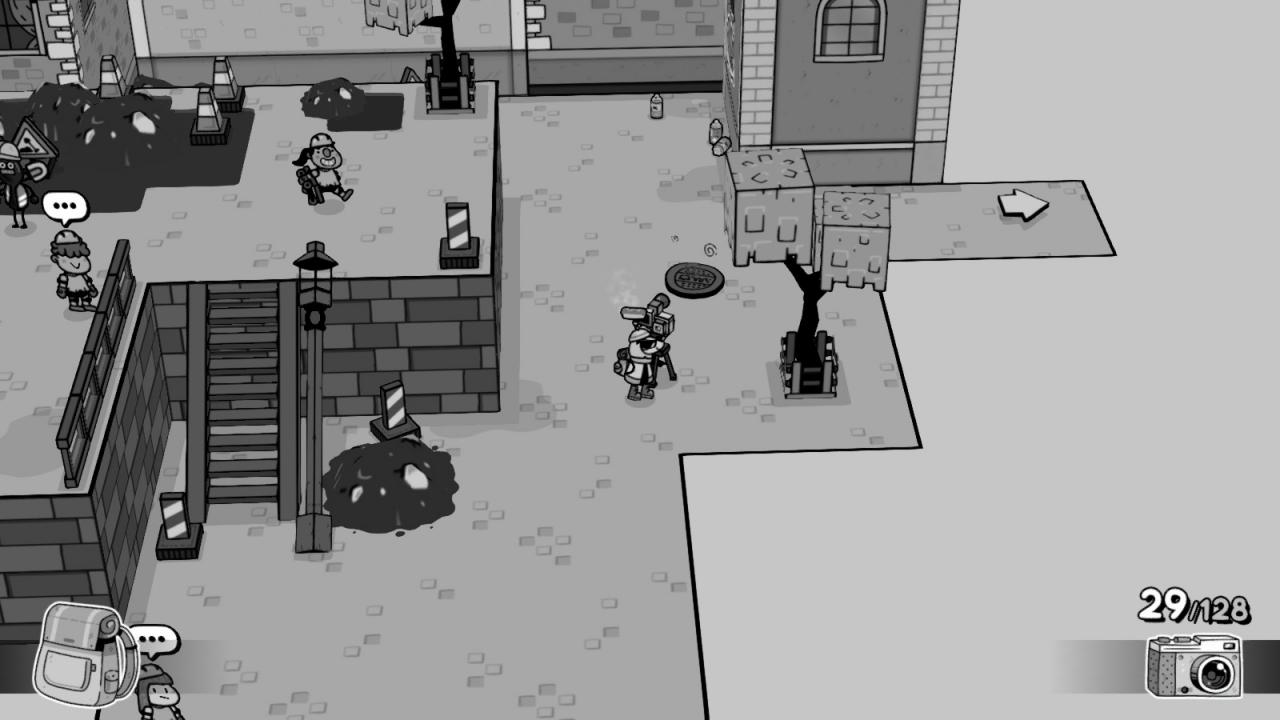
Photo Challenge 5:
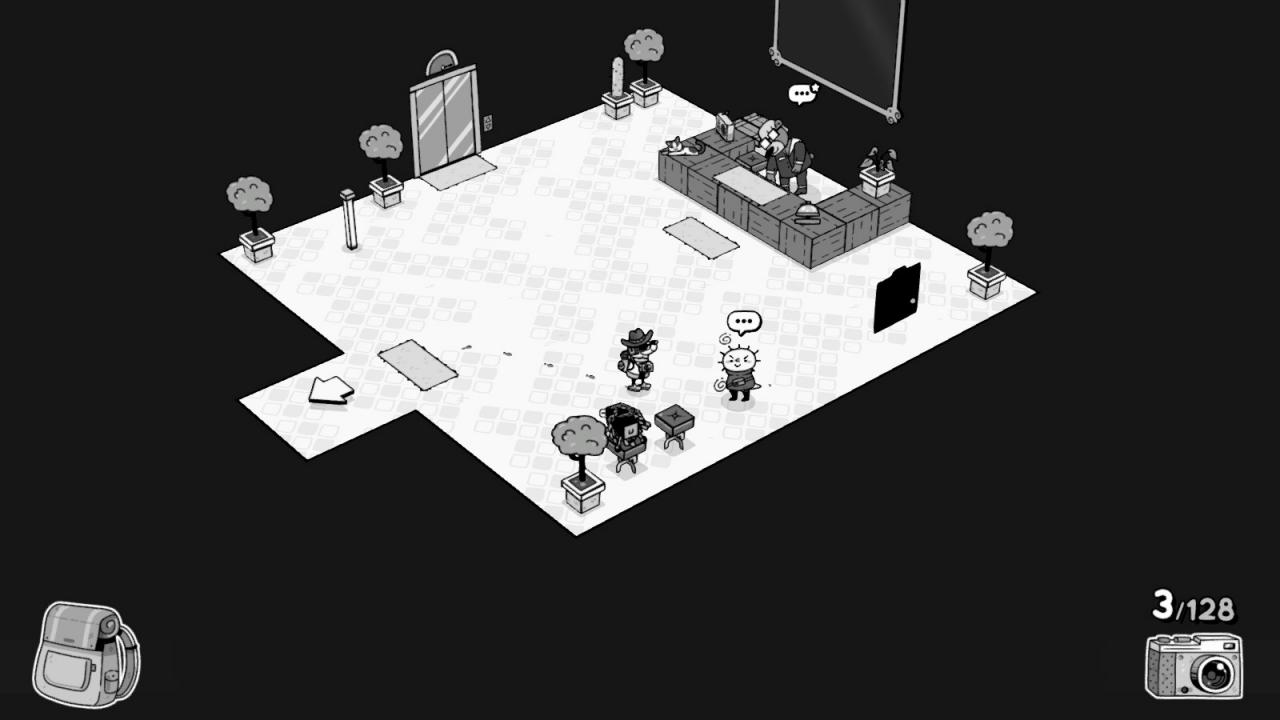
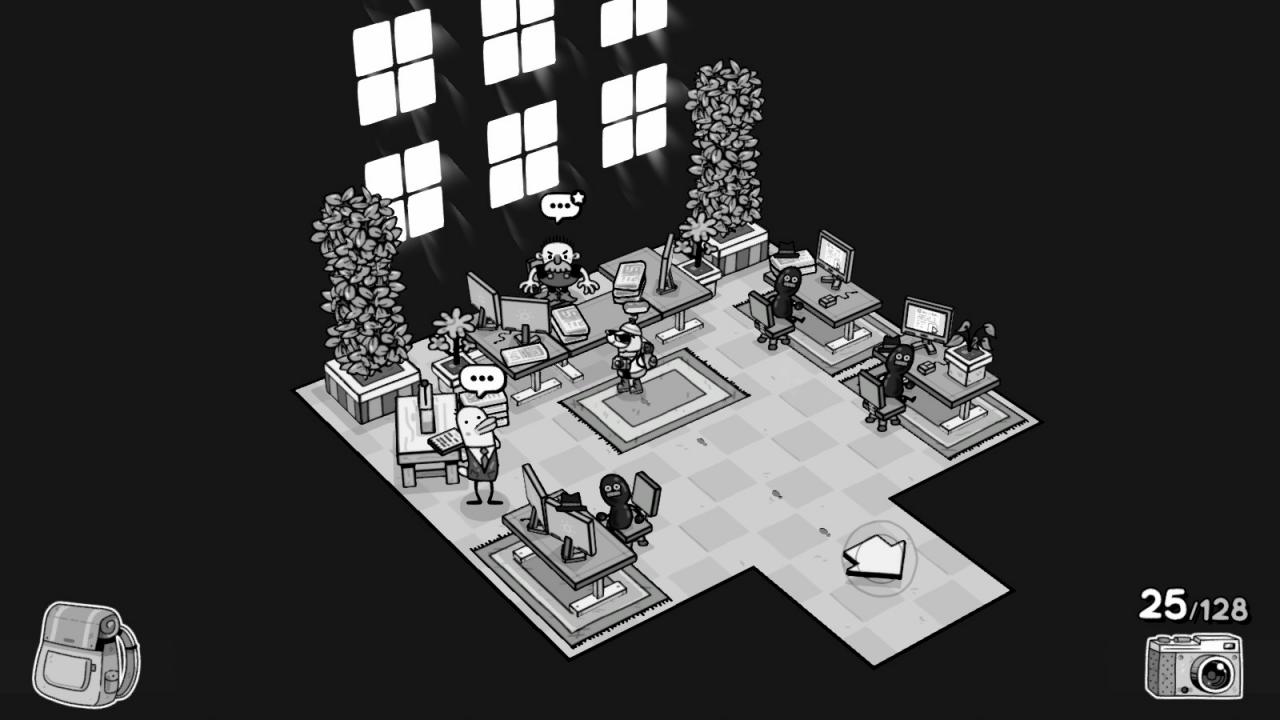
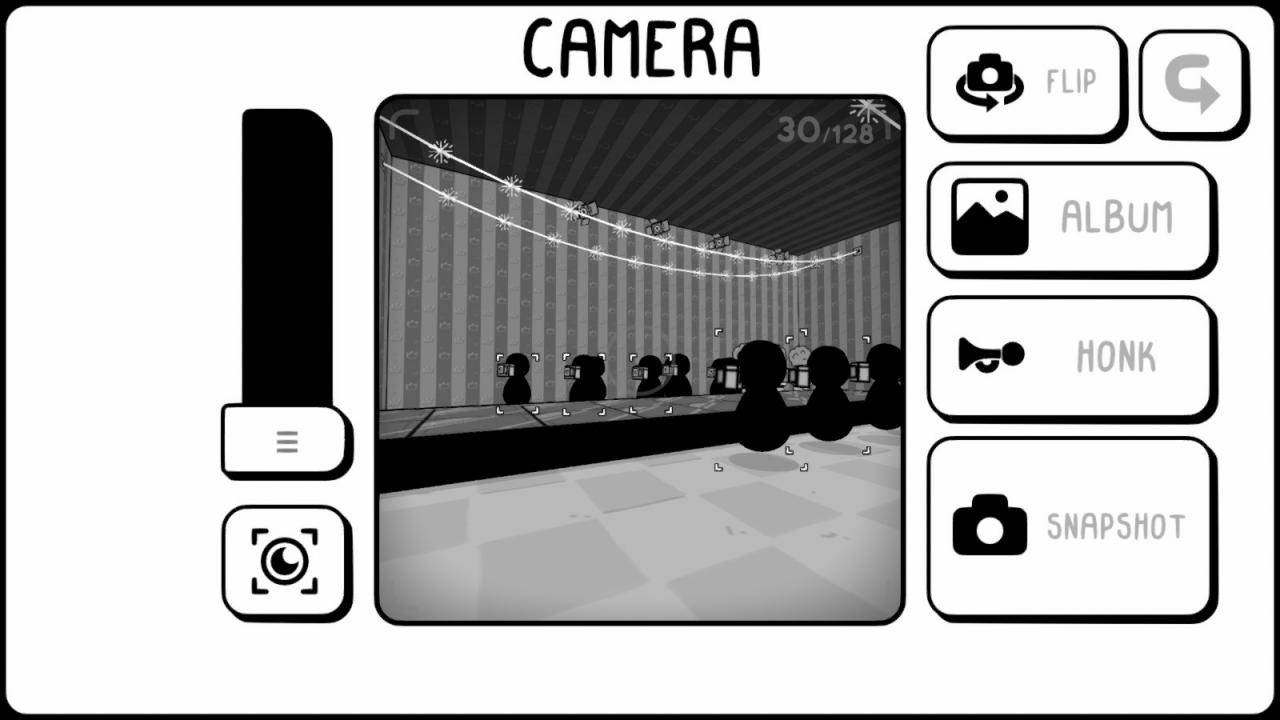
 – 5 living things: Inside the Fashion building there are a bunch of people waiting next to the catwalk. Position yourself so five of them fit inside your shot (take notice that five people must be selected by the camera’s framing function).
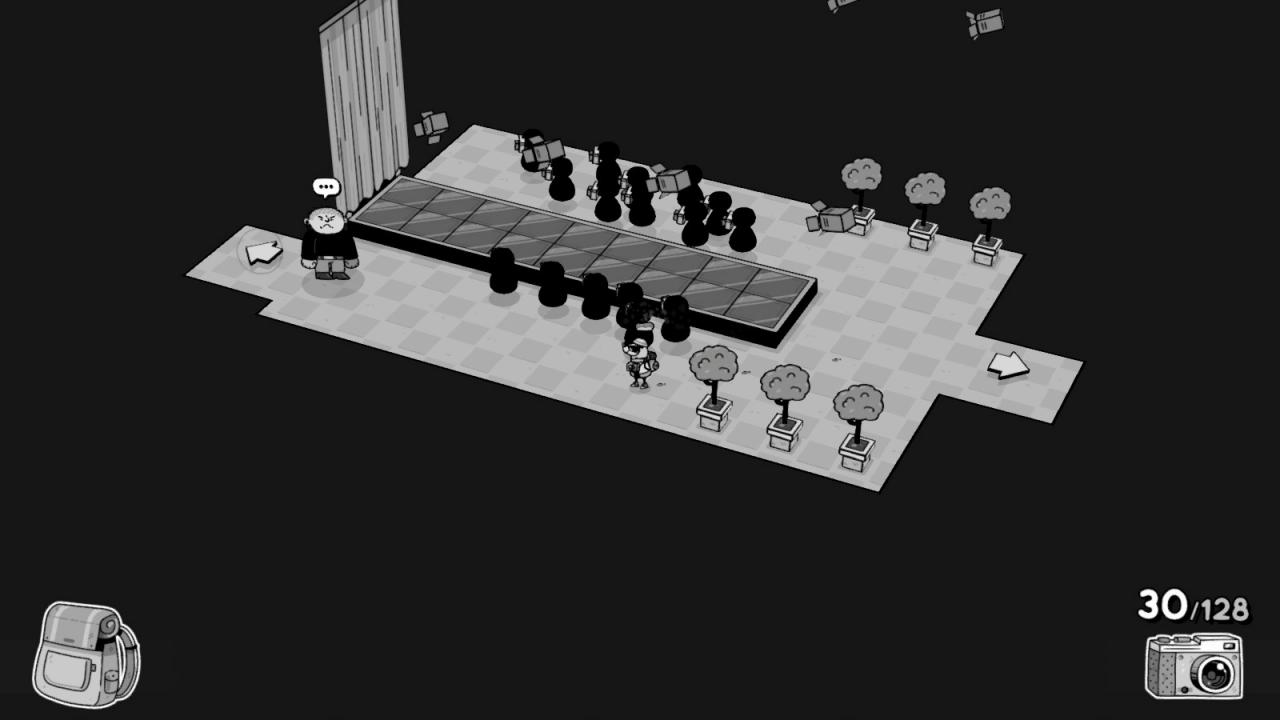
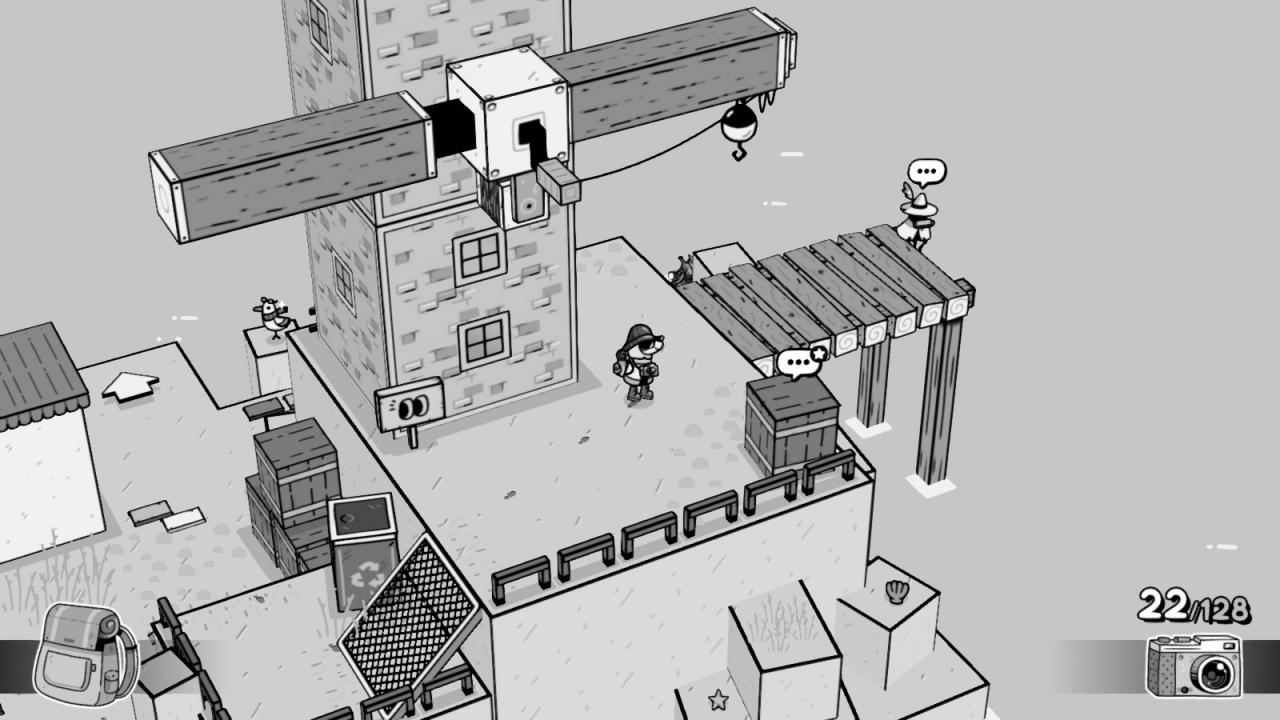
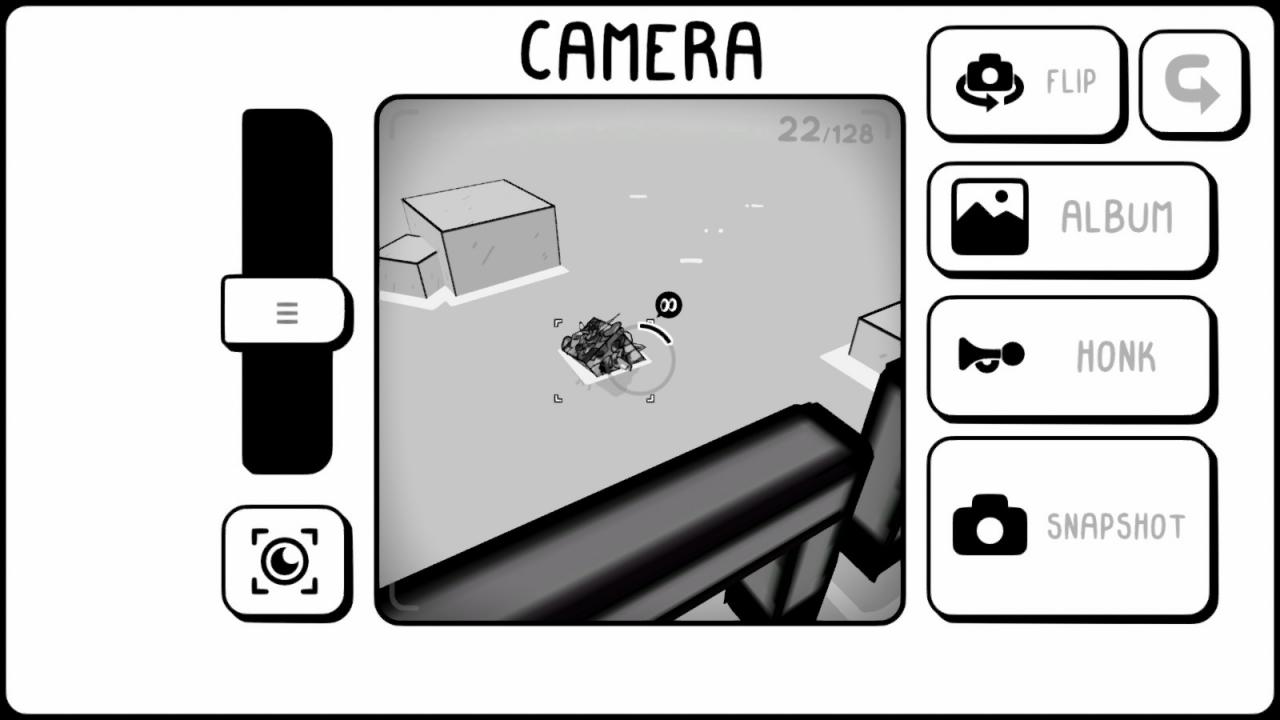
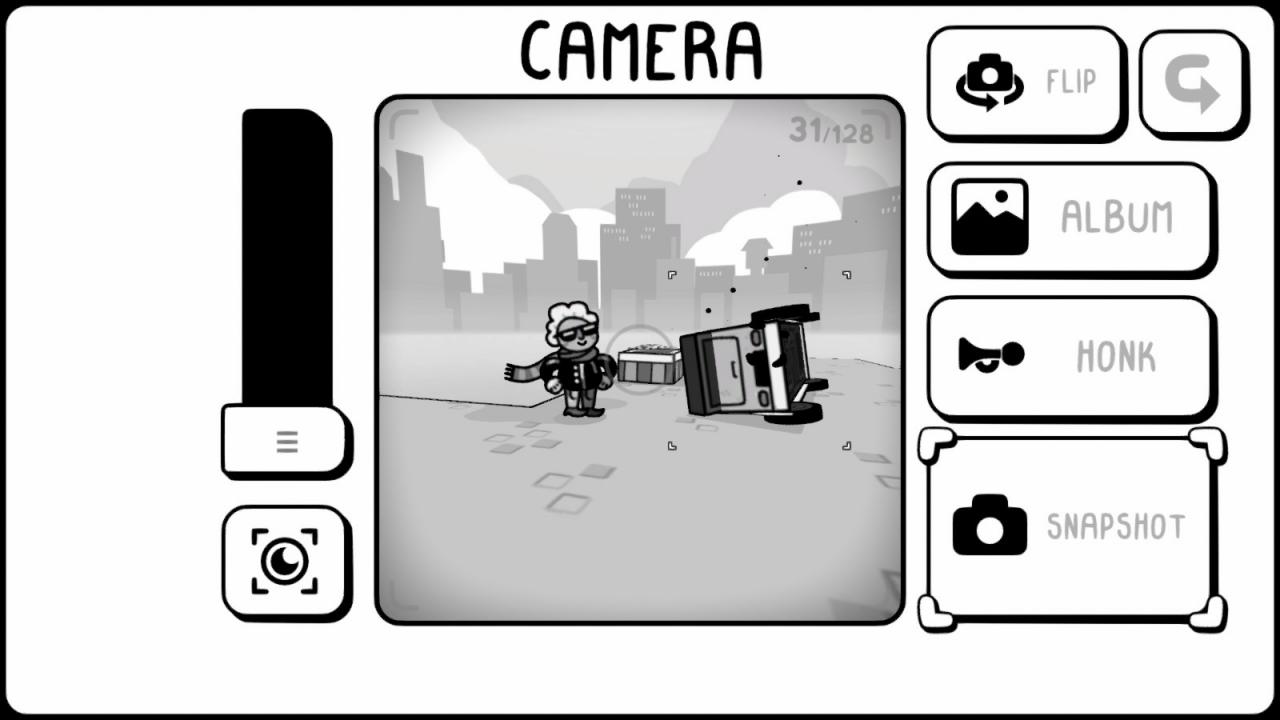
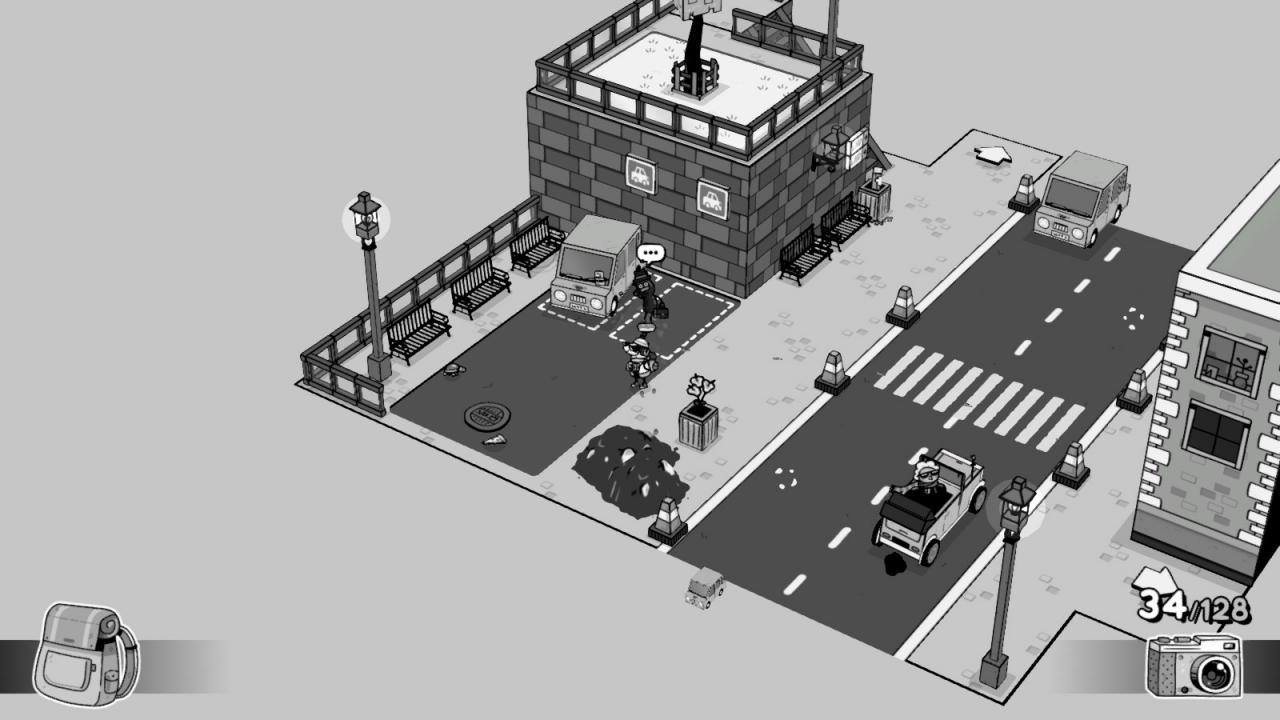
 – Granny car: On the screen with the Fashion building, right in front of it you’ll find an old lady with a broken car. You can take the picture before or after you fix it, but it’ll be easier to do it before.
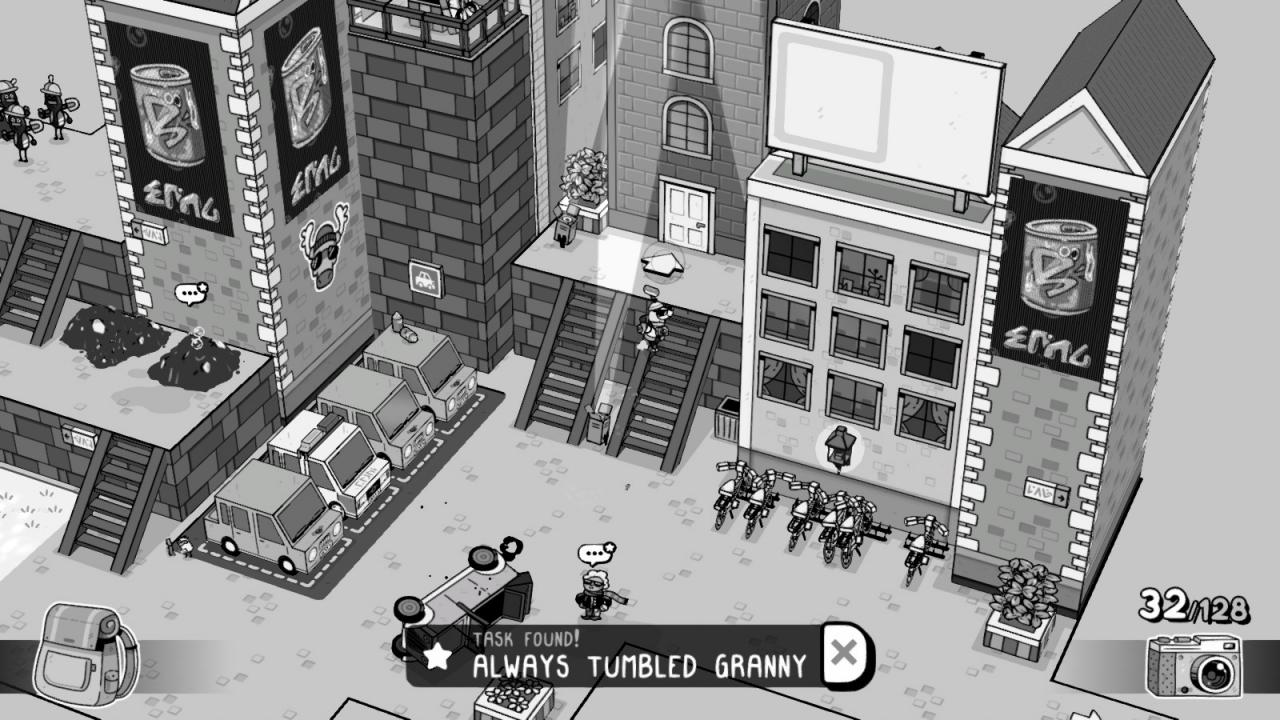
 – A radical moment: On the screen with the skating kids position yourself below the stairs and point the camera at the girl railing down them. Make sure to take the picture when the skateboard is sparking for best results.
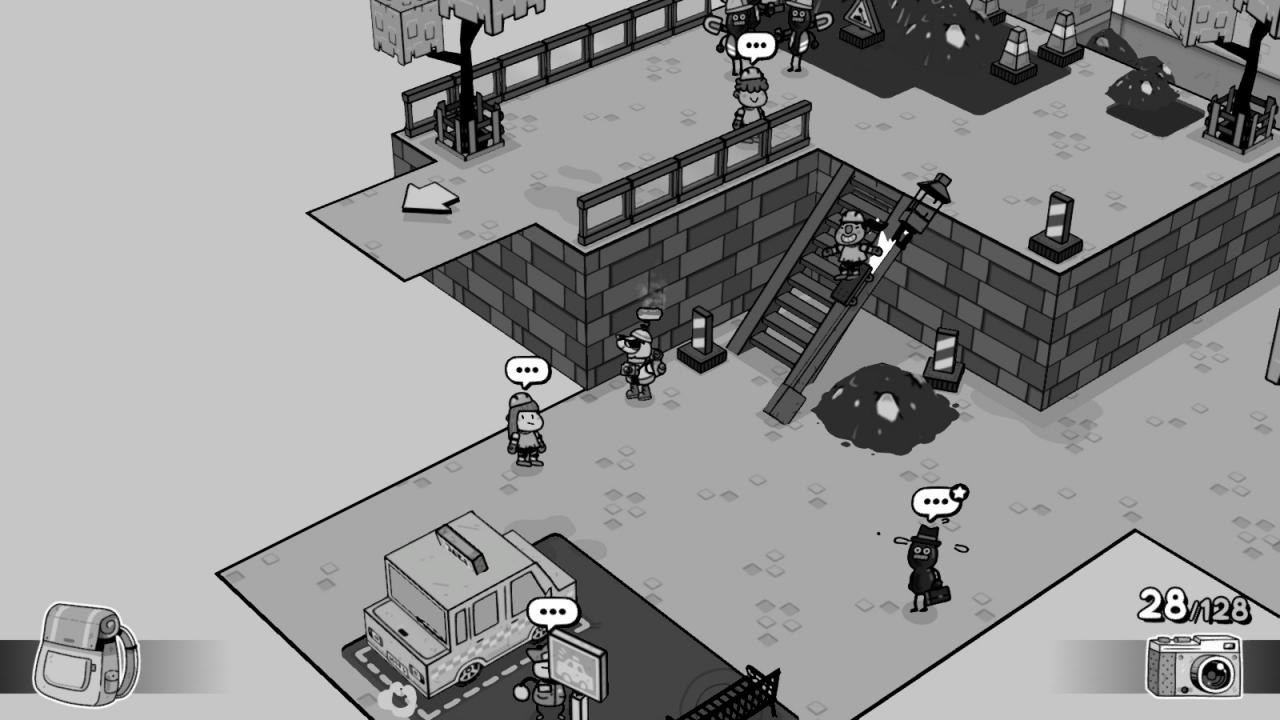
 Photo Challenge 6:
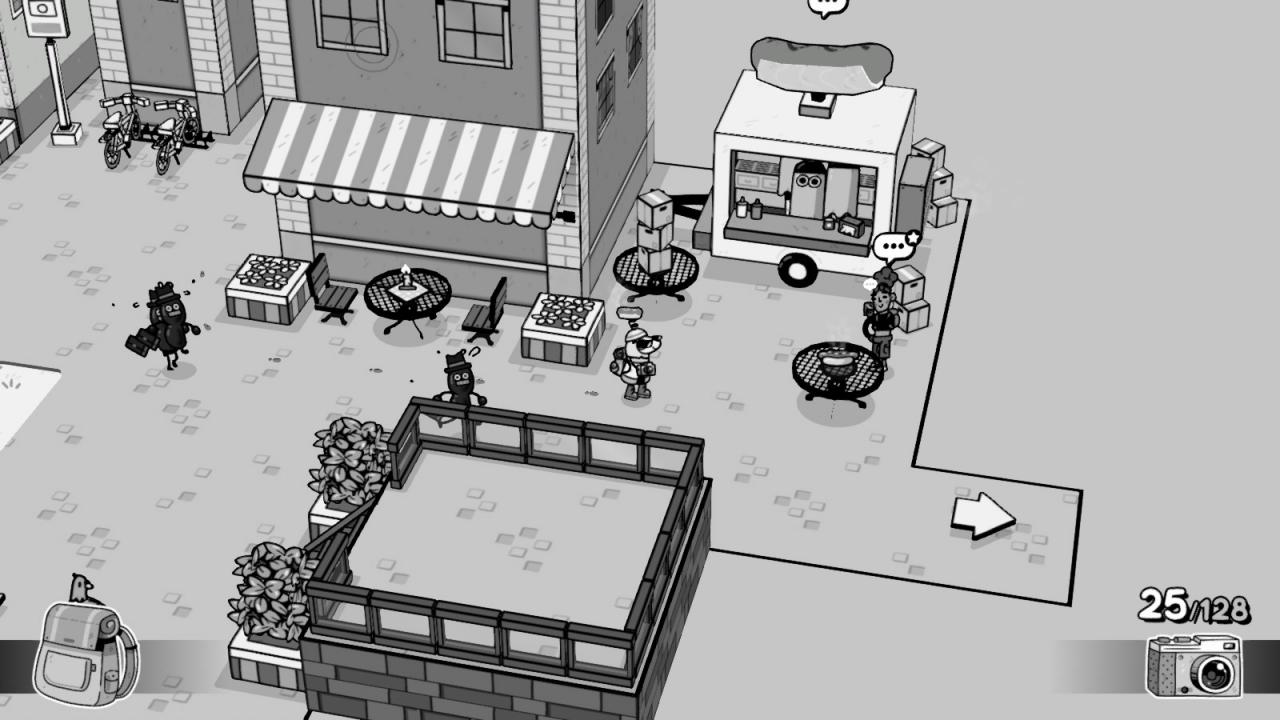
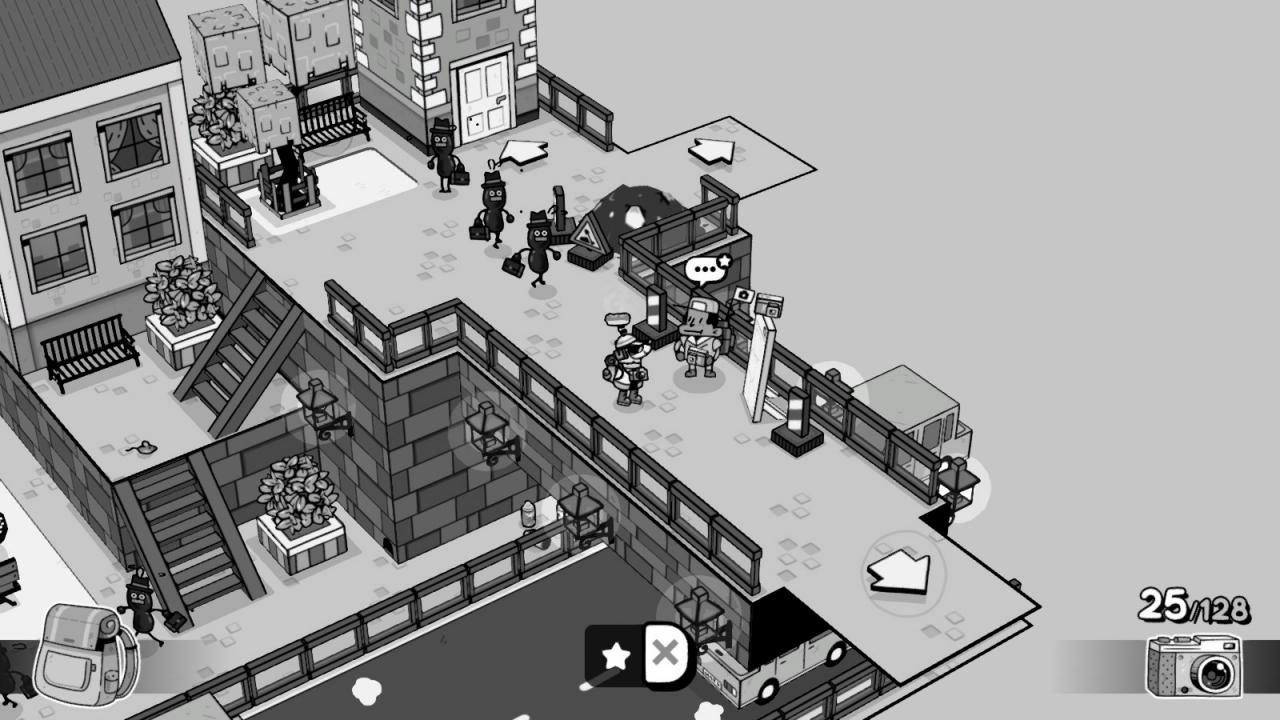
– Critical confusion!: On the screen west of the Hotbean Bros. kiosk there’s a guy standing next to a parked car, confused about getting a ticket (you can see question marks popping out of his head). Take his picture.
Kiiruberg
 Climb the near cliffs to the top and take a picture of the giant snowball. Get down and give it back to him. He’ll give you the hat.
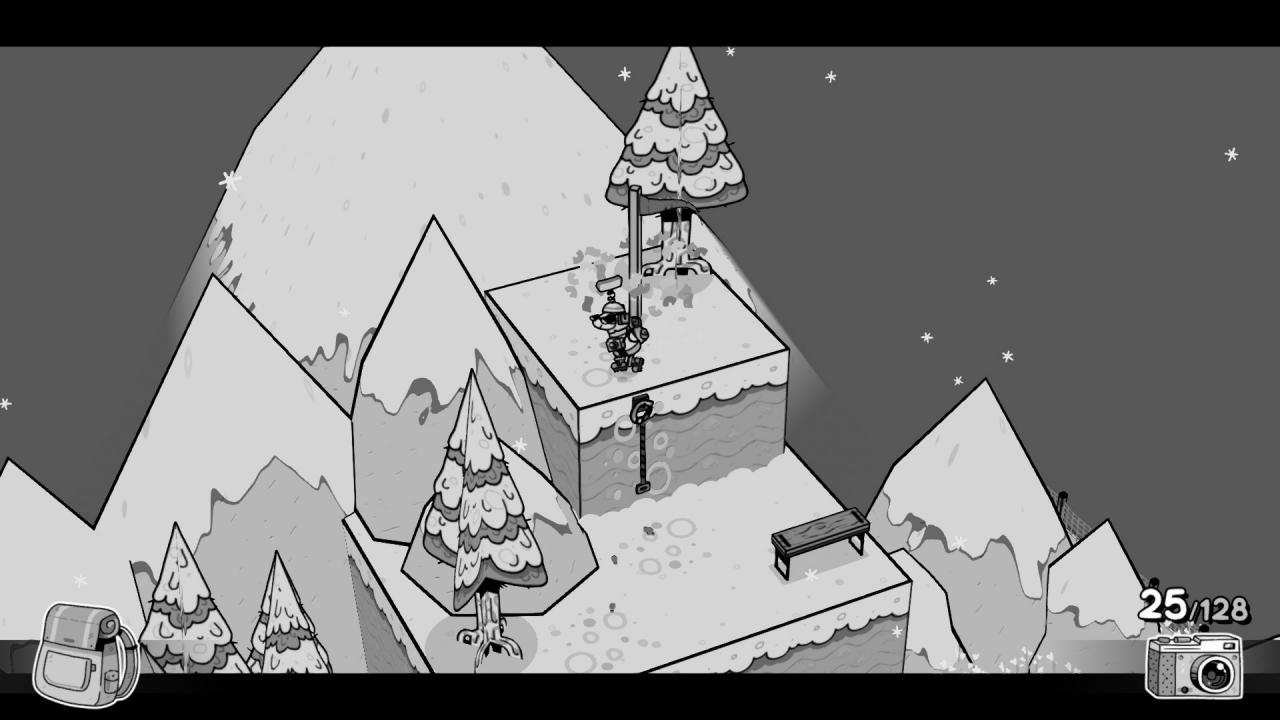
 21 – Scarf – West of the balloon family, on the screen with the Yeti stand-in picture cutout there’s a house. The woman inside will give you the scarf.
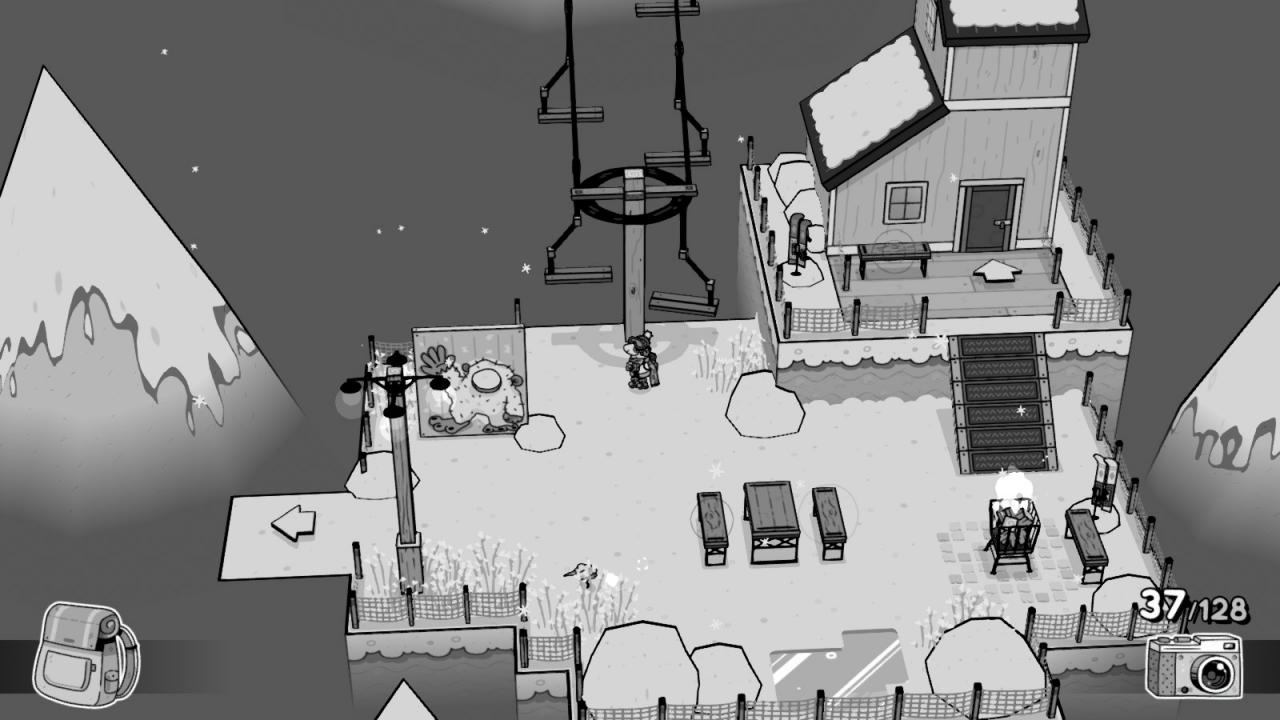
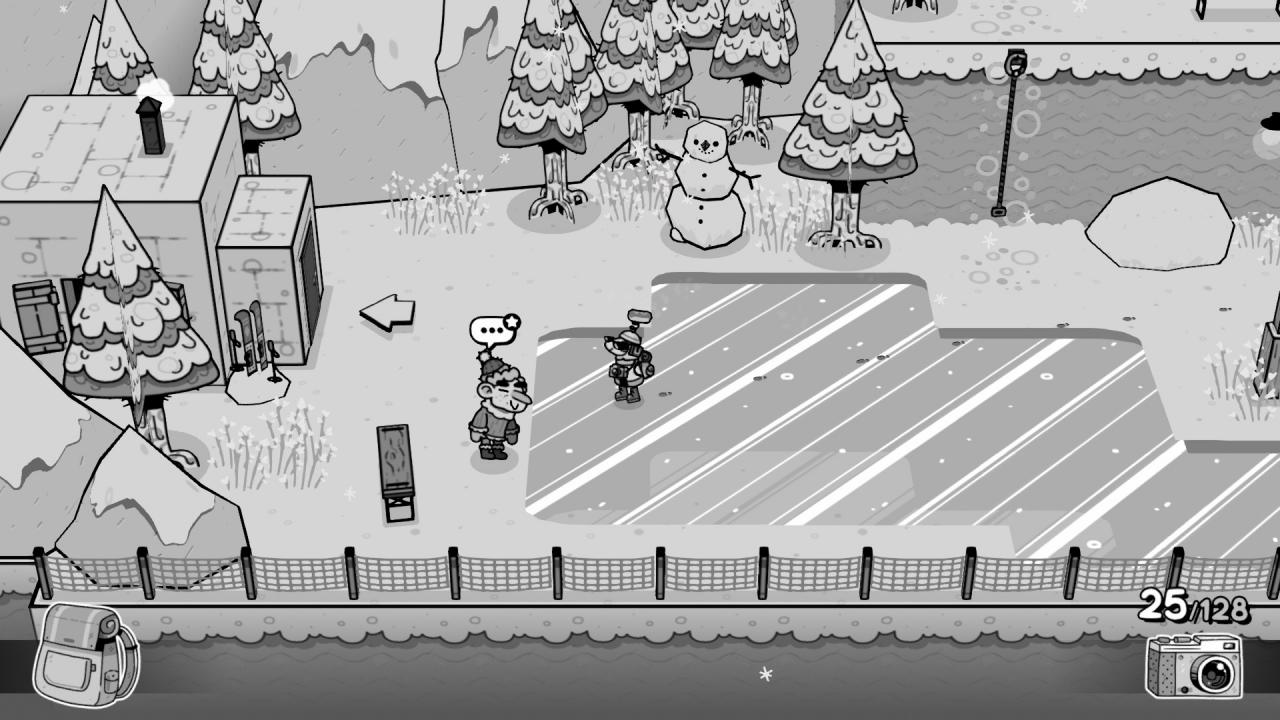
 22 – Ski Goggles – On the screen with the slope, north of the Yeti stand-in picture cutout, there’s a man who’ll give you the goggles when you talk to him.
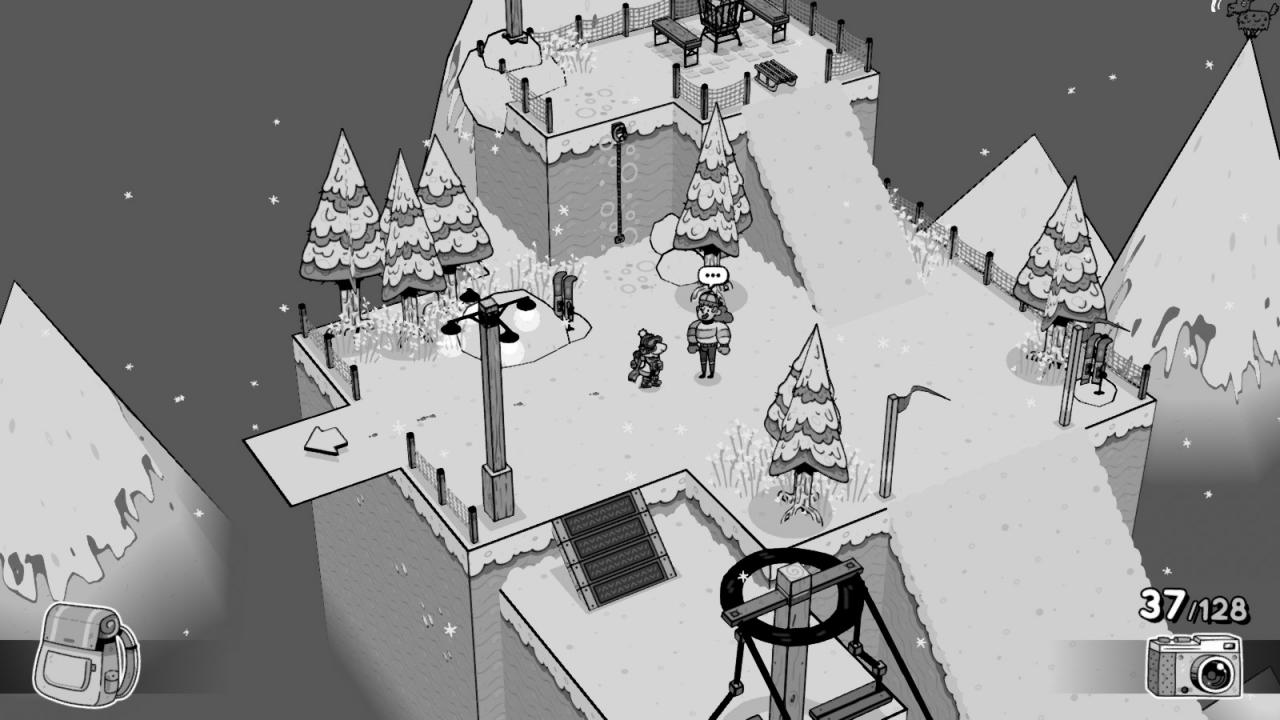 23 – Space Helmet – On the screen with the observatory, there’s a gift box below the building. The helmet is inside.
Monster Mask 4/4 – Tally – On the screen east of where you find the balloon kid, where the wind is stronger. Position the tripod near the claw marks on the cliff and hide behind the hill (you’ll have to break the large ice barrier with the horn). When the monster shows up, take the picture.
 With this challenge completed, you can go deliver the pictures to the kid in Oaklaville for the Mask.
Photo Challenge 7:
– Moon: Very simple. Just point to the sky in nearly any screen.
 – Balloon Animal: Next to the balloon family, on the second screen.
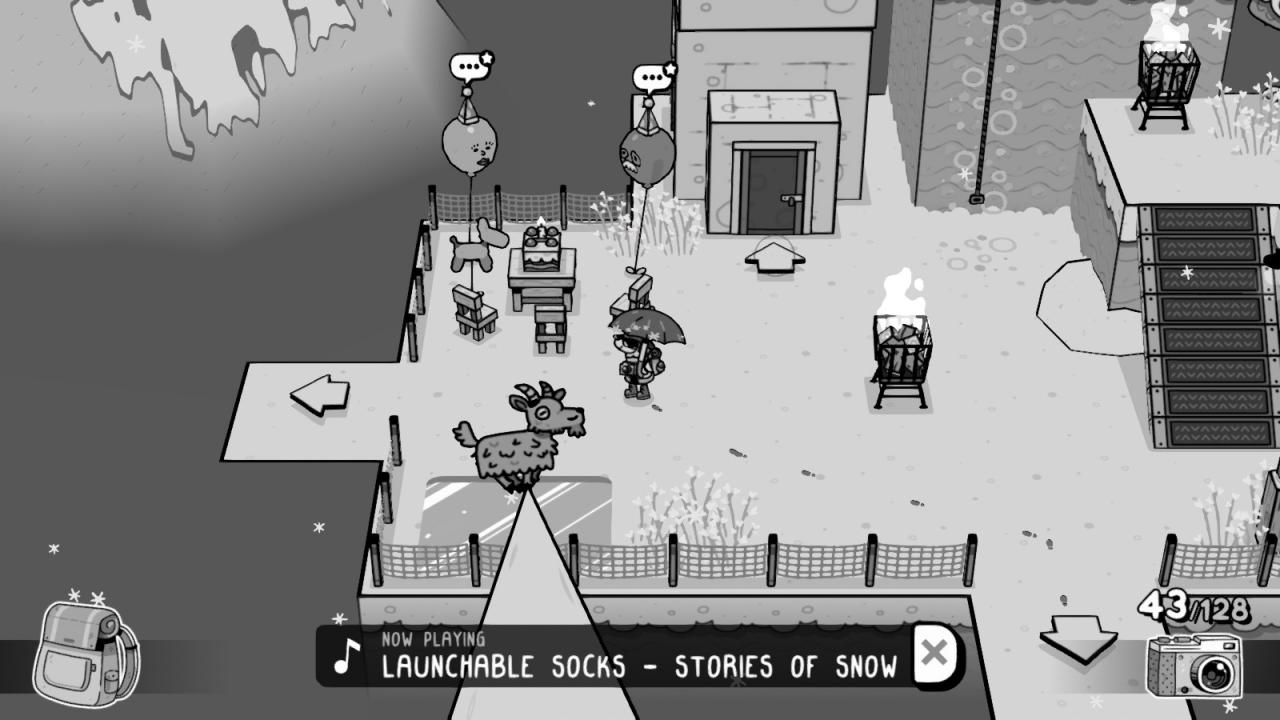 – Snowman: There’s one next to the rock climber and one on the screen with the meteor.
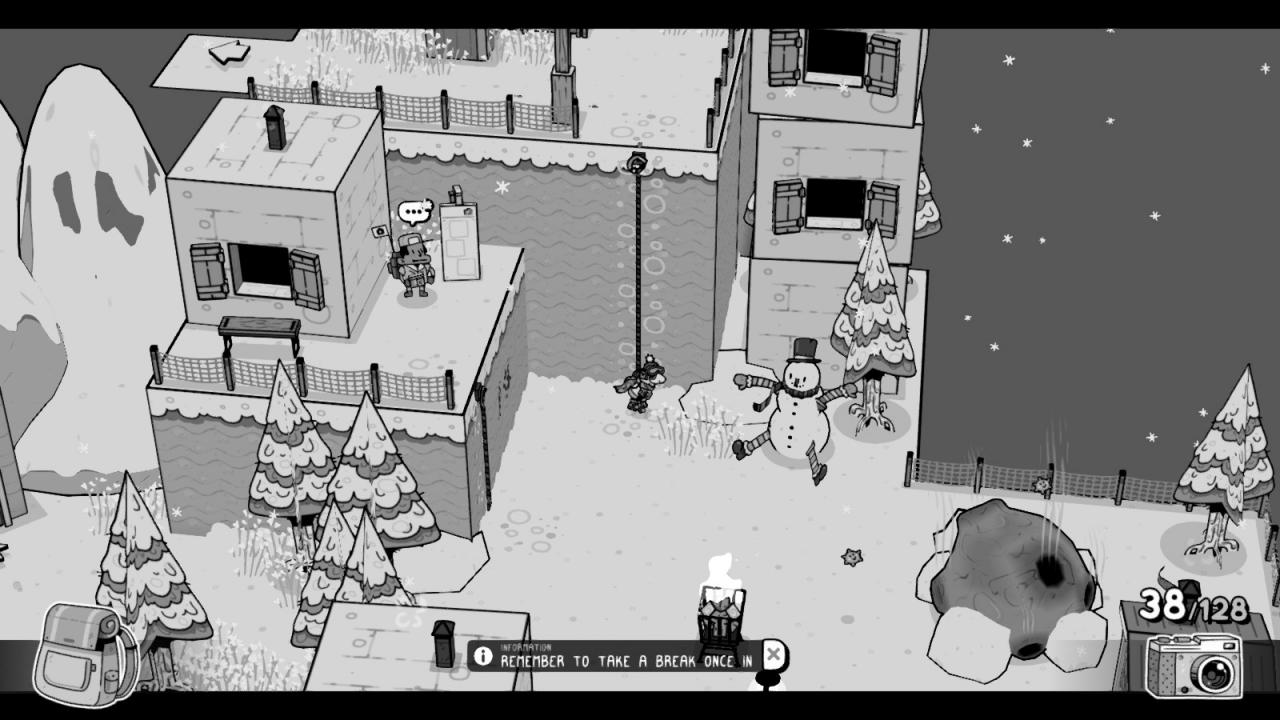 Photo Challenge 8:
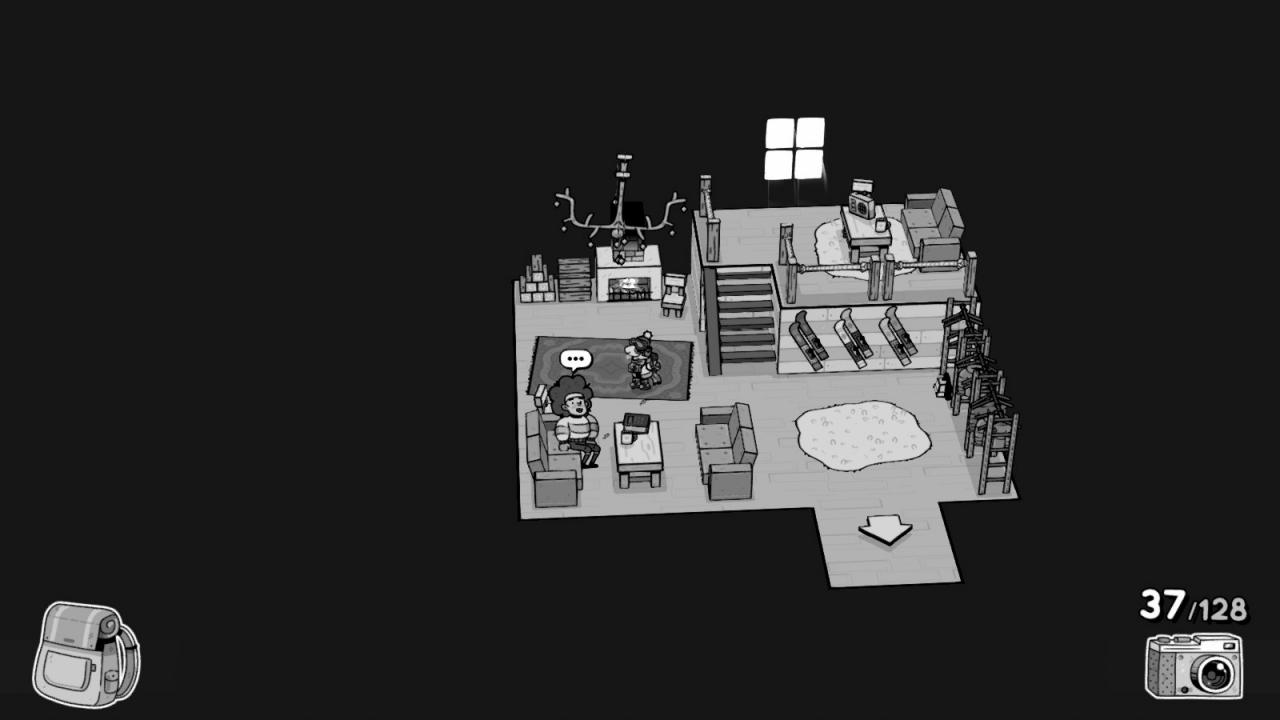
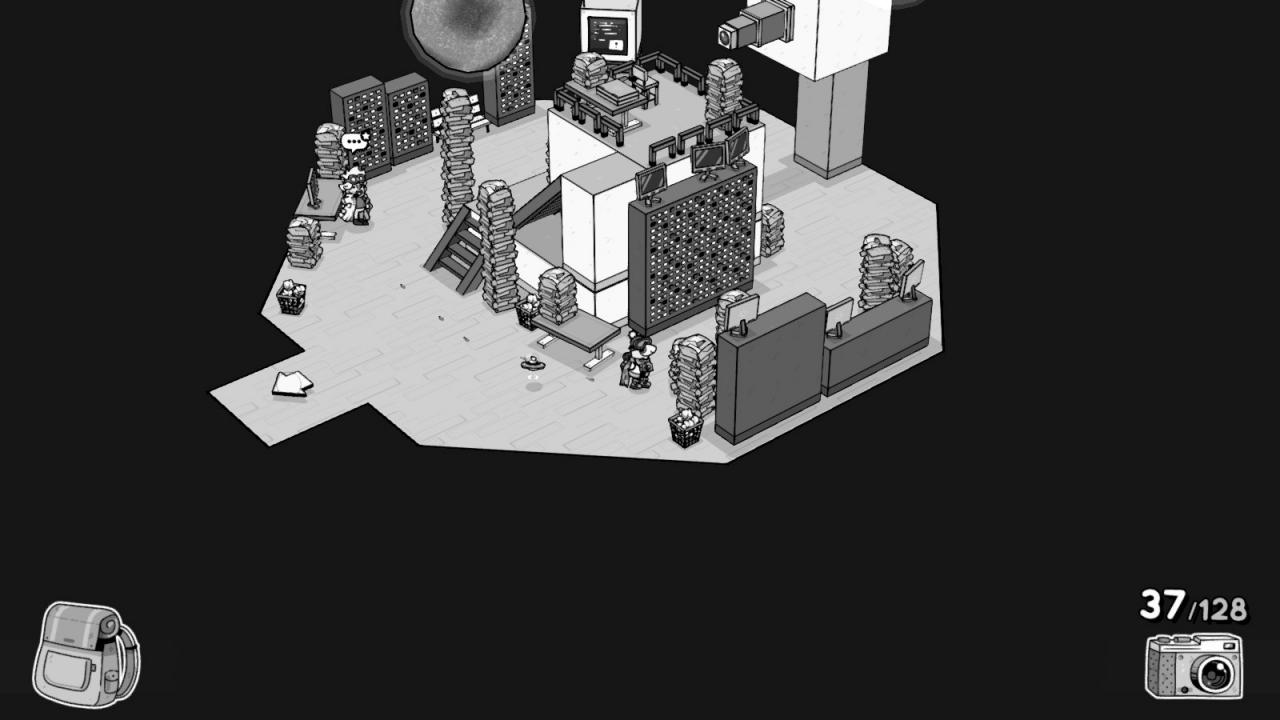
– Wall of lights: Take a picture of the large server inside the Observatory.
 Now that this final challenge is complete, you can go back to Stanhamn and finally get the flag from the Guild.
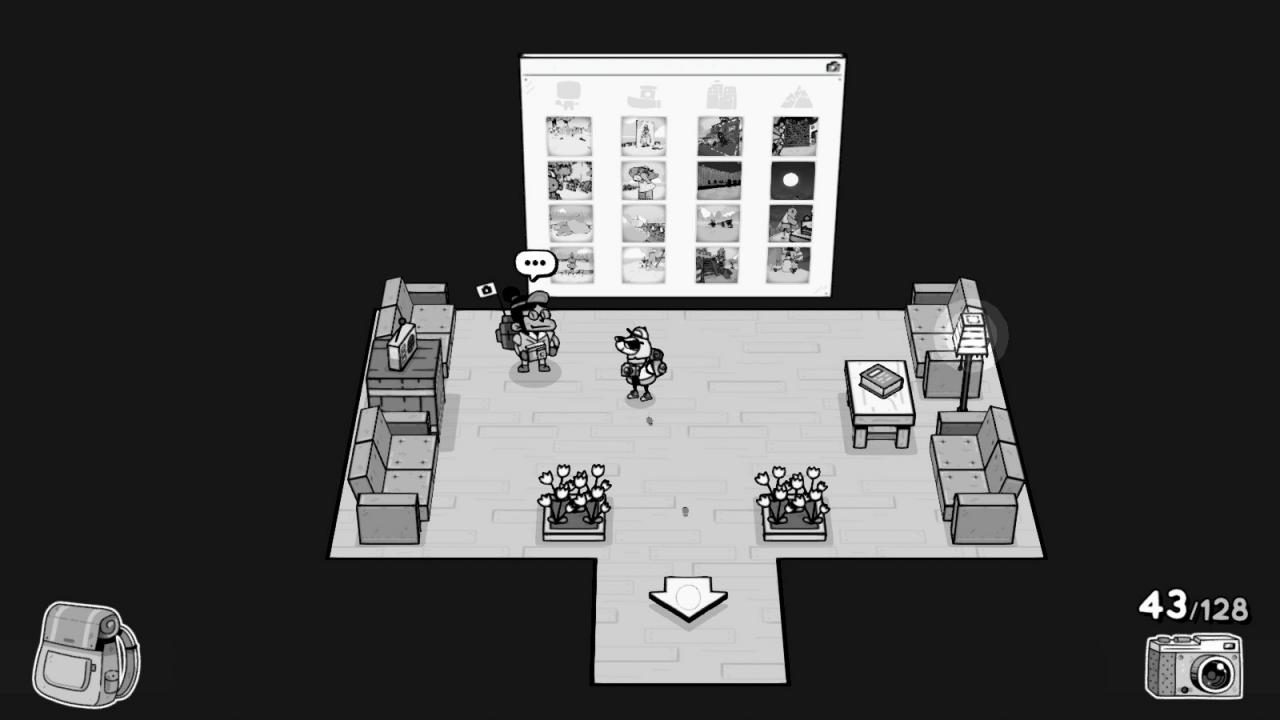
Thanks to Dreadjaws for his great guide, all credit to his effort. you can also read the original guide from Steam Community. enjoy the game.