Enemy types, armour type, HP, attacks and lore.
Intro
This guide goes over different armour types, enemies, monstrosities and some of the lore of the creatures, or at least what I could find. I am new to the Warhammer 40k lore so if anyone has info on any of the enemies, please comment.
The guide is categorized by types. If you’re looking for a specific enemy I recommend using the CTRL+F function as the list is quite long.
Armour Types
Armor types exist because weapons will deal different amounts of base damage depending on the armor you are hitting. Stuff like unyielding and maniac exist because they’ll have huge health bars, but also take more damage or have different multipliers depending on what you are hitting them with. Also weapons can roll extra damage against specific armor types. There are six armour types.
- Unarmoured
- Flak Armour
- Unyielding
- Maniac
- Carapace Armour
- Infested
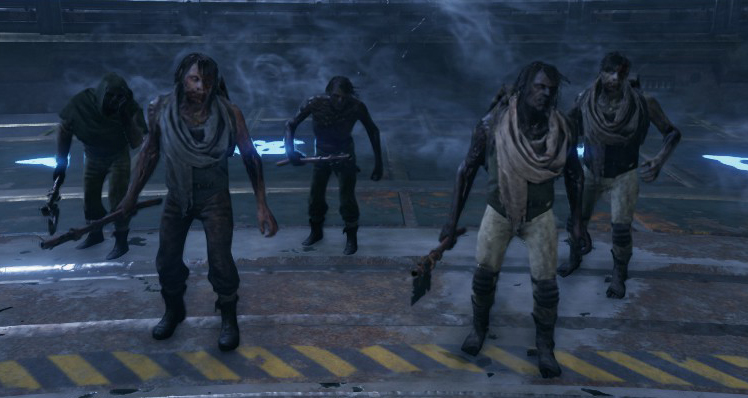
Horde Enemies


- Poxwalkers together with the Groaners are the most basic enemy in the game. You’ll see these in hordes. They’re fairly slow but will catch up to you. Armed only with a crude melee weapon.
- They use a melee attack.
- Horde, Infested

- These are squishier than the Poxwalkers, other than that they’re same enemy.
- They use a melee attack.
- Unarmoured (torso, limbs), Horde
Poxwalkers are a form of Chaos-infected undead similar to zombies who have been cursed by one of the Chaos God Nurgle’s maladies, the so-called “Walking Pox,” so that they can serve as unliving weapons for the Death Guard Traitor Legion.
Some Inquisitors of the Ordo Sepulturum — the new Ordo Minoris of the Inquisition dedicated to battling the undead — claim that the Walking Pox is a variant of Nurgle’s Rot, since unlike zombies, the victim’s flesh often mutates even after physical death, growing horns, tentacles and spikes similar to those of Nurgle’s victims who become Plaguebearers.

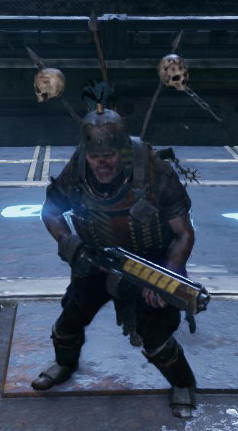
- The Scab Bruisers are faster than Poxwalkers. Instead of limping after you they sprint.
- They use a melee attack.
- Unarmoured (head, thigh), Flak armour (torso, arms, lower leg)

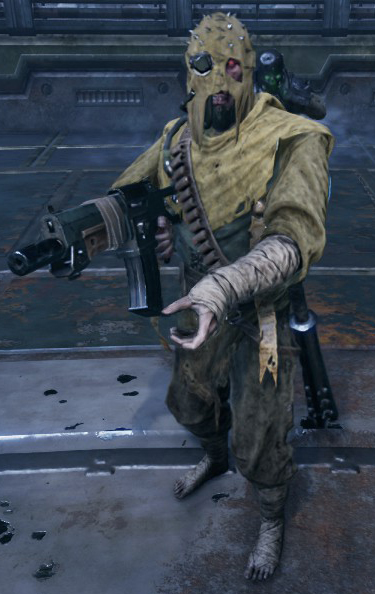
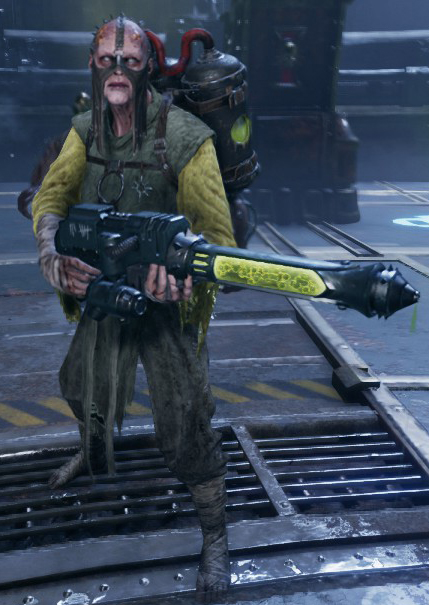
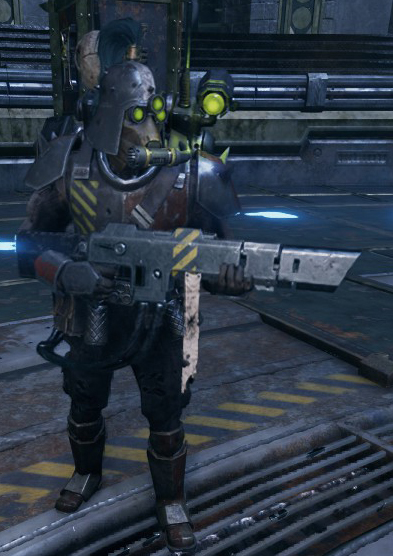
- Scab Stalkers are armed with a Lazgun and take cover if given the opportunity, dealing decent damage, in large groups these can be pretty deadly. In lower numbers they’re not an issue. Once engaged in melee range they will swap to a melee weapon.
- Ranged and Melee attacks.
- Unarmoured (thigh, upper arm, arms, legs), Flak Armour (torso, head, lower arms, lower leg)


- Much like the Poxwalkers and Groaners this unit is nearly identical to Scab Stalkers in terms of mechanics. Only difference once again being the HP and a slight difference in appearence. This unit rocks green goggles.
- Ranged and Melee attacks
- Unarmoured (thigh, upper arm), Flak Armour (torso, head, lower arms, lower leg)
Scabs are members of the Moebian Sixth. The Moebian Sixth was one of many Astra Militarum regiments raised in the Moebian Domain, tasked with defending the region’s worlds from Chaos and Xenos threats locally called the “Darktide”. Recruited mostly from Atoma Prime, the Moebian Sixth distinguished itself in the battles of the Fringe War against the Darktide. Waged on feral worlds against horrible enemies with little external support, the Fringe War brought the Imperial regiments to the limits of their endurance. For years, the Moebian Sixth served the Imperium loyally and became the most famous as well as celebrated Moebian regiment.
Over time, however, the Moebian Sixth was pushed too far. Exposed to the horrors of the Galaxy and the Warp, a sharp contrast to the Imperial propaganda at home, eventually resulted in the unit’s corruption. At first, this remained unknown to Imperial authorities, and when a zombie plague erupted on Atoma Prime, instigated by the Admonition Chaos Cult, the Moebian Sixth was redirected from frontline deployment to assist in combating the Nurgle corruption.Instead, it turned on the people it had sworn to protect and began to support the uprising.

- Identical to their Scab counterpart in terms of mechanics with the exception of HP. Dreg melee units are slightly tankier than the Scab ones. Sprints at you once triggered.
- Melee attack
- Unarmoured (torso, limbs), Flak Armour (head)

- Dreg Stalkers wield an assault rifle, taking cover when possible. Once in melee range they’ll equip a melee weapon. They’re slightly tankier than their Scab counterpart.
- Ranged and Melee attacks.
- Unarmoured
Specialist Enemies

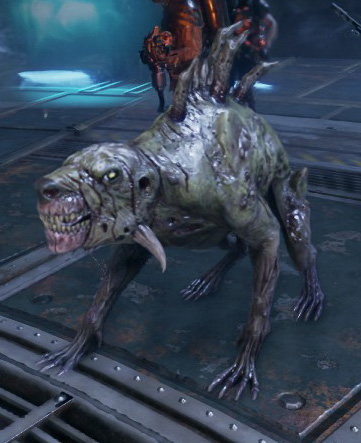
- Pox hounds move around quickly and erratically, and their goal is to pounce on an isolated party member. The pounced player cannot break free and will take continuous corrupting damage until freed. You will hear when the Pox Hound spawns due to a howl in the distance.
- You can dodge to the side to avoid the pounce of the Pox Hound – it just takes a bit of practice to get the timing right. The audio cue for dodging the Hound’s pounce is a high pitched bark that it always emits as it begins to pounce. Dodge sideways when you hear this.
- Infested

- Mutants will charge at someone in your party and grab them. They will then smash the player against the ground a few times before throwing them, which does quite a lot of damage to the victim and may throw them into a bad position (like in the middle of a horde). They are less dangerous than the Pox Hound and Trapper, but are quite disruptive and should still be a high priority target.
- You can dodge their grab if you wait until they extend their arm to prepare to grab you, and then dodge sideways.
- Maniac

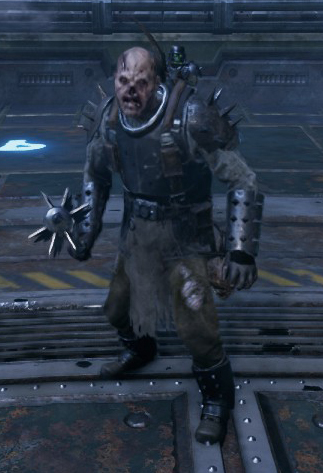
- Like the Mutant, the Pox Burster will run into your party only to blow itself up there. This attack will cause the Pox Burster to die, but it will significantly damage all players near its blast. Again, a player should attempt to take out the Pox Burster with an aimed shot from a sniper rifle. If this is not possible, spread out as far as possible so that not all players in the group are affected by the damage.
- By splitting up the party, a lot of damage can be thwarted
- Infested

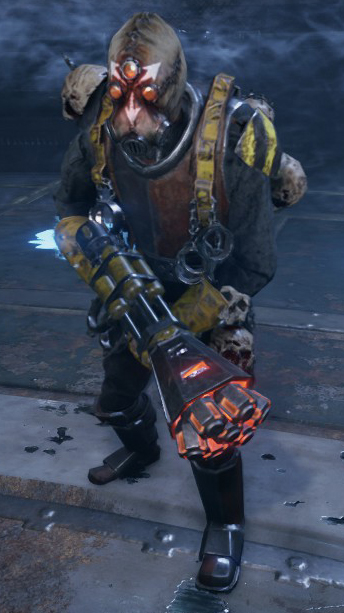
- Dreg Tox Flamers do steady AOE damage to players and can act as an area denial threat. Another noticeable feature of fire damage is that it immediately removes all of your toughness, leaving you vulnerable to health damage and staggering effects from both the flamer and other enemies.
- Maniac
Scab Specialist Enemies

- Trappers have a similar goal to the Pox Hound – their aim is to stun a party member by shooting a net which will trap you. The trappers don’t make much noise and will sneak around and hide, waiting for an opportune moment to strike, often running away to find a new hiding spot when they have fired their net. The trapper’s net does very slow corrupting damage over time, but trapped players will often fall victim to other enemies if they are not freed quickly, as they are unable to move or defend themselves.
- The net can be dodged – ideally wait for the first clicking sound as he begins to fire the net, and then dodge sideways.
- Maniac

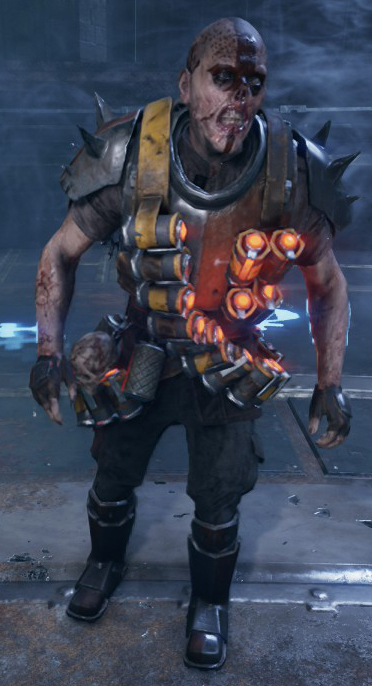
- Scab Bombers will try to stay at a distance from your party, and will throw incendiary bombs at you, doing moderate damage but primarily acting as area denial. In a wide open area you can get away with prioritizing other targets if needed, but in more enclosed spaces they can be very dangerous and should be prioritized.
- Flak Armour

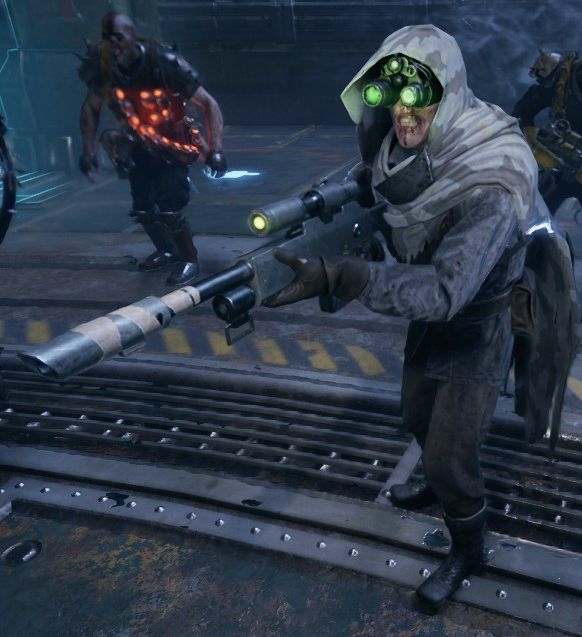
- The Scab Sniper is a highly dangerous special enemy. If he’s caught close to your party then he will sprint away to a distant position. From there, he will aim sniper shots at you. You can see where he is aiming from the sight laser, giving you a short window to dodge the shot. If he lands a hit on you, you will take massive damage – on higher difficulties, a couple of these shots can be enough to take down a player.
- If someone on your team is able to snipe distant enemies, they should kill the sniper as soon as possible, otherwise you should utilize cover and alternative routes where possible to close the gap to the sniper.
- Unarmoured

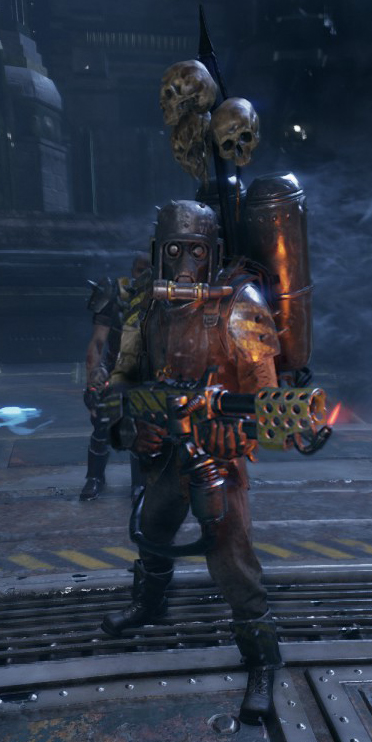
- Flamers do steady AOE damage to players and can act as an area denial threat. Another noticeable feature of fire damage is that it immediately removes all of your toughness, leaving you vulnerable to health damage and staggering effects from both the flamer and other enemies.
- Maniac
Elite Enemies

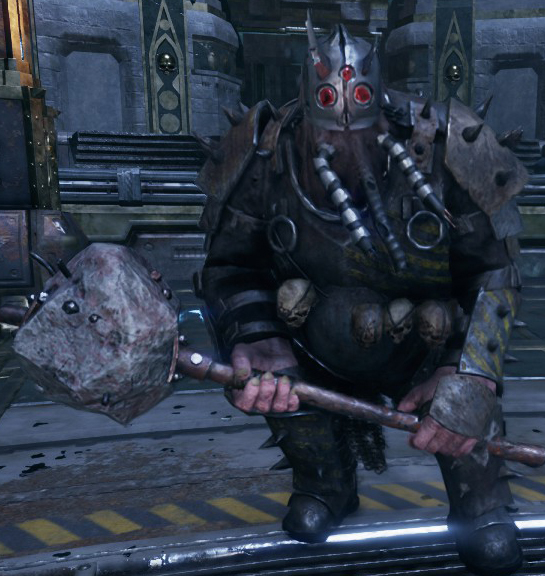
- The Crusher is completely encased in Carapace Armour. Their overhead strike deals massive damage and they are difficult to take down.
- Alone they are not too dangerous as they are even more cumbersome with their movement and attacks – just make sure to dodge their heavy hitting swings. In groups however they can be much more deadly.
- Carapace Armour

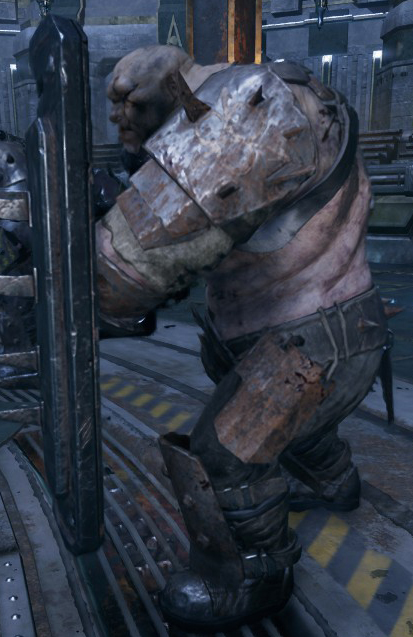
- Bulwarks are Ogryns armed with a one handed weapon and a large shield. The shield protects most of the front of their body so it’s difficult to damage them from the front. Don’t try to mess with a bulwark alone. It’s much easier if one player in your group lets the bulwark attack them, and the rest runs around it to attack it from behind.
- Unyielding, Carapace Armour on arms

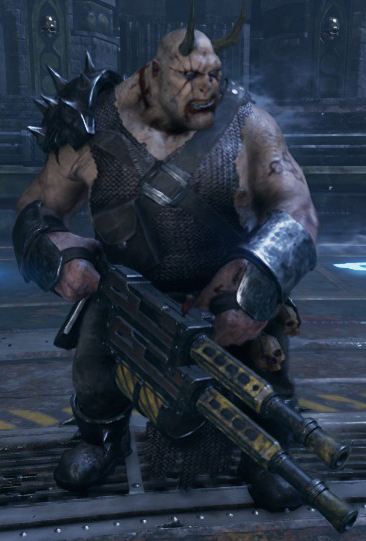
- Reaper is the only exception to the elite enemies in Darktide, as he focuses on ranged combat rather than pounding you with giant hammers. Reapers are ogryns armed with huge automatic rifles. If you keep him at a distance, he will keep firing at you and your party until you all say hell or he is defeated. So the whole group should work as quickly as possible to eliminate this monster.
- If you melee the Reaper, he will stop firing at you or your party members. This is how you can end the Reaper’s sustained fire quickly and effectively.
- Unyielding, Flak Armour on Torso, Carapace Armour on Shoulders & Forearms
Scab Elite Enemies

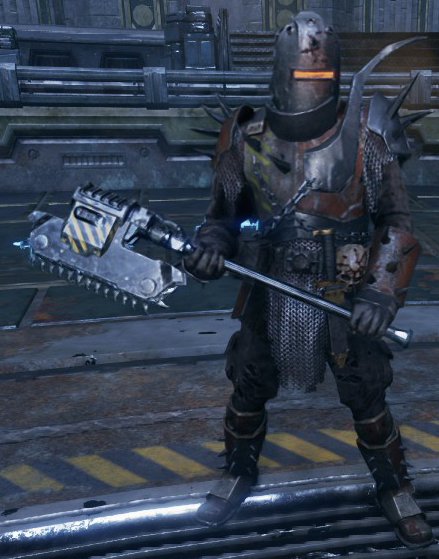
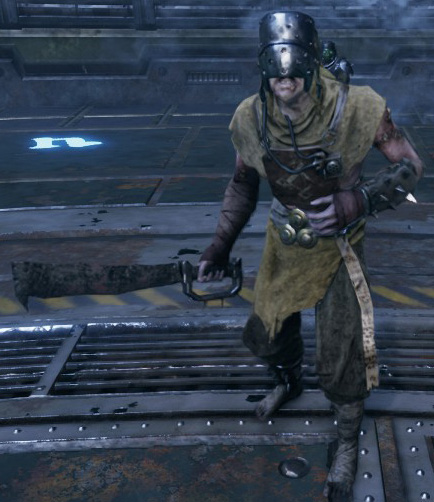
- The Mauler is a very common elite enemy. They are heavily armored and wield a large chain axe. Their attacks are quite slow so you can avoid them by dodging. It’s especially important to avoid their overhead strike – this is very slow but if it hits you it does huge damage. Aim for headshots with armor piercing weapons to take them down more quickly.
- Flak Armour (Body), Carapace Armour (Head)

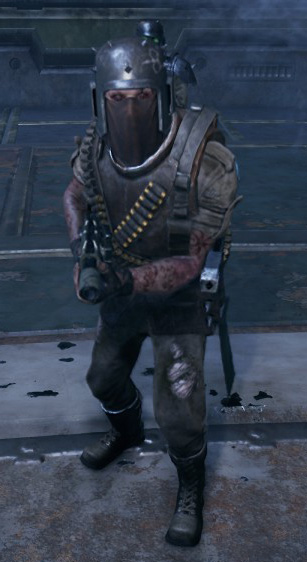
- Scab gunners can cause serious problems for your party if left unchecked, especially if there are several of them. They will target players with rapid medium range fire that can stagger you and does considerable damage.
- Flak Armour (torso), Unarmoured (Limbs & Head)

- Scab Shotgunners do heavy damage with their shotgun and close range, which can very quickly destroy your Toughness and Health bars. To deal with them you should either pick them off from a distance or quickly get into melee with them before they can shoot.
- Flak Armour (torso), Unarmoured (Limbs & Head)

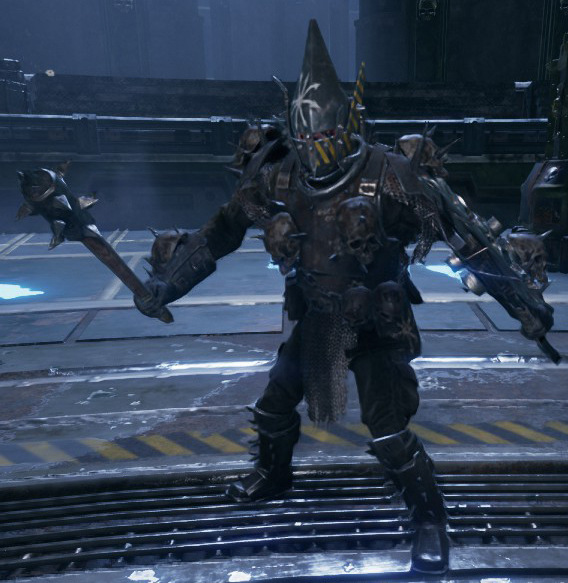
- Ragers come in both unarmoured and armoured variants, but both employ similar attack patterns. In melee they are by far the most aggressive elite enemy, and will quickly recover from most staggering effects. They wield a melee weapon in each hand and will relentlessly attack their target, dealing high damage with each hit.
- The safest option when dealing with them is to take them out from range, as this allows you to avoid their troublesome melee attacks.
- Maniac.
Dreg Elite Enemies

- Dreg Shotgunners do heavy damage with their shotgun and close range, which can very quickly destroy your Toughness and Health bars. To deal with them you should either pick them off from a distance or quickly get into melee with them before they can shoot.
- Flak Armour (Torso), Unarmoured (Limbs & Head)

- Dreg Ragers come in both unarmoured and armoured variants, but both employ similar attack patterns. In melee they are by far the most aggressive elite enemy, and will quickly recover from most staggering effects. They wield a melee weapon in each hand and will relentlessly attack their target, dealing high damage with each hit.
- The safest option when dealing with them is to take them out from range, as this allows you to avoid their troublesome melee attacks.
- Maniac.


- Dreg Gunners can cause serious problems for your party if left unchecked, especially if there are several of them. They will target players with rapid medium range fire that can stagger you and does considerable damage.
- Flak Armour (torso), Unarmoured (Limbs & Head)
Monstrosities
There is no way to check the HP of monstrosities in-game. I couldn’t find anything on the internet either. If anyone has got any sources for monstrosities HP values, please leave a comment.

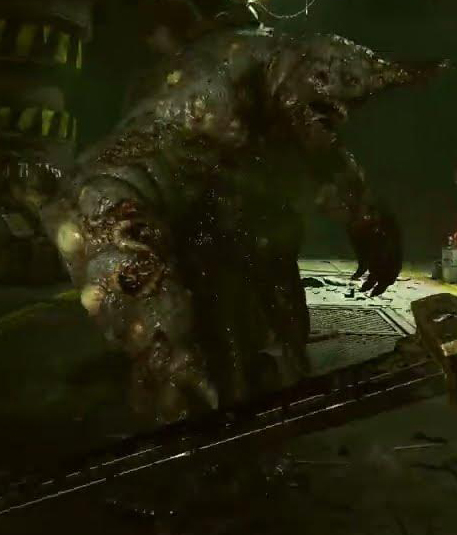
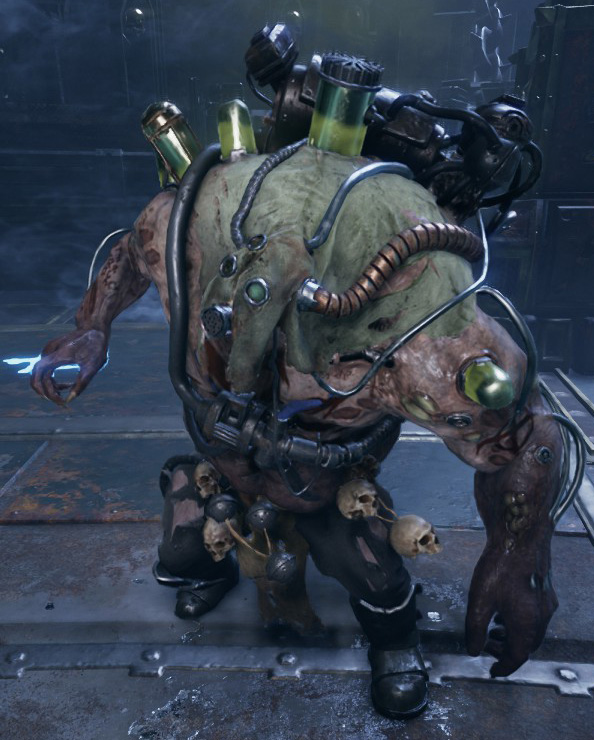
- The Plague Ogryn’s weakspot is its head, making this fight a little more straightforward than the flank-based fights of the Beast of Nurgle. As such, you’ll want someone who can frontline and deal with the beast while the other three players hang back and hit its skull. By far the best option for a frontline is the Ogryn with a Battle Maul and Slab Shield. Thanks to the Defensive Stance being able to block all damage the Plague Ogryn dishes out. Another great choice is the Zealot, provided they’ve mastered the art of dodging and can safely dance around the Plague Ogryn.
- This should go without saying, but another great opportunity would be to catch the big guy out in the open. If you have to run back to an open area, that’s fine, but having that space will let both your frontline and backline be able to do their jobs without pesky corridors getting in the way. If you have to fight it in a small space it isn’t a huge deal, though its stomps may prove particularly devastating.

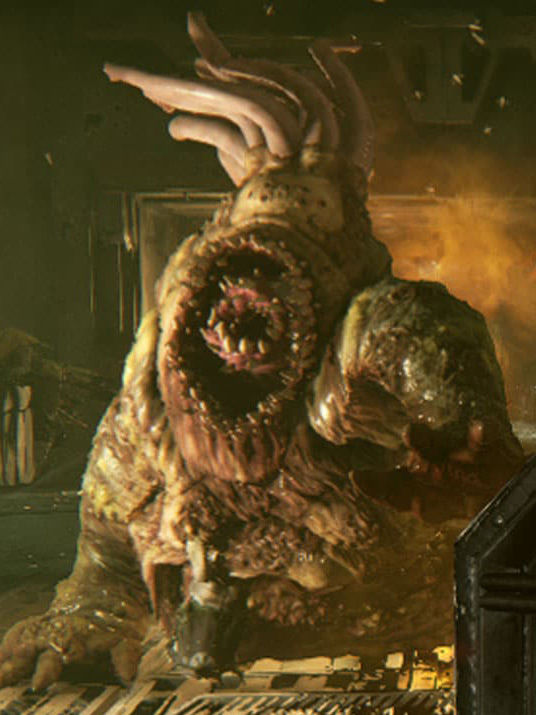
- The Beast of Nurgle will always target a squad member and go after him.
- As it does so, it sprays acid, which does no damage, but slows you down and applies corruption.
- If it’s in your melee range, it will hit you or even eat you.
- If it devours you, you will receive damage, and you will receive corruption, which will reduce your maximum health points.
- If you stand too close behind the Beast of Nurgle, it will hit you with a tail slash.
- As soon as it chases one of your teammates, keep some distance behind it and aim your weapon at the yellow glowing blister. This is the weak point of the Beast of Nurgle and deals critical damage when hit. If you are being chased, you should try to run in circles so that your friends always have a good field of fire.


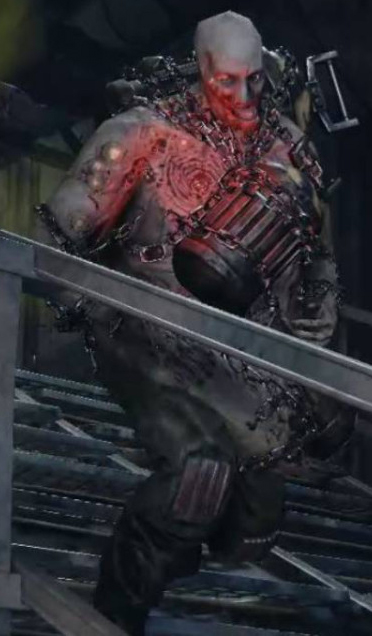
- You don’t have to take on the Daemonhost at all. The new enemy works incredibly similarly to the Witch in Left 4 Dead in that it can be avoided with careful positioning and movement. You can tell a Daemonhost is nearby by her whispers, combined with the large area surrounding her with a white glow. If you can, avoiding this area and fighting anything else will be a much safer play. It’s even safer when you consider multiple Daemonhosts can spawn in a level.
- The Daemonhost has extremely fast attacks that can melt whoever they’re targeting. They also are Unyielding, meaning the majority of stagger abilities and weapons in the game won’t work on it. If the Daemonhost manages to knock you or your teammate down, it will lift them into the air and, after a few seconds, will instantly incapacitate them and force you to rescue them. After a short time longer, they will disappear once again.
- With this in mind, we suggest either you or one of your teammates run the Ogryn with the Battle Maul and Slab Shield. Using the Defensive Stance, the Ogryn can block all frontal damage from the Daemonhost and give their team time to unload on the foe. If this isn’t an option, that job falls to the Zealot’s ability to dodge the Daemonhost and simply hope for the best.
Assassination Targets

- The Scab Captain fights with a shotgun.
- He always focuses on a group member.
- The Scab Captain’s shield must be destroyed to deal damage.
- If he doesn’t have a focus target, his shield will regenerate faster, so you don’t want to damage the shield at this time.
- If the shield is broken, the whole party should do as much damage to the boss as possible.
- The Scab Captain will enter the enrage phase if there is too much damage. Here he is significantly stronger and faster. He also now fights with a melee weapon.
- This process must be repeated until the boss is defeated.
- During the fight, hordes of enemies keep interfering. They should be focused on the entire group.
- After you enter the relatively small arena with your party, the Scab Captain will jump into the arena from a ledge and, shortly after that, start shooting at one of your party members with his shotgun. It would be best to split up because he actively focuses on one goal. This allows the other members of the group to cause damage. On low difficulties, his shotgun blasts are still tolerable, while on higher difficulties, the damage increases massively, and blocking or dodging is the best option.
- Since the Scab Captain is equipped with a shield, it’s important to break it while focused on a party member. Once the shield is destroyed, the boss will be briefly stunned. The perfect moment for the counterstrike. Here it is particularly effective when the Psyker uses his Psykinetic’s Wrath attack, and everyone else unpacks their strongest attacks.
- However, if he starts moving again, it’s essential to wait until he’s focused on a person again. Otherwise, his shield will regenerate faster while it’s being damaged.
- If the Scab Captain takes too much damage, he enters his Enrage phase. Here he not only does more damage but is also a bit faster. He also switches to melee combat, so you should try to build up as much distance as possible. Under certain circumstances, you can still put away the various light attacks, but he will swing his overhead blow if nobody gets hit. This attack deals with up to 40% damage.
- The Scab Captain can switch to melee combat from time to time without an enrage phase. Here, however, he has neither increased damage nor movement speed, making him far easier to keep busy.
Thanks to eternalreflect for his great guide, all credit to his effort. you can also read the original guide from Steam Community. enjoy the game.
Related Posts:
- Warhammer 40,000 Darktide: Quick Long Bomb Guide
- Warhammer 40,000 Darktide: “Going Bowling” Achievement Guide
- Warhammer 40,000 Darktide: Stat Bars Guide
- Warhammer 40000 Darktide: Veteran Penance Guide (On Overwatch)
- Warhammer 40,000 Darktide: Recommended Veteran Sharpshooter Builds