
This is a simple guide on how to create GUI/UI/HUD addon’s for Arma Reforger.
Introduction
Are YOU wondering how you actually use the Arma Reforger Tools, in order to create HUD or UI specific stuff?
You did your layout, or even created a simple little script, but you just cannot get it to work, don’t you?
Well, look no further. Here is a simple tutorial in order to create UI/HUD/GUI specific stuff.
First step
For this example, I created a Button Widget, it could be anything. Images, Text’s, Buttons, whatever suits your needs.
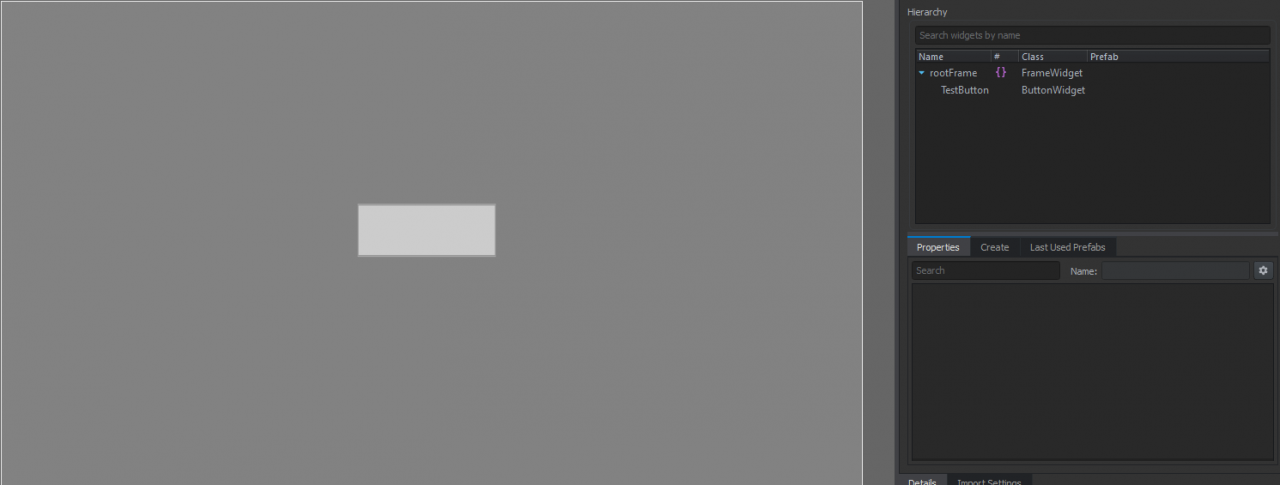
The script would be created within the same folder, but doesn’t really matter actually. Make yourself a structure you can get along with. The script can be called anything.
Within the script you should have this as first:
private ButtonWidget TestButton;
With this code you are defining your Widget. As I said, it could be anything. For example a Text Widget would be:
private TextWidget TestButton;
TestButton is actually the name you set the TextWidget to right now. So you can call it later in the script.
The next step is overriding the already created variable OnStartDraw.
Like this:
    override event void OnStartDraw(IEntity owner)
{
    super.OnStartDraw(owner);

    if (!TestButton) TestButton = ButtonWidget.Cast(m_wRoot.FindAnyWidget("TestButton"));
}
As you can probably tell, you are calling the named private with the !TestButton and after the = you are telling the script, what kind of Widget it is and what to search for. The last “TestButton” is the name of the Widget in the layout. In this example, it would be TestButton again. Maybe a bit confusing cause I use TestButton for literally everything. But it’s not about how to script, more like how to actually let your GUI/UI/HUD stuff show up.
The total code should look like this:
class Menu: SCR_InfoDisplay
{
    private ButtonWidget TestButton;

    override event void OnStartDraw(IEntity owner)
    {
        super.OnStartDraw(owner);

        if (!TestButton) TestButton = ButtonWidget.Cast(m_wRoot.FindAnyWidget("TestButton"));
    }
}
Last step
You need to go to ArmaReforge/Prefabs/Characters/core/DefaultPlayerController.et and right click/override in your Addon.
If you did this, open the created DefaultPlayerController and search on the right site for Edit Prefab. Click that.
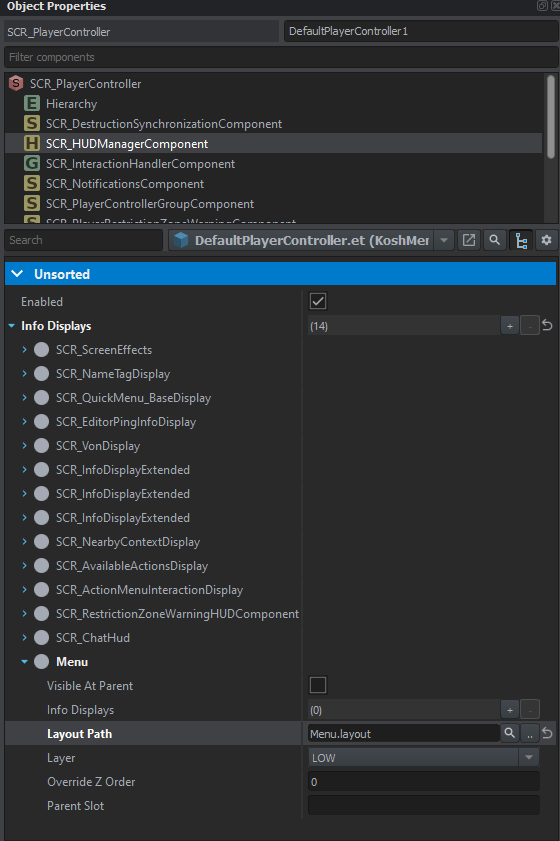
Now you need to search for “SCR_HUDManagerComponent”. Click on it and scroll down. The last thing you should see is “SCR_ChatHud”. Right click on it and insert after. Search for your created script. If it does not show up, restart the editor because it has not loaded your script yet.
After that you need to expand your created point and add the layout you created. It should look like this now:
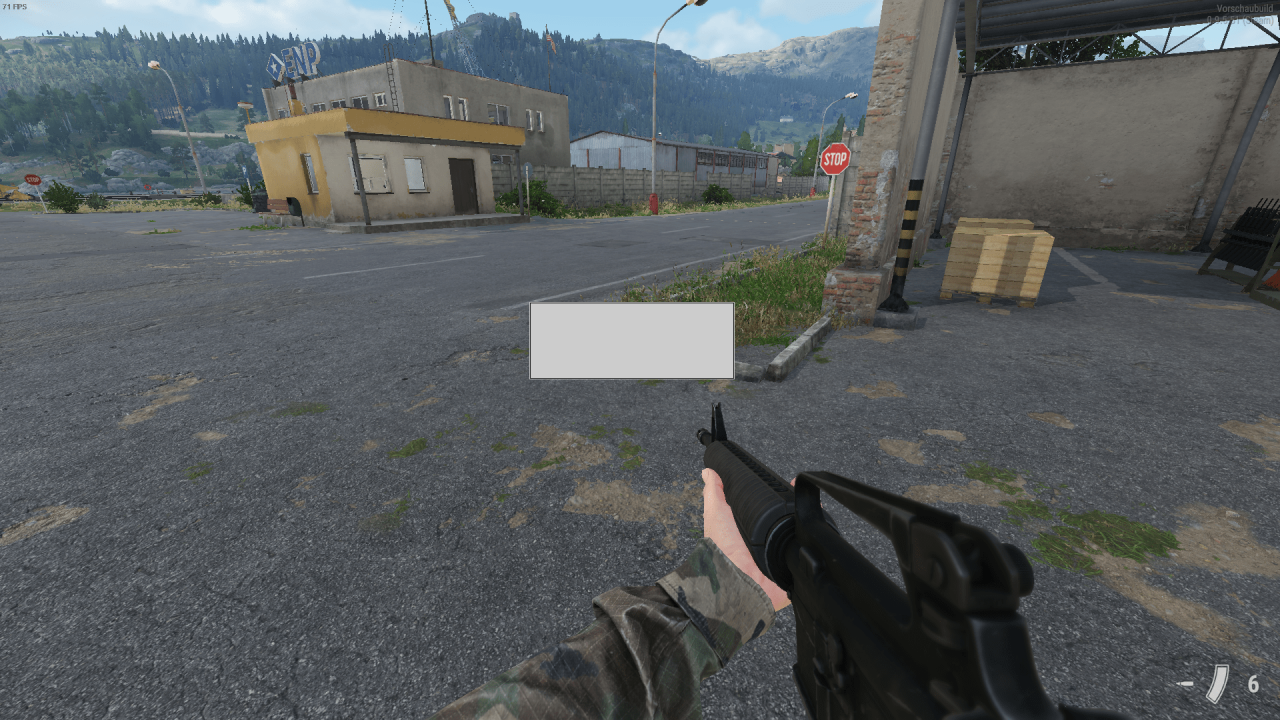
And if you did this, you can actually publish your addon. It should work now like this if you did everything right:
End
Thanks to K0sh for his great guide, all credit to his effort. you can also read the original guide from Steam Community. enjoy the game.
Related Posts:
- Arma Reforger: How to Setup a Dedicated Server (Windows)
- Arma Reforger: All Keyboard & Gamepad Controls
- Arma Reforger: The Evronian Bigfoot Guide