This is a guide with some general information about the game and deckbuilding to help you get started. You’ll find things to consider in your deckbuilding in the unit section, followed by keypoints for the gameplay.
— 1. General Information —
In this section we will provide some basic information how the game works and about the structure of a deck. If you are familiar with these you can use the table of contents on the right side to jump to sections of interest for you.
Your Deck
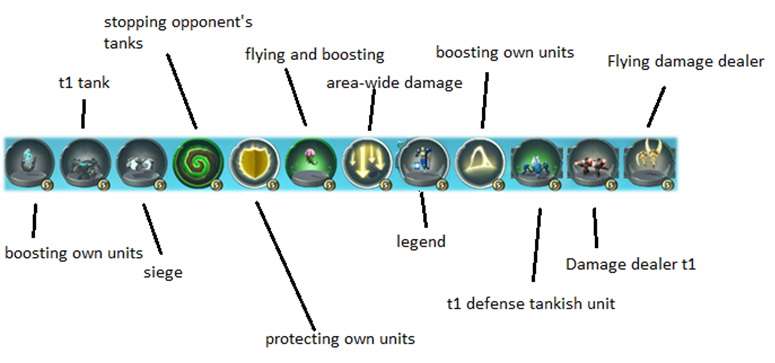
Your deck basically consists of two main sections Summonings & Spells and Spawner on the far right. This is what a deck looks like in the deckbuilder and game:
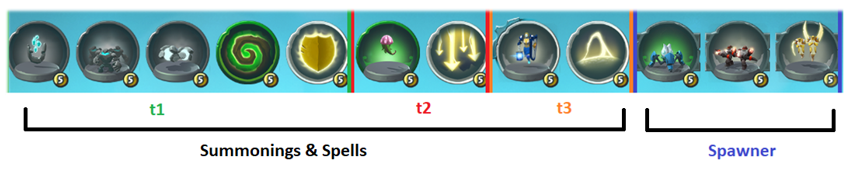
Depending in which tier (Bronze, Silver, Gold) you play, your summonings & spells may be divided in time zones: t1, t2, t3. This means, that stronger spells and units will only be available after a certain amount of time has passed. For example, it takes 8:00 minutes for legends in t3 to be available.
–
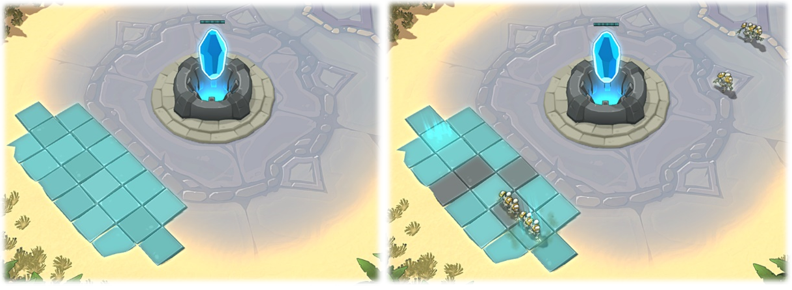
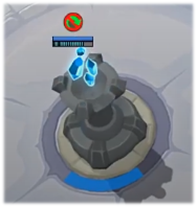
The Spawner will provide you with fresh units when they are placed on the grid. A unit is always spawned when the grid turns greens, so be aware when and where you are putting them down. The fields of the grid are turning randomly during the game.
 –
–
Summonings & Spell are the active part in the game. You can summon units, cast spells or put buildings in the green zone of the lane. The green zone marks the territory you control with your nexus and guard towers.
 –
–
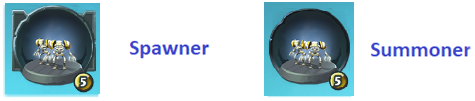
Beginners are often irritated and can’t distinguish spawner and summonings well. This is what spawner and summoner will look like in your deck:
Ressources in the Game
The following resource-system is used and needed for putting spawners and summoning units and casting spells:
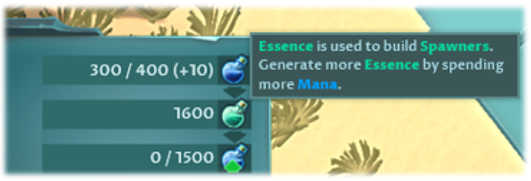
Mana
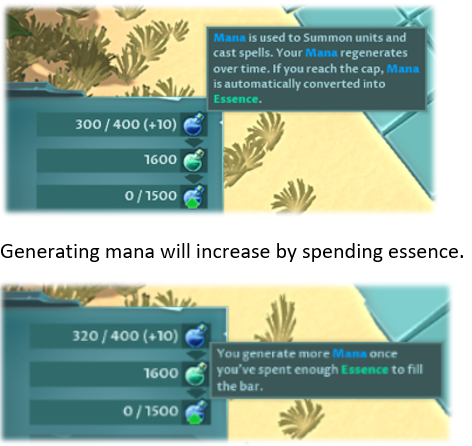
Essence
— 2. Units —
Your opponents and you have various possibilities to attack enemy units, towers and the Nexus. The complexity and strategies increase from bronze to gold, but there are general threats that you should be prepared for. An intregal part are units in the game. Let’s have a look.
Watch the video for basic information about unit types.

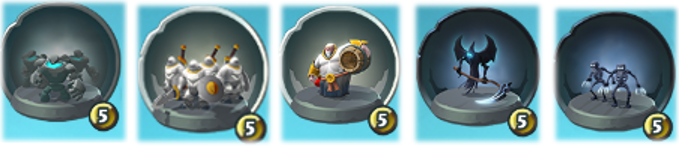
Damage Dealer & Siege Units
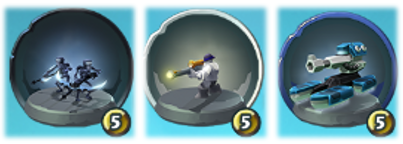
 A special form of damage dealer are Siege Units. Siege units do manyfold the damage against buildings that regular units do. Examples:

Both damage dealer and siege units should be high on your priority list, when deciding which opponent’s units you want to take out quickly.
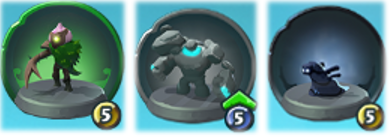
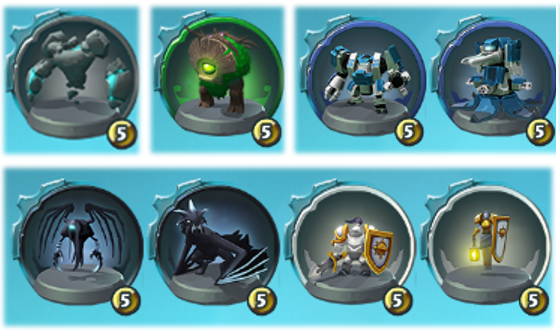
Tanks and Tankish Units
It is therefore strongly advised to always have a t1 tankish unit as summoner in your deck and tankish units as spawner on your grid. Whether you use big or small tanks as spawner depends on your preference and tactic. Examples are the granite scouts, footmen, monks, void bane, skeletons and more:
 –
–Strong tanks can be devastating when they are in reach to use their attacks, they cost lots of Essence to spawn or Mana when summoning. If they are on your side, try to make sure that you keep then in the game by healing or spells like frenzy for immunity to increase their effect.
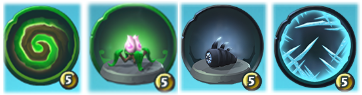
Examples for strong tanks are the mulch digger, granite chieftain or the mirror slime.
 If you encounter strong tanks as opponents, you should be familiar with some ways to incapacitate them, it can done with spells or units with special abilities. Examples are the rooting spell or the ability of the rootling for green, which do the same in that case, nailing to the ground. 😊 There are many more ways like the icing abilities and spells of the black legion of course, try things out.
Flying Units
 You may also want to be aware of the following unit, which can only be seen by other flying units…
Units with Special Abilities
 Take them out and / or separate them with spells or tankish units to prevent/stop their effects.
Buildings
 Buildings have different rolls in the game, they might do damage, produce energy or units and can enhance or protect your units. Either way, they can have a major impact and you should be able to do something about when encountering them.
For damage dealing buildings, the preferred strategy will be most often to have siege units/buildings in your deck. But there are also some buildings that may be placed far behind the enemy lines, make sure to have something in your casting pocket for that, as well!
Legends
Legends are powerful (in most cases) creatures with special abilities that can even completely turn the tide in a battle that was thought to be lost. As they are very resilient, you’ll need combinations of spells and units to bring them down. The mightiest of them is allergic to siege…
— 3. Gameplay —
There are three basic things for a beginner’s gameplay that you should know about. These are the building of waves, defending at your own towers/nexus and the fight about the middle ground. Let’s have a look at these in the following.
Waves/mobs are a very important part of the game. A massive wave can even become unstoppable at some point. Waves are therefore always a threat to you and you should have some strategies to deal with them. Helpful things are units and spells that can do damage to more than one unit at once. Some units and buildings like the Lich, Gunner or the missile turret have splash damage, therefore meeting these criteria.

Examples for good spells are the legendary earthquake or hail of arrows, which deal area-wide damage. With freezing, rooting, stunning, and so on, there are several further options to bring down a wave, by incapacitating or also splitting them up. Again, a combination of units and spells is trump.
Defending at Your Tower
One of the most important things in defense is to use your towers and defend in their shooting radius. The towers are strong damage dealer, which you should use accordingly.
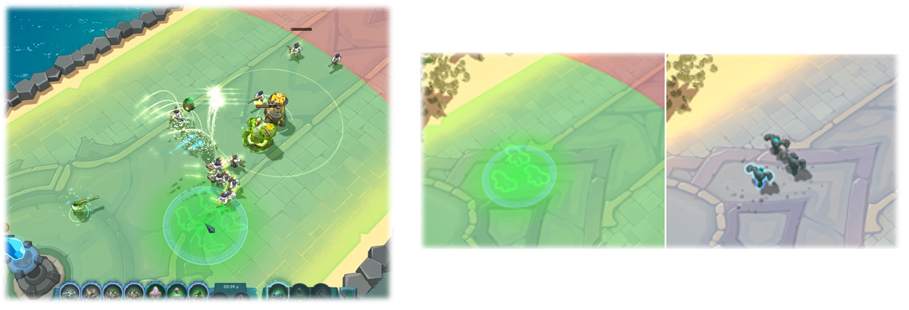
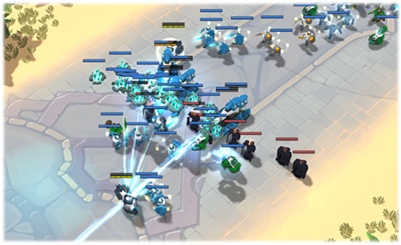
Don’t be afraid to let the towers take some damage, they are made for covering your damage dealer. Because enemy units focus with their attack on the tower, you can place your damage dealer in cover behind it and attack the enemie’s damage dealer with your tankish units. Watch an example for good defense play in the video here.
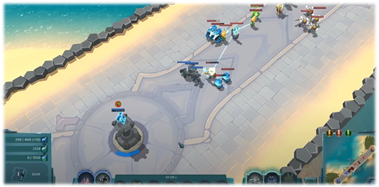
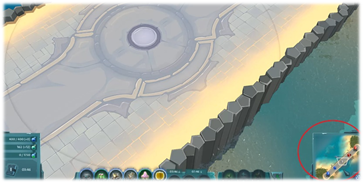
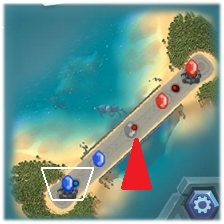
The first clash usually happens in the fight about the unclaimed middle ground. If you set a t1 or t2 spawner on your grid, you’ll increase your chance of winning this fight. You can simply start a bigger wave compared to the situation in which you wait for a big t3 spawner. Some sneaky players try to win the middle tower by summoning one unit closer to the middle, so you will arrive late and your opponent gets it “for free”. Your units will then also run into the new tower and, if well timed, in the opponent’s first wave, as well. Watch this happening in the video.
However, nothing is lost if you don’t win the middle, just fall back, take a breath and recover. Moreover, it can also be part of a strategy not to attack the centre directly in the beginning…
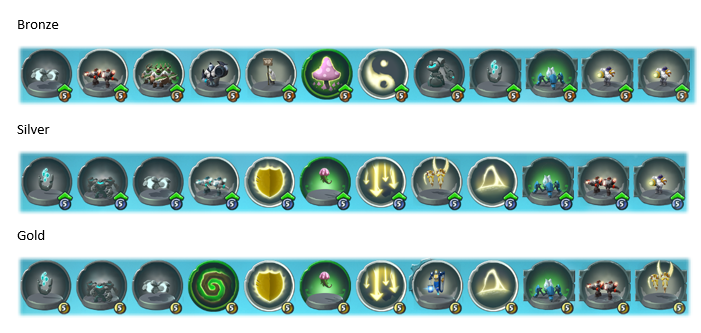
— 4. Example Decks —
The following decks are examples for decks in bronze, silver and gold which utilize and try to consider these aspects. Feel free to copy and play with them but be not afraid of trying out new and other things, which is a big part of the fun! 😊 In bronze tier you will need more spawners because the cooldown time for placing them again is higher compared to the higher tiers. In silver and gold however, three spawner are generally enough but four should be your max.
— 5. Example Match —
Thanks to Fe2lx for his great guide, all credit to his effort. you can also read the original guide from Steam Community. enjoy the game.