In this guide, I’ll describe how to combine your Steam version with the superior standalone version. This includes instructions on how to manage your install and migrate your Steam licenses to standalone.
Introduction
In this section I am going to set a baseline of assumptions before we go further with the process of combining the two versions. But first, why would you ever consider doing this?
- Maintain the ability to continue tracking your gameplay hours on Steam
- Maintain access to posting screenshots and all other community features of Steam
- Gain access to Standalone’s discounts and mile reward program for modules
- New players can benefit from the new player program only available to standalone. This includes a discount on first-time purchases and the trial license system.
Baseline assumptions:
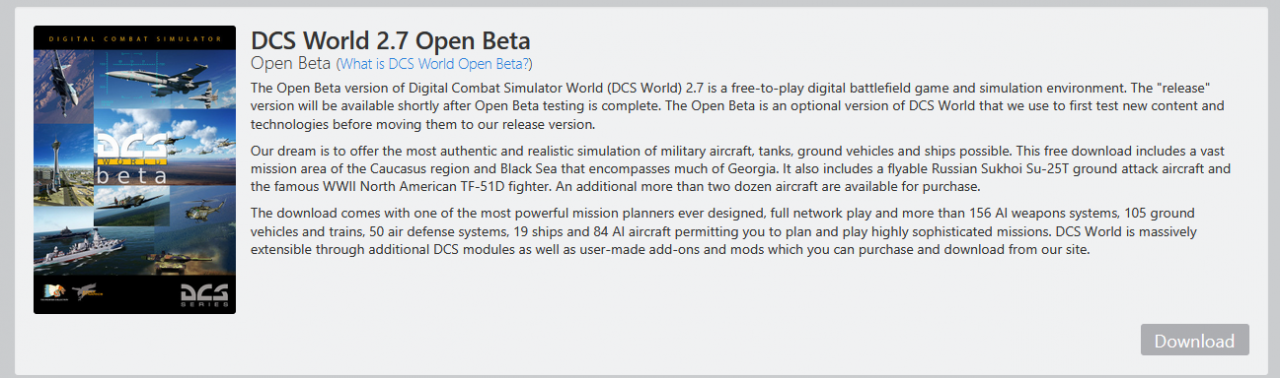
- You have DCS World Steam edition installed on to your computer. OpenBeta preferred, but either should work. (I’ve only tried open beta)
- If you have standalone installed, I would suggest uninstalling it and reinstalling the Steam version. Please note that DCS is a big download depending on how many modules you have, so this could take some time to do.
- You have a lot of patience, and don’t mind running a separate updater after every Steam update.
Getting Started
- Go to your Steam Library and locate “DCS World Steam Edition”
- Right click DCS World and click “Properties…”
- Click the “Betas” tab
- In the dropdown, select “openbeta – Public beta versions”
- You’re done, you can close the properties window now. Your DCS World should have to update on Steam.
Migrating Steam Licenses
- Go to your Steam Library and open the Properties window for DCS World.
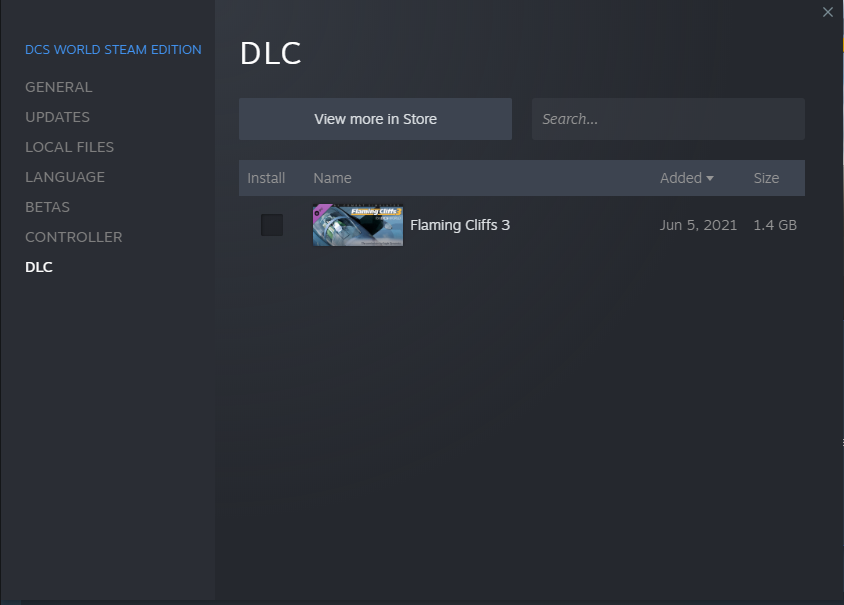
- Go to the DLC tab and untick ALL DLC you have. This will trigger a download for your DCS World to remove these modules. This is done because the standalone version will handle your purchases instead of Steam. Once done, your Betas tab should look like this:
- Go to the DCS Website[www.digitalcombatsimulator.com] and create / login to your account.
- Once done with creating or logging in to an account, go to your profile with this link[www.digitalcombatsimulator.com]. (Clicking profile in the top right tends to take me to my orders page, but that’s not relevant to what we’re doing here)
- Before we continue, I want to note that you can benefit from the new player program before migrating any purchases from Steam at this point. You can purchase modules at a discount with the new player program and then migrate your Steam licenses to get a pretty big discount while maintaining all your licenses. If you’ve already bound your Steam account, but haven’t bought anything on the DCS World website, you can unbind your Steam account, make purchases, then rebind it.
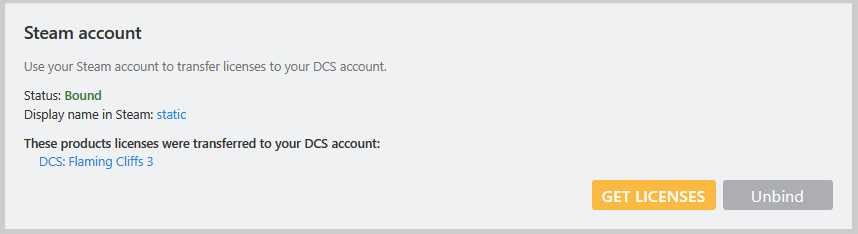
- Scroll down to the “Steam account” section on the page, if you see this, then you have already bound your Steam account and do not need to continue following this section of the guide:
- If you do not see the above, and you see something more along the lines of this:
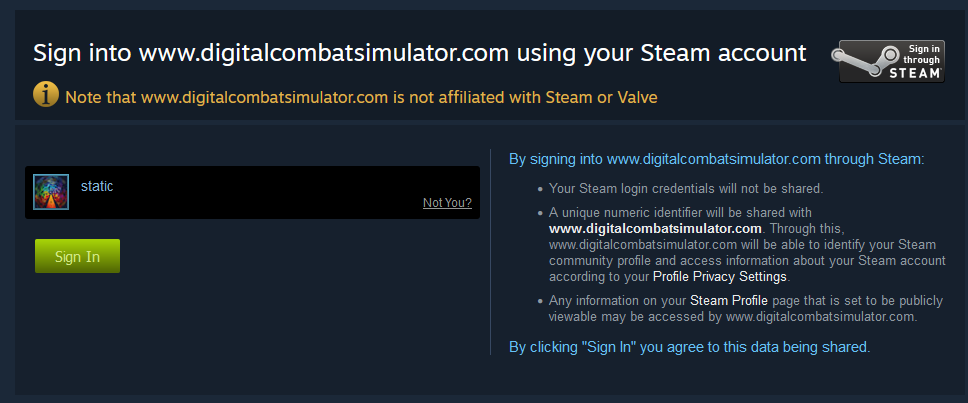
 then you will need to bind your accounts. Go ahead and click bind, this will redirect you to log in with Steam to link your account. I highly recommend you login to http://www.steamcommunity.com on your web browser before logging into any 3rd party sites. This is just general best practice to avoid scams, since you’ll see this screen if you’re logging into a real Steam site:
- Once you’re logged in, you will be redirected back to your profile. Scroll back down to the Steam account section, click “Get Licenses”
- The page will refresh again, and you should see a message saying, “Following products licenses can be transferred to your DCS account:” If you see this, click “Transfer Licenses”. If you don’t, try clicking “Get Licenses” again.
- You’re done, you’ve successfully migrated all your Steam DLC for DCS World to the Standalone version!
Combining Versions
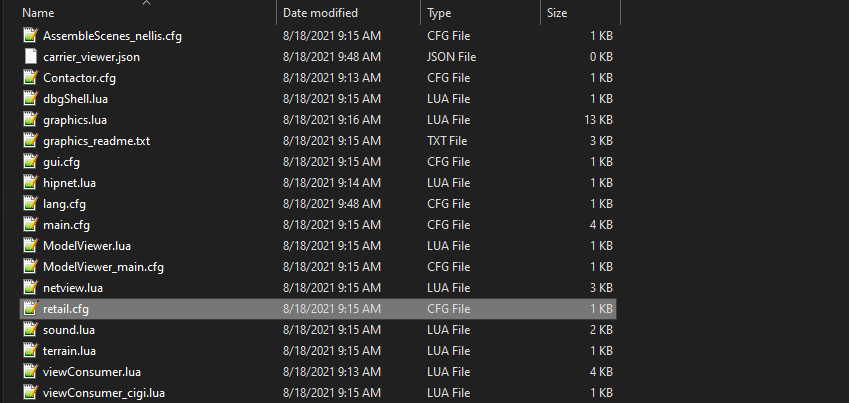
- Navigate to your DCS World install, we need to delete a file related to the Steam version before proceeding. You can get to this folder by going to your library, opening the properties for DCS World, clicking the Local files tab, then click “Browse…”
- Once in your file explorer, navigate to “Config”, then delete the file named “retail.cfg”
- Navigate back to where you saved the download for the DCS World standalone installer and run the .exe
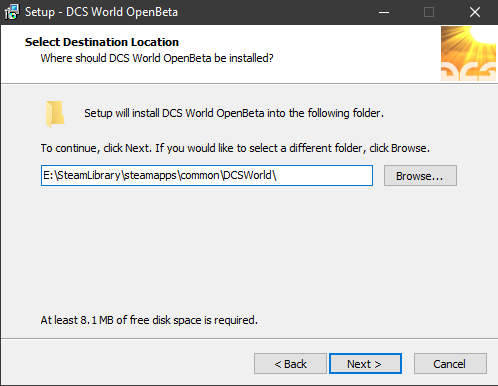
- Follow the steps like normal until you get to the installation directory. For me, I have an external drive I install my Steam games to, but for most people you will be using the following directory:
C:\Program Files (x86)\Steam\steamapps\common\DCSWorld\
Double check to make sure your install ends in DCSWorld, the installer will attempt to append “DCS World OpenBeta” to the end of your folder selection, this is NOT what we want.
- You will get an notification that “Folder Exists” if you followed the previous step correctly, press “Yes” to continue.
- Continue the installation as normal, but make sure to uncheck the “Create desktop shortcut” checkbox. We will be launching the game using Steam, not from the .exe itself.
- Once the installer is complete, it will automatically open the downloader (do not uncheck this box on the last page of the installer).
- Click through these boxes and wait for the downloader to finish it’s task. (This may take awhile)
- Open DCS World on Steam. You know your installation was successful if you can see the module manager button at the top of your screen. (You may be asked to sign in, use your DCS site credentials).

If you don’t see the module manager at the top of the screen, you may have missed a step in the guide. Make sure you follow each step exactly, ESPECIALLY the deletion of retail.cfg
Installing Updates and Modules
Whenever the game updates, Steam will automatically update the game. You MUST follow the steps below to maintain the merged status of your game. I would recommend either favoriting this guide or writing this down in a spot where you can remember to reference it anytime the game updates.
- Allow Steam to install the update fully
- Navigate to the DCS World files by right-clicking DCS World -> Properties -> Local files -> Browse
- Open the “bin” folder and run DCS_Updater.exe
- Once the update has completed, make sure the retail.cfg file did not get generated again in your “Config” folder.
- You’ve successfully updated your game
For installing modules, do NOT use the Steam DLC window to install ANYTHING. This risks breaking your install, forcing you to repeat this process all over again. To install modules to your game, follow these steps:
- Open your game with Steam
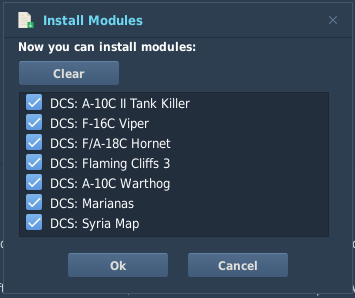
- Click the module manager at the top of your screen (the 9 square icon)
- If you get a message like this, then you can click “Ok” to automatically start downloading your modules
- If you don’t get a message like that, navigate through the modules page and find the modules you own and click “Install”
- You’re done installing your modules.
Closing
- Shift+Tab is a keybind in DCS World to open the in-game chat, it may be preferable to rebind this in your Steam settings if you want to avoid accidentally opening the overlay when trying to chat in-game
- F12 is used in-game, especially for closing the in-game communications menu, it is default bound to take a screenshot on Steam, so it may be worth changing in your Steam settings as well.
- Mods like SRS can be installed as if you were installing it to the Standalone version.
Thanks to static for his great guide, all credit to his effort. you can also read the original guide from Steam Community. enjoy the game.