
Another Possible Performance Fix For Windows
How to Change CPU Priority to improve Performance While Playing
Search for Registry Editor on Windows
Open Registry Editor
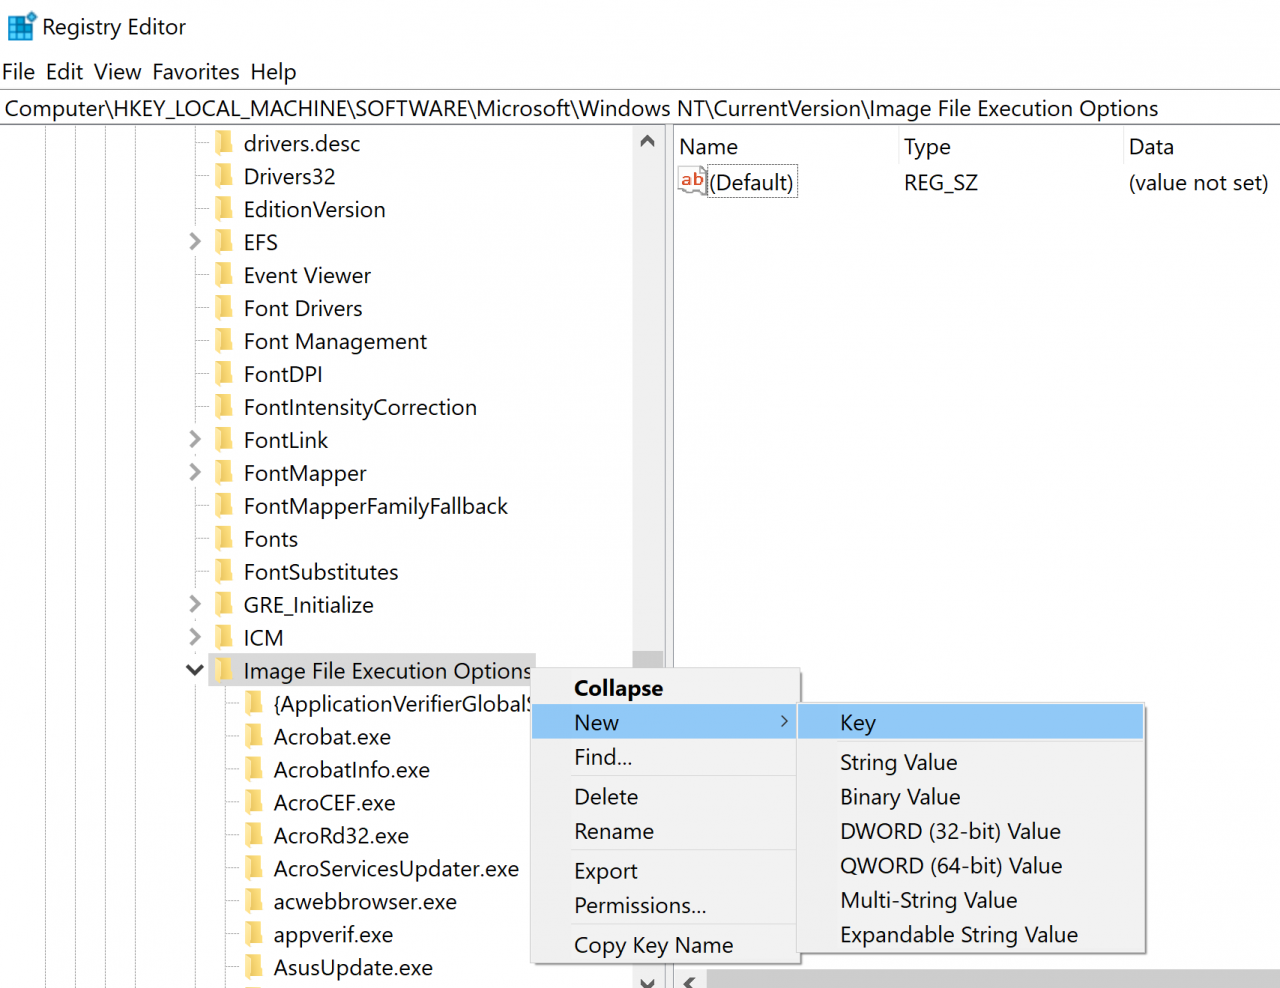
Type Computer\HKEY_LOCAL_MACHINE\SOFTWARE\Microsoft\Windows NT\CurrentVersion\Image File Execution Options in the Registry Editor
Right click Image File Execution Options, then select New>Key and name it eldenring.exe
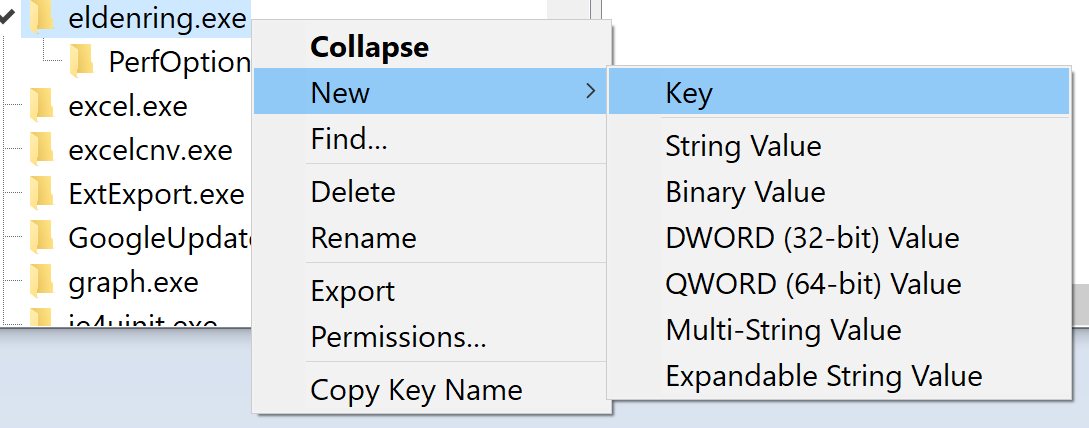
Now right click eldenring.exe and do the same New>Key and name this one PerfOptions
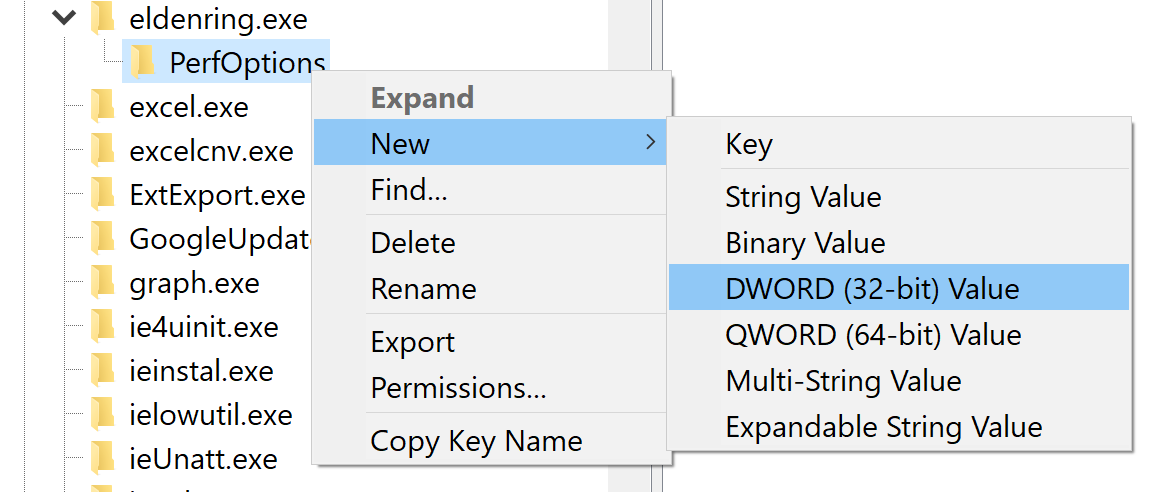
Then right click PerfOptions and select New>DWORD (32-bits) Value and name it CpuPriorityClass
Open CpuPriorityClass and set its value to 3 and its base to hexadecimal
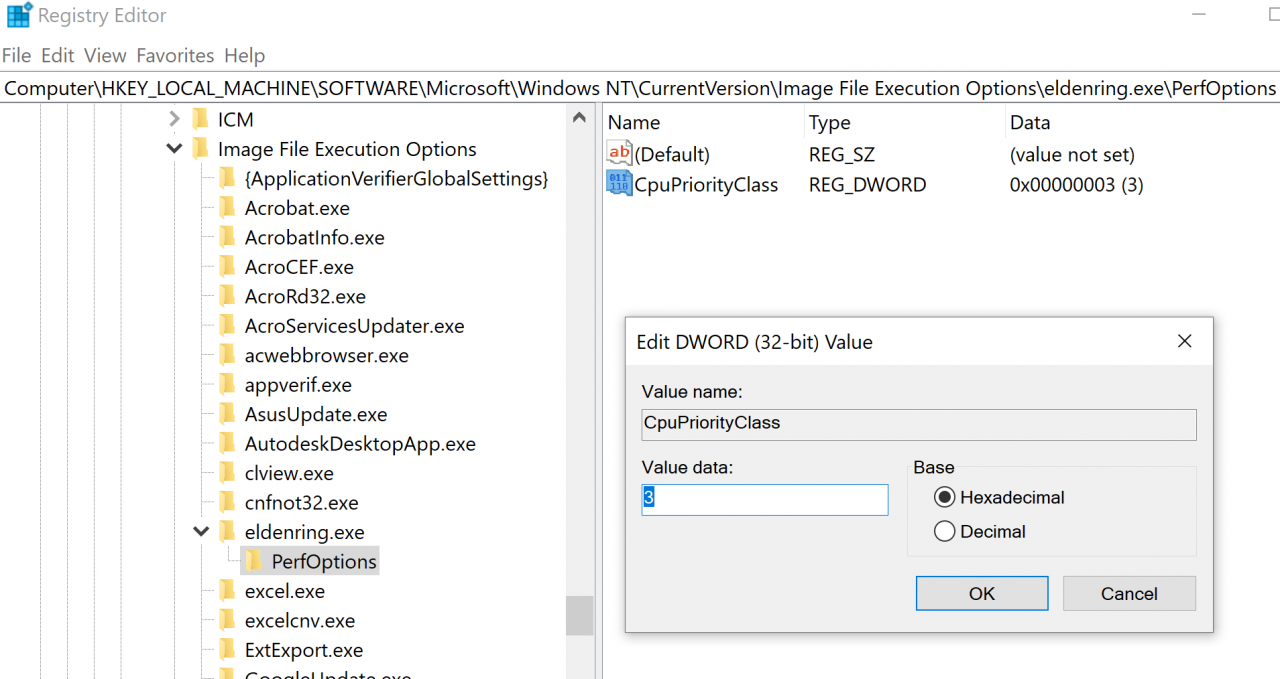
If you want to put another value here it’s a list with the possible values that you can input, I HIGHLY ADVICE TO SET THE VALUE TO 3
- 1 = Idle
- 2 = Normal
- 3 = High
- 4 = RealTime
- 5 = Below Normal
- 6 = Above Normal
All this may help you to get a better performance for the game.
Thanks to pOllOXD789 for his great guide, all credit to his effort. you can also read the original guide from Steam Community. enjoy the game.
Related Posts:
- ELDEN RING: How to Fix Game Stuttering
- ELDEN RING: How to Disable the Anti-Cheat
- ELDEN RING: How to Backup Save Data at Game Launch with a Batch File
- ELDEN RING: Corrupted Save Data Fix (Every Workaround Possible)
- ELDEN RING: FPS Boost Guide