
For the time being, Five Nights at Freddy’s: Security Breach is a very buggy and exploitable game. To the point where game can be completed in a mere five minutes. One of the most difficult parts of the game is getting to 6am and finding out you can get the other tool to defend yourself against the animatronics. The caveat to this is that if you die, you lose any progress you made upon finishing the game. In this guide I will teach you how to get Roxy’s eyes, Monty’s claws, and Chica’s voicebox, all while keeping save points.
Disclaimers
I make this guide as a representation of the games bugs. I do not support exploitation in video games, as it ruins the flow and immersion. But at the same time, I do not support games that are brand new costing $40 and requiring 80 gigabytes of space to download to have this many bugs. That brings us to this guide, I hope if the developers see this, they will not immediately think I am supporting cheating in their game. I could give all the reasons I love this game here, but I think I will leave that in the reviews.
I realize that many games that come out today are somewhat rushed and have this problem on launch, it is a consequence of demand, and funding for some companies. If steel wool studios moderators see this guide and want to take it down, I will promise you this: If you fix the problem I will take down the guide myself, and also adjust my review.
If you decide to do this, please note that you will not be able to finish the game, and the game becomes permanently locked at 5:15 am after the final Roxy glitch. Make sure to make multiple new saves before installing Roxy’s eyes into Freddy. That way you can ensure you have a way to finish the game.
This guide at the moment is unfinished as I want to add image references to help complete the process more efficiently.
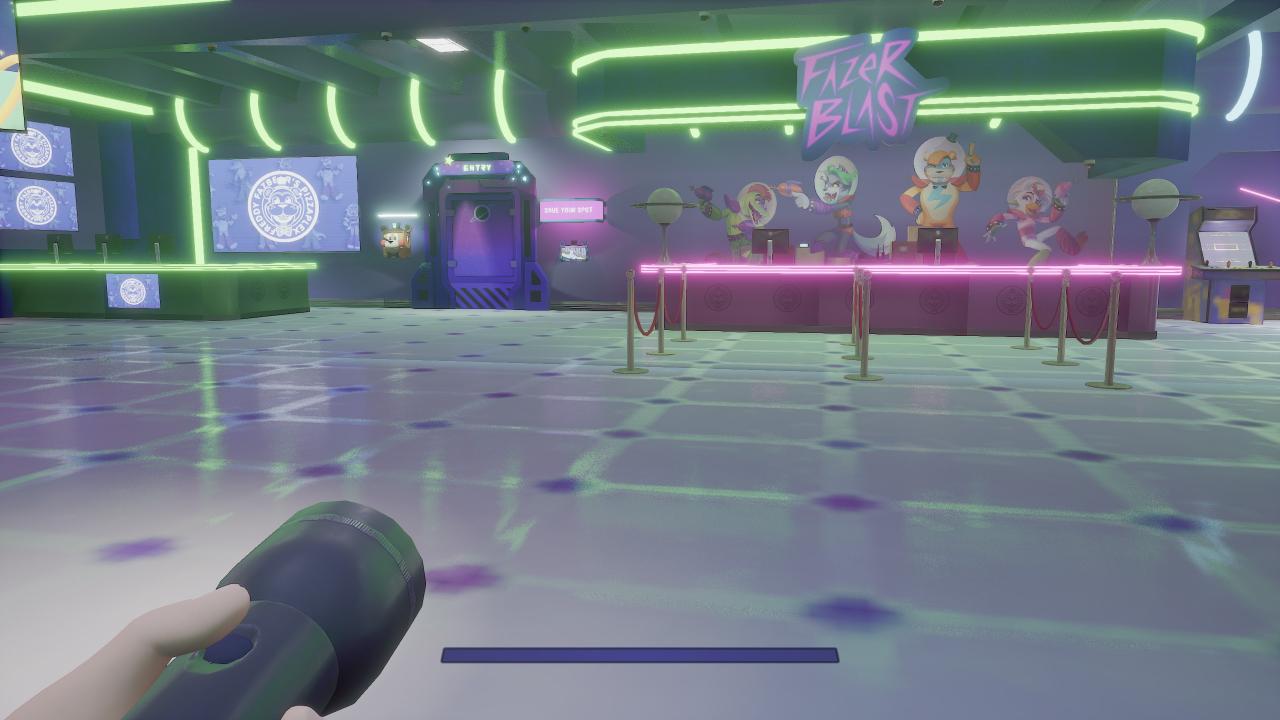
Getting into Fazerblast without a pass
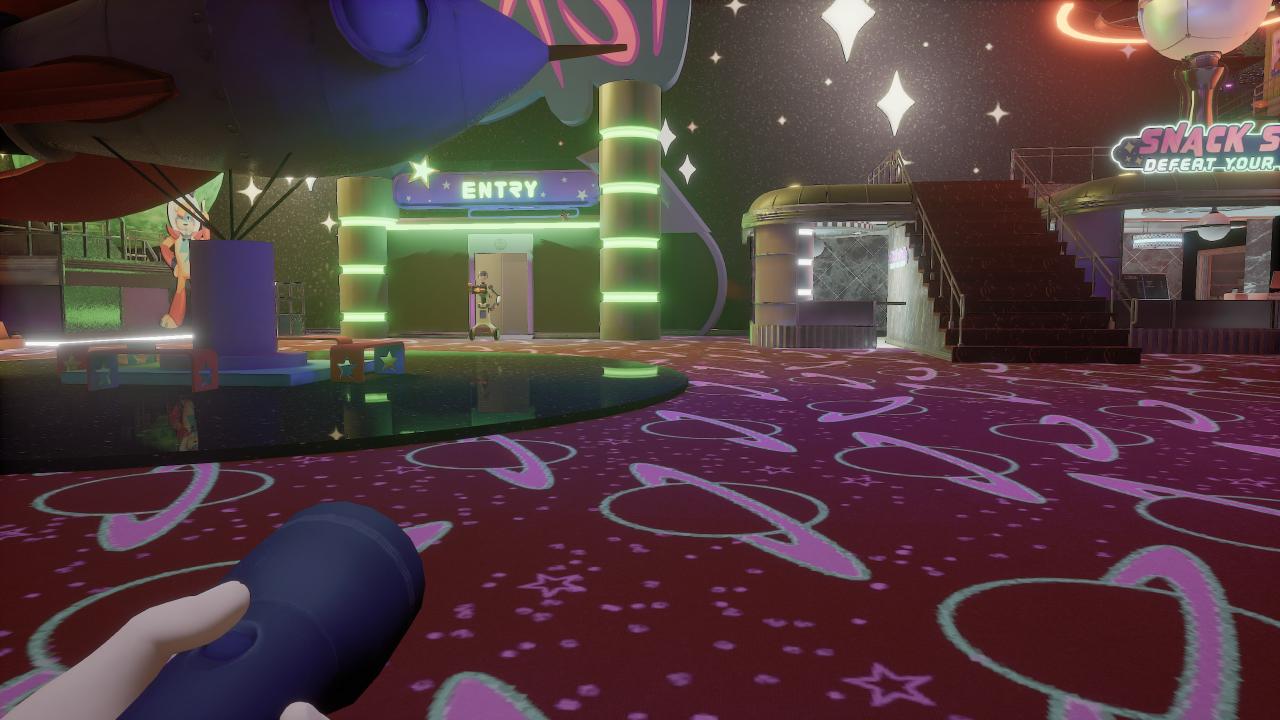
Use the stairs to the right of the robot guarding the elevator in fazerblast entrance. Once you get to the stairs, you will want to climb the stairs on the left side of the railing, it may take a couple of tries to get up this way.
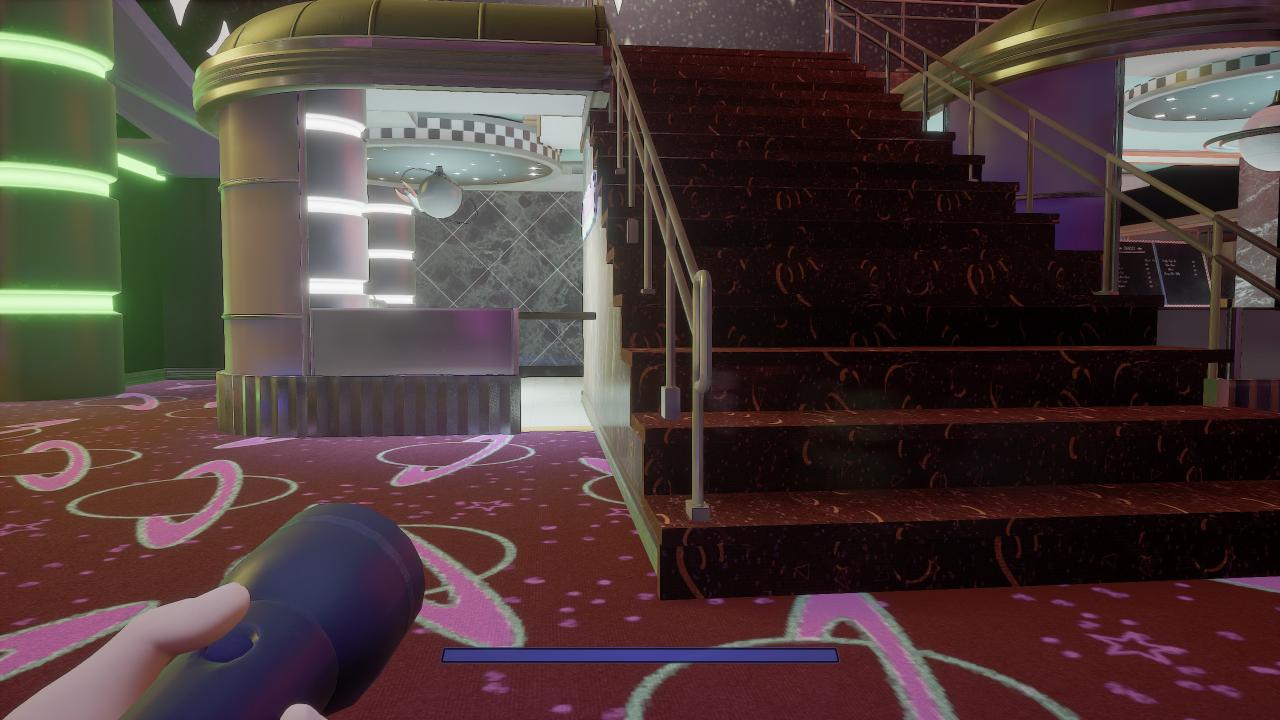

Next, Jump onto the awning of the restaurant. You will know you are in the right place because the floor is not entirely solid, so your character should feel like he is shorter.
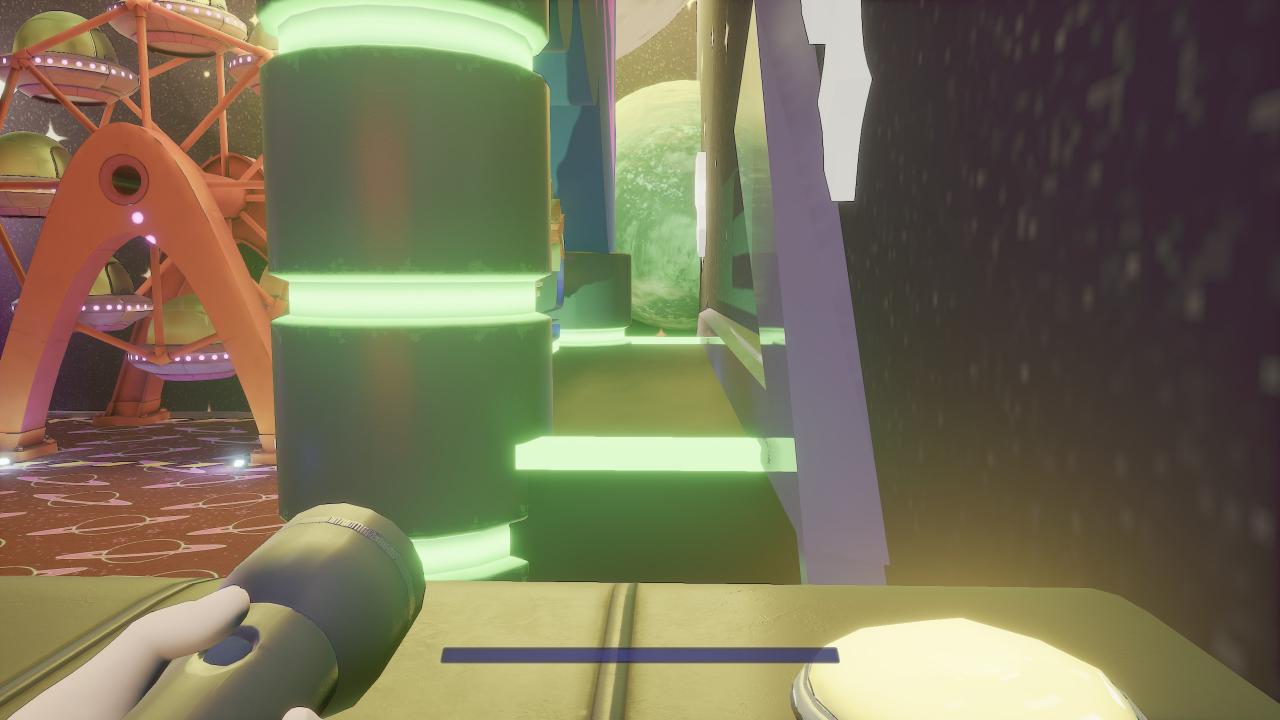
Now that you are here, try to jump on top of the elevator, it is OK if you miss the top as you will still successfully complete this. You will fall down into an unloaded area. When it loads, you will have gotten into fazerblast without a pass.
At this point you can complete the fazerblast area normally, I suggest getting all the collectibles while you are there. When you enter the elevator to leave, make sure you have Freddy with you. This is important for the next step. If you do not have him in the elevator with you when you descend, do not fear, you can still try to get him to spawn in the elevator by pressing ‘Q’ to summon him. If you are having trouble getting him to spawn in the elevator with you, try looking in different directions.
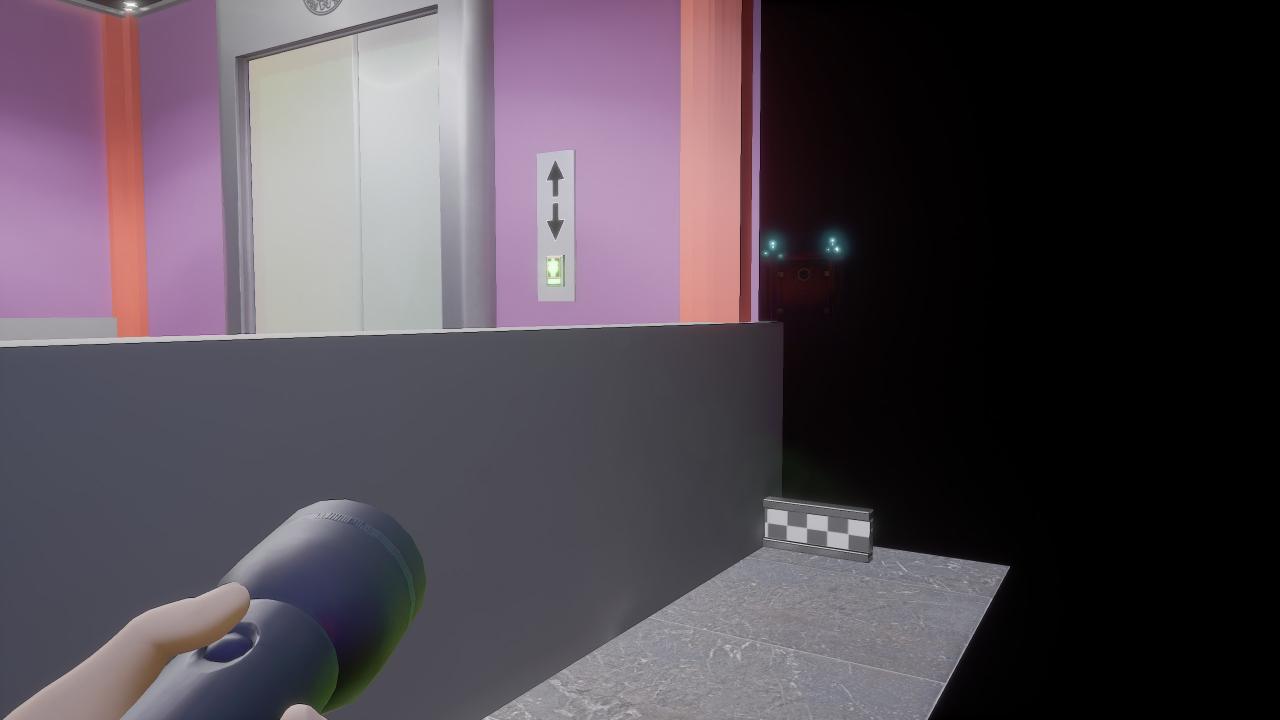
Once you have obtained Freddy in the elevator, climb inside. Position yourself so that you are as close as possible to the party pass robot, and enough to the left. It may take a couple of readjustments to get it correct. Press ‘E’ to leave Freddy’s chest and it will put you down inside the invisible barrier.
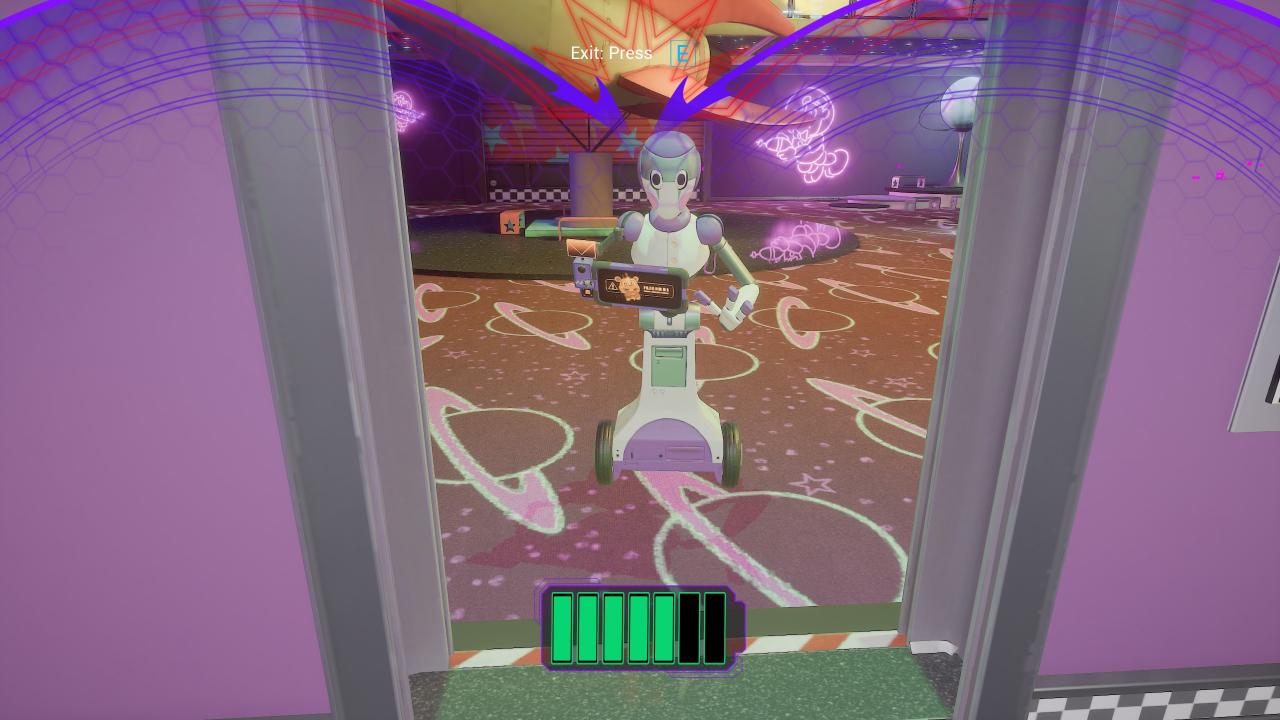
The game has a work around for times when you leave Freddy’s and are placed down on an object higher than normal ground level. The game puts you down first then adjusts you into proper position. So the game puts you inside the invisible barrier, and then realizes you are in this barrier, and pushes you out. Congratulations! You have obtained the fazerblaster and all the collectibles from fazerblast without a party pass!

Next Steps
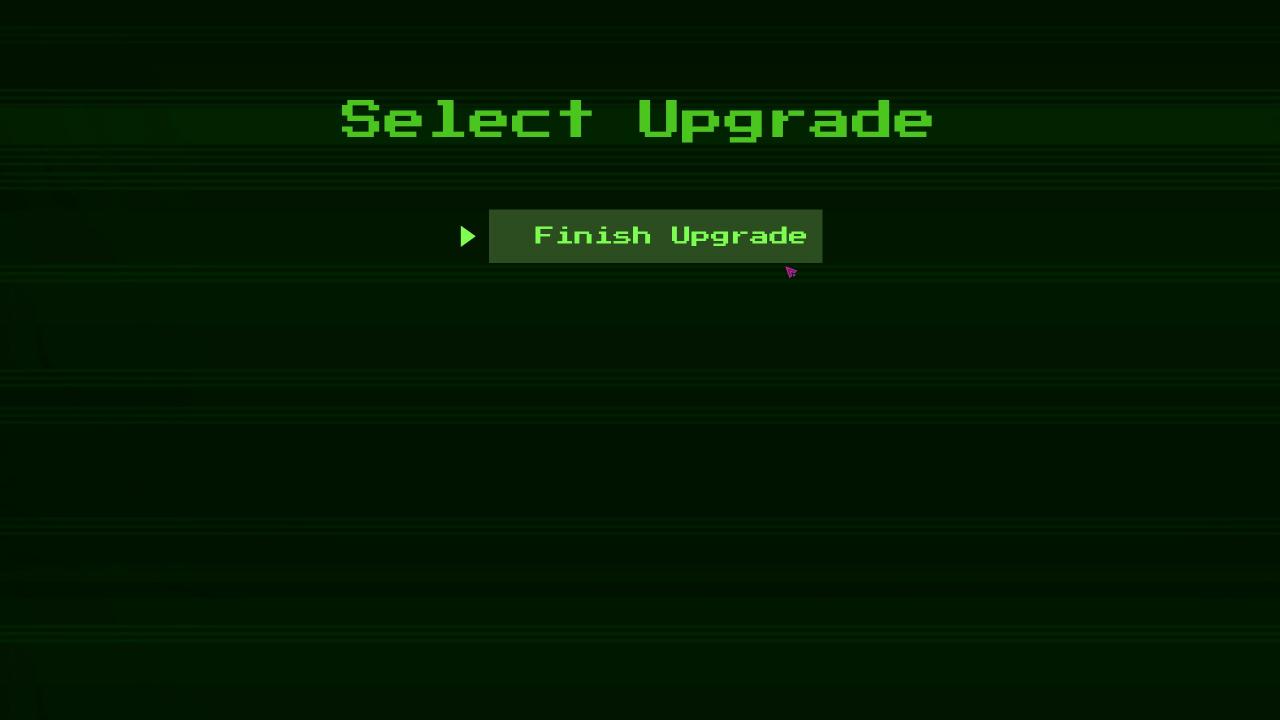
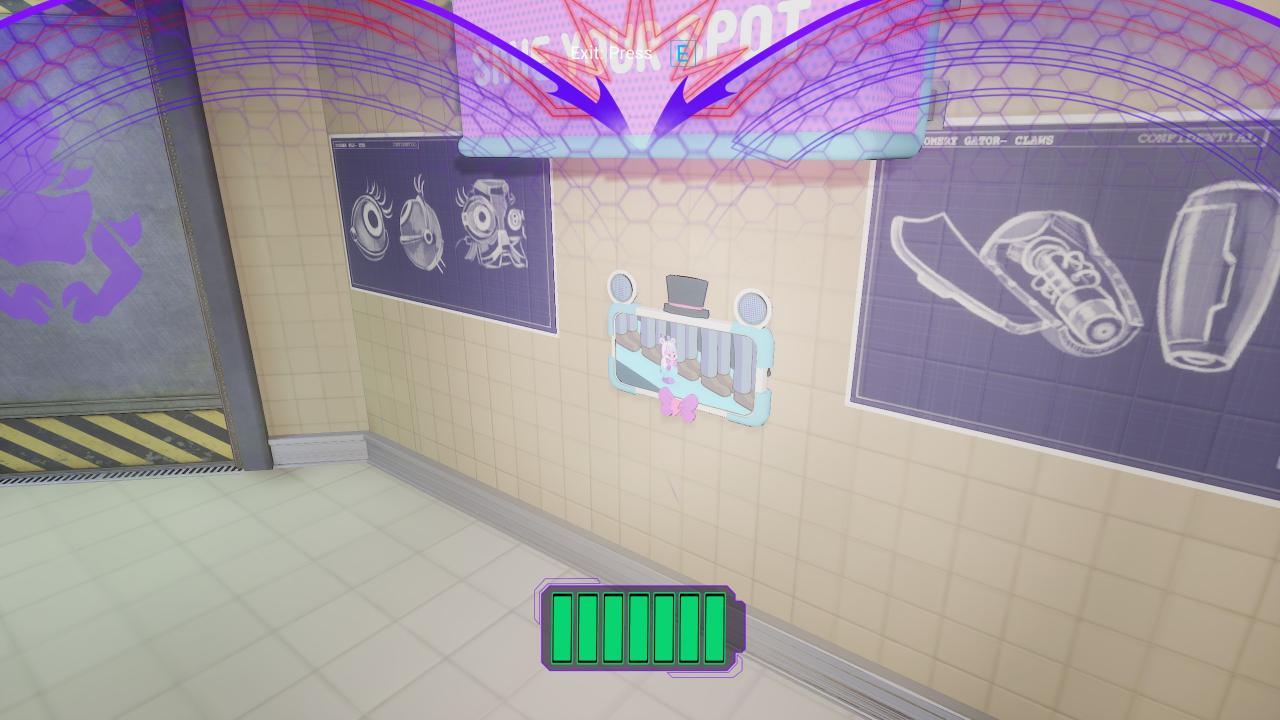
I suggest making a save before each upgrade procedure. Once you complete one of the two, the second one may not work and you will get stuck inside the room with Freddy. If this happens, revert to a save before the second procedure, and unload the area. (Go up the elevator to Roxy’s room, and then come back down) You will know for sure that the room is safe, if the final color test is not facing the door.
Congratulations, you have Monty’s Claws, and Chica’s Voice box without reaching 6 am!
Getting Roxy’s Eyes
Now that you are positioned, get into Freddy and press the jump button over and over again. Upon taking over Freddy, you will notice that all the geometry unloaded.
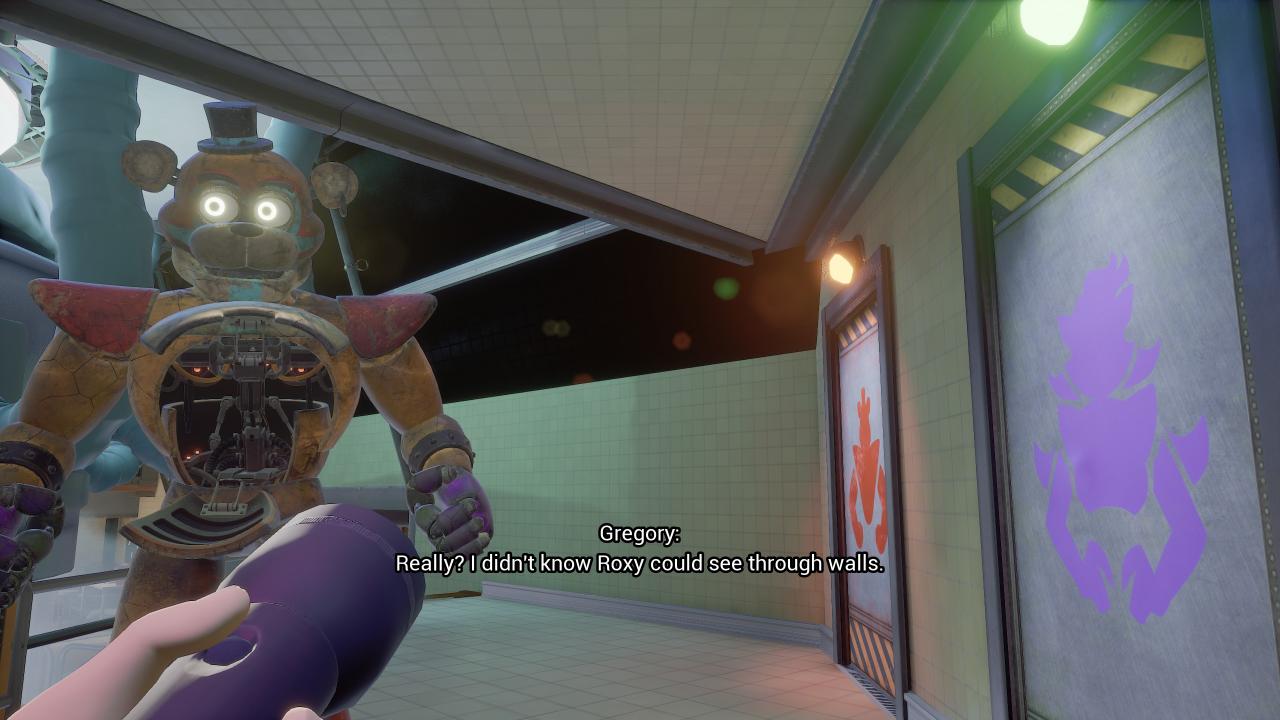
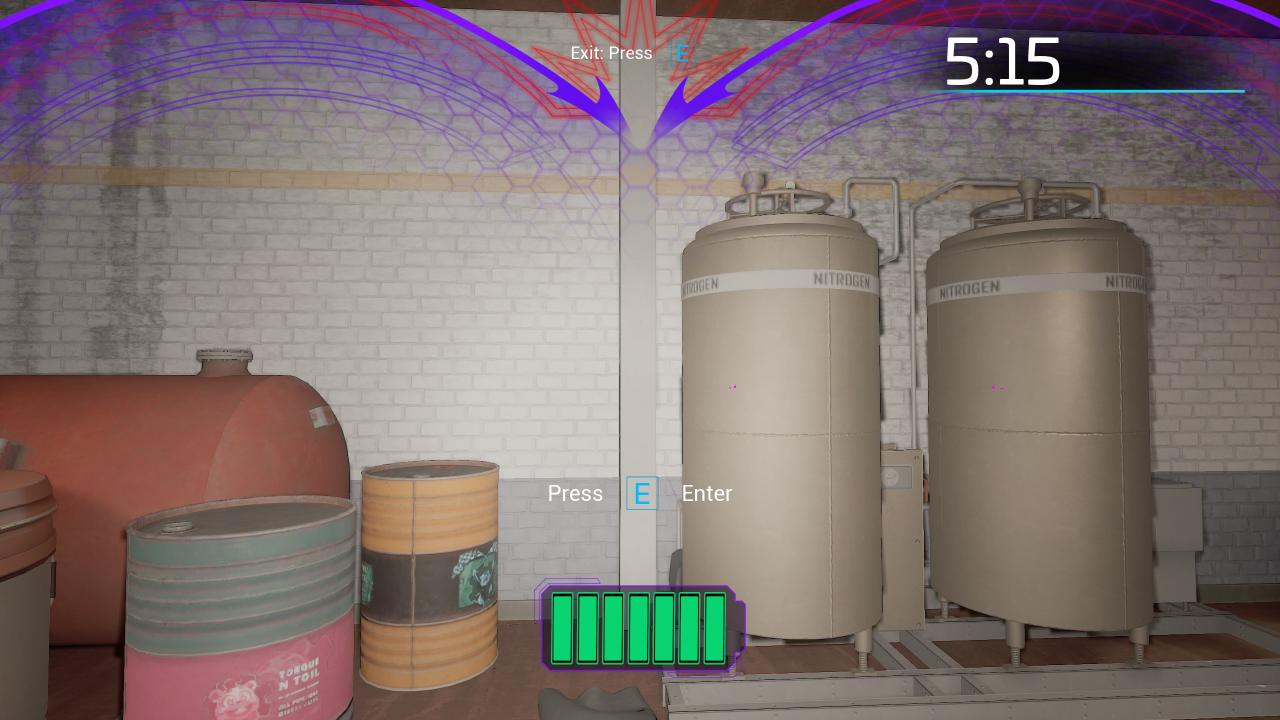
Once the game reloads the geometry, jump out of Freddy and walk into Roxy’s door. The door should be able to open now. Freddy stops talking, indicating that the glitch is working. You will notice that the save station still has an error sign on it, do not worry. Go outside of the parts and service room to the charge station, once you finish charging the game will display the time 5:15am, and now all save stations are working again.
You can now freely roam the Pizza Plex collecting the gifts, and being able to save. Congrats!
Thanks to RodimusPrime for his great guide, all credit to his effort. you can also read the original guide from Steam Community. enjoy the game.
Related Posts:
- Five Nights at Freddy’s Security Breach: Sugar High Achievement Guide
- Five Nights at Freddy’s Security Breach: 99% items and All Endings Save
- Five Nights at Freddy’s Security Breach: 100% Achievement Guide
- Five Nights at Freddy’s Security Breach: All Collectibles Guide
- Five Nights at Freddy’s: Security Breach – All Collectibles Location & Repairing Chica Guide (RUIN DLC)