
A tour guide for Hylics 2 so you don’t miss some of the cool stuff or get lost looking around. Obviously there are spoilers everywhere. If you’re one of those babies who can’t stand spoilers, maybe you shouldn’t be reading a guide.
Starting off in Waynehouse
Back in Waynehouse, there’s a TV you can use to get Poromer Bleb, a spell you can use to heal someone and give them Defending status, which greatly reduces the damage of the next attack they take. You can go outside and learn some tips from the other Waynes. At the top of the house is Old Wayne who will tell you what to do next. You can use him as a staircase to get on top of the umbrella, then jump and hover to the island thing on the left to find a pair of Long Gloves and a coin. The gloves are pretty decent so put them on. They are also better than the nothing you had on before. After you’re satisfied looking around, head out onto the world map.
New Muldul
Now that you have Pongorma and the air dash, it’s time to explore town a bit more. There’s a shop here that sells juice and burritos as well as some expensive stuff you cant afford yet. The Organ Fort and the muscle applique are worth remembering for later to come back for. You’ll notice a bunch of locked doors around town. There’s a chimney you can jump in that leads to an empty coffee store. If you go to the right side of town you will find a pen full of things you can slap to restore your hp/mp.
Next, jump into this hole next to the sunbathing guy to access the mines under the town. Feel free to talk to the workers and hear some weird dialogue. You’ll come across a blue wire, follow it down and press the button it attaches to. This will open the gate out of the mines and link up all the other underground areas in town. If you keep going downwards, you will run into your first enemy. It shouldn’t be hard, just attack the cave cineast first with Wayne’s dissolution because he can do a full party attack. Keep heading down after the fight and jump into the little pond here to find some coins. Talk to the miner here and give him the juice you found earlier. He will thank you by letting you use his apartment which has a TV that will teach you Soul Crisper, a fire attack that causes a burning damage over time effect.
There’s also a glove store to the right on an island where you can buy a set of Long Gloves for Pongorma if you want. Once you’re done looking around town, head back out to the world map and go back to the sitting guy. Use the air dash to cross the islands to Viewax’s Edifice.
Viewax’s Edifice
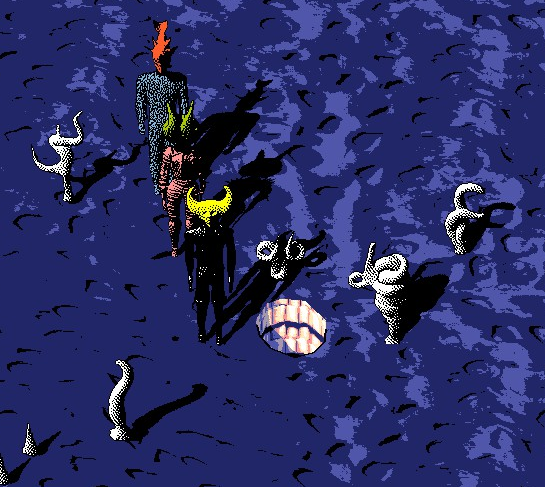
There are lots of enemies here for you to murder or avoid as you wish. I personally like to murder everyone for the meat and because the battles are fun. The Silamvog is kind of annoying because he can inflict Vulnerable status and will heal the enemy party members with Stem Cells. The Electrolan can be a dangerous enemy. He will counter with Sleep Spores, which puts everyone on both sides to sleep. If you have the clean status, whack Electrolan first and he will sleep the enemy party. The Poolmen are a nuisance that will copy themselves if you don’t use Soul Crisper on them. Warpo will self destruct, which deals a lot of damage, but feel free to just ignore him.
Once you are inside, you can follow the wall around to the end to pick up some coins, then open the front door that was blocking you previously so you dont have to use the boat. Head north and go inside the door to a room with some arcade machines. Loot the place and continue north into a dark room. Follow the left wall to find a Soul Sponge, which you can use to revive dead party members in battle. Then head north and use the arcade machine that is lit up.
Platforming
Loop back around to the couch again and bounce on it (hold up) to reach the higher platform. Take the second couch to the left and you’ll find a button you can press to start a gondola thing that will bring you up and to the right to a save point and a muscle applique. Keep heading right to find a save point and a burrito. Climb up the pyramid thing and kill the squid on the top. Hit the save point and then drop down into the pyramid. You can find a banana by air dashing through the spikes and a burrito on the far left near the floor. If you jump over to the right instead of falling through the hole left of the save point, you can grab a banana and a big coin. Keep heading right and there is a muscle applique above a moving platform sequence. After this, keep going right and use the couch to bounce up to another save point. Keep climbing up and to the right and you will reach a button that will take you to the ending ship. If you drop off to the right of the final area with the banana and the Wayne shaped opening, you can pick up some extra coins and take a look at the ship. Once you interact with the opening, the area will finish and you will unlock the shield that was guarding the Tower Key.
Beating Up Viewax
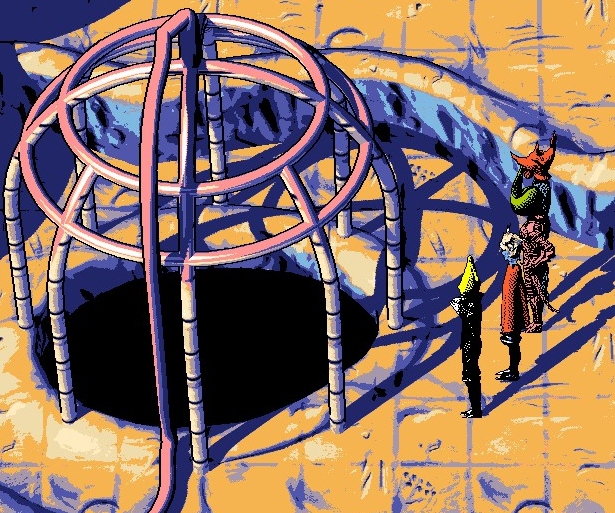
Jump in the hole and then return to the hole puzzle you saw earlier. Wander around a bit until you find the hole with the same plant design. When you enter it, you will meet a flying sage brain who will give you a Sage Token and a Converter Worm, a pretty great item that gives +50 Will and regenerates MP in battle. He is floating in the air so you will have to jump to talk to him. Equip the Converter Worm on Pongorma for now so he can make use of his Lightning more often, or on Dedusmuln so he can Foam Armor everyone. There’s also a Multijuice in the fridge.
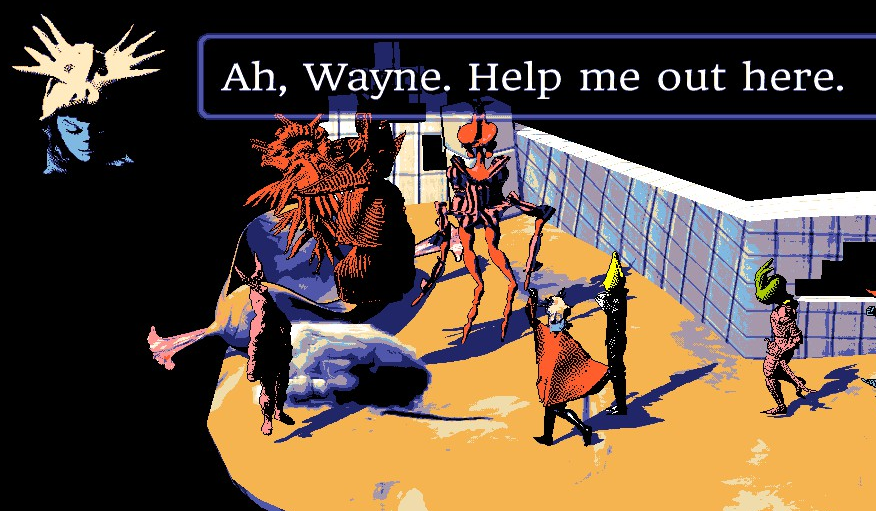
Next, continue past the Tower Door to the right and enter Viewax’s room. Feel free to loot the food from him before the fight. Start off by using Soul Crisper on Viewax to start him burning. Then have Dedesmuln use Foam Armor on Pongorma. After that, get everyone regenerating by using a Stem Cell and have Pongorma use Poromer Bleb if HP get low. Then just focus on attacking Viewax. He has a special attack that will hit everything except him, which will wipe out the Tyros. Keep Burning on him and keep everyone’s health up with Poromer Bleb and you’ll be fine. After you win, you will get a Jail Key that will unlock the doors in the basement.
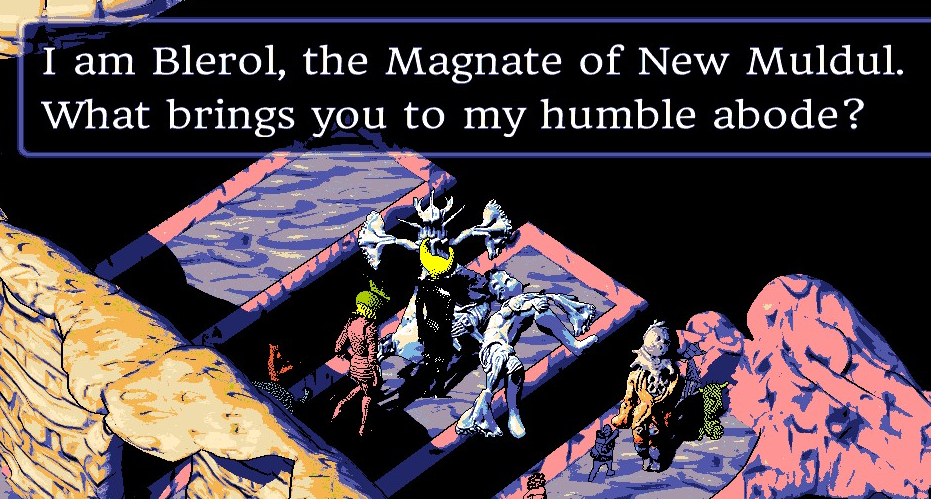
Talk to Blerol and the coffee house guy to rescue them. The fourth cell looks empty, but you can walk through it and fall to another area that contains a trampoline and a TV set high up on the wall that will teach you Time Sigil, a spell that causes lagging for 3 turns and then puts the enemy to sleep. After that, head to the afterlife and back to New Muldul.
Return to New Muldul

Head up to that locked door you now have the Upper House Key for. The dude inside will combine 4 items for you into 1 so you can use them on your entire party. Grab the coin on his bed and jump down the hole to the left, hugging the right wall so you move into the branching passage. You will find a Faded Poncho and Materiel Mitts. They arent particularly useful, but they are probably better than what you have now for some characters. The Mitts have more power than the Long Gloves, so put them on Pongorma for his Lightning. The Faded Poncho can replace the Boots that Wayne was wearing.
Next you can head to the coffee store and get some coffee and soul sponges if you want. Coffee comes in handy against enemies that use sleep and Soul Sponges revive dead allies so that’s pretty useful to have. You dont really need the Coffee Chip, it’s better to buy some regular coffee and use the converter guy to make multicoffee. Skip the glove store for the moment.
Somsnosa

There are some juice ranchers here and you can pick up a few juice boxes and coins if you look around. If you speak to the rancher hanging out on a cliff, he will give you a Rancher Poncho, which is resistant to poison. It’s better than the Faded Poncho, so put it on Wayne.
Follow the path up to an opening. Enter it to see a TV on the right that will teach you Fate Sandbox, a spell that will make a party member immune to negative status effects for 3 turns except stun. Head left and talk to Somsnosa, who needs a bit of help with a fight. Somsnosa’s special attack is Wave Artifice, a weak attack that hits all enemies. Use a multicoffee and then have Somsnosa cast Wave Artifice so the enemy team gets put to sleep by the Electrolan’s counterattack.
After you smash the enemy, Somsnosa will join you. Check the fridge for a Pleather Gage. Equip it on Somsnosa and give her the Converter Worm so she can use Wave Artifice more often. Have her drink all the Muscle Appliques you have. Now head back to the airship and press the menu button while in the air to look around the ship. You can talk to your party members and use the paper cup you found earlier at the water cooler to gain 25 Will.
Next we will head over to TV island. It’s all out by itself on the edge of the map. Ascend the steps to learn Charge Up, a spell that will increase the power of the next gesture you use. On top of the building is a guy that will take any antennas you found and increase your charge up power with them. To the left is a juice pool you can drown yourself in for an afterlife warp. Don’t forget to turn in your meat to increase your party’s HP.
The Dig Site
Shield Facility
This place is pretty confusing and there are lots of coins laying around in here if you want to take the time to pick them up. It’s really not that big of an area though. The Squids here will hit you with Burning. Hand of Moodbleen will squeeze you, which makes your attacks do basically nothing for the duration. Healing will still be full strength. He can also use Sharp Fingers, which inflicts Leaking. Having Dedusmuln use Charge Up and then Foam Armor is a great strategy. Somsnosa’s Wave Artifice is great charged as well. It adds some extra attacks to the end. Pongorma’s Lightning is better charged of course.
Once you make it through the short entrance area, head to the left side of the maze to find Cave Key. Try to fight all the squids you see flapping through the maze. While you are inside, you will finish every battle with full HP/MP. On the right side of the maze is a side area with some coins and a squid you can fight. In the northeast corner of the maze is another tunnel like the previous one, only this one will drop you near the center of the maze when you exit it. Head towards the juice fountain and once you activate it, travel north up the stairs. Keep heading north through the small room and blow the horn to fight the boss, Fonthintrelpine.
Hit everyone with a Multi Stem Cell and Foam Armor, then use a Multi Coffee because he has a strong full party sleep attack. After that just push every status effect you can onto him until he dies. The shield will go down and you can continue on your quest. Head to the afterlife and use the Cave Key you found to get Teledenudate, a spell that removes positive status effects from an enemy. It’s useful for the guys that cast Reactive Armor.
Platforming 2: The Revenge
Next head right onto the magic carpet and grab the coins along the way. Keep going right and youll hit a save point. Cross the moving platform and jump up the couch, keep going up until you see a flag, then head left onto another moving platform and a magic carpet. If you go up here, you can get some coins. Then hover to the left and you will land on top of an airship for some more coins.
Now loop back to the carpet, but this time head left and down to get below the spinning thing, then head up and jump on the couch. This is pretty hard so dont be surprised if you fail a few times. Once you get to the couch, jump up to another carpet and follow the coins around the left side of the ship. Loot the coins up here and angrily glare at the treasure above you out of reach. Now head back to that couch and carpet, but this time instead of going onto the ship, jump off to the left and follow the coins. Follow the weird path around until eventually you will fall through a double spiral onto a paper cup and a save point. Now take this magic carpet up and make your way upwards through the enemies to find a Muscle Applique.
Then make a giant jump and hover to the right as far as you can. You will land near a bunch of houses, go inside the one with the arrow and save. Travel up here to get some coins and a burrito. Then drop down from the save house and head right, killing the enemies. Go in the door and you’re finished. The shield is gone upstairs and you can get the Deep Key.
Foglast
There are some tough new enemies here. Bomelaug will hit the entire party with Vulnerable if you let him get his homunculus going. Highway Fleam does damage and not much else. Sauoplit is very annoying and can use Lightning. Courtier is an annoying enemy who will counter Wave Artifice with Tube Steak Manifold, an attack that will fullheal the enemy party. You’ll also face Galliform and Poolmagne.
This is a big area with a lot to do. First lets go to the bottom left and climb on top of the building. Air dash from the northern outcropping to meet a guy with a TV who will teach you Link Mollusc for 300 Bones. This spell applies every negative status the caster has to all enemies. It can be devastating if you set it up. After using the TV, drop down to the floor and head right where you’ll see a circle of coins. Follow the red wire to the northeast as it goes into an underground area where you will find a juice fountain and some enemies.
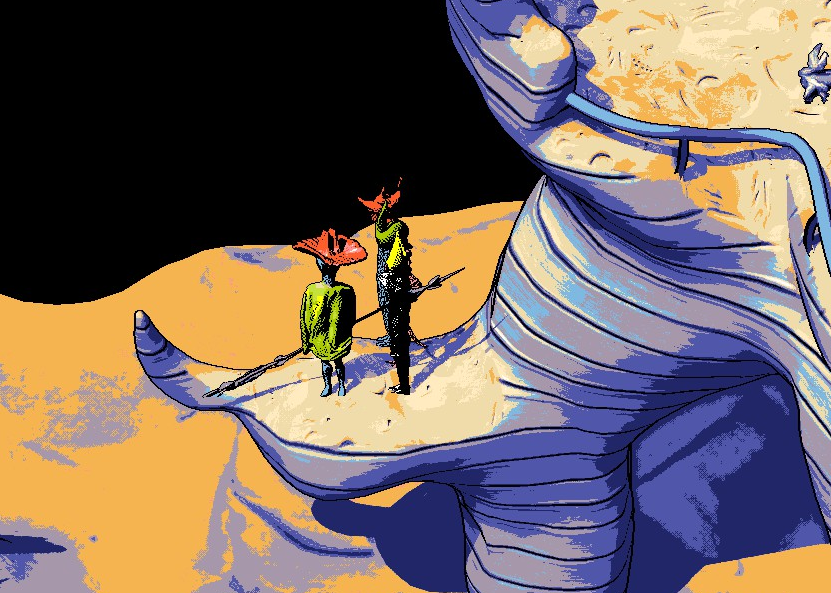
Next, make your way across the desert floor to the top left corner of the map. You’ll find some enemies hiding in the sand waiting to ambush you along the way. In the top left corner, you’ll meet Smuldunde, who will give you a vague hint for later. There’s a Multi Soul Sponge in the box next to him. If you head over to the top right corner, you’ll find a cave with a fridge inside containing another Multi Soul Sponge. Head back to the juice pool cave, then follow the red cord up the path. When you see the cord drop off the path to the north face of a cliff, take the winding path to the right instead. You’ll come to a cave that the cord will be climbing up the side of. Enter the cave to find a guy who will let you sell your junk to him. You can sell off all the old gloves and boots you acquired, as well as the clicker you just bought to access the TV. After selling all your junk, head right and climb the ladder. You will find a monitor that asks you for a Bridge Key you don’t have yet.
Finding a Bridge Key
Jump into the hole and air dash across through the coins. The area below this is the same room with the juice fountain you found earlier. Take the yellow stairs to the south to find a Multi Juice, then head back up the path until you reach a statue and another button to press. There are coins hiding behind the pillars here as well. Jump down and smack the two Gibby followers and use the juice fountain if you wish to grind your meat and use the tub. Then go up the ramp out of the cave and find the next shield you you just disabled. You can follow the cord if you want but it just leads to that cave we climbed on top of to get the TV. Inside you will find the Bridge Key.
Before you leave, there’s a secret area above the north cliff. You can either follow the wall to get there or jump and air dash repeatedly up the rocks. Follow the winding path up outside to an outcropping and a difficult air dash jump. You will have to use the hover right after the air dash runs out to reach a platform above TV guy. The coins floating on the way are a trick, go above them if you want to actually reach the other side. There is a thin path to the right that leads to another shield button. This one is in that room I told you to avoid on the way to the bridge monitor. It has Cursed Gloves. They give +24 Power, but will inflict the user with Vulnerability and Burning. You can equip them on Pongorma if you want so he can use Link Mollusc and power up his Lightning, or just ignore them if you don’t want to deal with the status effects. If you do decide to use them, give the Tendril Hand to Wayne and the Pleather Gage to Dedusmuln.
To get back to the bridge, head outside the Cursed Gloves room, then air dash to the right and you’ll land at the door with the selling guy. Plug the key into the machine and head across the bridge to a temple. You’ll see some cultists parading around and another shield. Unfortunately, you can’t slap them. First, jump in the hole on the left. It will trampoline you up to the roof where youll find a pedestal containing a Looped Dome. It adds +50 Flesh, +50 Will, and -25 Speed. I put it on Dedusmuln because it doesnt have any extra Power that Somsnosa or Pongorma need for their spells.
Next, jump into the hole on the right. Follow the path, ignoring the red cord for now, and explore the tiny side areas for another Soul Sponge, some coins, and a Tendril Hand that you can equip on Dedusmuln. Fall off the platform where you found the Tendril Hand to access a secret area.
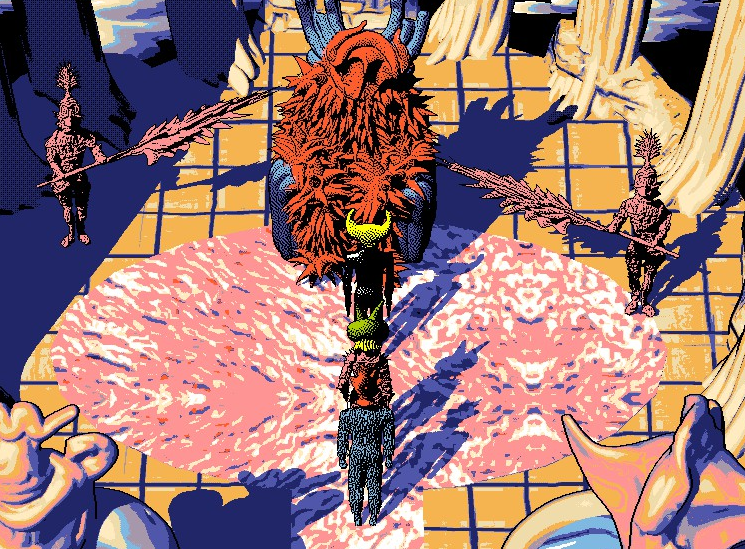
Secret Area and Odozeir
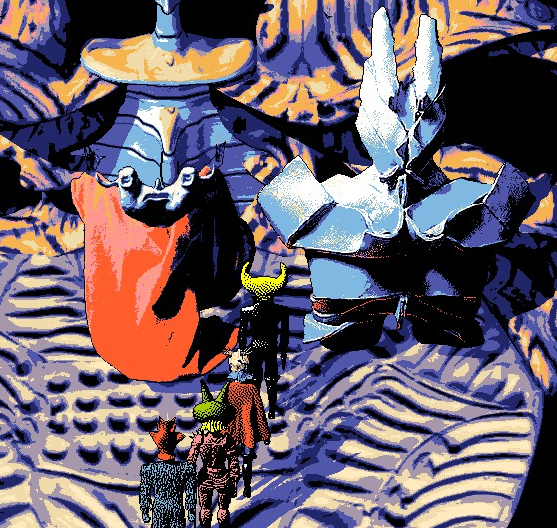
Carsoro starts the fight invincible, so focus your attacks on Odozeir. Start by buffing the party with a Multi Stem Cell and a charged Foam Armor. Then just hit Odozeir with status attacks and regular attacks until he falls over. When Odozeir dies, Carsoro will buff himself with Fast and Angry and drop his shield. Have Dedusmuln use Poromer Bleb on anyone who gets hit. Carsoro likes to use Whip, which inflicts Vulnerability and Leaking. You can use Link Mollusc to inflict Vulnerability on Carsoro and then Lightning him for 150+ damage. Use a Multi Juice if you start to run low on Will. When you win, Odozeir will turn into a puddle and brag that the ritual cant be stopped.
Head to the south and punch the sarcophagus to begin a battle with Gibby Redivivus. I say a battle, but the first thing he does is use an attack that instakills the entire party. Then watch the cutscene and head back to New Muldul from the Afterlife.
New Muldul and the Dig Site Again
Like the worm maze, every fight here will restore your HP/MP. There are some new enemies here. Nonconformist likes to use Four Blades which hits 4 times like you might expect. He also will charge up and use Photon Grapeshot, which damages the entire party. Coiffed Stalker will cast Specterant, which hits the entire party and inflicts Dissolute. Poolmagne needs to be Soul Crispered and will counter any attack with Allotrope, which causes Leaking. Wandering Tyro is the same jerk from before but with 100 HP now. Using the Cursed Gloves + Link Mollusc works really well here because of all the 5 enemy groups.
This area is extremely annoying and I honestly don’t know how to make a description of how to get through here. If you want to find all the items, you will have to hit all the walls. Start off by walking forward into the empty section of wall and knocking it down. Follow the left wall around until you see some curtains and an alcove, then knock down the alcove, revealing a meaty room with 4 cat looking statues. Keep following the wall to the left and you will find a ladder up. If you climb the ladder right now you will just loop back around. Go back to the meaty room, but instead of going inside, follow the path and you will find a juice fountain. Continue past and you will find a tiny loop with a ladder leading down. There’s another hidden room with an enemy and a Soul Sponge on the same side of the wall the fountain is on. After getting it, head down the ladder to a lower floor.
Head left and press the walls to find a meaty room with several hidden doors. One of them leads to a Cookie and a Multicoffee. Head out and look around. This area is pretty big and loops around a lot. There’s a hidden room behind 3 false walls that contains an enemy and a Multi Soul Sponge. There’s also a Muscle Applique for Somsnosa hidden down here in one of the corners. Eventually you will come to a hallway with a ladder down and a ladder up. Take the ladder down to find a short hallway with a hidden room containing a Multi Juice. On the other side of the hall, theres a room with a Tarp, a pretty useless item that reduces speed by -50 and makes you immune to status effects, except ones you get from equipment (cursed gloves, etc). Head up the ladders and hit the switch.
Sage Labyrinth
He will give you the third Sage Token and a Single Glove, which halves MP usage. Give it to Somsnosa and also equip her with the Organ Fort you had on Wayne before the Looped Dome. The sage will give you a hint about where to place the Sage Tokens. Then head back down the stairs to the raised platform overlooking the main room, but this time turn right and follow the path to an area with two ladders down next to each other. Take the one on the right and follow the path to a pit. You’ll drop down next to a cat statue. Follow the path around to the ladder, but walk past it and press the wall here to reveal a chest with a Paper Cup.
Now take the ladder up. Look around the main room here for a switch and press it to move the platform back. Then head left and enter the small hallway here with several cat statues and a pit down. Before you go down, hit the walls here to reveal a Multi Soul Sponge, 50 bones, and an enemy. In the pit, the left wall contains two Multi Stem Cells. Head forward and drop down into a room with a lot of pillars. Walk forward and you will be ambushed by Motor Hunter.
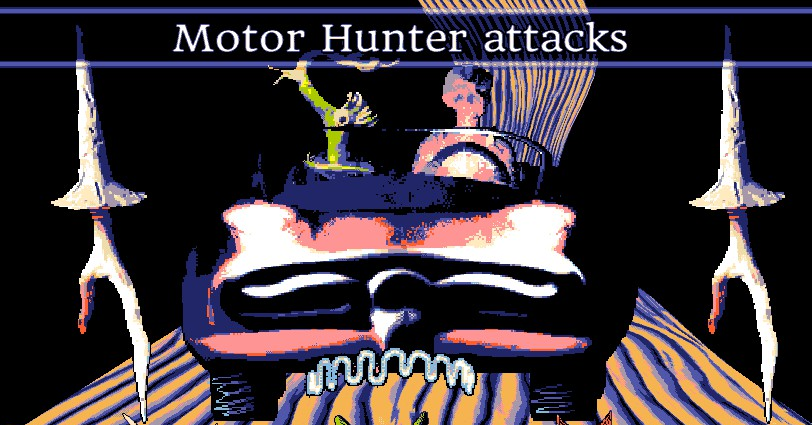
Start the battle with a Multi Stem Cell and a charged Foam armor. Have Somsnosa charge up Wave Artifice. If the Highway Fleams are alive,Motor Hunter will use Awaken Lance, killing a Highway Fleam and hitting the entire party for about 90 damage. It’s not too hard of a battle, have Wayne poison with his basic attack, Somsnosa use charged Wave Artifice, and the others hit him with every status effect. Head forward and hit the switch. Behind the switch is a Cloud Germ and the ladder out. Use the Mini Crystal to return to the entrance. Then get on your airship and fly high up to find the Sage’s Airship.
Sage’s Airship
Crash your ship into the Sage’s ship to dock. You can use the Paper Cup on the water reservoir to increase your will by another 25 points. On the first floor youll find a sage selling some useful items. Buy Organ Forts for everyone who doesn’t have one equipped and a Single Glove for Pongorma. Wayne doesn’t really need one because of the Peptide Bodkins. Pongorma and Somsnosa will lose a bit of Power, but half MP for all spells is worth it in my opinion. Follow the blue cord over to a receptacle for a sage token and place it. Then take the ladder up to the second floor and follow the coins to another room with a receptacle and some people you can talk to. The pot on the guys head contains a Multi Soul Sponge and you can get it easily by falling off the platform above and hovering onto it. Next climb to the roof where you will find the last receptacle and a Muscle Applique for Somsnosa. The yellow TV on the second floor will teach you BOMBO – GENESIS. You need to be charged to cast it, and it takes all your will and multiplies the damage by 1x for every 100 will drained. It costs 99 MP, so this is where that Single Glove comes in handy.
So your equipment should look something like this:
Wayne: Peptide Bodkins and Organ Fort
Somsnosa: Single Glove and Organ Fort
Dedusmuln: Telescopic Sleeve and Organ Fort
Pongorma: Cursed Glove or Single Glove and Organ Fort
There are many of the enemies here from the Sage Labyrinth here, as well as some new ones. You can try using Link Mollusc + Cursed Gloves to spread Vulnerability and then a charged Wave Artifice, but it’s really easy to get Pongorma blasted to death here. The new Bombo-genesis spell works quite well instead. Viewaxian is basically just a regular enemy version of Viewax that you fought in the beginning of the game. Foliated will cast Arcane Indisposal, which removes a character from combat for several turns. Counter this with Fate Sandbox. Fierce Coutured is the same jerk as before with better stats and more HP.
Head inside and take a left down into the juice pit. Follow the coins to the south to pick up an Upper Chamber Key. Climb the spiral staircase and continue left to find a Soul Sponge. Continue left, climb the curved staircase and head outside. To the south is the last juice fountain in the game and a banana to the right. Drop down to the south, enter the first door again, then head straight north and through the next door to use the Upper Chamber Key. You’ll notice a finger pointing to the right, air dash across a series of platforms to a room containing a chest with a Multi Soul Sponge and an ambush on the right side with two Warpos. After looting, fall off the side to get teleported to the entrance, then go through the Upper Chamber door. Follow the path up to find yet another shield. There’s a staircase to the north and a banana to the right of the staircase. Follow the twisting path up the stairs to the north. Jump into the hole with the line of coins leading downwards. Then head south into a small juice pit. Use the platforms to air dash to the northwest corner. Head north through this area to find a chest containing Ductile Habit, which reduces damage taken by 25%. This works pretty well on Pongorma if he’s still using the Cursed Gloves. Otherwise give it to Dedusmuln. Then head left and fall down the hole.
This will bring you back to the room with the shield and a button you can press to disable it. South of the button is a switch that will drain the lower juice reservoir. The place you need to go is in the first room of the castle. It used to be a little fountain, but now it’s empty and you can jump in the pipe. Inside you will find some coins and a chest containing Psychic Knuckle, which adds +30 power. Give it to Pongorma to jack up her Wave Artifice damage. Follow the path onward to find a Burrito, then head north from the burrito to find a chest containing another useless Tarp. Continue down the southern path and follow the coin trail into yet another hole. This one contains a drain switch for the upper reservoir. There are also chests containing a Cloud Germ and nothing. Head south, which will bring you back to the first room. Loop back around to the Vessel Room door, then head south into the hole that had the coins. The juice is drained now, revealing 3 burritos and a hole in the floor. This hole leads to yet another winding path with a Vessel Room Key at the end.
This key opens the last door in the game, so I suggest you head back to TV Island and the Afterlife to deposit your meat/antennas one last time. Then make your way back, jump the trampoline and face Lord Gibby.
Start off by using a Multi Stem Cell and a charged Foam Armor. You’ll notice each time you hit Gibby that he releases a minion. His main attack is Teardown, which hits for about 100. A charged Wave Artifice will splatter all the minions. Really you are so powered up now that it’s an easy fight. You can use Bombo-genesis if you like, but it isnt necessary.
After defeating Gibby, you’ll land on a stage where you can play around and talk to some of the characters from the game. When you’re done, dive off stage to the south and climb the winding mountain to watch the ending credits. Congratulations!