
Massive Spoiler Warning!!! This guide will showcase how to unlock the final boss fight, how to prepare for it and the attack patterns of the fight.
Spoiler Warning!
Unlocking The Bossfight

The crafting foundry is found in Schip’s lab which is available through the portal.
Once all gene balls has been inserted, Matthew Schipp will talk towards the player for a new task.
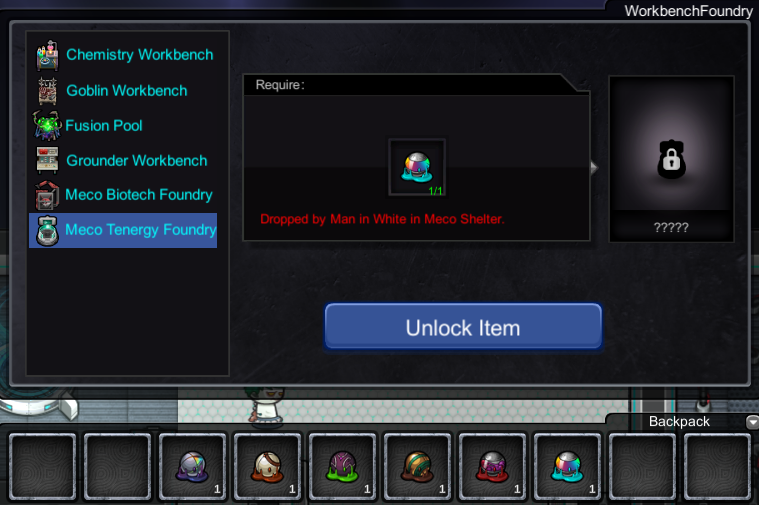
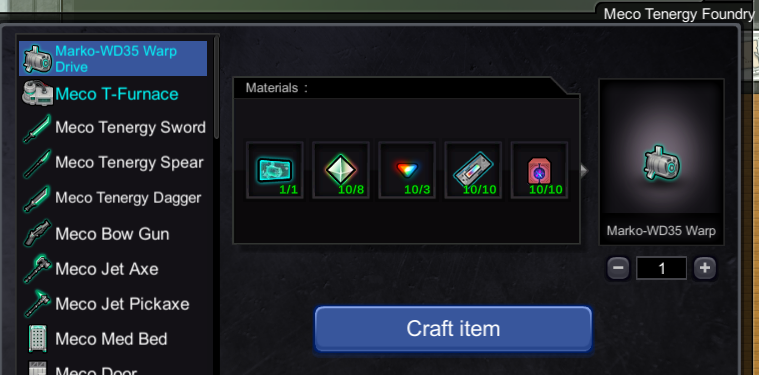
With the new item, use the Meco Tenergy Foundry to craft the warp drive and bring it back to Schipp’s lab to unlock the final bossfight.
At this point Matthew Schipp will disappear and wont come back until you’ve defeated the final boss.
The final boss has an ludicrous amount of hp even on easy difficulty, meaning that if you cannot manage to defeat the final boss, Matthew Schipp wont show up in his lab for that character anymore and you cannot sell your items to him for the forseeable future.

Preparing For The Bossfight

The weapons i used are the nemesis and the grounder sniper rifle. By either constructing a bunch of grounder sniper rifles or by farming the man in black a ‘fine’ version of the weapon might drop which have buffed damage on them.
The platings that help the most are the +25% attack and +12 attack purple buffs. Getting both purple platings cost a lot of gold, money and parasytor primordium, so the red platings are fine too.
The gear point bonuses doesn’t matter that much. +damage, +ion skin, +defense or +evasion are all viable options.
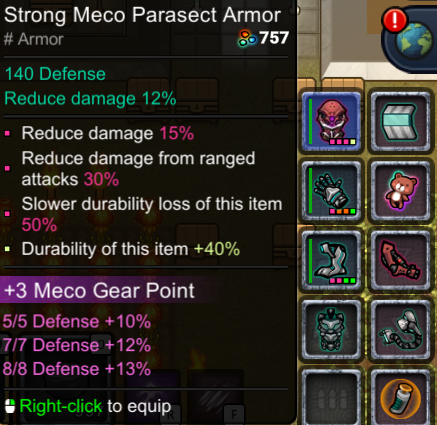
For platings the most essential ones are the purple +15% damage reduction buffs. Getting it on the chest plate, gloves and boots will add a total of +45% damage reduction against attacks. This helps immensely to just survive the onslaught of projectiles the boss can throw at you.
Defensive Accessoires help a lot in this fight.
The amber shield can completely block each hit, making it very useful if you have to tank fatal hits.
The teddy bear dropped from man in white only works once every 10 minutes but will revive you upon death.
Meco shield adds +30% defense.
Meco Life Support Device give a passive 3hp/second.
The Offensive Accessoires should come after you have some good Defensive Accessoires.
Meco Biotech Powered Exoskeleton Arm adds +20% attack.
Meco Powered Exoskeleton Arm adds +15% attack speed.
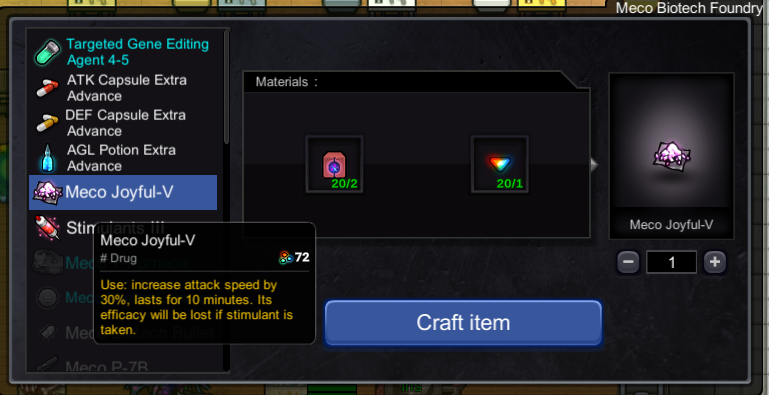
For buffs the drugs found in meco facilities can be very helpful for dealing more damage. The more damage you deal the shorter the fight will be. Fights that last over 20 minutes might affect focus and can lead to mistakes after all.
If you don’t happen to own any drugs then you can craft them at the Meco Biotech Foundry.
Meals on the other hand also provide a lot of different buffs on top of your drugs, they add more hp, ion shield, damage and health regen. You don’t have to create every meal for this fight but they will help.
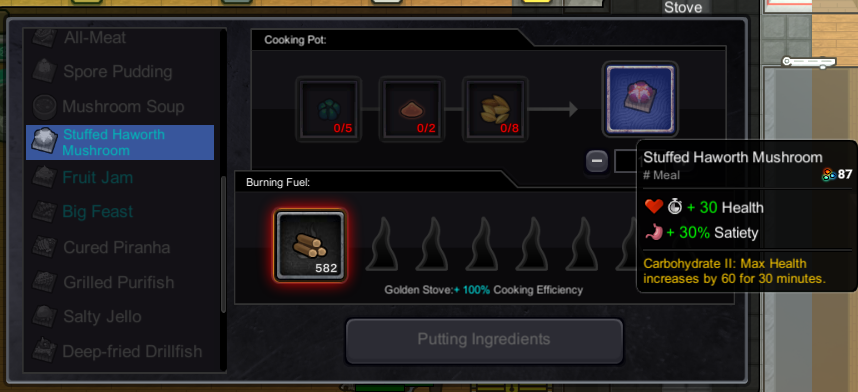
The spoon accessoire buffs eating speed by 100%. If any of your buffs run out during the boss fight then equipping the spoon will shorten the time to reapply all your buffs. There isn’t much breathing room between the attacks so you have to tank some of the hits while doing so.

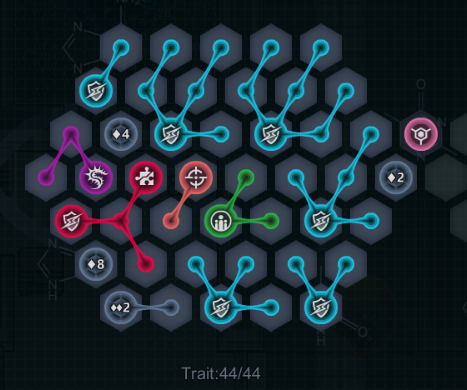
For genes stacking ion skin, damage reduction and max hp will make the fight much easier. In particular the host defense gene and leader defense gene that add +10% damage reduction respectively. Other notable genes are the knowledge drug addict-, addict- and obese genes as they extend effect duration of drugs, meals and also shorten the cooldown to use medicine.
The gene pattern i used looks like this if you want to use it for reference.
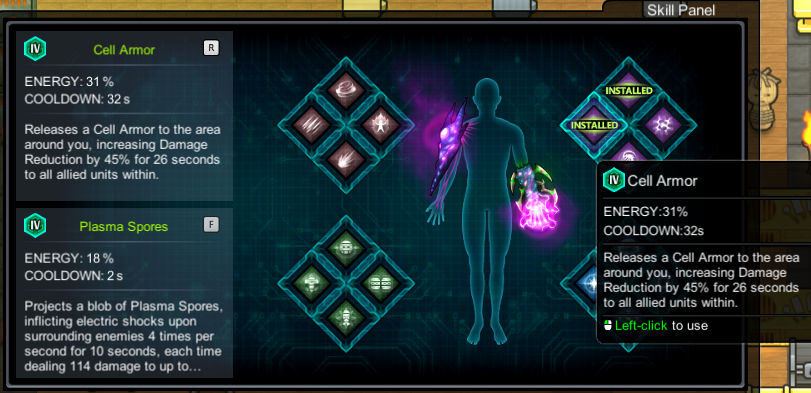
For skills i used the Cell Armor and Plasma Spores.
Cell Armor is for emergencies in case all your ion skin drops to 0 or you have to stop moving to reapply more drugs.
Plasma Spores on the other hand will be very useful for dealing a lot of damage without using too much energy. Some of the projectiles the boss uses can block incoming projectiles from the player, the Plasma Spore skill skips these blockades and will damage the boss anyway. It’s also capable to hit multiple enemies at once which is very useful for the first half of the fight which has more then one target.
The boss throws too many AoE attacks that can eliminate your followers in seconds. They can still help while they’re alive but sometimes they’ll just die and will spent most of the time just recovering.
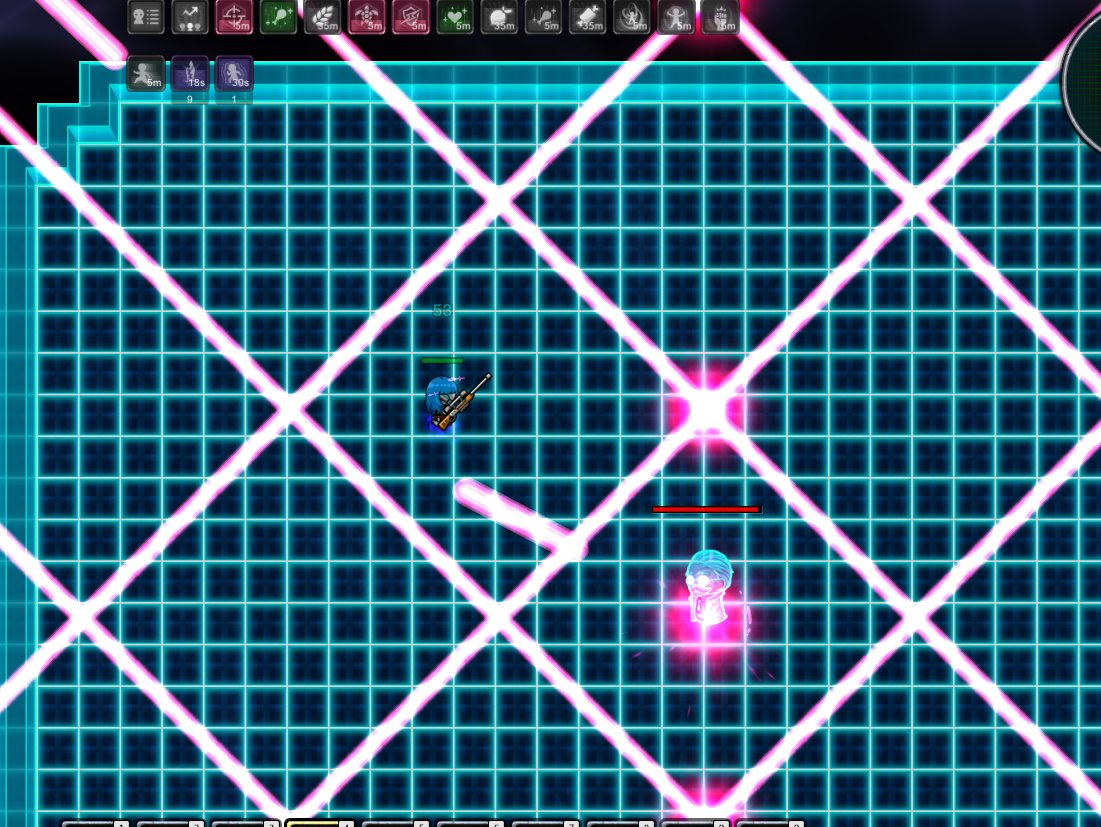
Bossfight Stage 1
Before the fight begins the player has to interact with a gene ball on the floor.
It is still possible to leave by using a portal stone back to your spawn.
Now would be the optimal time to apply all your buffs before starting the bossfight.
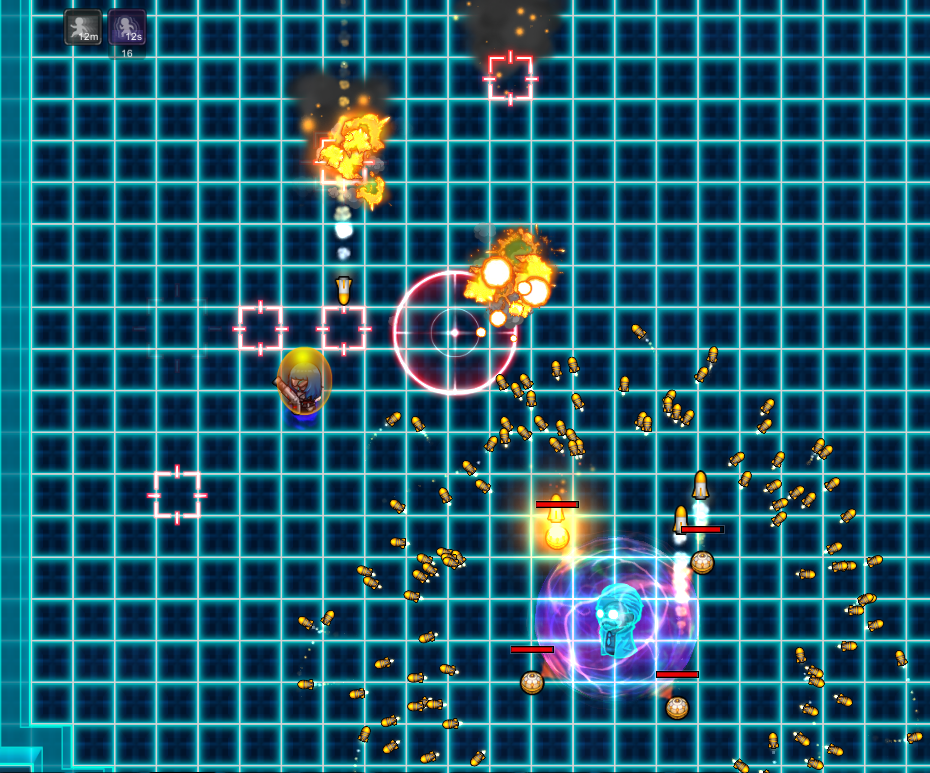
The first stage of the fight has 4 balls orbiting Richard Marko which need to be taken out first. The’re quite small so its difficult to hit them during the fight while having to dodge. The skill plasma spores is the most effective against them because it can hit all balls at once without needing to aim.
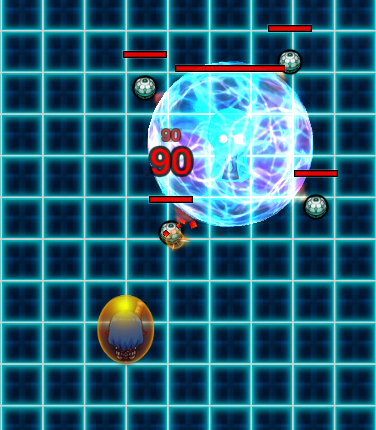
Pattern 1 is the first attack Richard Marko will unleach on the player character. This one fires small projectiles in a spiral pattern which deals negligible damage if you stacked enough damage reduction, if you don’t then its best to dodge as many as possible.
The big squares that get fired are the most damaging attacks in stage 1. They’re big, have the ability to oneshot players without enough damage reduction and block all forms of projectiles, effectively blocking firearms. Because of this, the best course of action is to go near the wall or corner and to weave around the bigger squares while trying to hit some shots towards the boss.

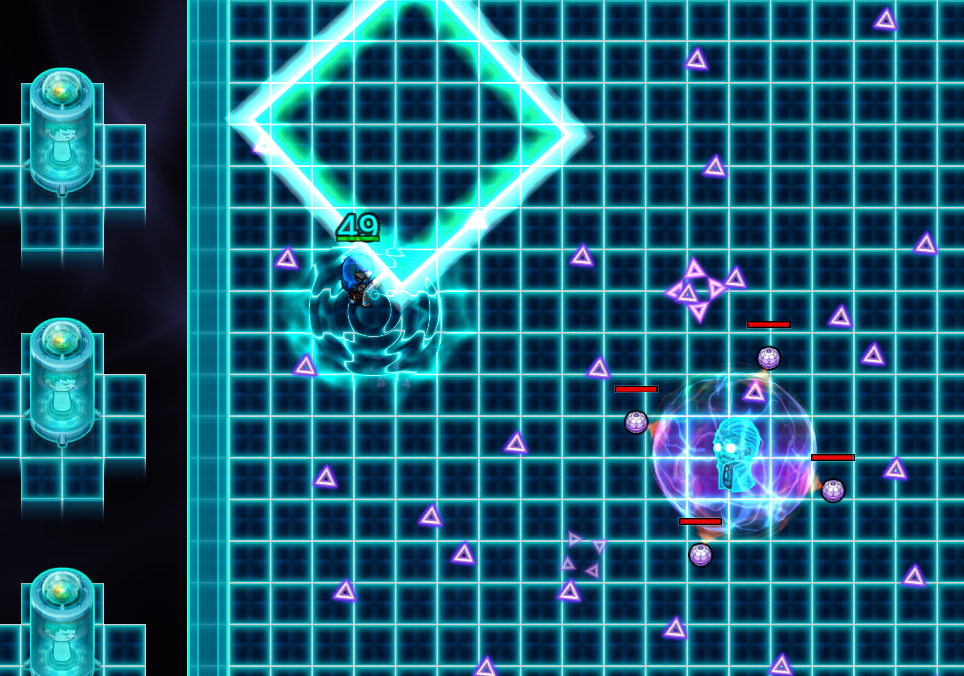
Pattern 2 starts shortly after pattern 1 without any downtime. The projectiles are purple in color and fly out differently from pattern 1, it is still possible to follow the projectiles to dodge as many as possible but the second type of projectiles are the type that are near unavoidable.
The second set of projectiles is when four small triangles group together and act as homing missiles towards the player character. They float around the room while chasing the player, making outrunning them near impossible. The bad part is that the big squares from pattern 1 still haven’t dissipated yet at this point so the best course of action is to dodge them at all costs.
The good part is that the boss wont move much, giving a perfect opportunity to either drop a lot plasma spores on him or to walk up to him to deal damage up close.
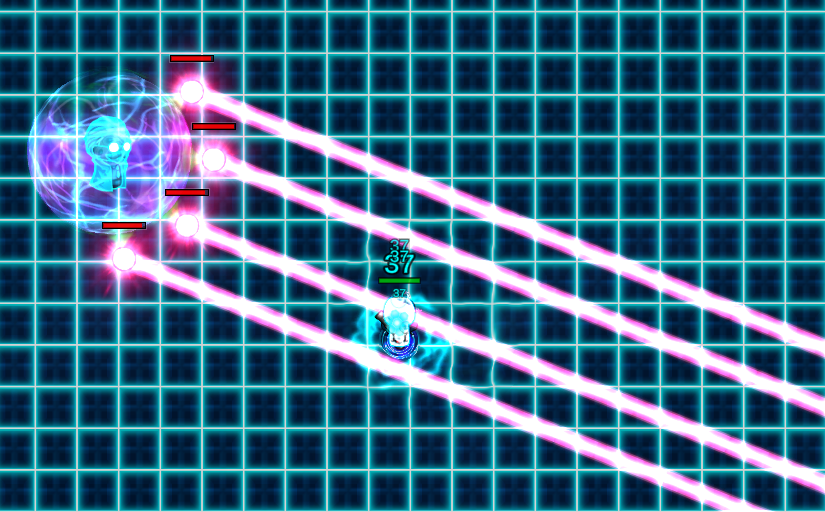
Pattern 3 starts with four lasers shooting out into four directions. They will slowly rotate in either clock or counter clock wise so its easy to dodge it for now. Eventually the lasers will double to eight lasers and four of them will go counter clockwise while the other four will go clockwise, effectively closing in on all available space. Because of this dodging is impossible and the best course of action is to quickly move past the laser and have your amber or ion shield tank the hit.
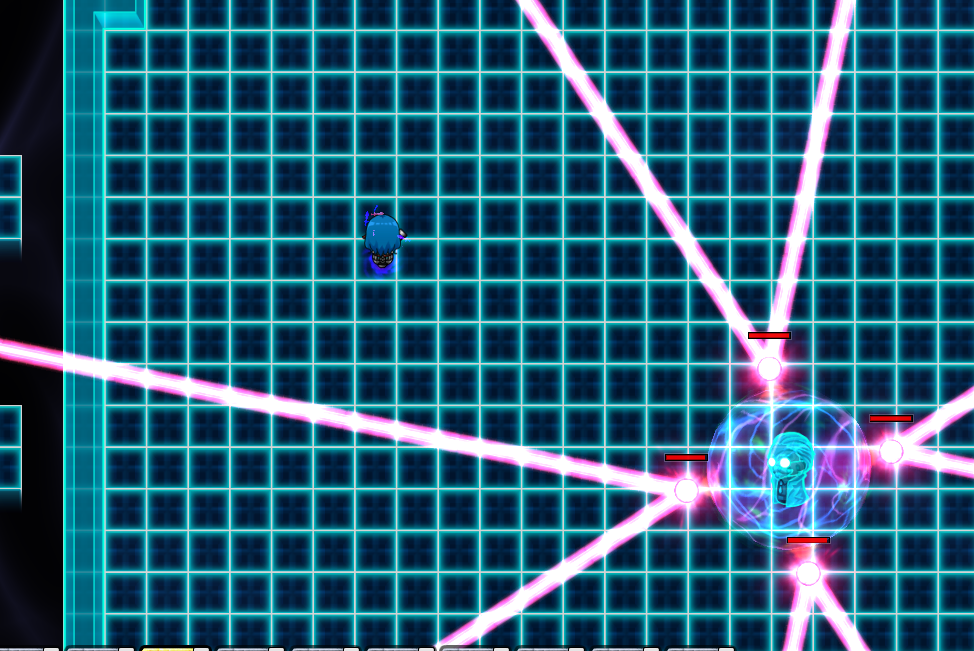
Patter 3 continues off from there, with the lasers now aiming at the player and shooting into that direction after a few seconds. It doesn’t do any damage while it aims at the player, giving enough time to move out of the laser before it starts shooting. This pattern is the easier part of the fight because its very predictable and easy to dodge.
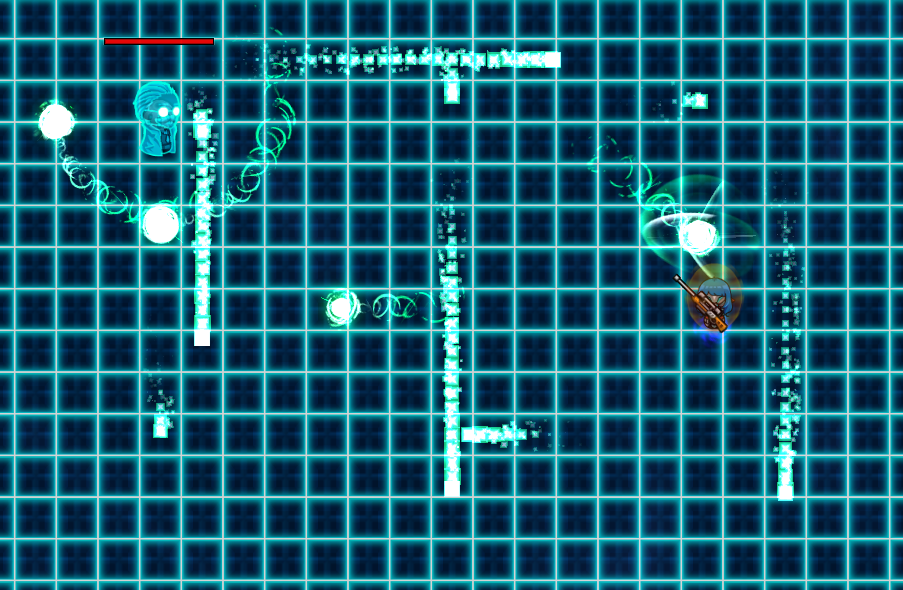
Pattern 4 has a multitude of rockets aiming down at the player. They will shoot down the indications on the floor, making dodging them still possible. While one big circle will chase after the player, random squares will be placed in the players path trying to cut them off.
With a good mount, movement speed or just consistent dodging skill you can dodge them easily.
Once all patterns have played out once it will begin to randomly play them out of order.
A tip of advice is to save up your energy once the balls are close to dying before taking them out and to reapply your buffs.
Stage 2 of the fight doesn’t have as many predictable patterns as stage 1 making it harder.
Bossfight Stage 2
Once all four small orbs have been taken out is when stage 2 starts. The first pattern the boss will throw out has multiple projectiles moving all around the room in a linear path. They can only move in absolute vertical or horizontal lines, meaning if you keep track of them you can easily dodge them by walking diagonally.
The second set of projectiles in this pattern are large orbs that will try to ram the player to hit you up close. You can weave around them or outrun them.
Pattern 2 has two different types of attacks. The first attack has the boss charging a large ring around itself and uses them to charge directly against the player. It is easy to dodge it by simply moving aside.
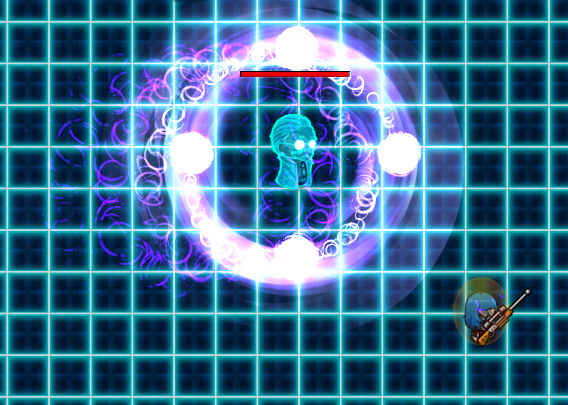
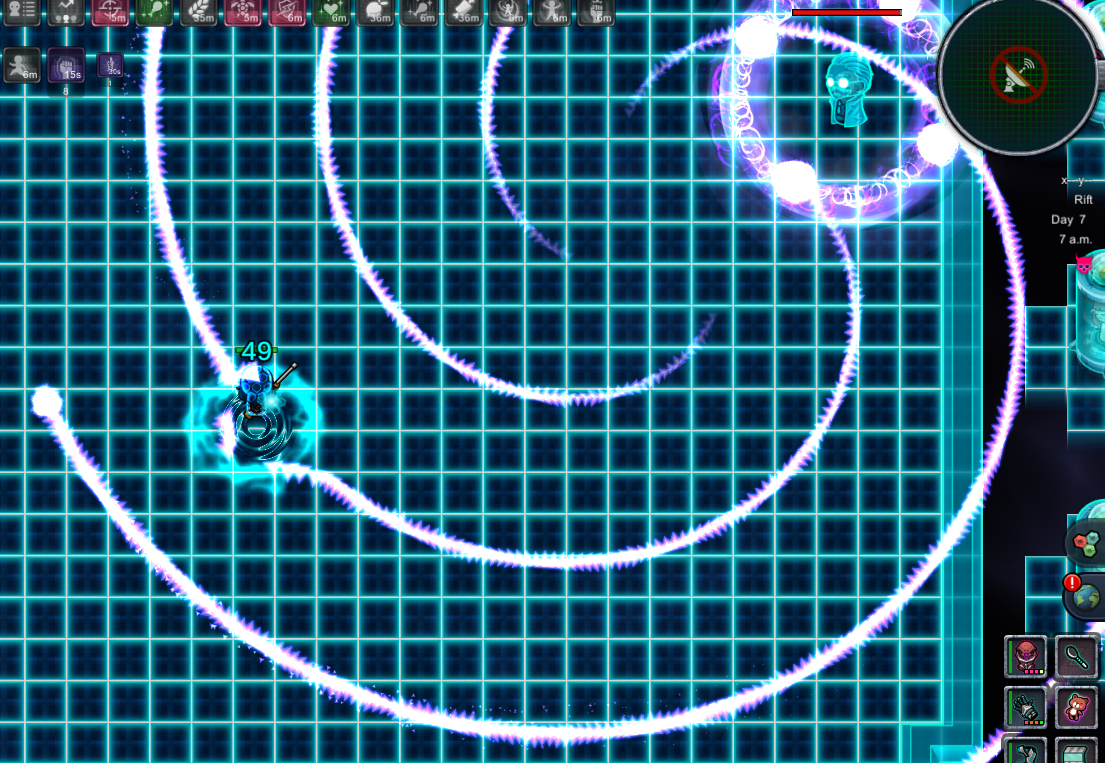
The second attack starts right after his charge. The boss will shoot out lines from himself that move into a spiral pattern. It moves quite slow so it is easy to move out of the line before it hits the player.
The difficult part is that the boss will do the first attack while the spiral pattern is still on the ground, making dodging his second charge a bit difficult. Though overall this is one of the easier patterns of stage 2 as its very predictable.
Pattern 3 is a very easy part of the fight. The boss will shoot out lasers in a grid pattern, giving the player enough time to move out of the way before they start dealing damage.
Once the grid pattern has been set the boss will begin shooting semi large projectiles towards the player. The easiest course of action is to weave left and right after each projectile to dodge all of them. Because the boss wont move during this pattern now would be the best time to use as many plasma spores as possible.
Pattern 4 is one of the less avoidable parts of stage 2. The boss will shoot out two types of projectiles, one of them will be many large balls of fire that slowly move around the room and try to move towards the player. The second second set of projectiles are 4-5 small fire lances that shoot out in a shotgun pattern.
The room will be filled with many fire projectiles because both of them will move rather slowly and wont dissipate. Because of this, dodging all of them is near impossible.

All patterns will now randomly go out of order once they’ve all been shown. By now a lot of time should’ve passed for the player. The best course of action is to remember each pattern as best as possible so you don’t end up accidentally losing too much health at once. The skill cell armor is perfect in emergency situations if you do end up losing too much health at once.
Thanks to Red riding hood the third for his great guide, all credit to his effort. you can also read the original guide from Steam Community. enjoy the game.
How do you farm Man in Black? Do you have to find multiple lab portals or is there some way to reset him?