
Here is a modding guide created by Explo to help you replace the models and textures in the game.
Requirement Tools
[Unity Asset Bundle Extractor][github.com]
To extract, and replace assets. [MANDATORY]
[Asset Studio][github.com]
To view models, and export into .FBX format. [Optional]
How to Replace Models & Textures
Setup
STEP 1.
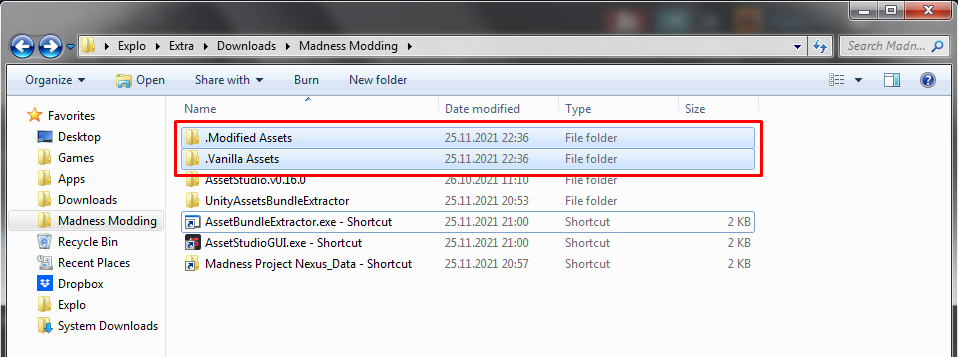
Create two new folders anywhere on your computer,
one for unmodified files, and a second for modified files.
STEP 2.
Navigate to the Madness: Project Nexus folder
Create two new folders anywhere on your computer,
one for unmodified files, and a second for modified files.
STEP 2.
Navigate to the Madness: Project Nexus folder
C:\Program Files (x86)\Steam\steamapps\common\Madness Project Nexus 2\Madness Project Nexus_Data
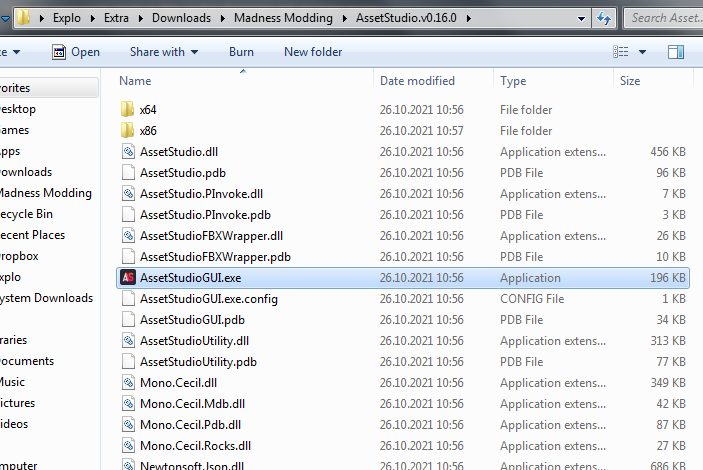
Step 3.
Open AssetStudioGUI.exe
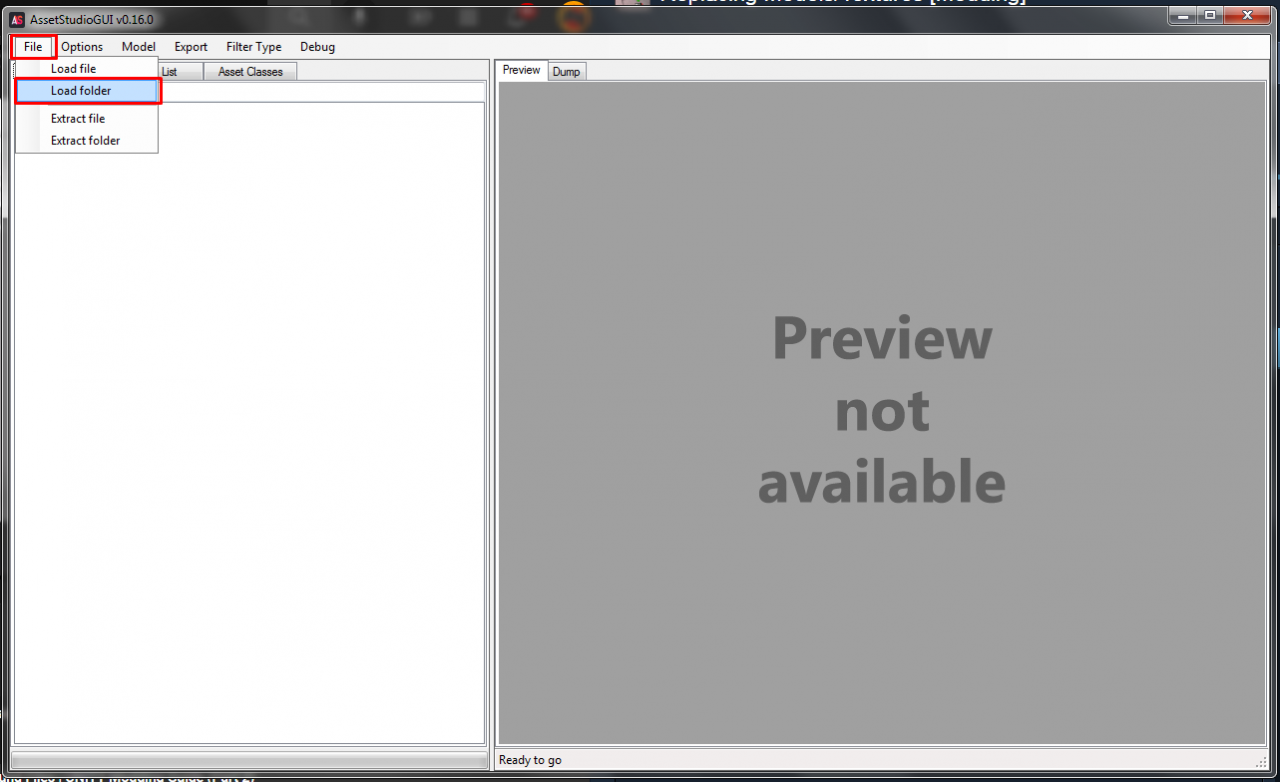
Step 4.
Open the Madness: Project Nexus folder inside Asset Studio

♦—Important—♦
The steps here change depending on whether you are replacing textures or models.
Follow the steps corresponding to the thing you are replacing.
Follow the steps corresponding to the thing you are replacing.
If you are replacing a model, skip the “Texture” section and go directly to “Model”
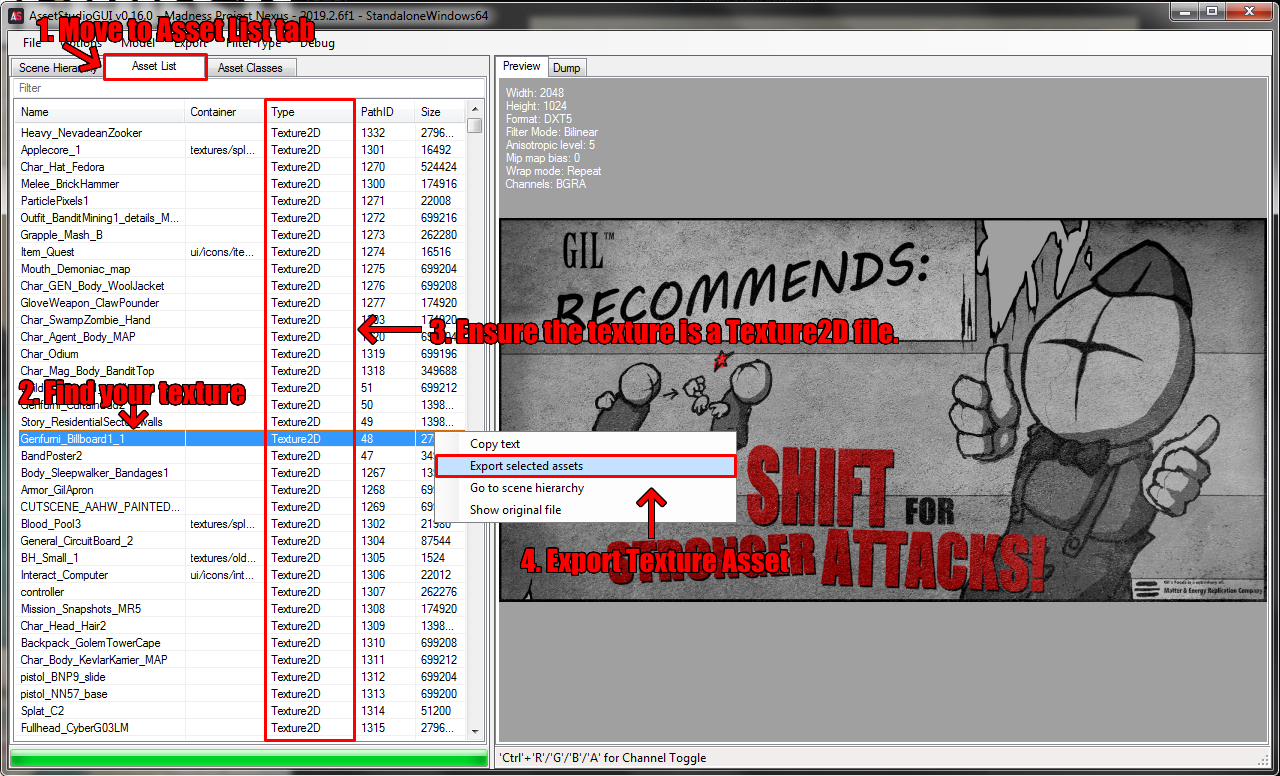
Textures
Step 1. Find your texture, and extract it into “modified” folder. (Make sure it is a Texture2D)
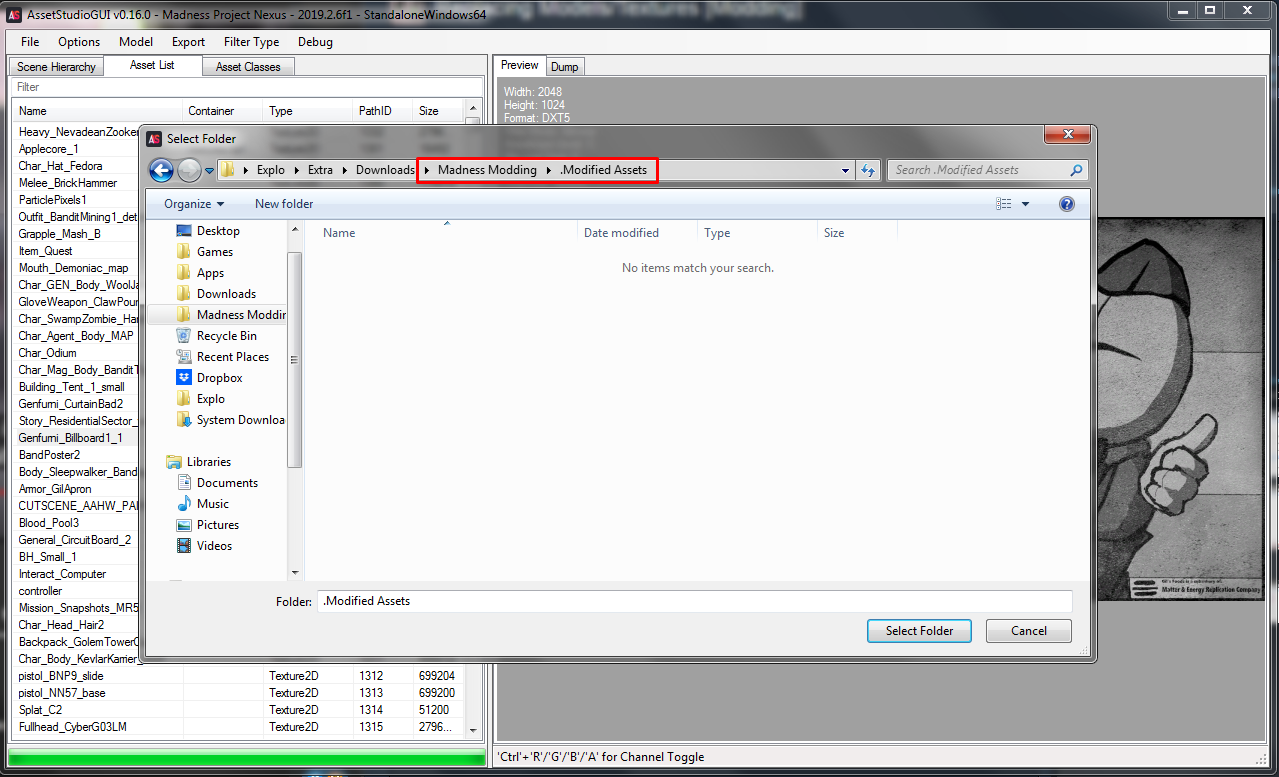
Step 2.
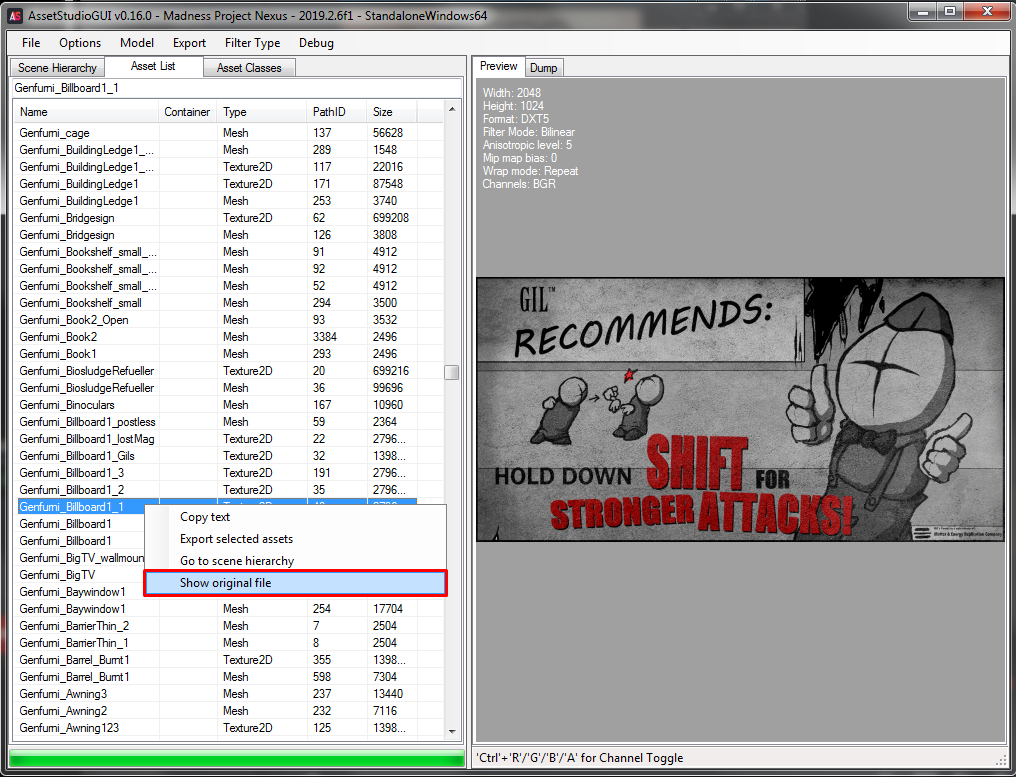
Open the original file, this is necessary for importing stage.
 ]
]
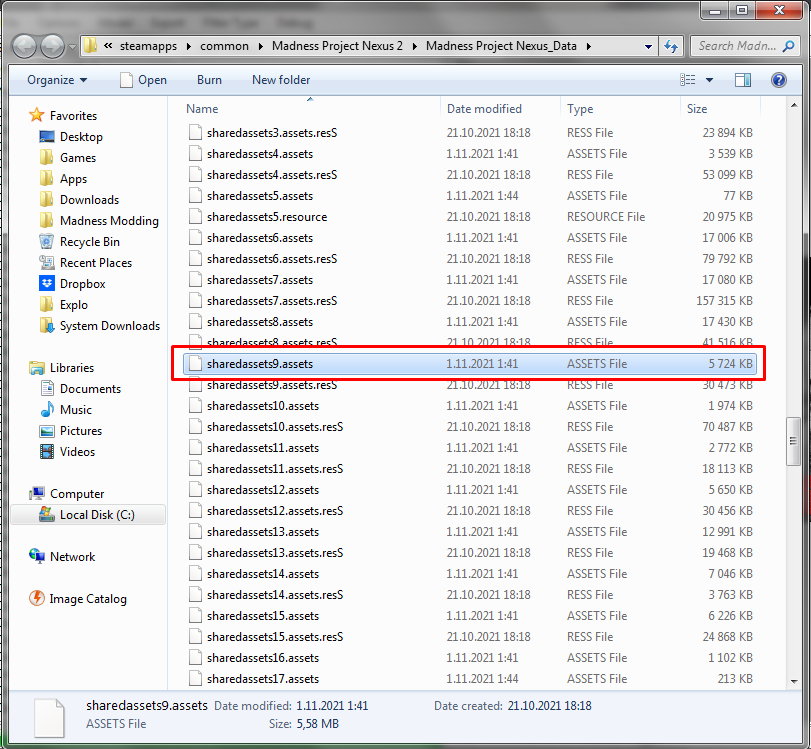
Make note of what this file is.
Step 2.
Open the original file, this is necessary for importing stage.
Make note of what this file is.
Step 3. Open and modify your texture, then save it.
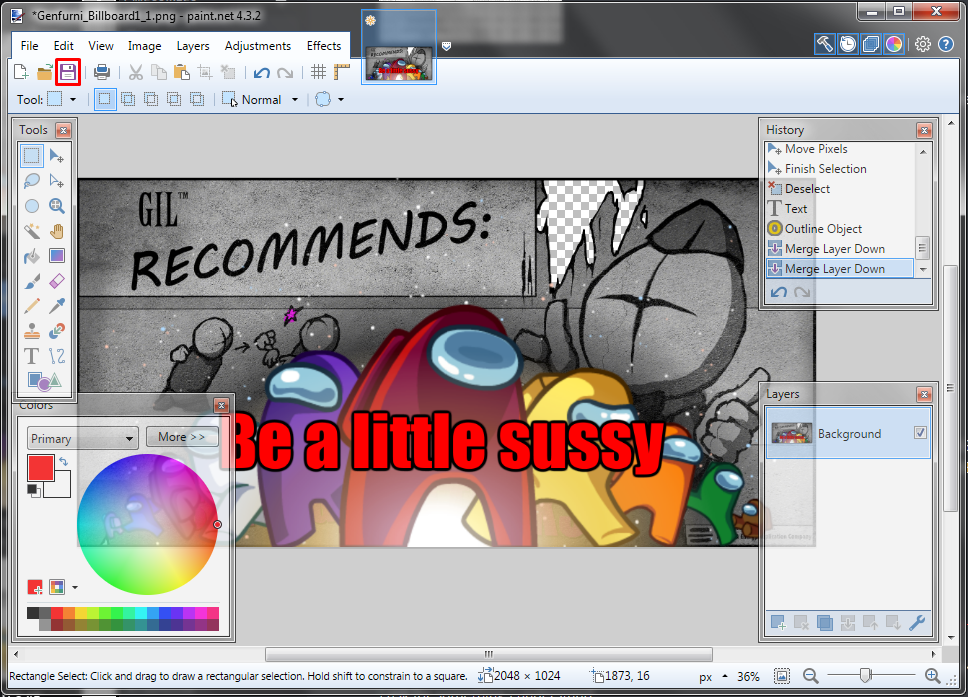
Continue to “Importing” section
Importing Texture
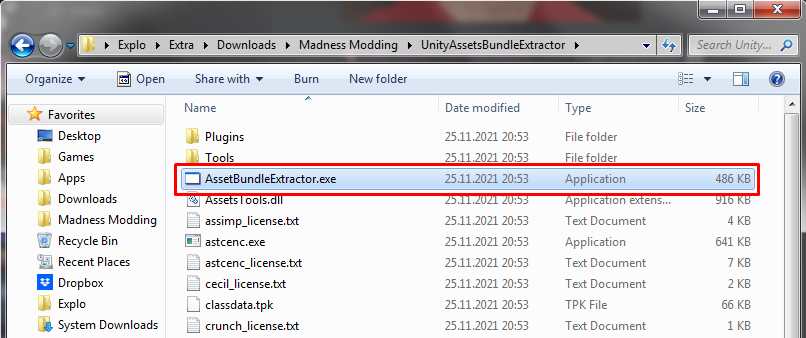
Step 1.
Open Asset Bundle Extractor. (From now on referred to as UABE.)
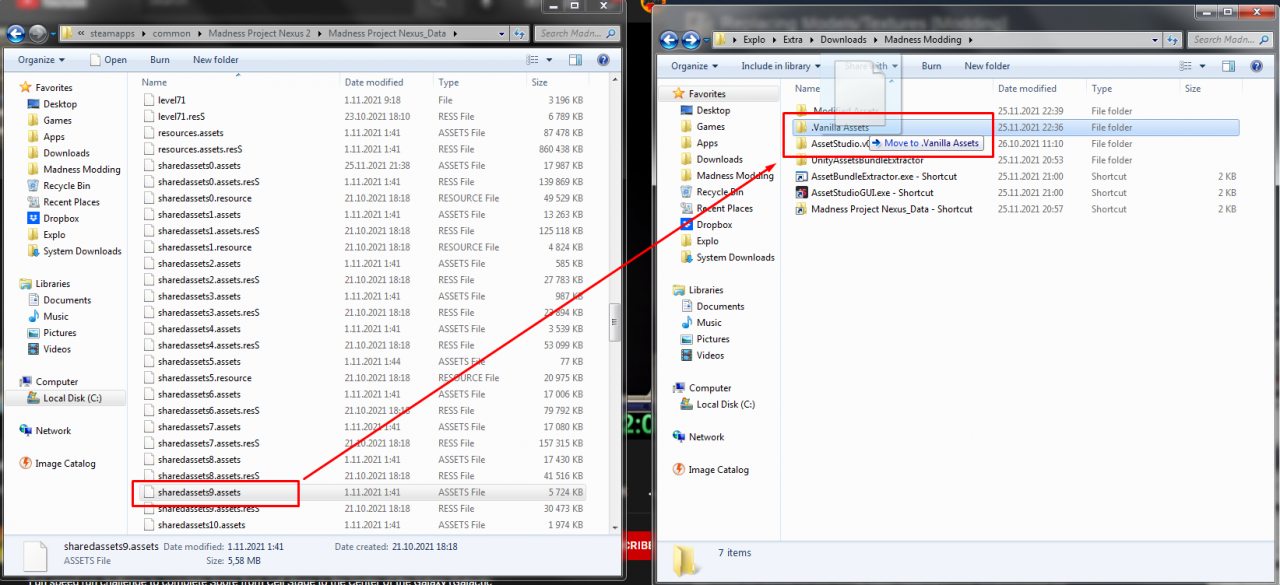
Step 2.
Make a BACKUP of the Original asset, and place it in your “Vanilla” folder.
(That’s the one I told you to make note of.)
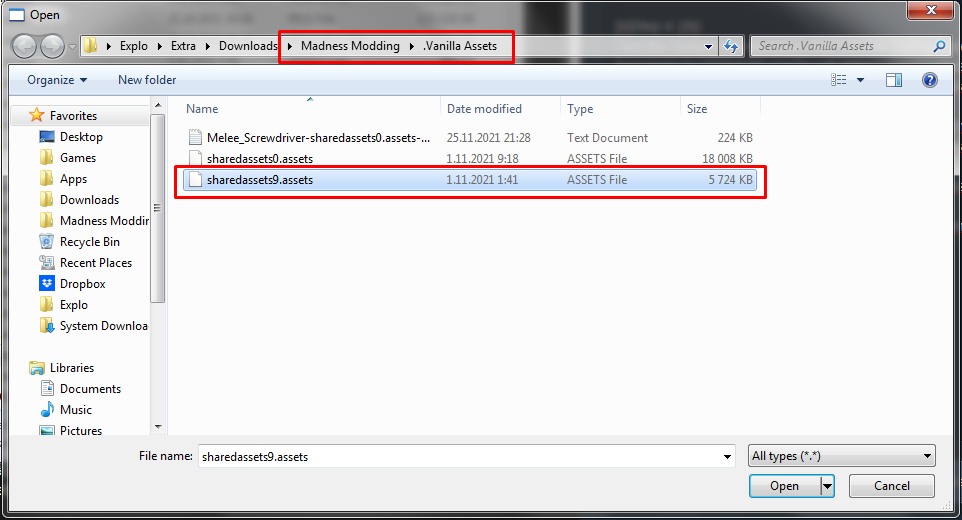
Step 3.
Open the BACKUP file.
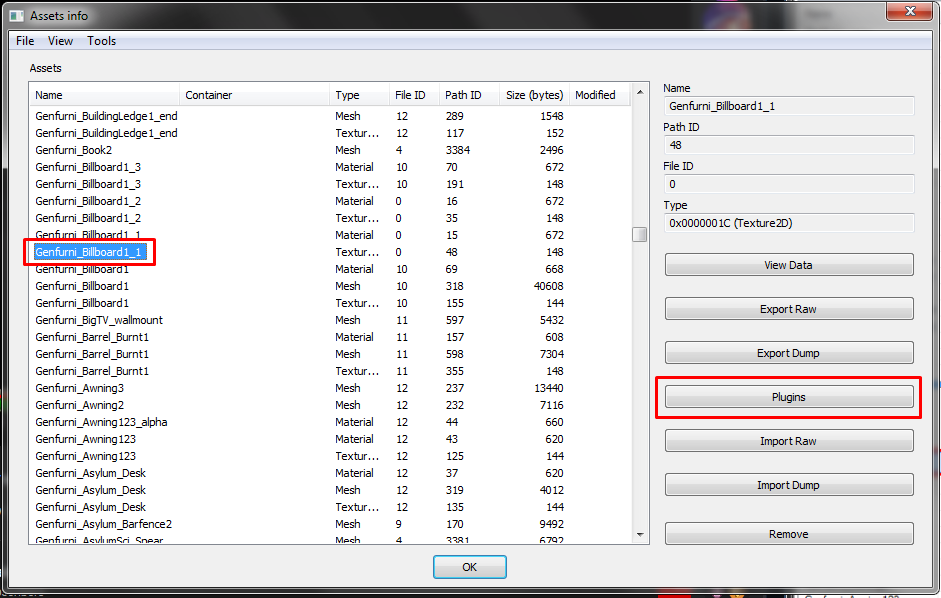
Step 4.
Find the Texture you changed, then click on “Plugins“, and under plugins on “Edit“.
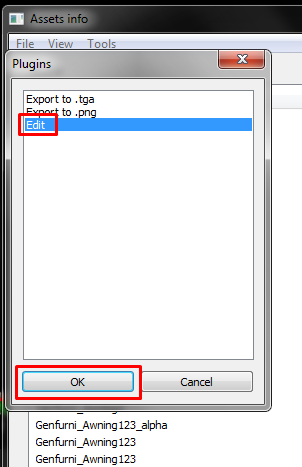
Step 5.
Click on “Load” next to Texture option. Don’t touch anything else.
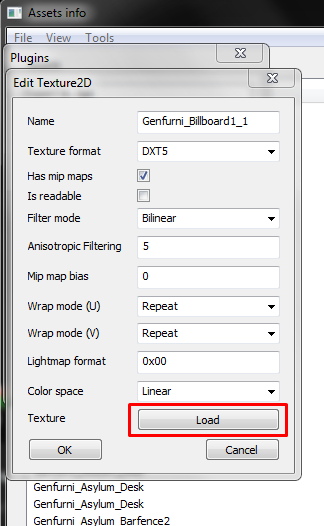
Then find your modified texture, and open it.
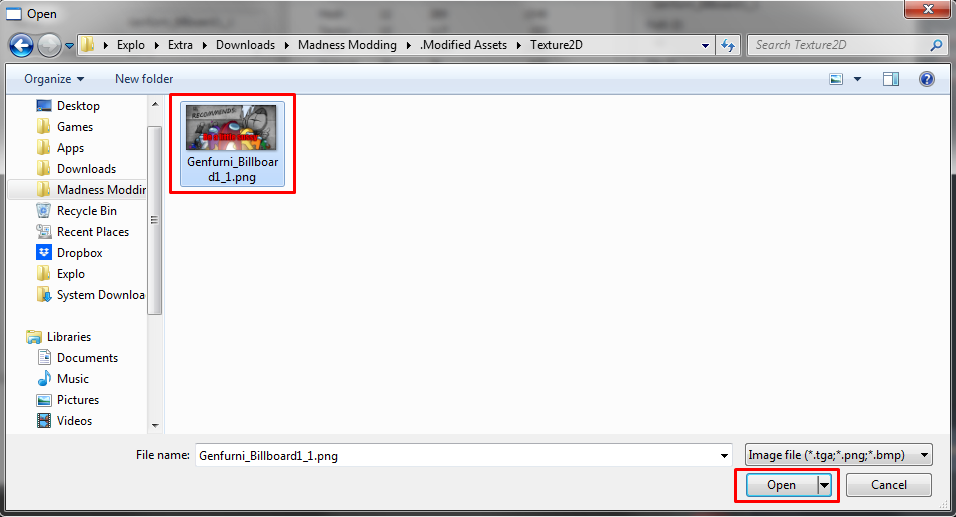
Then confirm the editing.

Open Asset Bundle Extractor. (From now on referred to as UABE.)
Step 2.
Make a BACKUP of the Original asset, and place it in your “Vanilla” folder.
(That’s the one I told you to make note of.)
Step 3.
Open the BACKUP file.
Step 4.
Find the Texture you changed, then click on “Plugins“, and under plugins on “Edit“.
Step 5.
Click on “Load” next to Texture option. Don’t touch anything else.
Then find your modified texture, and open it.
Then confirm the editing.
Continue to Applying ingame.
Applying Ingame
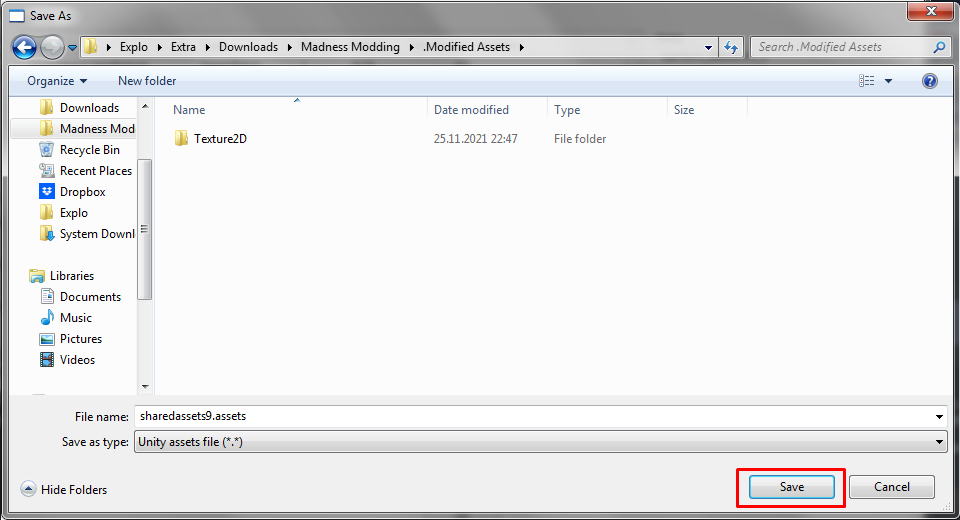
Step 1.
Save the modified file into your modded folder.
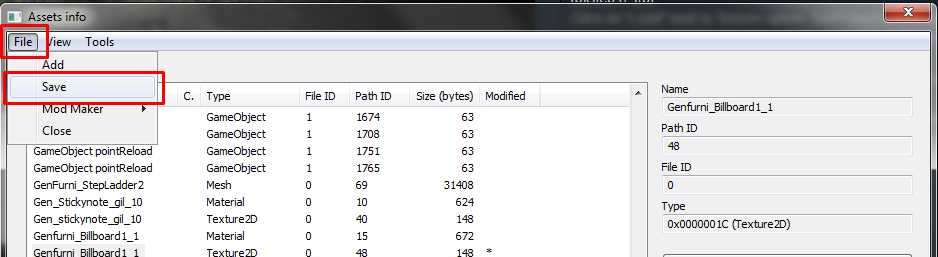
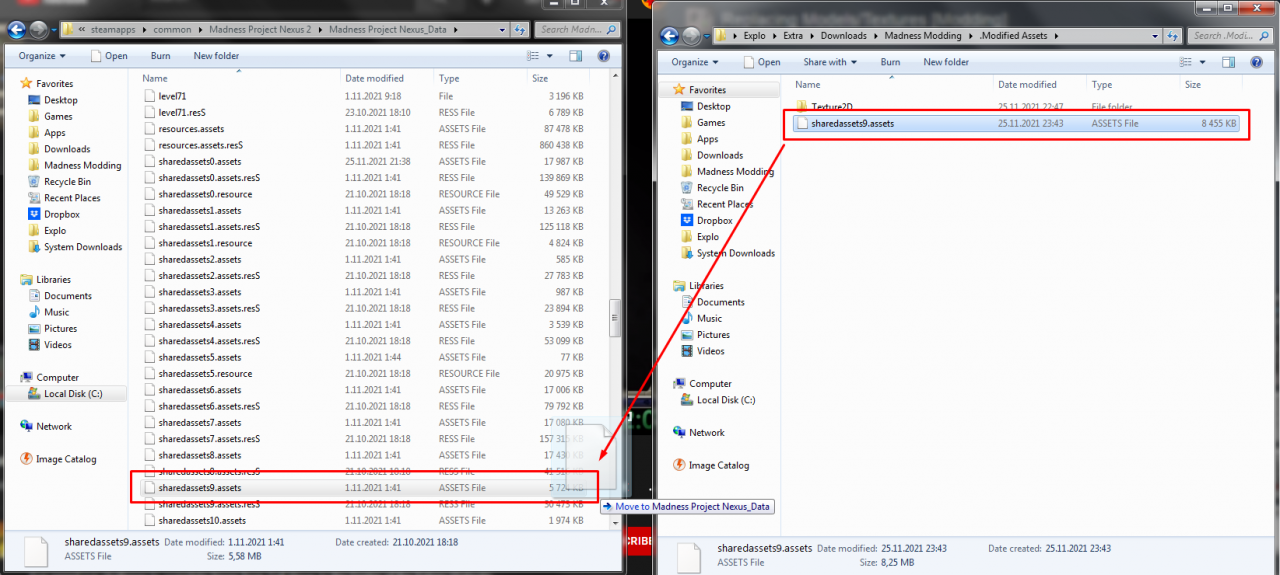
Step 2.
Replace the sharedassets file in the game directory.
Save the modified file into your modded folder.
Step 2.
Replace the sharedassets file in the game directory.
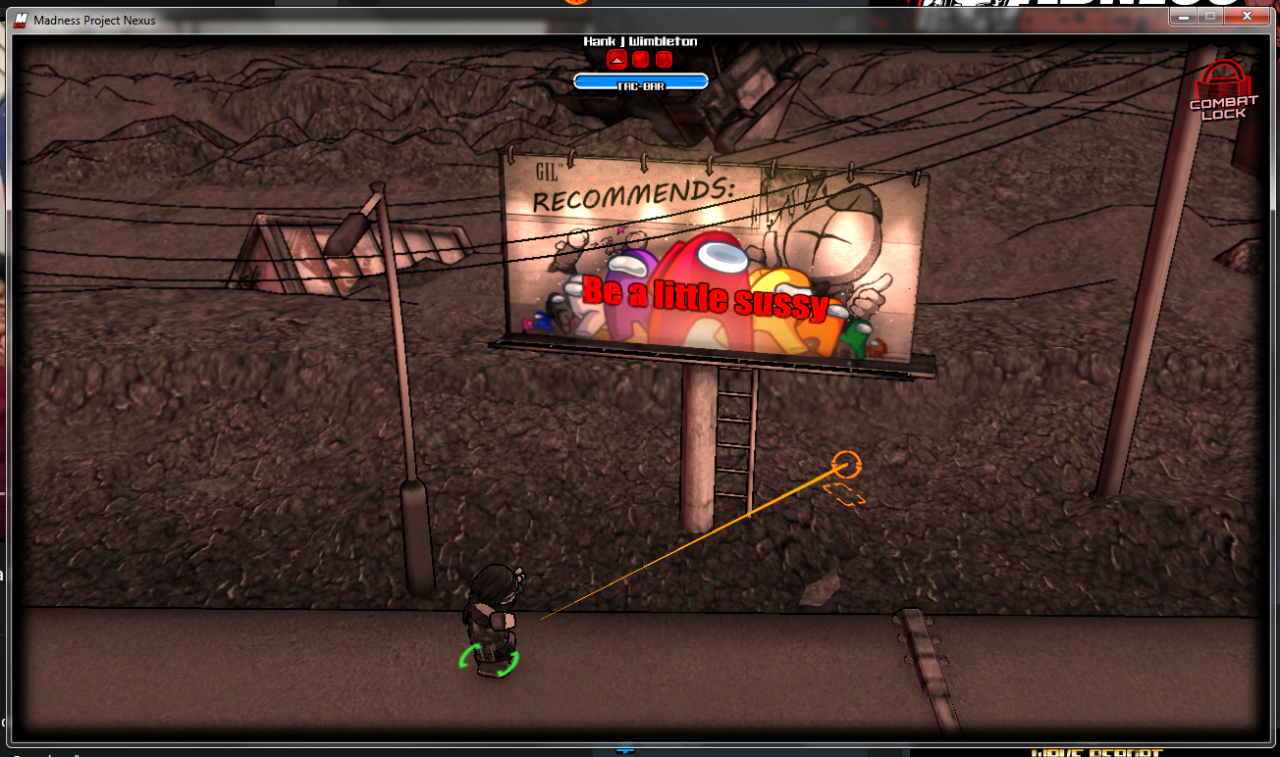
You’re done!
Thanks to Explo☄ for his great guide, all credit to his effort. you can also read the original guide from Steam Community. enjoy the game.
Related Posts:
- MADNESS Project Nexus: How to Play Arena-Mode with Your Friends
- MADNESS Project Nexus: “Burger Detective” Achievement Guide
- MADNESS Project Nexus: How to Farm Boon Tokens
- MADNESS Project Nexus: Infinite Money Exploit (Arena Mode)
- MADNESS Project Nexus: Tips & Tricks (Abilities, Weapons, Enemies and Bossfights)