A brief overview of how the sandbox custom track editor works, how to build your own tracks and how to upload to Steam Workshop
Overview
Getting Started
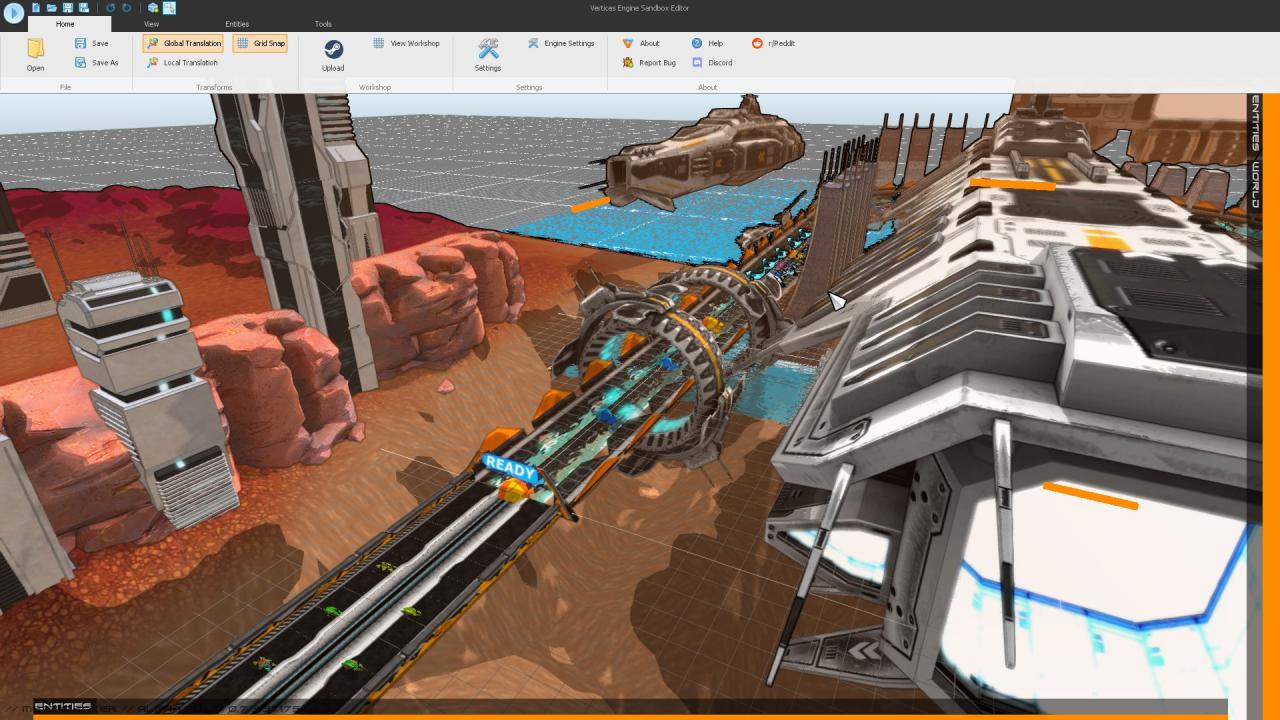
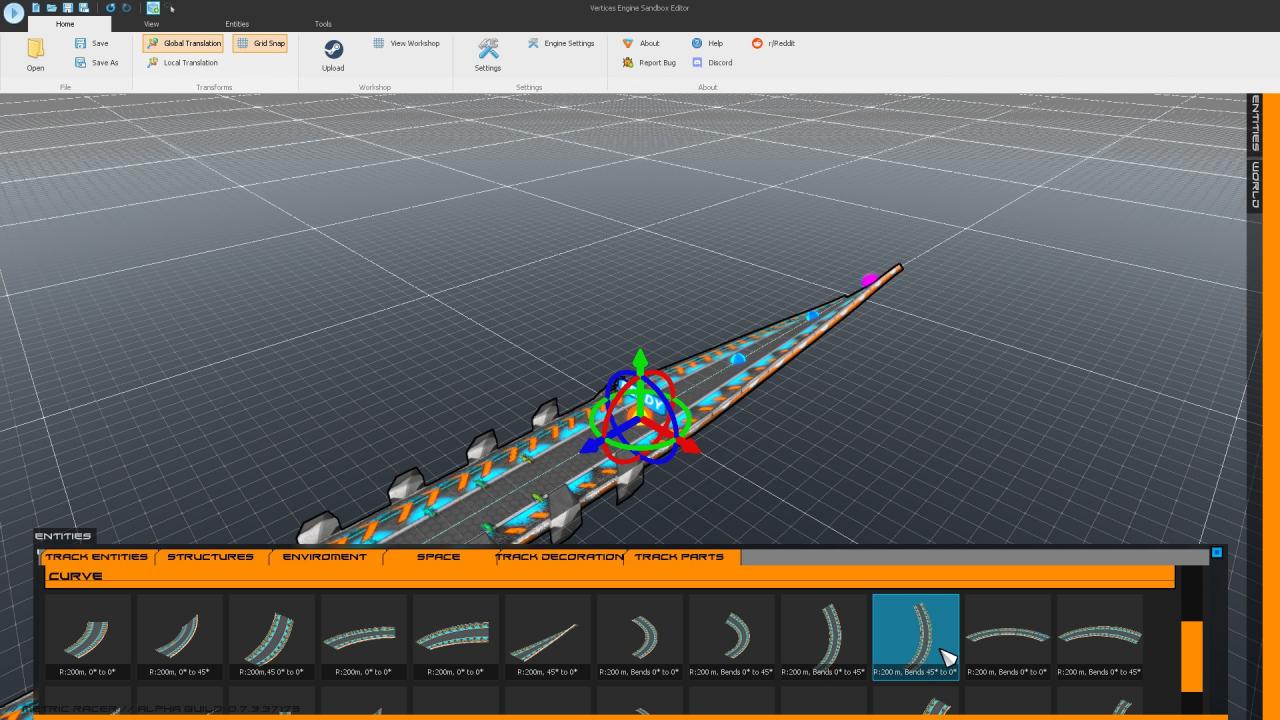
This is the first screen you’ll see when starting the Metric Racer Track Editor. There are some key controls that I will give an overview for:
Ribbon Control
The main ribbon control let’s you perform most general editor actions such as ‘Open, Save, Upload to Steam Workshop etc…’ The controls are generally self explanatory. It also has links at the end of the ‘Home’ tab for accessing ‘Help’ and the Discord channel.

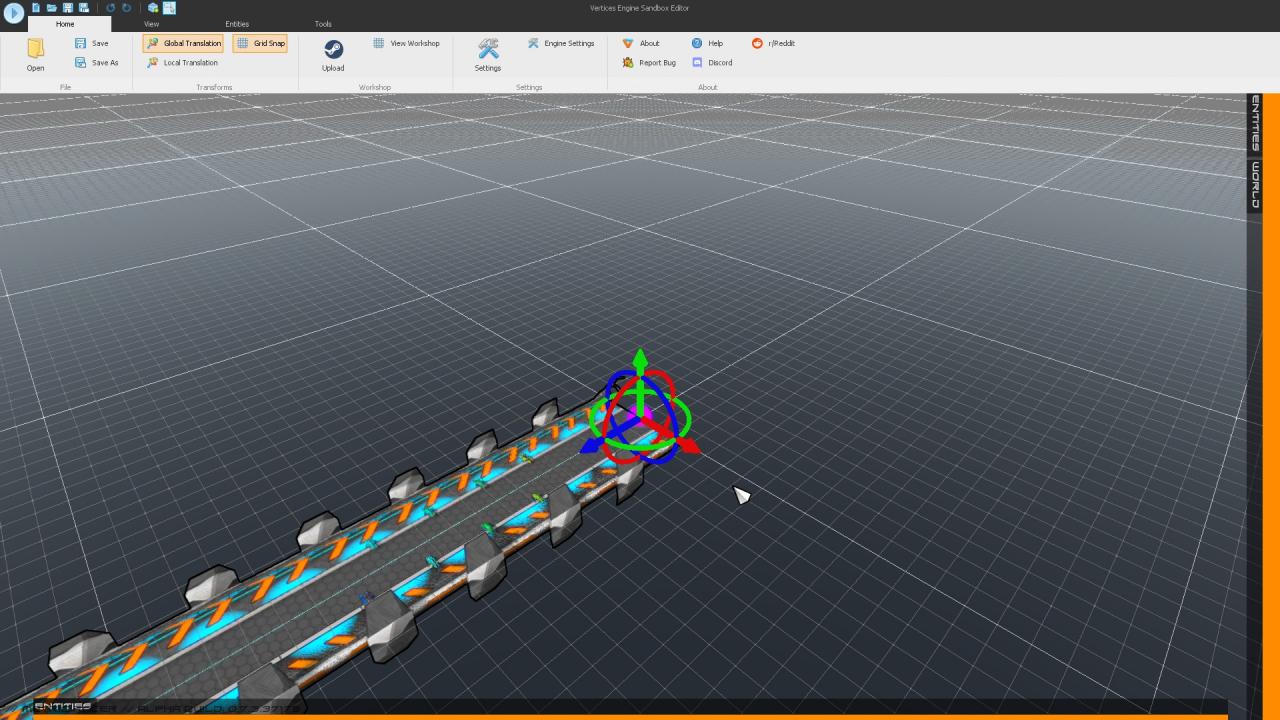
The entities are added using the ‘Entities’ tab along the bottom. Track Parts can be snapped together by hovering over magenta nods on other track pieces. They’re snapped together when they turn orange.
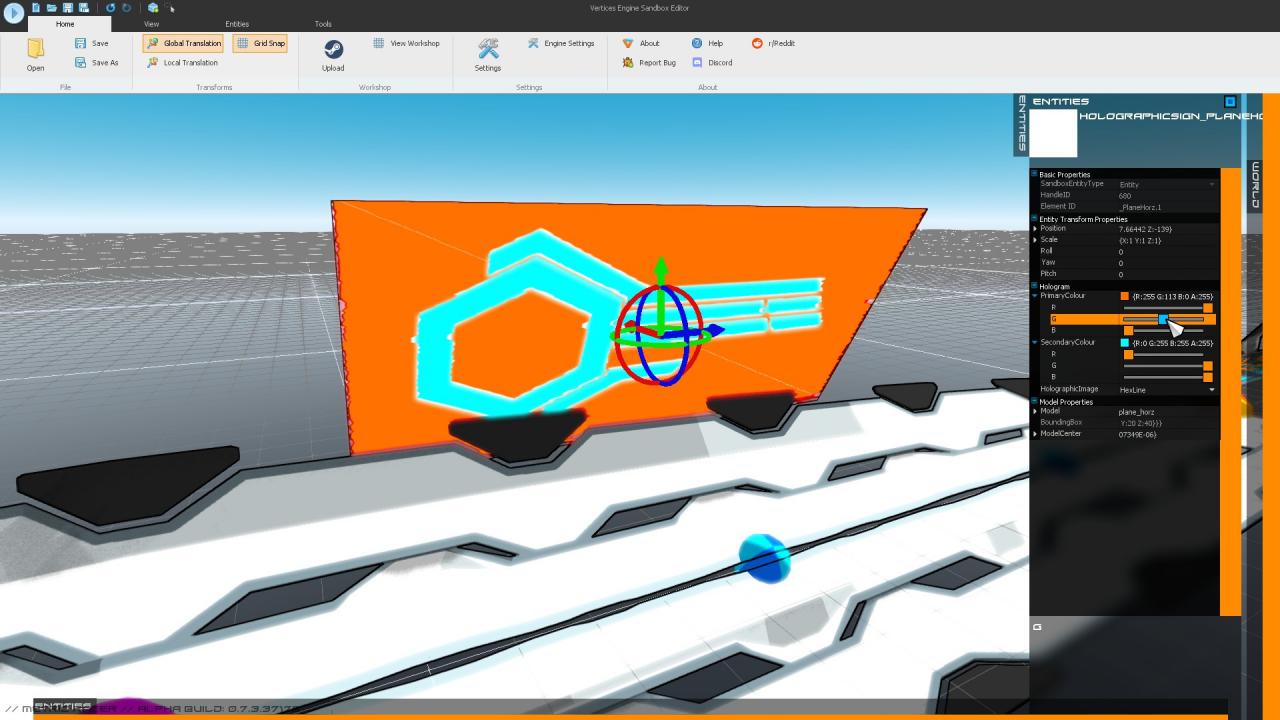
Both World /b] and Entity properties can be edited in the properties inspector controls on the right side of the editor window. You can edit exposed properties such as position, colours, track theme variation etc…
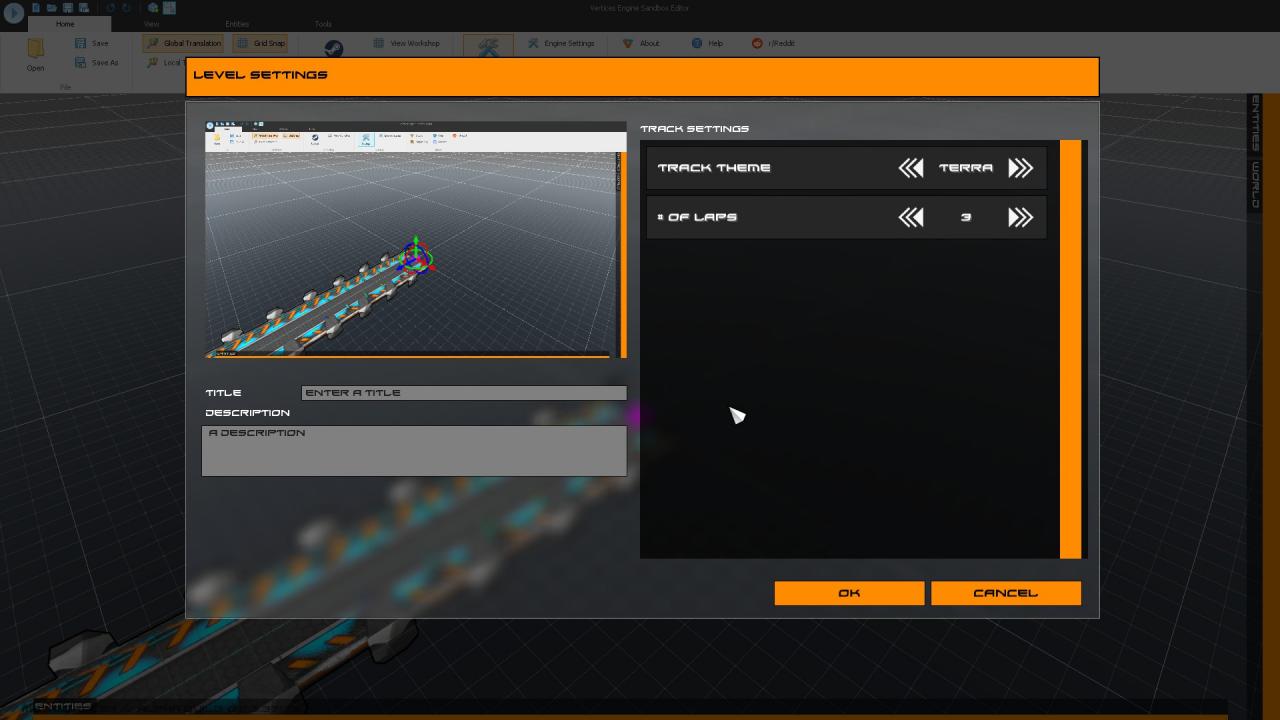
Level Settings
- Level Name
- Level Description
- Level Theme (Earth, Mars etc…)
- Lap Count
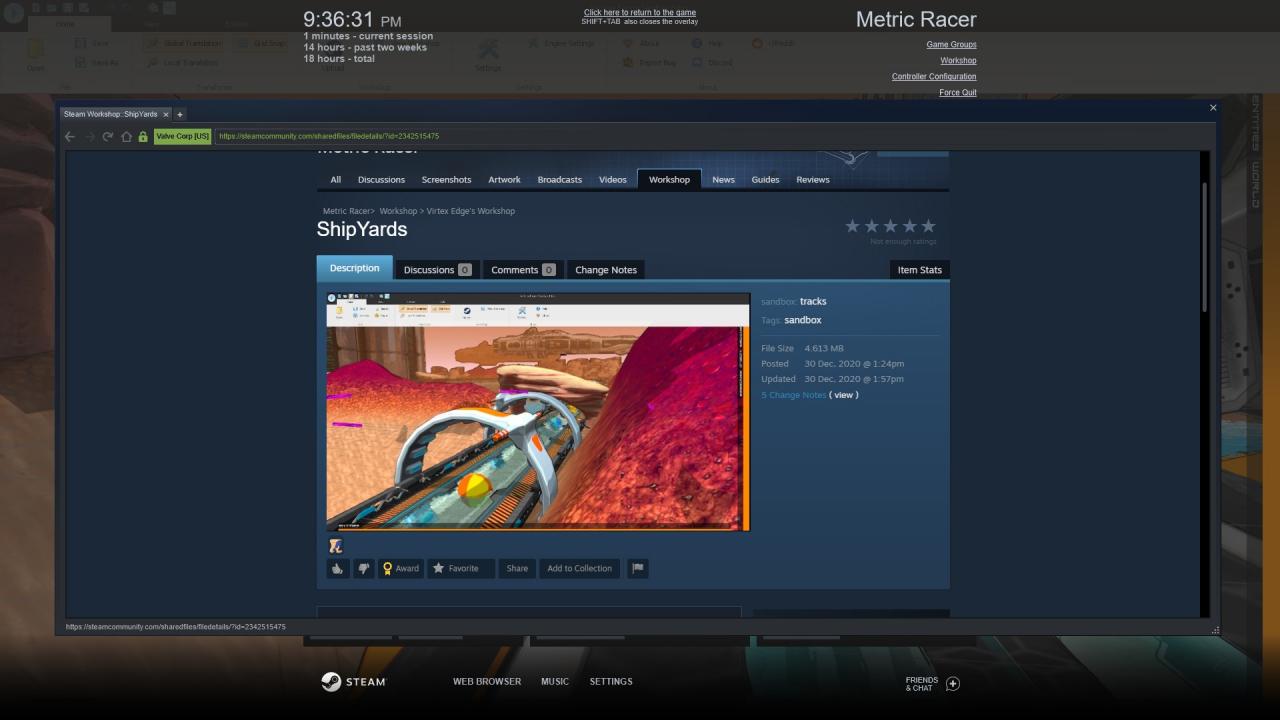
Note: these are the settings which are used when uploading to Steam Workshop as well.
Controls & Hot Keys
Below is a break down of keys:
Zoom – [Middle Mouse Button]
Rotate – [Right Mouse + Shift]
Frame Selection– [F]
Place Item – [Left Mouse]
Rotate Item – [Right Mouse + Shift]
Raise/Lower – [Scroll Wheel + Shift]
This will open a dialog for you to double check all information that will be uploaded to Steam Workshop under your currently signed in user.
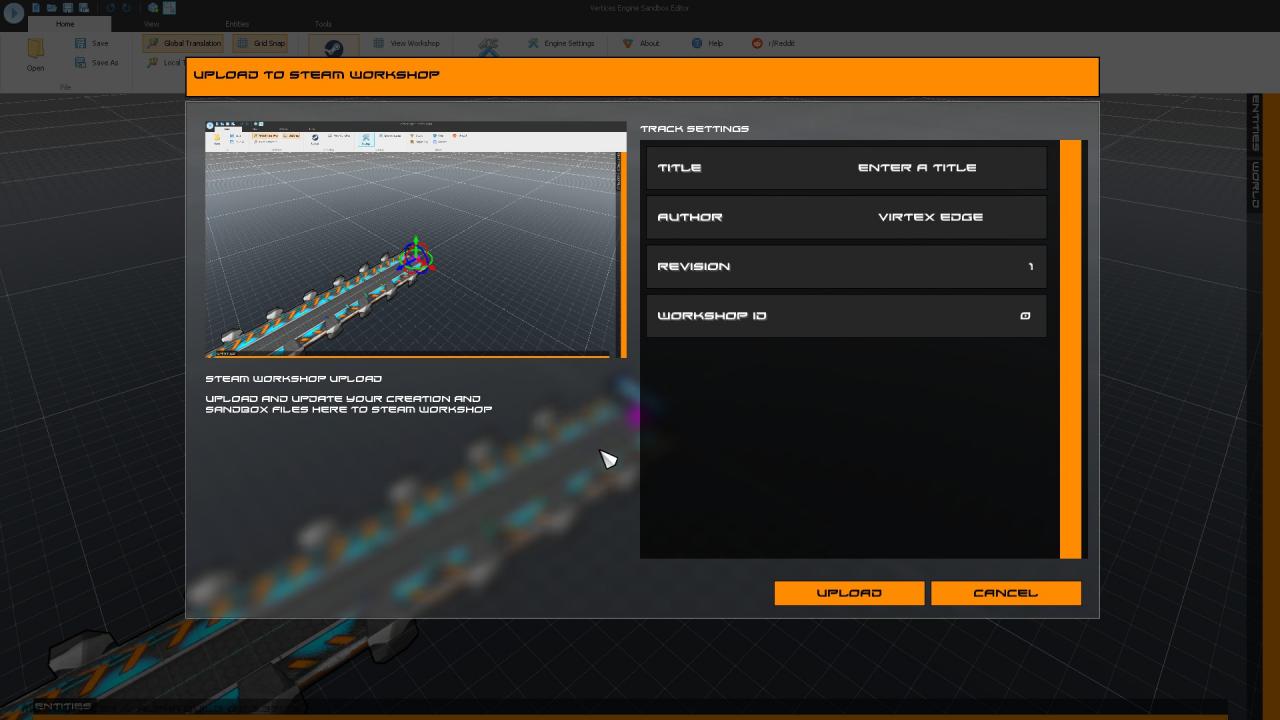
Click Upload and it will then proceed to send your level to Steam Workshop. If the upload has been successful it will give you a confirmation and open the Workshop page for your entry.