Here is a screenshot assisted guide for locating all the secrets in MG’s 2021 episode.
This level contains only a single (unmarked) secret.
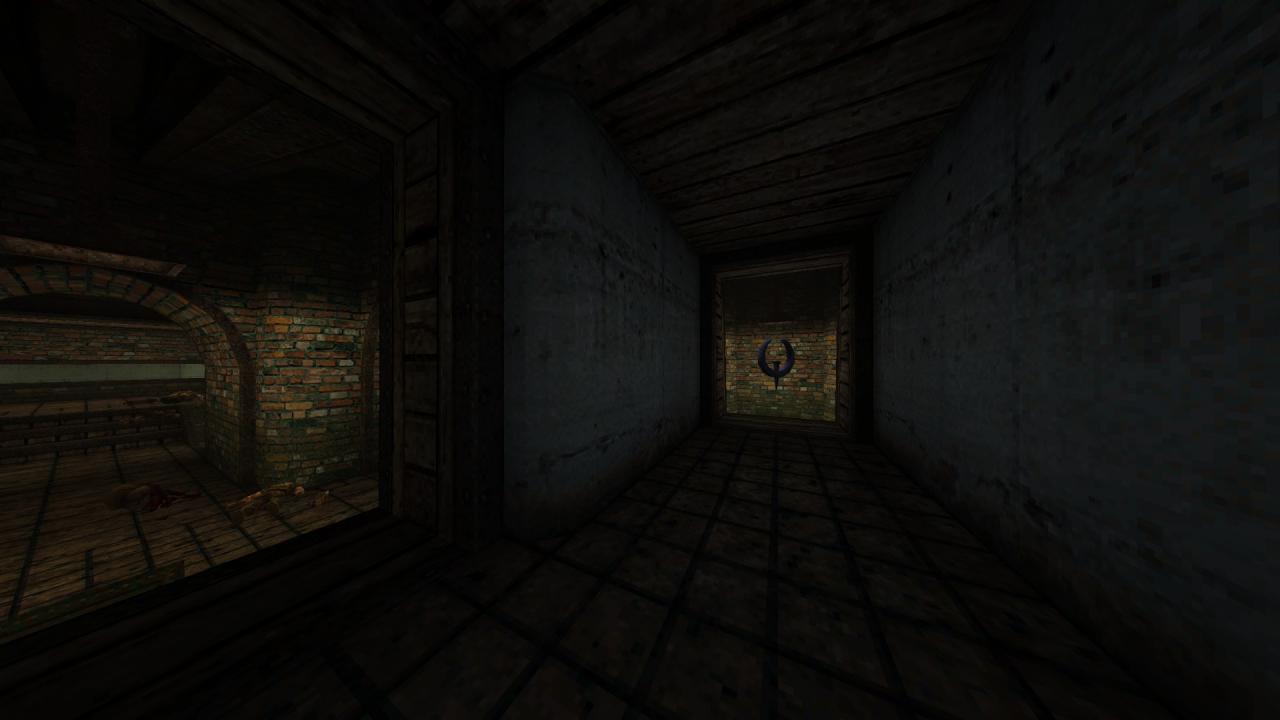
1/1 – As per Quake fashion, Dimension of the Machine has a start map of his own where you select the difficulty level you like to play on by going through the appropriate portal. Likewise, the highest difficulty level, Nightmare (which is, in its modernized form is Hard with 50 HP cap) with its portal hidden out of sight. To access Nightmare difficulty, go towards the portal that leads to hard but instead of stepping into that one, jump into the opening to its right and follow the passage till you find the related portal.
This level does not contain any secrets.
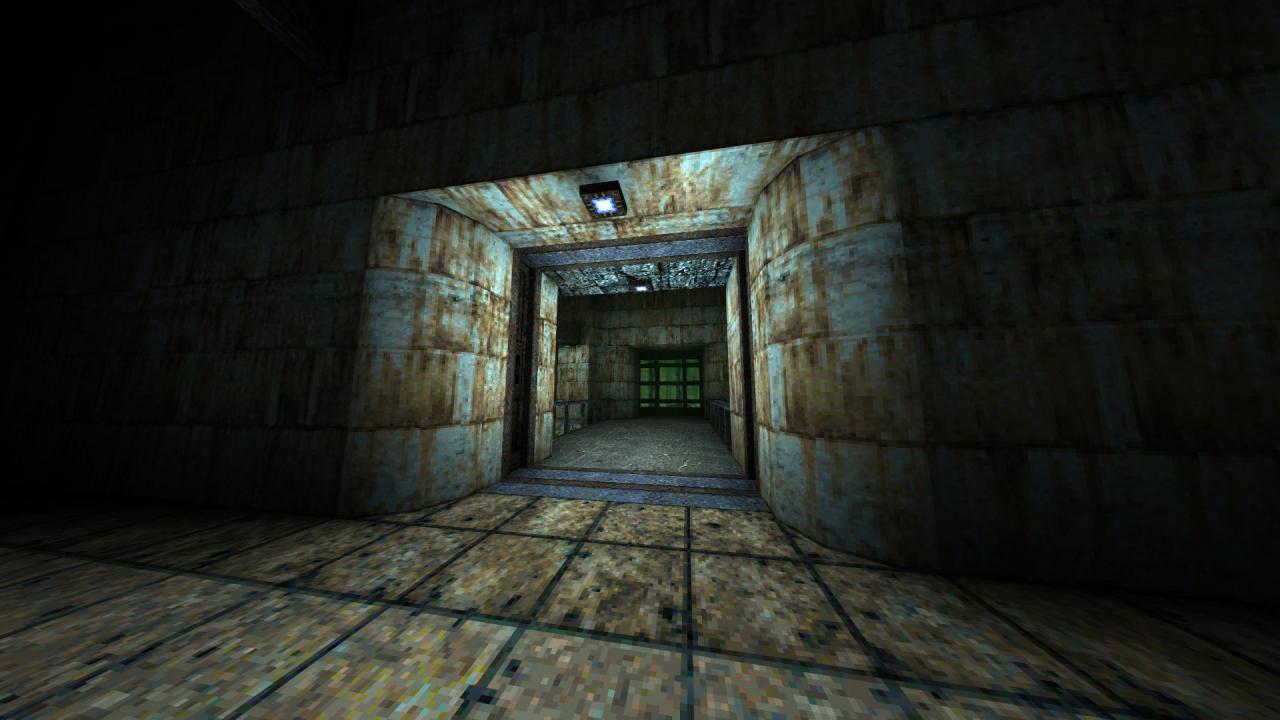
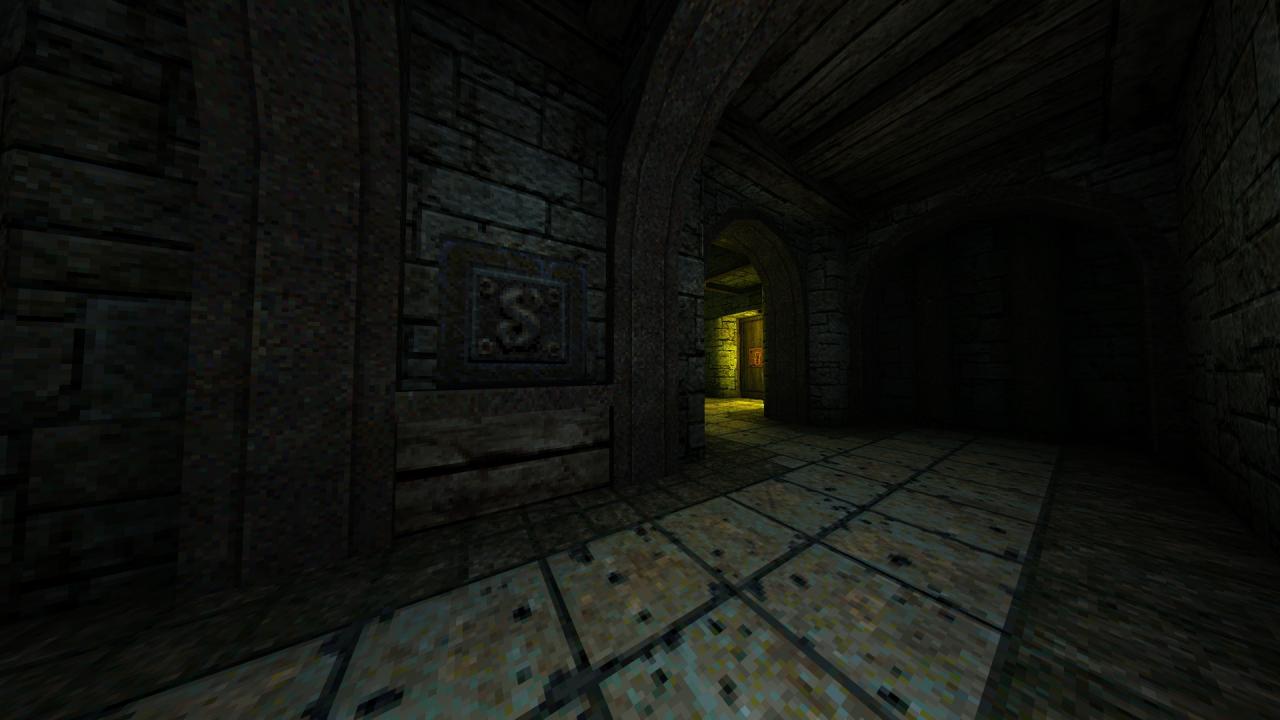
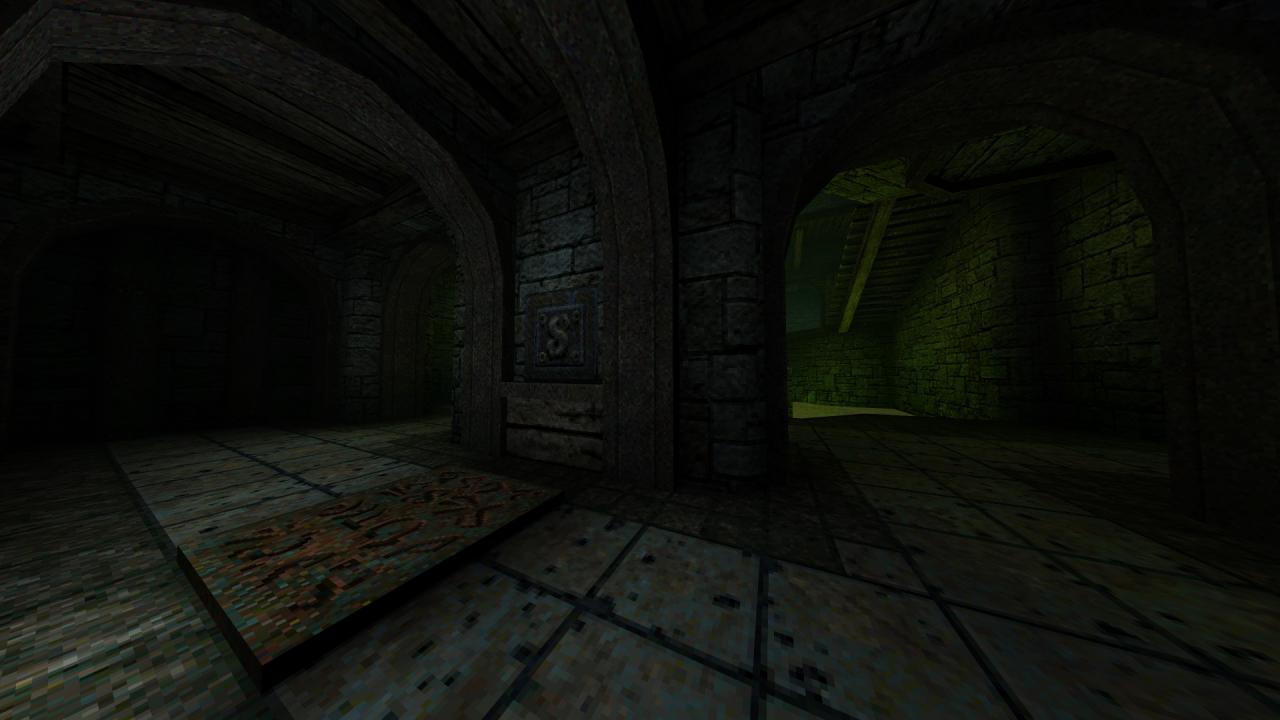
As the map name suggests, The Machine serves as the hub with five open portals that lead to five realms found within the dimension, with a sixth one becoming available after you collect the five runes from the said realms. From the starting point, the chamber to your left has three portals that lead to the realms of the Machinists, the Blacksmiths and the Stonemasons; while the one to your right houses the two remaining portals to the realms of the Cultists and the Astrologers. You can go through the realms in any order, but since the map / file names suggest so, the guide follows the order outlined above.
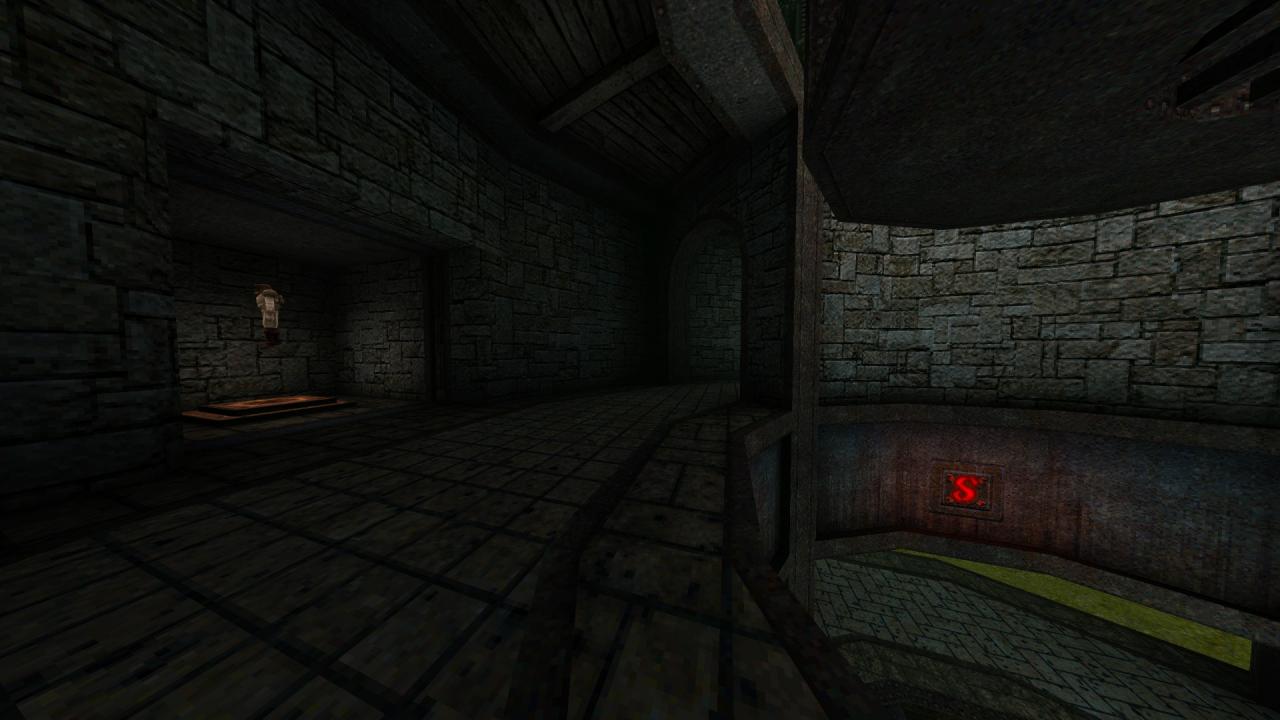
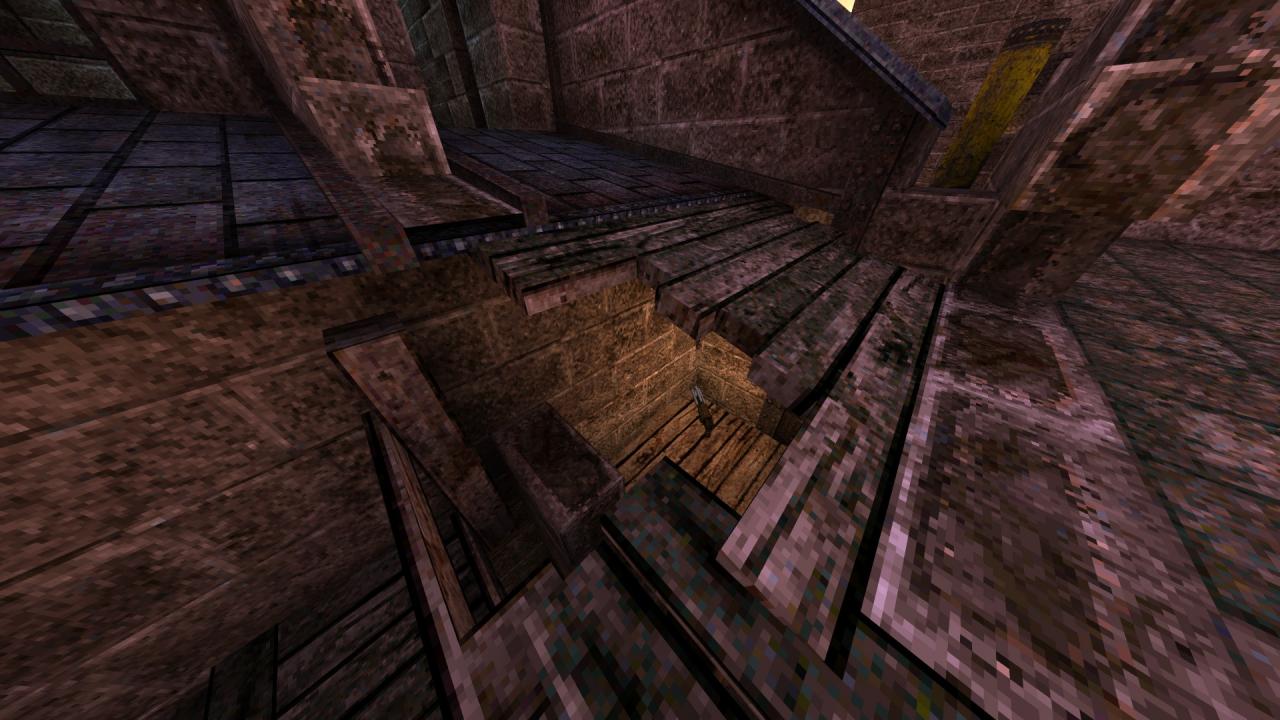
This level contains five secrets, one of them being a secret exit.
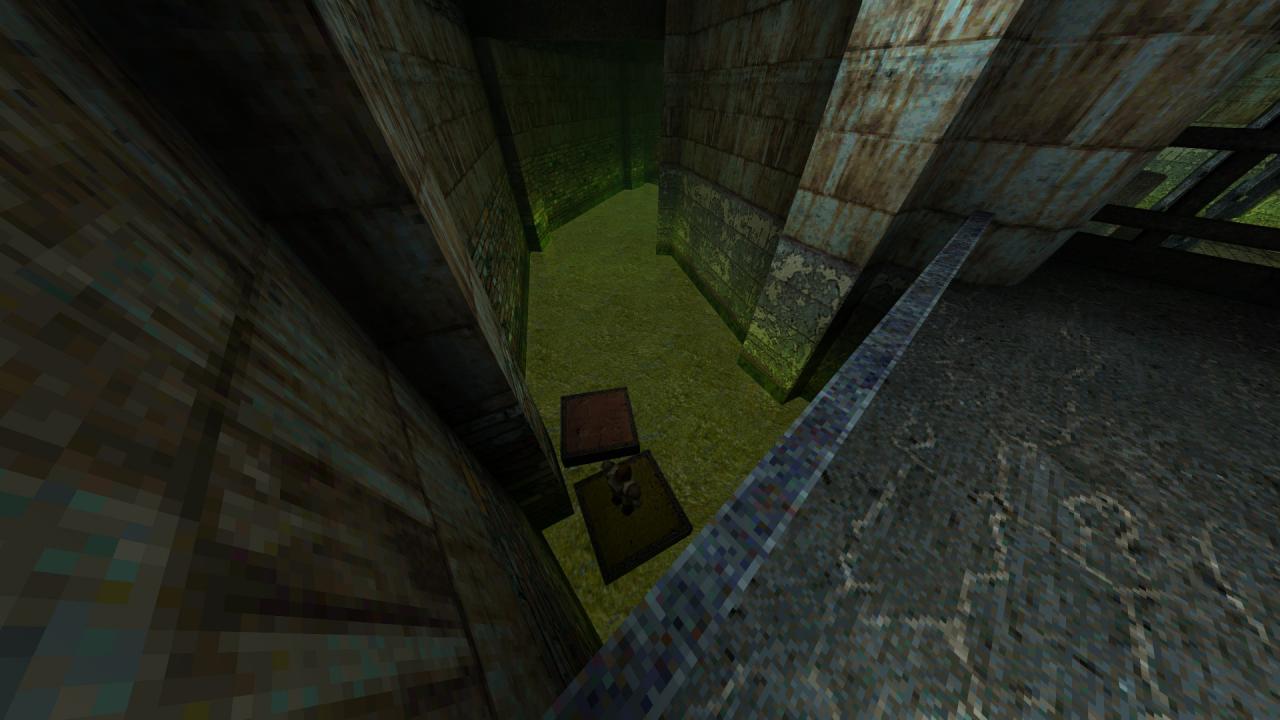
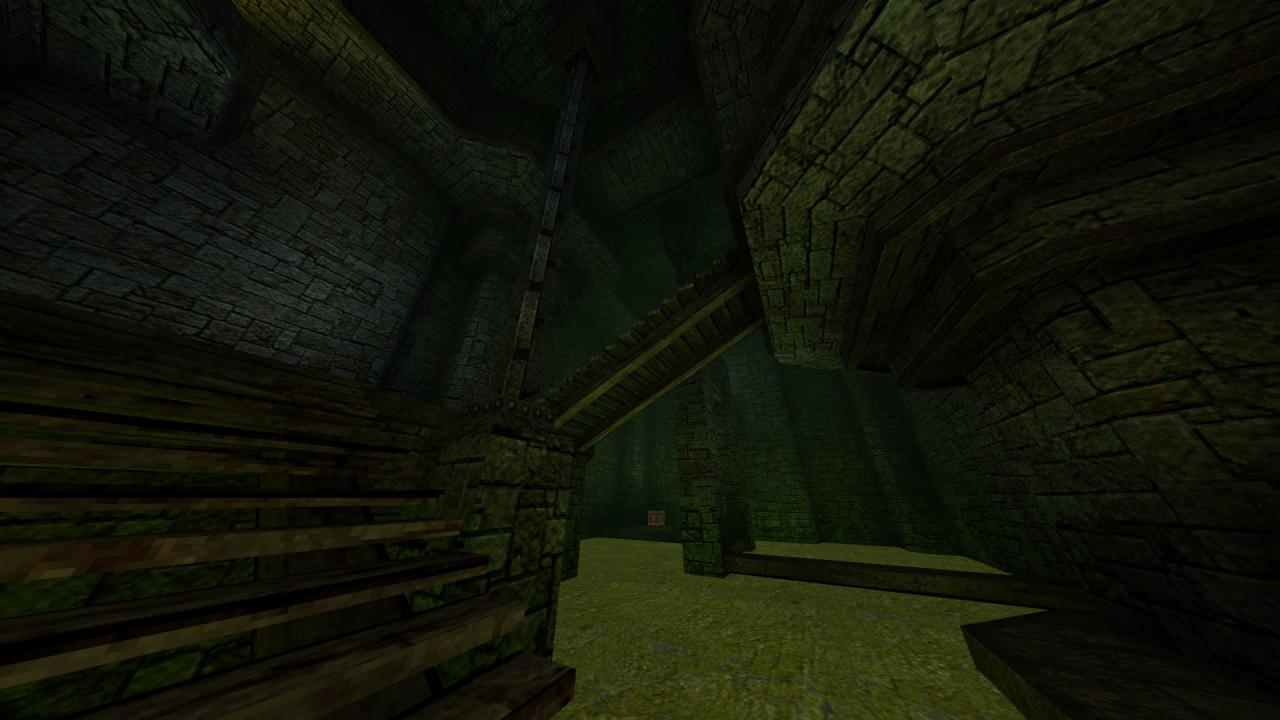
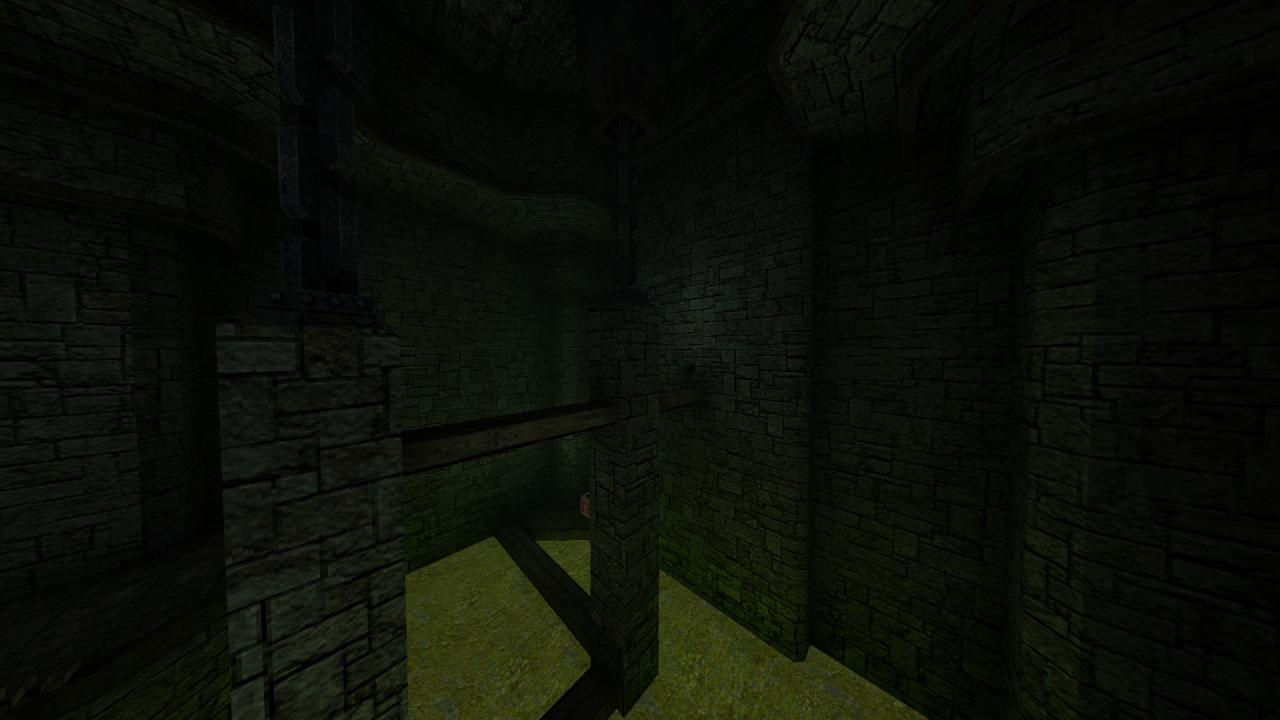
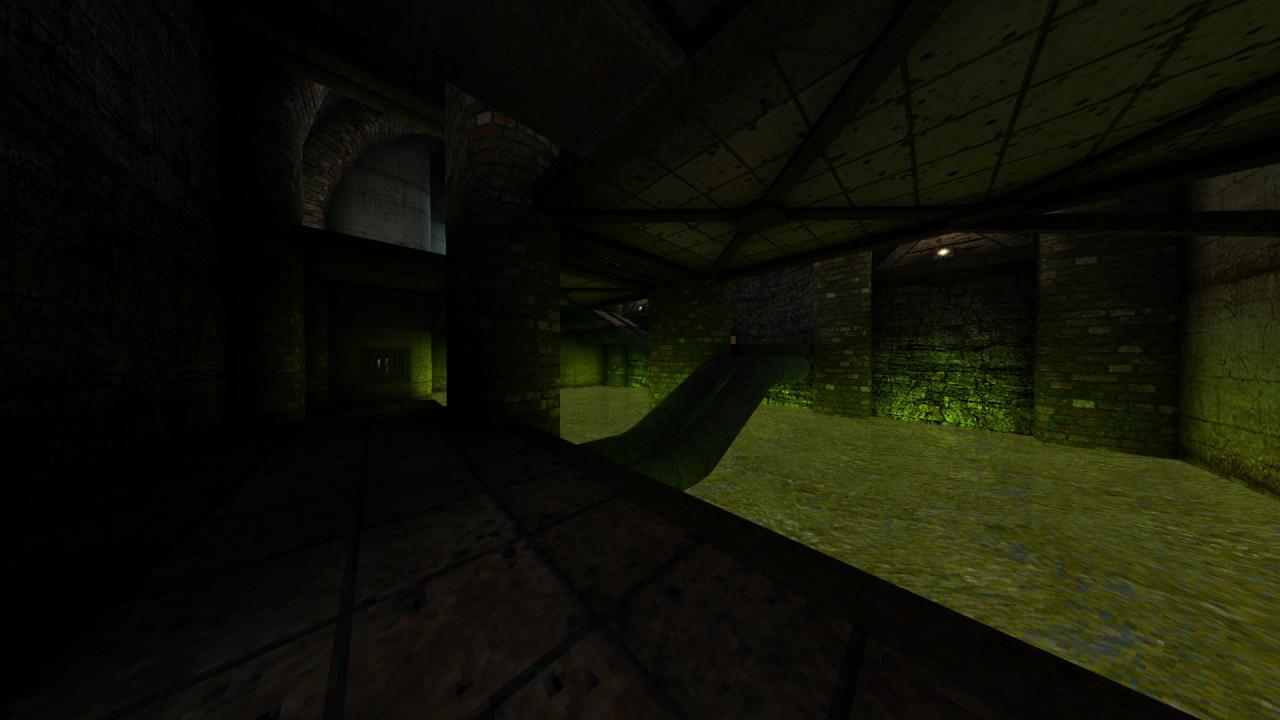
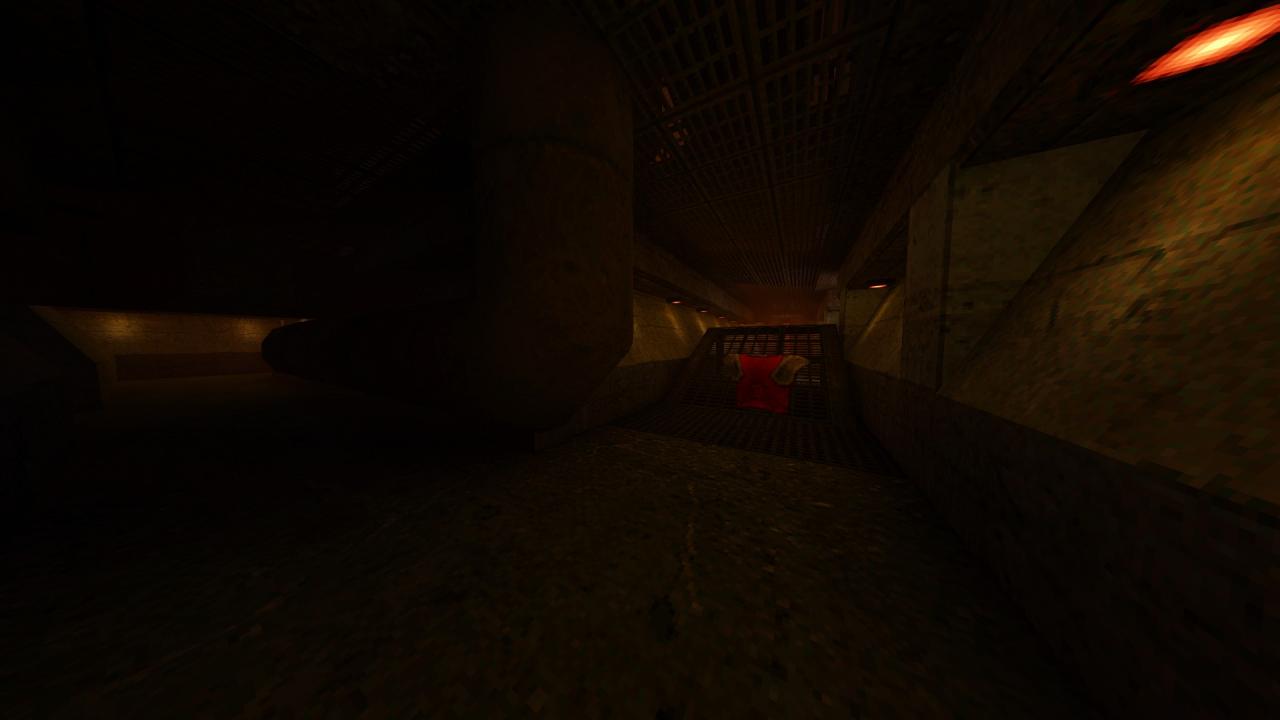
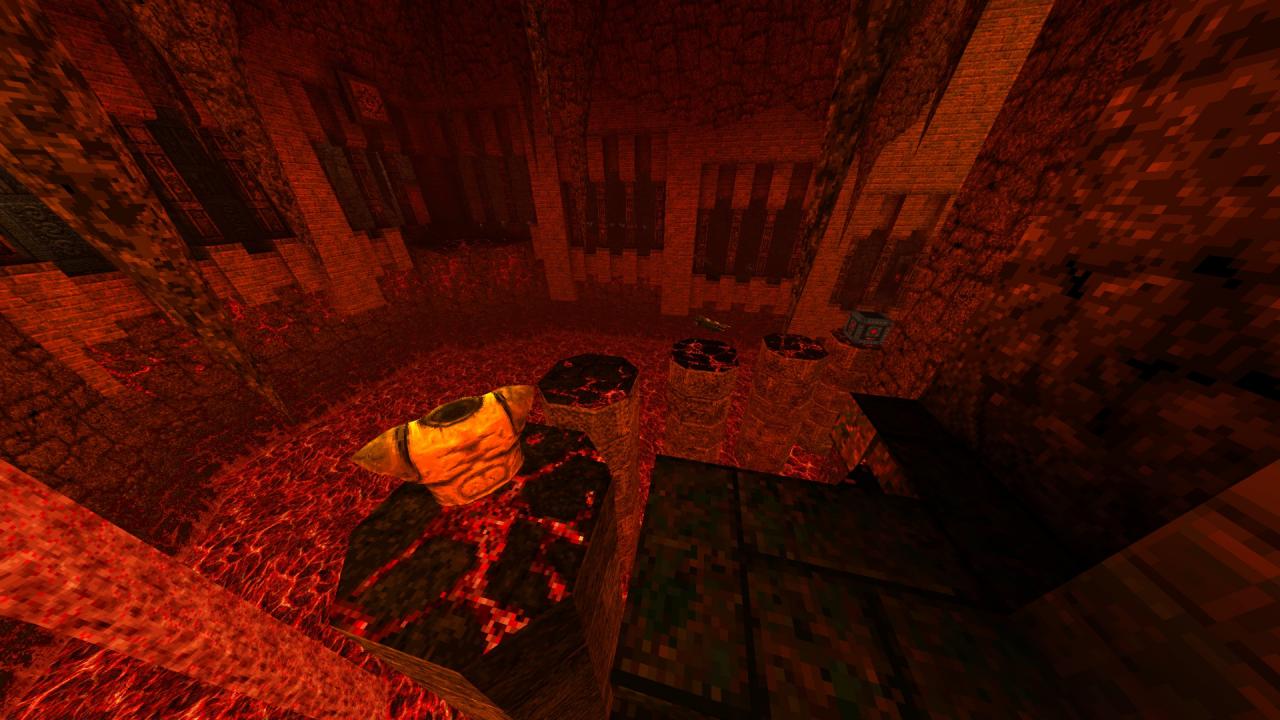
1/5 – As you cross the bridge, jump on to the railing to your left and look down to see a biosuit. Jump down, get the suit and continue by the slime to reach a power-up.
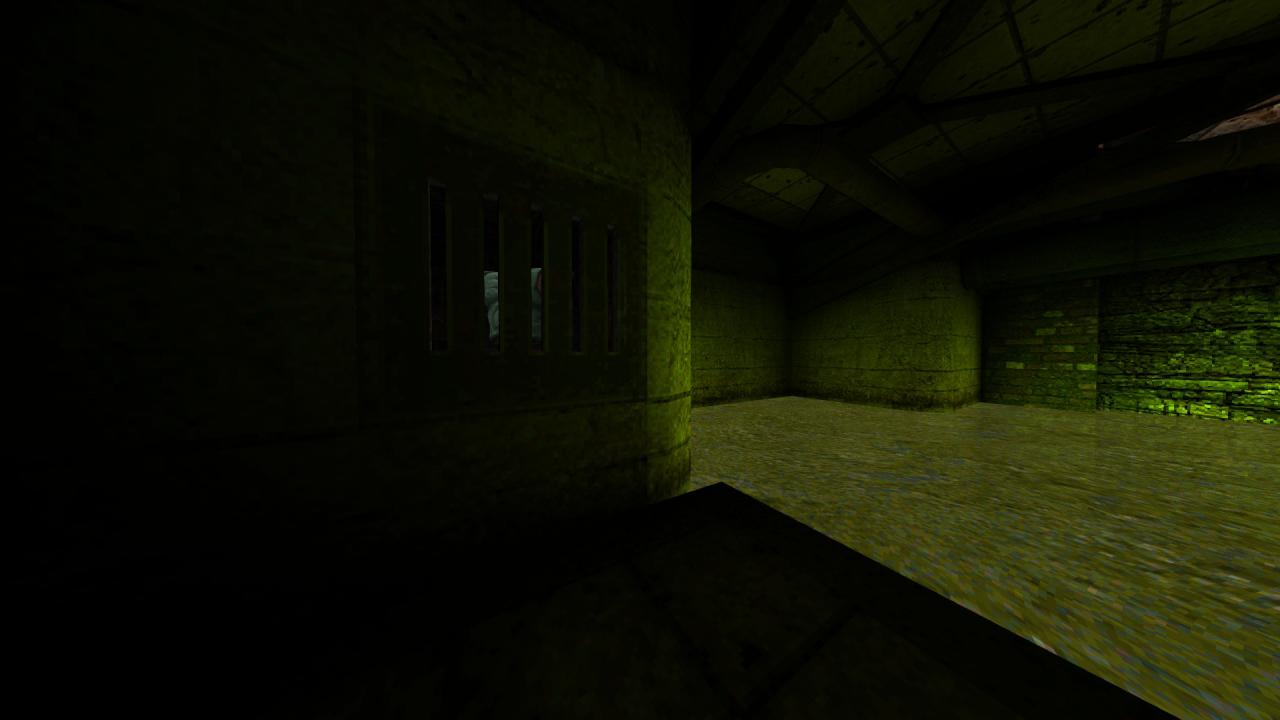
2/5 – On the same spot with the previous secret, push the button next to the power-up. Move on and exit the slime pit. The door opposite the gold key door should now be open. Get in there and explore.
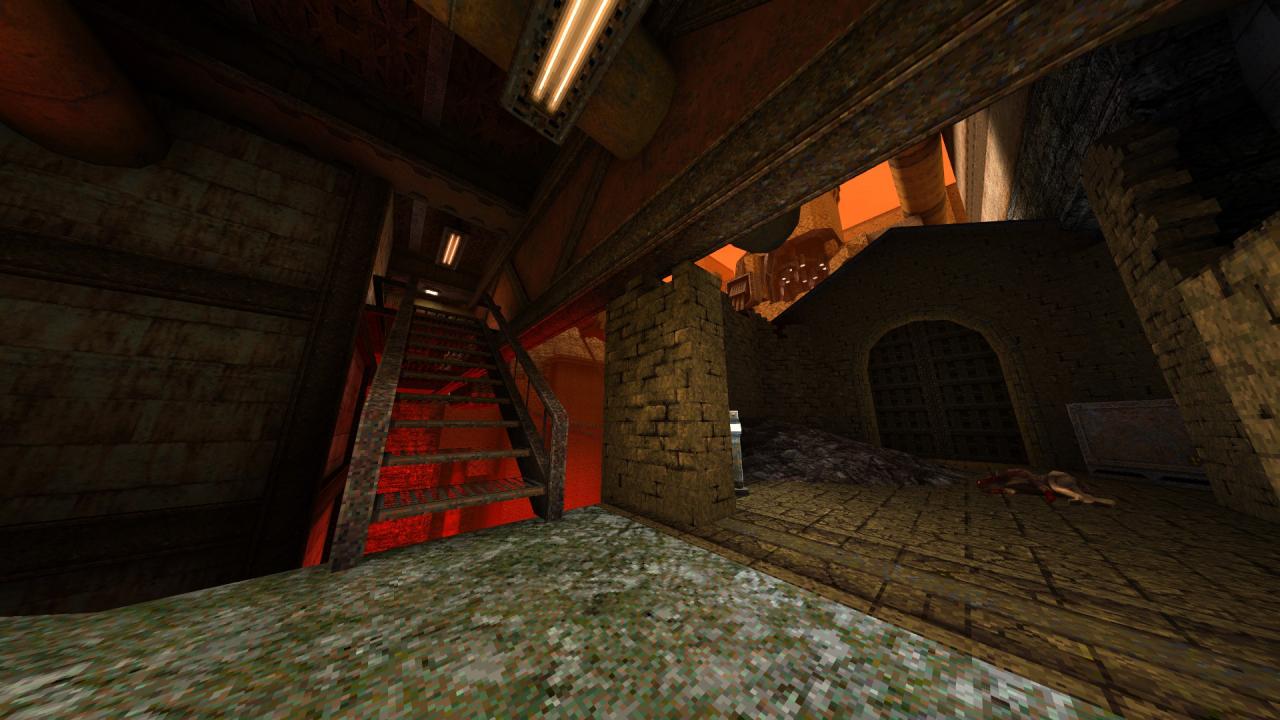
3/5 – Look upwards and shoot the button to open the door with an armor behind it. While you are here, hit the two identical rune plates found within the area. Find two more of the same plates in the next area that houses the gold key hit them too. After hitting all four of them, an on-screen message states that ‘a door has been opened’. Continue on for now.
4/5 – In the room accessed by using the gold key, an armor can be seen residing on top of a beam. Simply jump your way to it with the help of the nearer beam. You need to make a 180 degree turn in the air during your second jump.
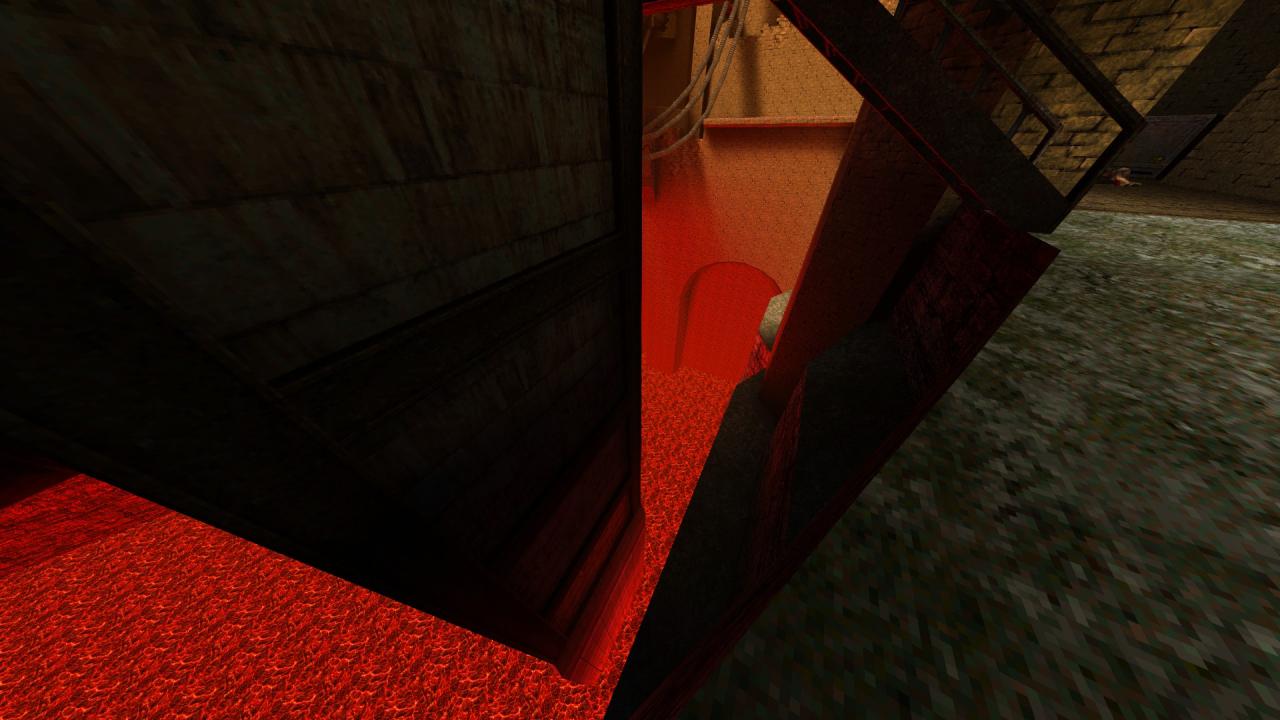
IMPORTANT: If you want to get 100% kills for the level, follow the path before you and kill the remaining monsters that are located more or less around the next corner; but do not go through the pipe that acts as the exit, because the fifth and the final secret leads to a secret level.
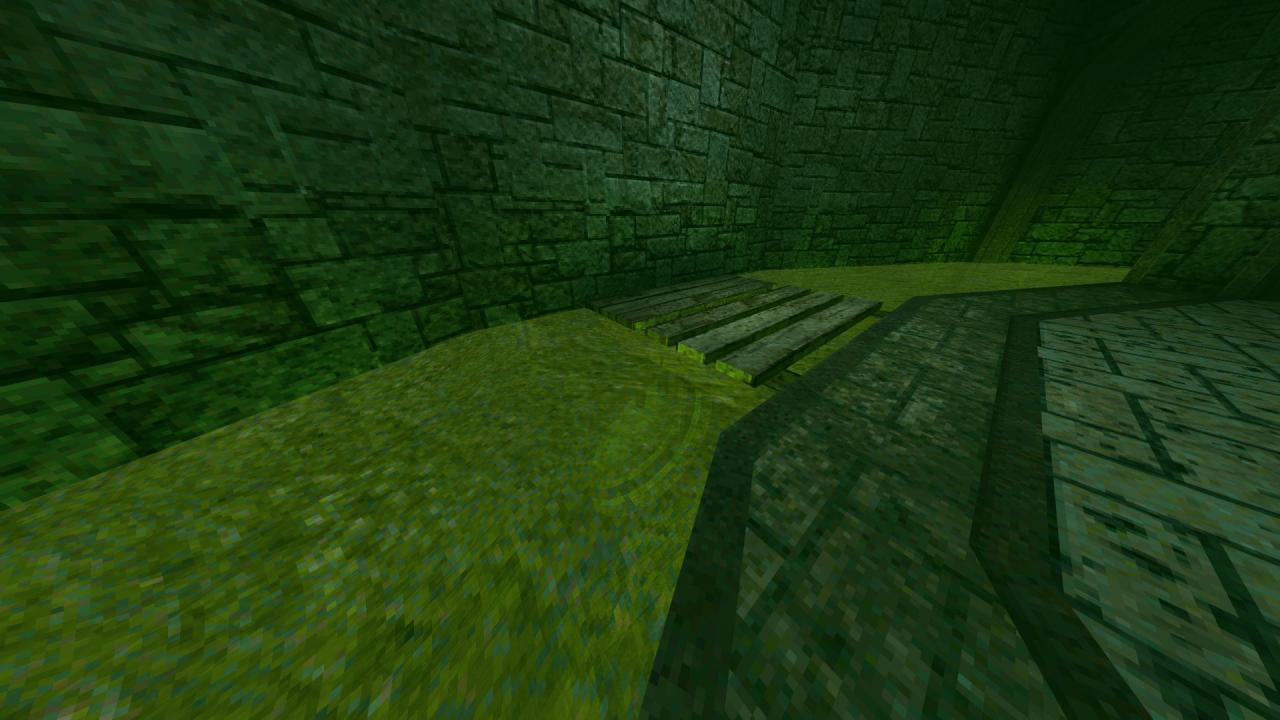
5/5 – Return to the central elevator. If you shot the four rune plates as described in the third secret, an alcove with a biosuit and a floor button should now be open. Get the biosuit -stepping onto the button in doing so-, drop down to the lower floor and dive into the slime to find the newly-opened gate. Swim through it to access the secret level, Sandy’s Room.
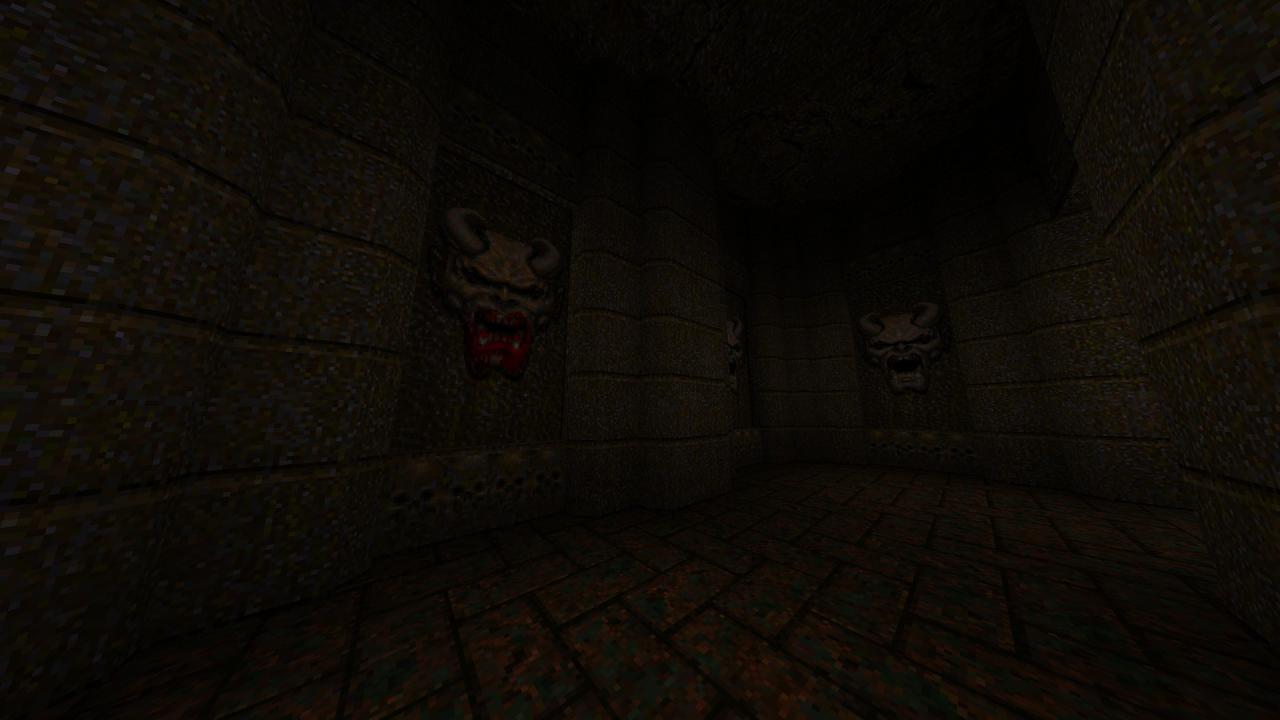
This secret level contains four secrets.
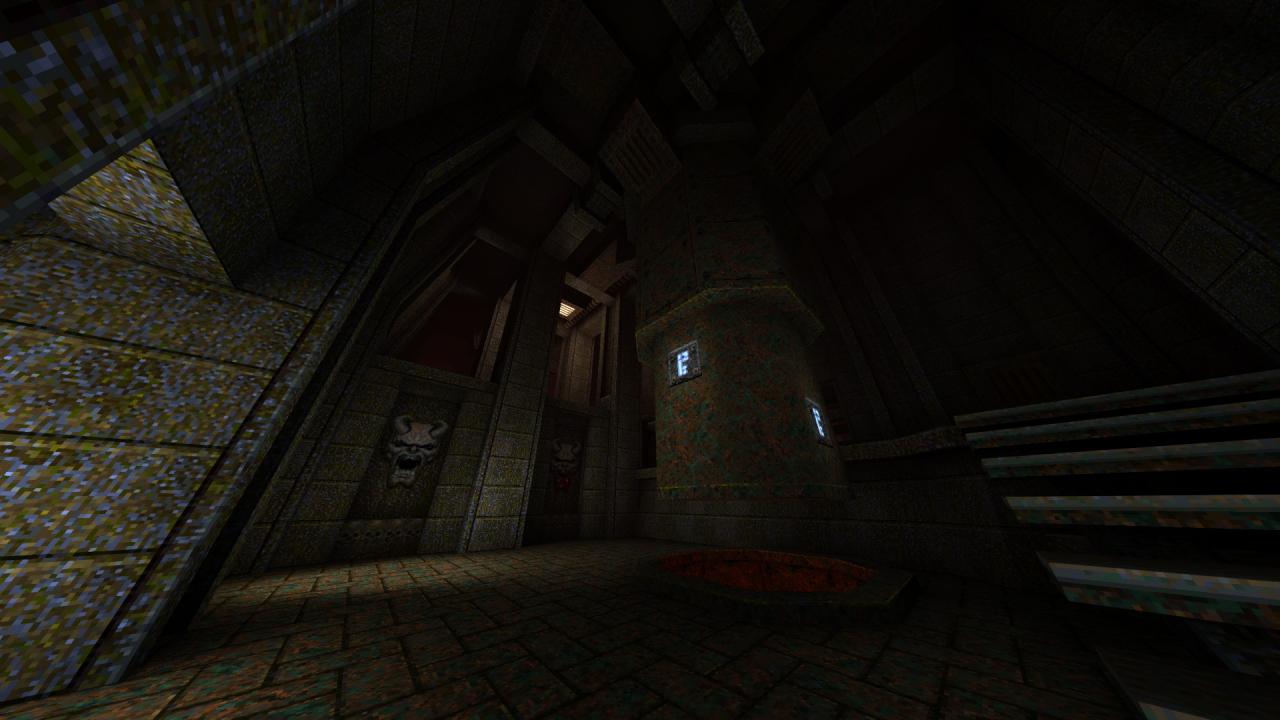
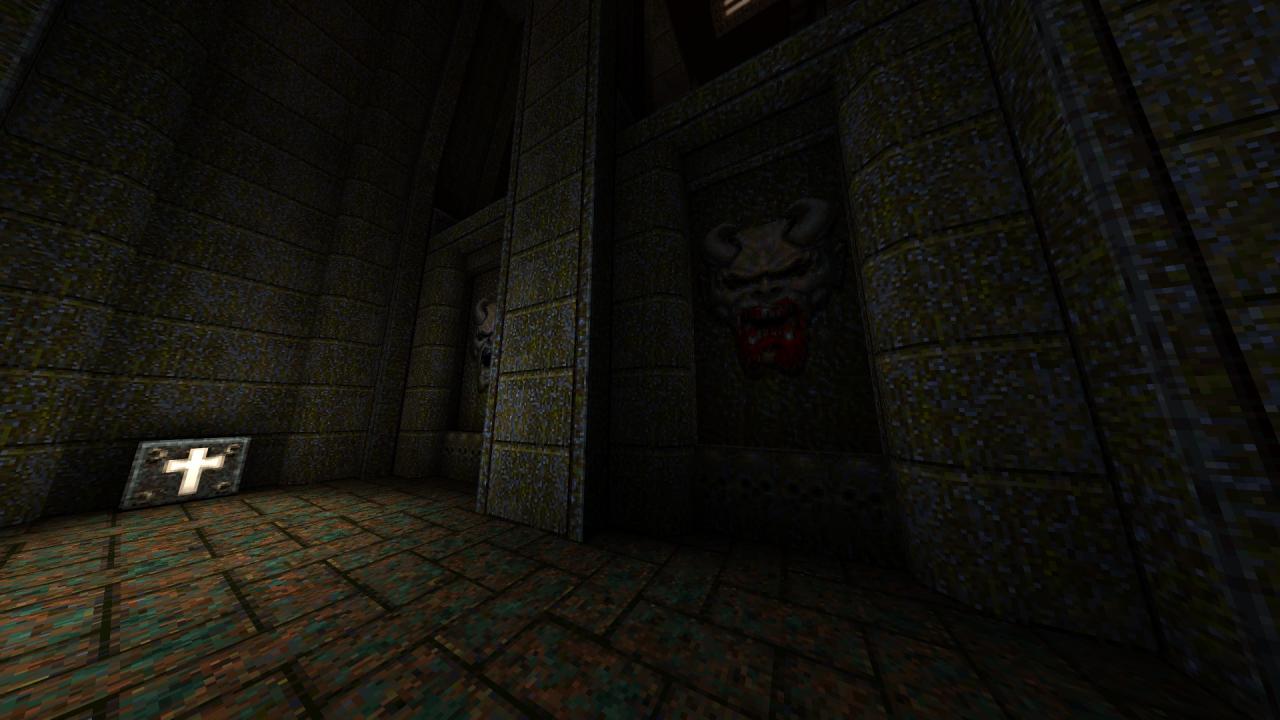
1/4 – In the first room, hit the bloody demon plate to reveal a hidden compartment.
2/4 – In the room that houses the silver key, shoot the bloody demon plate below the walkway to reveal another hidden compartment.
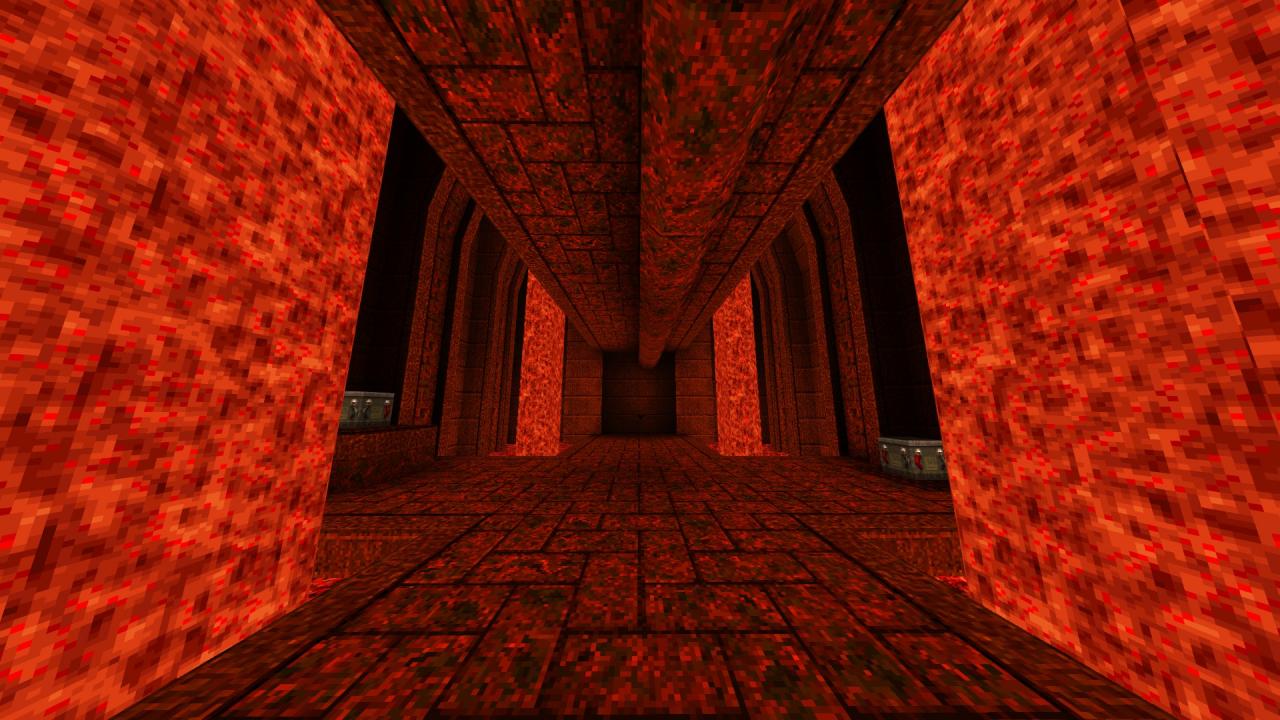
3/4 – While going through the rather large hall with the gold key door on one end and a locked one on the other, look for another bloody demon plate to hit that reveals yet another hidden compartment.
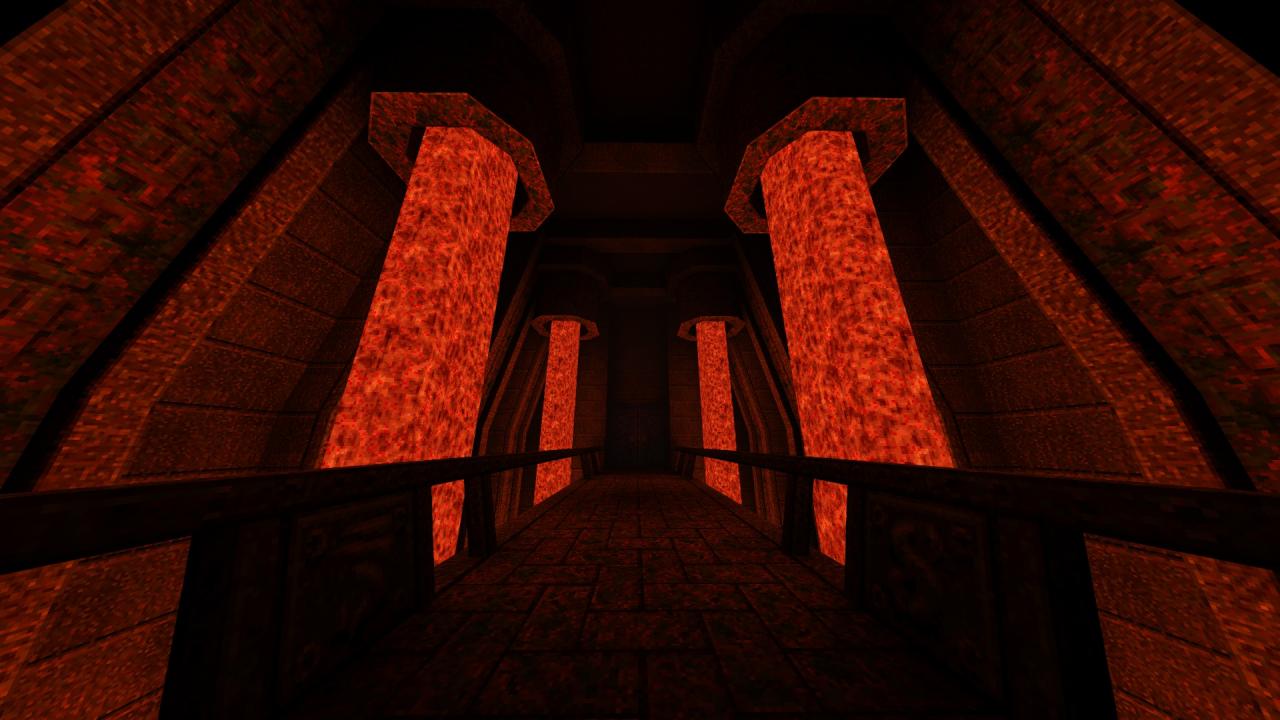
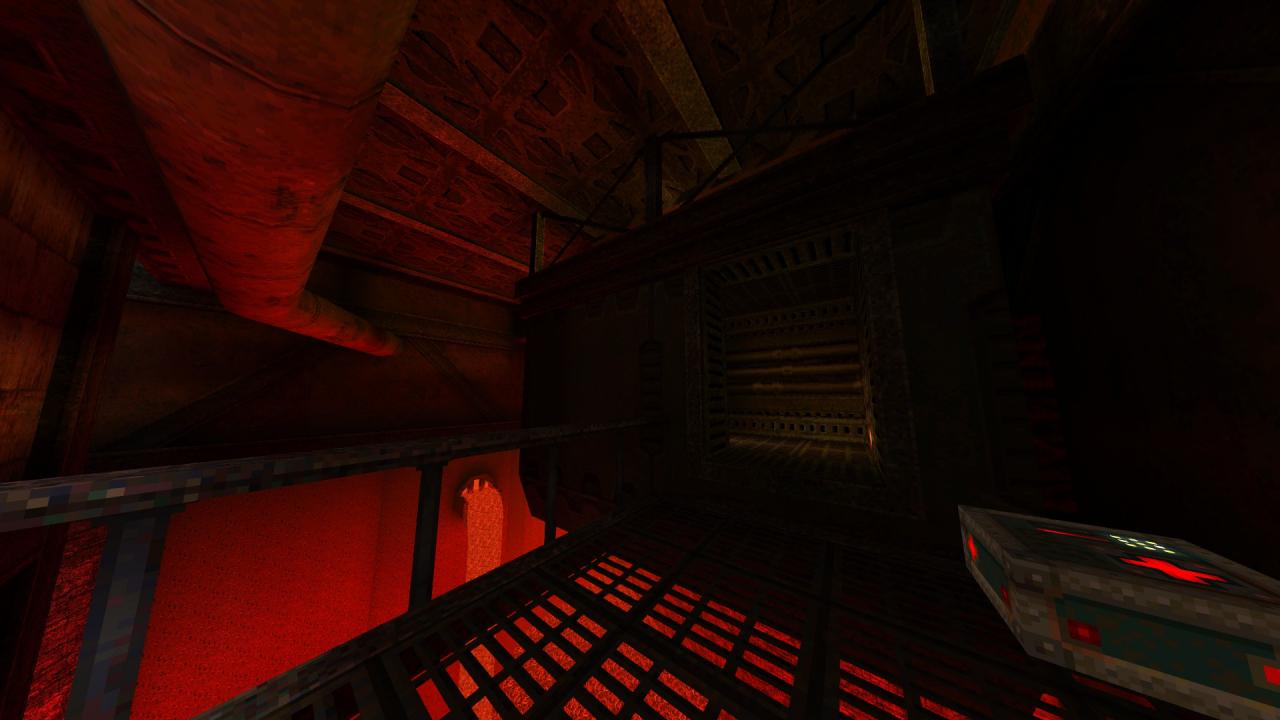
4/4 – Following on from the previous secret, drop down to the floor below as you go through the bridge surrounded by lava falls to find a hidden weapon and some ammo.
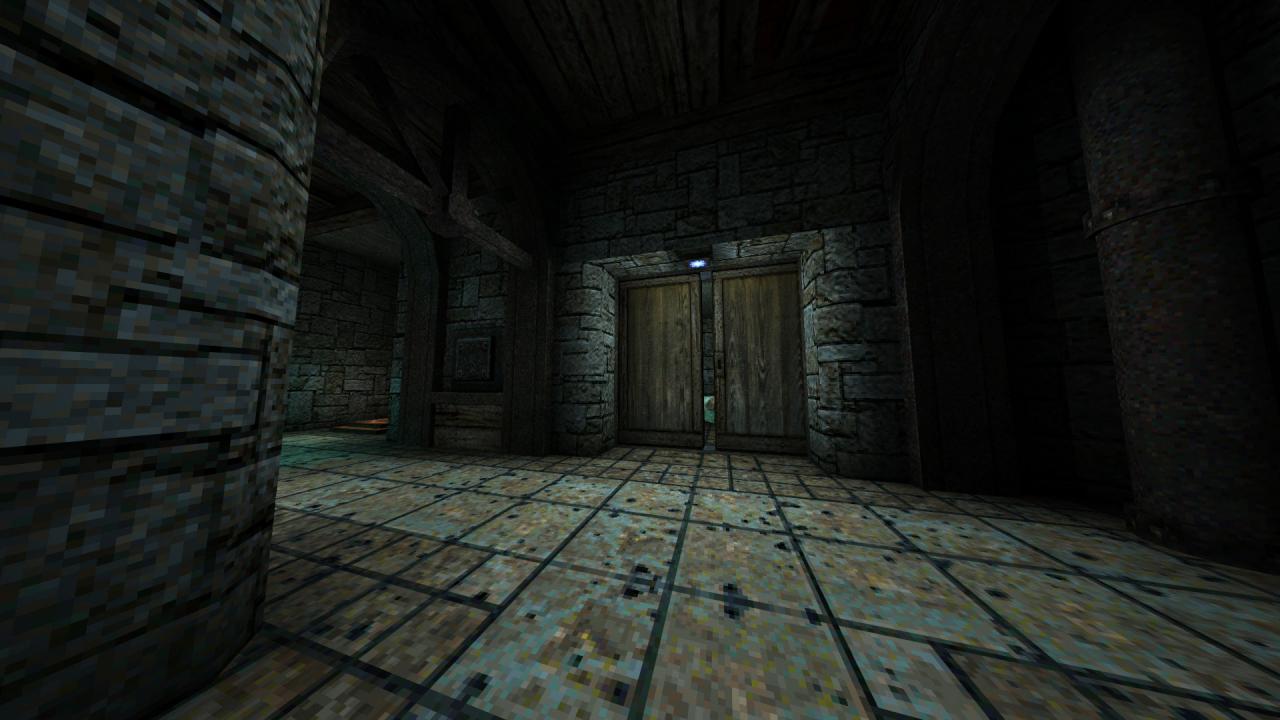
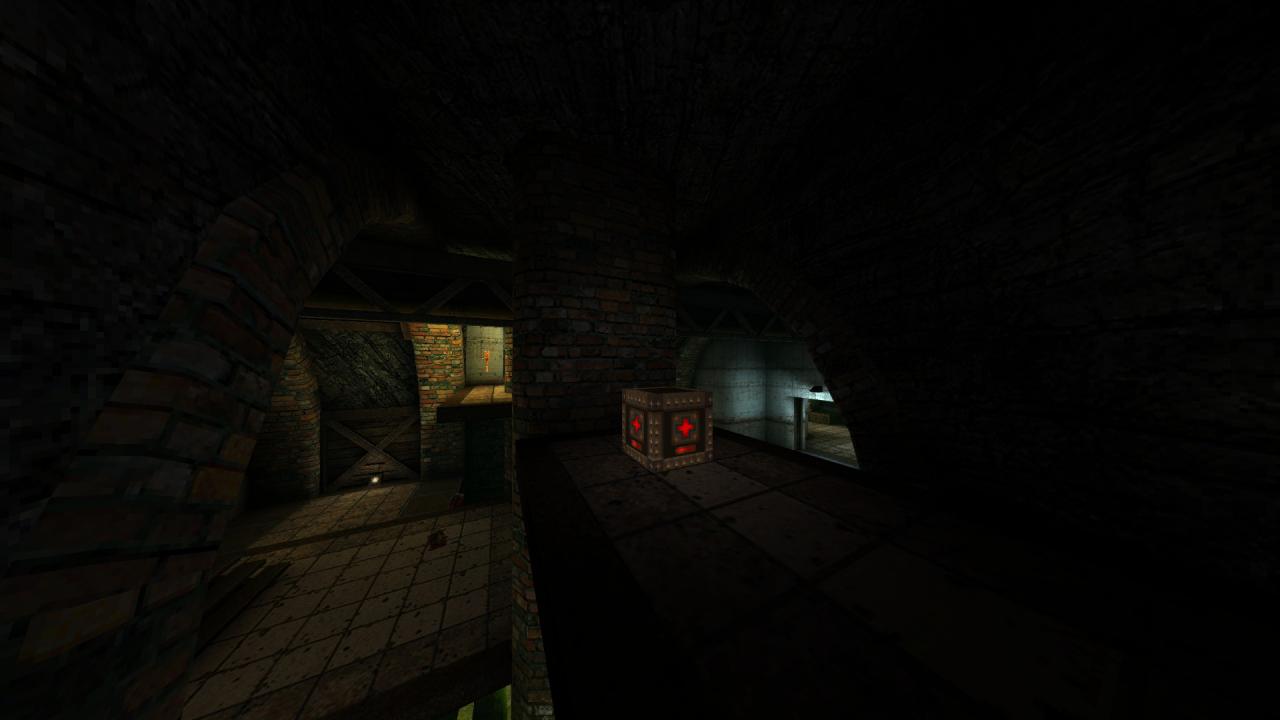
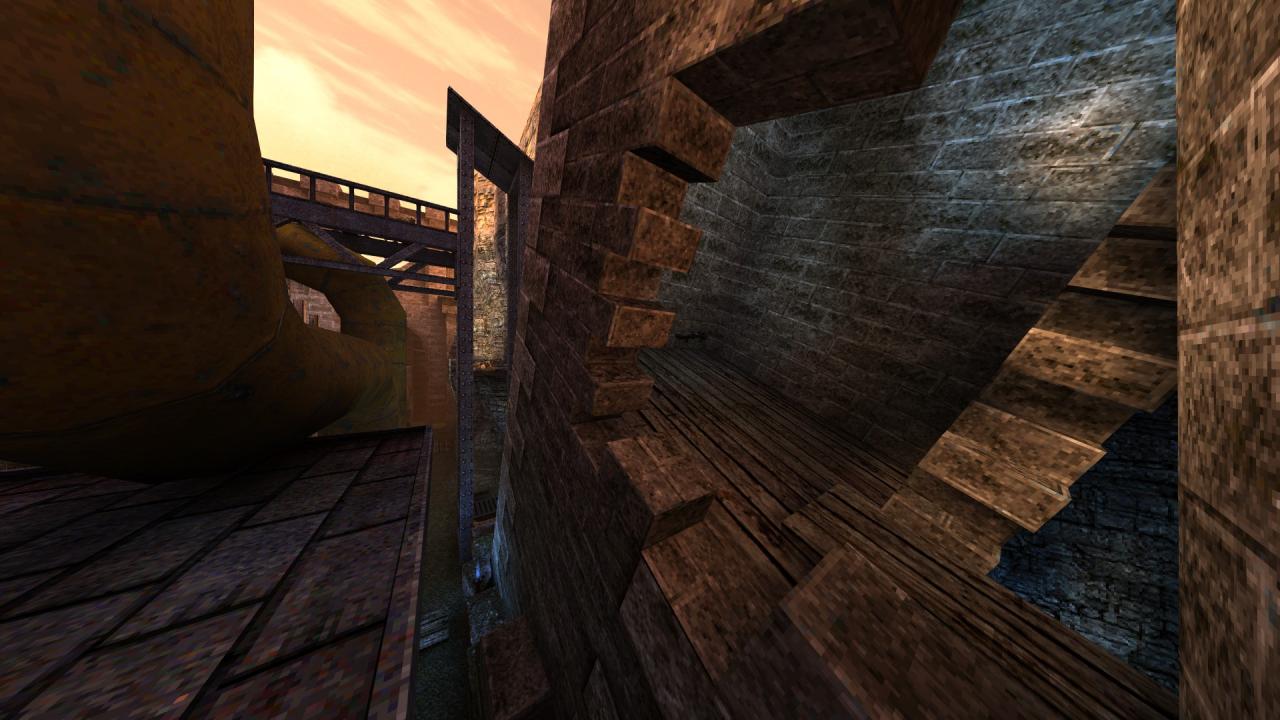
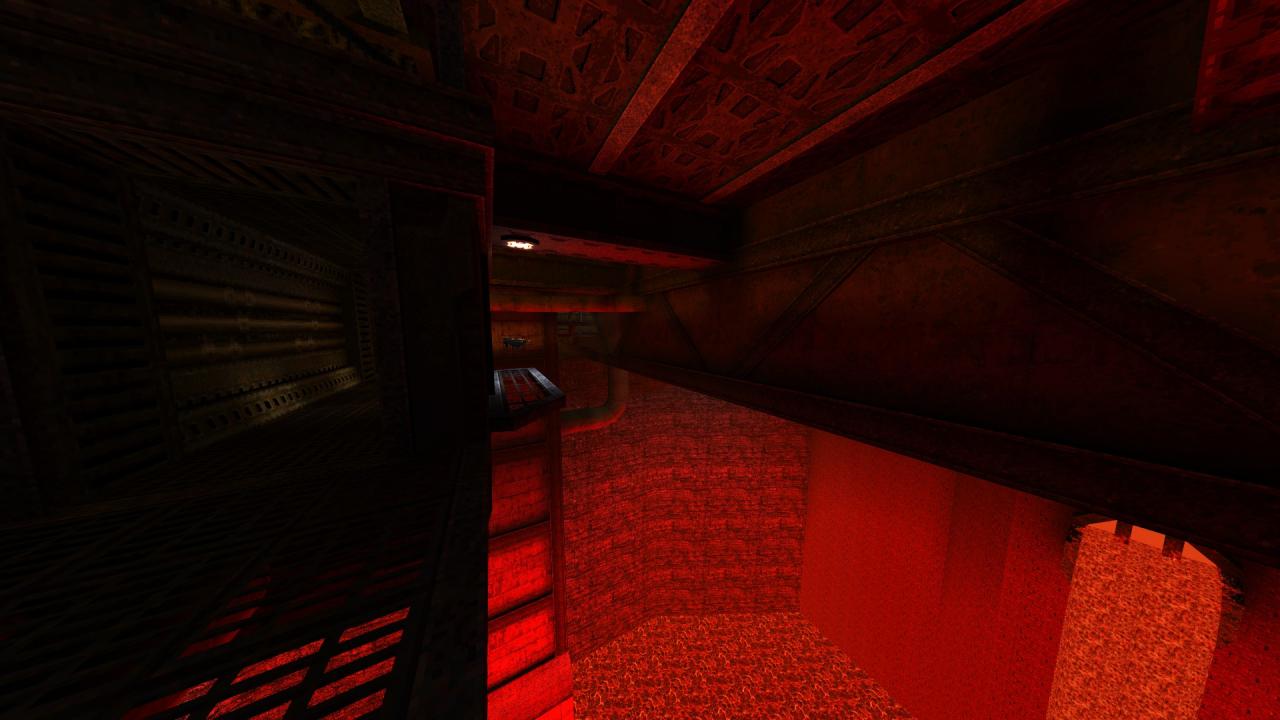
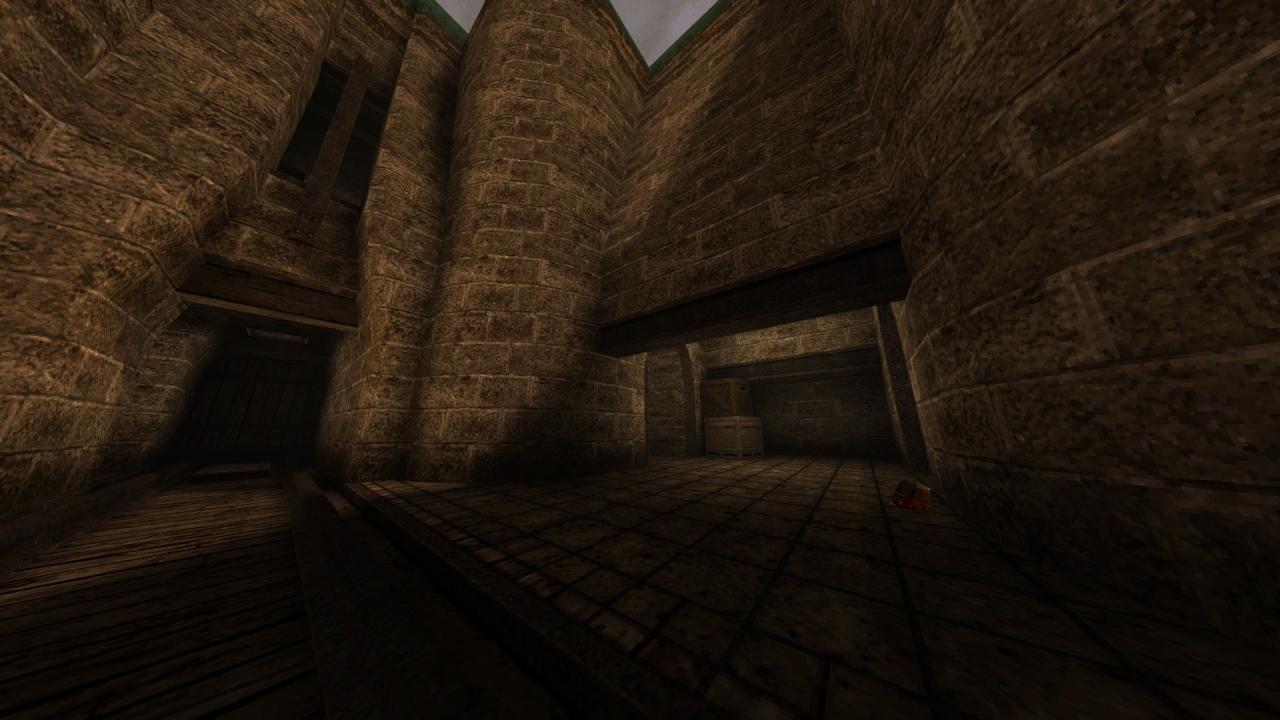
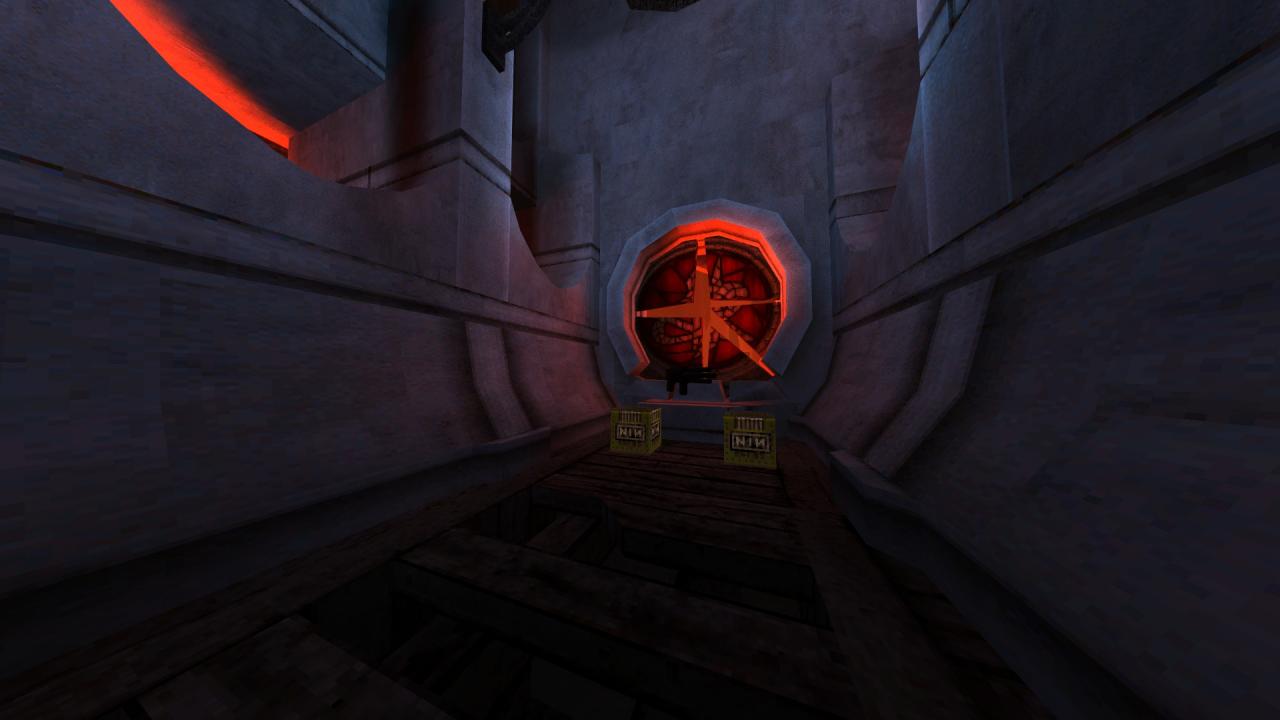
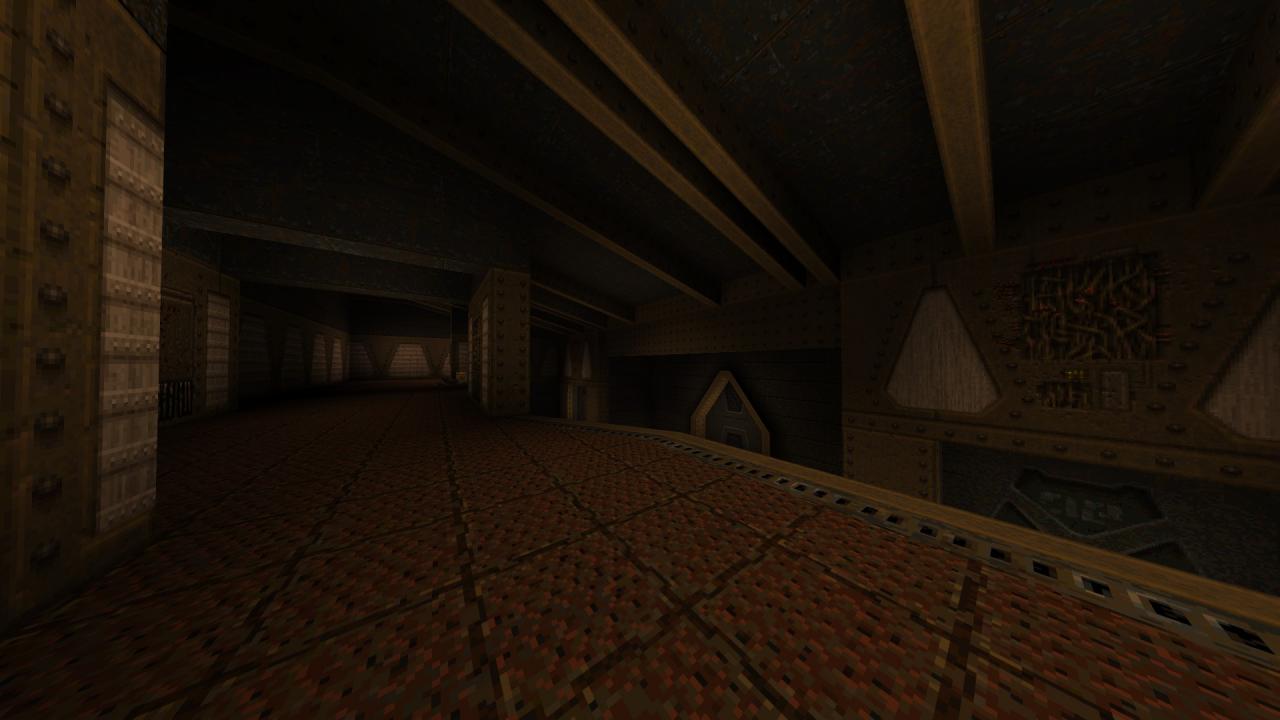
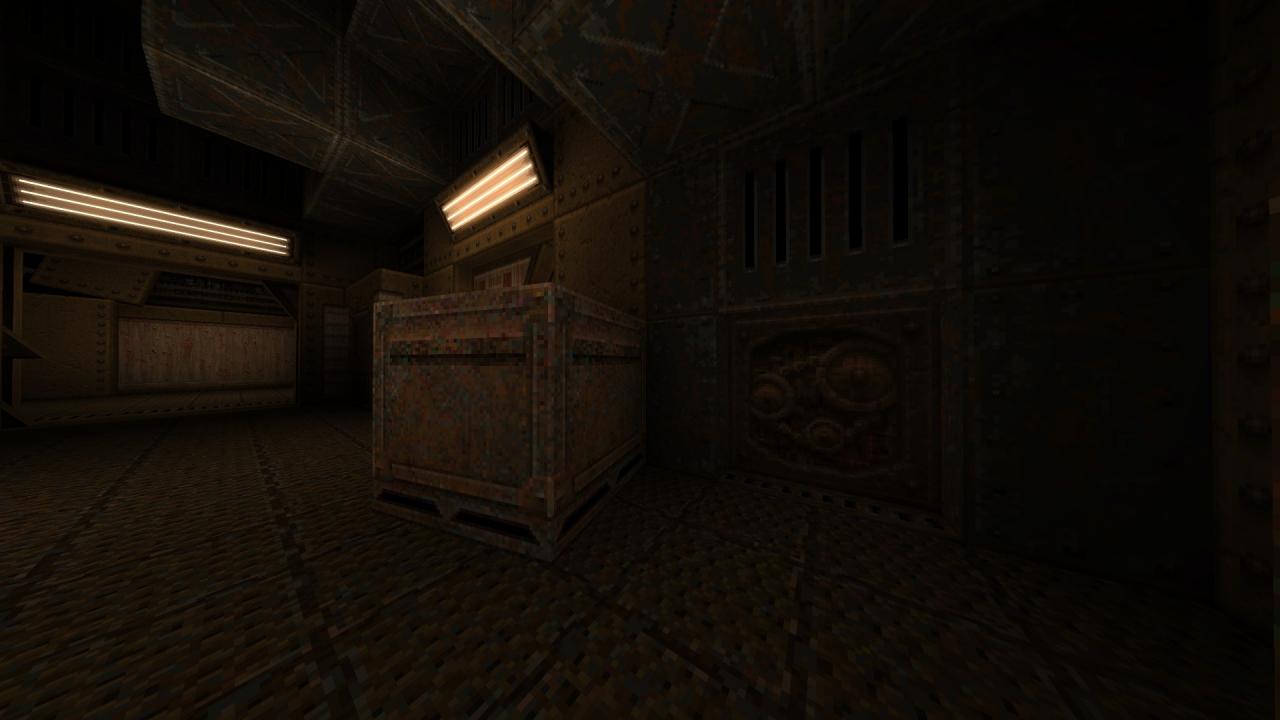
This level contains six secrets.
1/6 – In the first room, go to far left and hit the grating on the wall to access the armor that resides behind it.
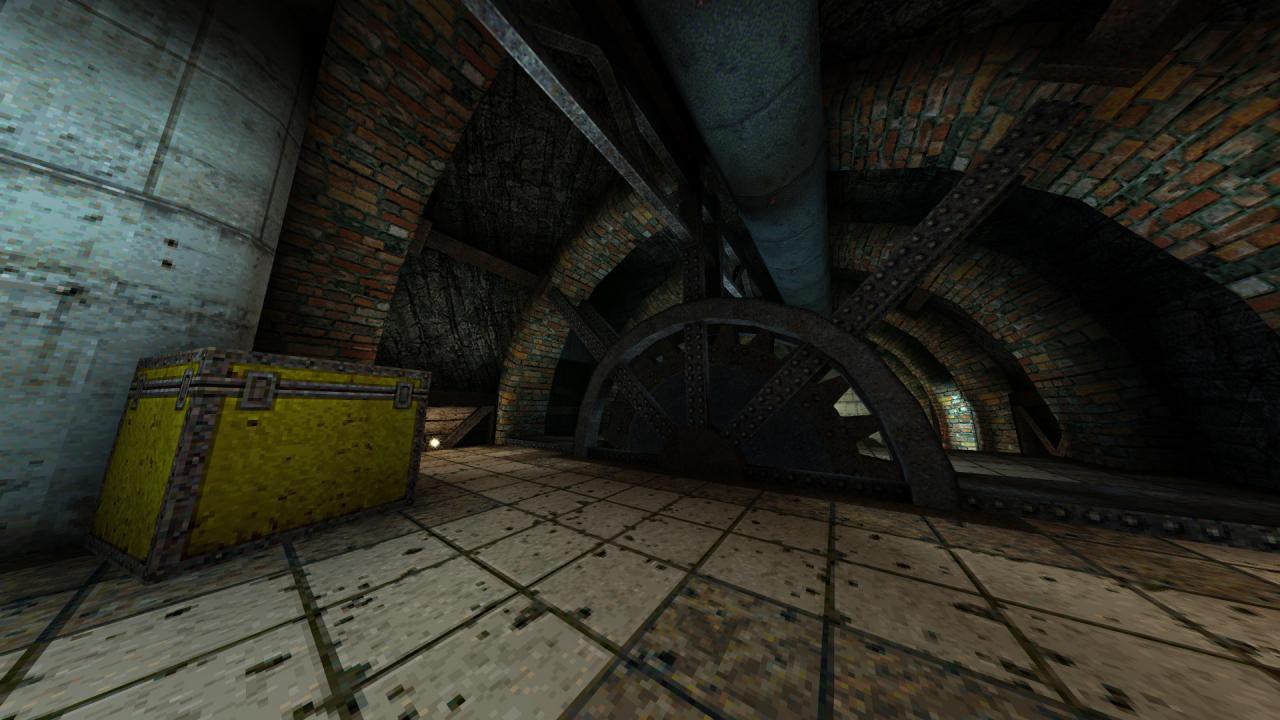
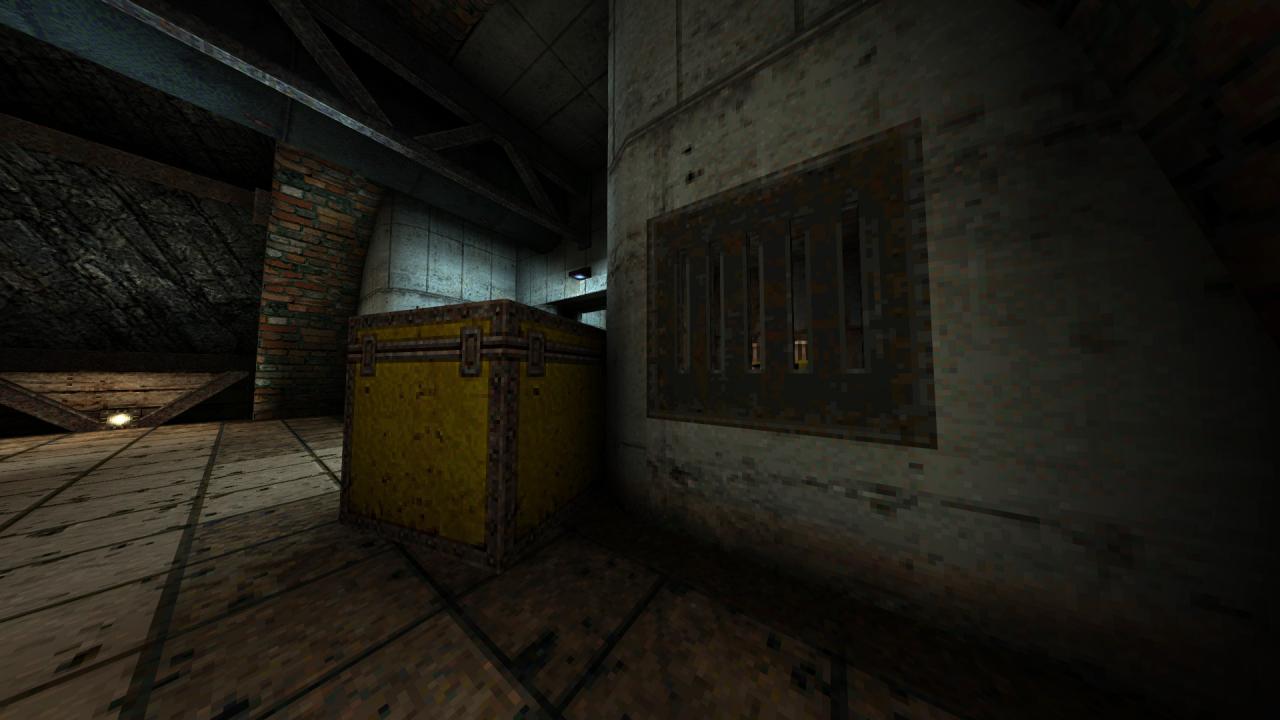
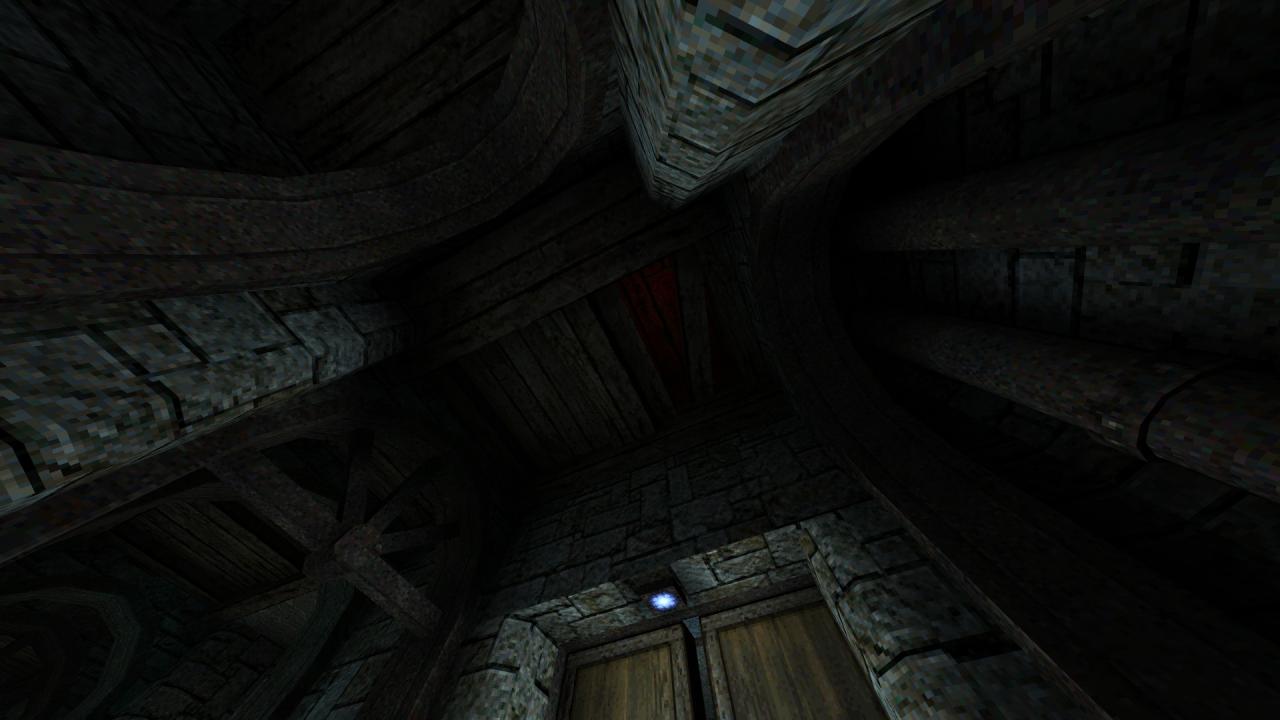
2/6 – In the room with the giant gear on one end and the gold key door on the other, look for another grating on the wall and hit it to access the ammo that resides behind it.
3/6 – Following on from the previous secret, look for a hidden button behind the planks on the walls and shoot it to open up the door next to it that leads to a hidden area (albeit a nasty one).
4/6 – In the slime pit, look for a slightly out-of-sight floor button behind a grating. Step on the button and check the other side of the pit to find a megahealth that can now be picked up.

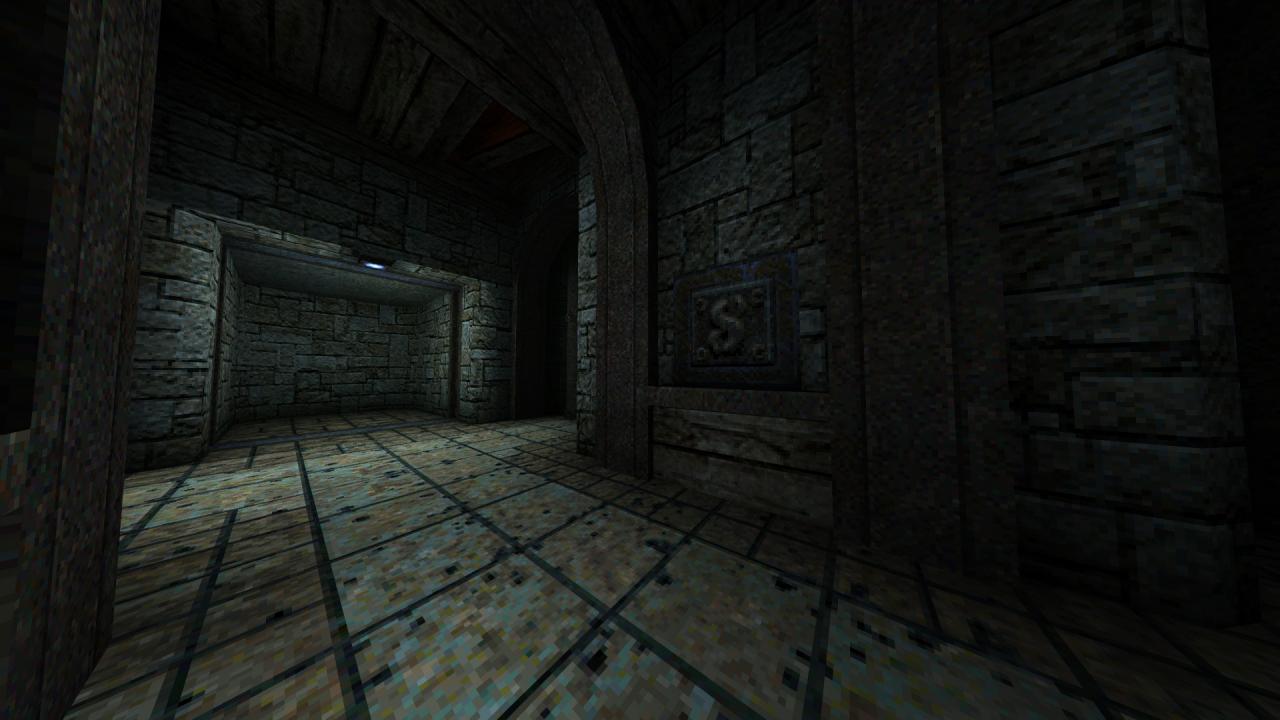
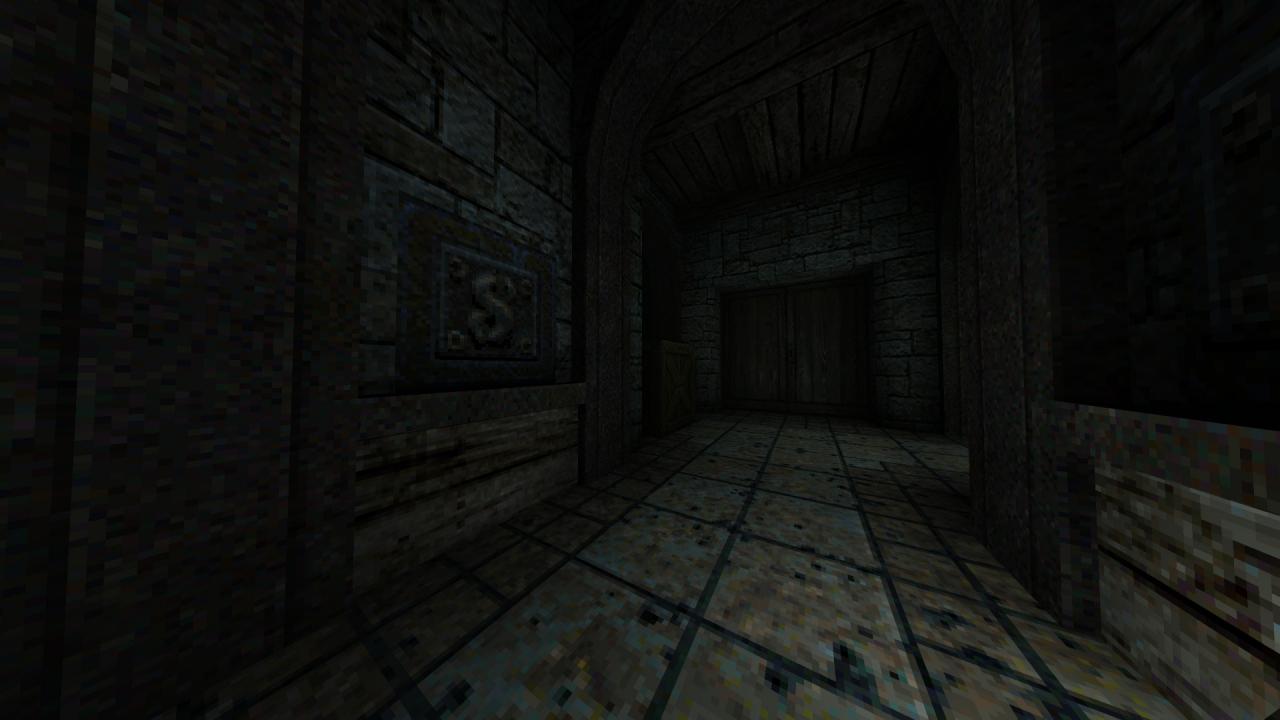
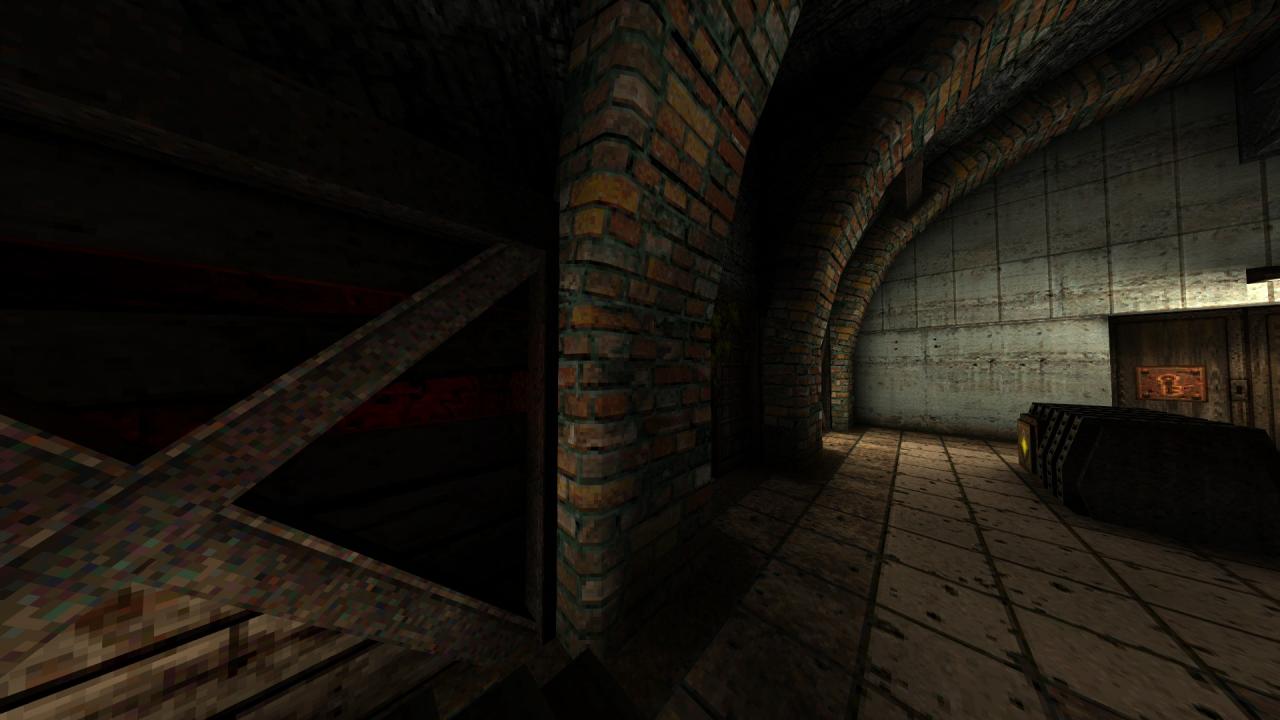
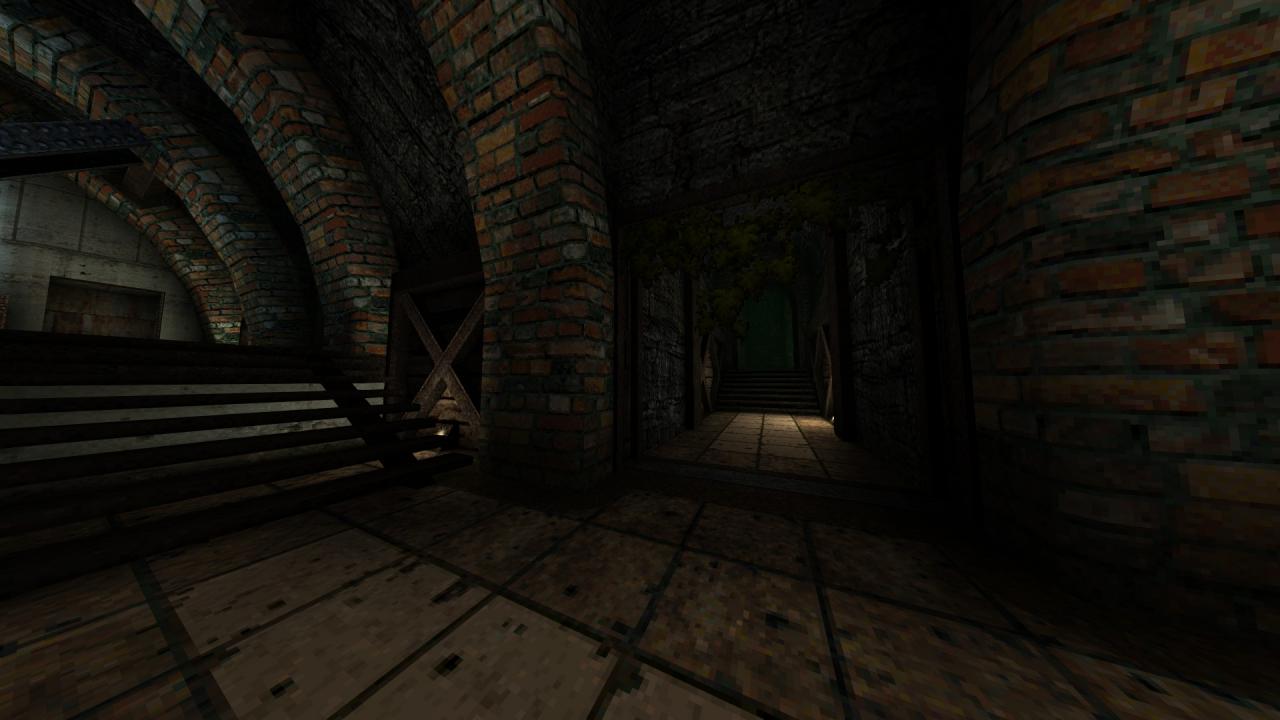
5/6 – Go to the very end of the room in which you get ambushed by grunts, enforcers and rottweilers to find stairs leading to the lower floor. Kill the vore waiting for you and press the two buttons to open the next door that leads to a hidden area.
6/6 – As soon as you get the gold key, jump on to the nearby pipes and get to the other side of the walkway to find a megahealth.
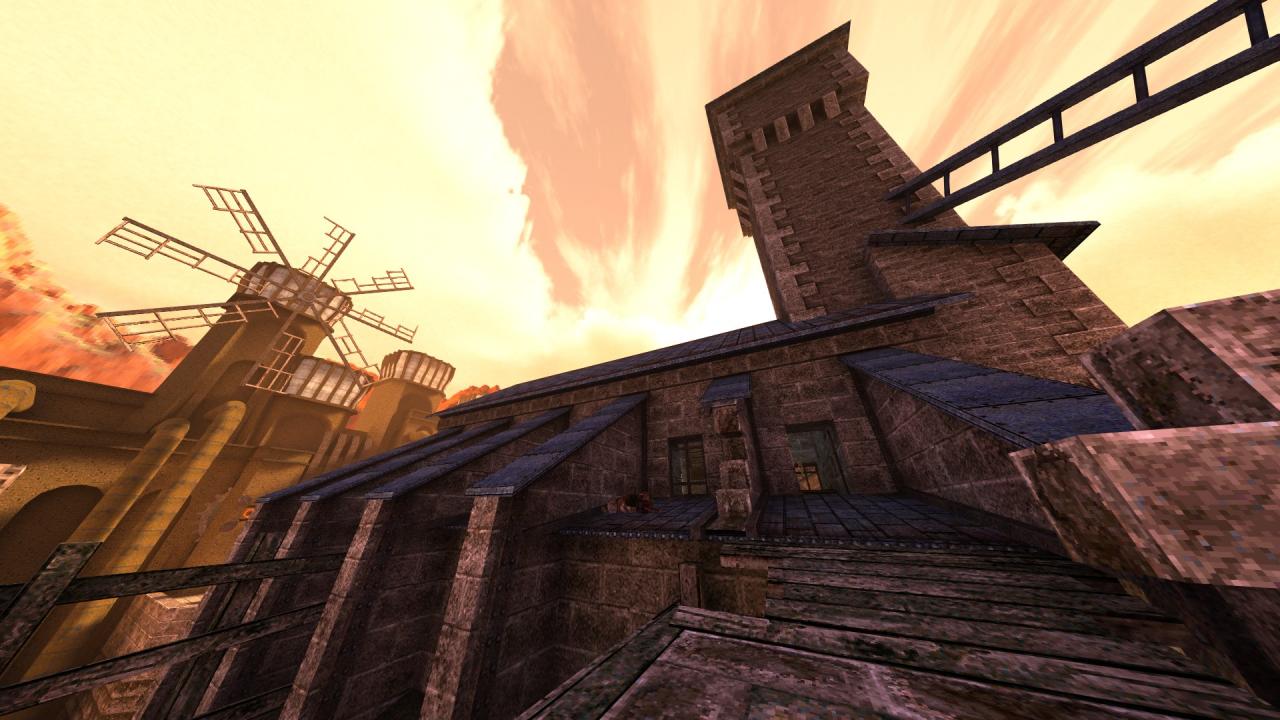
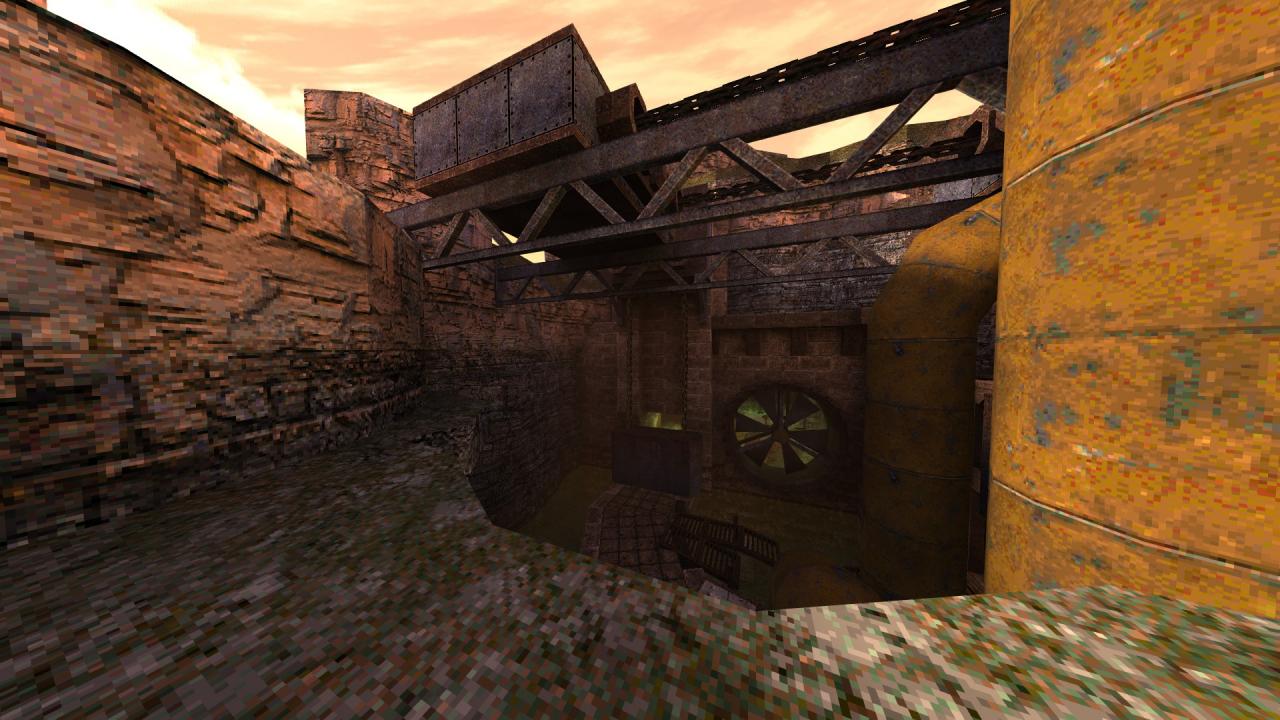
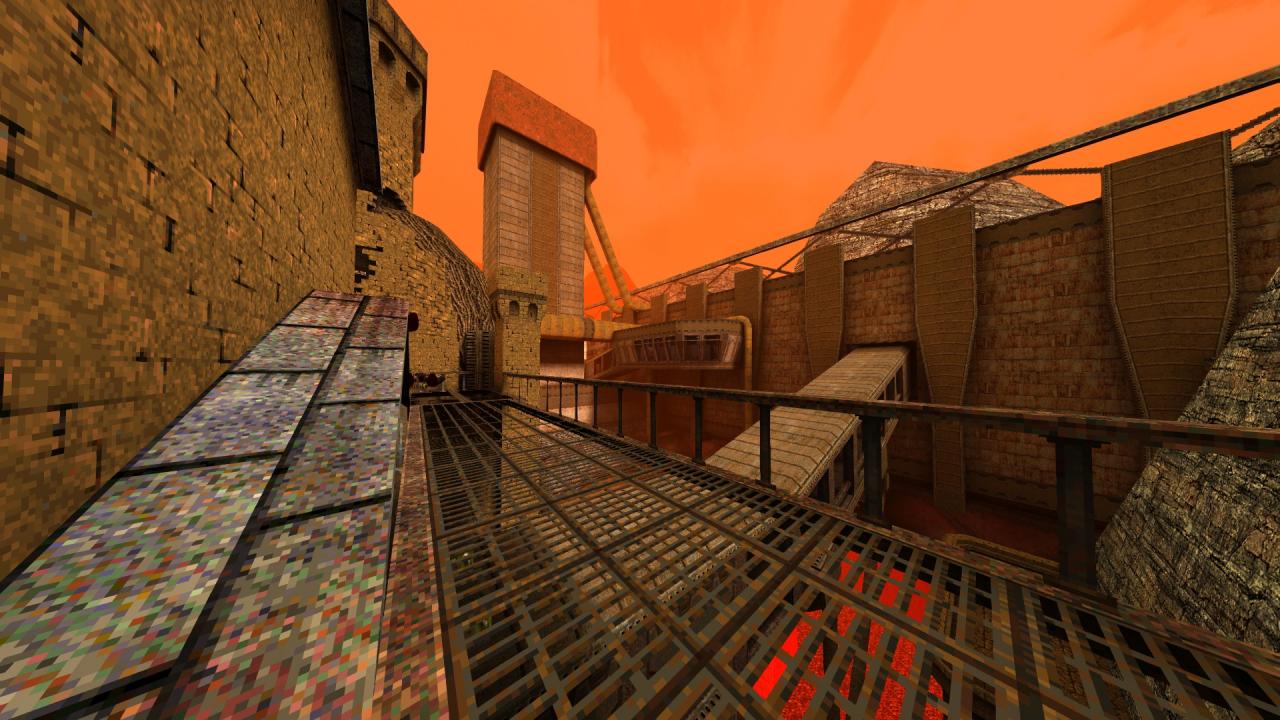
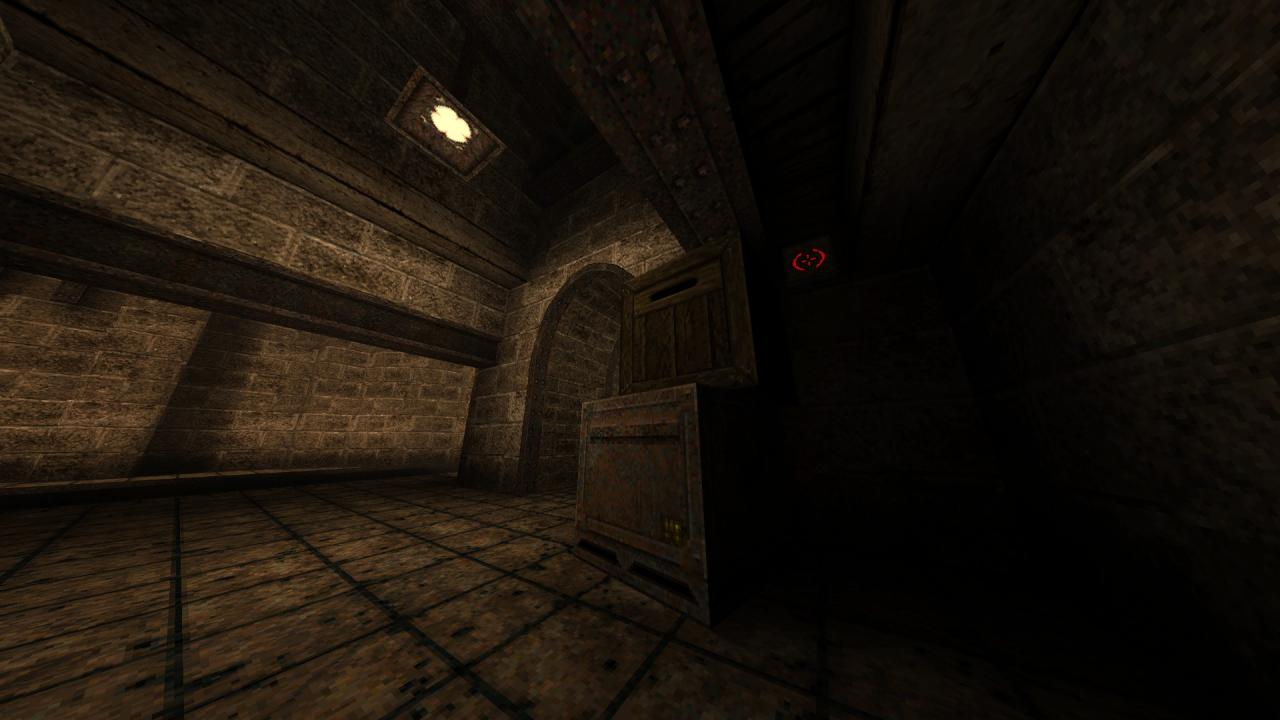
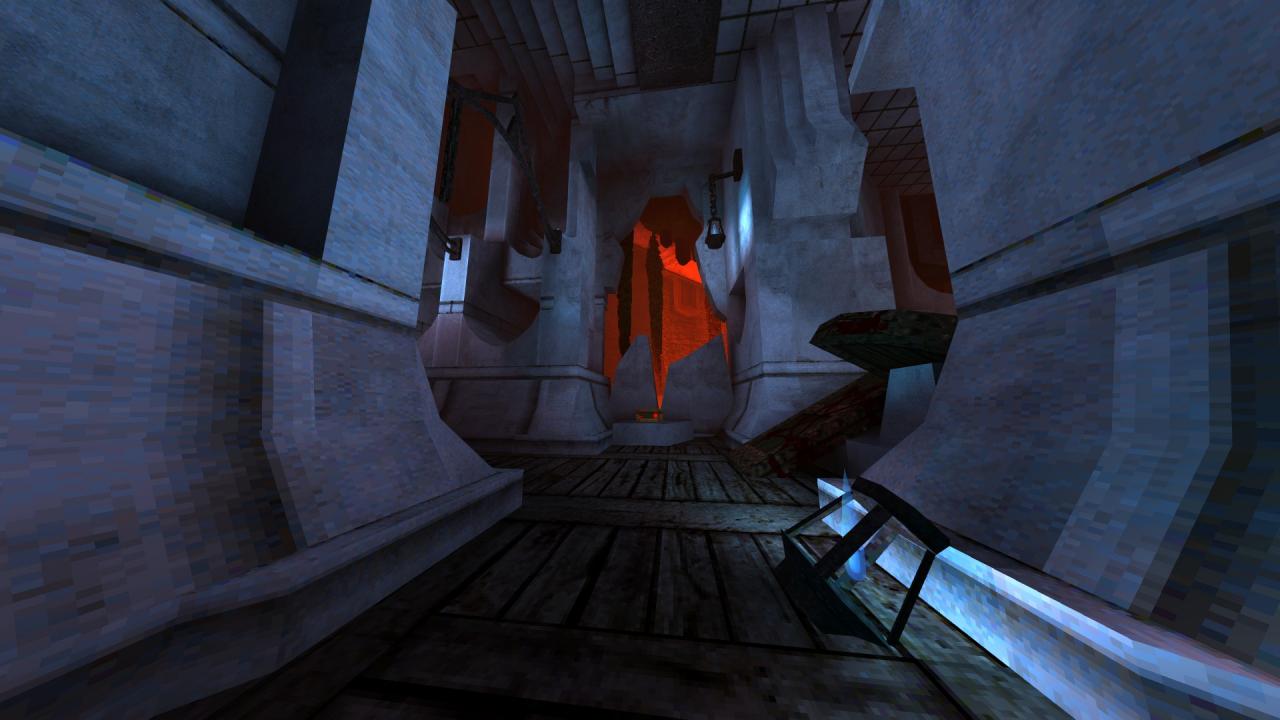
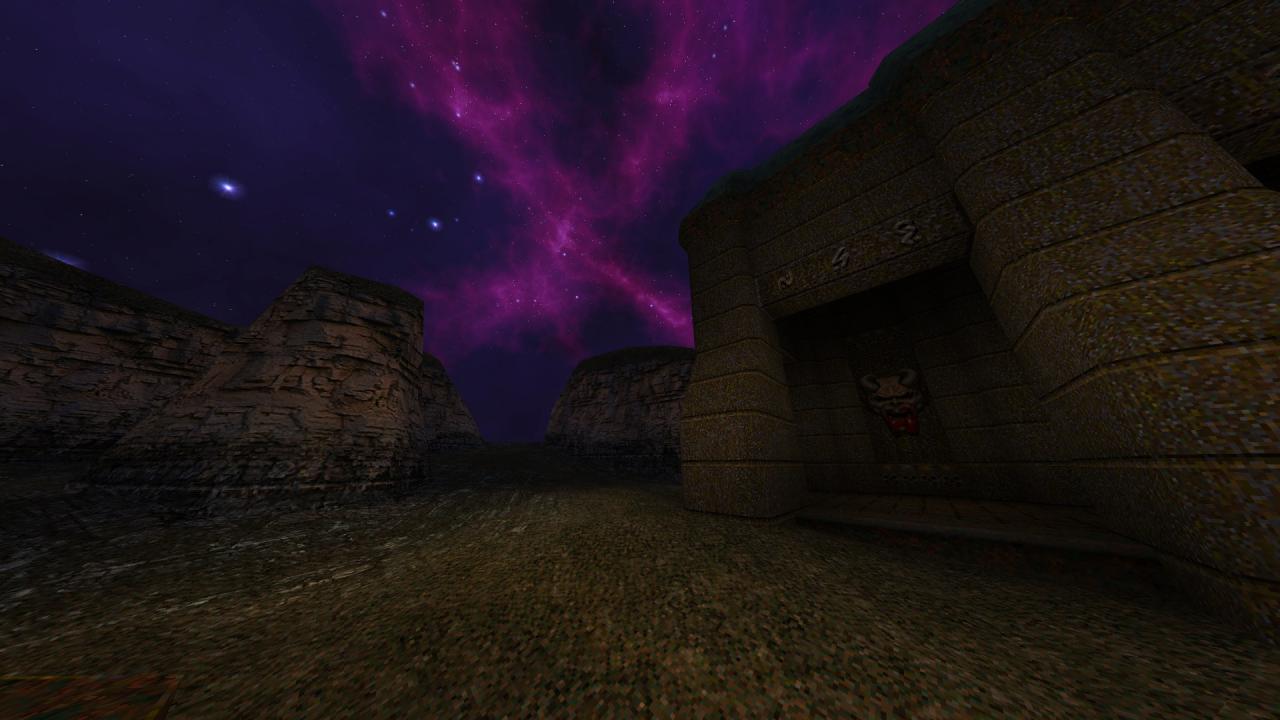
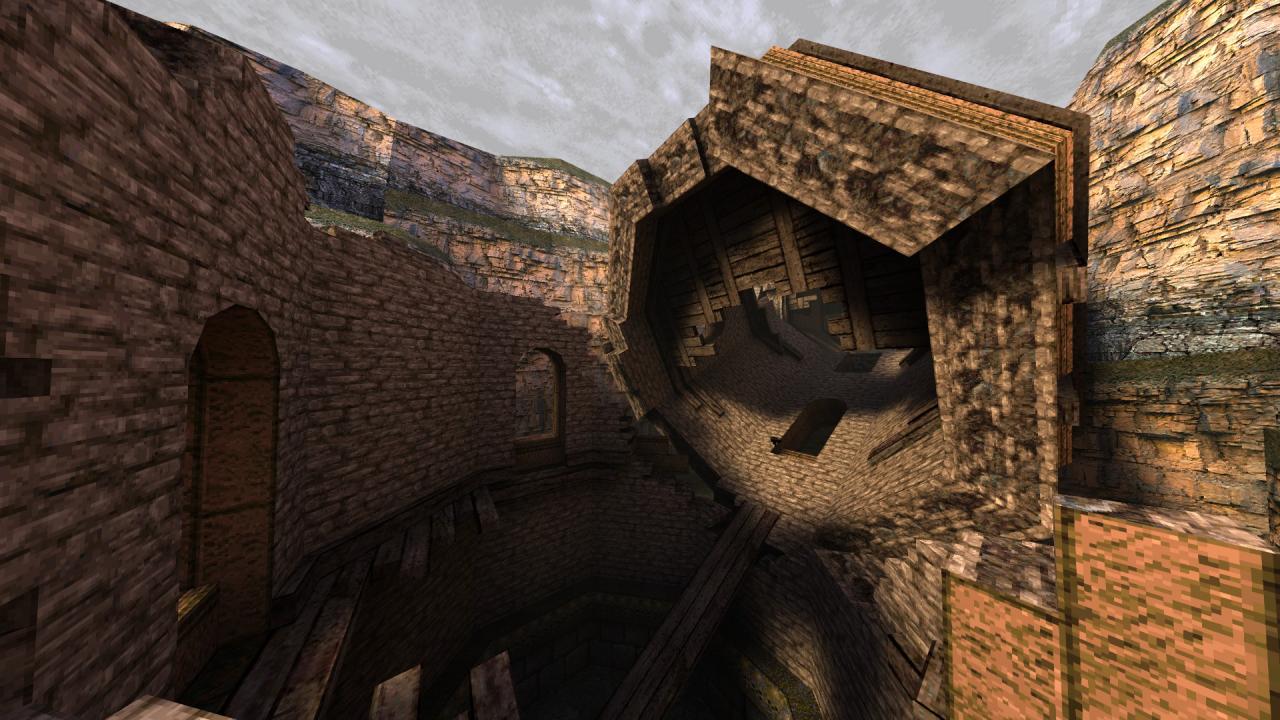
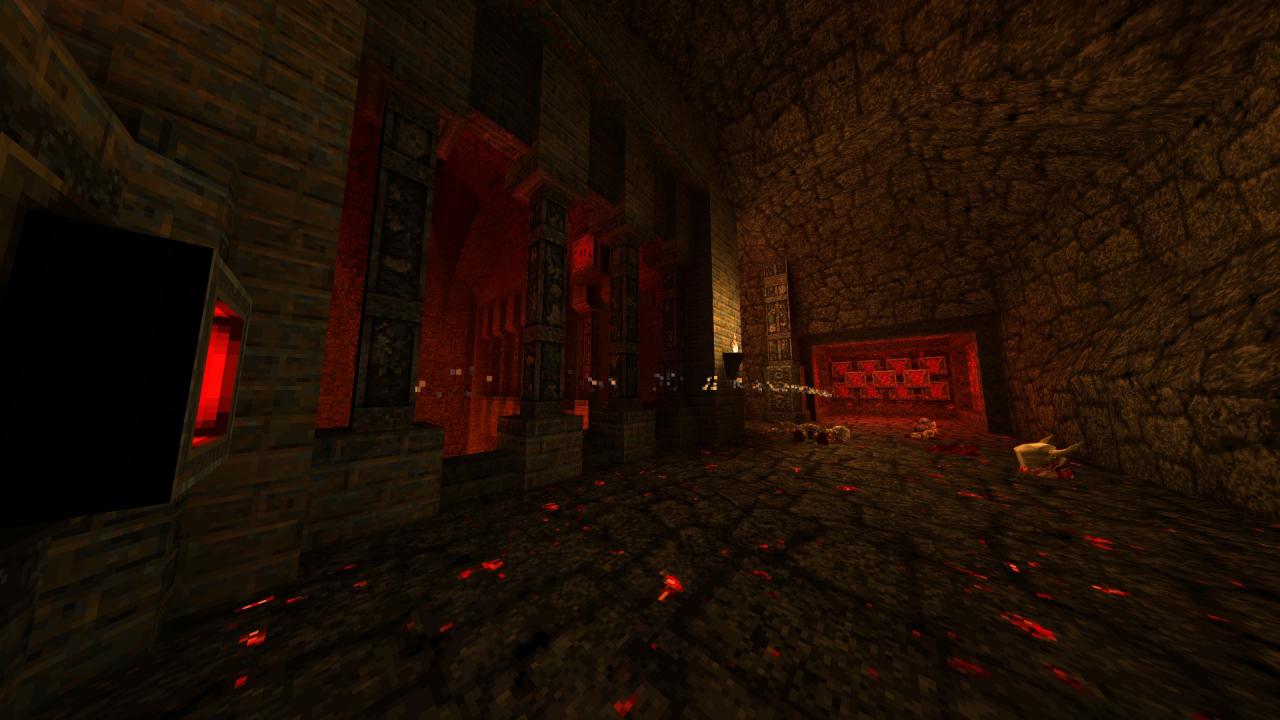
This level contains ten secrets.
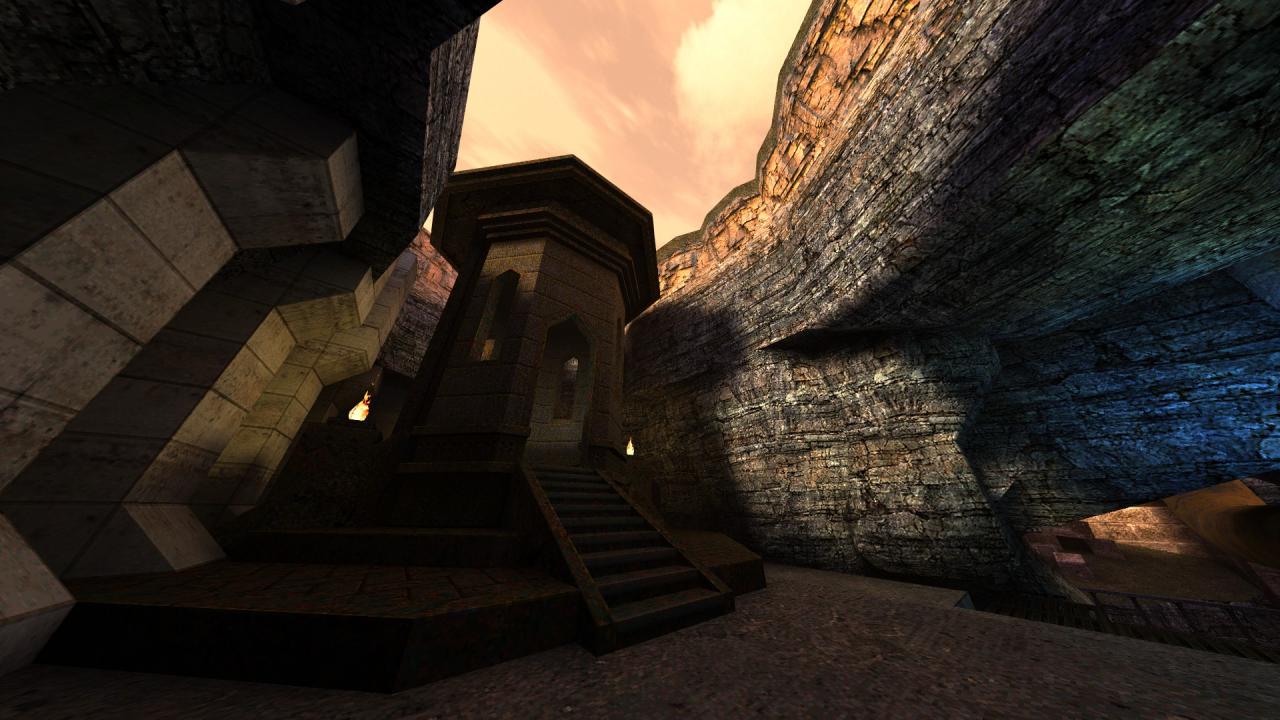
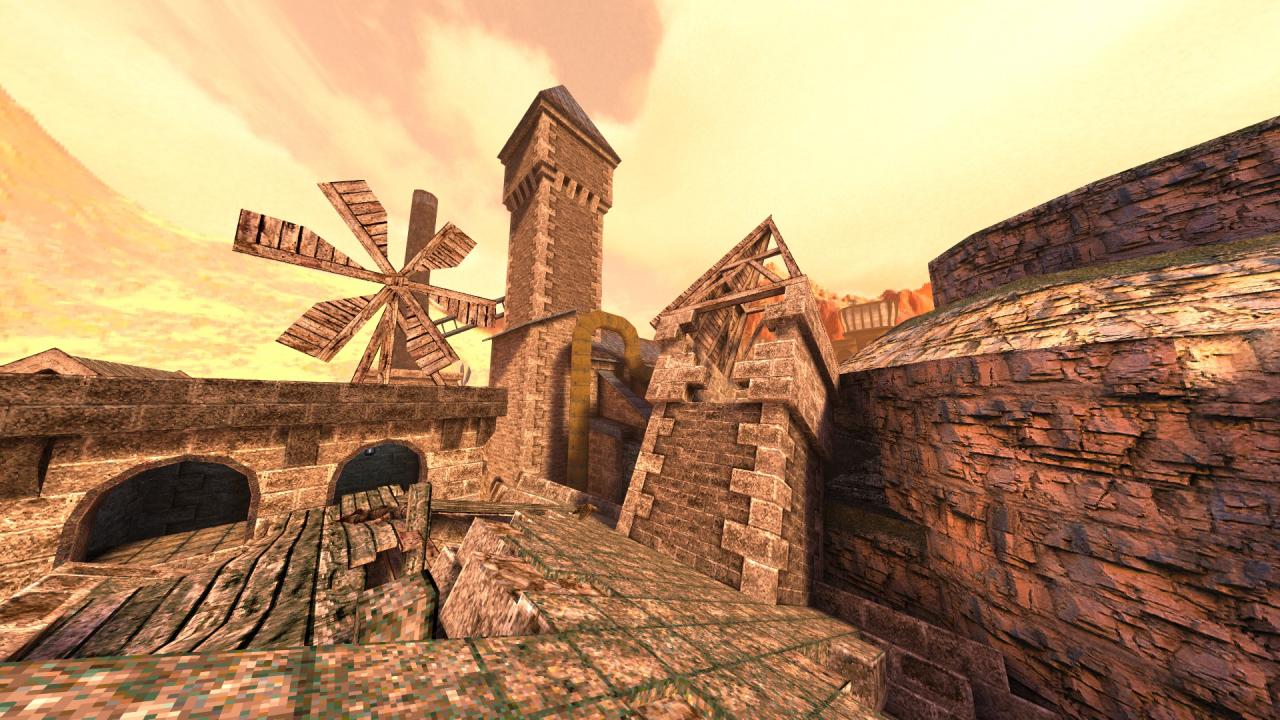
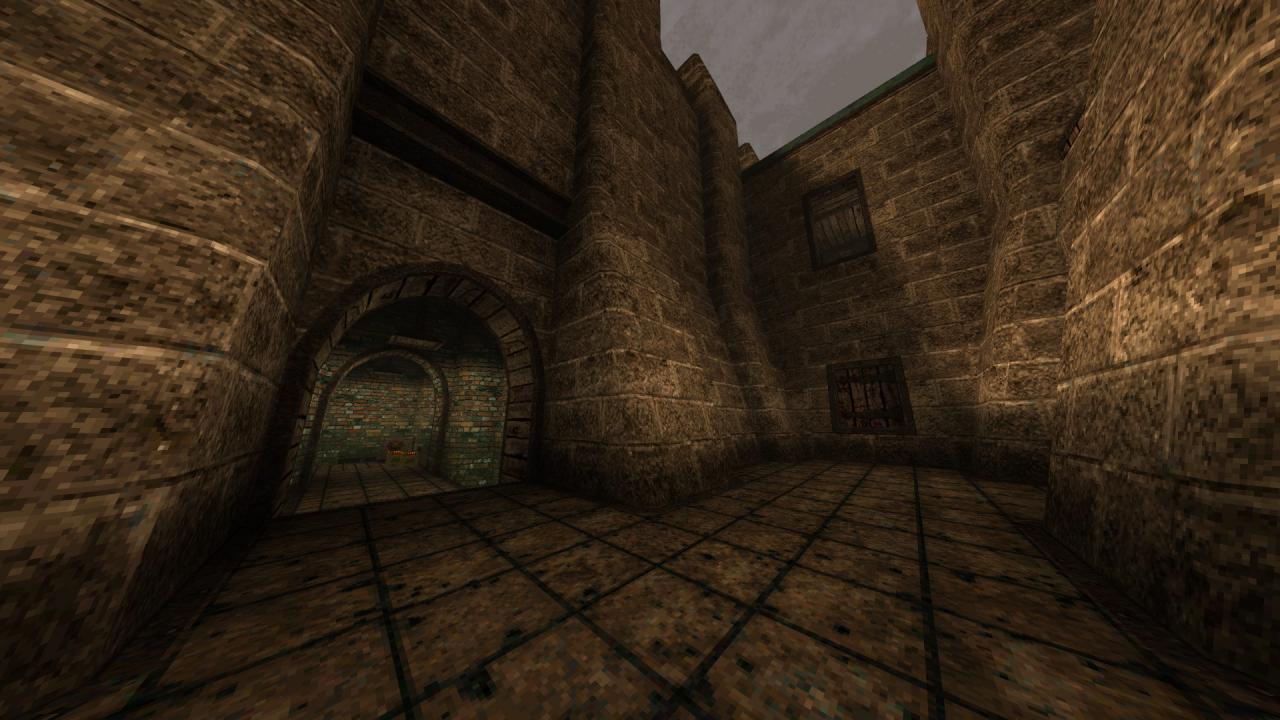
1/10 – Right at the beginning, make your way to the area behind the portal to find hidden ammo.

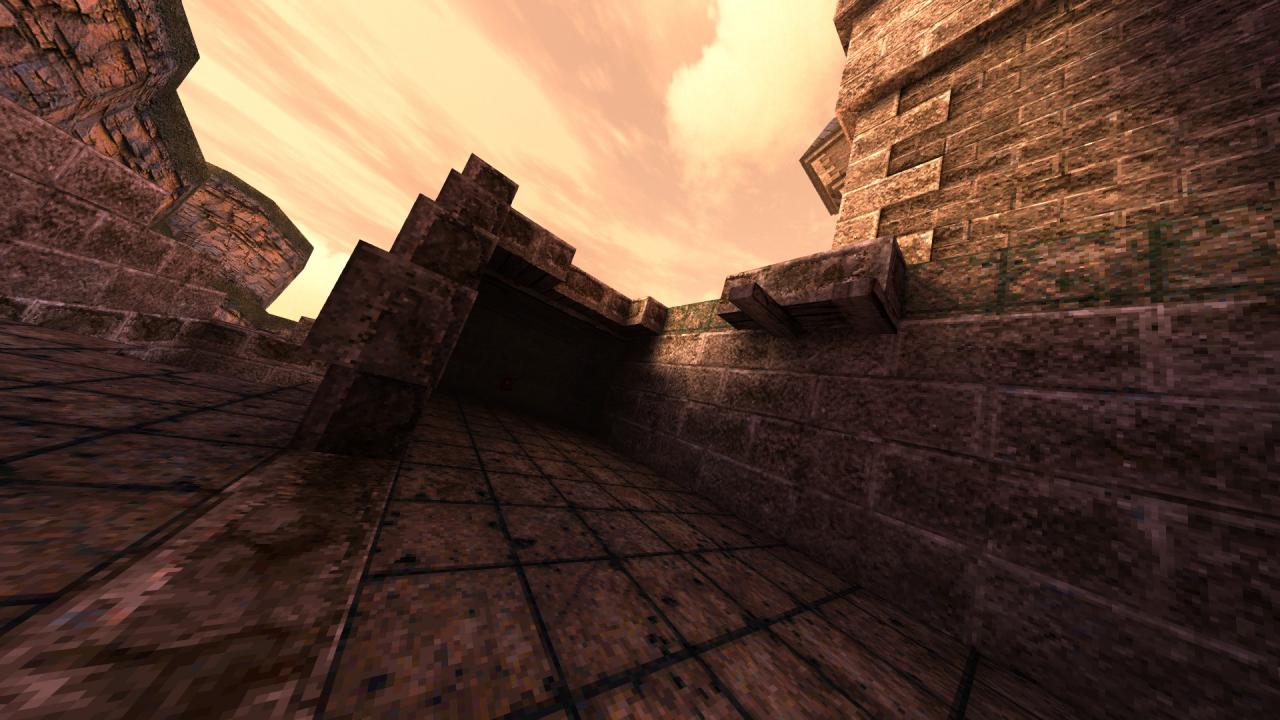
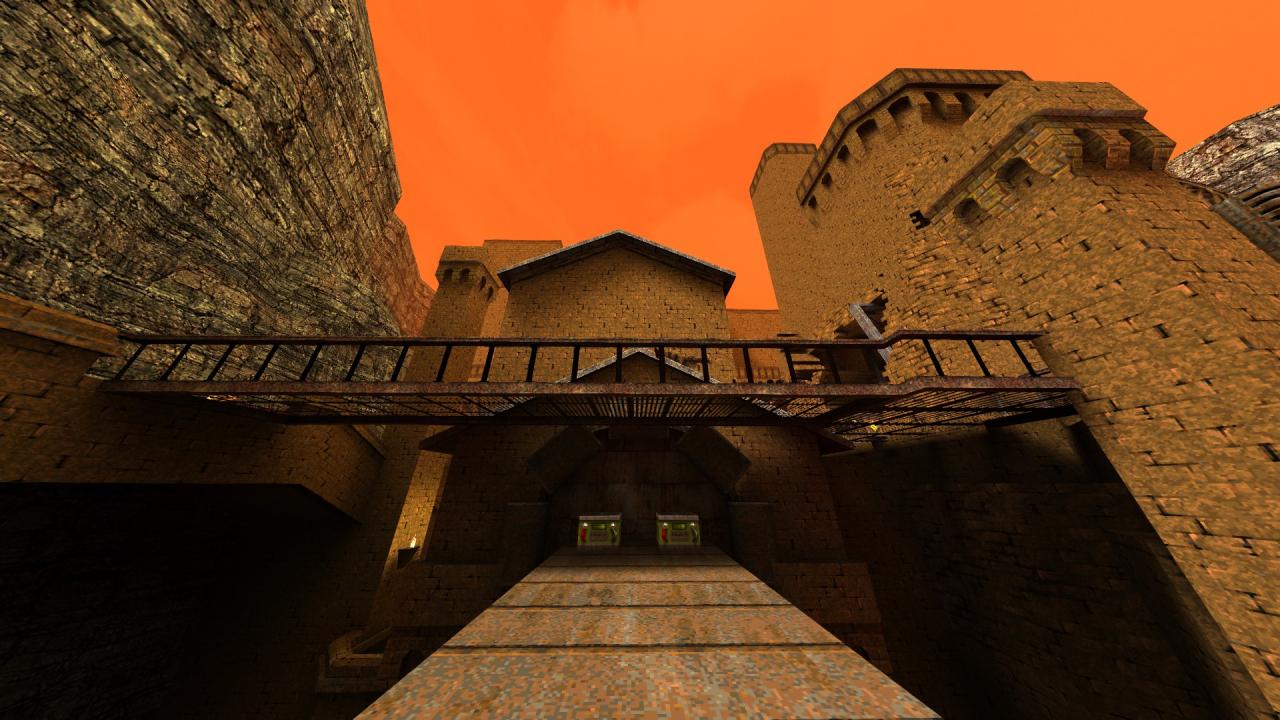
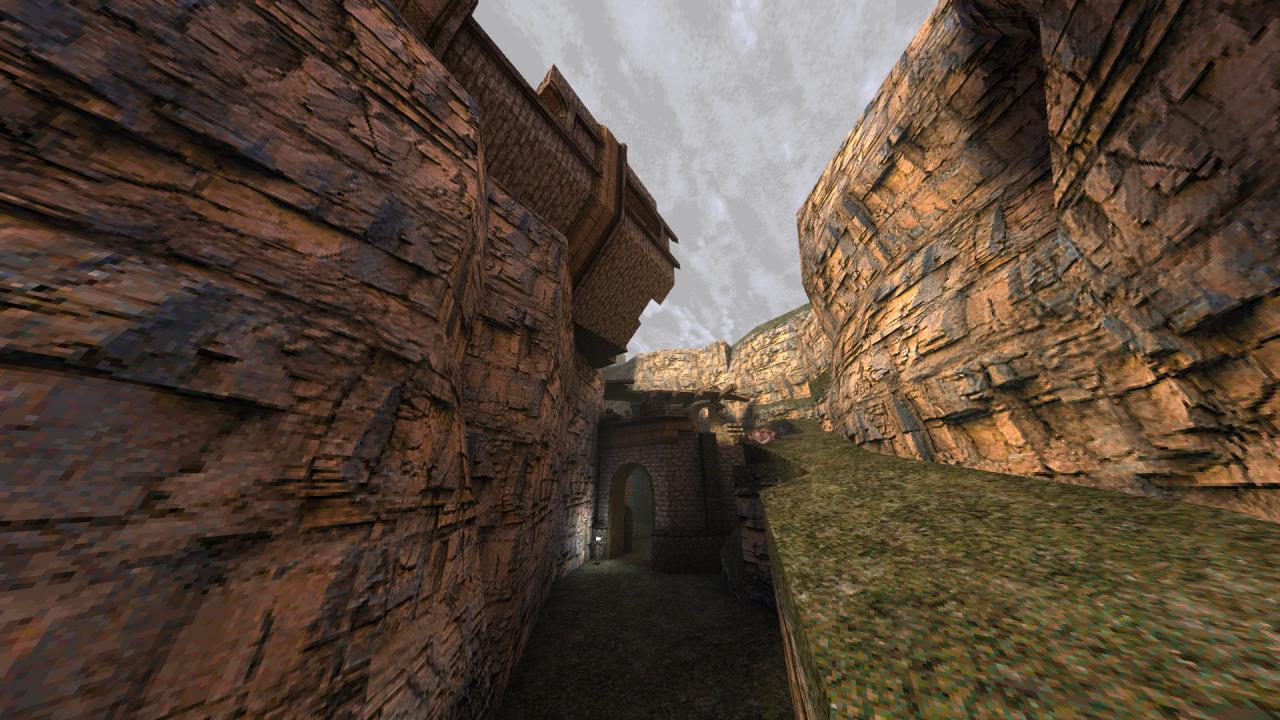
2/10 – Upon reaching the bridge that leads to the main gate, look to your left to see a narrow ledge. Jump down there and turn the corner to find some ammo on the other side.
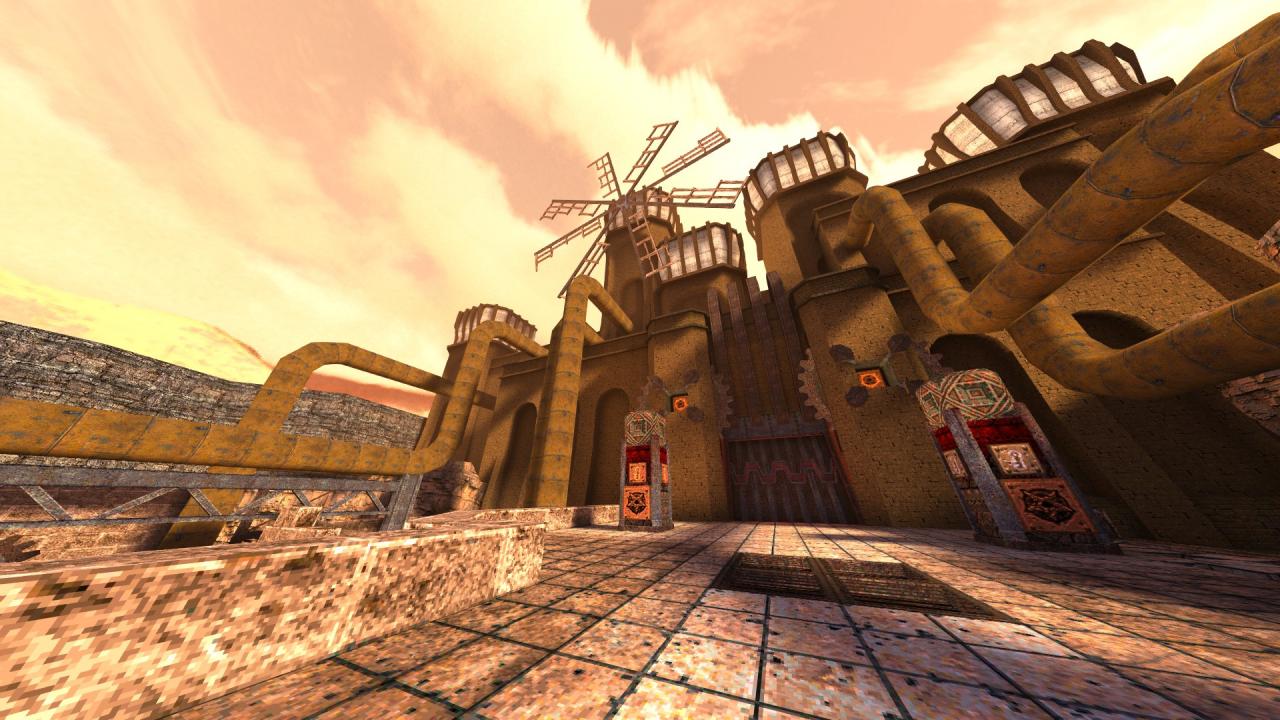
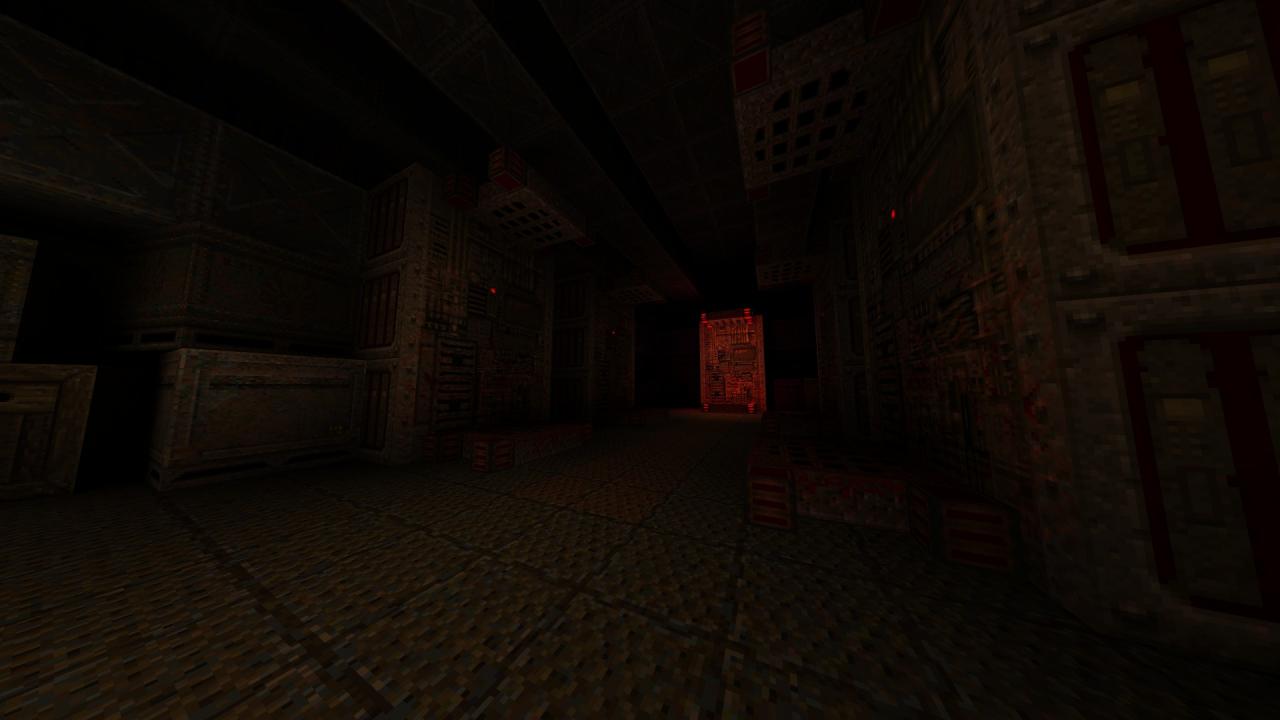
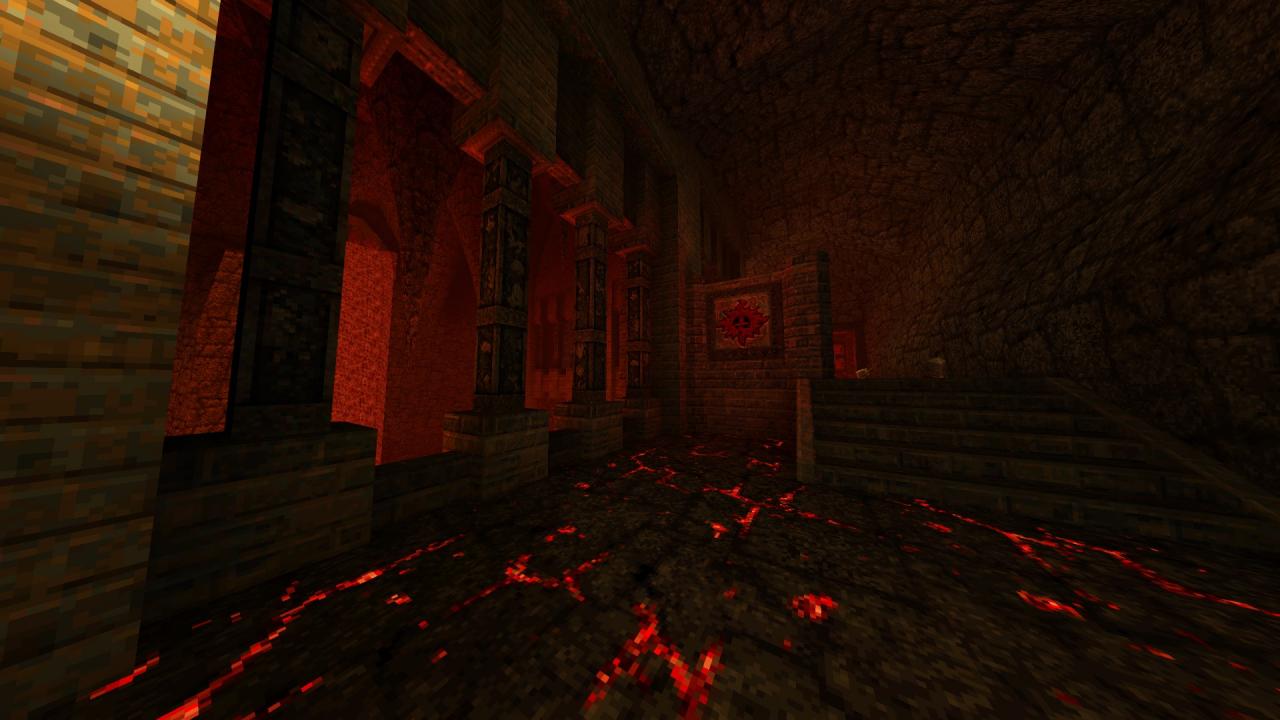
3/10 – Still on the bridge, this time look to the left of the main gate to see a semi-hidden portal glowing red in the corner. Utilize the bricks across from where you are standing and then the pillar next to it to make your way to it and get teleported to a ledge overlooking the gate that houses a quad damage (might be better to use it later though).
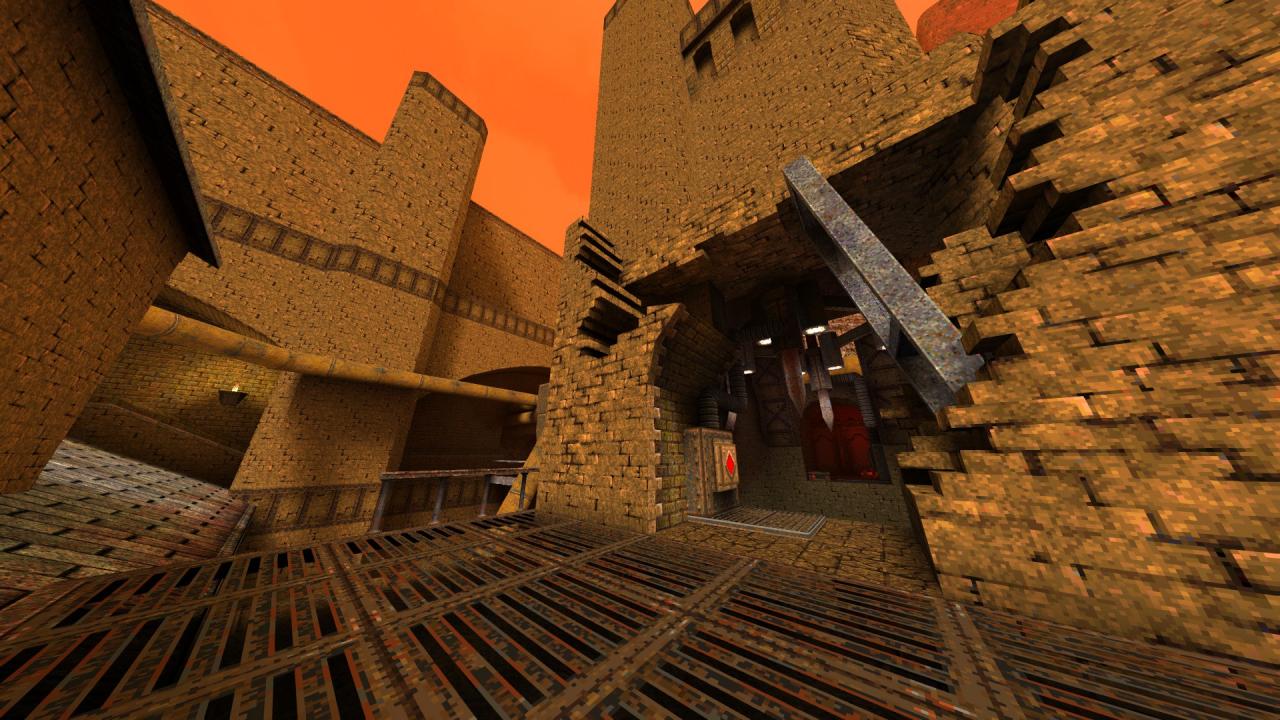
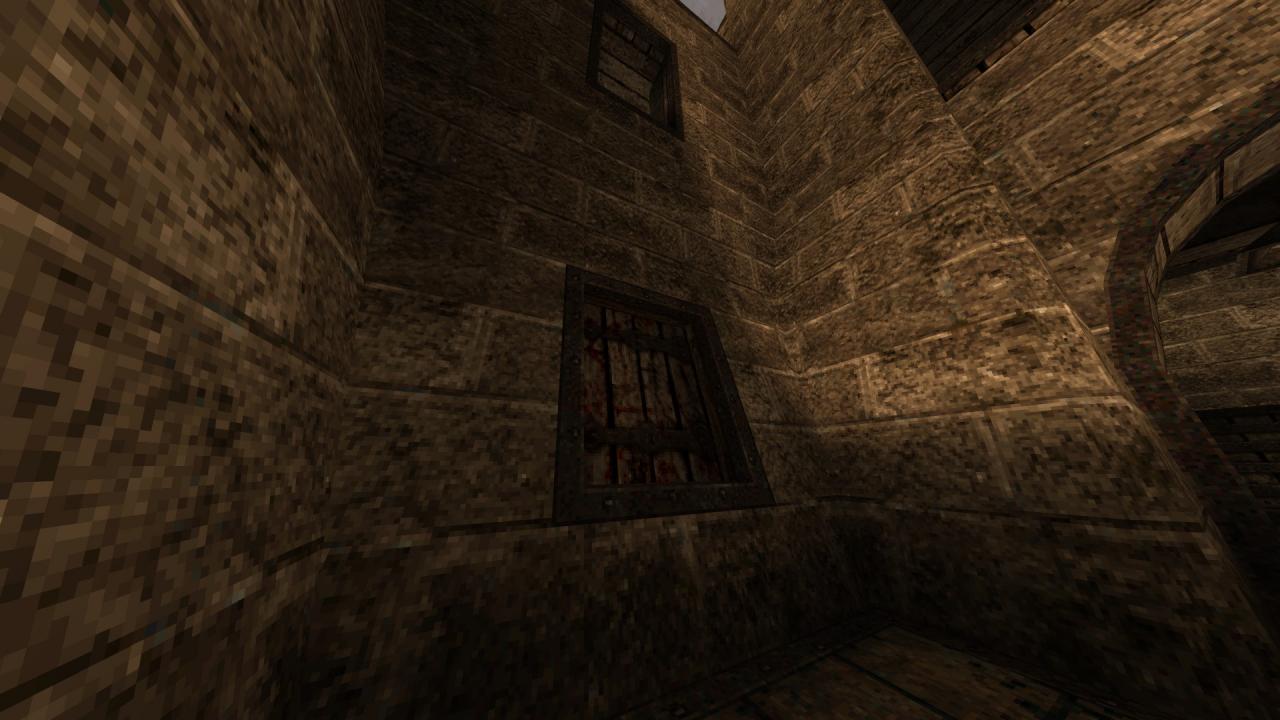
4/10 – Use the jut of the pillar as a stepping stone to jump across the ledge and reach the armor on the other side.

5/10 – Before pressing the button, look for a ledge at the back of the room that you can drop down to and continue towards the light to find a hidden megahealth.

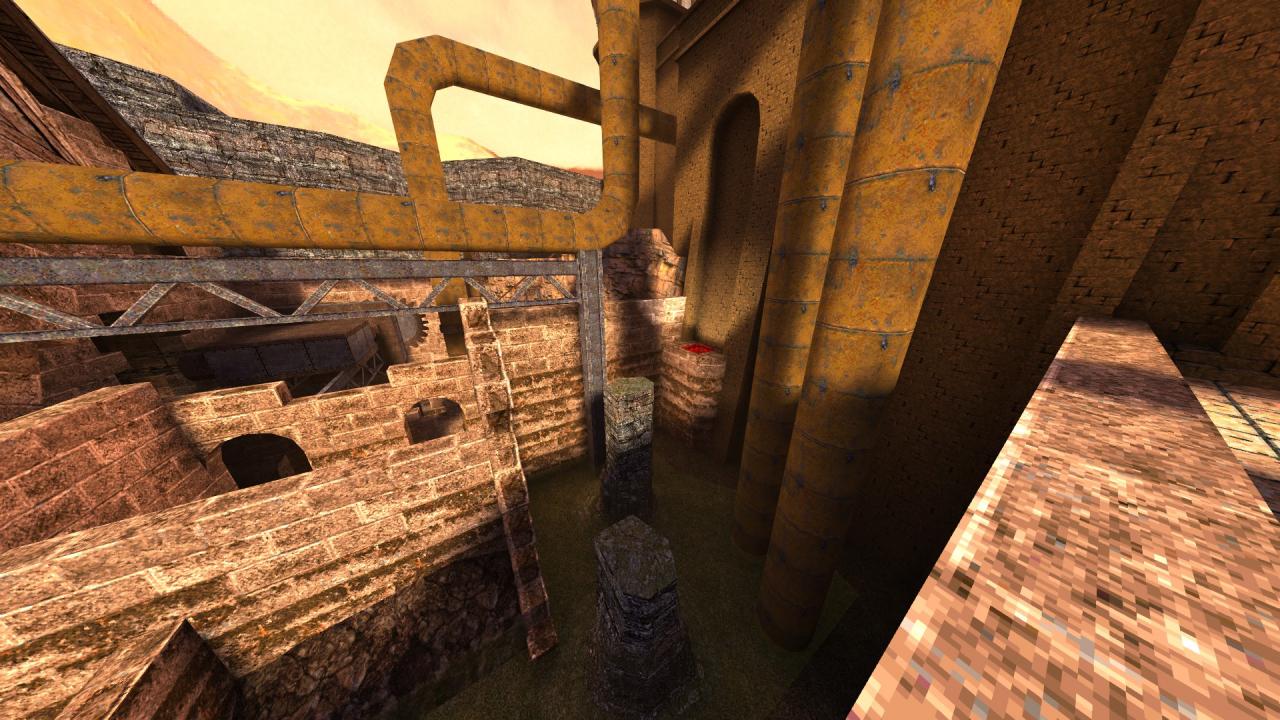
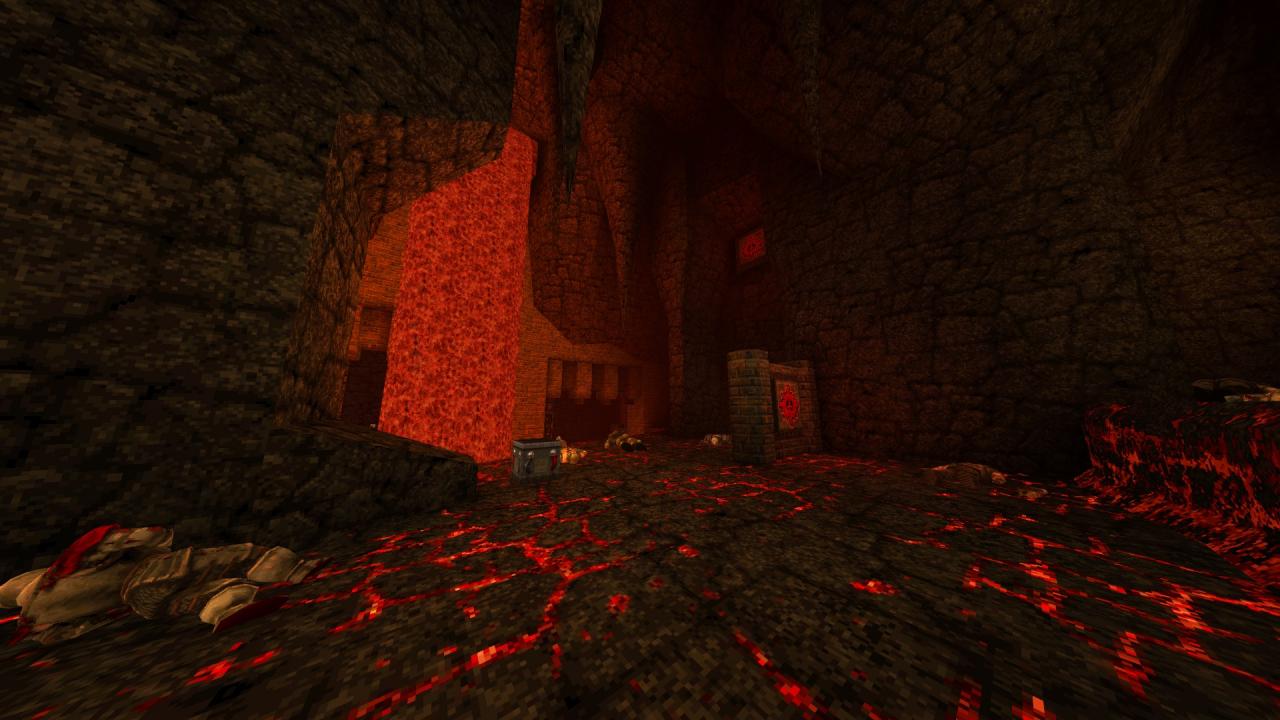
6/10 – Jump from the walkway to the roof of the sunken tower below and check the tower next to it to find a hidden weapon and some ammo.
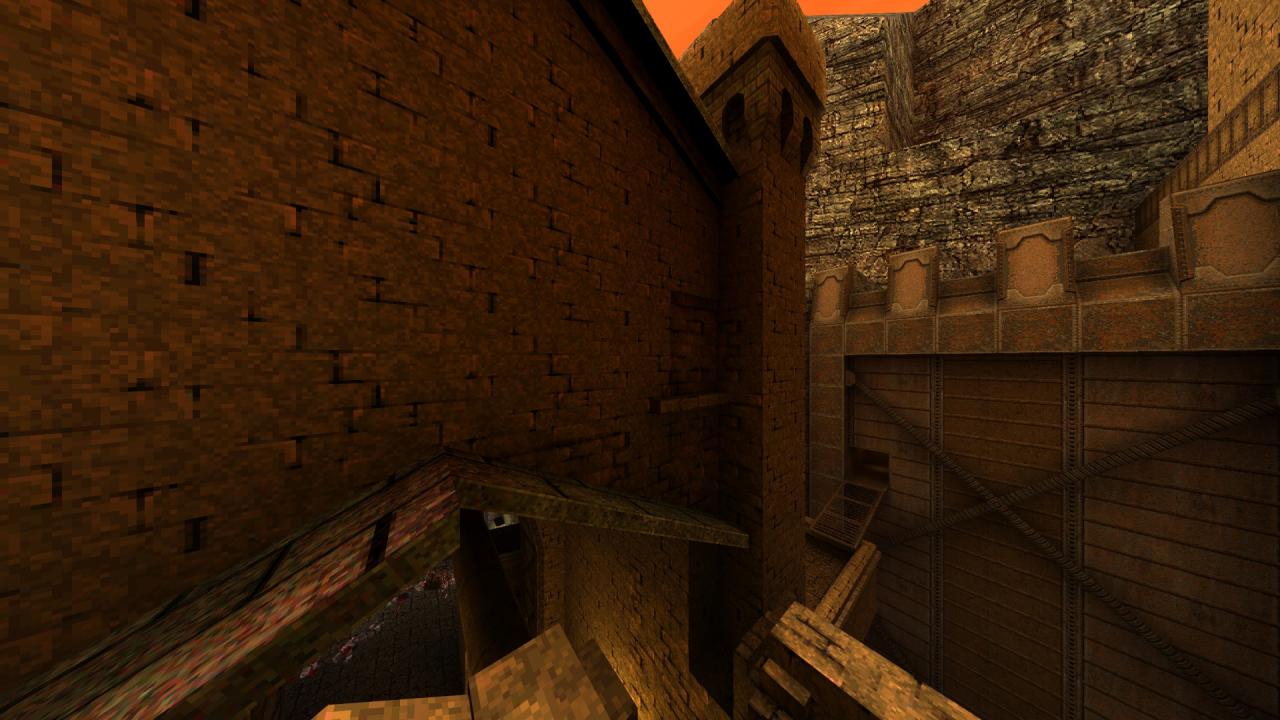
7/10 – Before getting the gold key, drop down into the opening on the roof you are on to find another hidden weapon.
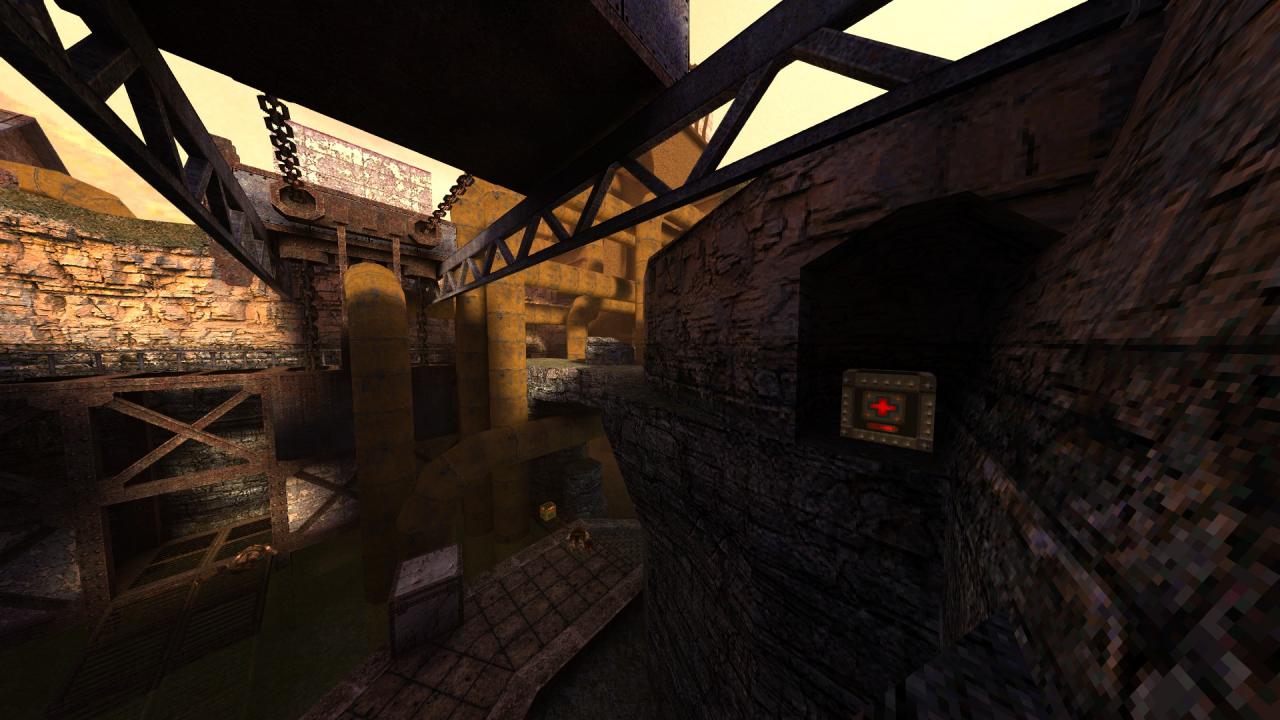
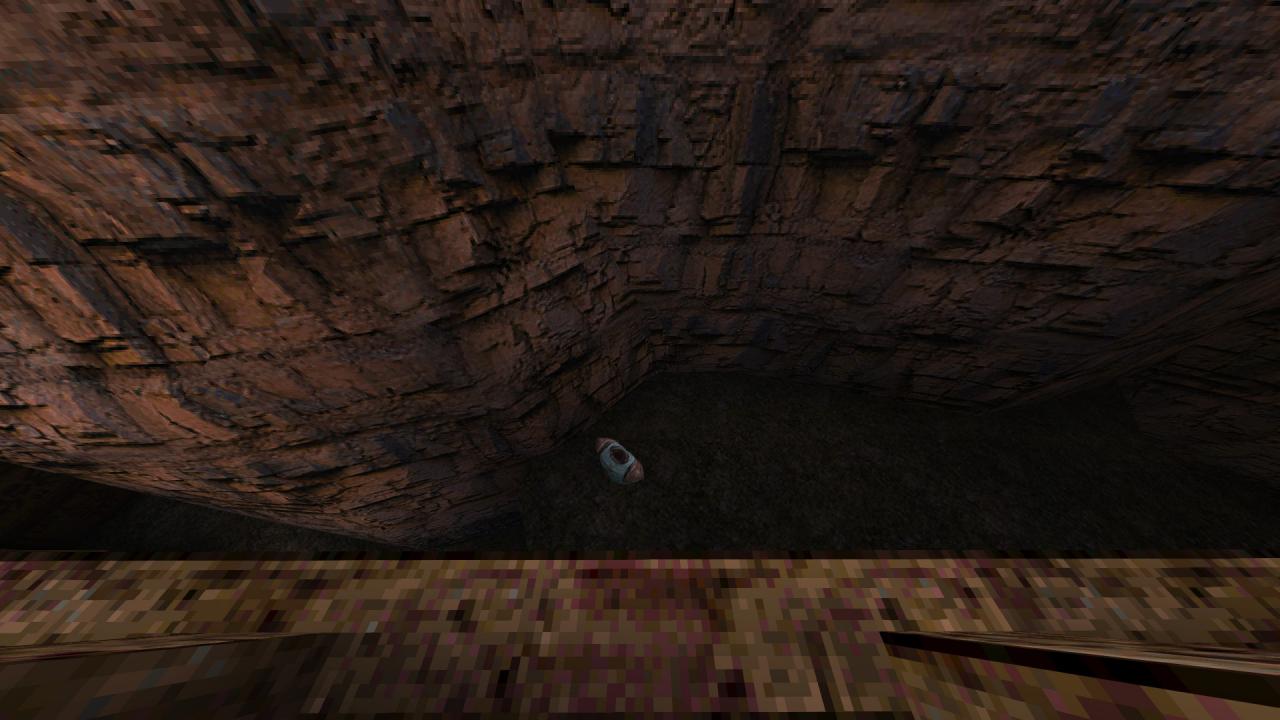
8/10 – Move left alongside the ledge overlooking the pit and jump across to a thinner one that only slightly juts out from the rocks to find a hidden alcove with a megahealth inside.
9/10 – Before going into the the sunken tower, utilize the bricks next to it to reach yet another hidden weapon that resides on the ledge.
10/10 – At the top of the sunken tower, before going into the intact one next to it, drop down to the lower floor to find a armor hidden away in the corner.
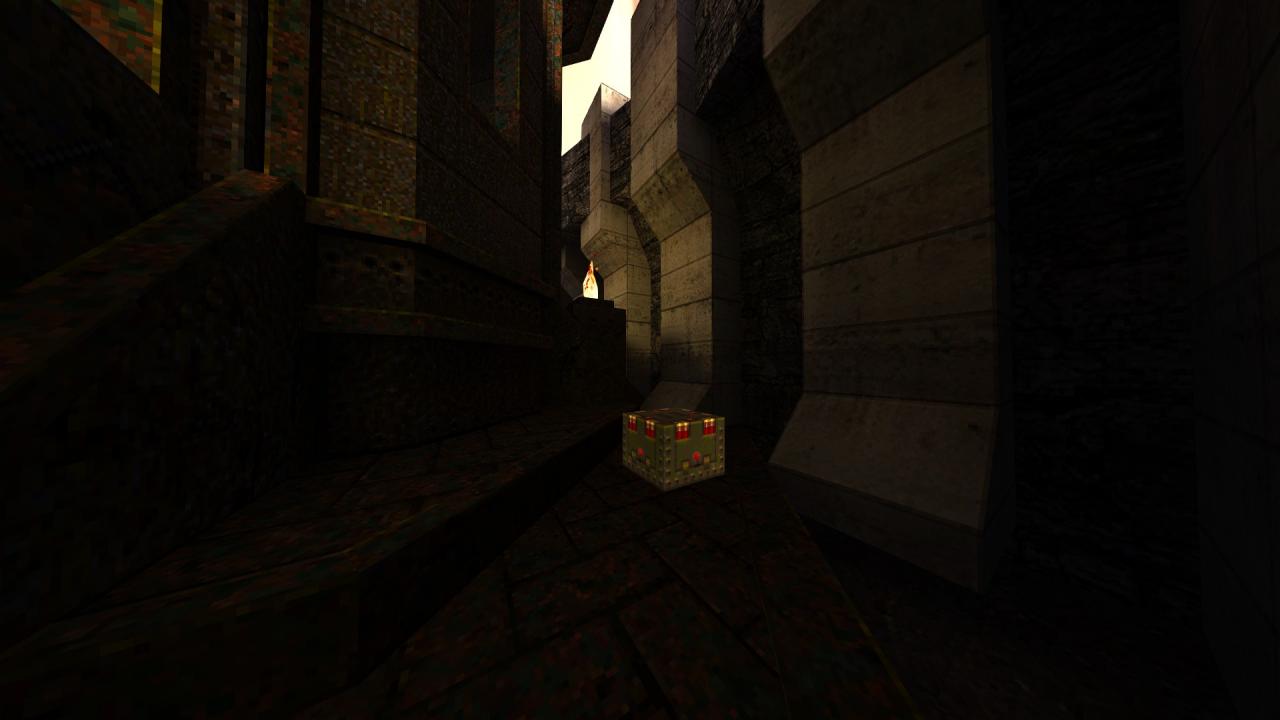
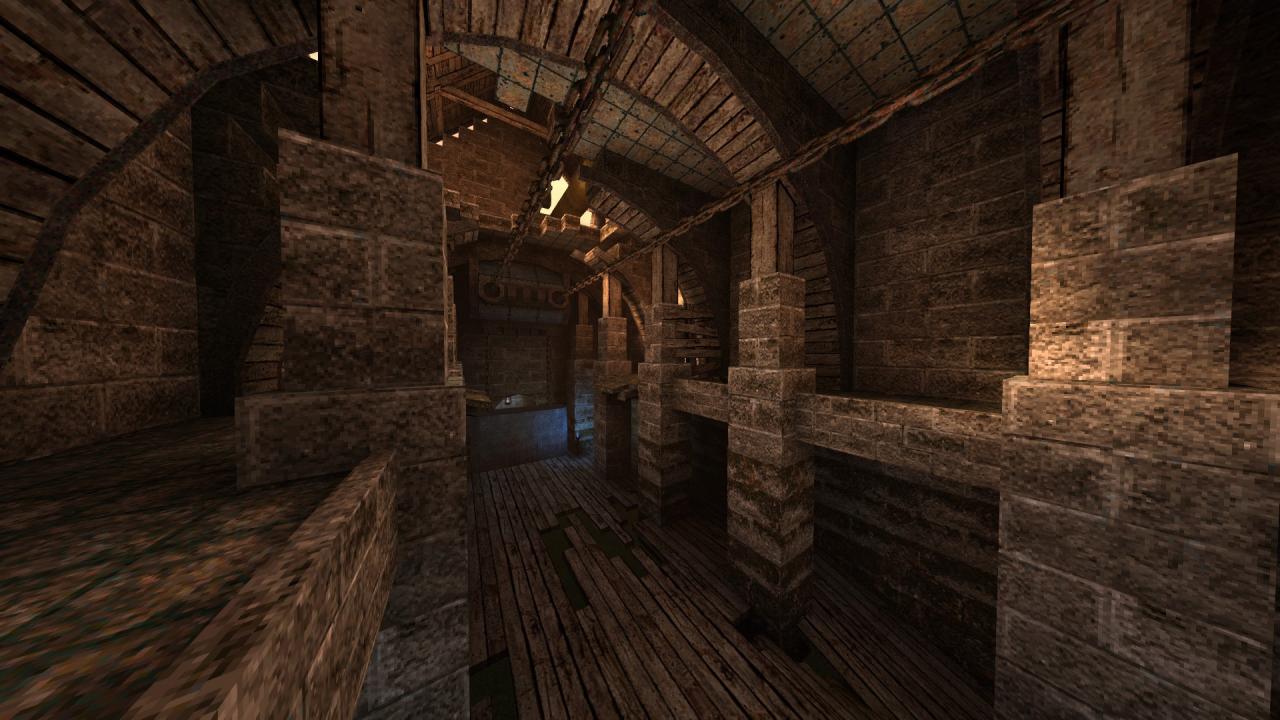
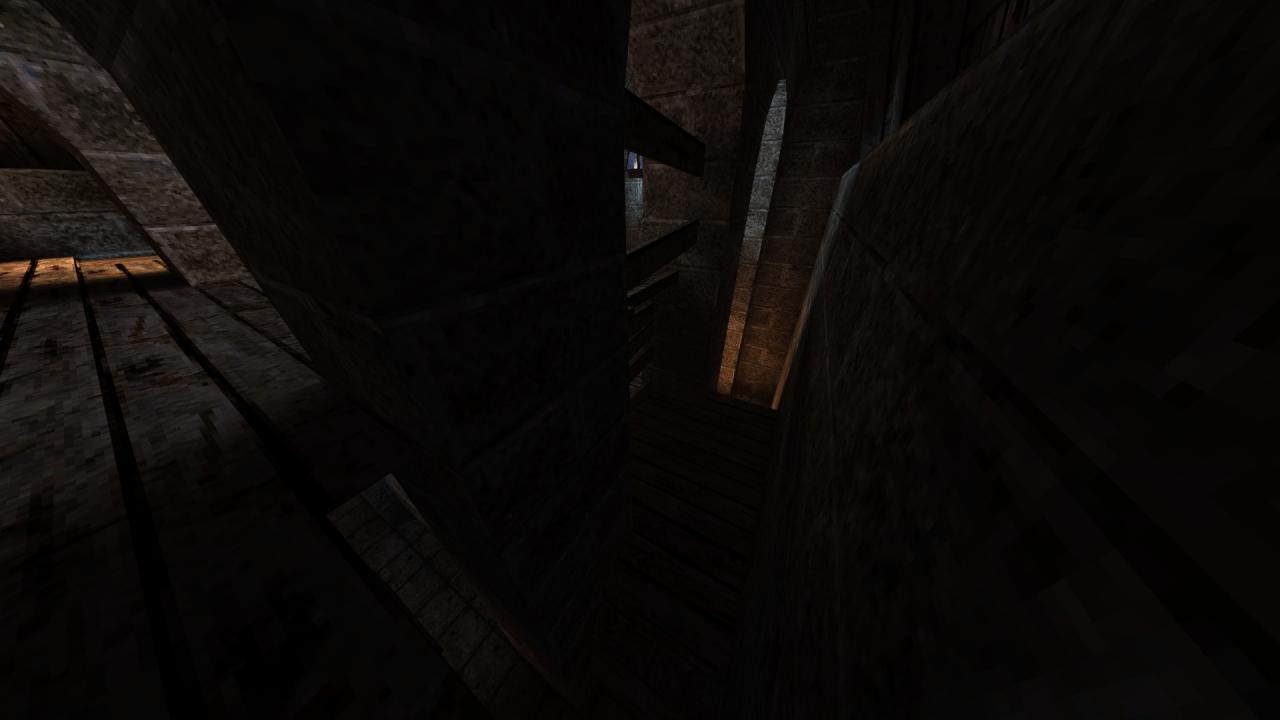
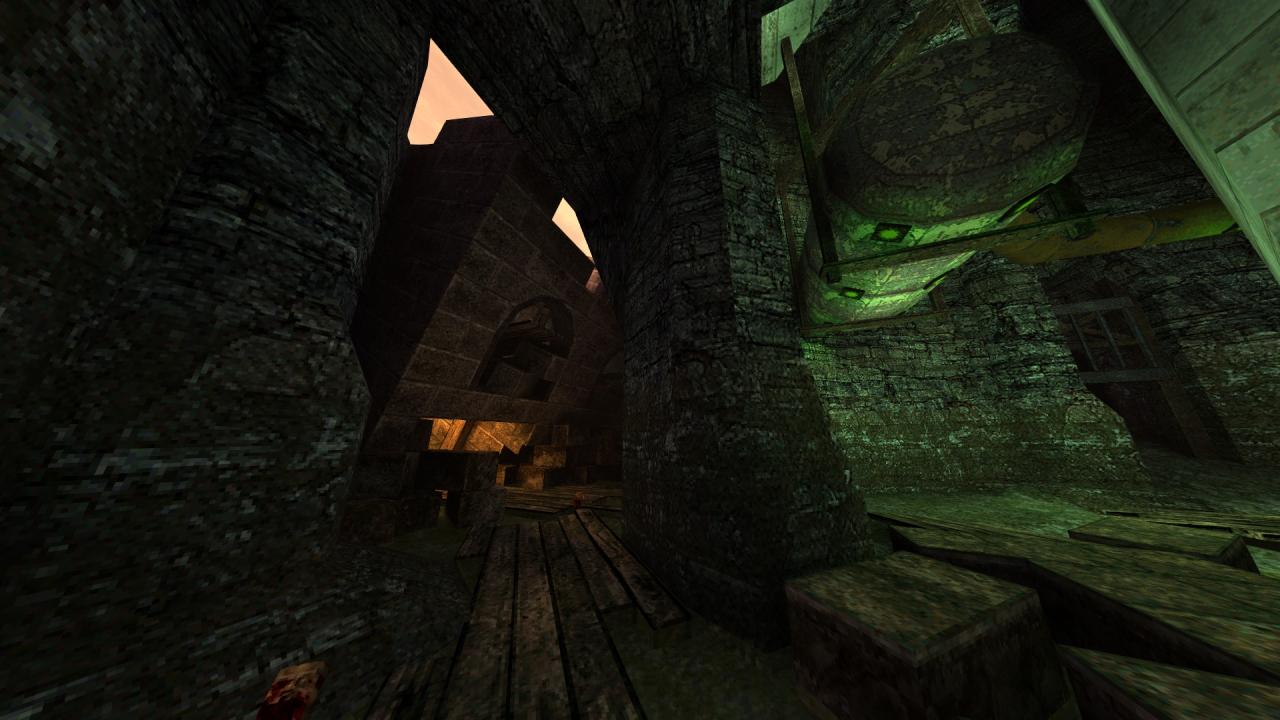
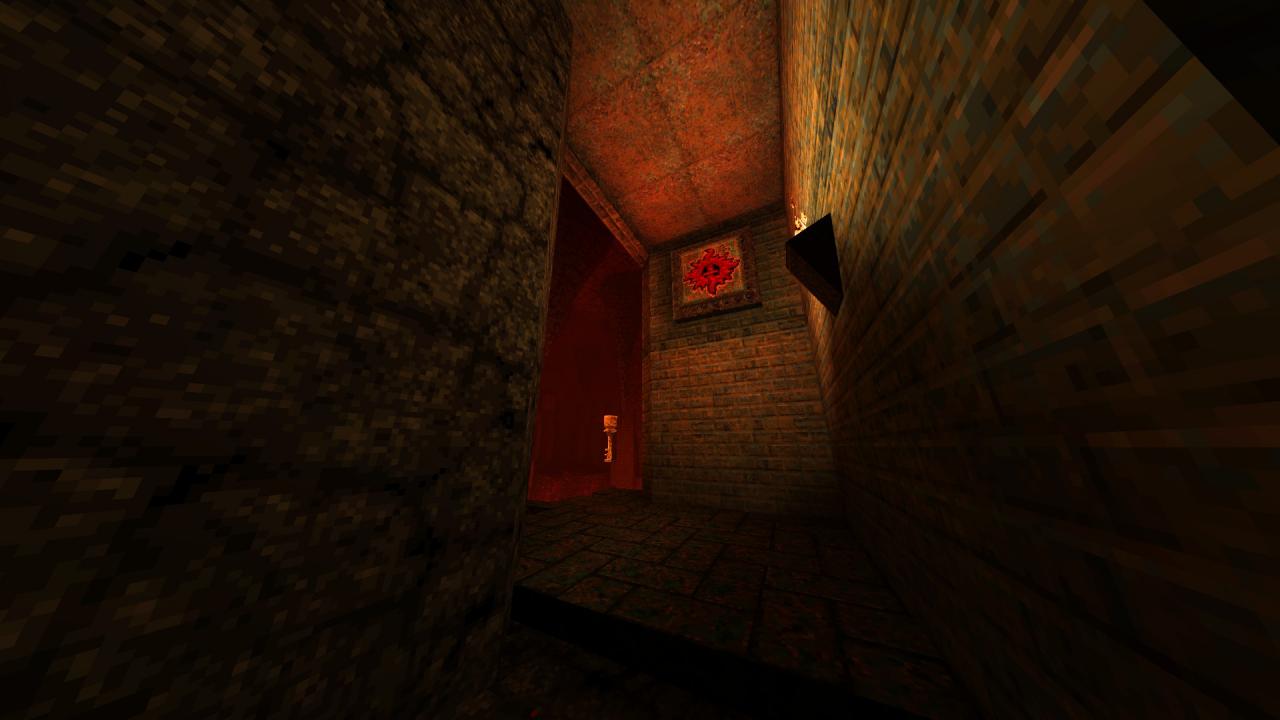
This level contains eight secrets.
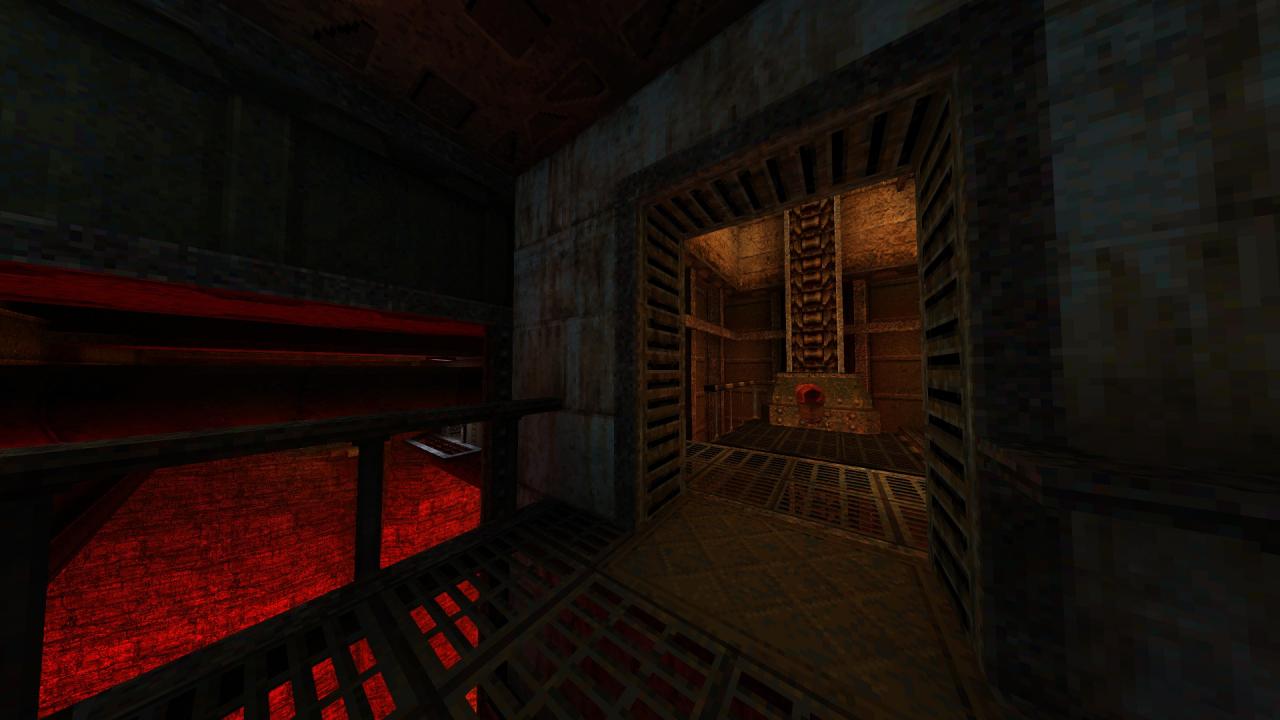

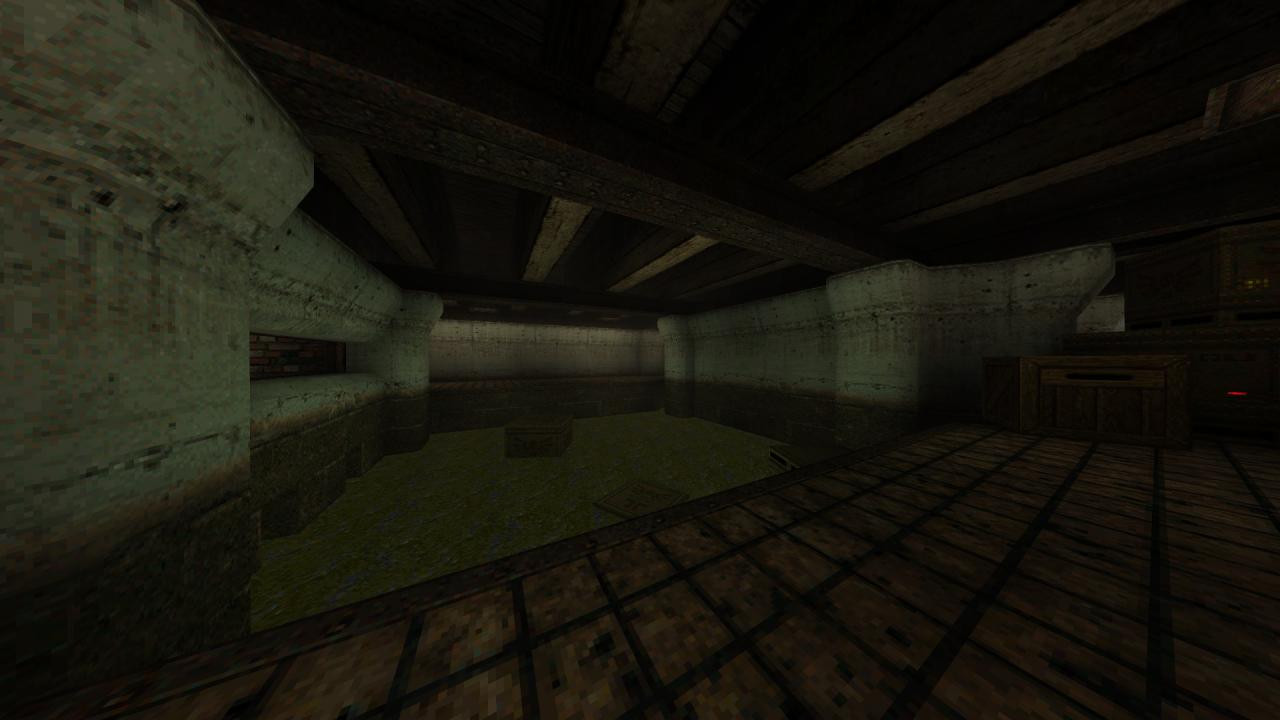
1/8 – Get the elevator moving by stepping into it, step aside without riding it and drop down into the opening to get the items residing below.
2/8 – After getting teleported out of the previous secret, also check the path that lies on the other side of the elevator to find an otherwise out-of-reach armor.
3/8 – Drop down to the ledge below the stairs and follow the path to its end to find a hidden weapon and ammo.
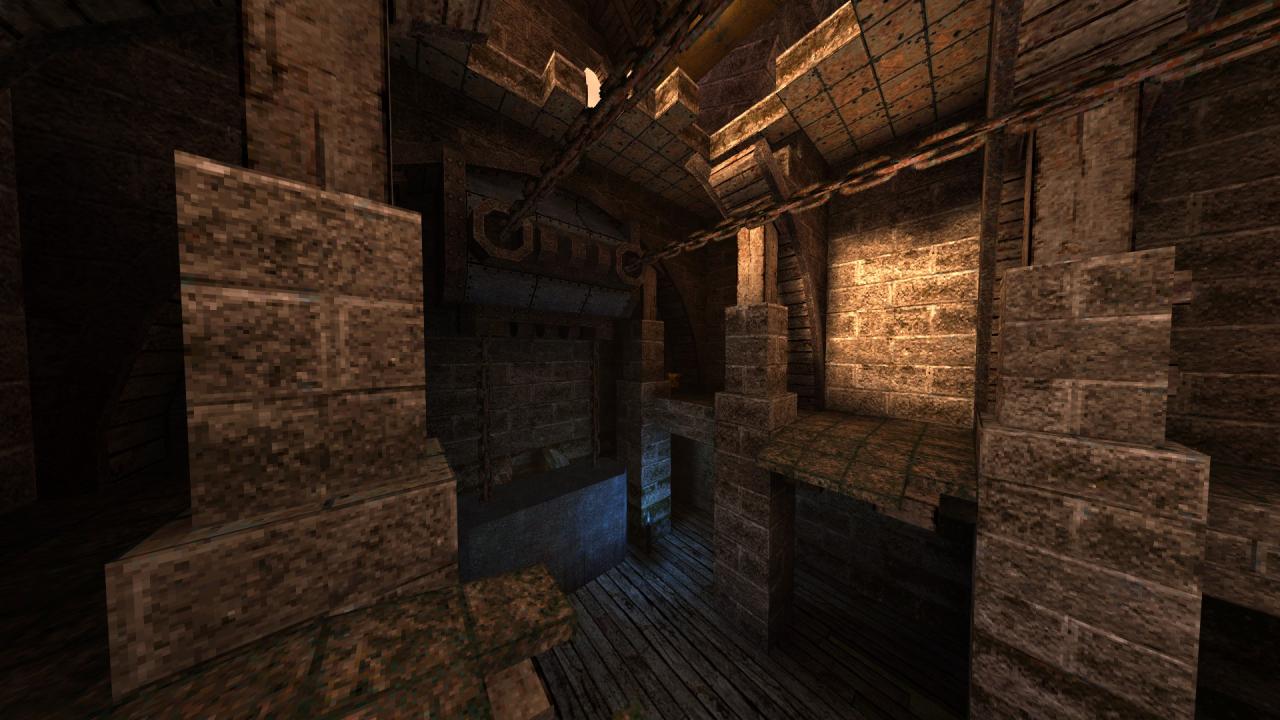
4/8 – Following from the previous secret, turn around after passing through the tunnel in the middle of the walkway and jump to the ledge to get the weapon.
5/8 – Right after the previous secret, look for a button in the corner as soon as you drop down to the next area and shoot it to reveal a tunnel that leads to a hidden armor.

6/8 – Jump across to the ledge below the stairs and follow the path by the outer wall to reach a hidden armor.
7/8 – Jump down from the walkway to the top of the tunnel below to get the ammo lying out in the open.
8/8 – Right after the previous secret, get on the roof to the left and turn around to find a ledge with the part of the wall above it looking slightly indented. Jump on the ledge and hit the wall to reveal a hidden area.
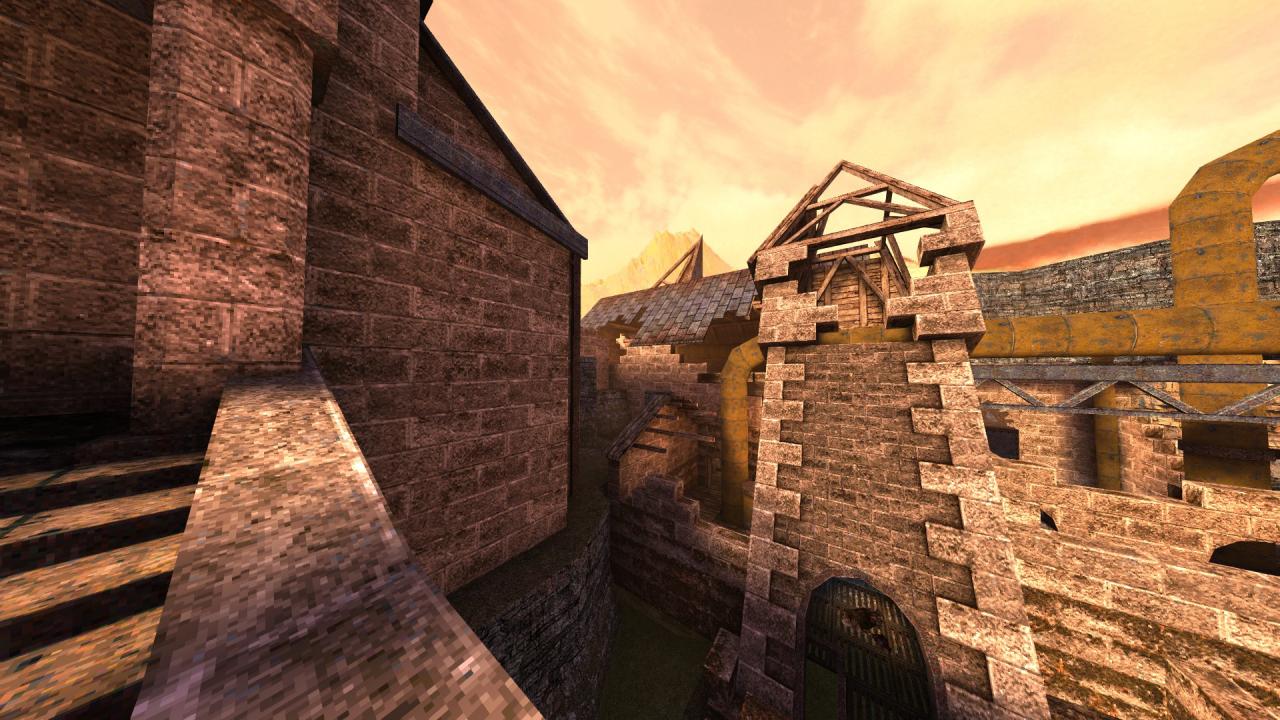
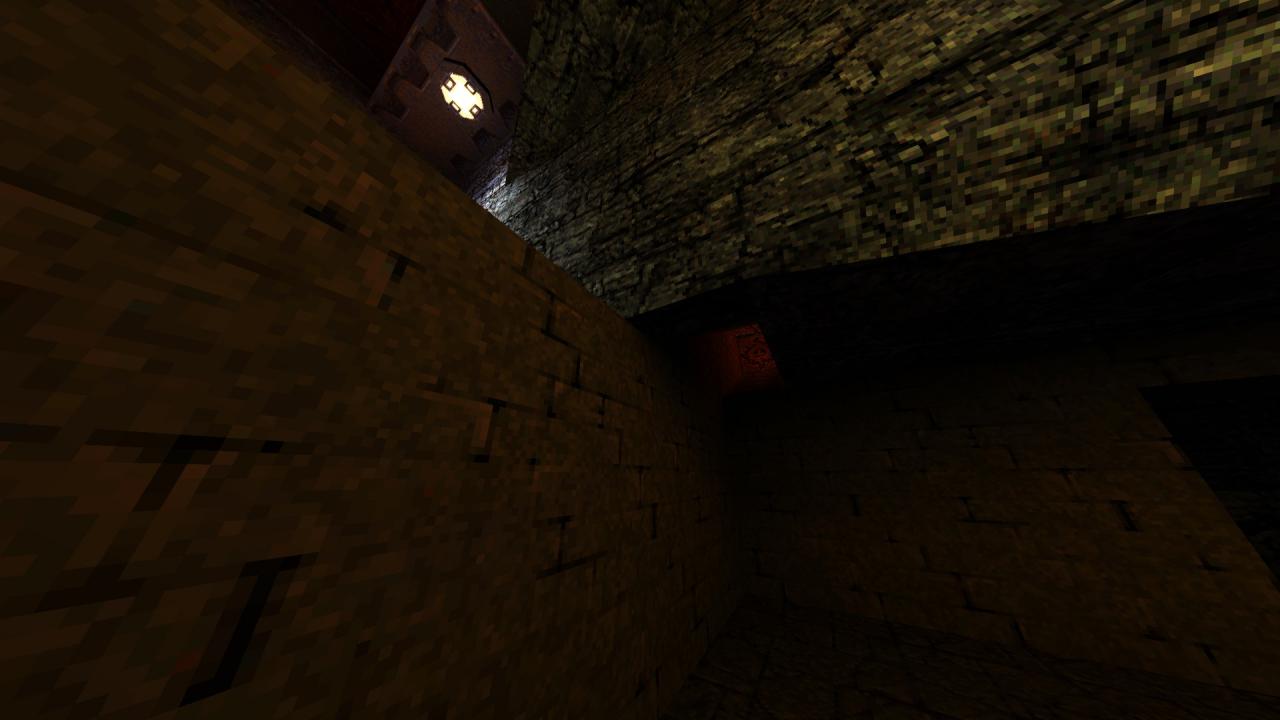
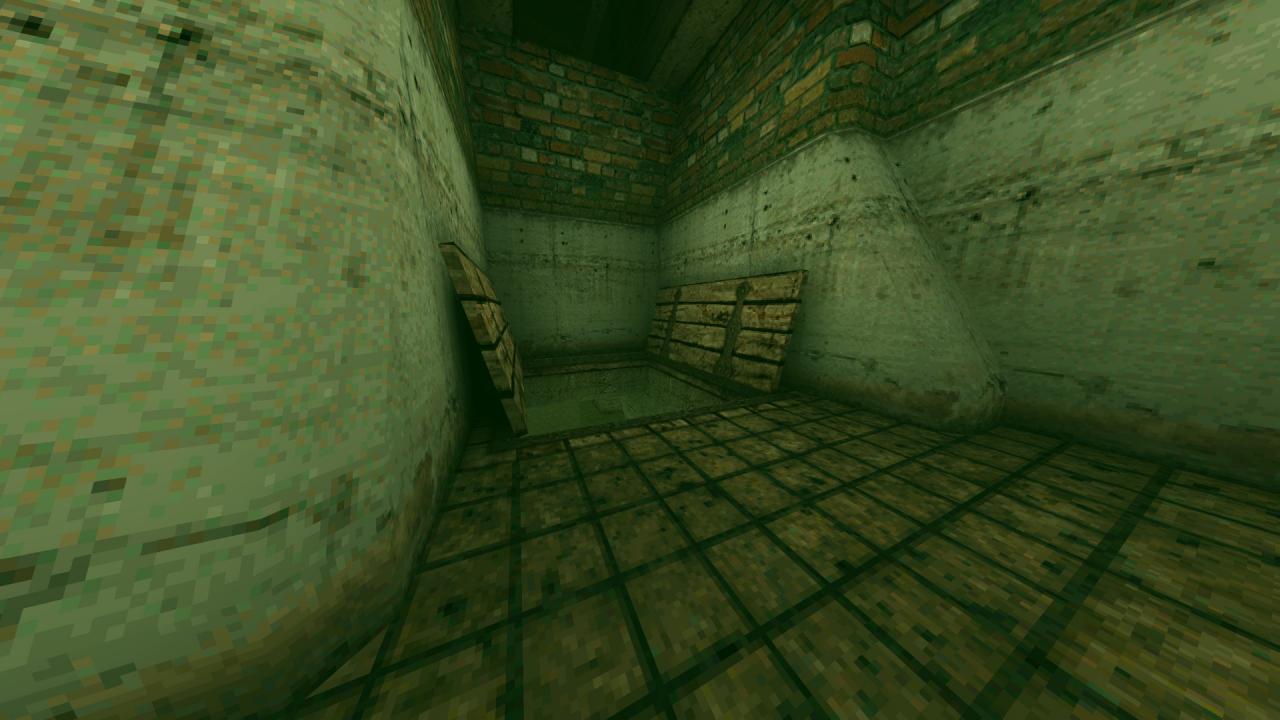
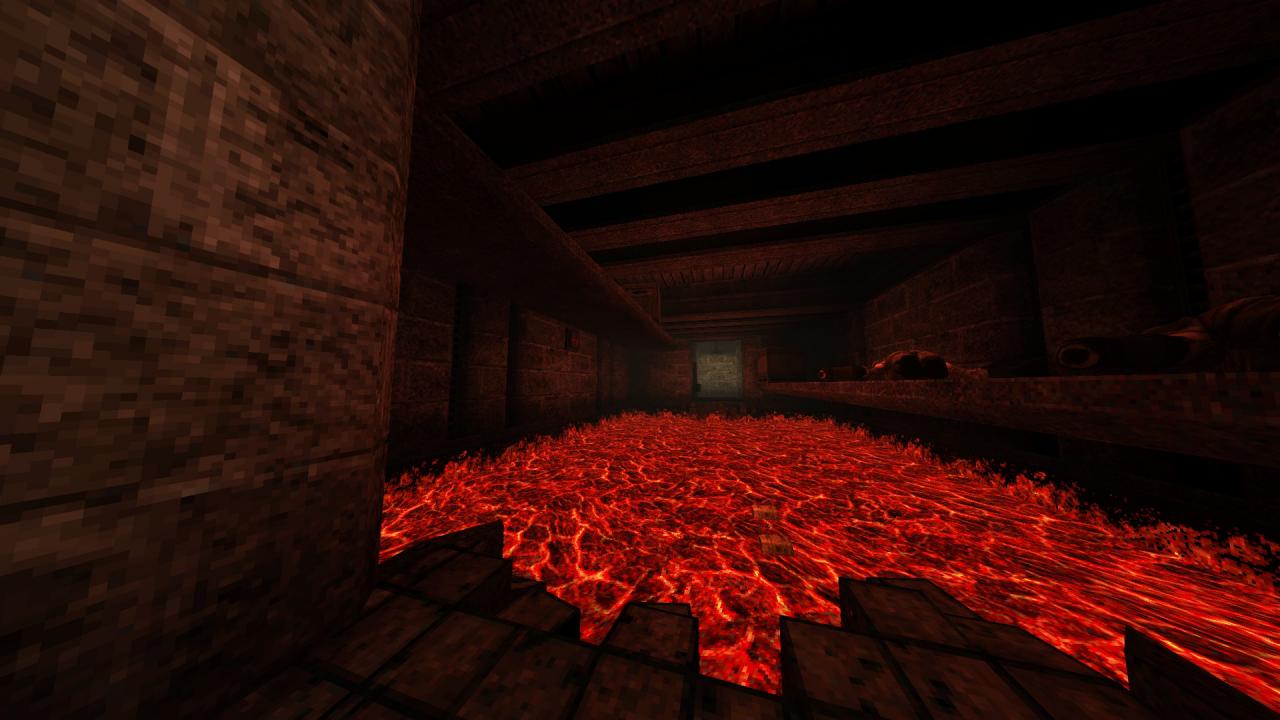
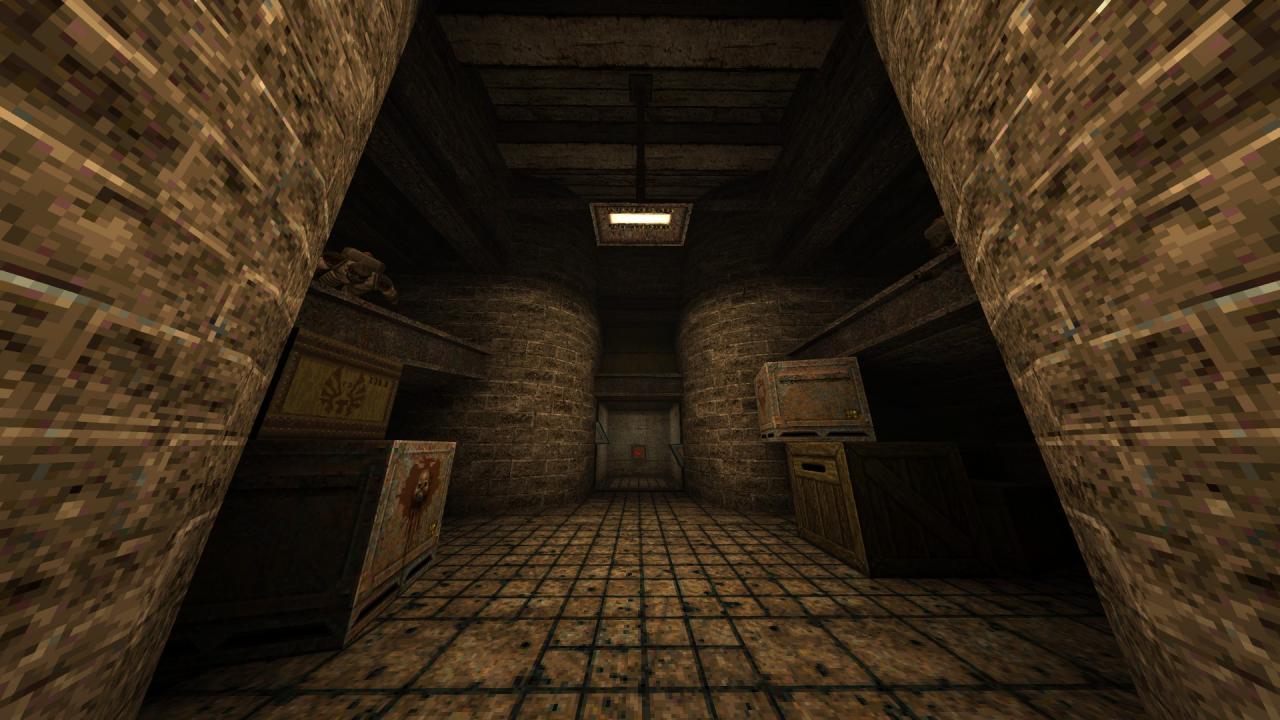
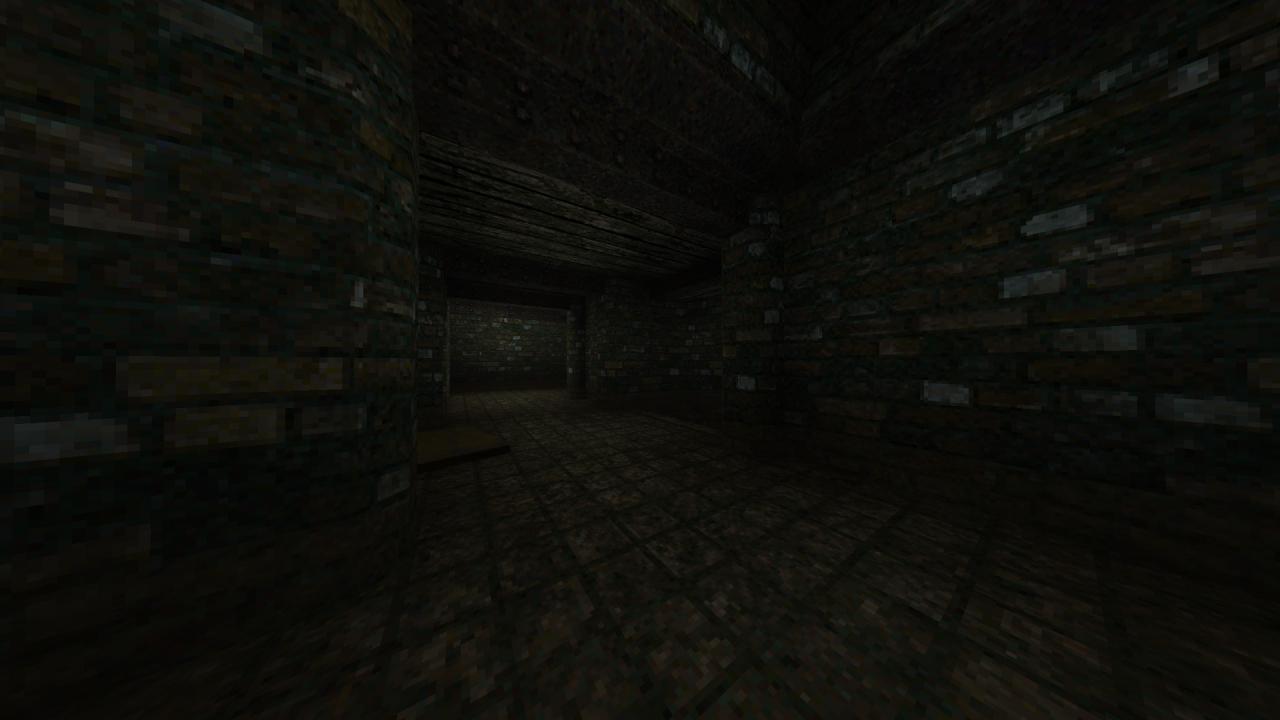
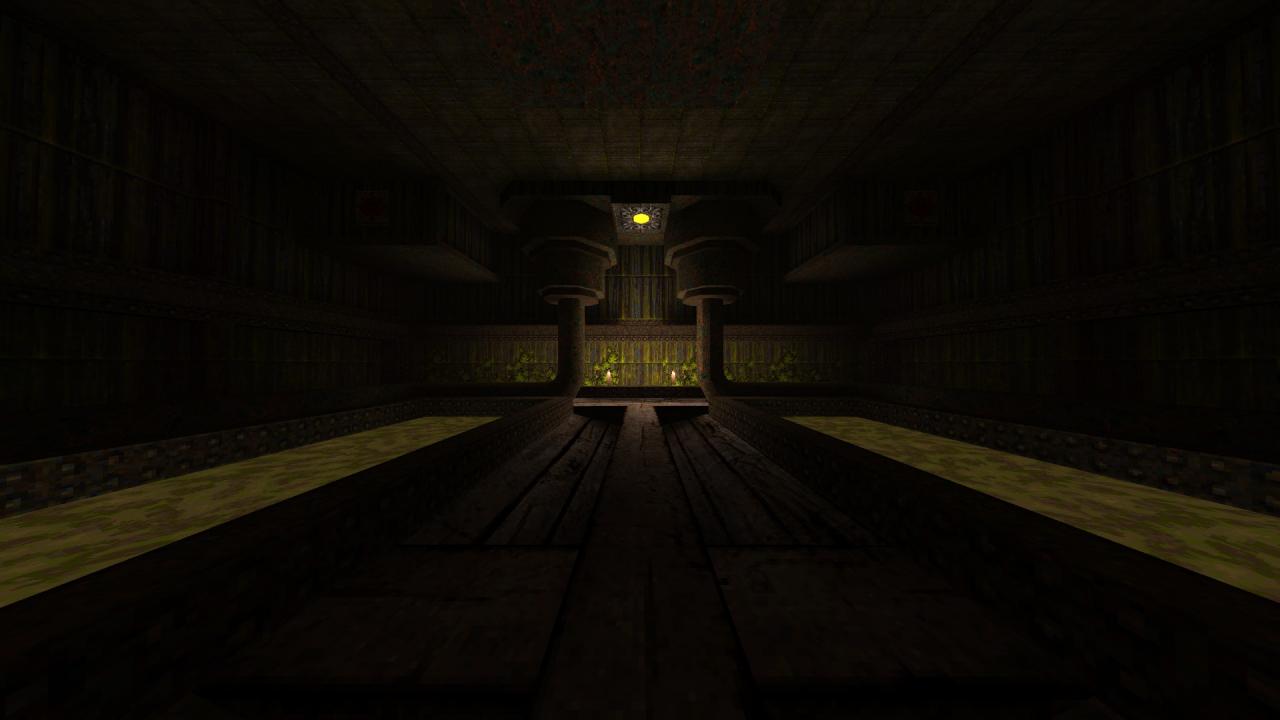
MGE3M1: Down the Waste
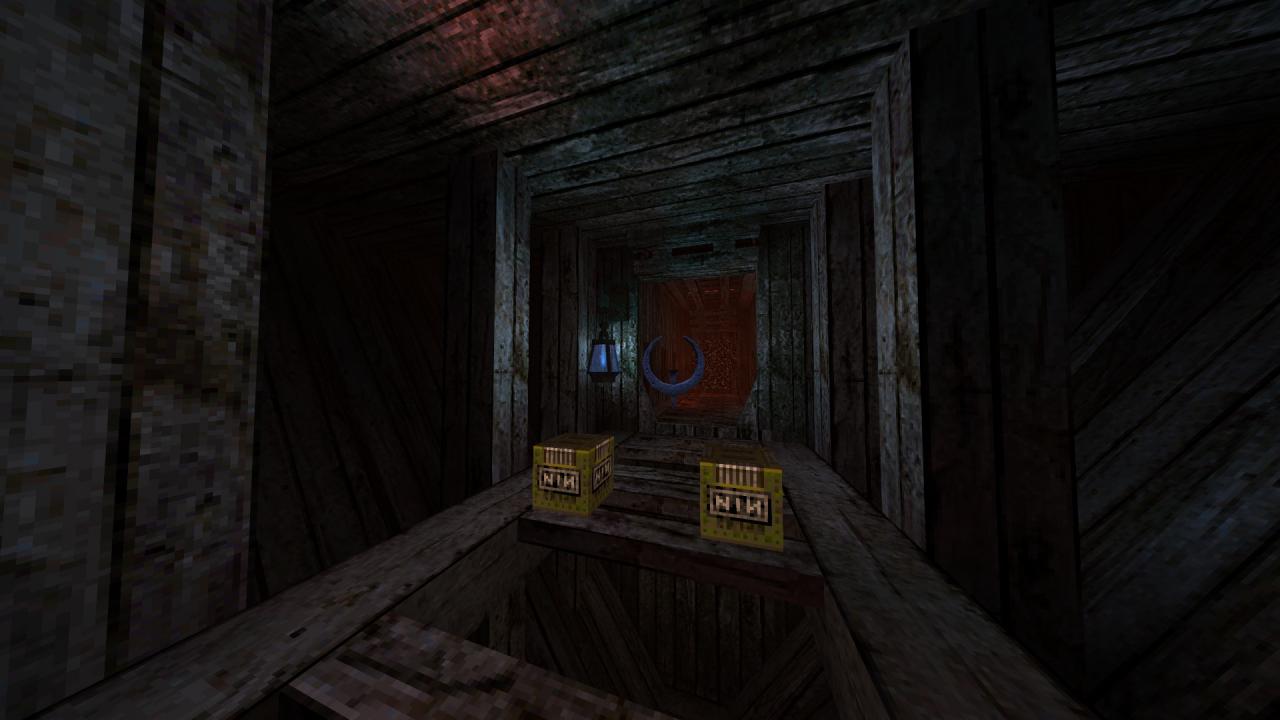
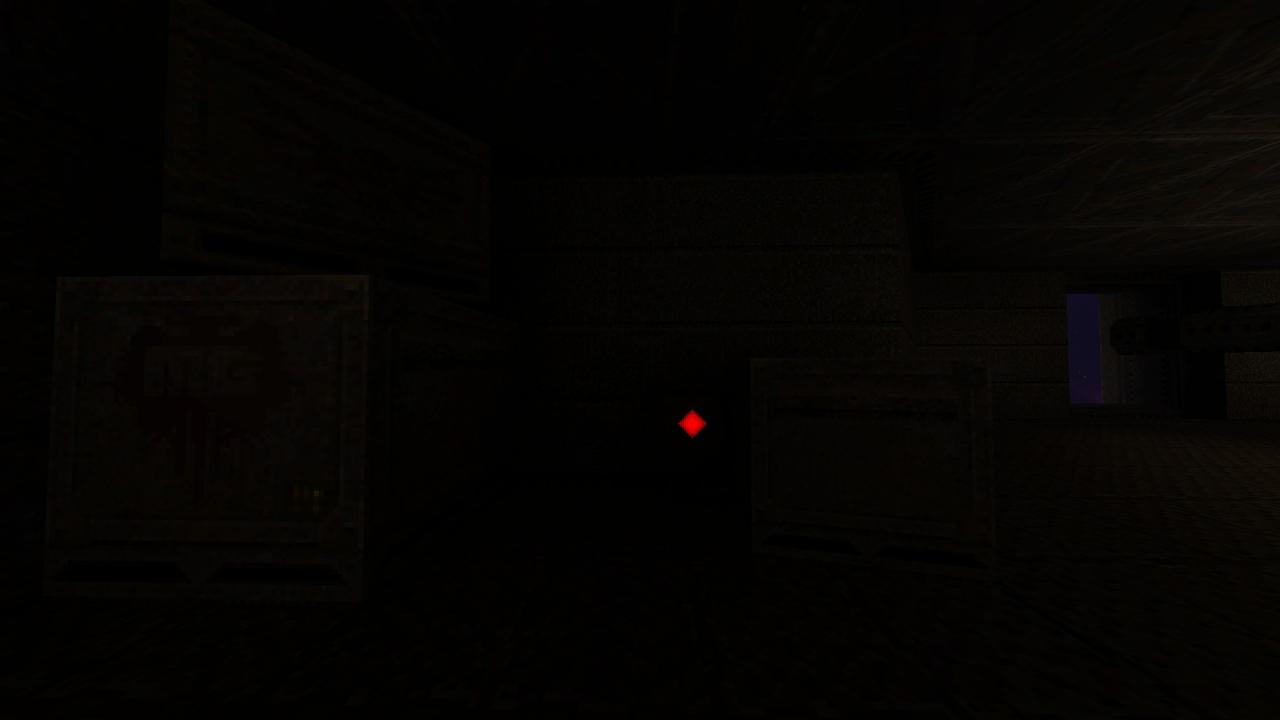
This level contains eleven secrets.
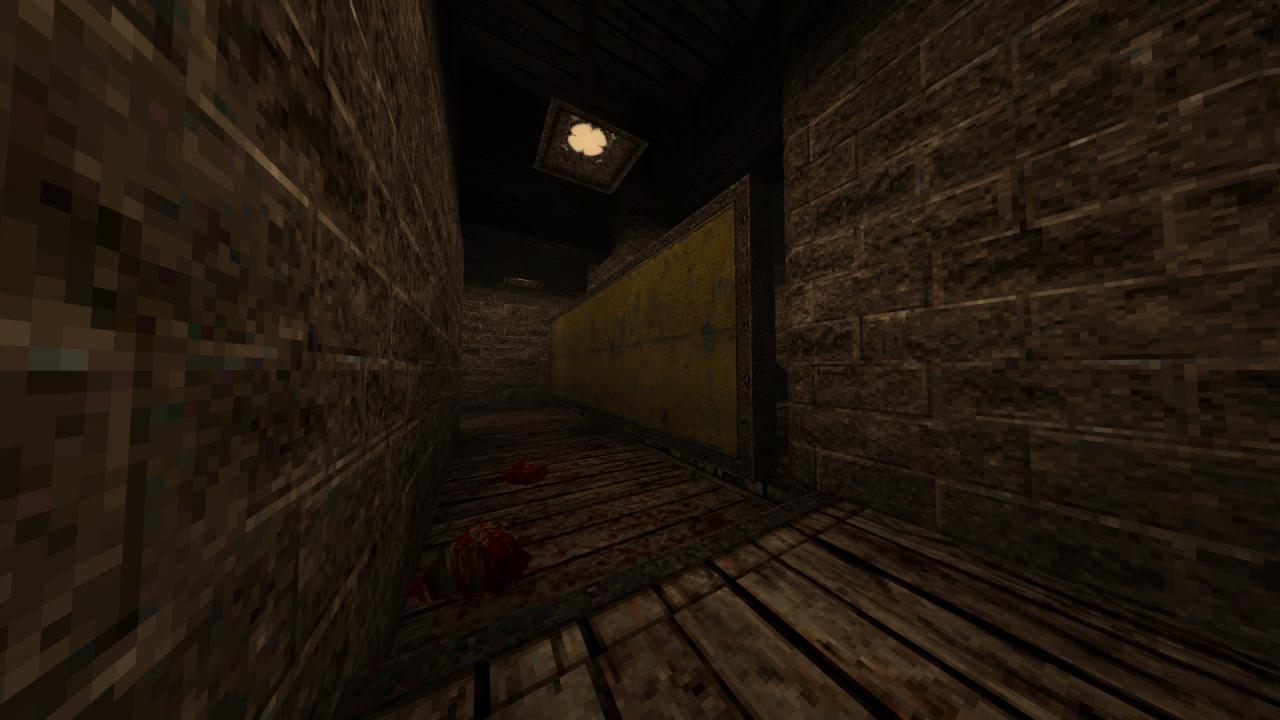
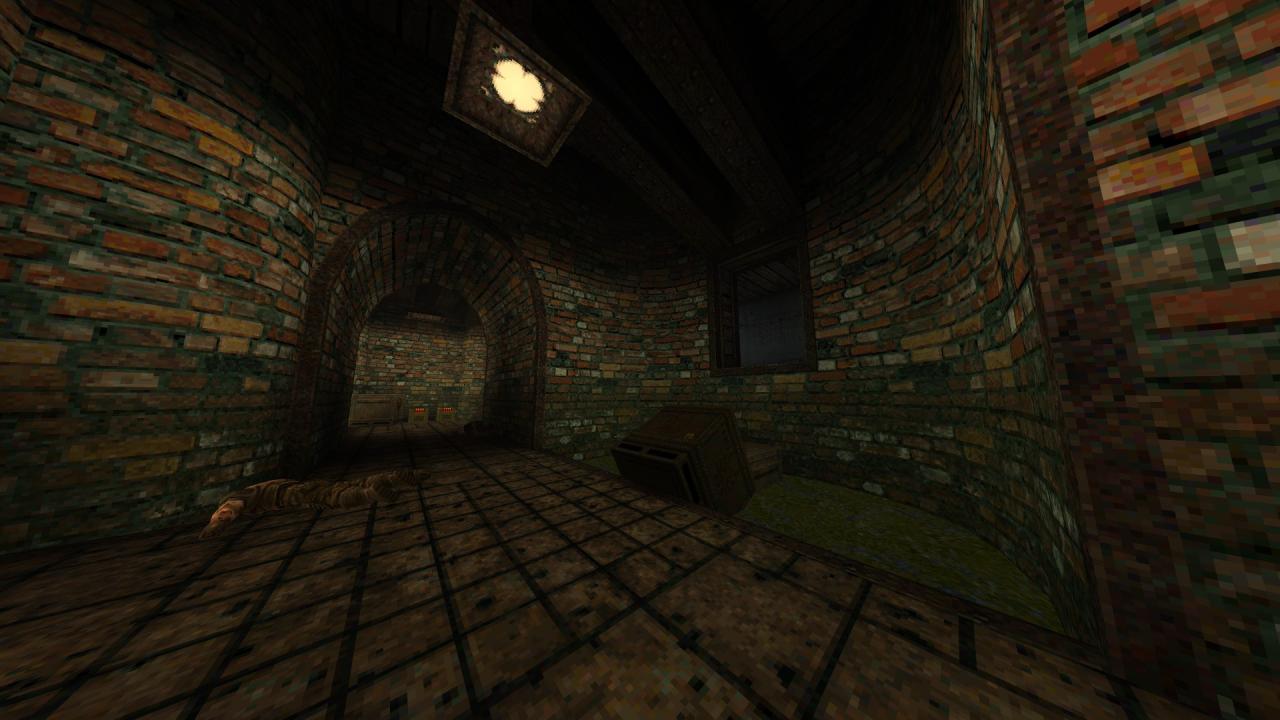
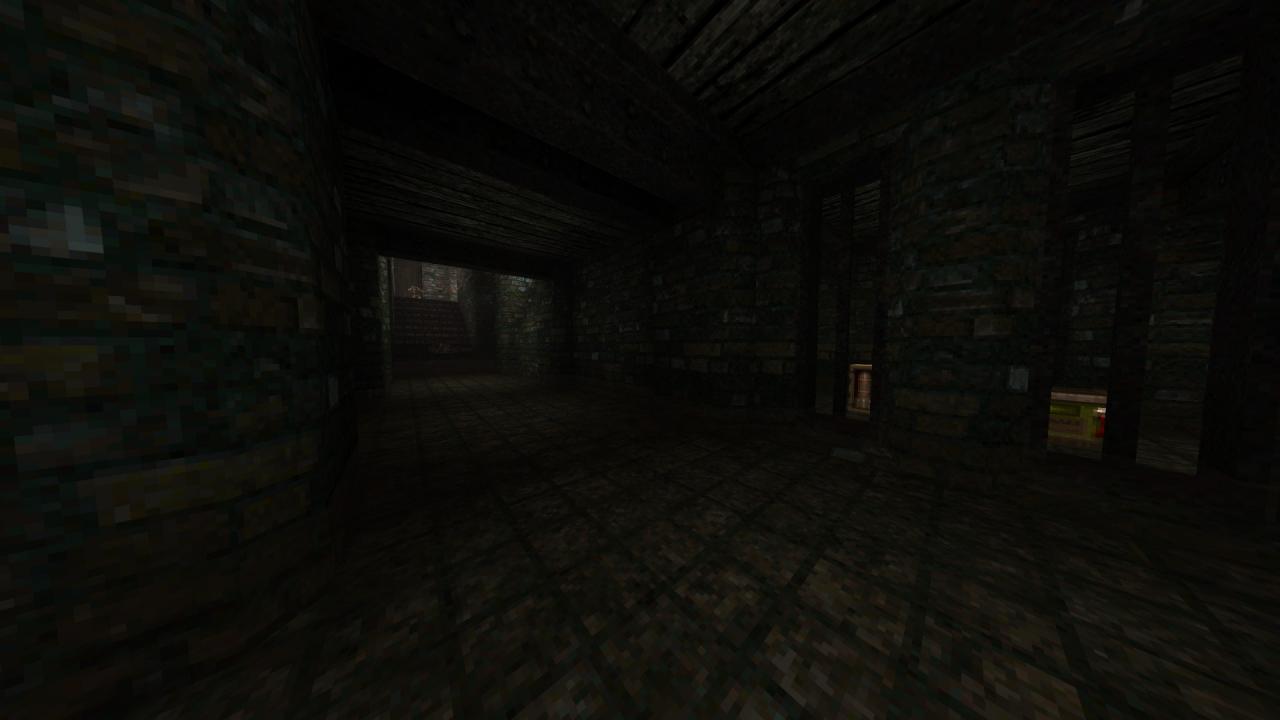
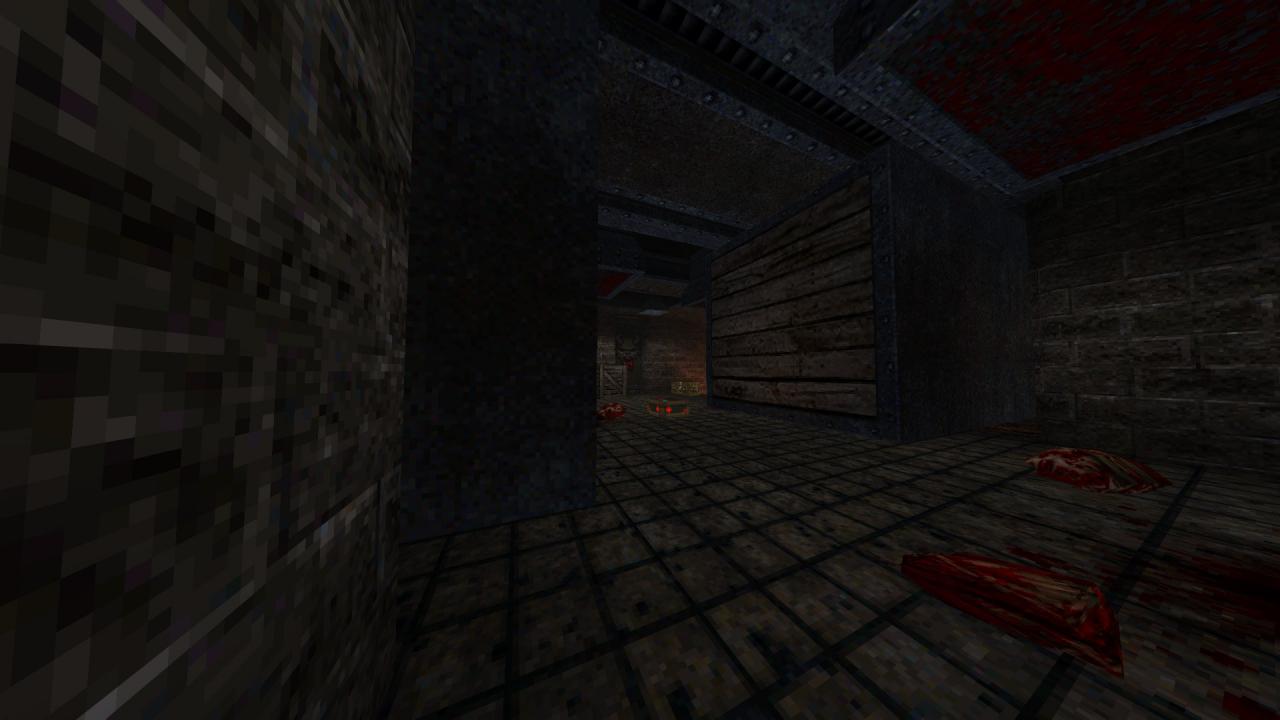
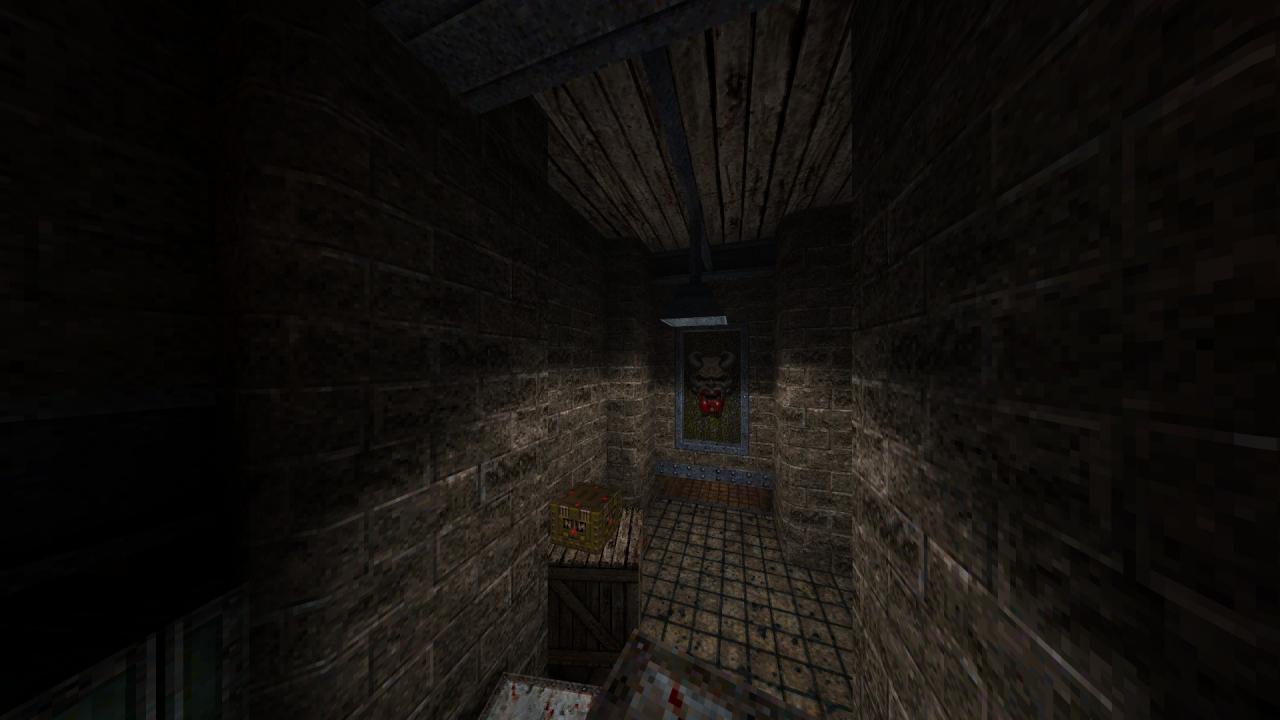
1/11 – Hit the bloody blind at the one end of the initial area to access a hidden section.
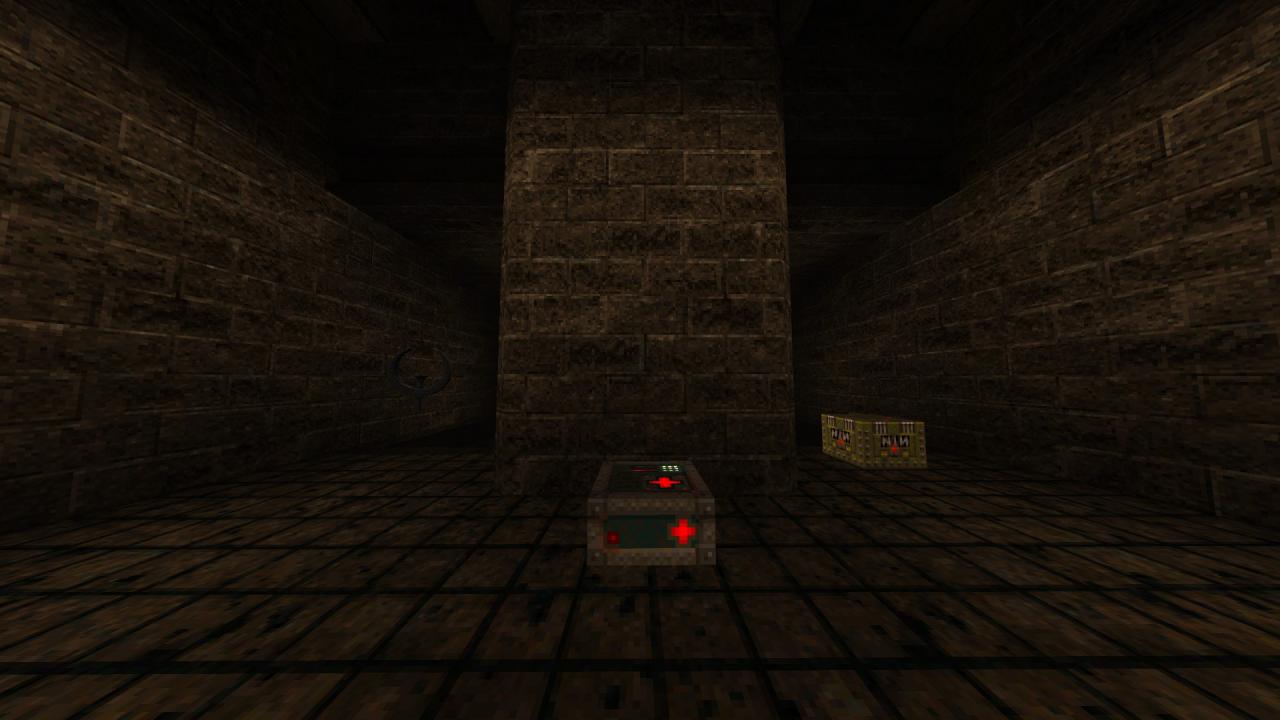
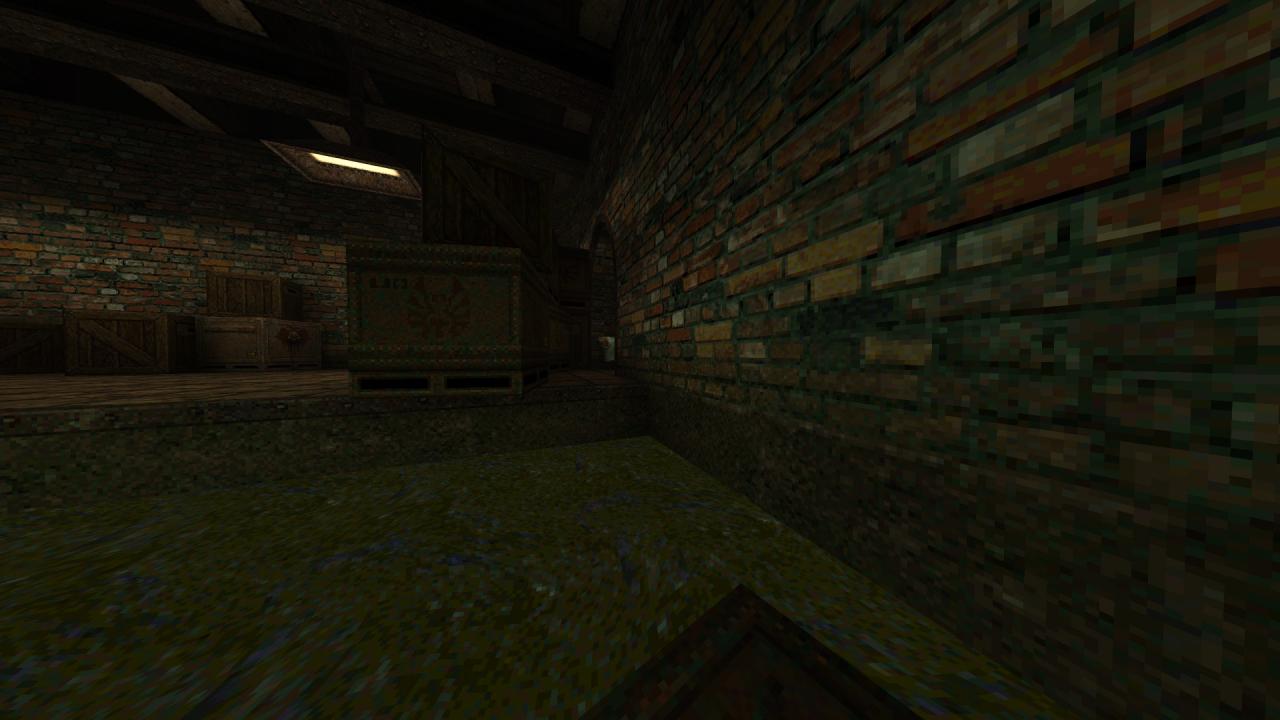
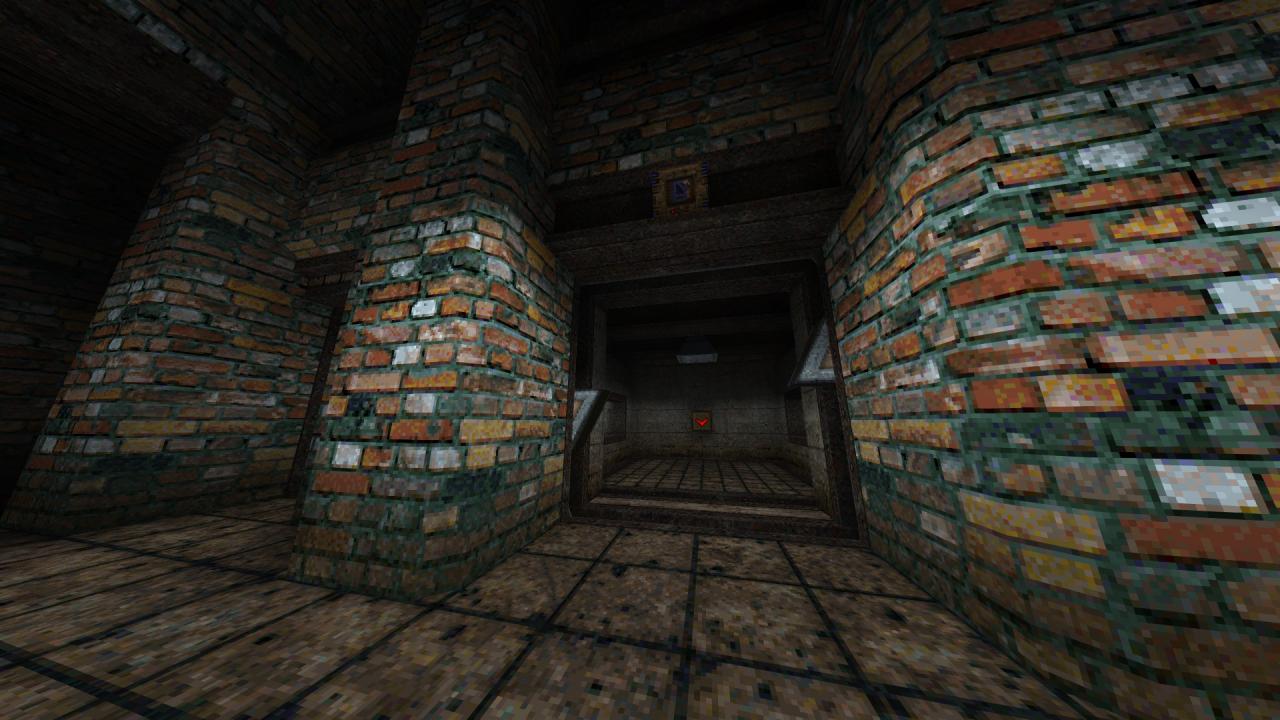
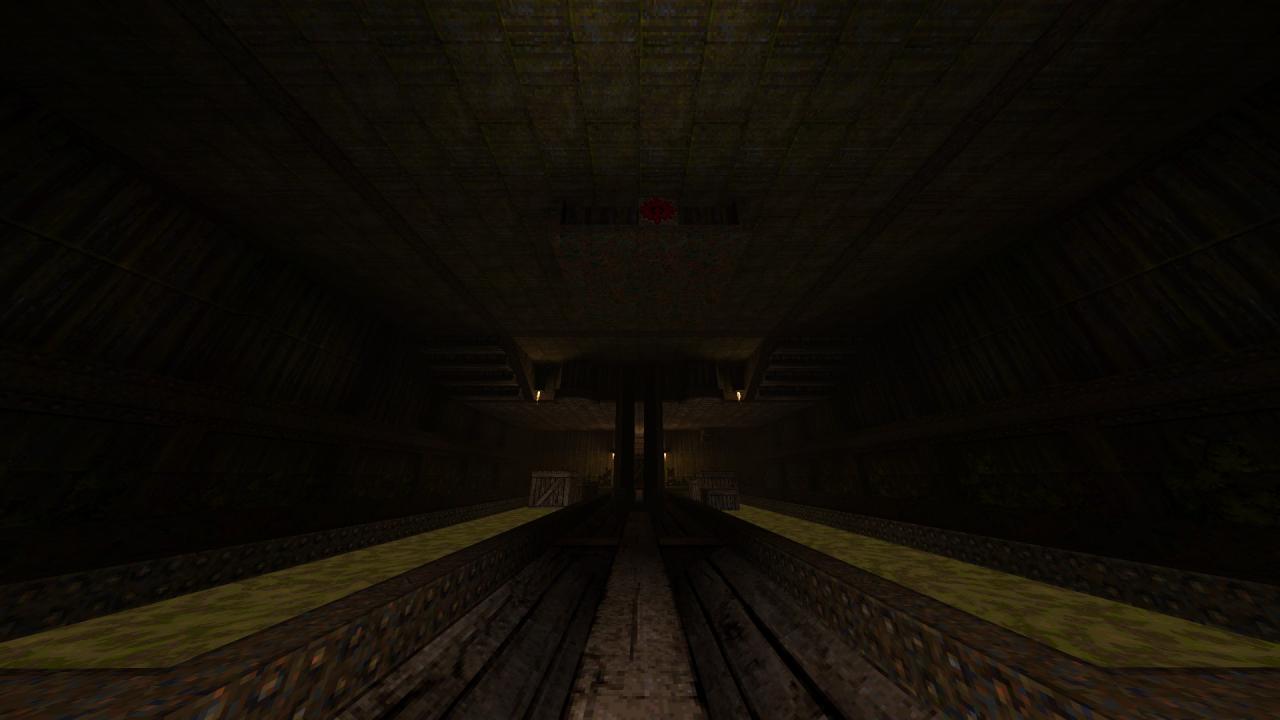
2/11 – Get across the slime pit, turn left and shoot the button that can be seen at the far end of the area behind the boxes. Return to the other side of the pit and pass through the newly-opened room to get the armor.
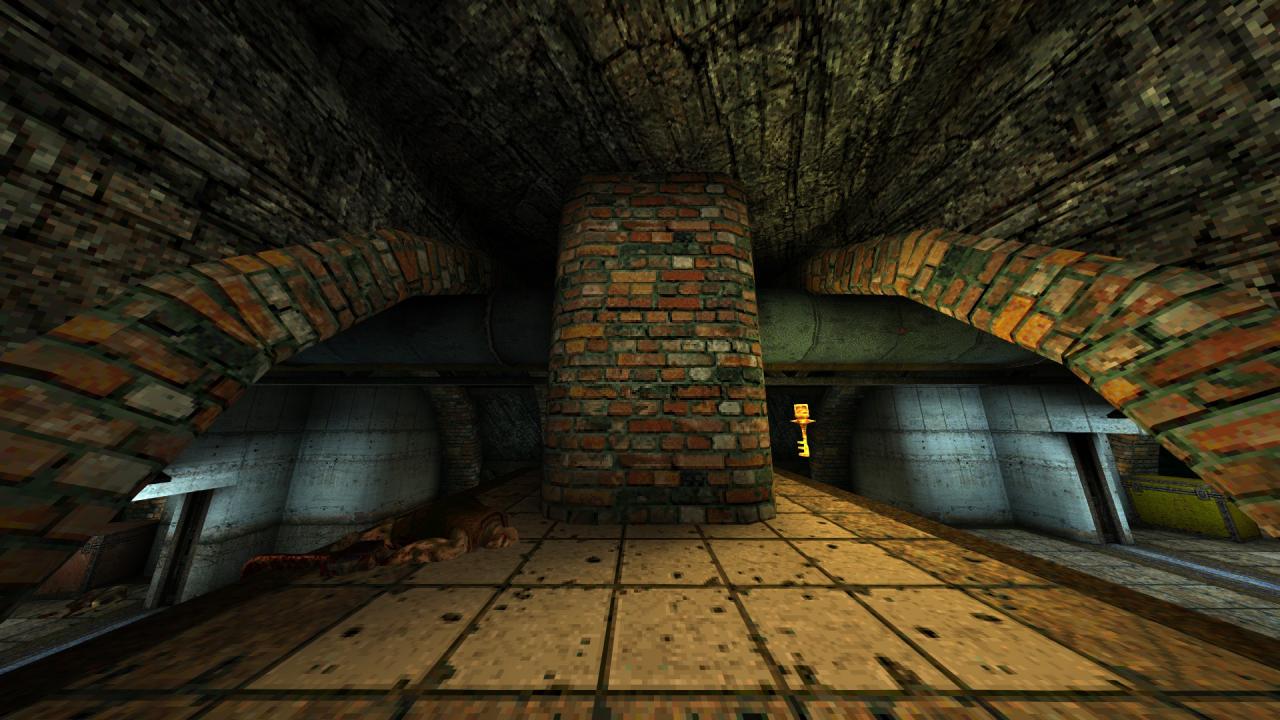
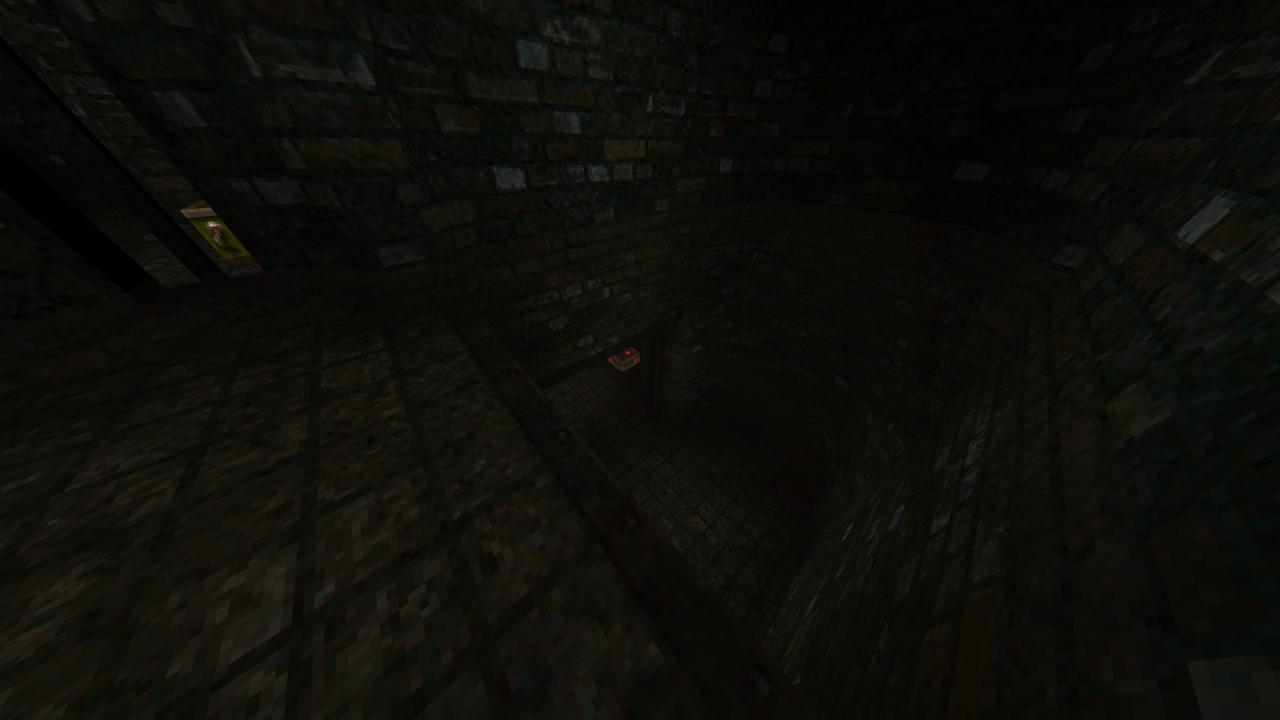
3/11 – While swimming through the slime, look for a side exit to your right to reach another hidden area.
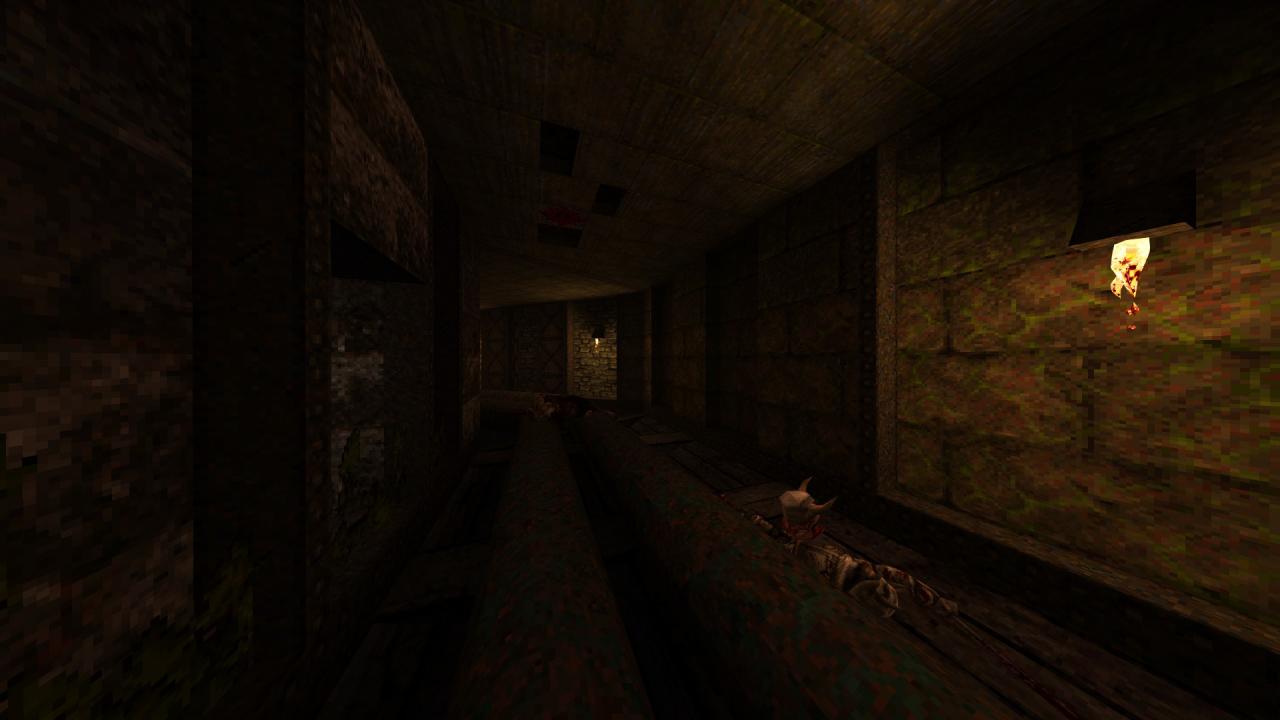
4/11 – As you progress through the corridors, look for a bloody grating in the corner, shoot it and drop down to reach another hidden area.
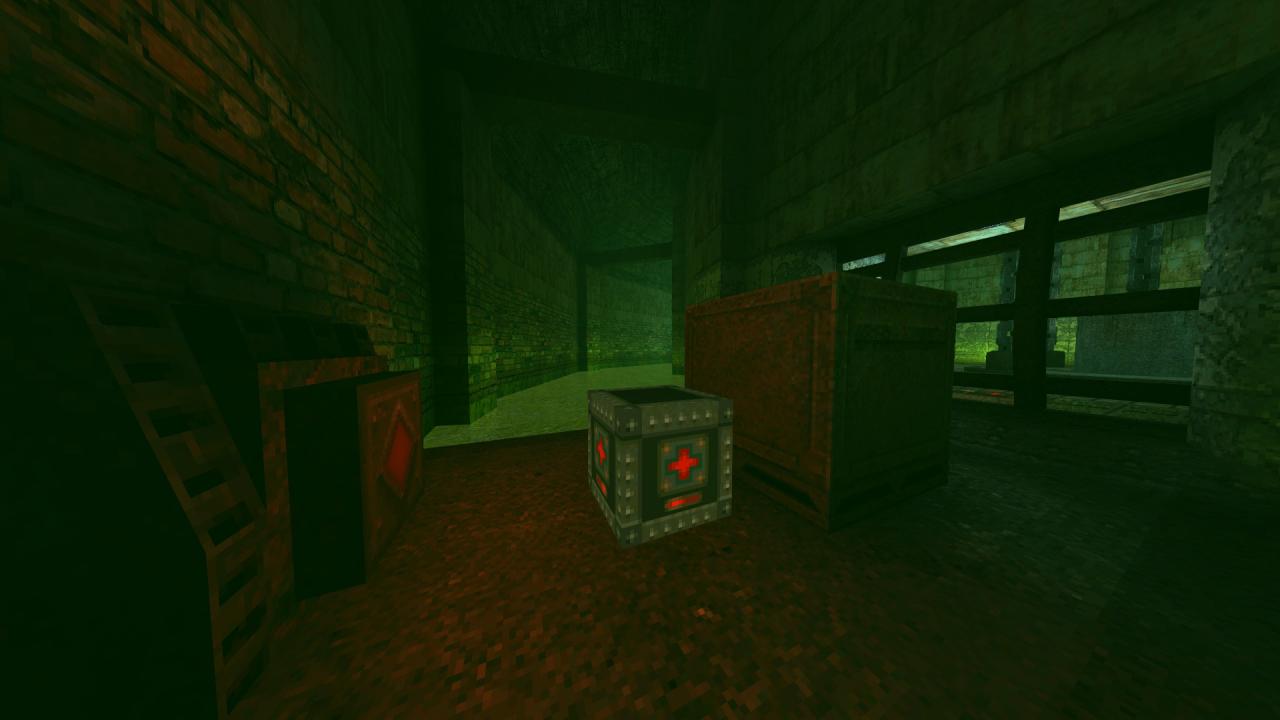
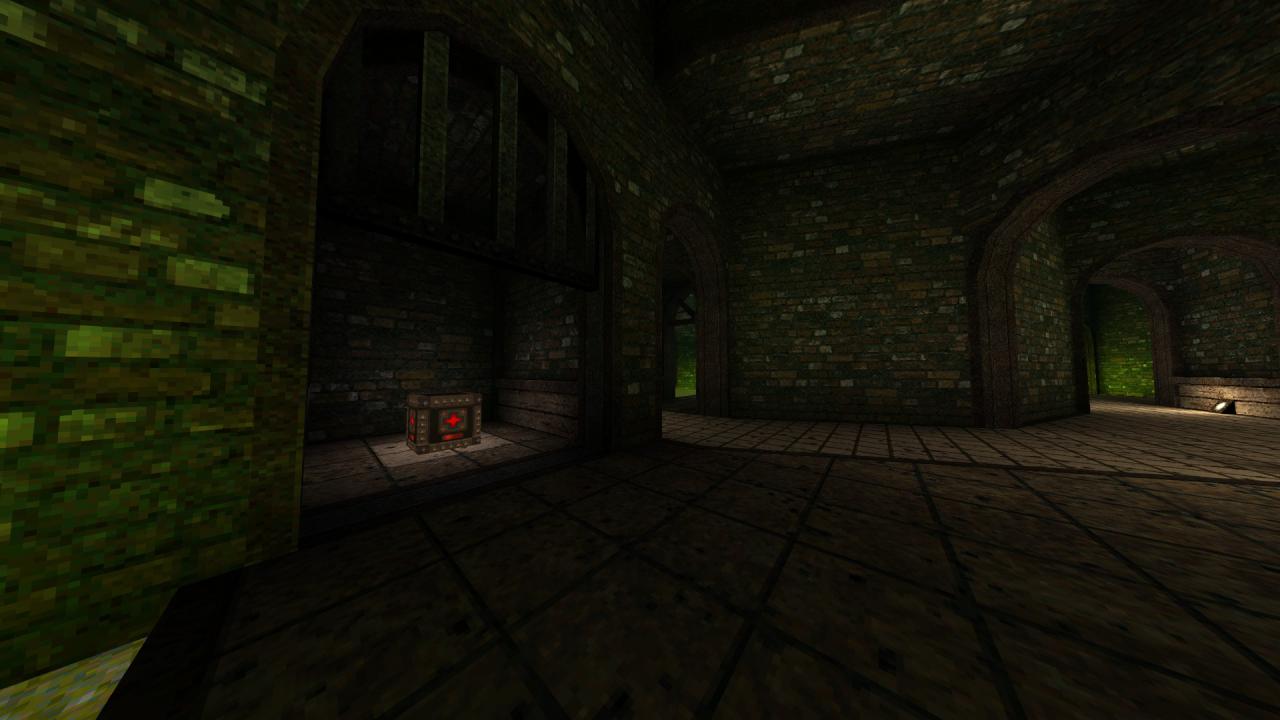
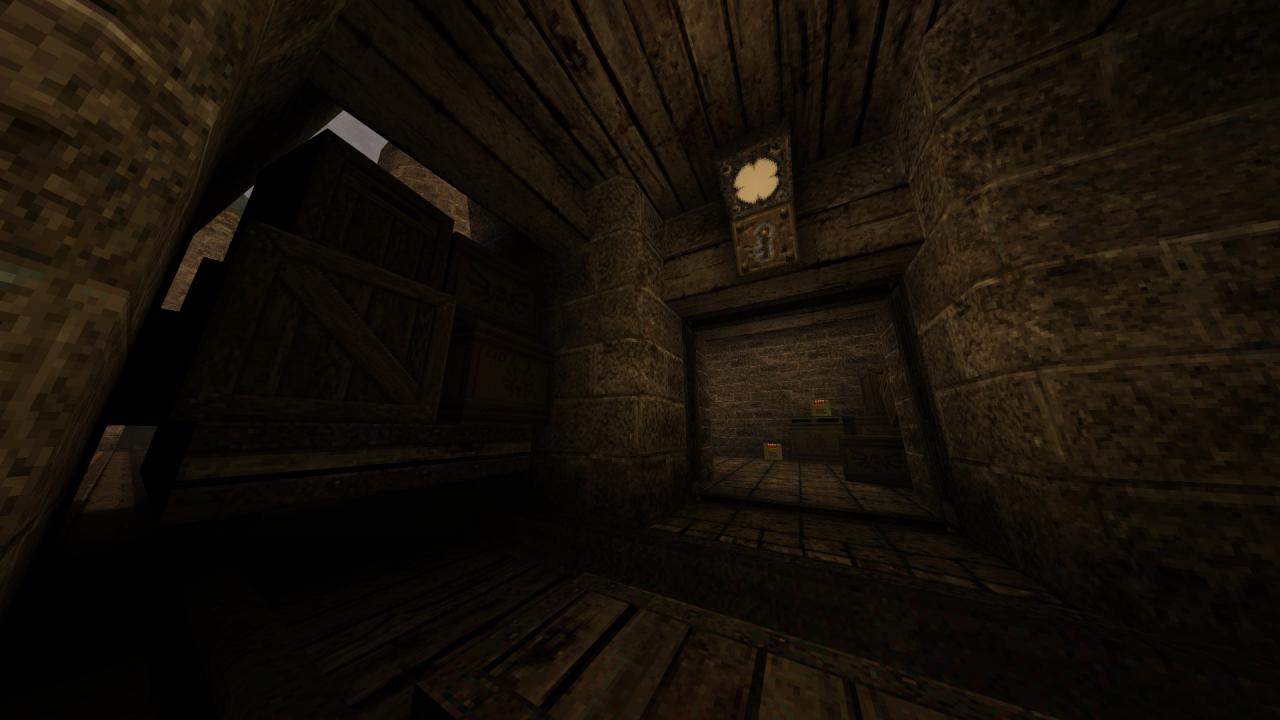
5/11 – Activate the crusher on your way by stepping in front of it, quickly step back and jump into the area behind it to access a hidden cache.
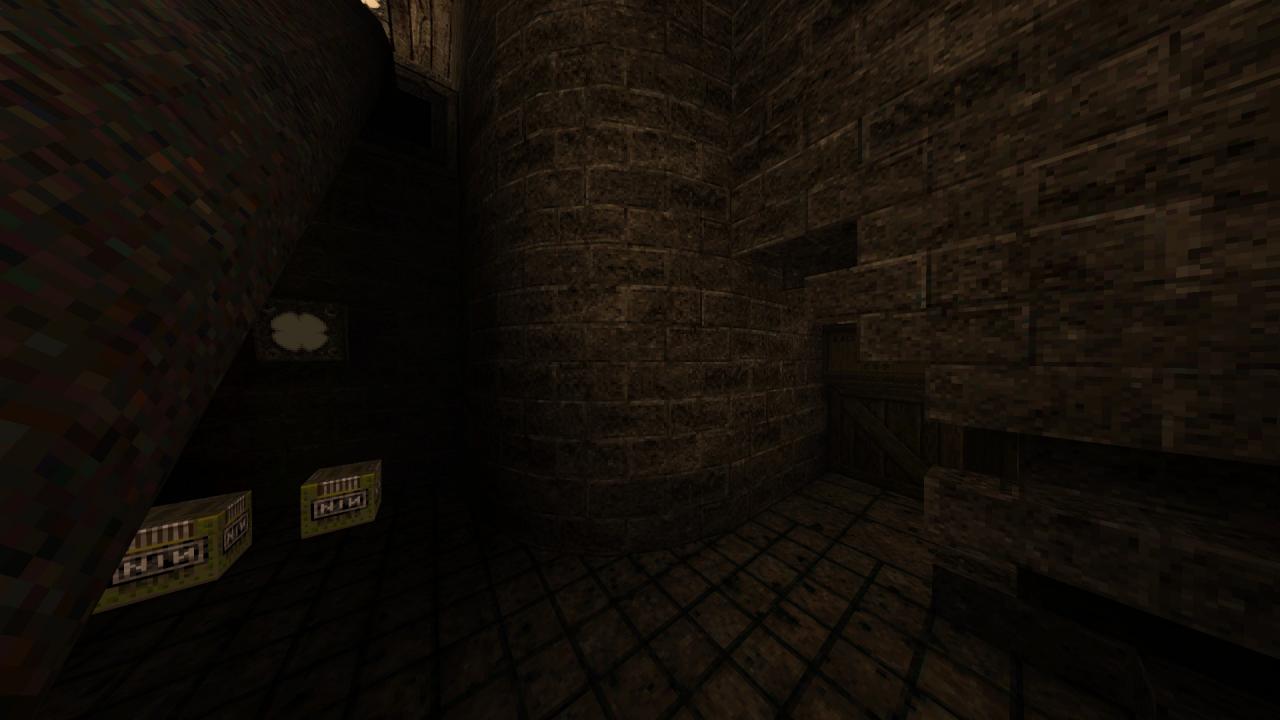
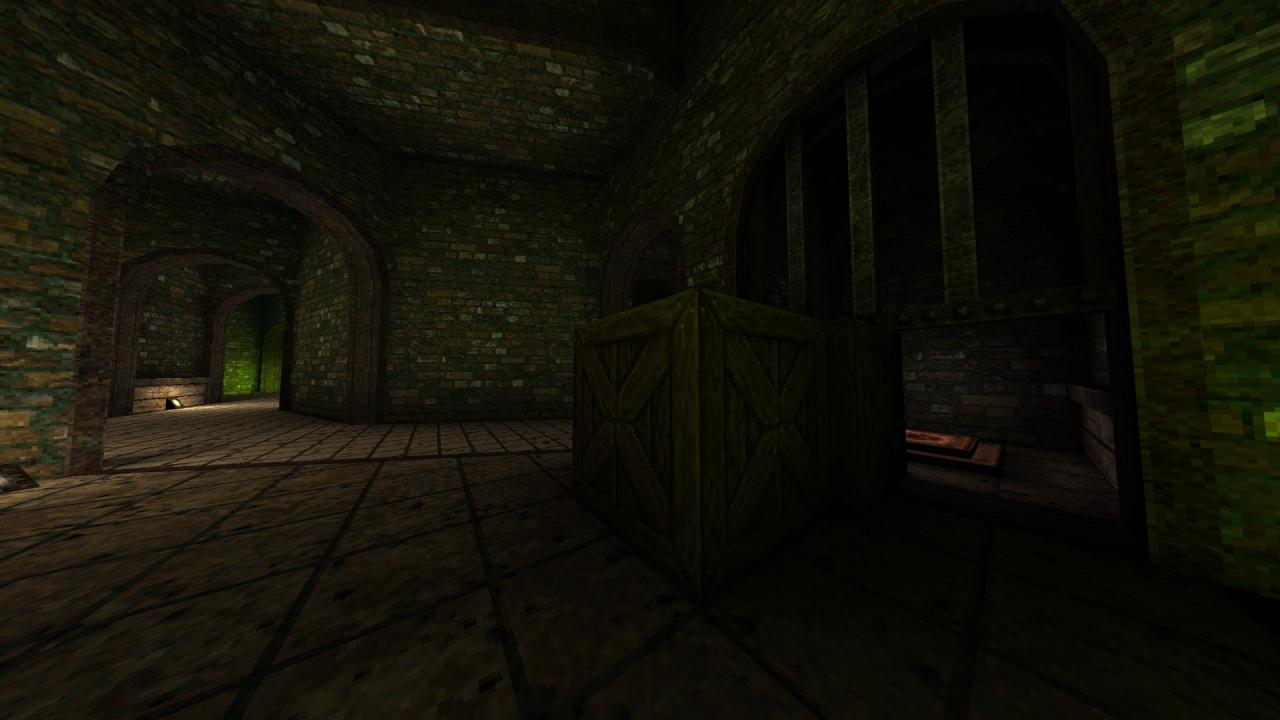
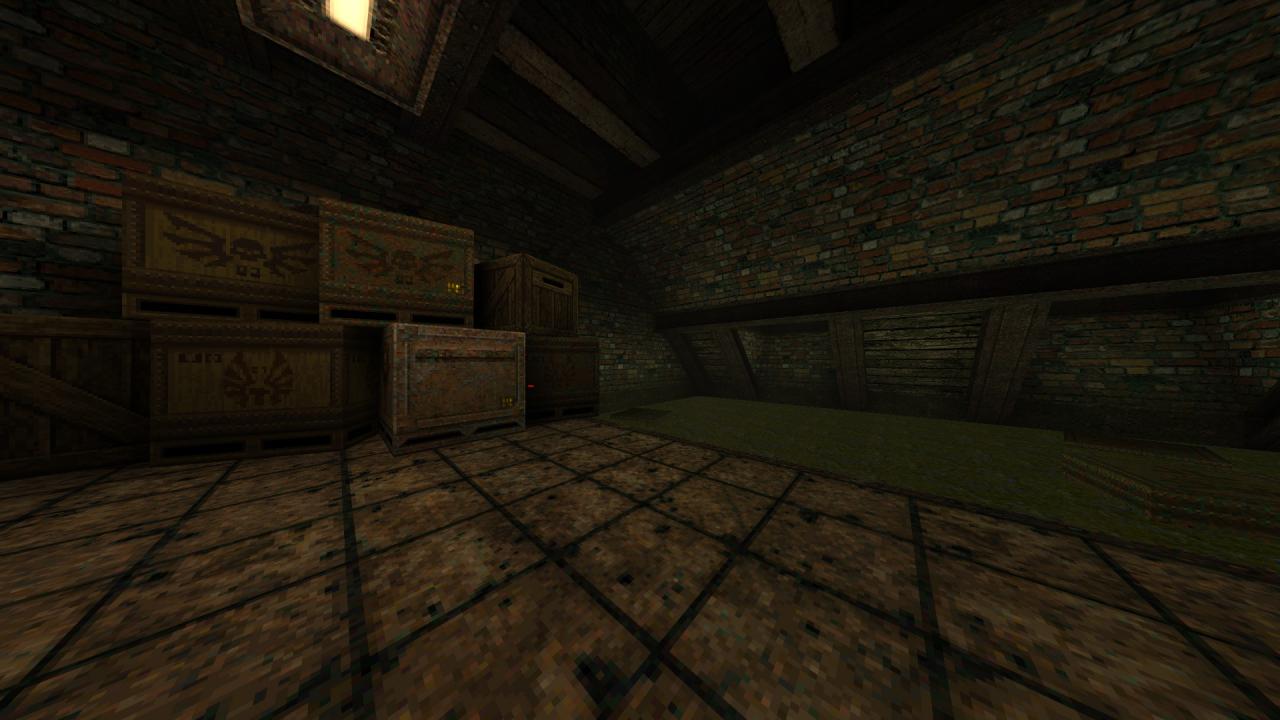
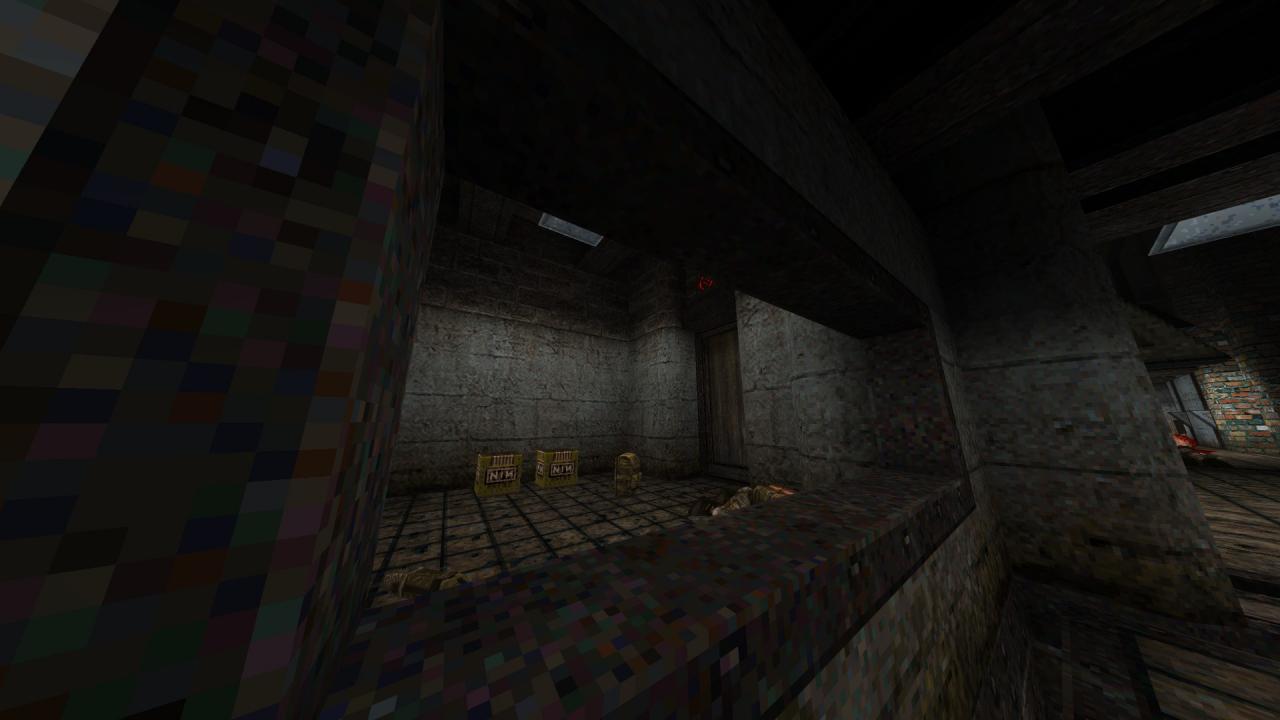
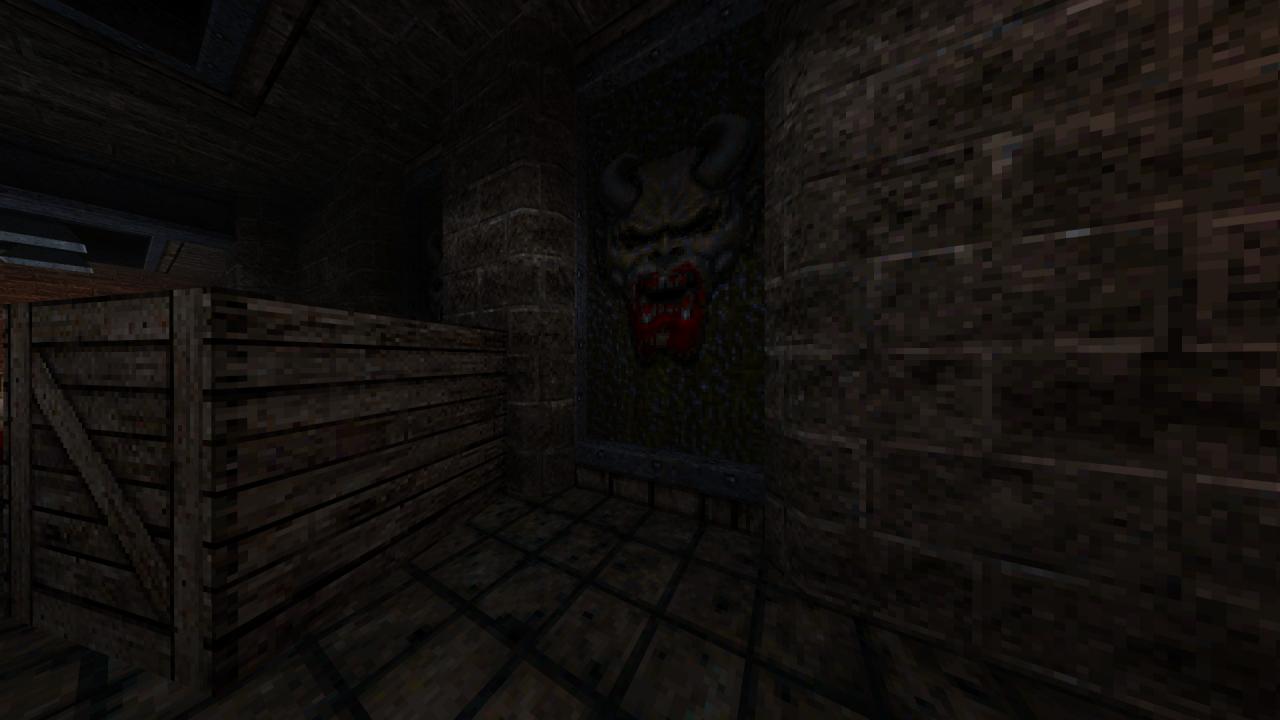
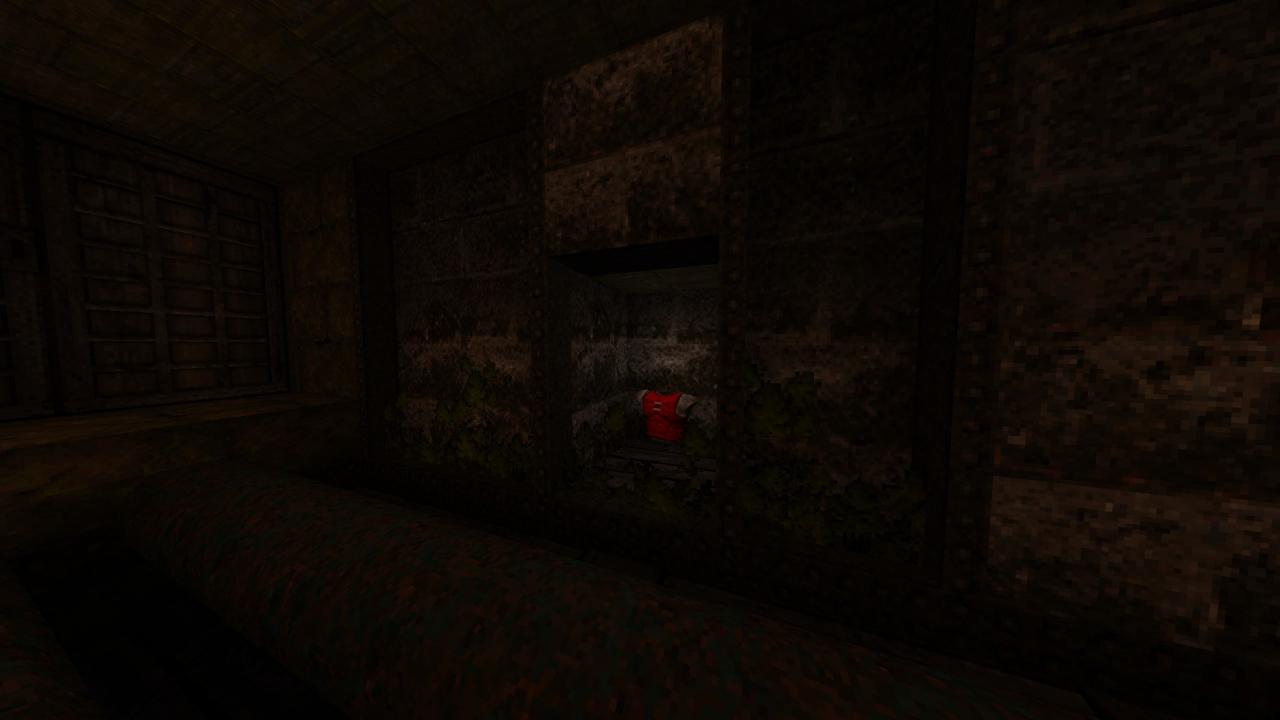
6/11 – Right after opening the silver key door, jump on top of the crates directly in front of you and drop down to the other side to find a hidden area.
7/11 – Following from the previous secret, look for a button behind the two crates to the right. Shoot it, quickly turn the corner, take the stairs, get on top of the crate and hit the two bloody blinds that stand in your way to finally reach an armor.
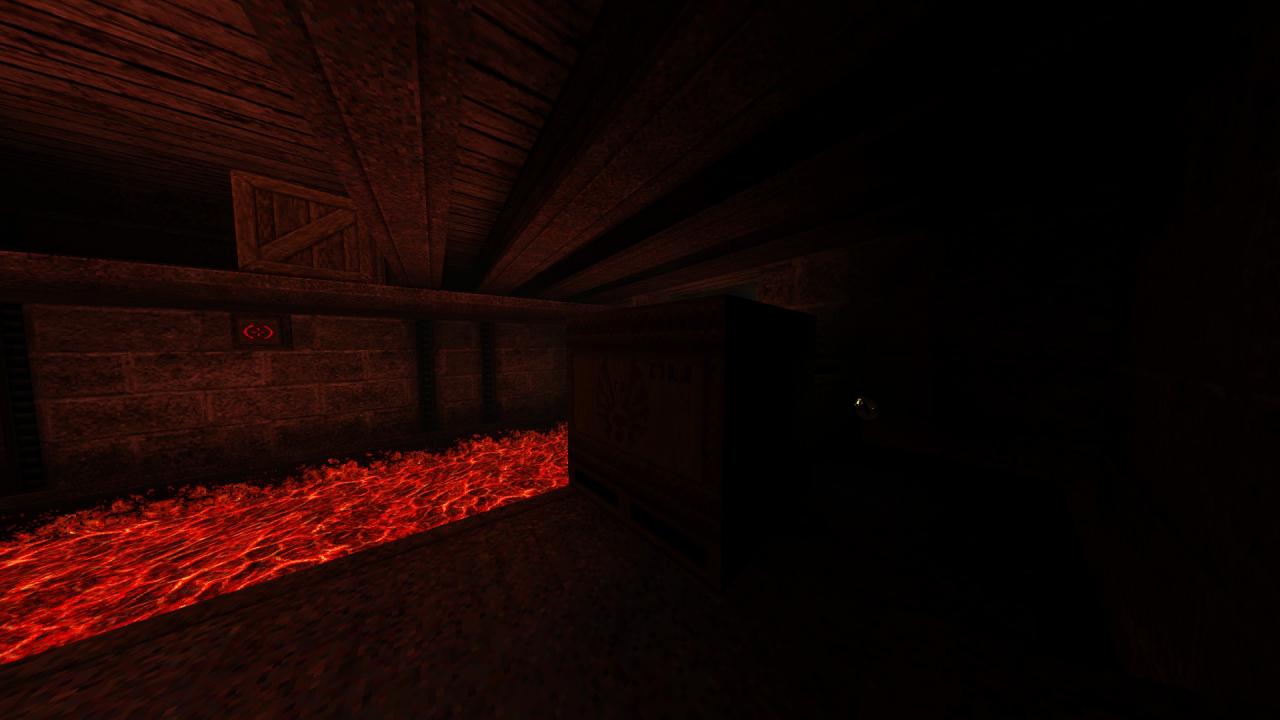
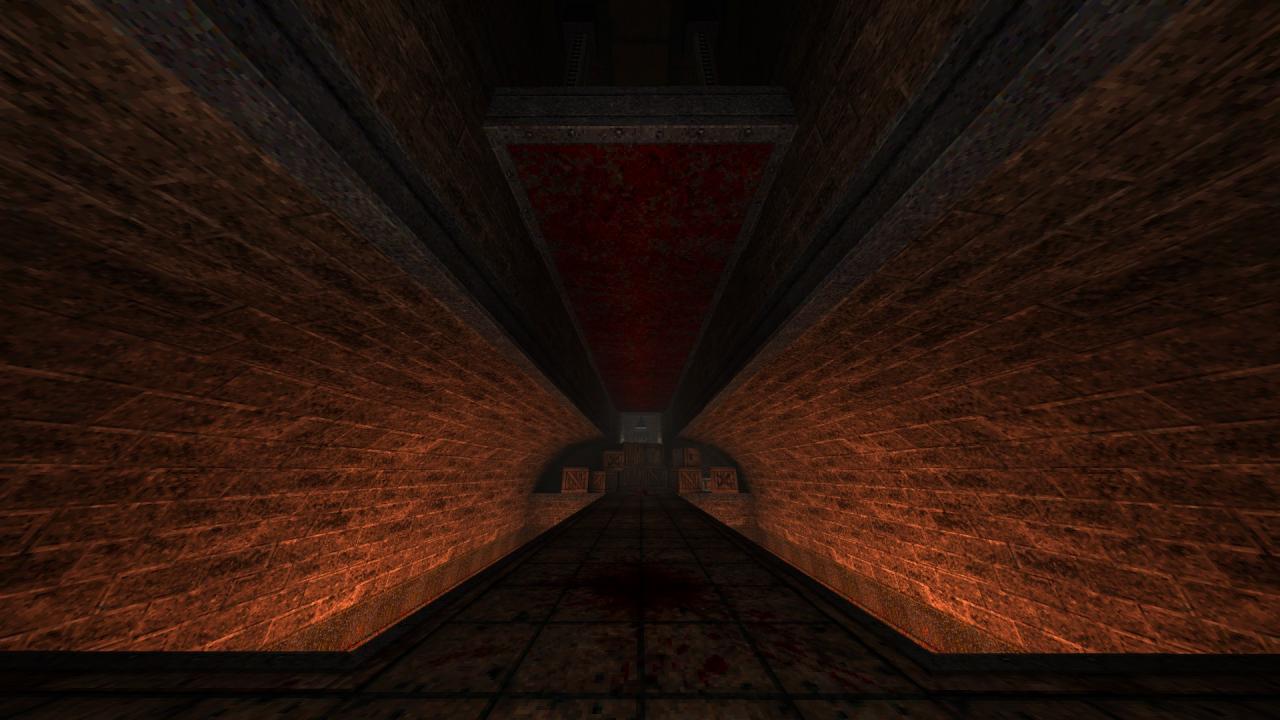
8/11 – While making your way across the lava-filled room, check behind the two crates on the right to find a ring of shadows.
9/11 – In the same room with the gold key, jump on top of the singled-out crate in the slime pit and turn around to find a hidden armor.
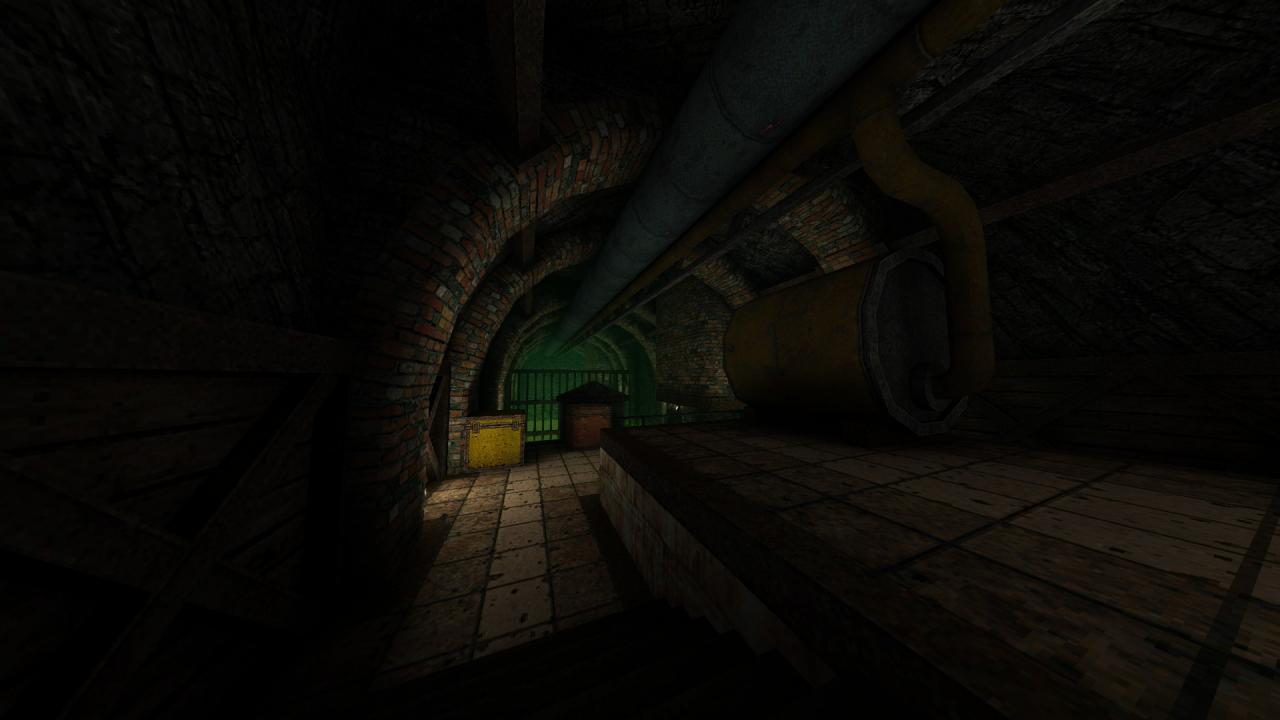
10/11 – Right after picking up the gold key, jump into the opening to your right via the crate in front of it to pick up a quad damage that comes in handy for the final rush.
11/11 – In the final room, jump on top of the crates to your right and then make your way around the room by first jumping to the crates on the opposite side, then to the beam above the exit elevator and finally to the ledge above your starting point to pick up the lightning gun.
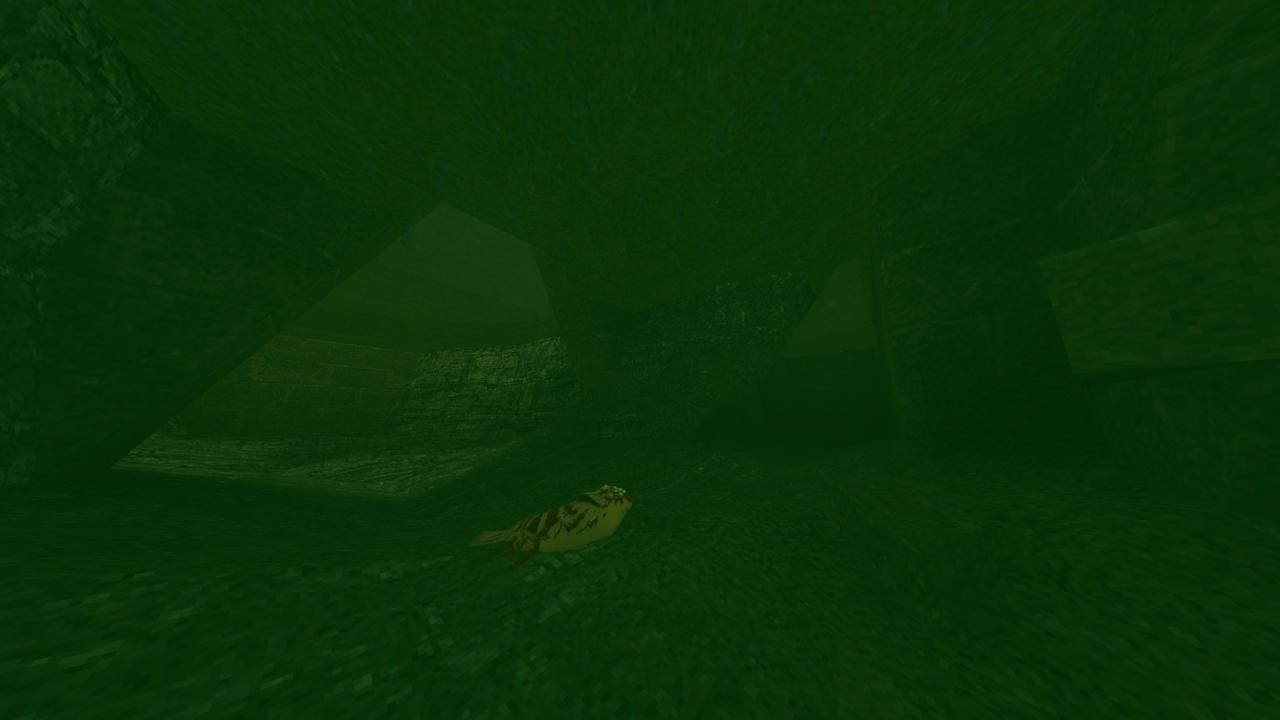
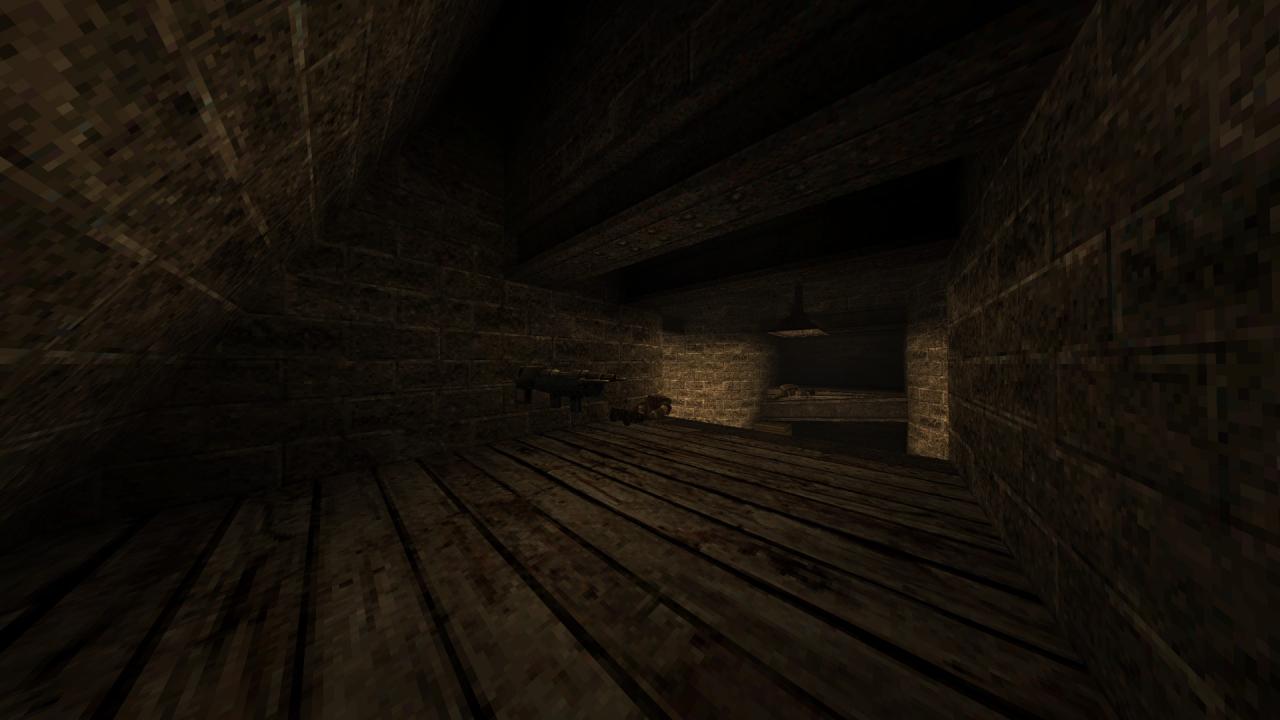
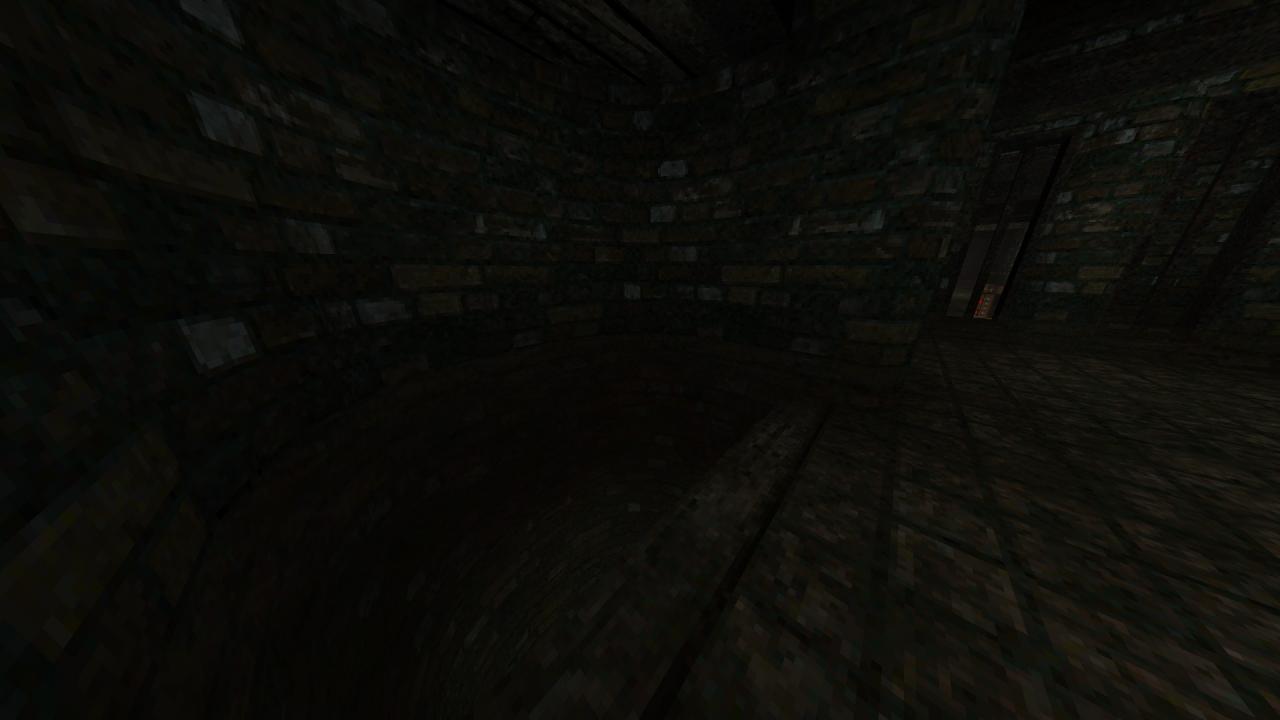
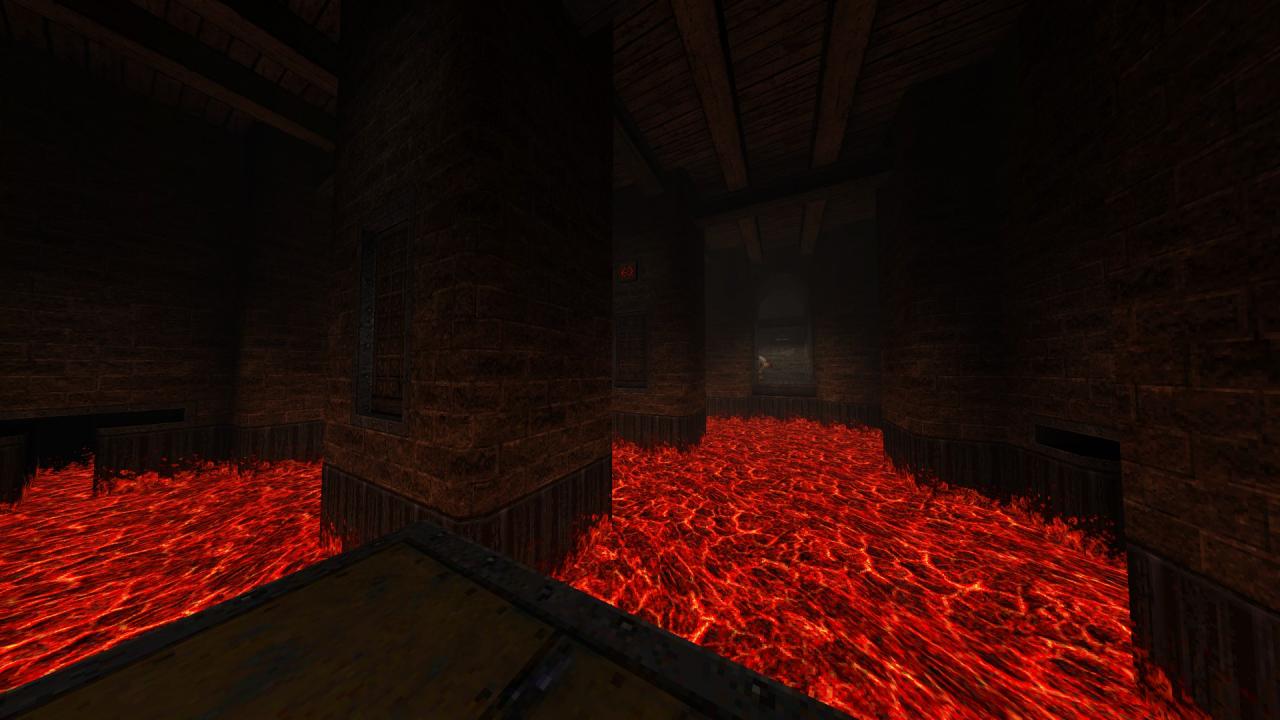
MGE3M2: Hell or Dark Water
This level contains eight secrets.
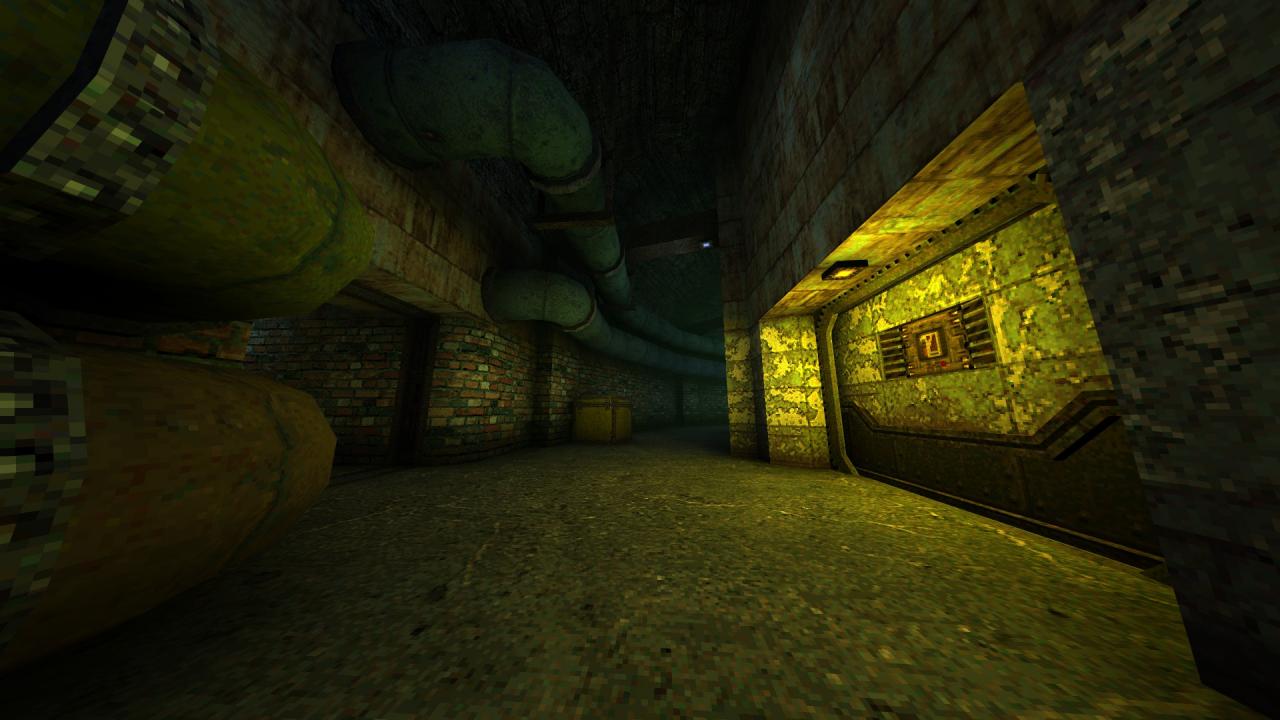
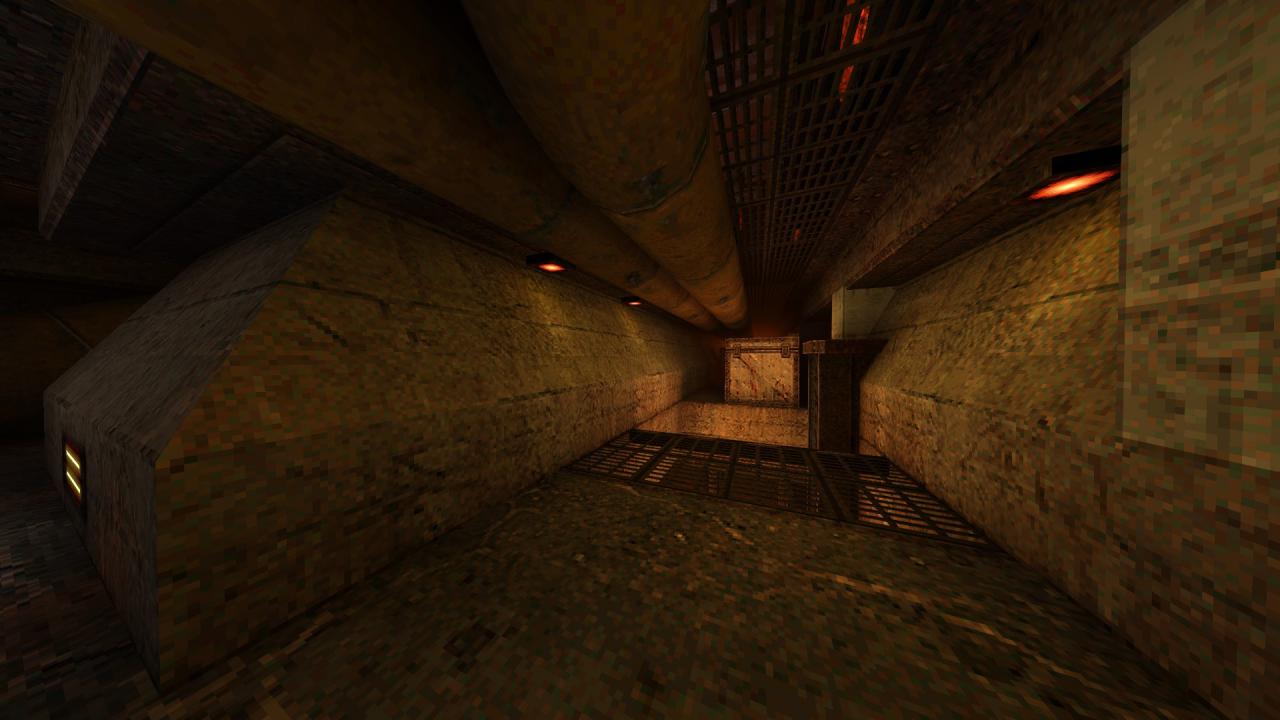
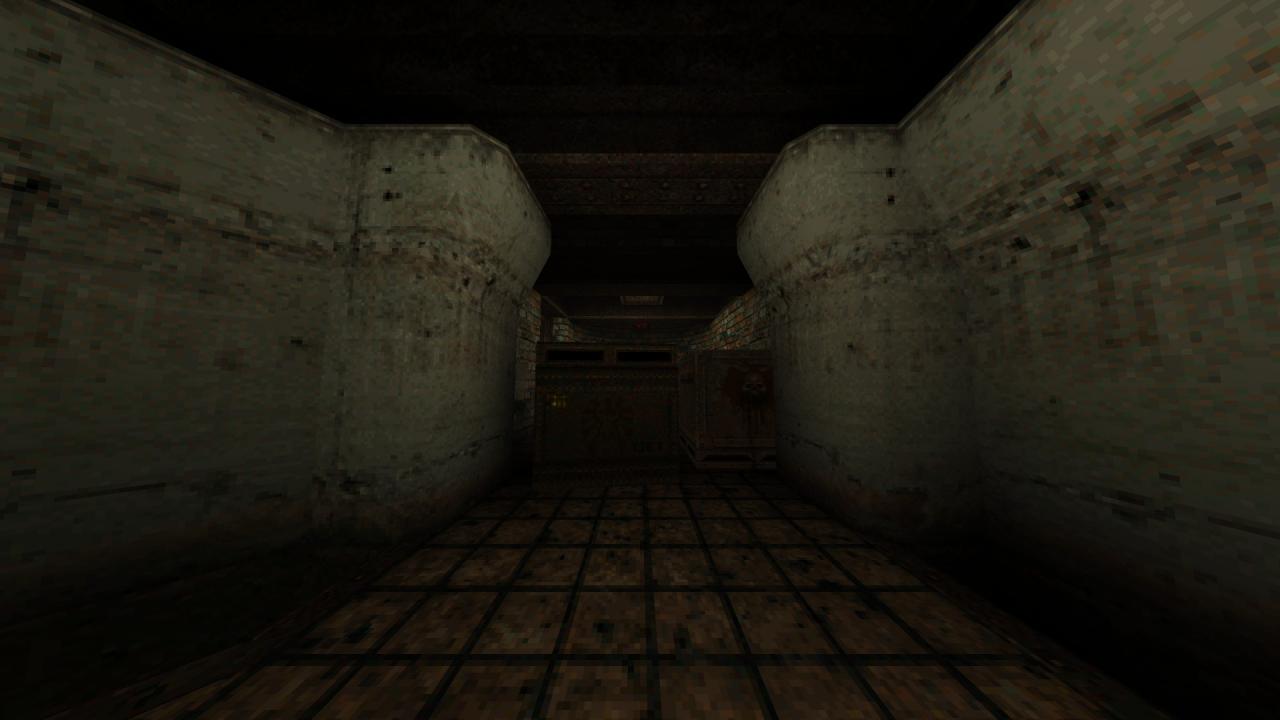
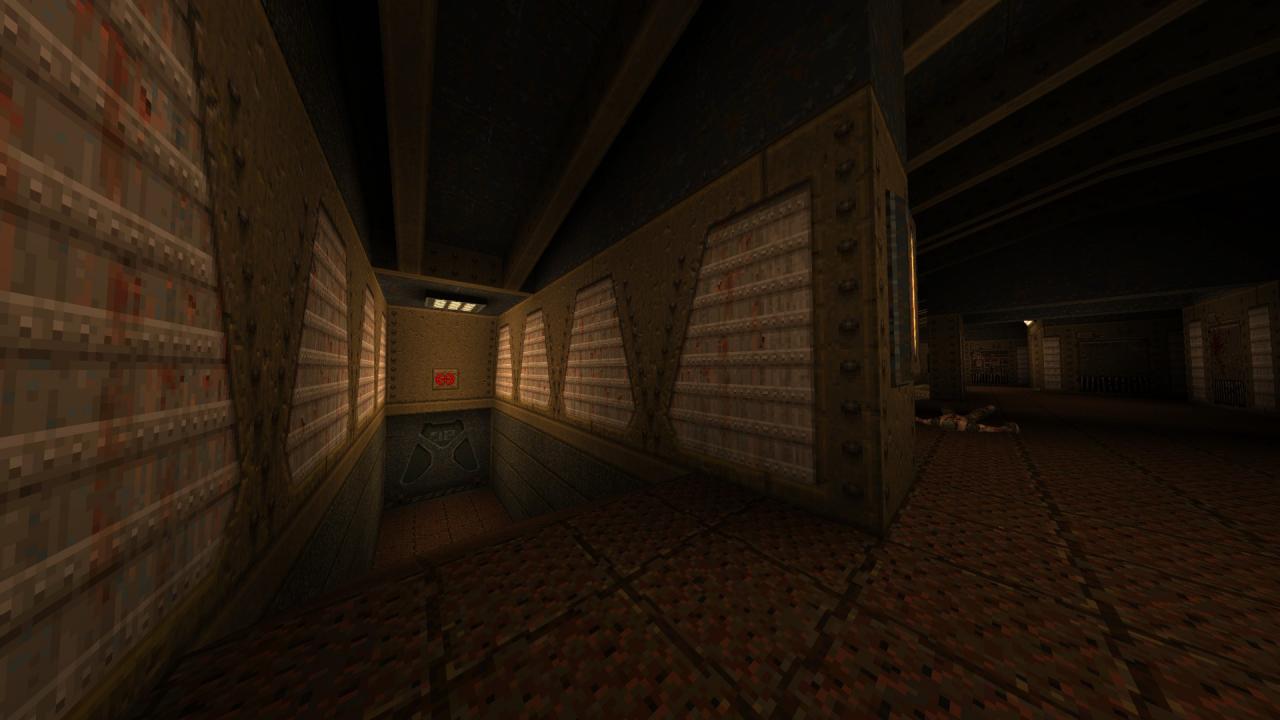
1/8 – While battling it out in the initial area, look for a part of the wall that differs in texture pattern, next to either one of the lift buttons and hit it to reveal a hidden tunnel ripe with ammo.
2/8 – Just a few corners before the silver key, dive into the water and swim around until you find a quad damage, a ring of shadows and and some ammo.
3/8 – In the room where you pick up a rocket launcher and battle a group of vores, look for a hidden button at the very end shoot it to open up the door with the demon texture in the previous room. Check the room to find an armor and some ammo.
4/8 – In the corridor that leads to the silver door, dive into the water and surface next door to find a hidden cache.
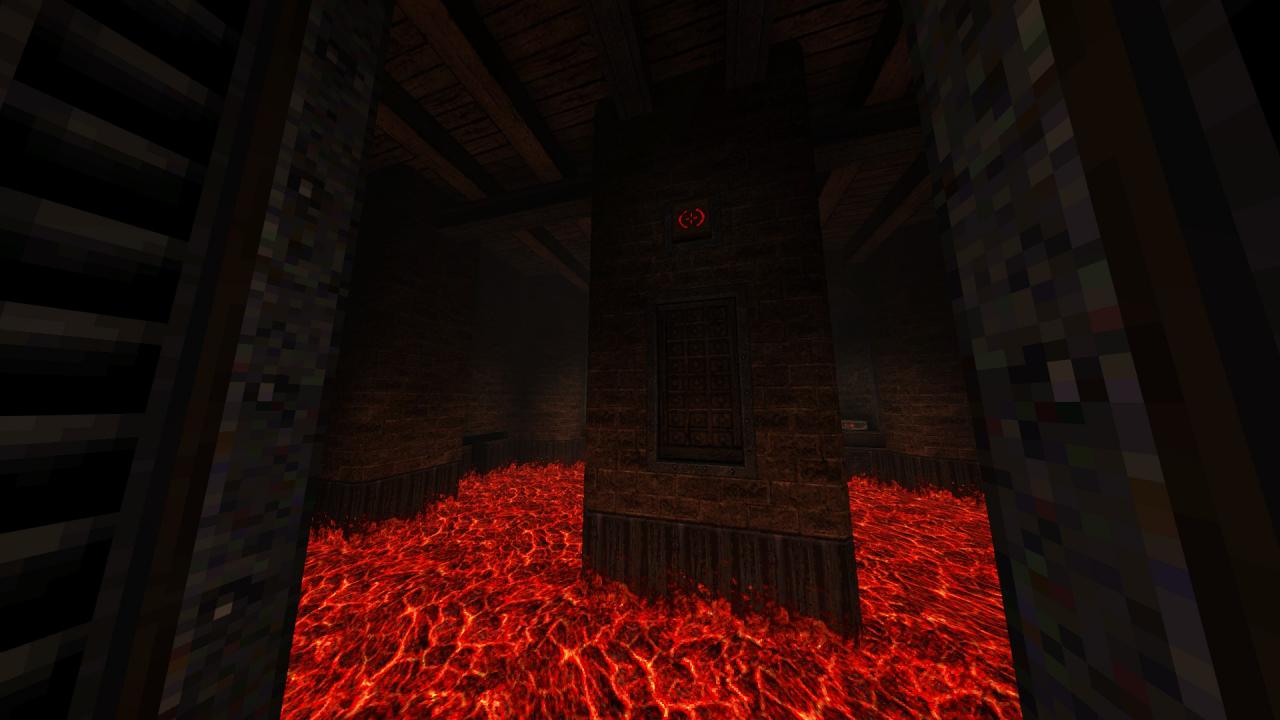
5/8 – Right after opening the silver door, shoot either the button above the left door or the right one through the openings to your sides and get in there. Turn the corner, hit the bloody panel and follow the vent until you drop down to a side room of the lava chamber filled with goodies.
6/8 – Following from the previous secret, hit the bloody demon plate midway through the trap room to access an out-of-sight ledge with some ammo.
7/8 – After passing through the second corridor with the crusher ceiling, before dropping down from the crates you stand on, hit the bloody demon plate in front of you and jump in to reach the armor on residing on a lower ledge.
8/8 – Shortly after the previous secret, while making your way through the platforms moving over lava, shoot the button on the pillar in the middle to open the door below it and jump inside. Turn around to find another button on the next pillar, shoot it and jump in to get a megahealth.
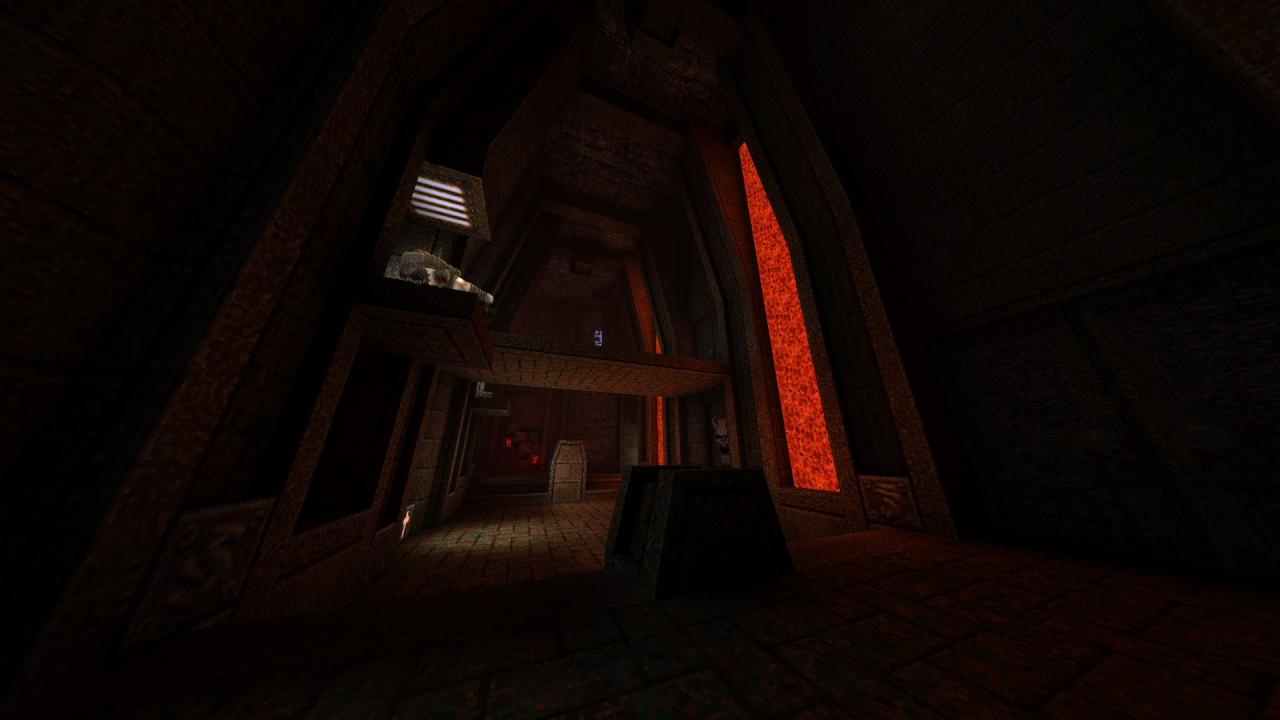
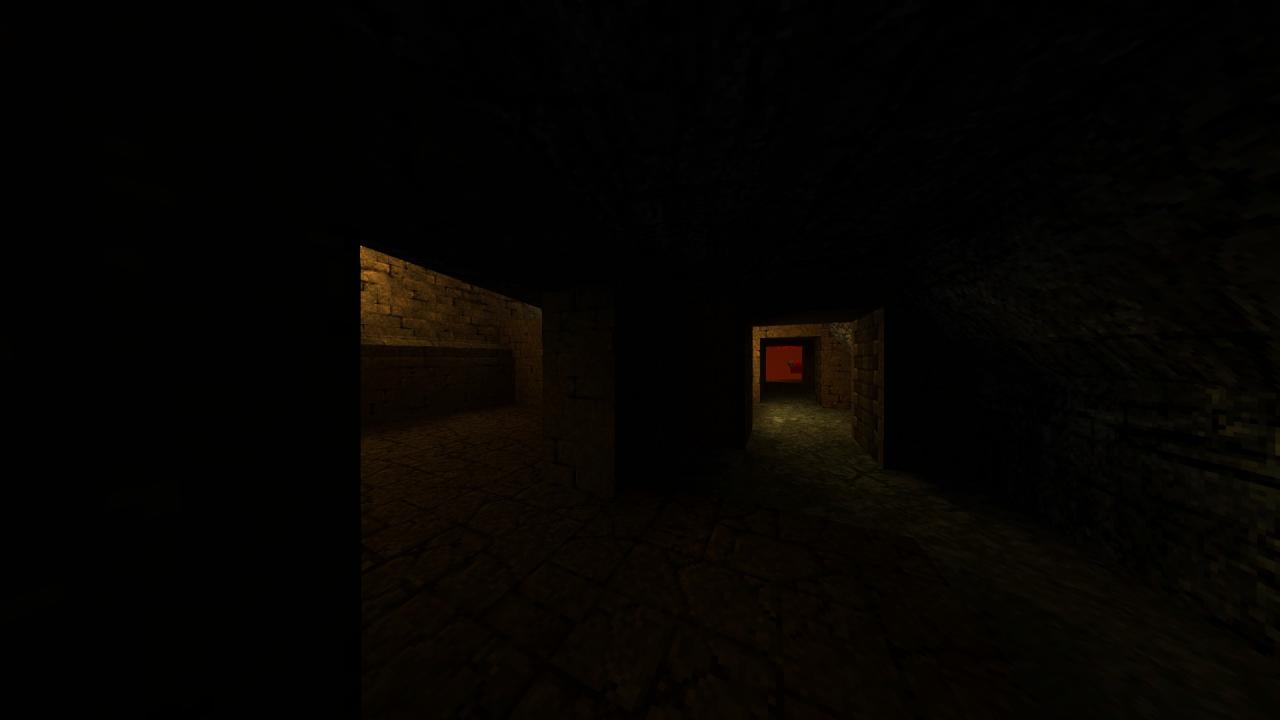
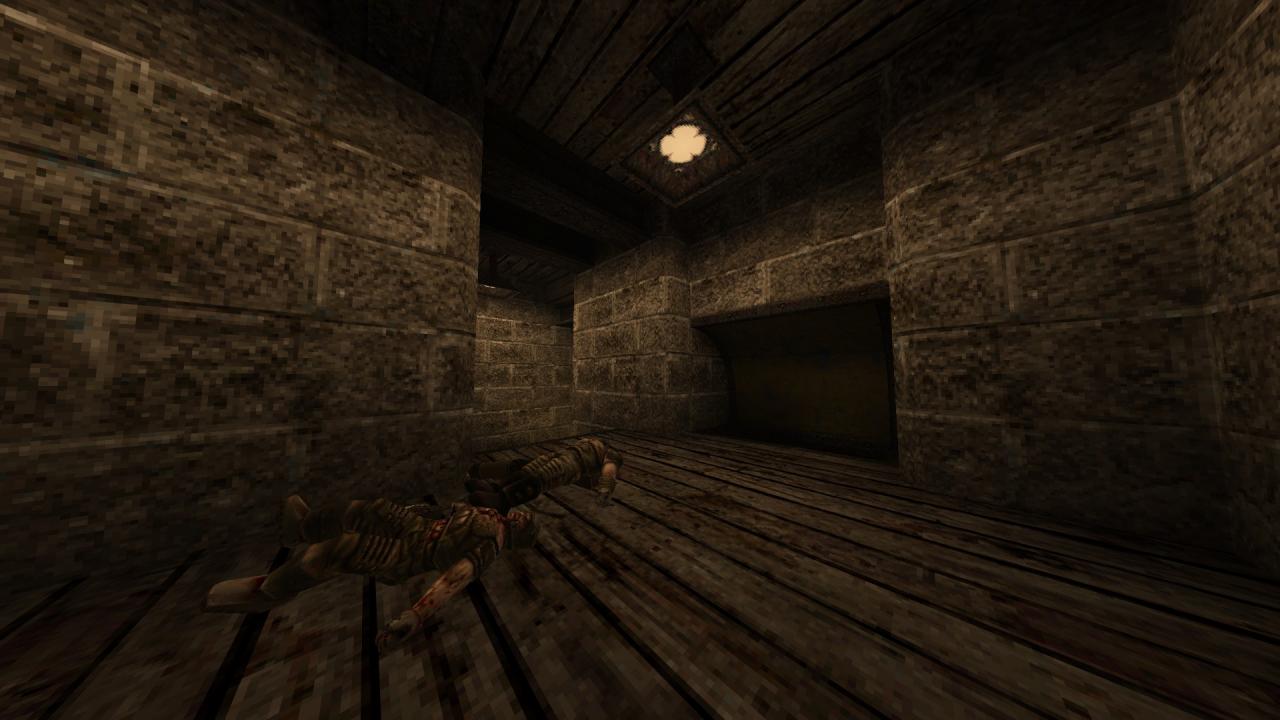
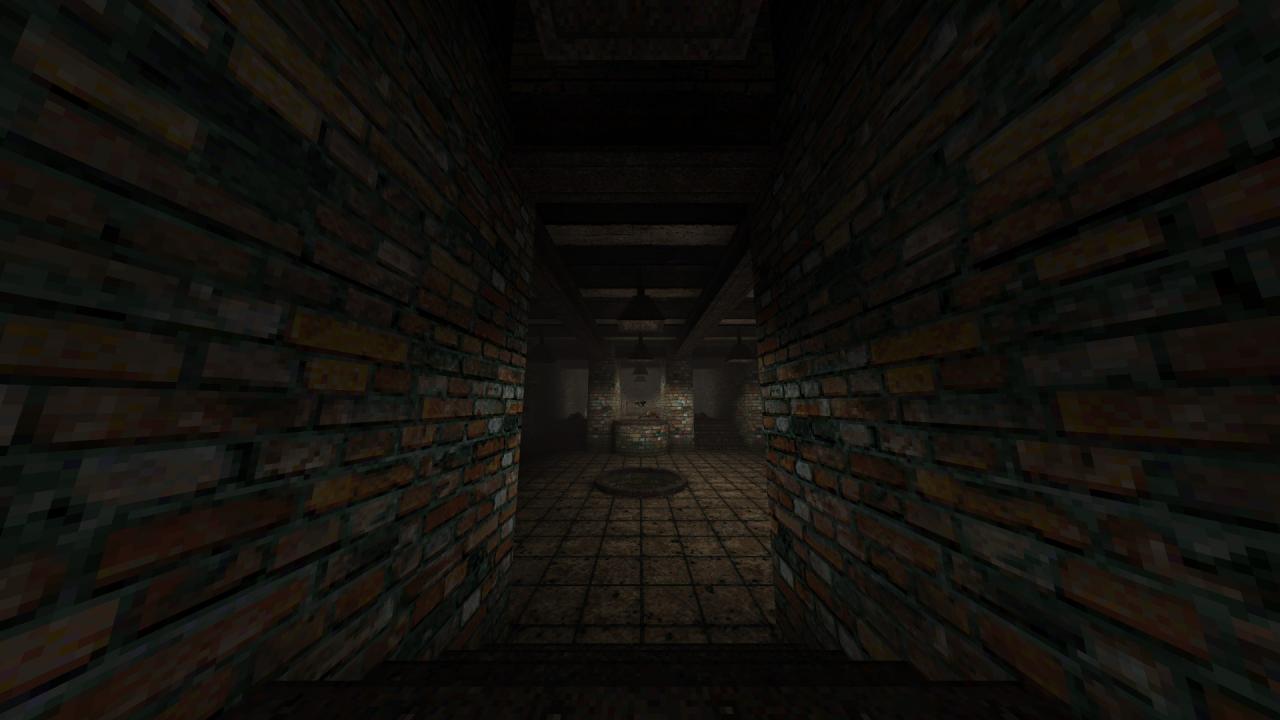
MGE4M1: Grave Machine
This level contains three secrets.
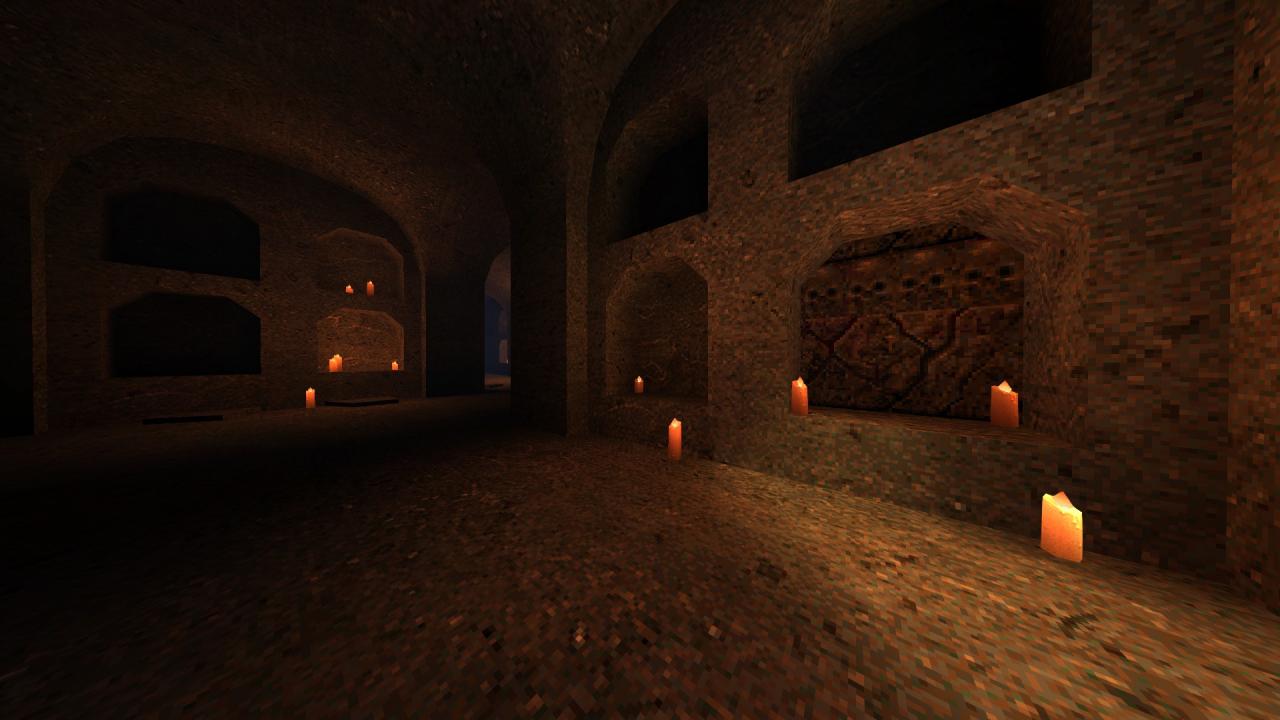
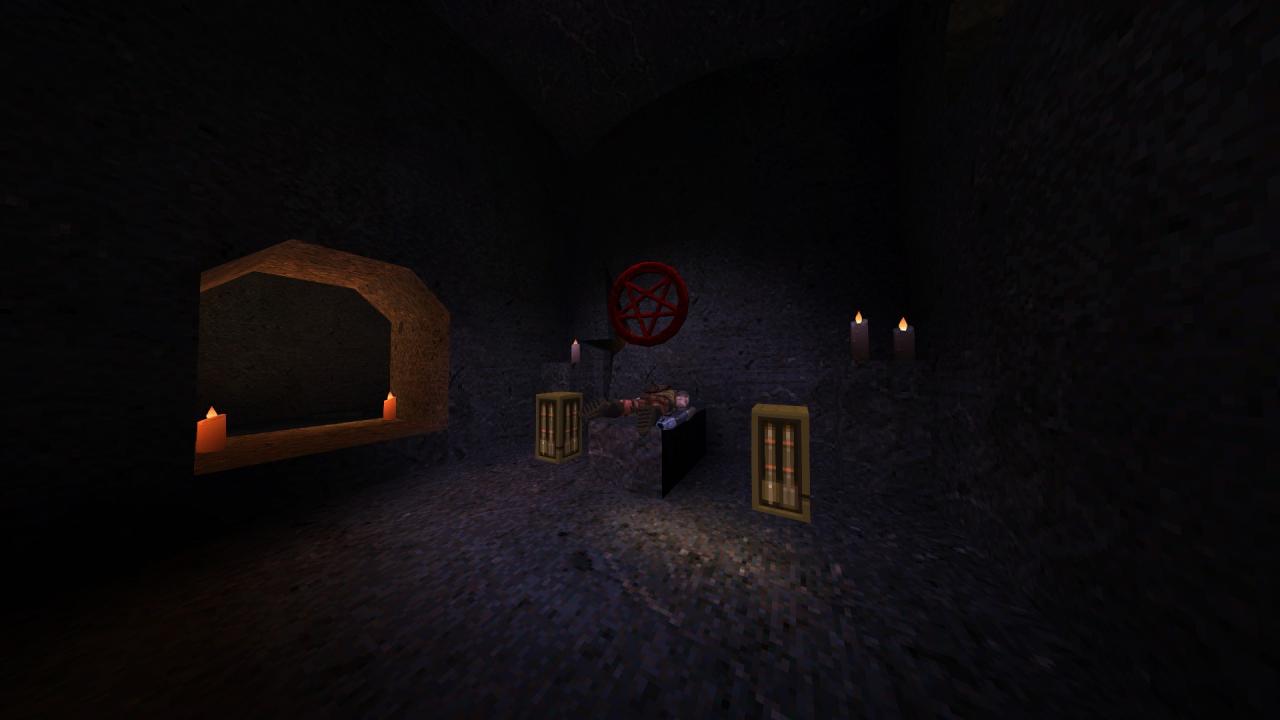
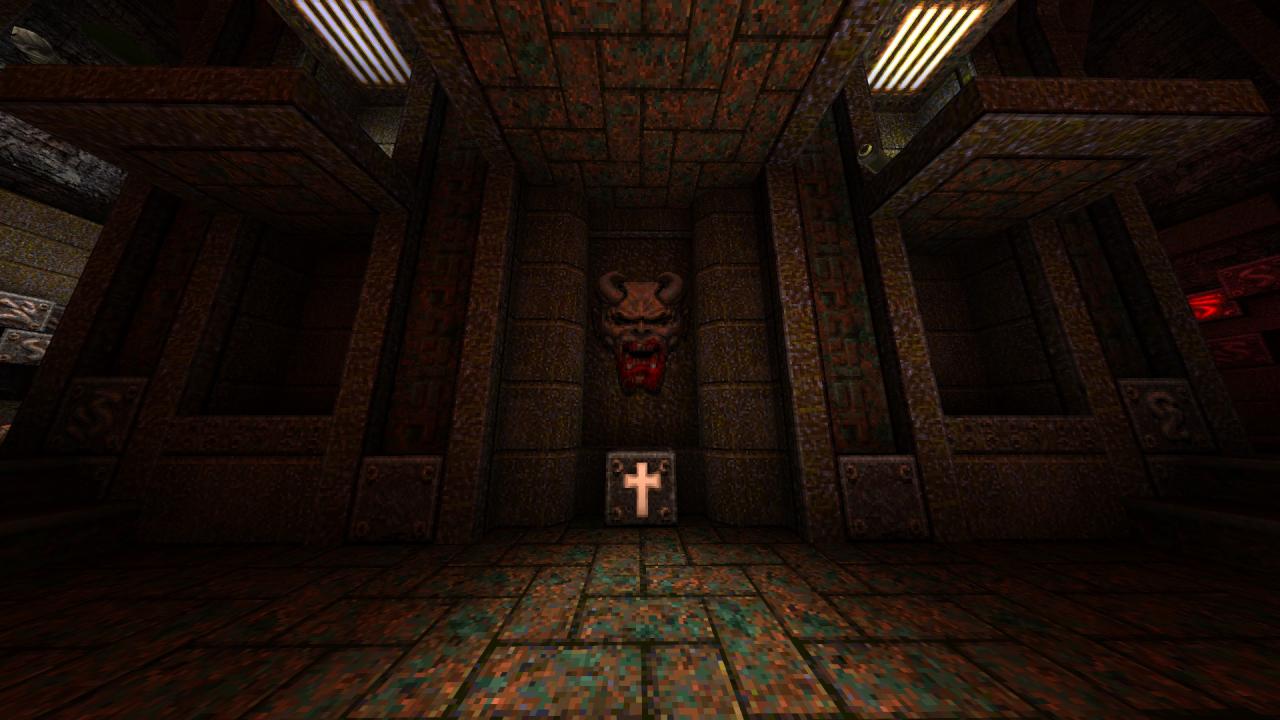
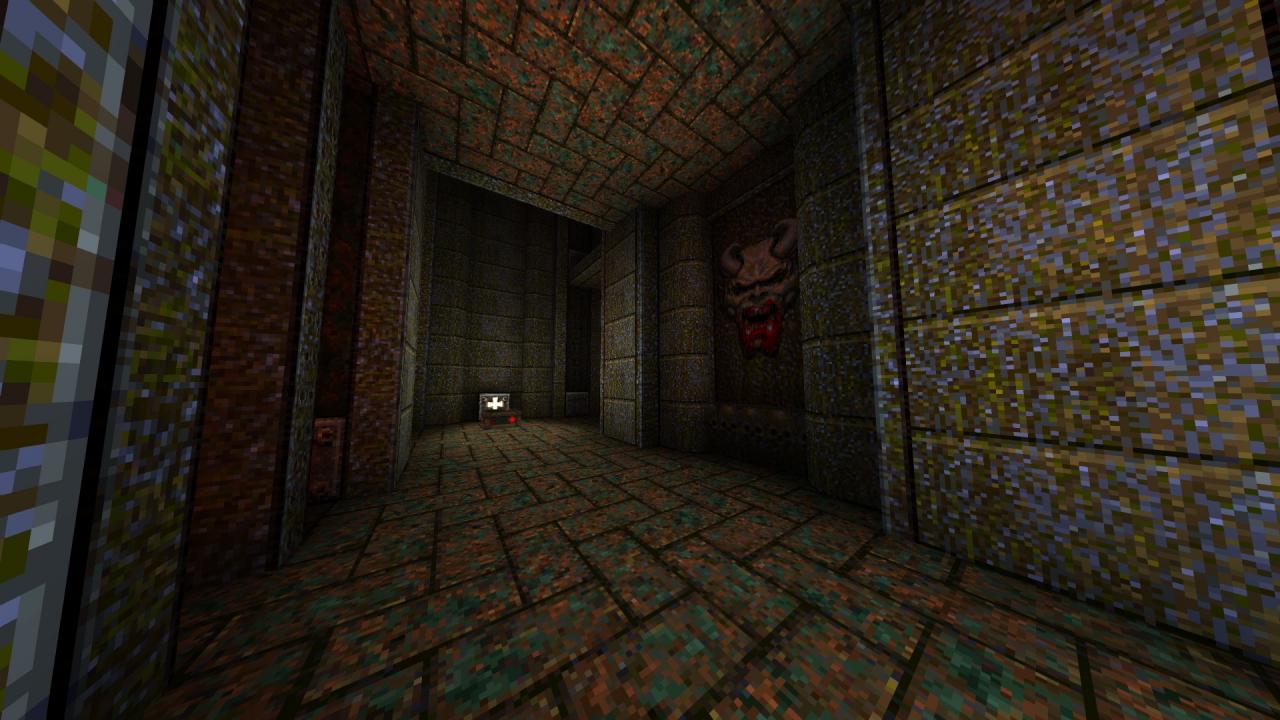
1/3 – Upon entering the crypt, look for a wall panel with different texturing, hit it and jump into the opening to find an altar behind.
2/3 – While moving through the underground tunnels, turn around and shoot the button on the wall to open up a hidden compartment that contains an armor.
3/3 – Dive into the water near one of the two buttons that you need to progress to find an armor and some ammo.
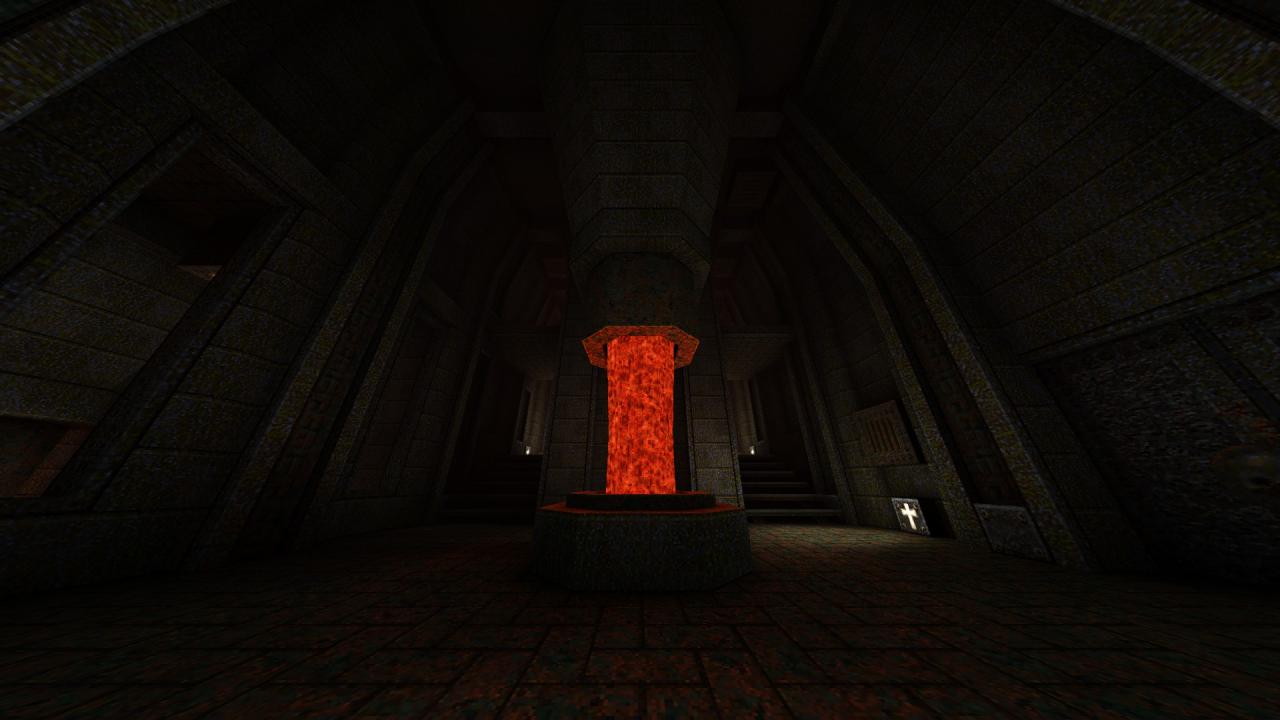
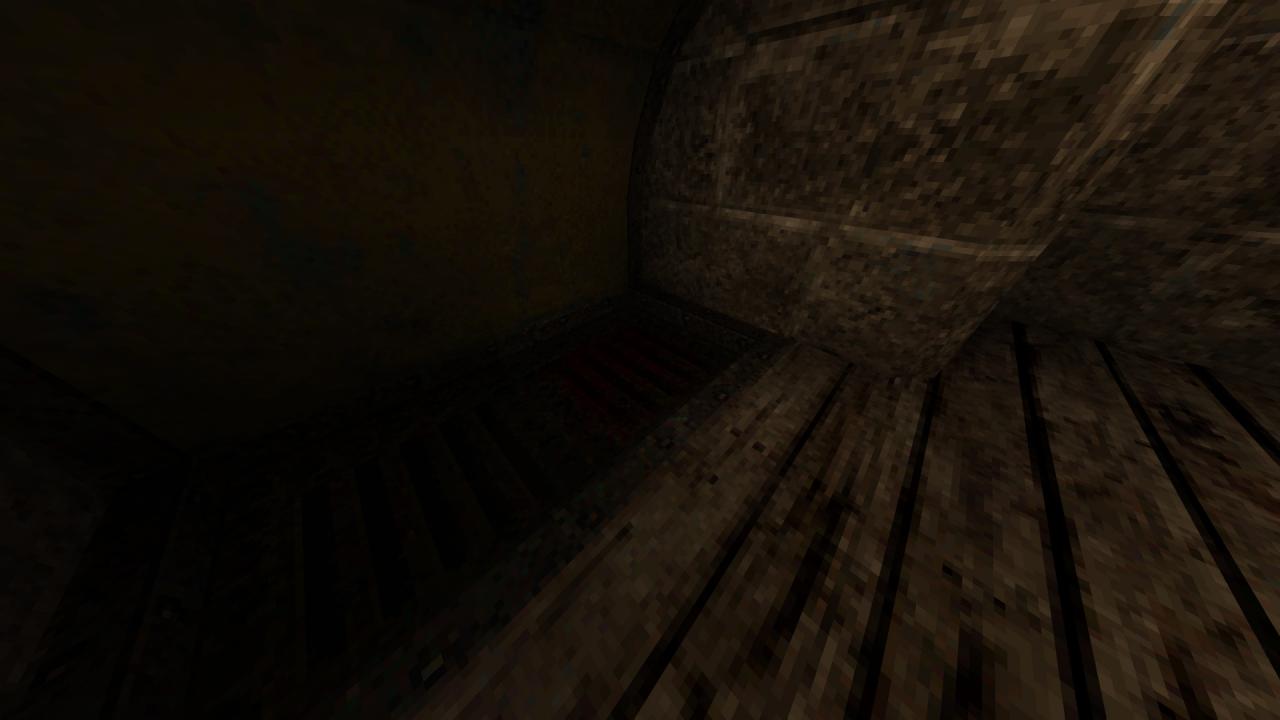
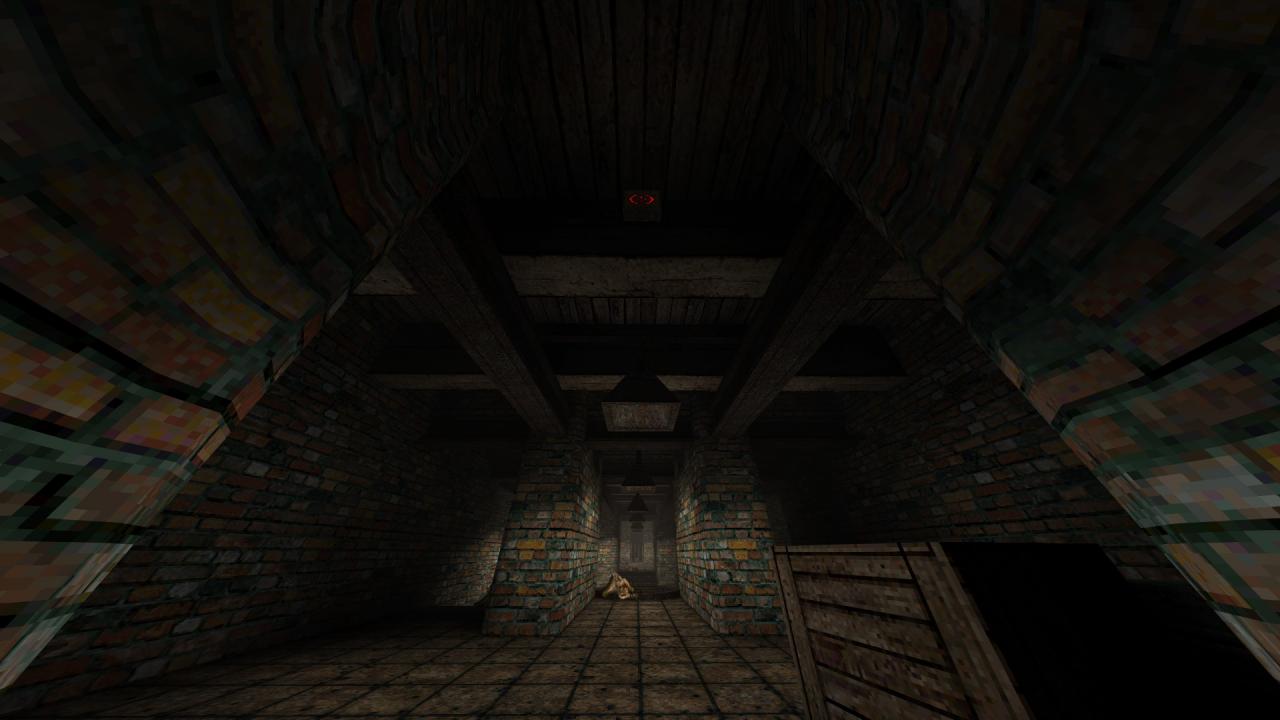
MGE4M2: A Grave Mistake
This level contains three secrets.
1/3 – In the slime-floored room, shoot the two buttons to your left and right, as well as another one slightly hidden up above to reveal a hidden compartment.
2/3 – Following from the previous secret, shoot the button on the ceiling in the next tunnel on your way to open up a hidden compartment that contains an armor.
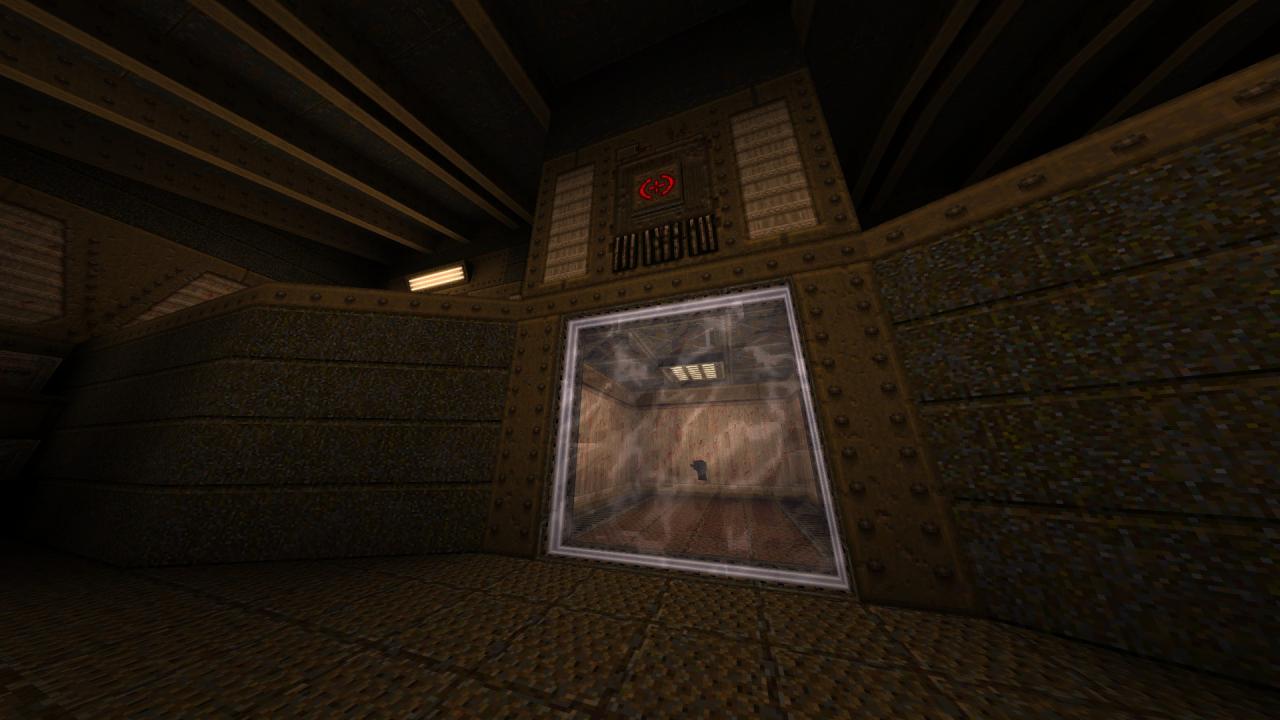
3/3 – As you move through the inverted chapel, turn left before jumping on the run-down door and continue towards the perforator at the end. Shoot the cracked glass and look down for a small ledge you can land on. Drop down there to find a quad damage and some ammo.
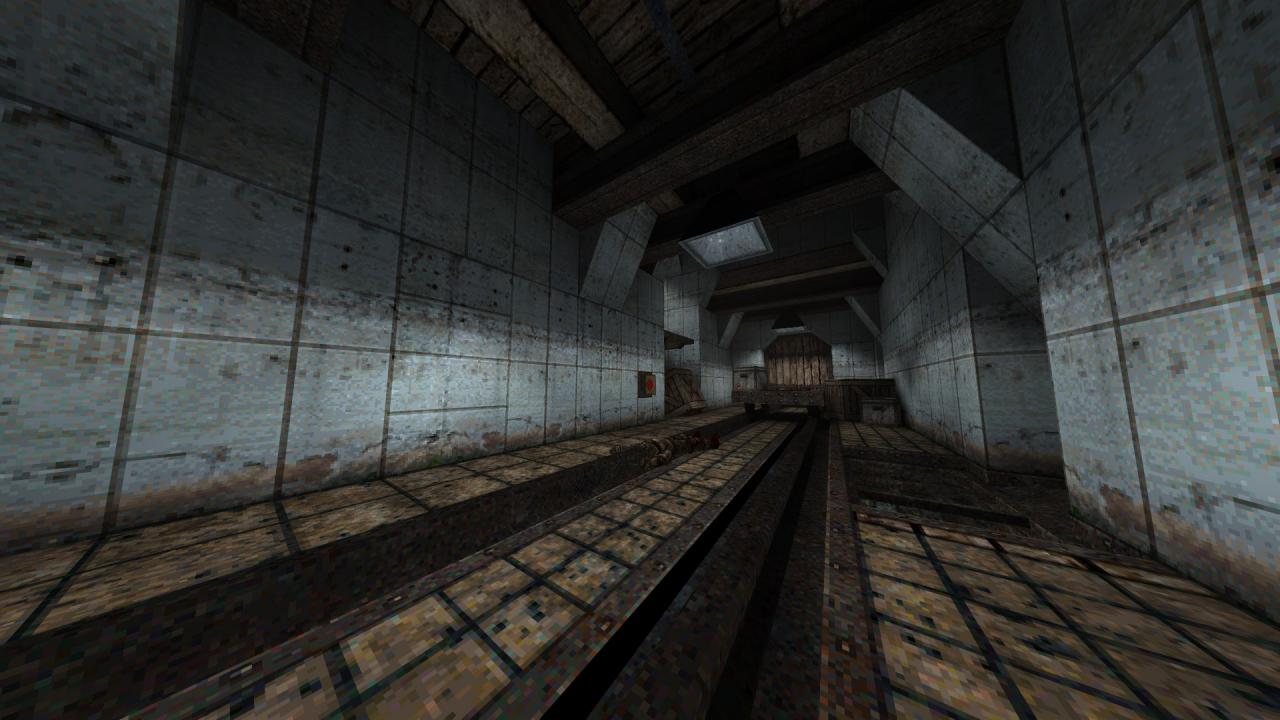
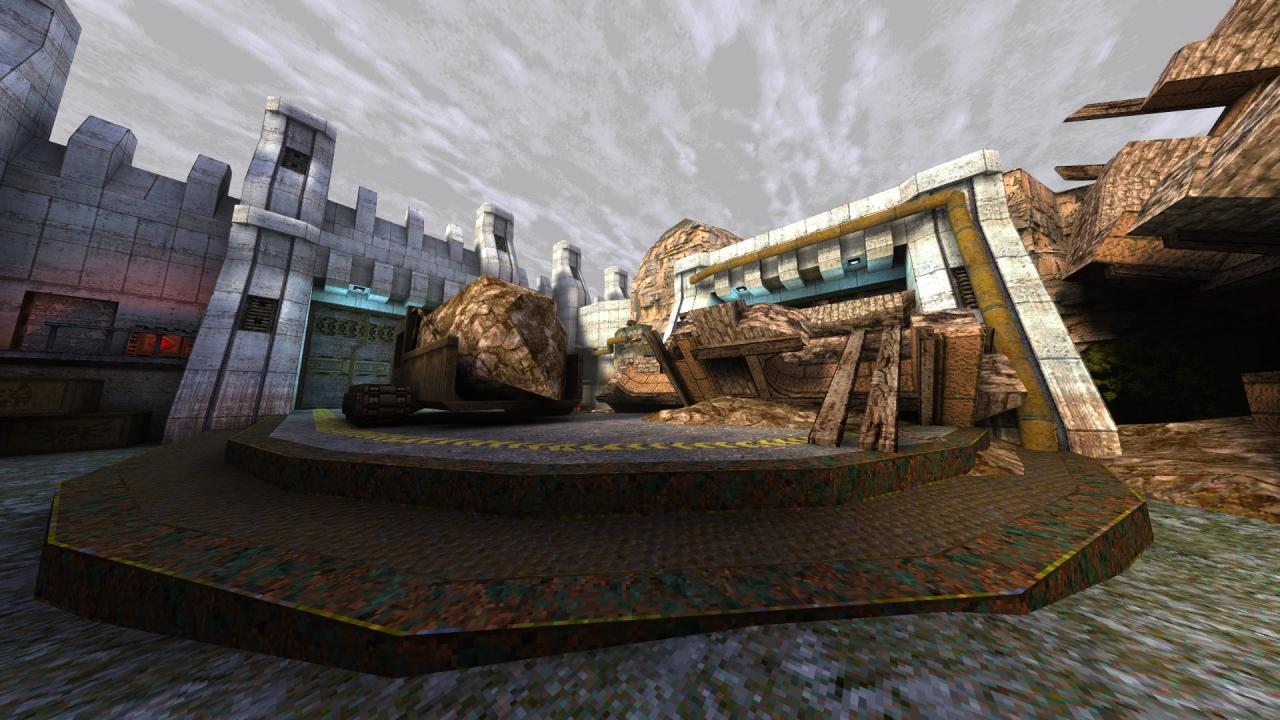
MGE5M1: Nazard Terminal
This level contains four secrets.
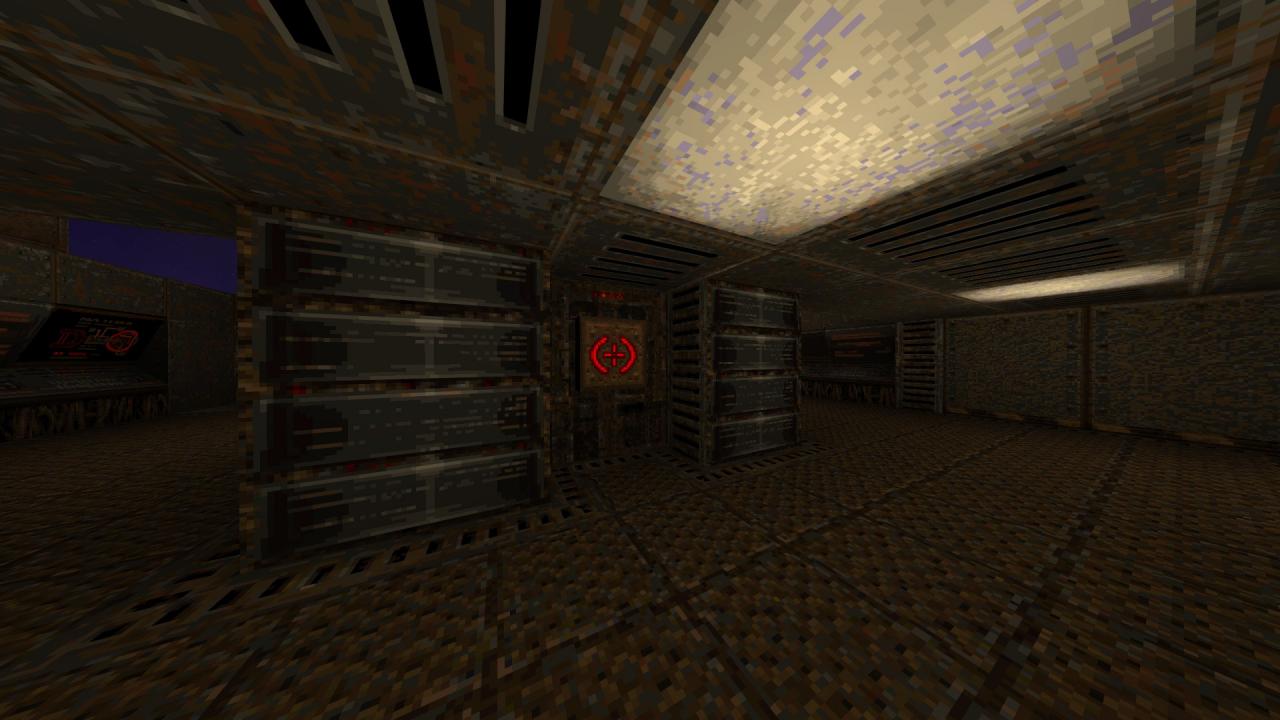
1/4 – Upon start, look to your right for a bloody demon plate and hit it to reveal a hidden compartment that houses a weapon.

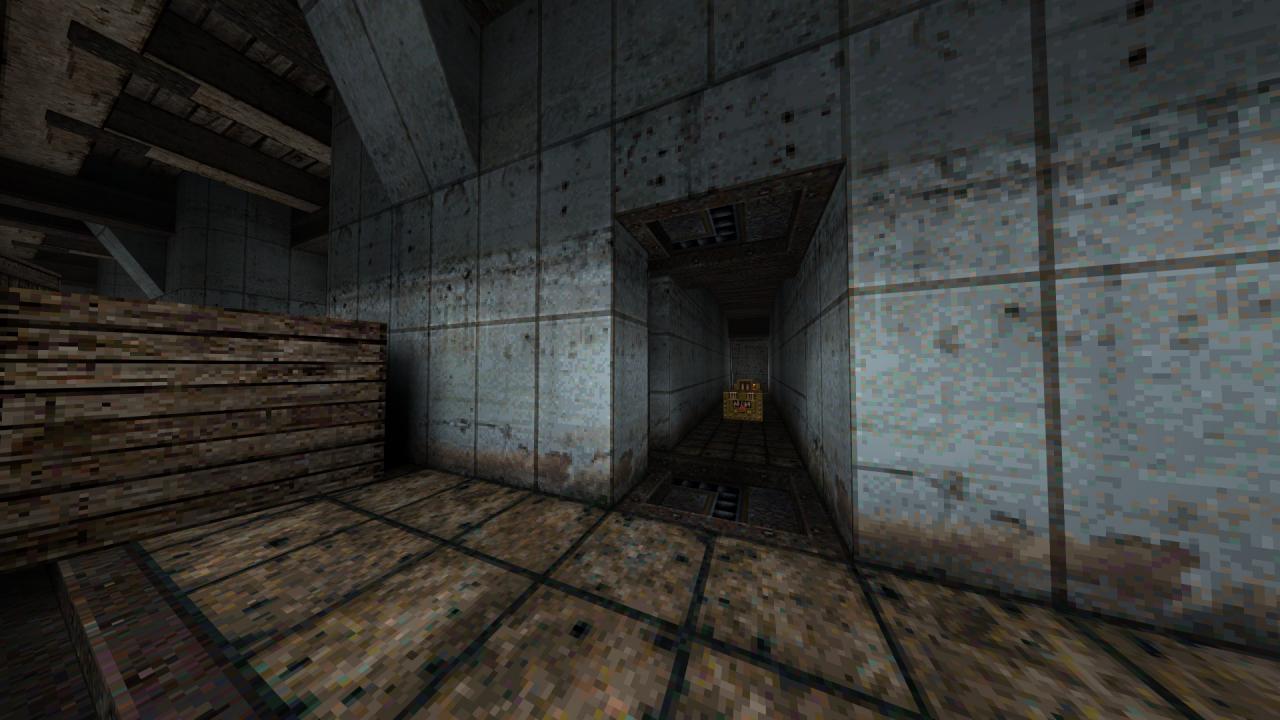
2/4 – Look for a hidden button behind the crates in the corner at the lower floor of the command room to open up a hidden compartment nearby.
3/4 – Shoot the three buttons in the two adjacent rooms to lower the force field that stands between you and a perforator. The first button is right above the field itself, the second one is above a door around the corner in the same room and the last one is between the consoles at the lower floor of the adjacent room.
4/4 – Before stepping unto the slipgate in the final room, turn around and shoot the square panel to reach the adjacent room where an armor resides.
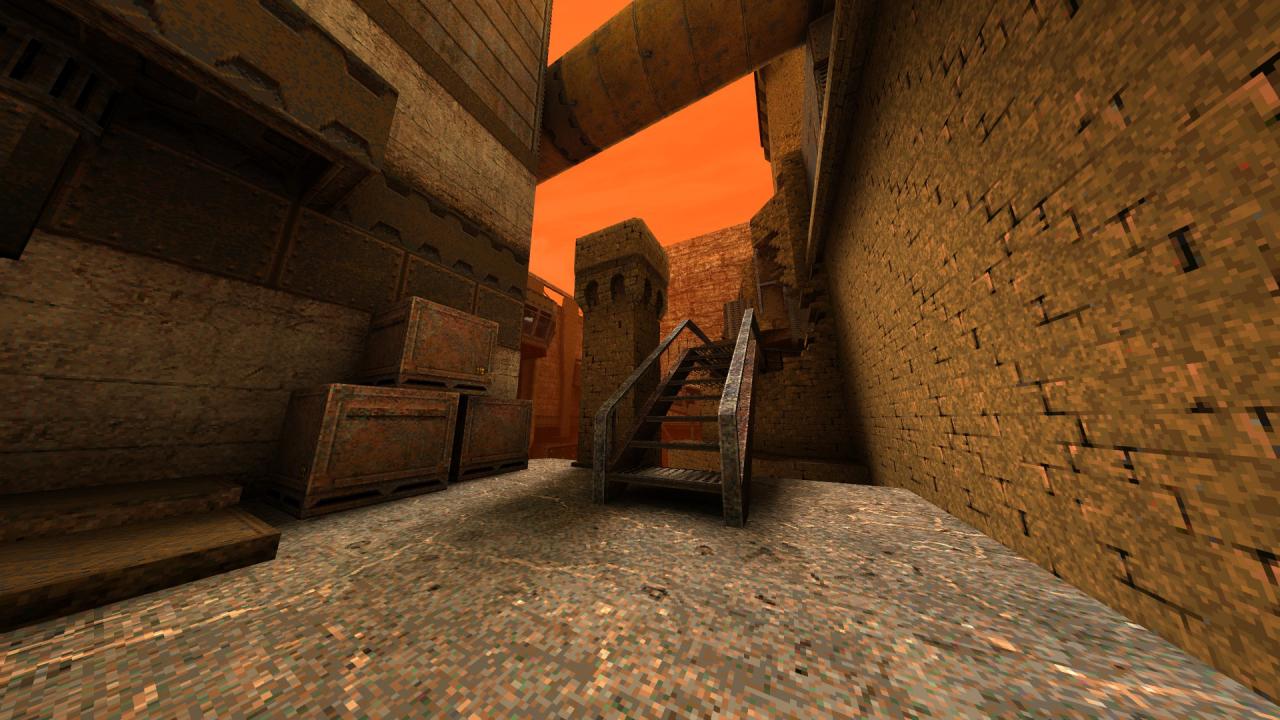
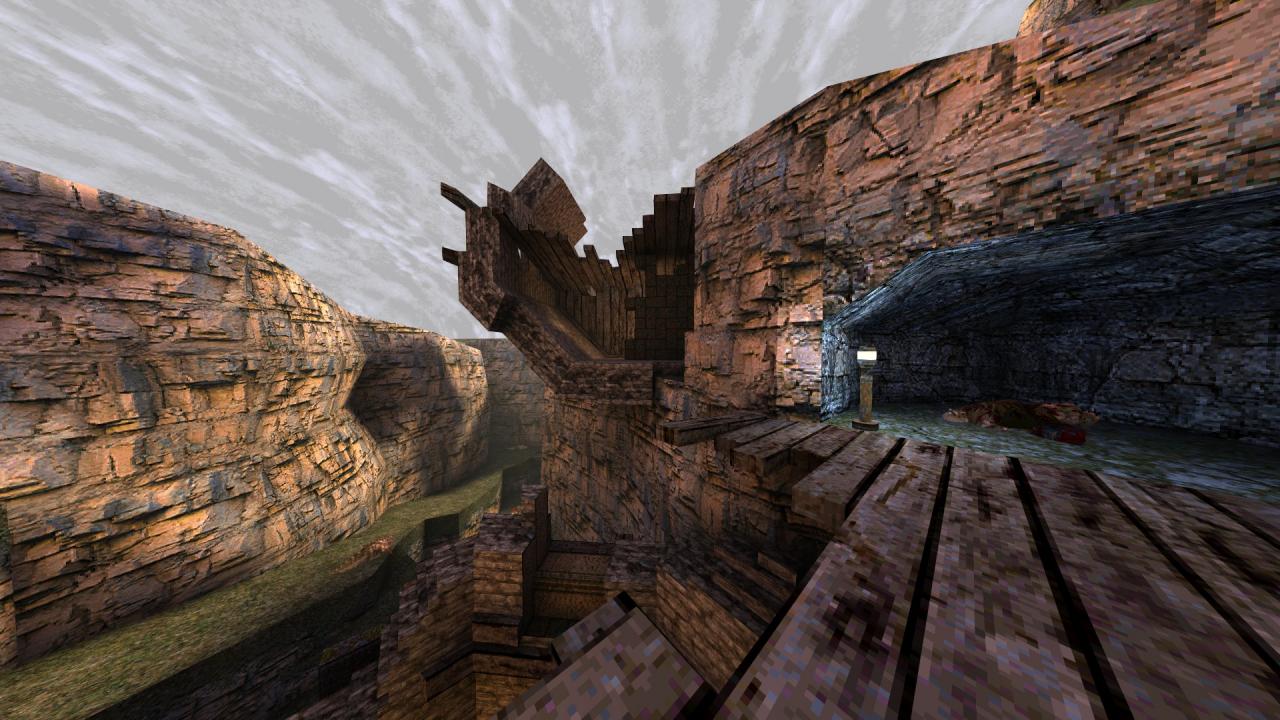
MGE5M2: Too Deep, Too Greedy
This level contains seven secrets.
1/7 – As you go through the ruined tower at the beginning, turn right after crossing the plank and make your way around the ledges to the windowpane on the left. Drop down to the other side to find a hidden armor below.

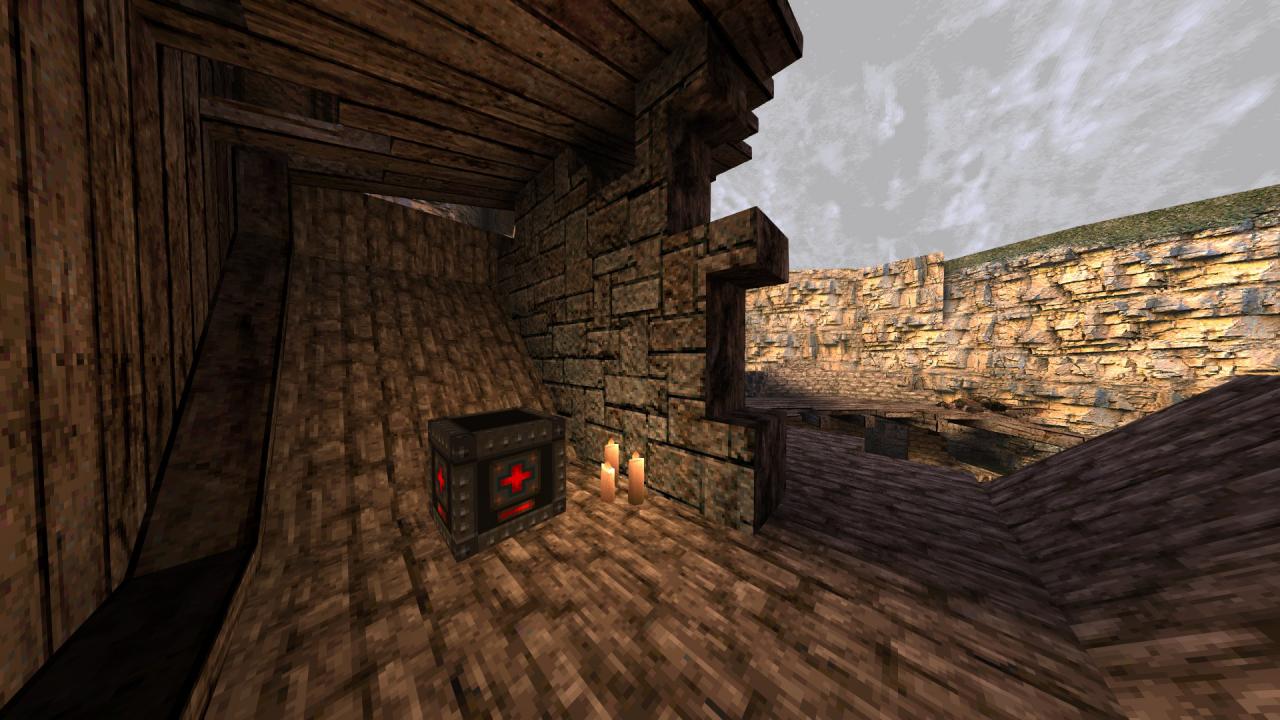
2/7 – As you traverse the following area, take the upper path and make use of the ledges to the right to reach topside. From there, jump into the ruins next to you to find a megahealth.
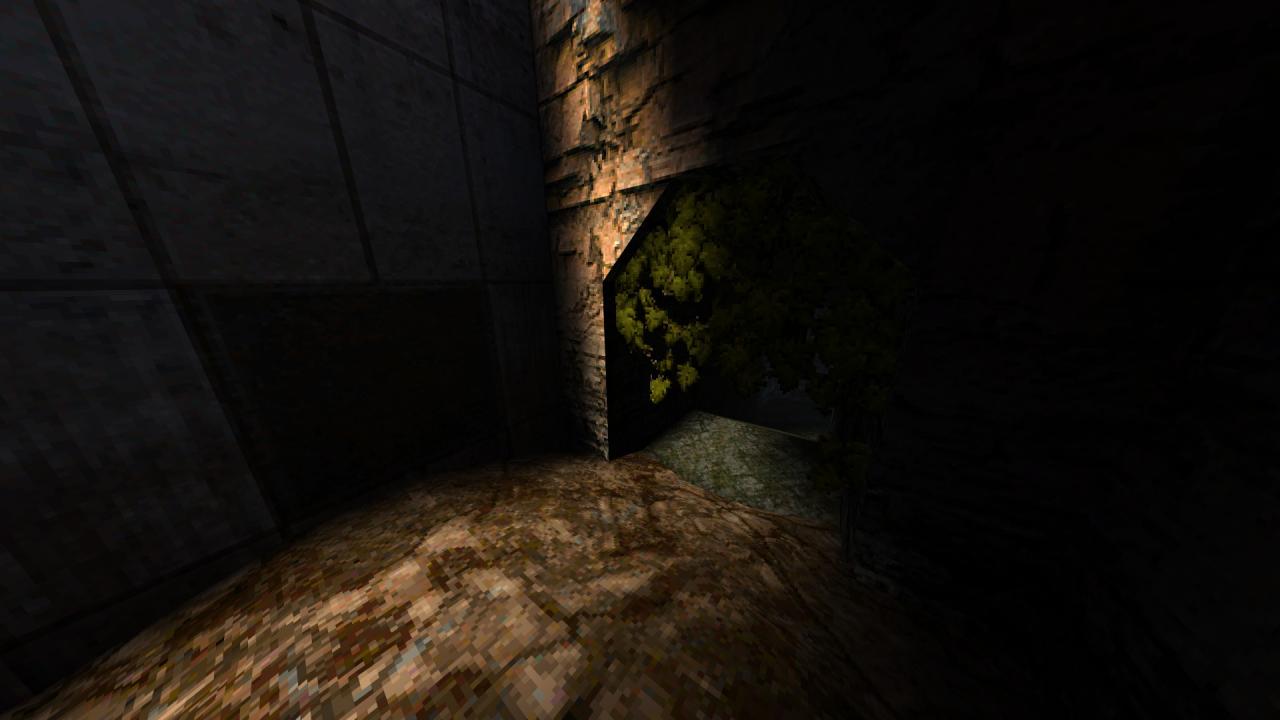
3/7 – When you reach the mine entrance, check the right corner to find an opening slightly hidden by leaves. Follow the tunnel behind to find a hidden weapon.

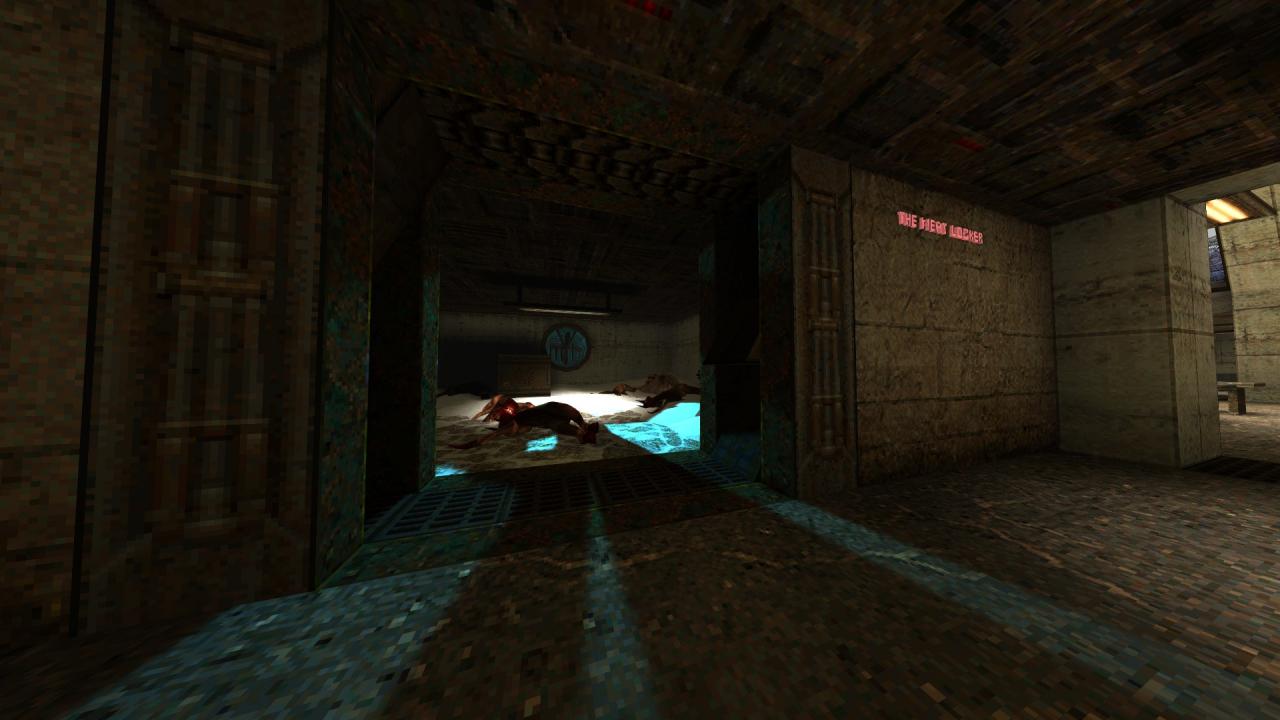
4/7 – After clearing out the mess hall, look for a blinking button under the counter and press it to open up the nearby meat locker. Have a look inside to find a weapon and some ammo.
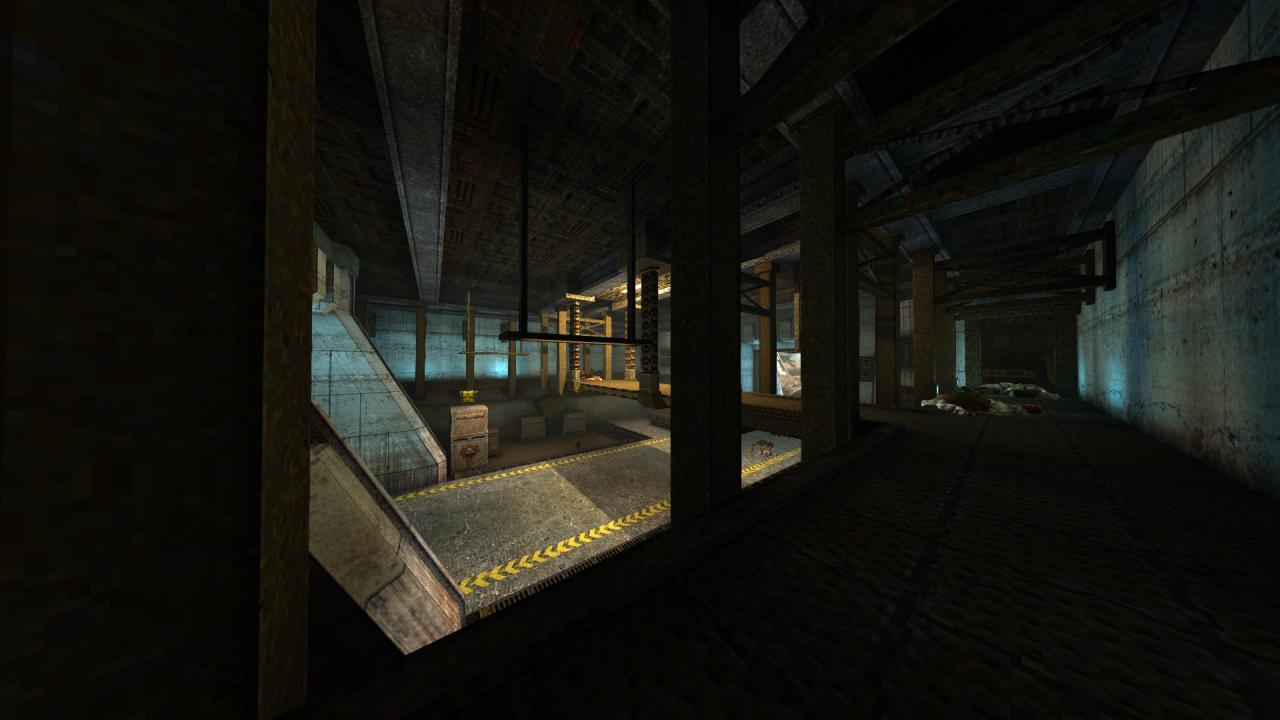
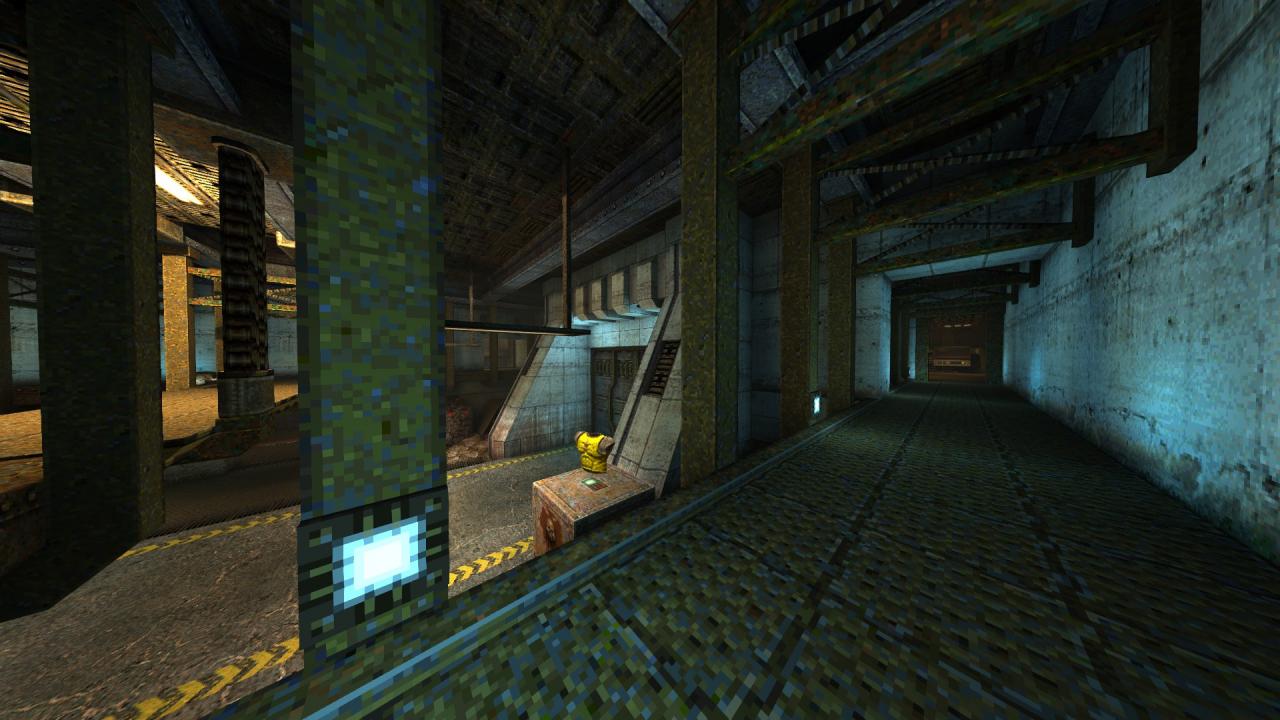
5/7 – Simply jump down and grab the armor on top of the crates while crossing the walkway you activate as you progress through the facility.
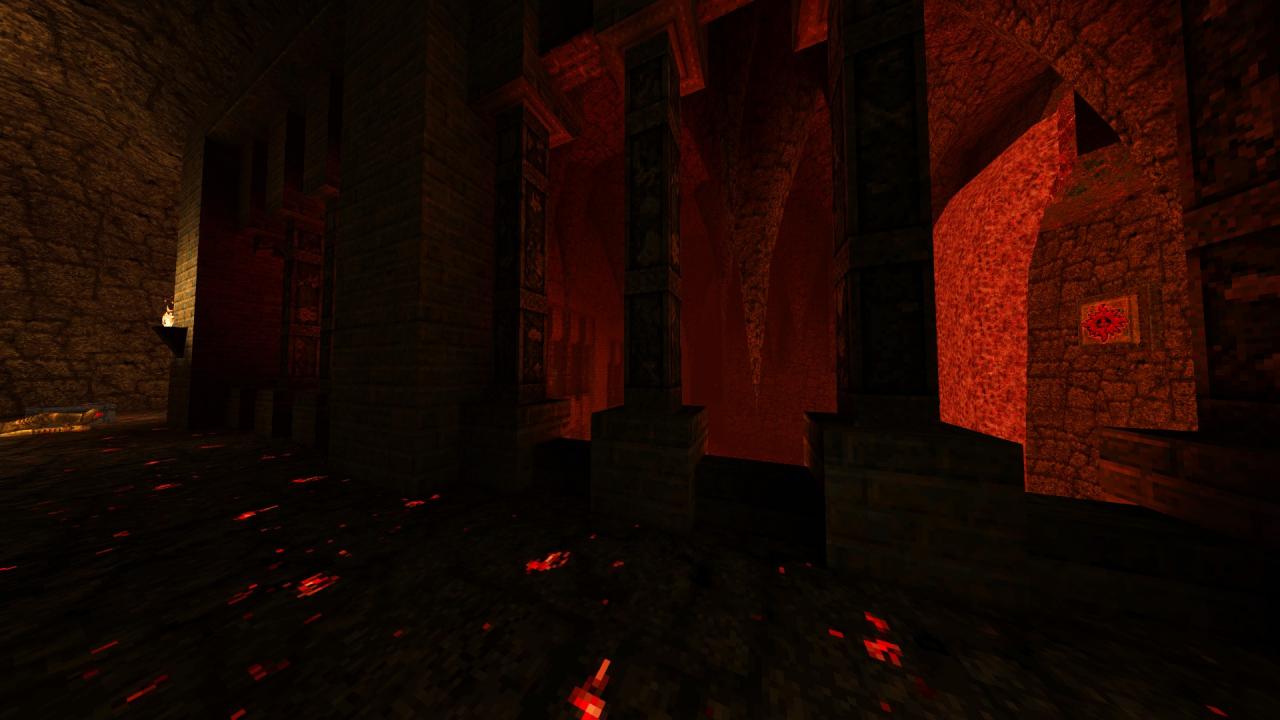
6/7 – As you go through the trap-filled lava pit, look for a total of six buttons in the cave walls and shoot them in the process. Shooting all six of them makes a rock pillars raise from the lava near the gold key. Get down, collect the items and follow the path for a safer return to the gold door.
7/7 – Right after the two hovering platforms, keep an eye out for an armor residing at a lower floor of the centrepiece. Jump from a nearby point of your choice and carefully make your way around the narrow ledge to reach it.
MGEND: Chthon’s Vengeance
This level contains only a single secret.
1/1 – After the initial fall of Chthon, the tunnels on the back become accessible. Simply explore the path between the crates to the left of the elevator that leads to the silver key in there to find the only hidden area within this level.
‘Exalted warrior from the machine… You are the master now. We salute you.’
Thanks to erc for his great guide, all credit to his effort. you can also read the original guide from Steam Community. enjoy the game.
Related Posts:
- Quake Remastered: The Hot And Winding Road Achievement Guide
- Quake: KEX Enhanced: CVAR and Command List Guide
- Quake KEX Enhanced: CVAR & Command list
- Quake Remastered: How to Take Clean Screenshots
- Quake Remaster: How to Install Quakespasm (New Update Aug 2021)