This guide has been made for the purpose of aiding those who are stuck or missing gallery elements, but will not display any of the game CG.
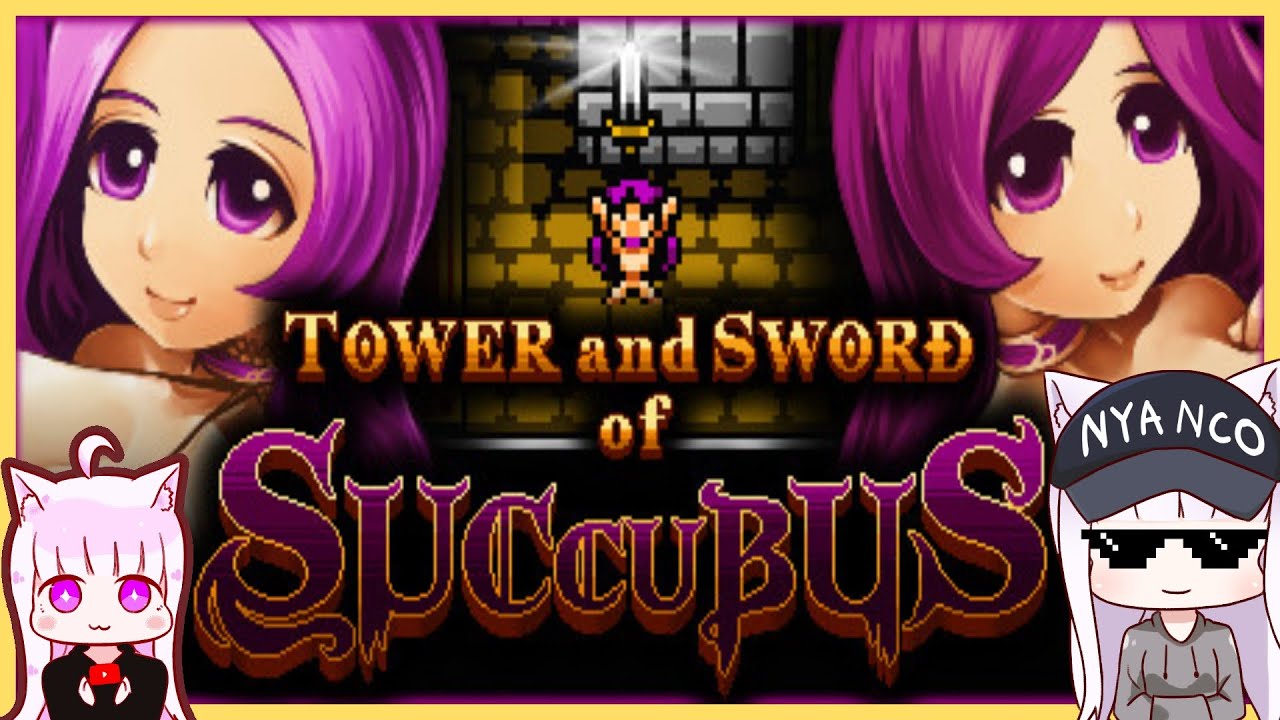
You can use the purple orbs to save your progress or to fast travel to previously discovered orbs.
You can get 2 CG from here: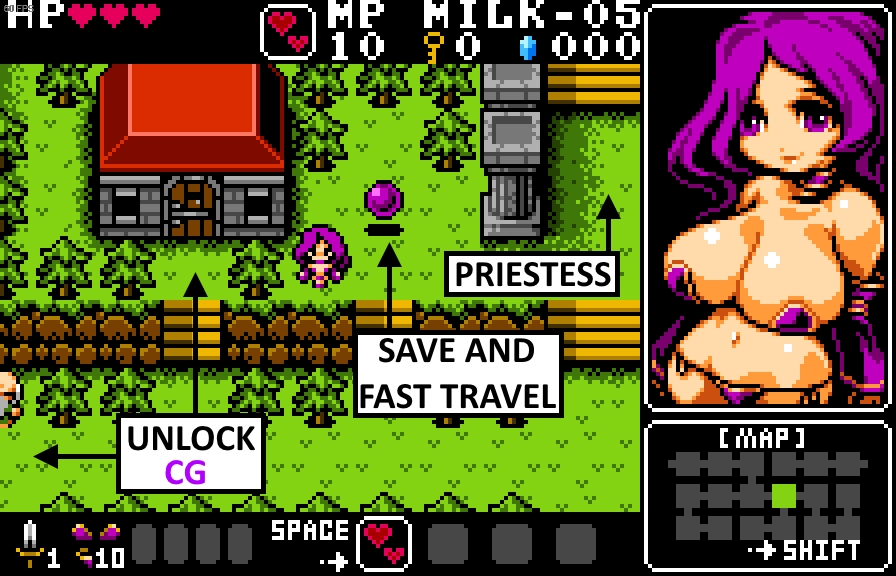
One in the house right next to the stairs to the priestess (check the bookcase)
And another one in the cave to the left which happens to be the priestess’s home (again, check the bookcase).
Once you talked to the priestess she will task you to go the the forest to complete the first of three trials.
 Before that however, you should go to the right side of Assen Village and into the house next to the waterfall. Inside you can cure a girl from her fever which will reward you with a discount to the store (this also unlocks CG, make sure you have at least 20 milk).
NOTE: You can produce milk either by seducing enemies or using the bed in your house.
 The forest is located to the right side of the map and its inhabitants are goblins.
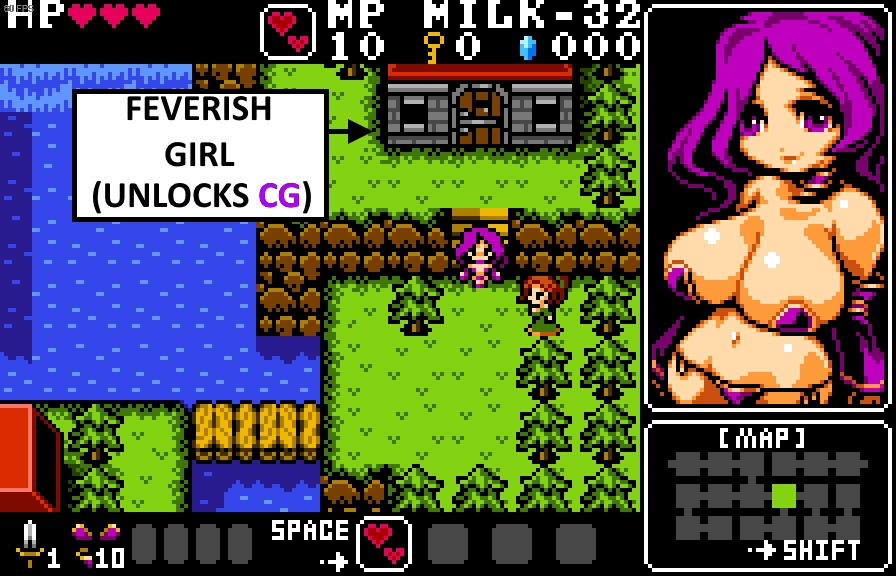
Right at the start of the area you can find Grim Groceries and talking to the shopkeeper will net you a permanent discount (if you cured the girl at the village).
I suggest purchasing a key and having at least 1 or 2 in your inventory at all times.
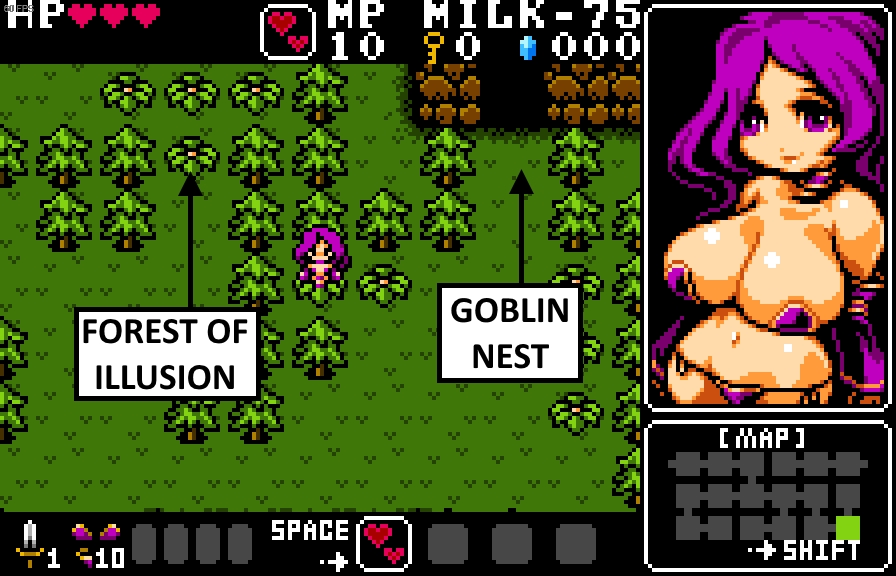 As you make your way through the forest you may find yourself inside the forest of illusion (which has a purple tint).
Only goblins can go through it so you’ll have to go to their nest and ask for their help.
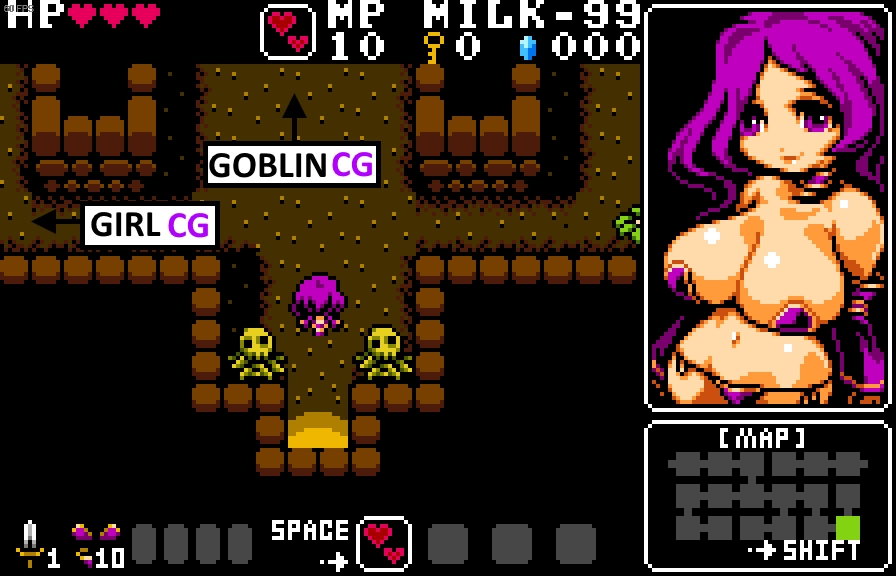 You can explore safely as there are no hostile enemies in this cave.
To the left and find the daughter of a villager being introduced into goblin custom and will unlock CG, you can’t do anything for her though.
If you go up you can find and talk the goblin that will teach how to go through the forest of illusion and unlock another CG.
NOTE: Once you do this, just keep walking forward in the forest of illusion and you’ll get to the Forest Temple.
Inside the Forest Temple you’ll encounter many locked doors but there should always be a key nearby.
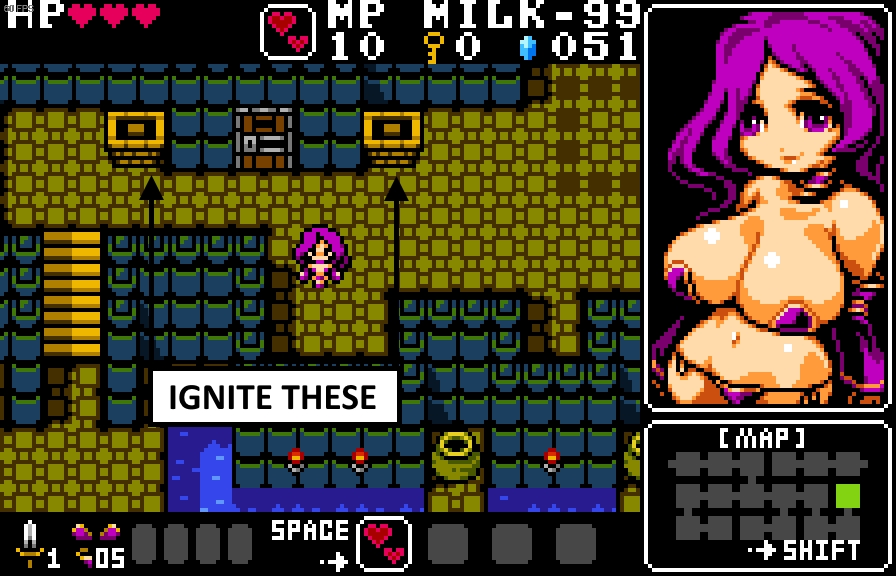 You’ll eventually reach a point where you can’t open a certain door and will need a magic staff to ignite the torches at both sides.
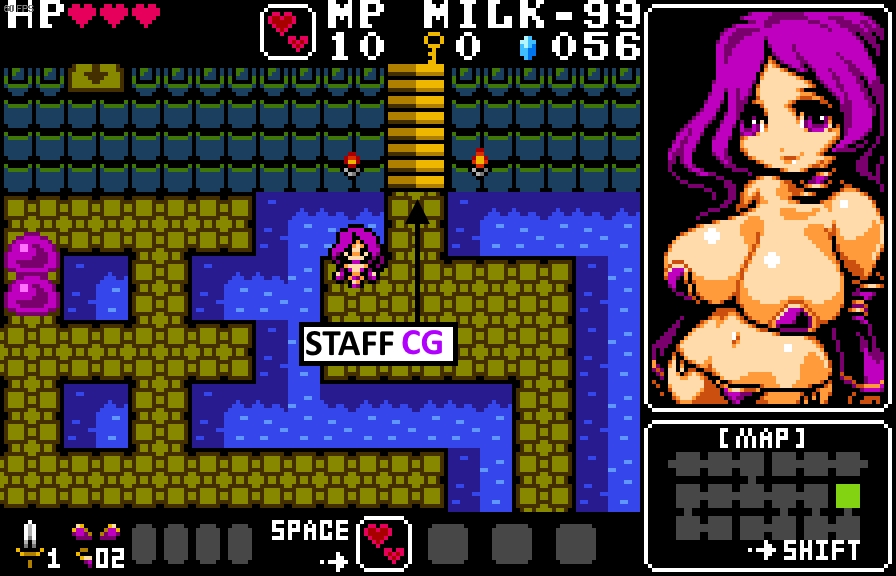 The staff can be obtained in the same area, all the way to the right, where a mage has set up shop and will offer it to you. This also unlocks CG.
After a while you’ll encounter the boss and her defeat will grant you a Shard. When you go back to Assen Village go to the priestess’s house (the cave to the left) for another CG.
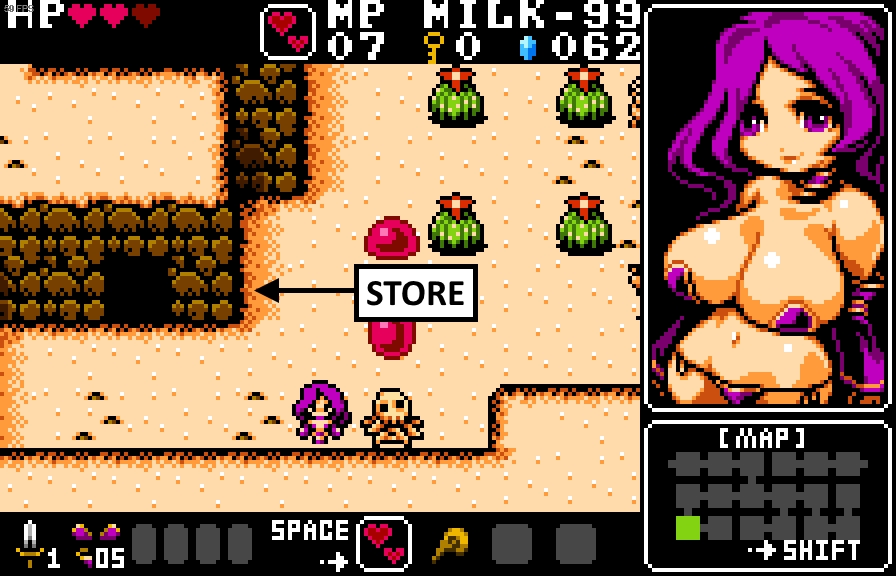
The way to the temple is pretty straightfoward, and you can find another store at the bottom-left side of the map, although this one has no discounts.
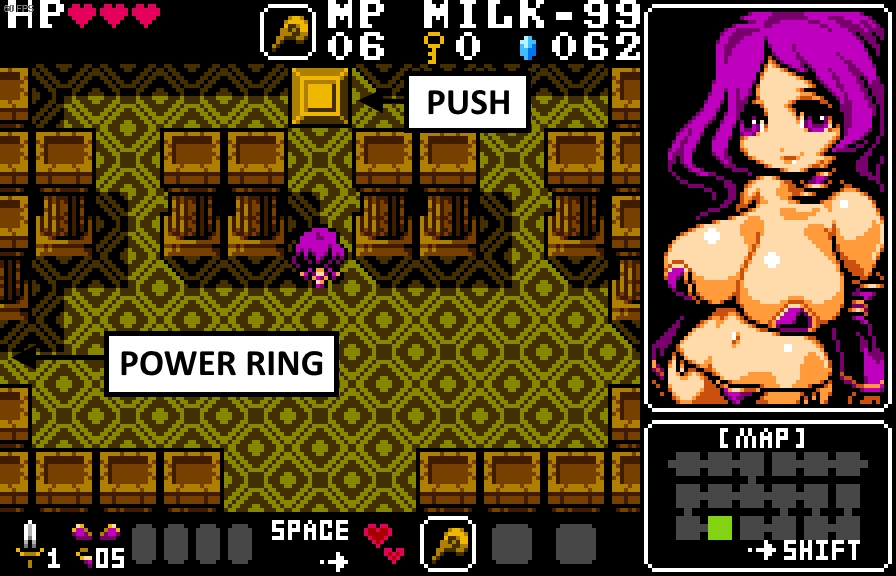 Inside the Desert Temple you can get the Power Ring, which will let you push yellow blocks and is needed to advance.
After you defeat the boss, go back to the priestess’s house for another CG.
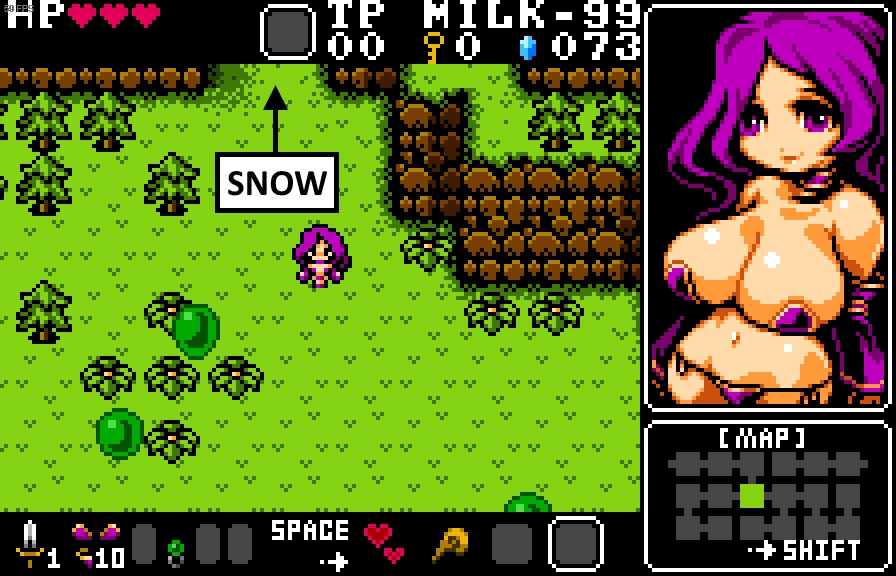 The Snow is located to the north, right before entrance to the desert. Its inhabitants are orcs.
However, we can’t advance because we are missing a Hook which would let us travel between small islands.
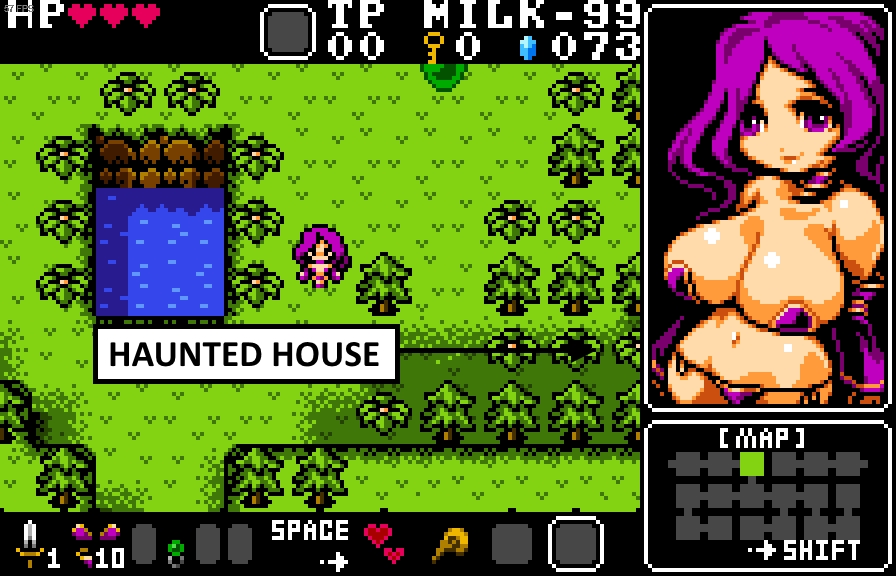 The Hook can the obtained at the end of the Haunted House to the right side of the area.
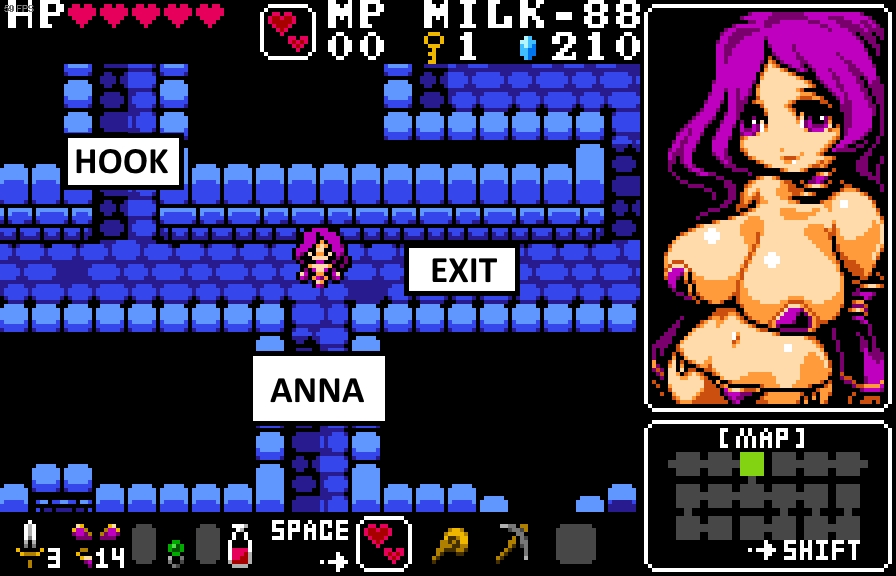 Inside the Haunted House you’ll encounter pushing block puzzles, charm statue puzzles, enemies and invisible paths. But once you get to the end you’ll find yourself in a place with friendly ghosts. One of the ghosts in a room is called Anna and for 900 gold will teach you how to be awarded more money each time you take care of the villagers of Assen.
NOTE: Paying her 900 gold will NOT unlock any CG or any special action, just dialogue.
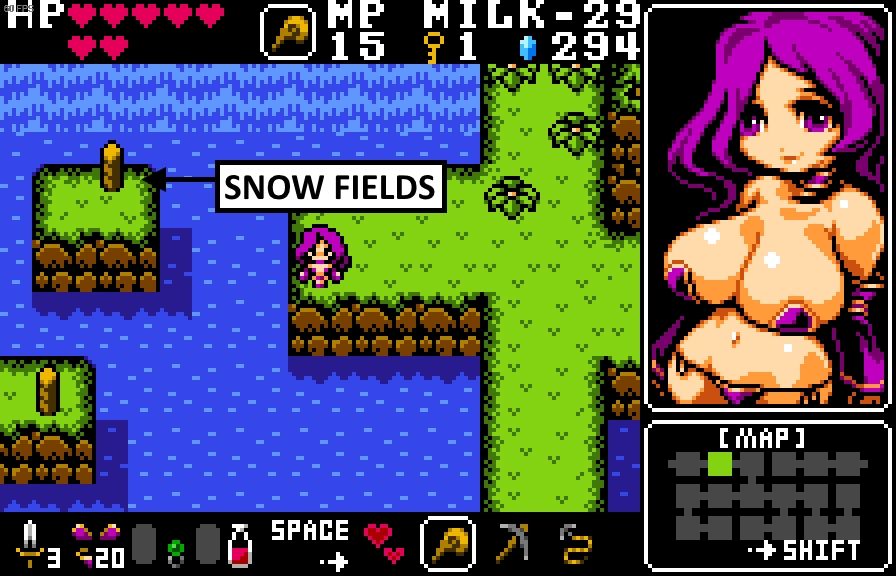 With the hook it is now possible to move between poles and access the Snow, inhabited by orcs. There aren’t any special CG or interactions in this area.
After you find and complete the Temple you can head back to the priestess and then the final boss.
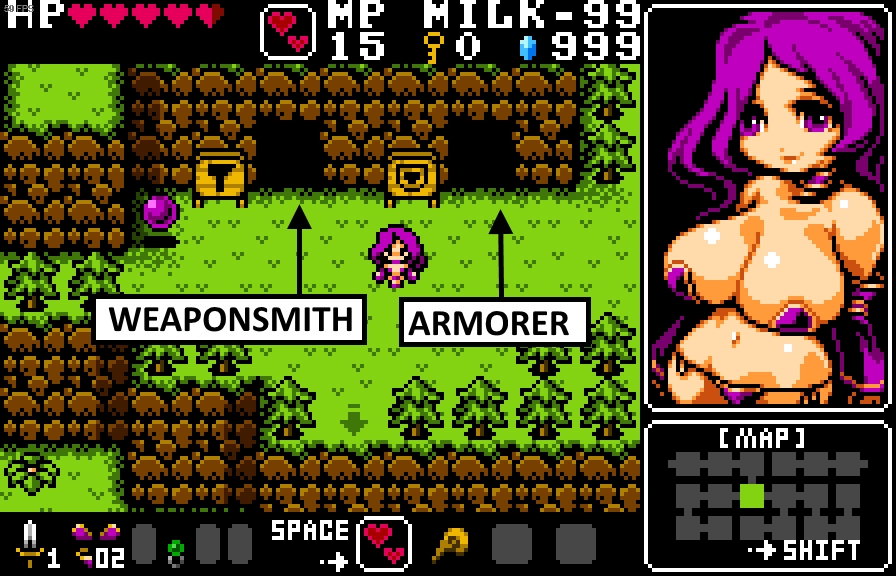 You can upgrade your weapons and armor in Geoff’s Smithy, located to the left of Assen Village on the way to the desert and the snow.
NOTE: To unlock the amorer services, see “The Missing Gems” side quest.
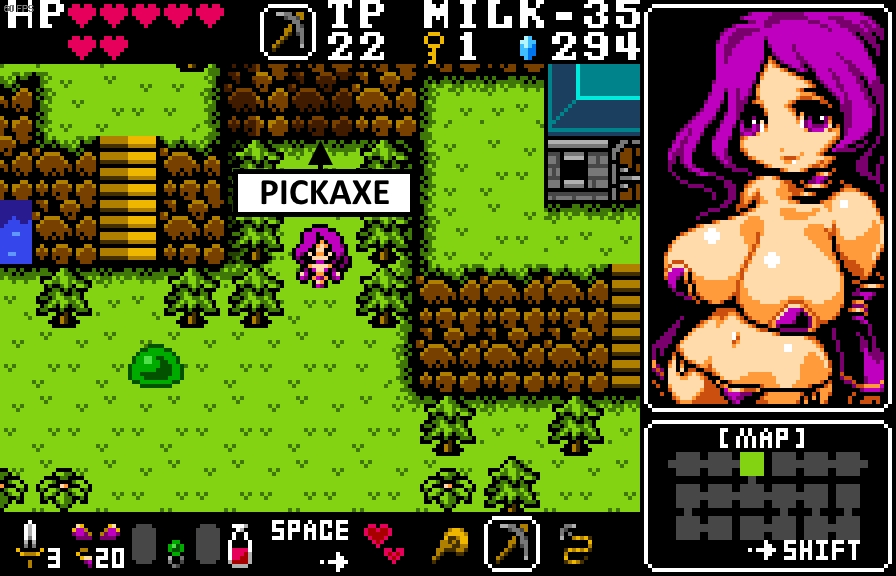
Upgrading your equipment will require iron and mithril. You’ll have to get them from the mines so purchase a pickaxe from any store.
NOTE: The chances of getting iron from mining is low, so as a recommendation buy at least 90 pickaxes if you can afford it. (Exiting and re-entering the store will reset the shopkeepers inventory)
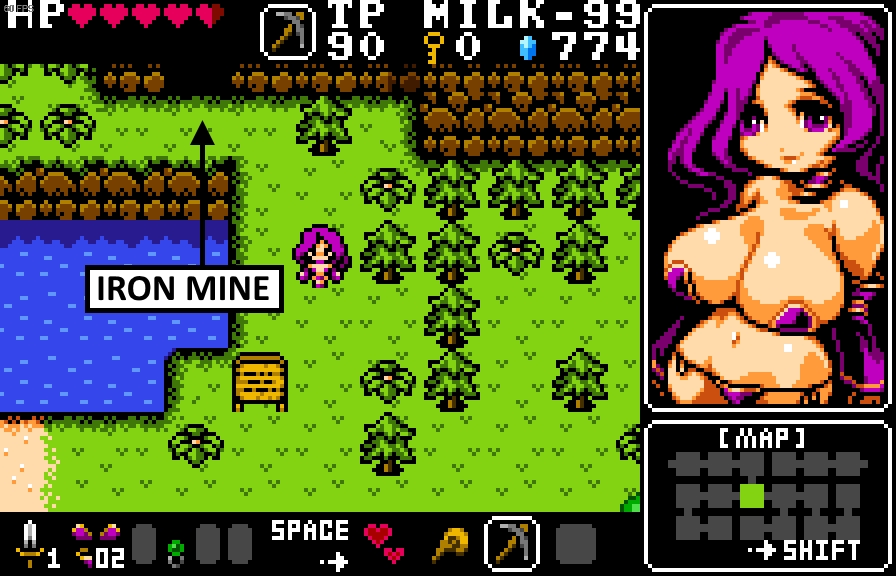 You can get iron from the mines to the left of Geoff’s Smithy, just before entering the desert.
Not all veins have iron, so once you picked every single one exit the mine and enter again for them to reset. You can have 20 Iron at max in you inventory, if you try to pick another one it will not add up.
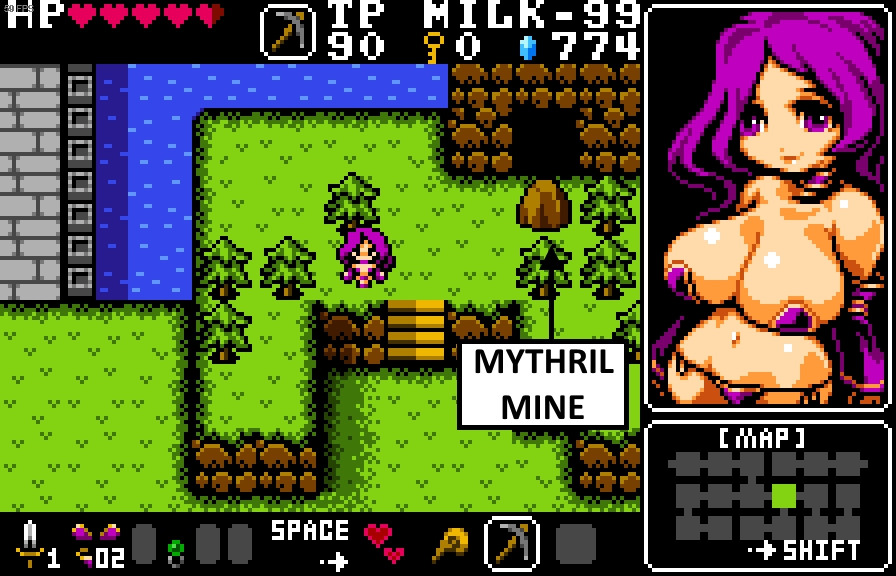 There are only 5 mithril in the whole game, all which are found in the mine right next to the entrance to Assen Village, you’ll need a pickaxe to break the rock at the entrance.
You can’t break any of the rocks inside though, instead you’ll find a man lying on the ground. You can heal him for a CG and he’ll start opening up the path (once you healed him exit and enter again for the mine to update). You can find the mithril lying in the ground as he clears the way.
NOTE: You’ll need 100 milk for him to clear all the way and get all mithril.
Weapon:
- Upgrade 1: 20 iron – 200 gold
- Upgrade 2: 20 iron – 3 Mithril – 300 gold
Armor:
- Upgrade 1: 2 Mithril
- Upgrade 2: 200 gold.
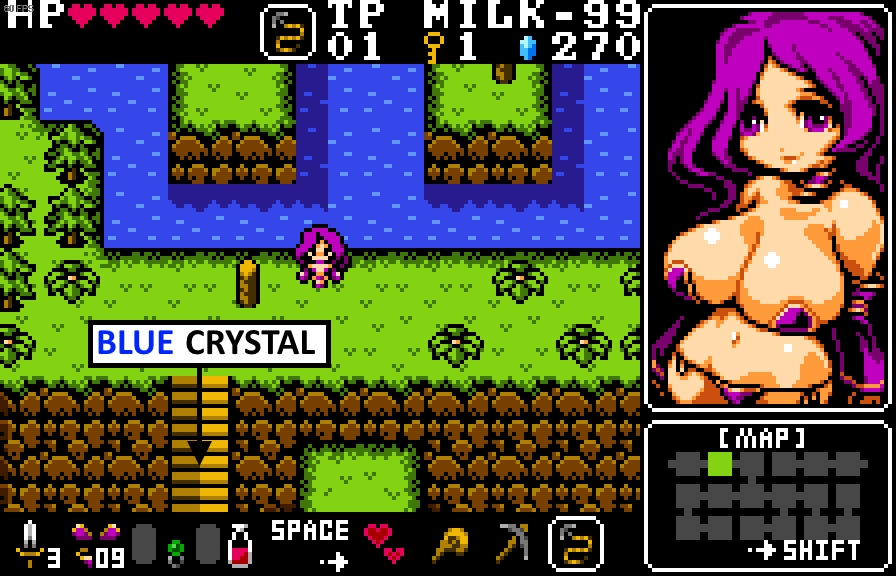 You can give the weaponsmith a Blue Crystal which is located in the desert, but you can only get it from the top of the map, right next to the entrance to the Snow.
NOTE: Hook needed, see “Main Story: Part 3”.
This will reward you with a ranged attack for the sword when your health is full.
 This item can be obtained at any time, the only thing needed is a pickaxe.
To the left of the Haunted House is a wall that can be broken with the pickaxe, inside you’ll find a puzzle where you have to make all lights go BLUE. Once you manage to do it the gate unlocks and you can grab the Milkdrop.
Next time you interact with the bed a new option will appear. You can repeat this activity all the times you want and there seems to be 3 endings:
- Bad Ending – Always press the same key (except Z).
- Normal Ending – Mix all keys, including directional arrows and Z.
- Good Ending – Cycle between all arrows keys without repeating them before entering a new cycle (never press Z. Example: left, up, right, down, left, up, right, down, etc).
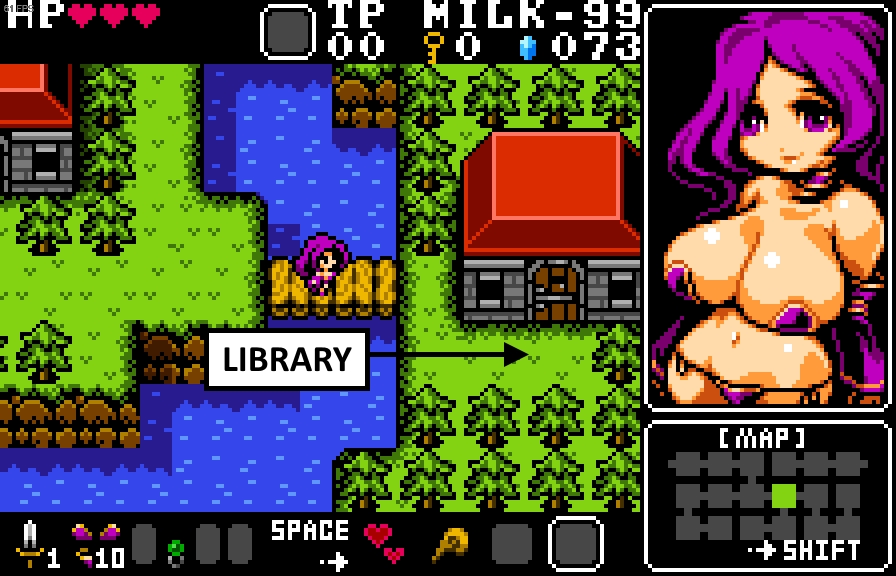 To initiate the quest go to the library in Assen Village and interact with the bookshelves, one of them describes how to summon Asmodeus.
Once done, you can find the shrine to Asmodeus in a cave to the right of the same area where the succubus lives.
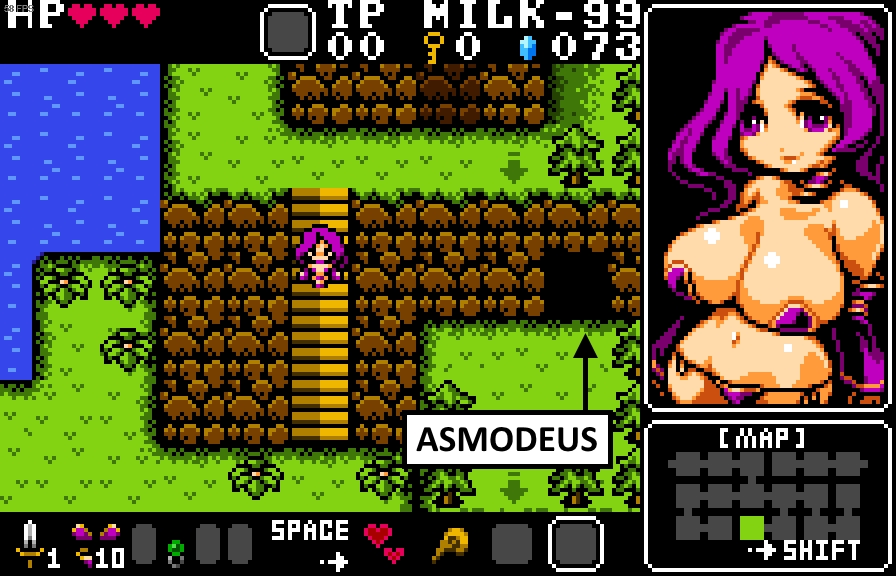 Approach the shrine and you can start the ritual to summon him. He’ll ask you to fill a vessel with milk. After this is done he will reward you with CG and +1 HP.
NOTE: 40 milk is required to fill the vessel.
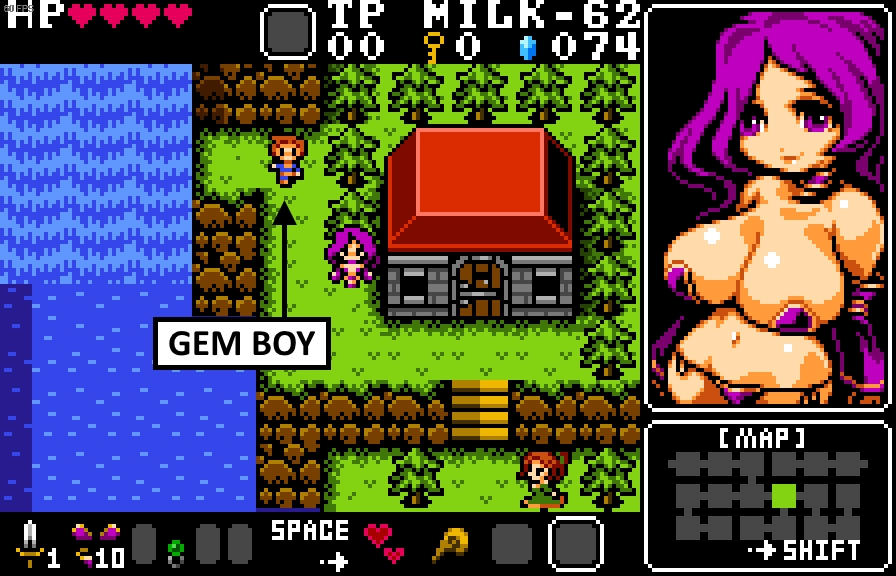 To initiate the quest you have to talk to the boy right next to the waterfall in Assen Village. He’ll have a request for you and get you a CG if you agree, this will net you a Green Gem.
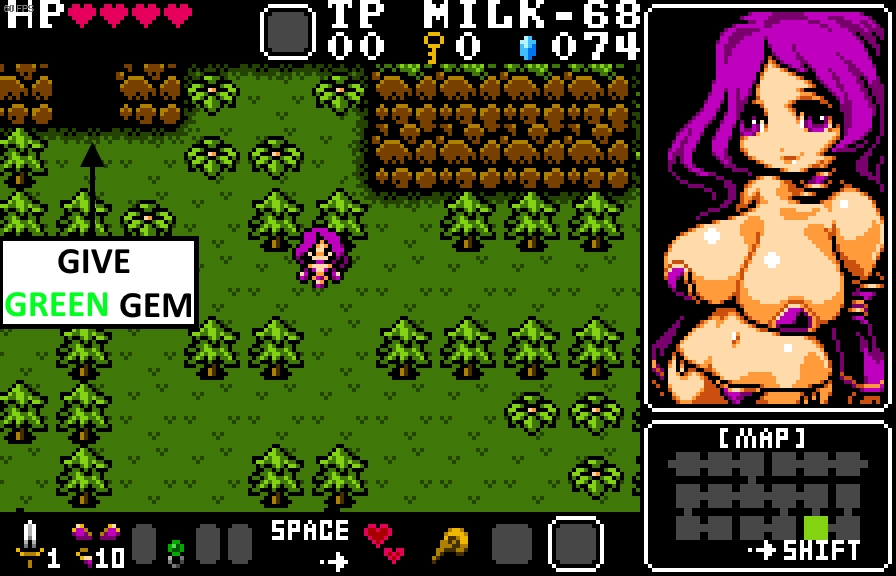 This Green Gem belongs to a priestess in the forest, to the leftmost side of the area. If you give it to her she will reward you with CG and +1 HP. Also you can now purchase Aphrodisiac from her.
Go back to the boy in Assen Village and he’ll have a new request with CG, after which he’ll give you a Red Gem.
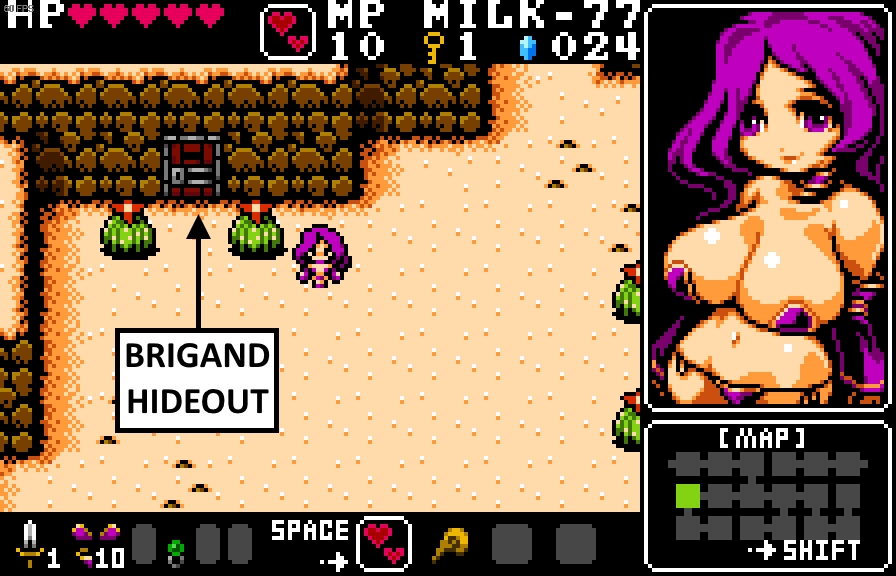 You can exchange the Red Gem in the Brigand Hideout in the desert.
But to have access to it you’ll have to go to the bar and grab a silver key to their hideout, which is in the leftmost room.
 The enemies in the hideout are not hostile so you can explore freely. The leader of the brigands will exchange your Red Gem for a Turquoise Gem, with the addition of another CG and money when attempting to walk away from him.
 The Turquoise Gem belongs to an old mage in the desert. After you give it back to him he’ll reward you with a CG and permanent +5 MP. You can now give him Aphrodisiac for another +5 MP.
NOTE: You can keep giving him Aphrodisiac infinitely, he’ll keep adding +5 MP and the CG will always be the same.
Go back to the boy in Assen Village, he’ll have a new request with another CG. Afterwards he’ll give you a Purple Gem.
 The Purple Gem belongs to a witch in a hidden cave behind the waterfall just before the snow. She’ll reward you with money. She can know extract the essence you collected from both monsters and humans and give you money in exchange (and another CG).
NOTE: The extraction activity can be done infinitely, the CG will always be the same but the money differs depending on the amount of essence collected each time.
Go to the boy one more time for another CG. This will complete the quest and will unlock the armorer who will relocate right next to Geoff’s Smithy.
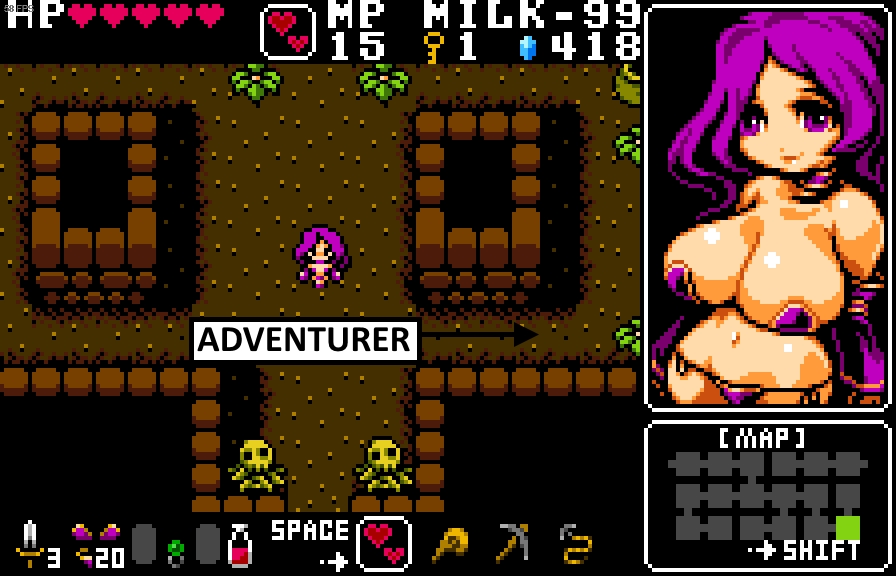
 To start the quest you’ll have to enter the bar in Assen Village and talk to the adventurer WHILE NAKED.
She will then head to the Goblin Nest in the forest to fight them (See “Main Story: Part 1” for location of the Goblin Nest).
NOTE: To get naked simply get hit by any enemy until your armor breaks.
 To the right side of the Goblin Nest you can find the adventurer and a CG.
Exit and re-enter the cave and you’ll find a closed gate, you can open it with 1 key and free the adventurer, who will then head back to the bar.
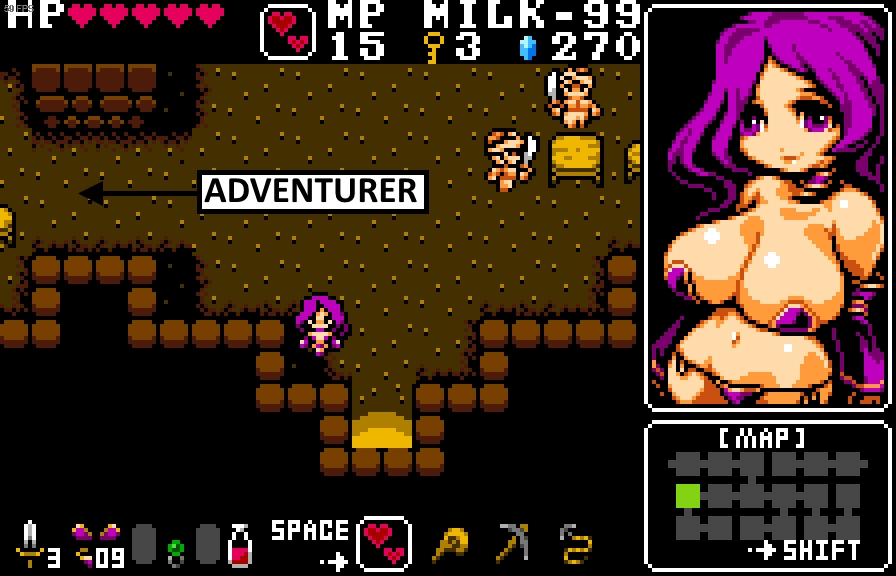 Next time you interact with her in Assen Village she asks for 20 iron. After you completed this task she heads to the Brigand Hideout in the desert. (see “The Missing Gems” for location of the Brigand Hideout)
To the left side of the Brigand Hideout you can find the adventurer and a CG.
Exit and re-enter the cave and you’ll find a closed gate, you’ll need 2 keys to free the adventurer, who will then head back to the bar.
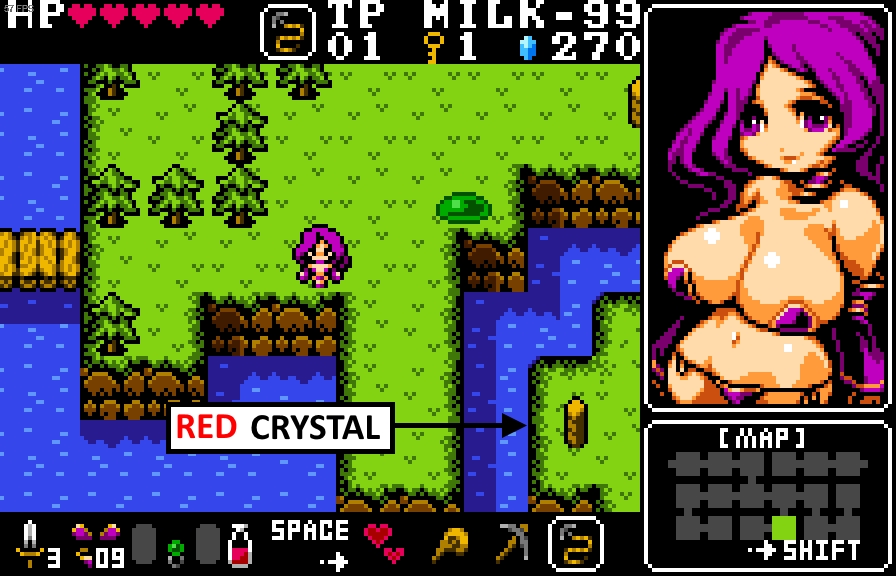 Next time you interact with her in Assen Village she aks for a Red Crystal.
NOTE: Hook needed, see “Main Story: Part 3”.
The Red Crystal can be found in the area next to where the succubus lives, you’ll have to use the hook to get to a small island to get it.
After you’ve given her the Red Crystal, she’ll head off to the Snow to fight trolls.
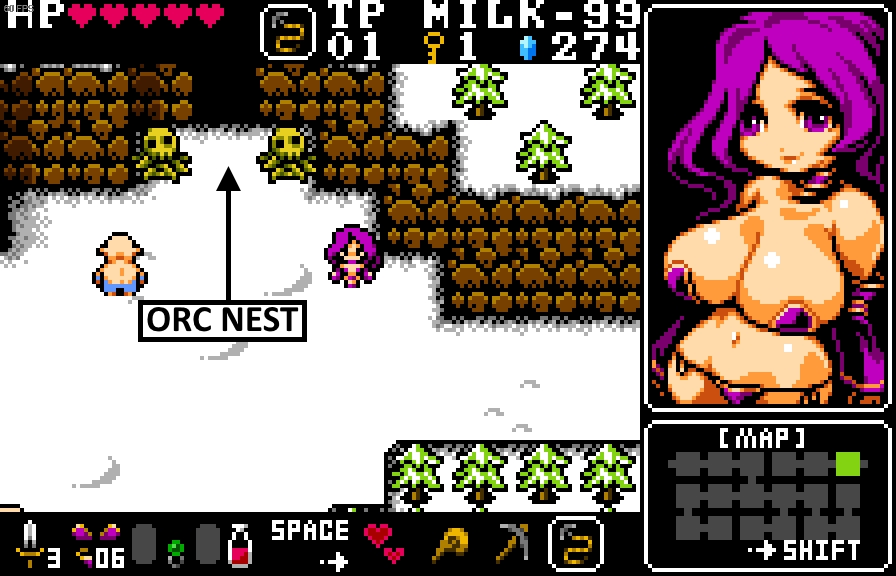 You can find her again in the Orc Nest, and interacting with her will get you a CG.
Talk to the orc nearby and you can ask her to let her go, granting you more CG.
Next time you talk to her in Assen is the end of the quest.
You can start this quest at any time, all you need is a pickaxe and milk.
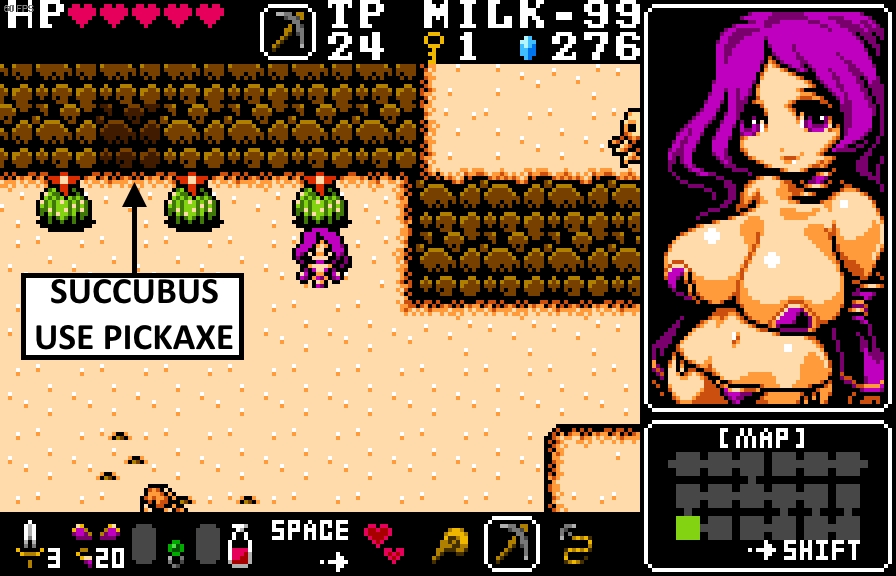 You can find the first hidden succubus in the Desert, just before the Temple area. You’ll have to break the wall using the pickaxe.
NOTE: You need 40 milk to heal her and unlock a bonus CG and +1 HP.
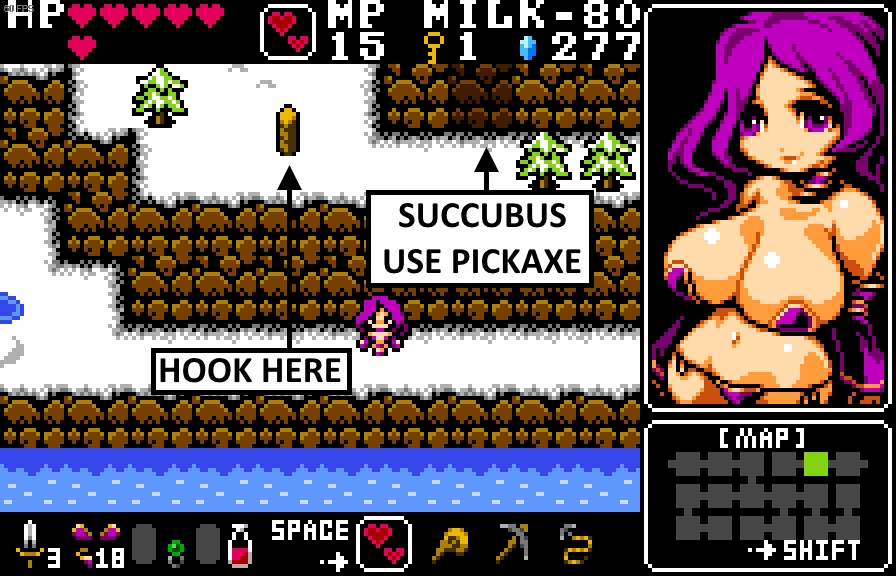 The second hidden succubus is in the Snow.
NOTE: Hook needed. See “Main Quest: Part 3”. You need 80 milk to heal her and unlock bonus CG and +1 HP.
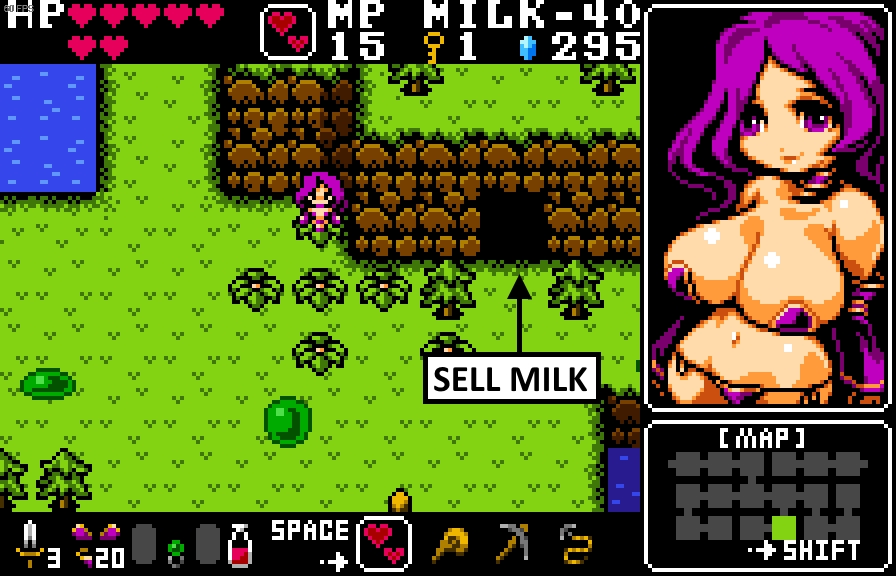 In the area next to where the succubus lives, all the way to the right is a cave with a witch that will pay money for 20 milk. This will unlock CG and can be done infinitely.
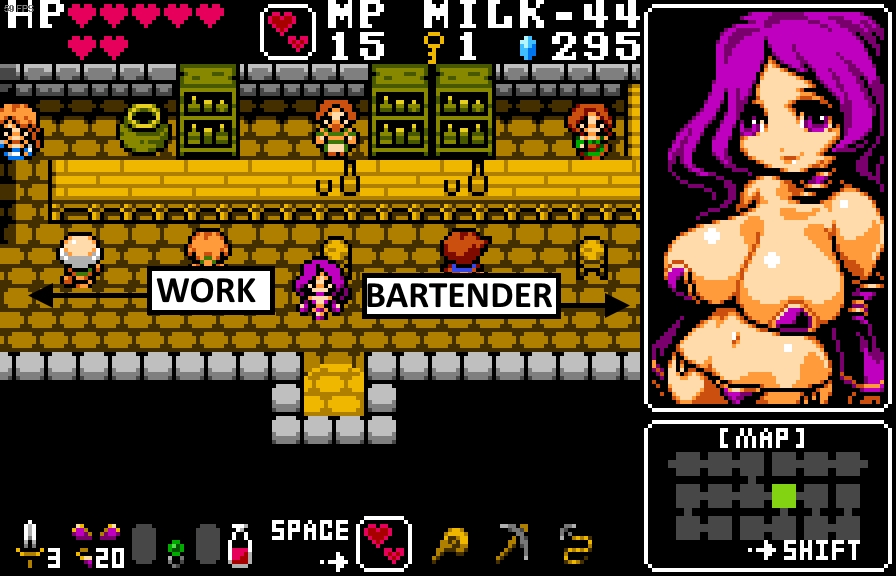 If the succubus has at least 5 hearts of HP she will be able to interact with the bed in the last room to the left and work with the villagers or monsters to make some money and unlock CG.
NOTE: This will consume your health and you will have to rest or seduce enemies before being able to do it again.
Additionally she can order drinks from the bartender all the way to the right, after several drinks she’ll pass out and a random outcome will happen. She may wake up normally, naked and with a villagers thanking her and giving her money, or she may get robbed.